Introduction: The Relatable Madness of Making
William Davison Jr. is a man who openly admits to being “crazy.” By day, he navigates the high-stakes, intangible complexities of the satellite defense industry; by night, he inhabits a workshop filled with the scent of motor oil and the hum of vacuum molds. His self-proclaimed madness is a deliberate rebellion against the modern condition of being “starved for life-long hobbies.”
In an era of hollow digital consumption, Davison’s life is a fascinating case study in creative fulfillment. He demonstrates that the cure for the “daily grind” isn’t passive rest, but the heavy, tactile labor of restoration. From 1950s BMWs to global art networks, his journey proves that the human heartbeat is loudest when the hands are busy.
1. The “Create More Than You Consume” Mandate
Davison’s philosophy is rooted in a hard-won truth: we are designed to build, not just to buy. He views hobbies like woodworking and car restoration as essential tools for men’s mental health and community building. For Davison, these aren’t just solitary acts of nostalgia; they are practical arenas where men mentor one another and find an “esprit de corps” missing from modern life.
This focus on the “team effort” stems from his service in the Marine Corps, where success was measured by how wisdom was passed down the line. Forging friendships through “fixing” provides a tangible counter-weight to the isolation of our screen-saturated world. By gathering around a project—be it a truck in a driveway or a backyard fire—we find the space for the honest talk that sustains us.
“Men need to create more than we consume, we need to make, create, fix and restore.”
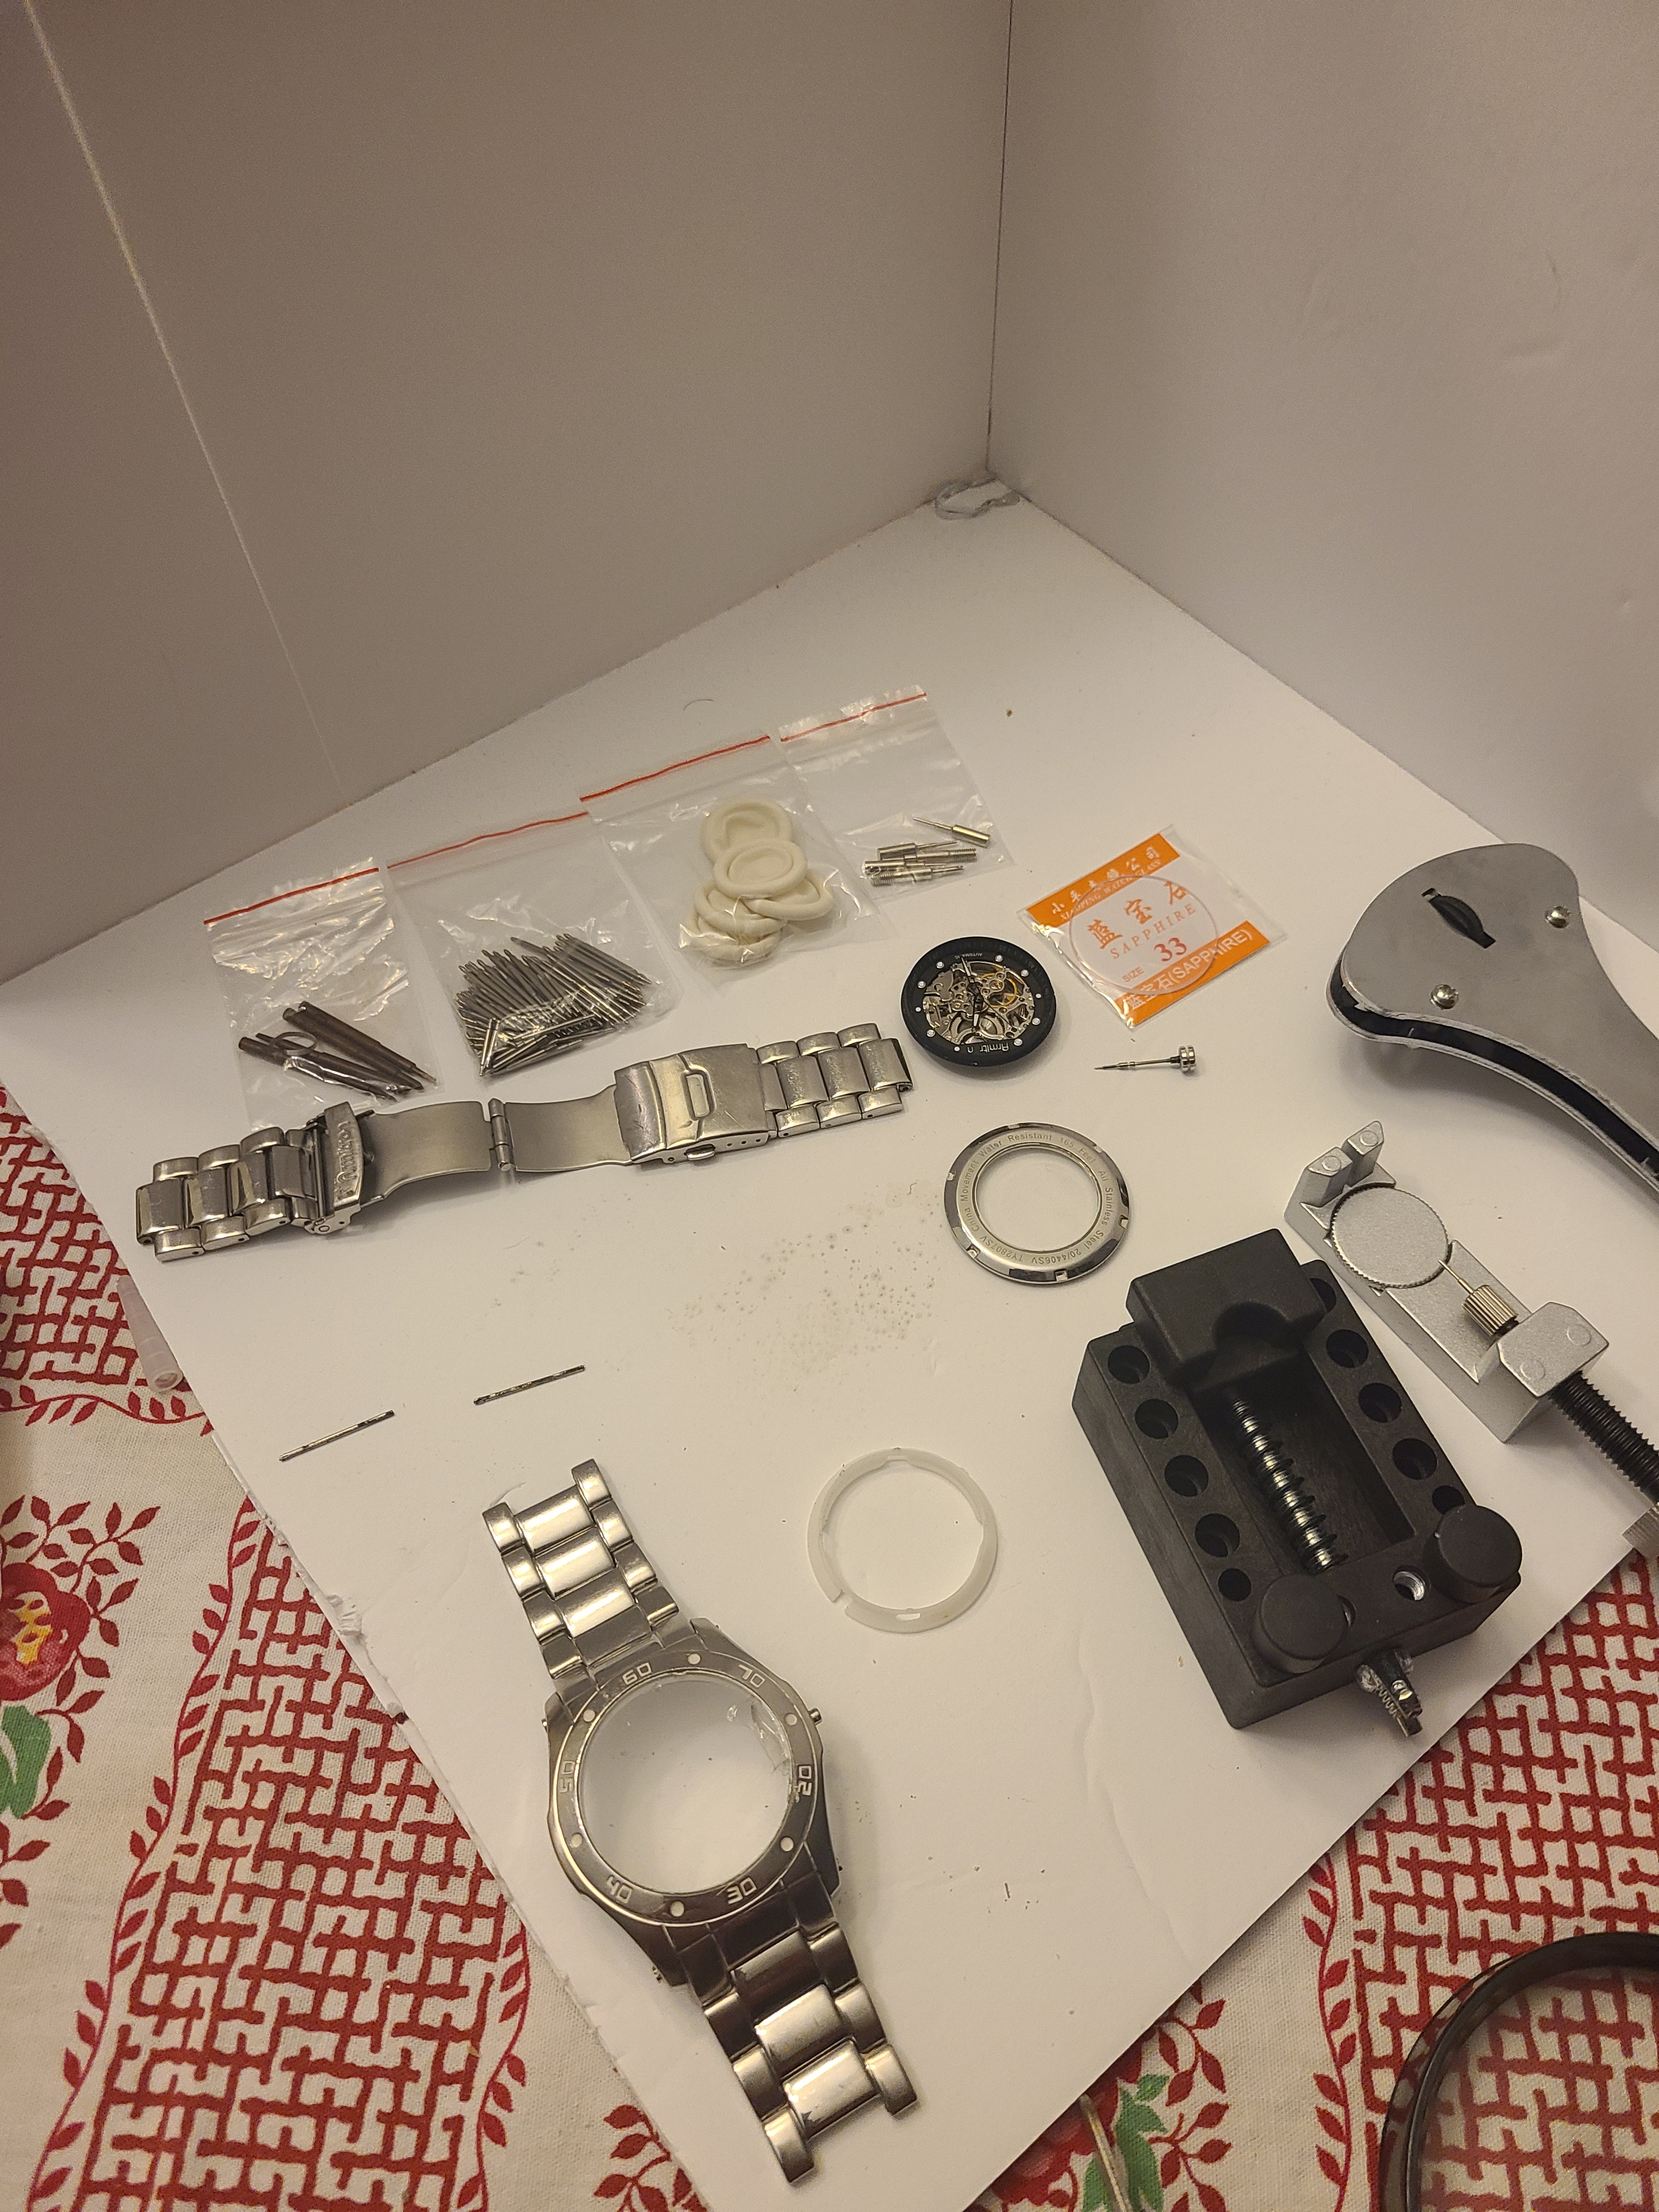
2. The Accidental Expert: Why Your First Bike Should Be a 56-Year-Old Legend
True expertise often begins with a leap into the unknown, a fact Davison proved when he became the lone bidder on a 1956 BMW R50 on eBay. At the time, he had never ridden a motorcycle, let alone fixed one. When his wife asked what he intended to do with it, he told her it would bring them days of joy—a promise kept through years of busted knuckles and measured electrons.
The restoration was a grueling education, but the rewards were hidden in the tiny, historical details. Davison eventually discovered the bike featured rare Weinmann Aluminum Wheels, a treasure that would have remained invisible to a passive owner. This “joy of the adventure” transforms a machine from a mere possession into a shared history between the maker and the metal.
“I told her that this bike will bring many days of joy to the both of us and that this bike was exactly the first bike that I would treasure forever…”
3. The Original Social Network: Mail Art
When Davison steps away from the garage, he doesn’t retreat to a digital feed; he turns to the mailbox. He is trying to begin a “Snail Mail Postcard Club,” that sends a letter every month with three postcards enclosed for the receiver of the mail to send to friends and family.
4. Precision Meets Play: Why You Need a Frequency Generator for Your Speakers
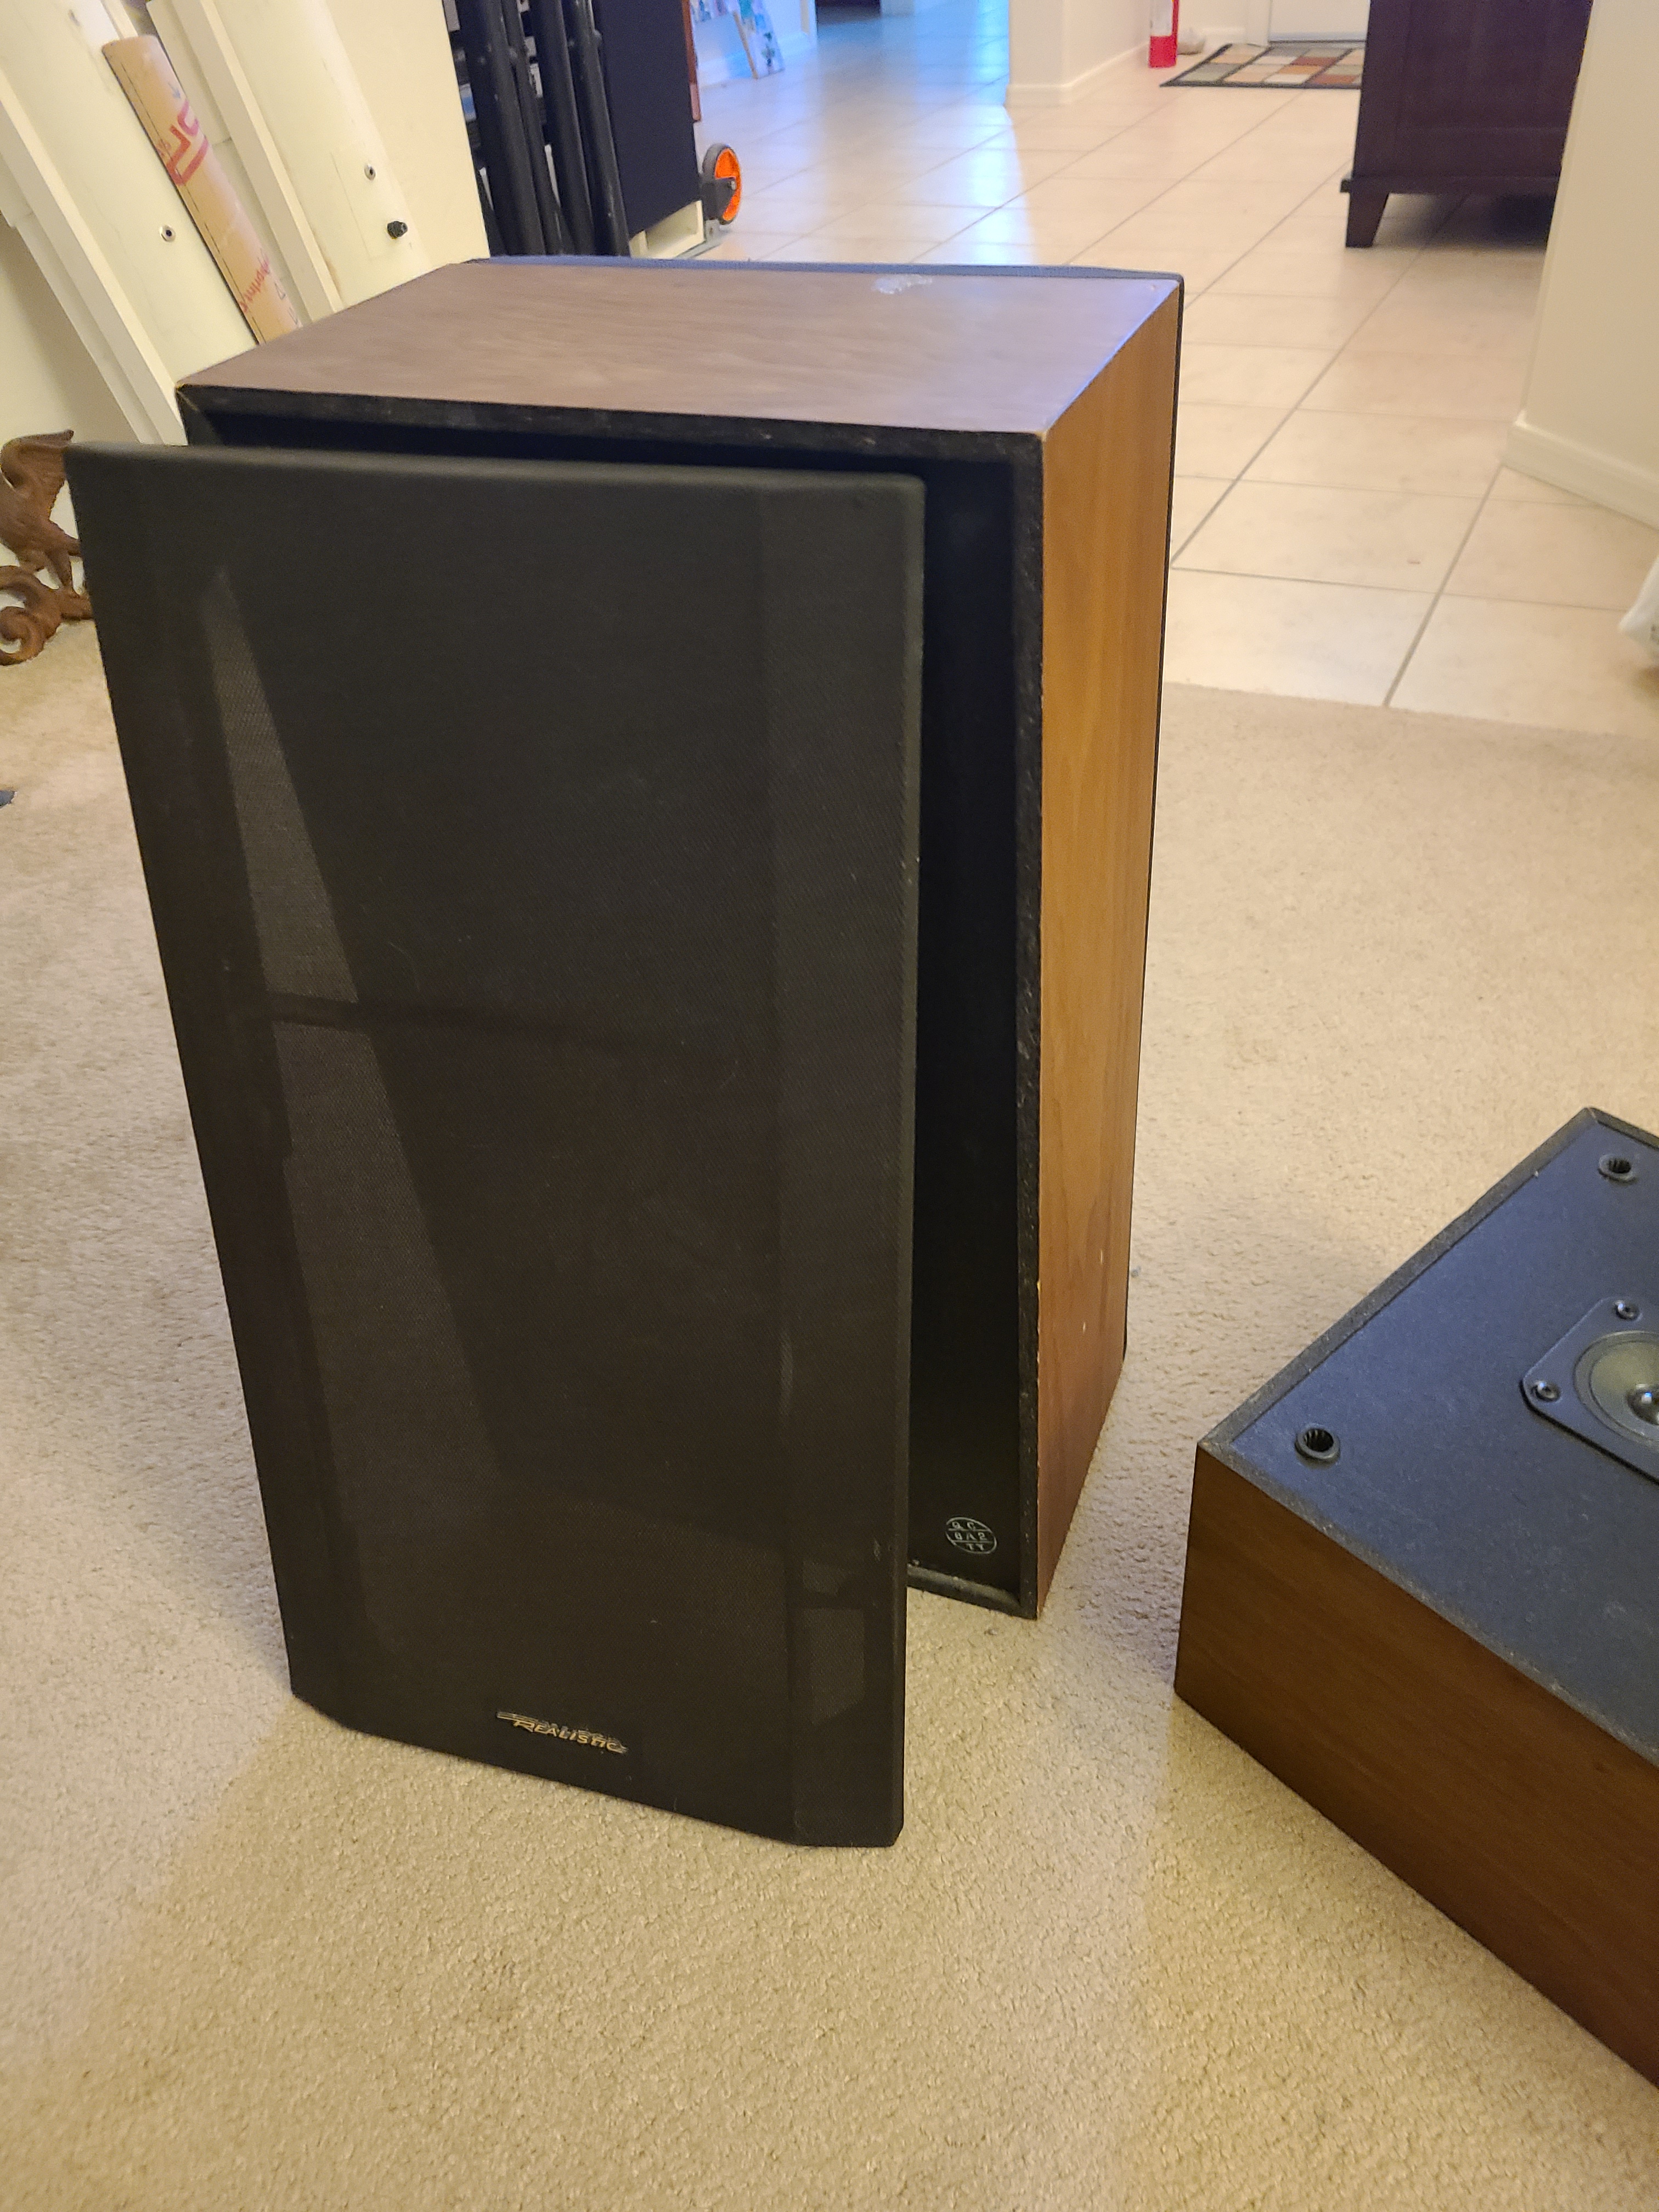
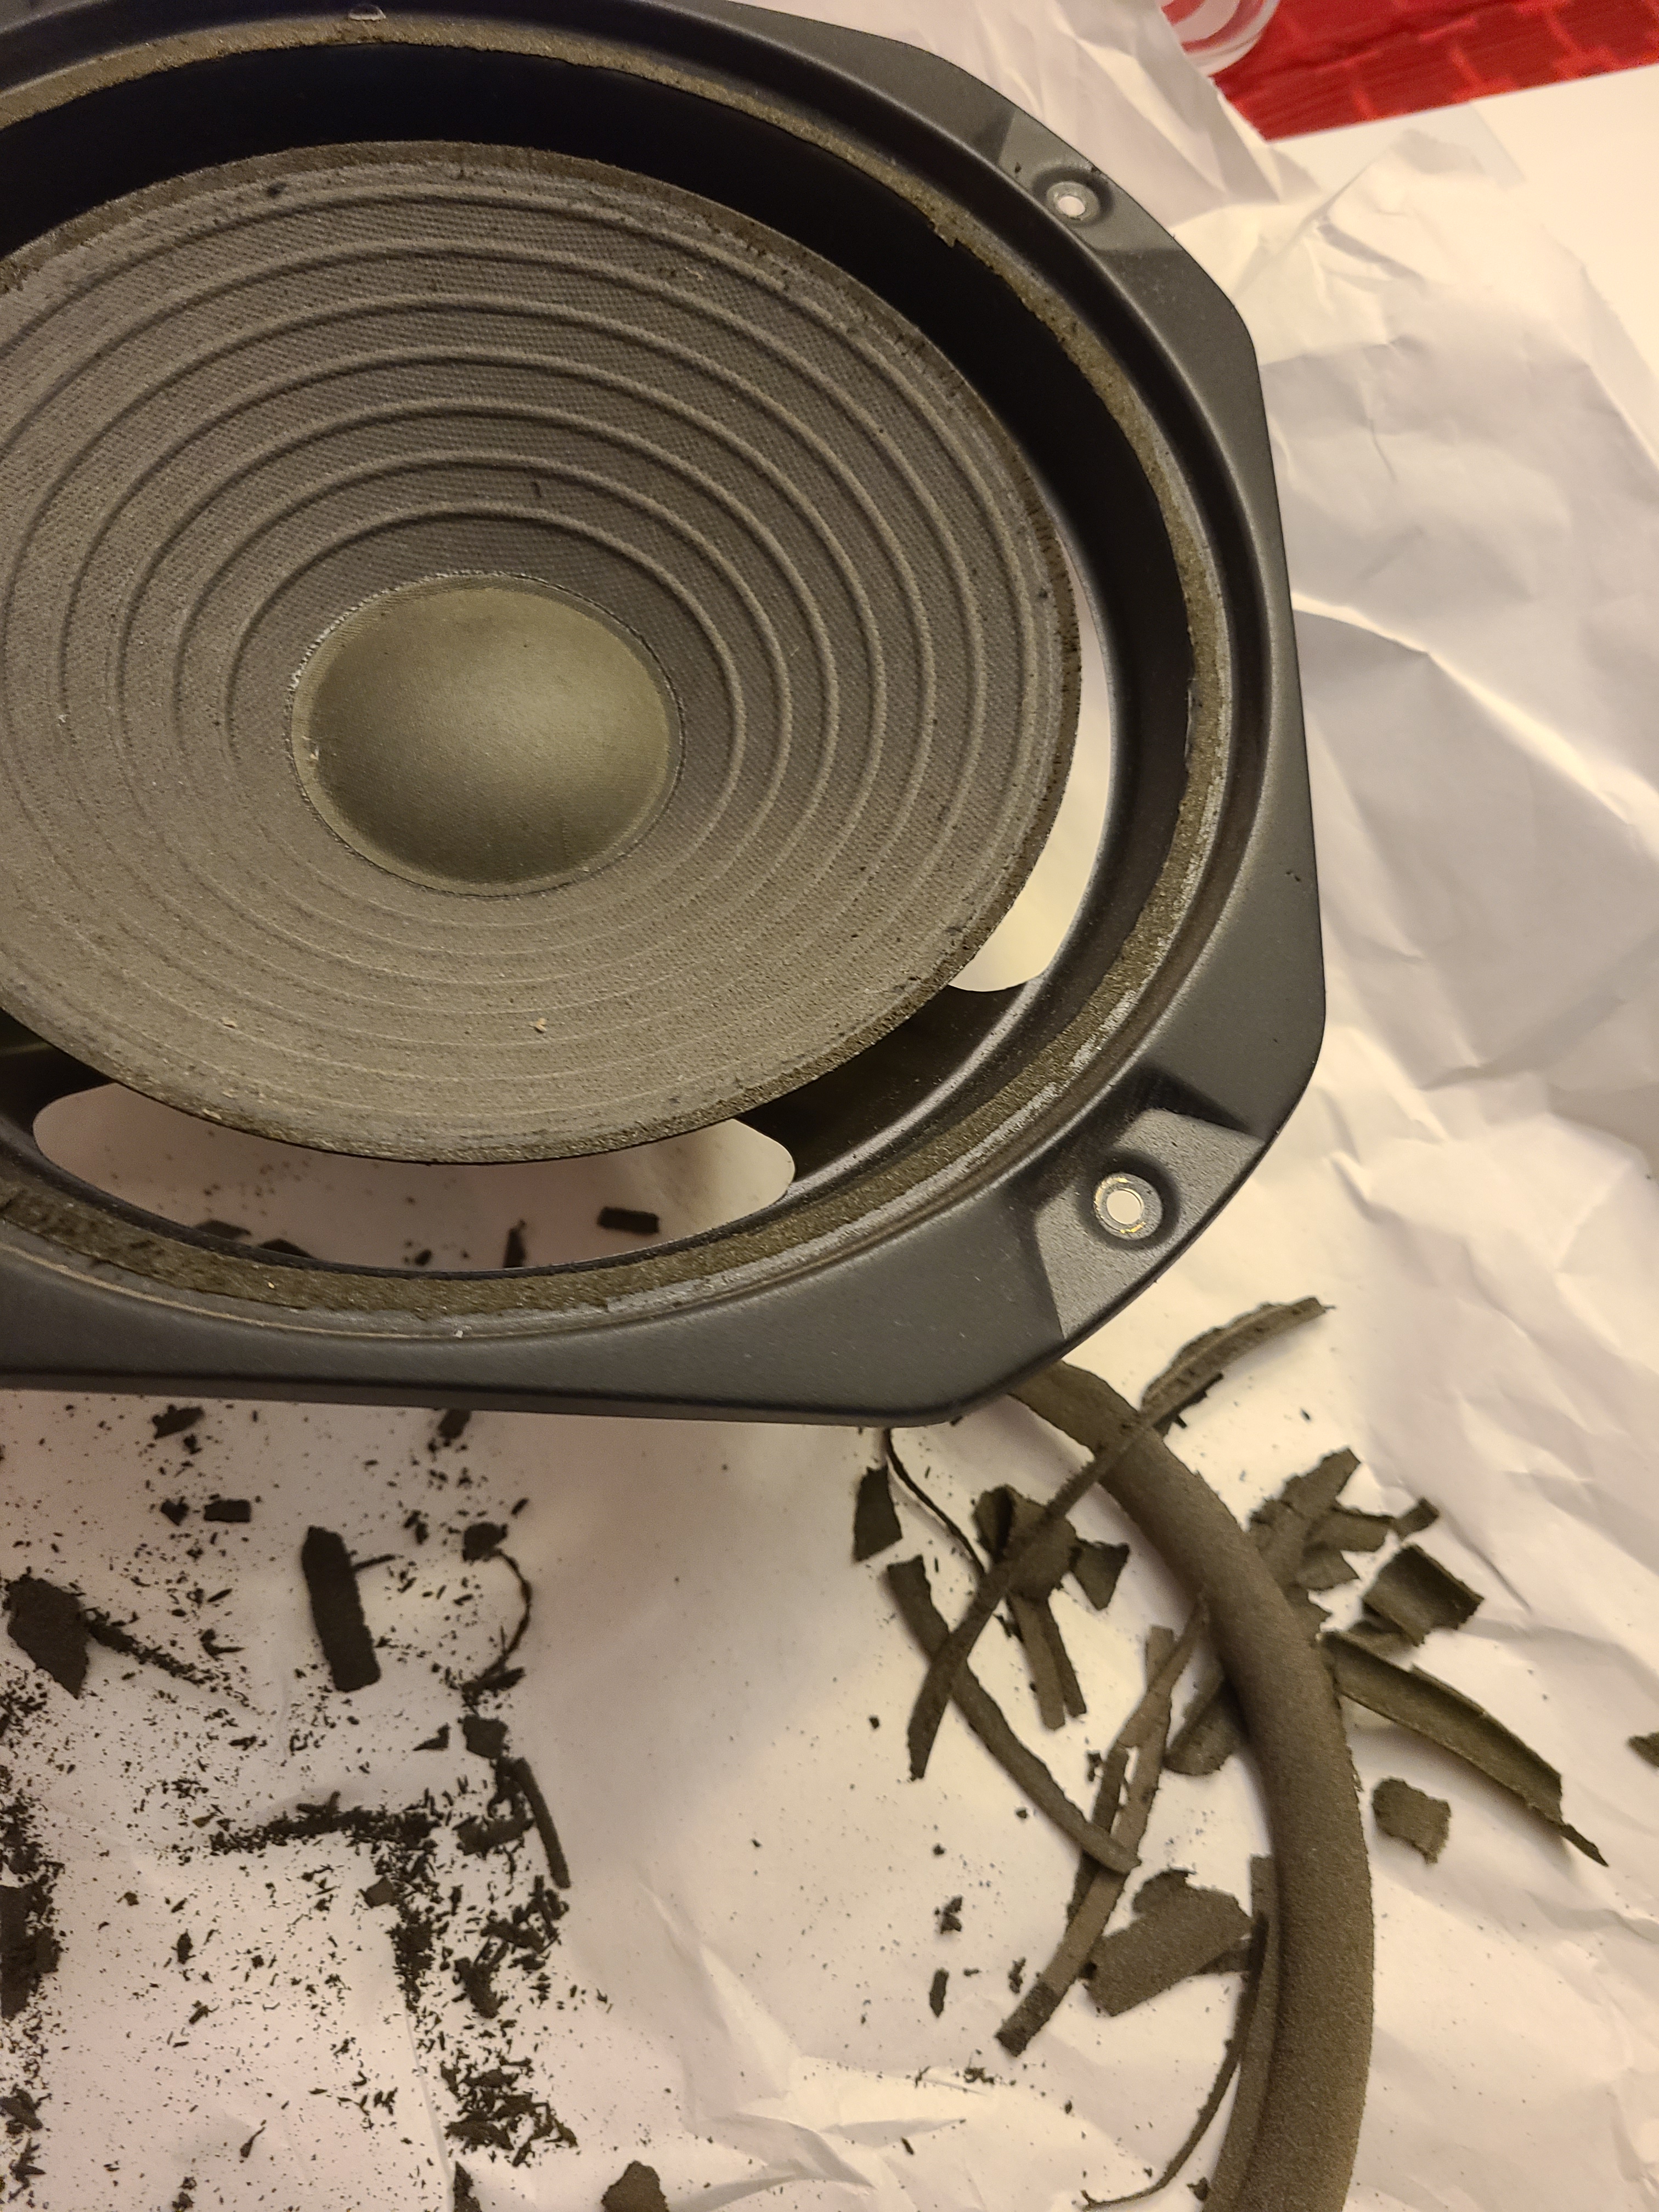
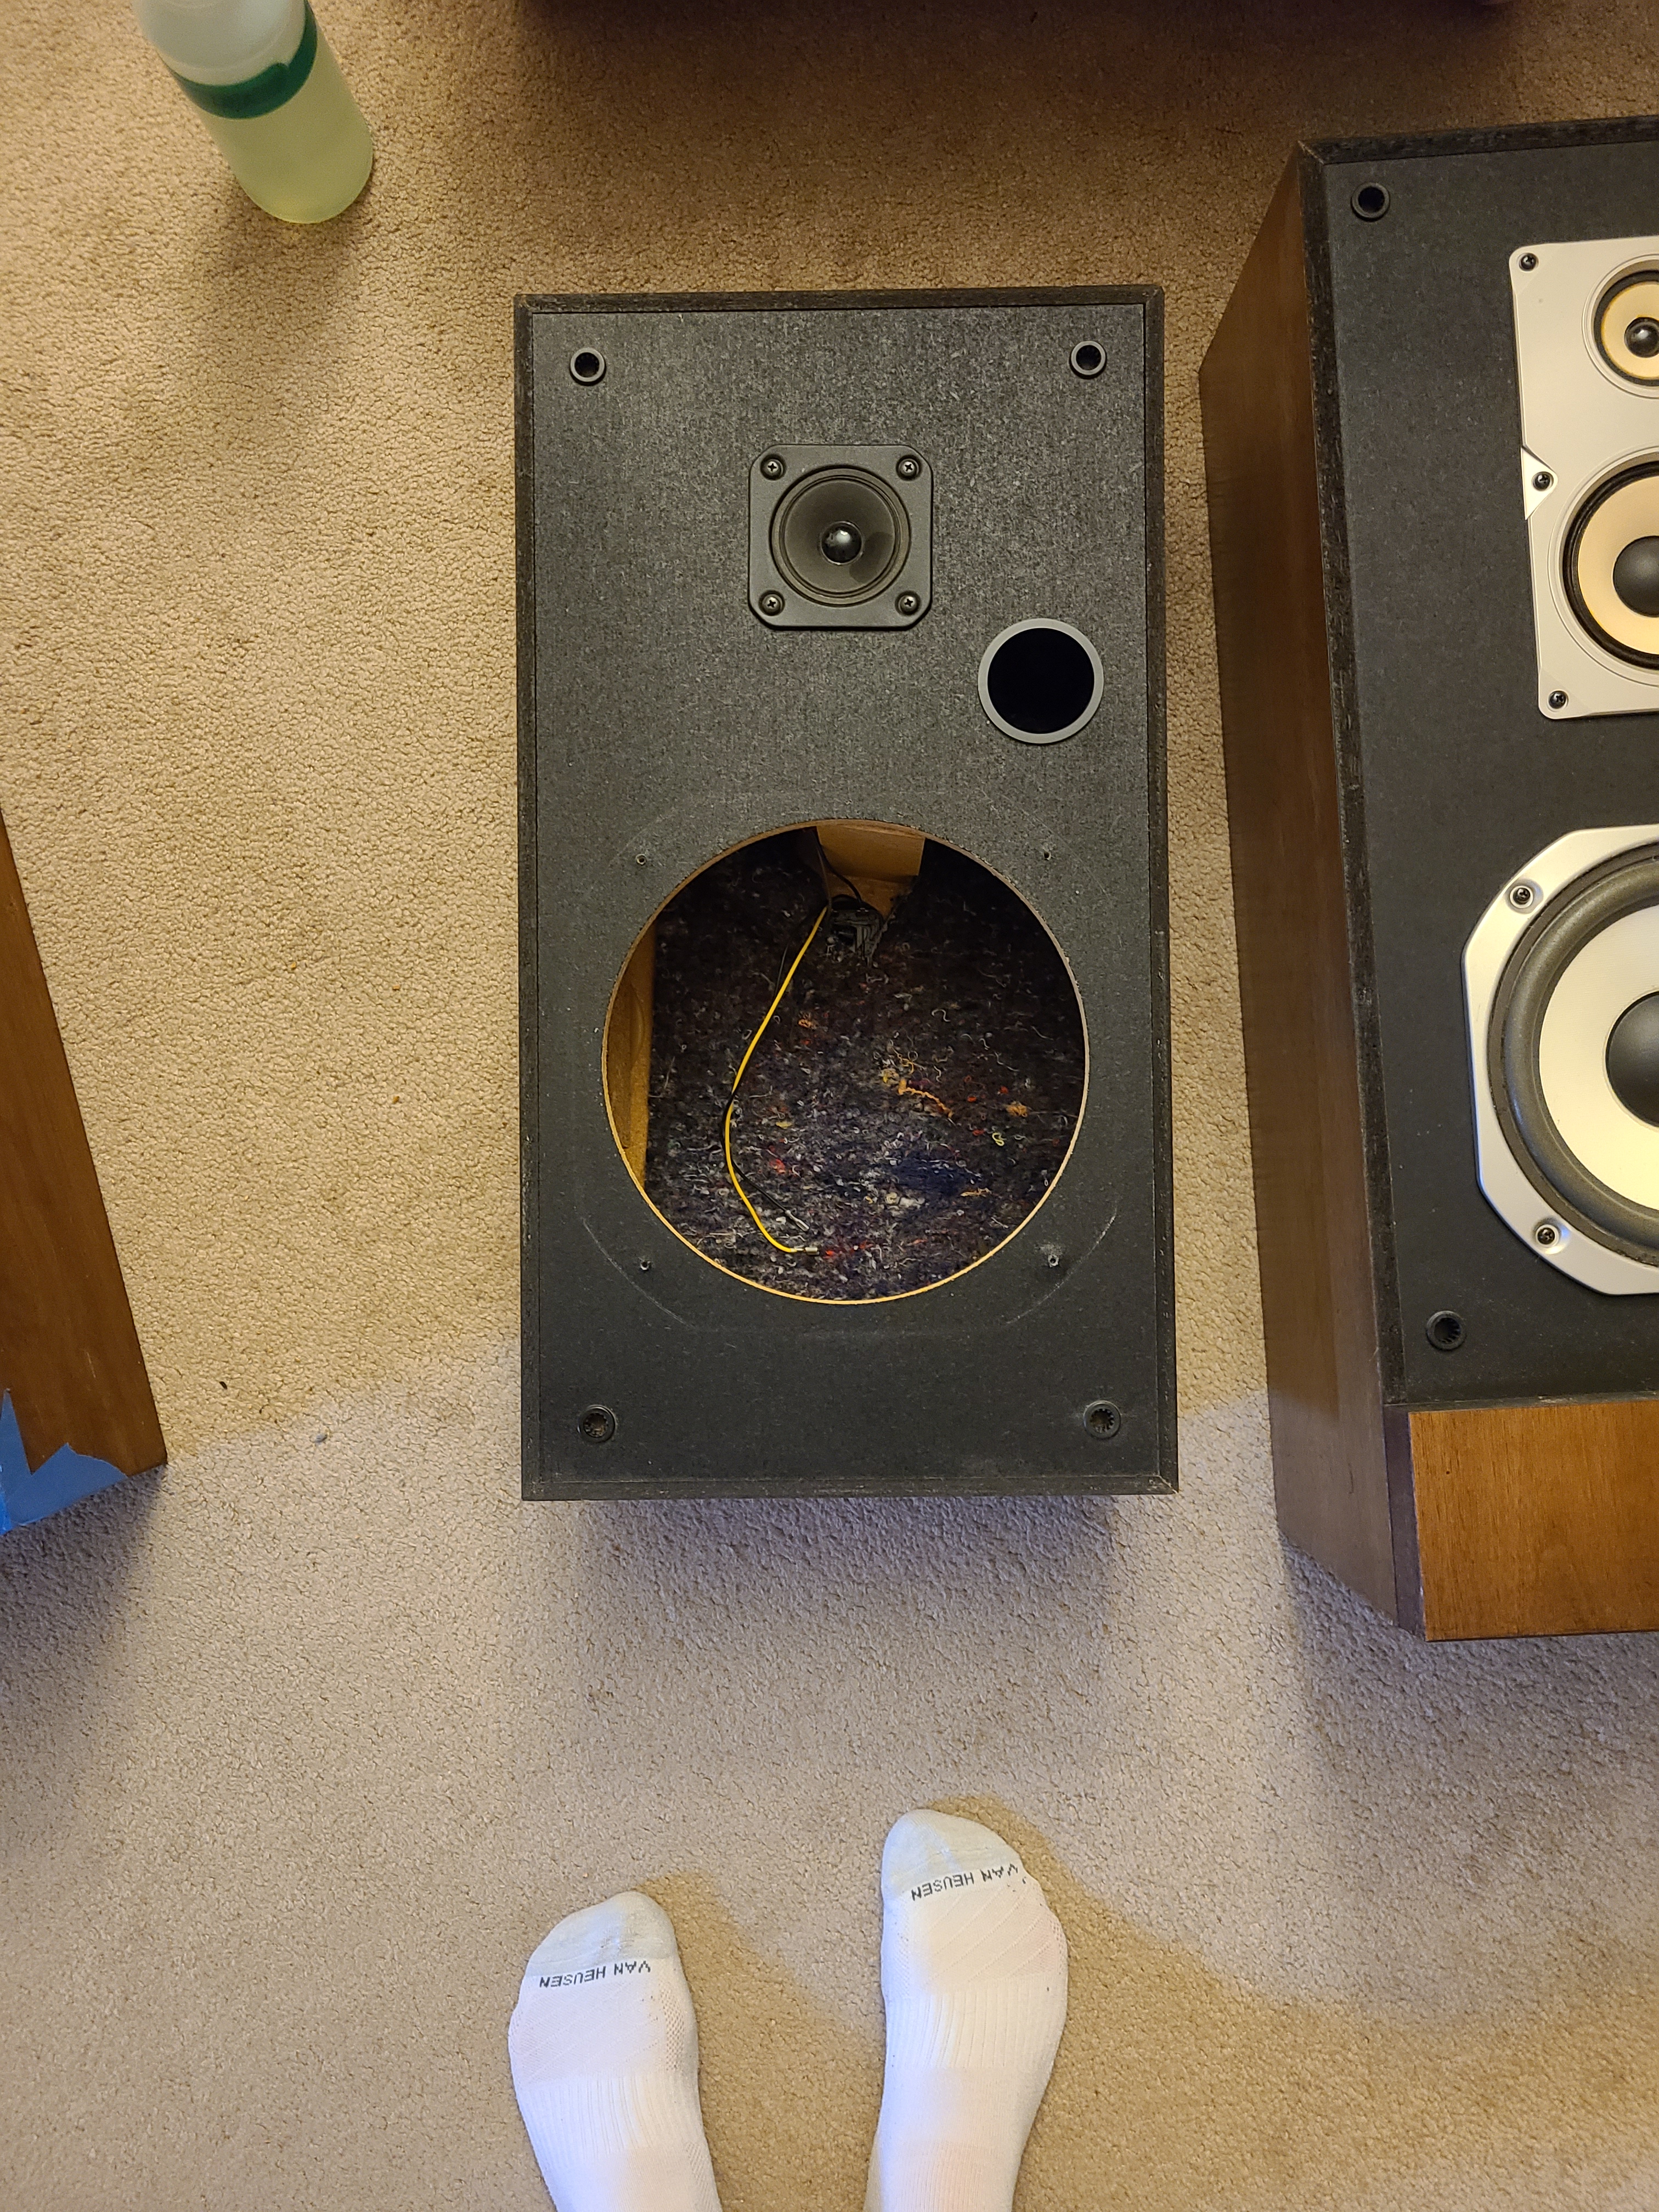
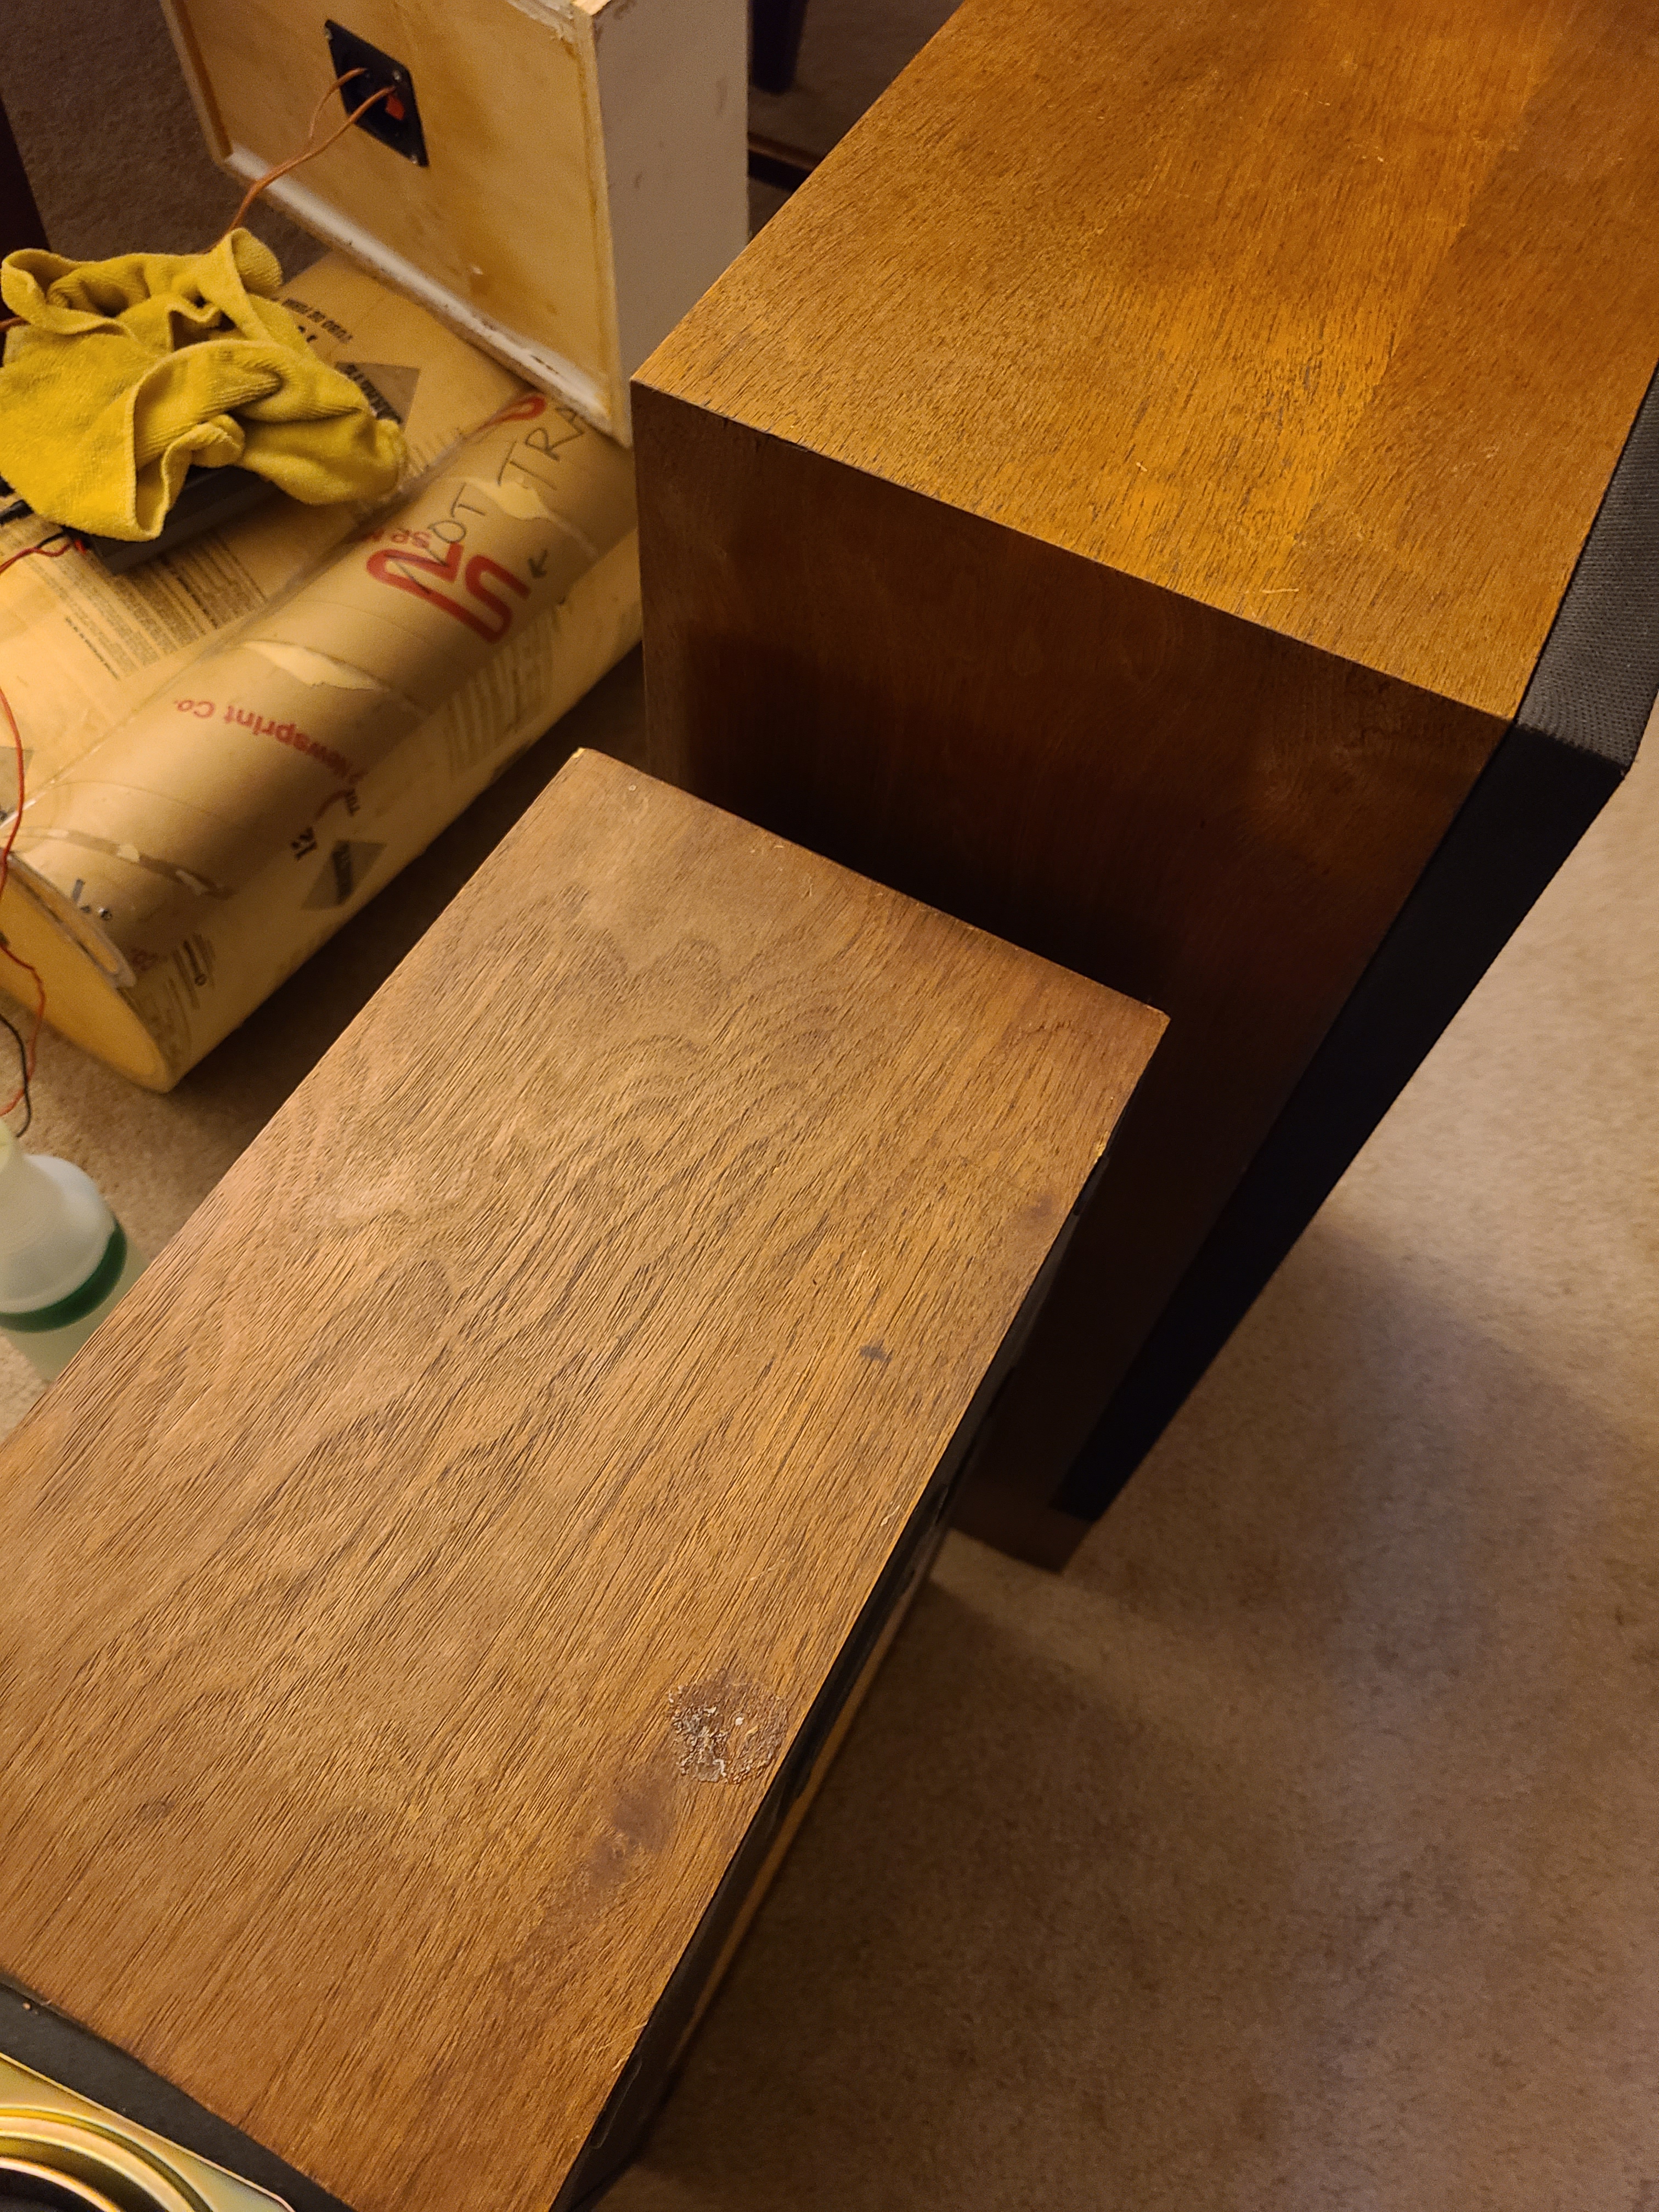
Davison’s workshop is a place where high-level technical precision meets the improvisational spirit of play. When he found a pair of 1993 Realistic Nova 18 speakers for just $10 at a “White Elephant” sale, he didn’t see junk; he saw a project worth three times that in materials. He spent $30 on new foam surrounds, valuing the restoration process over the market price of the object itself.
To ensure the speakers performed at their peak, he used a Tektronix CFG250 frequency generator to run a 45 Hz signal through the woofer. This technique allows the creator to “center” the voice coil perfectly while the glue sets—an essential step for vintage drivers that lack a “spider” to guide the coil. It is precision without a safety net, a technical discipline that makes the final sound more dynamic and “lively.”
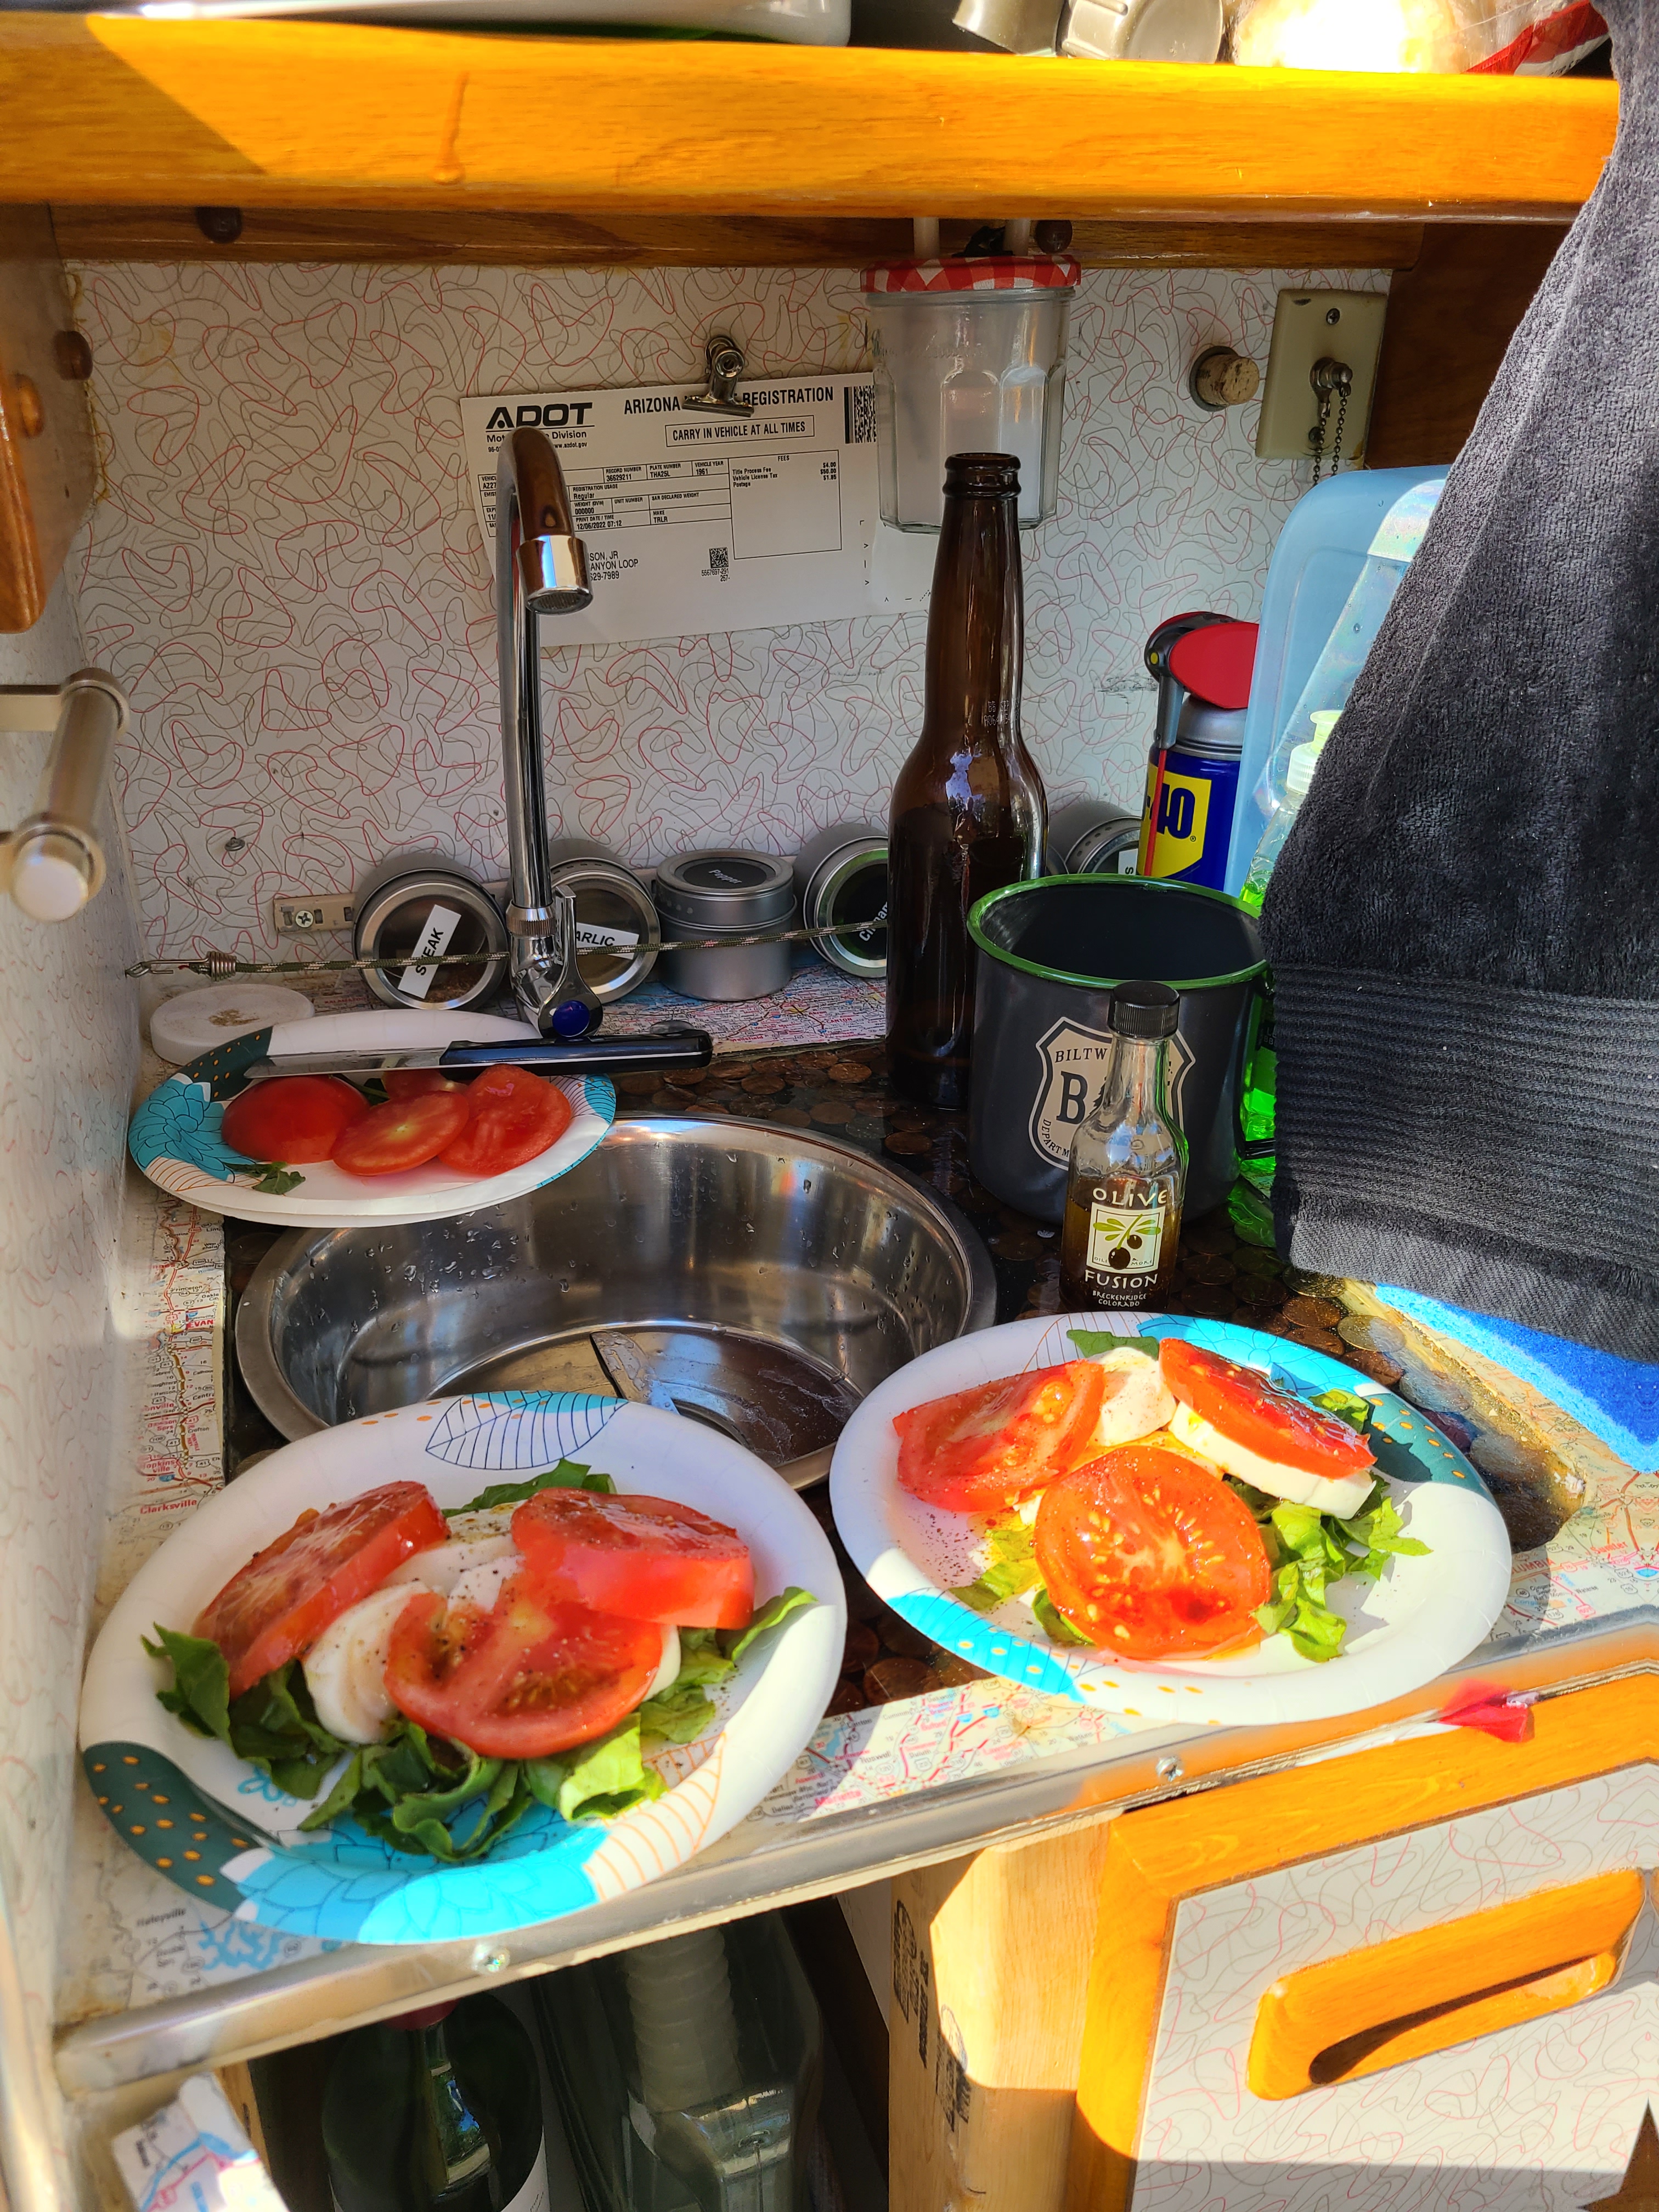
5. The Art of the Upcycle: Turning Dog Bowls into Sinks
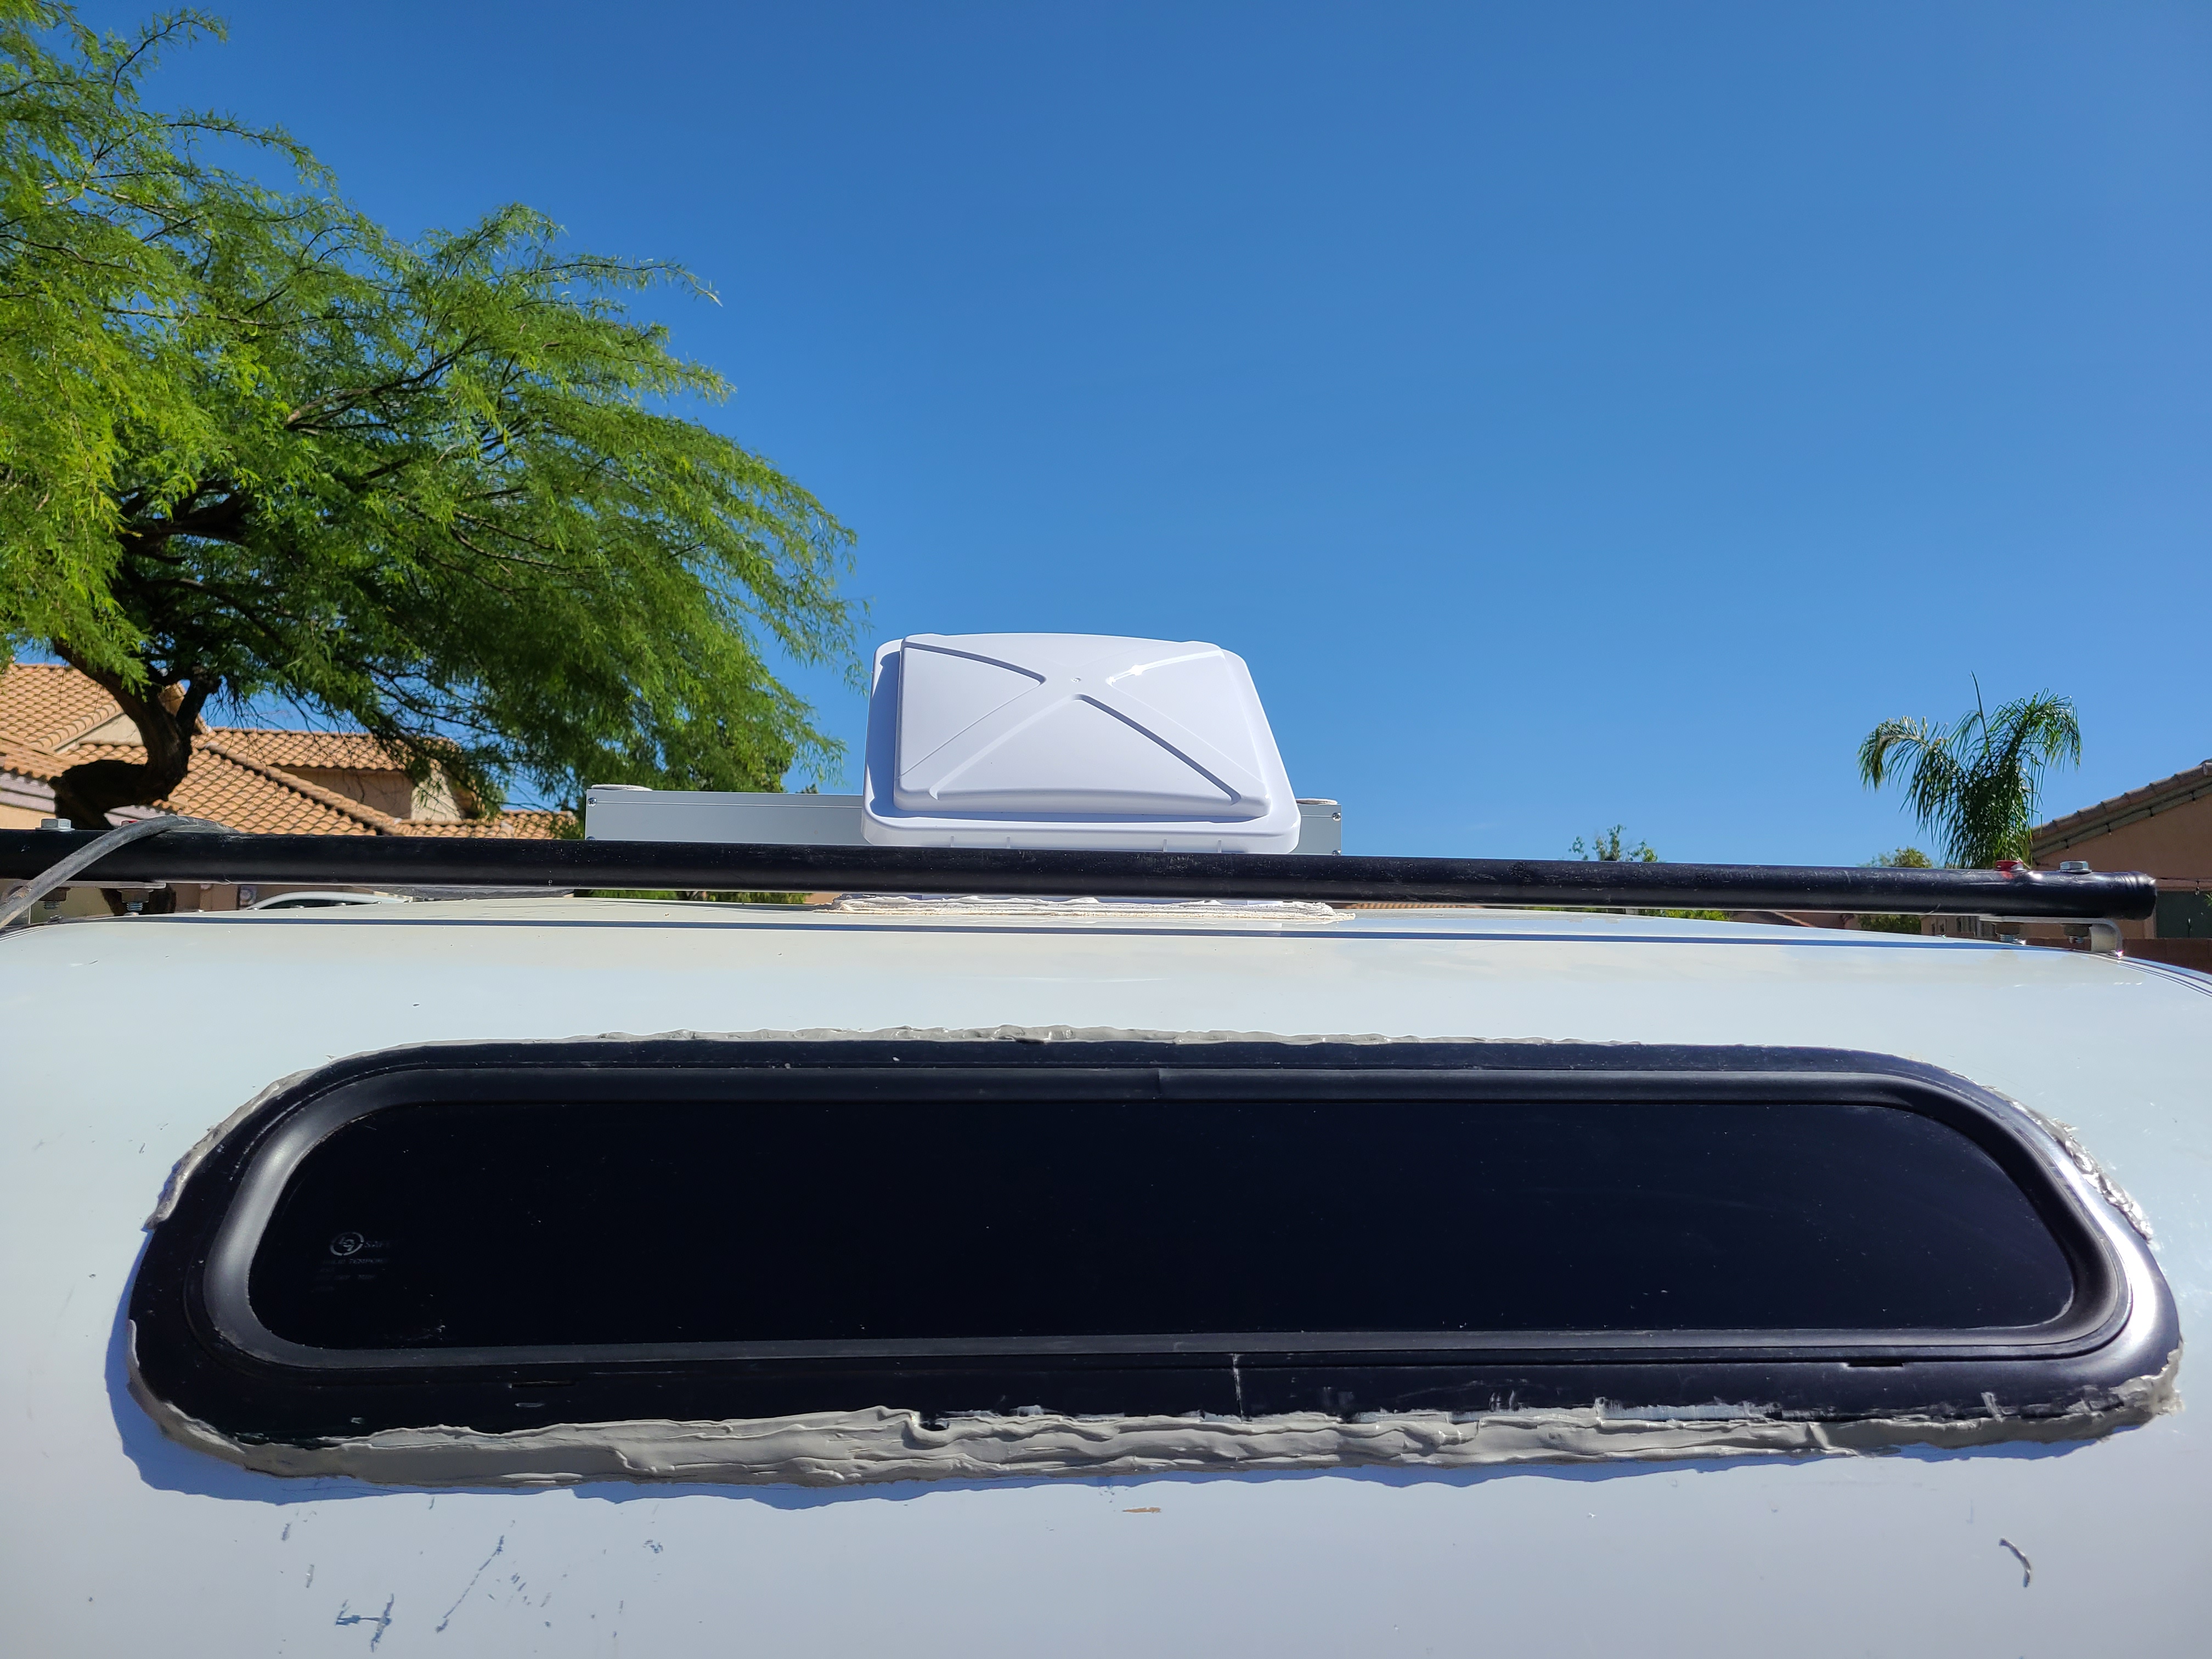
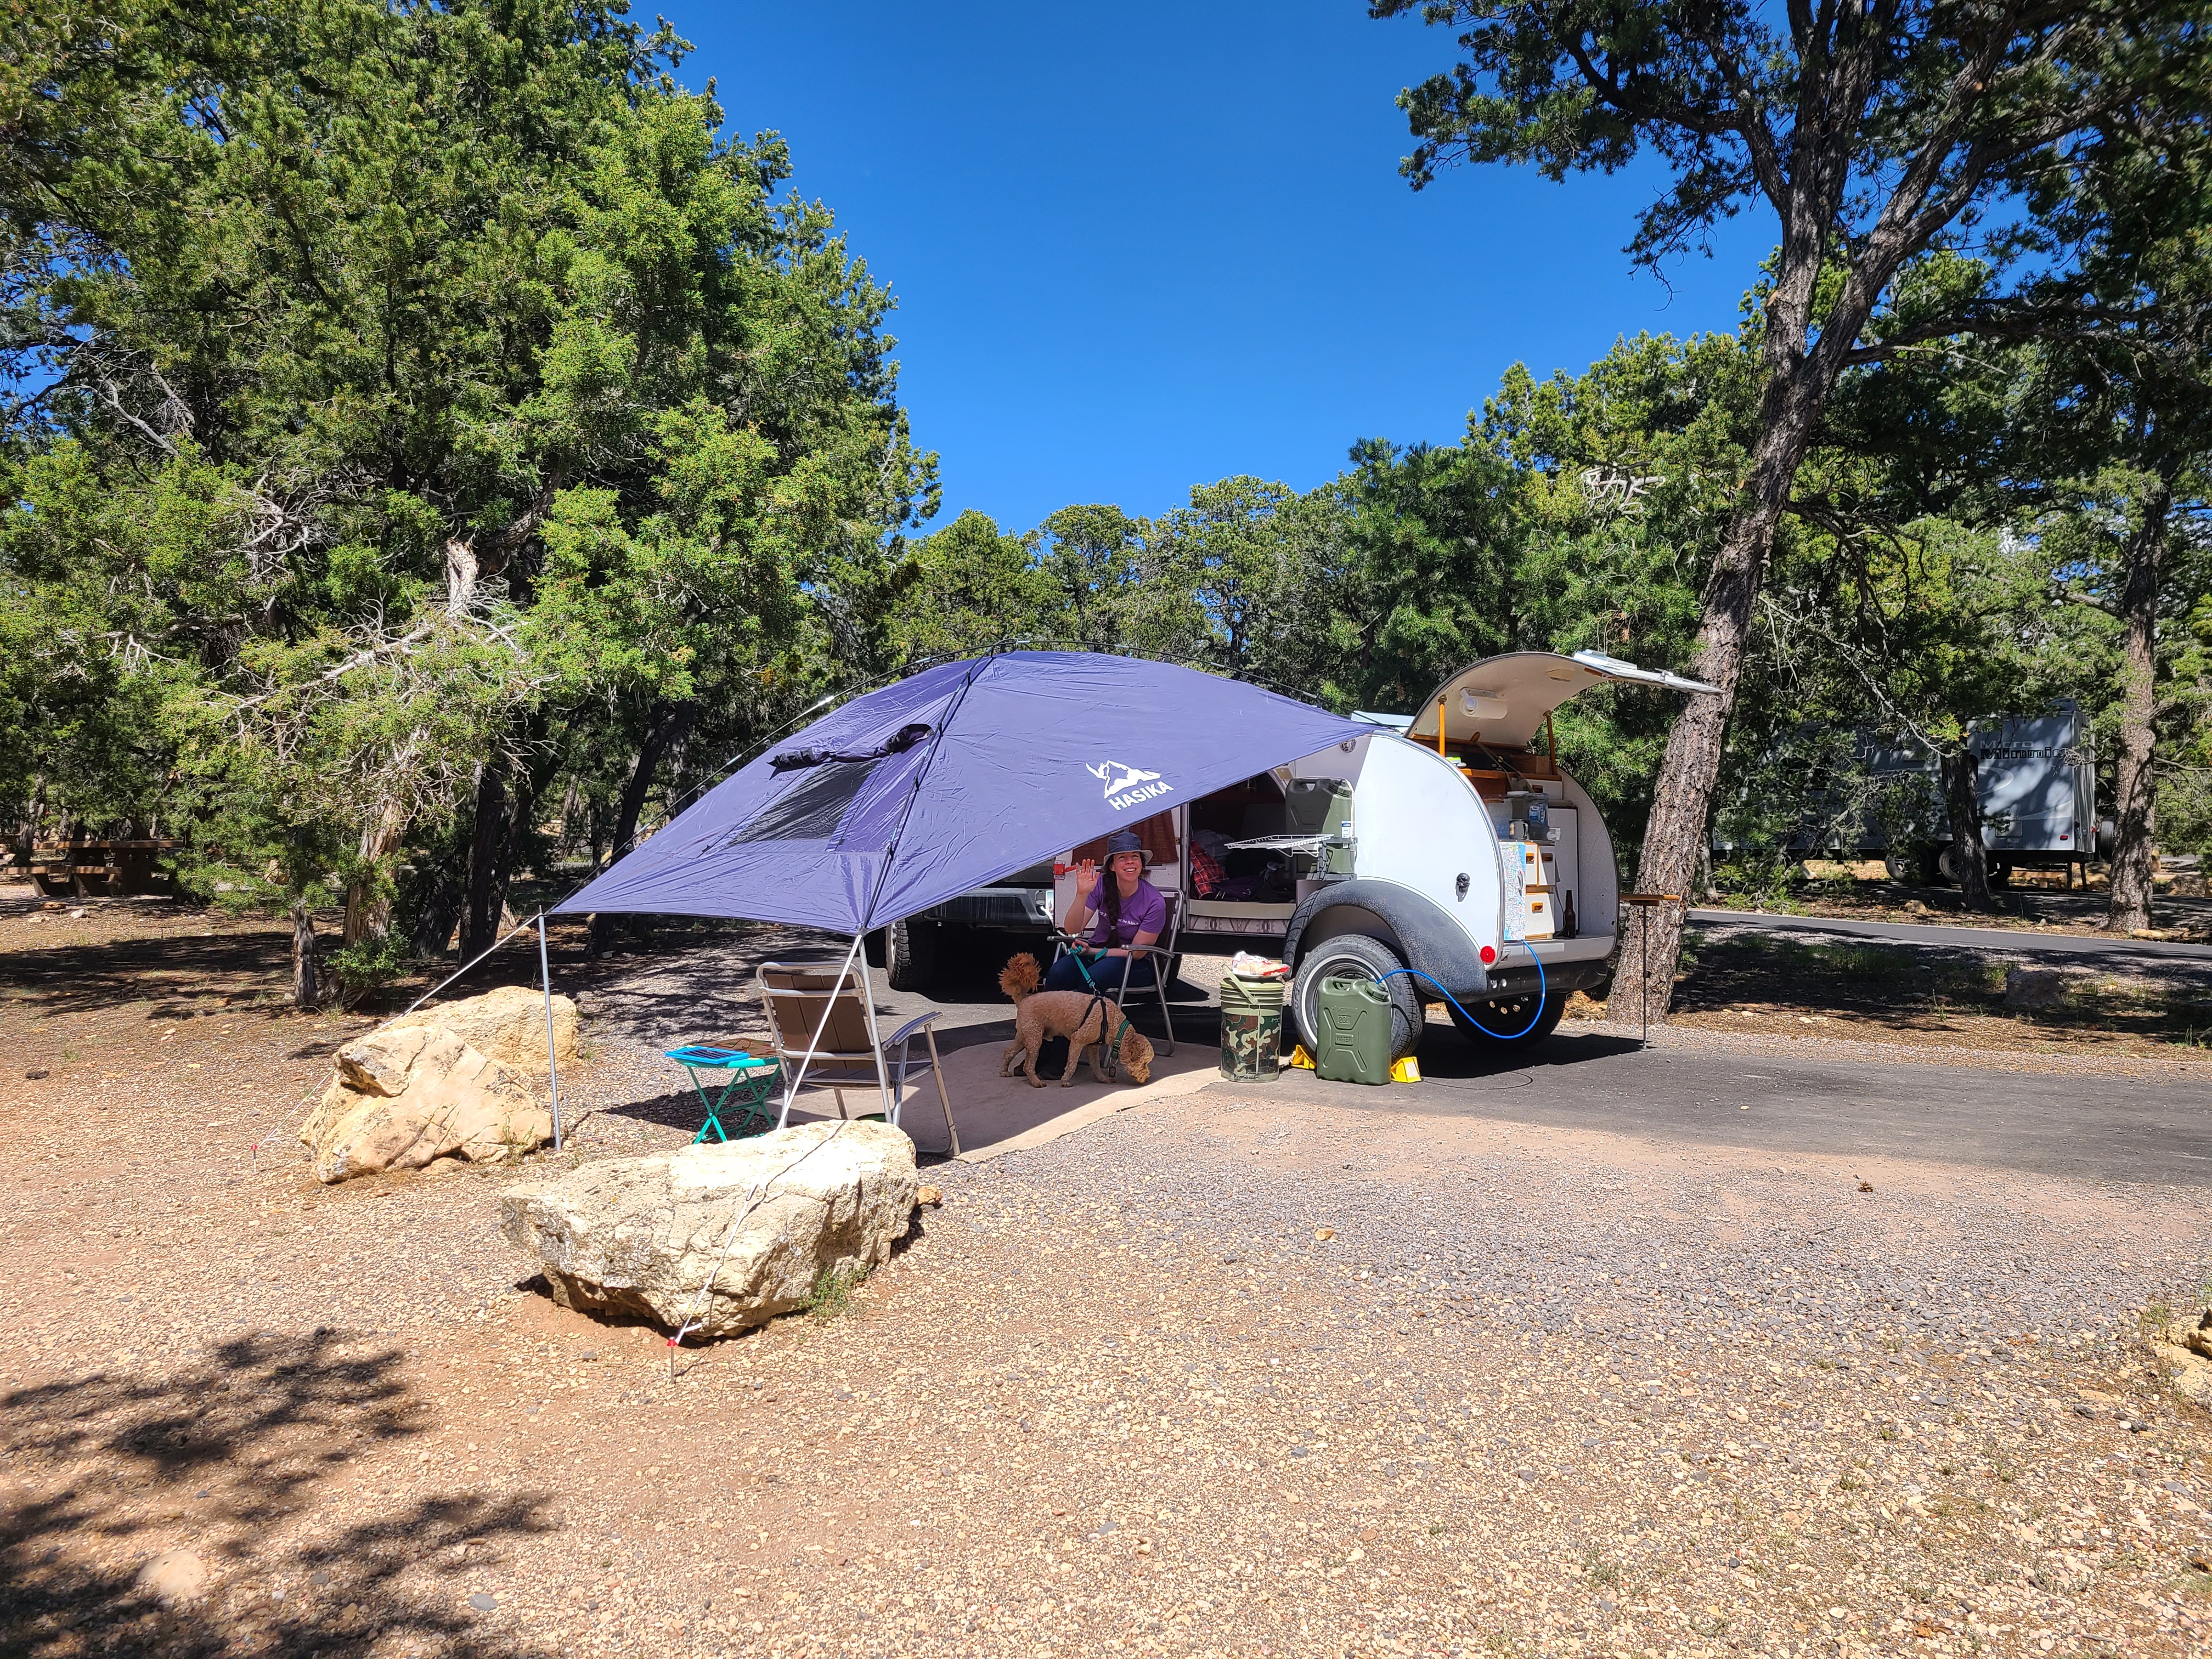
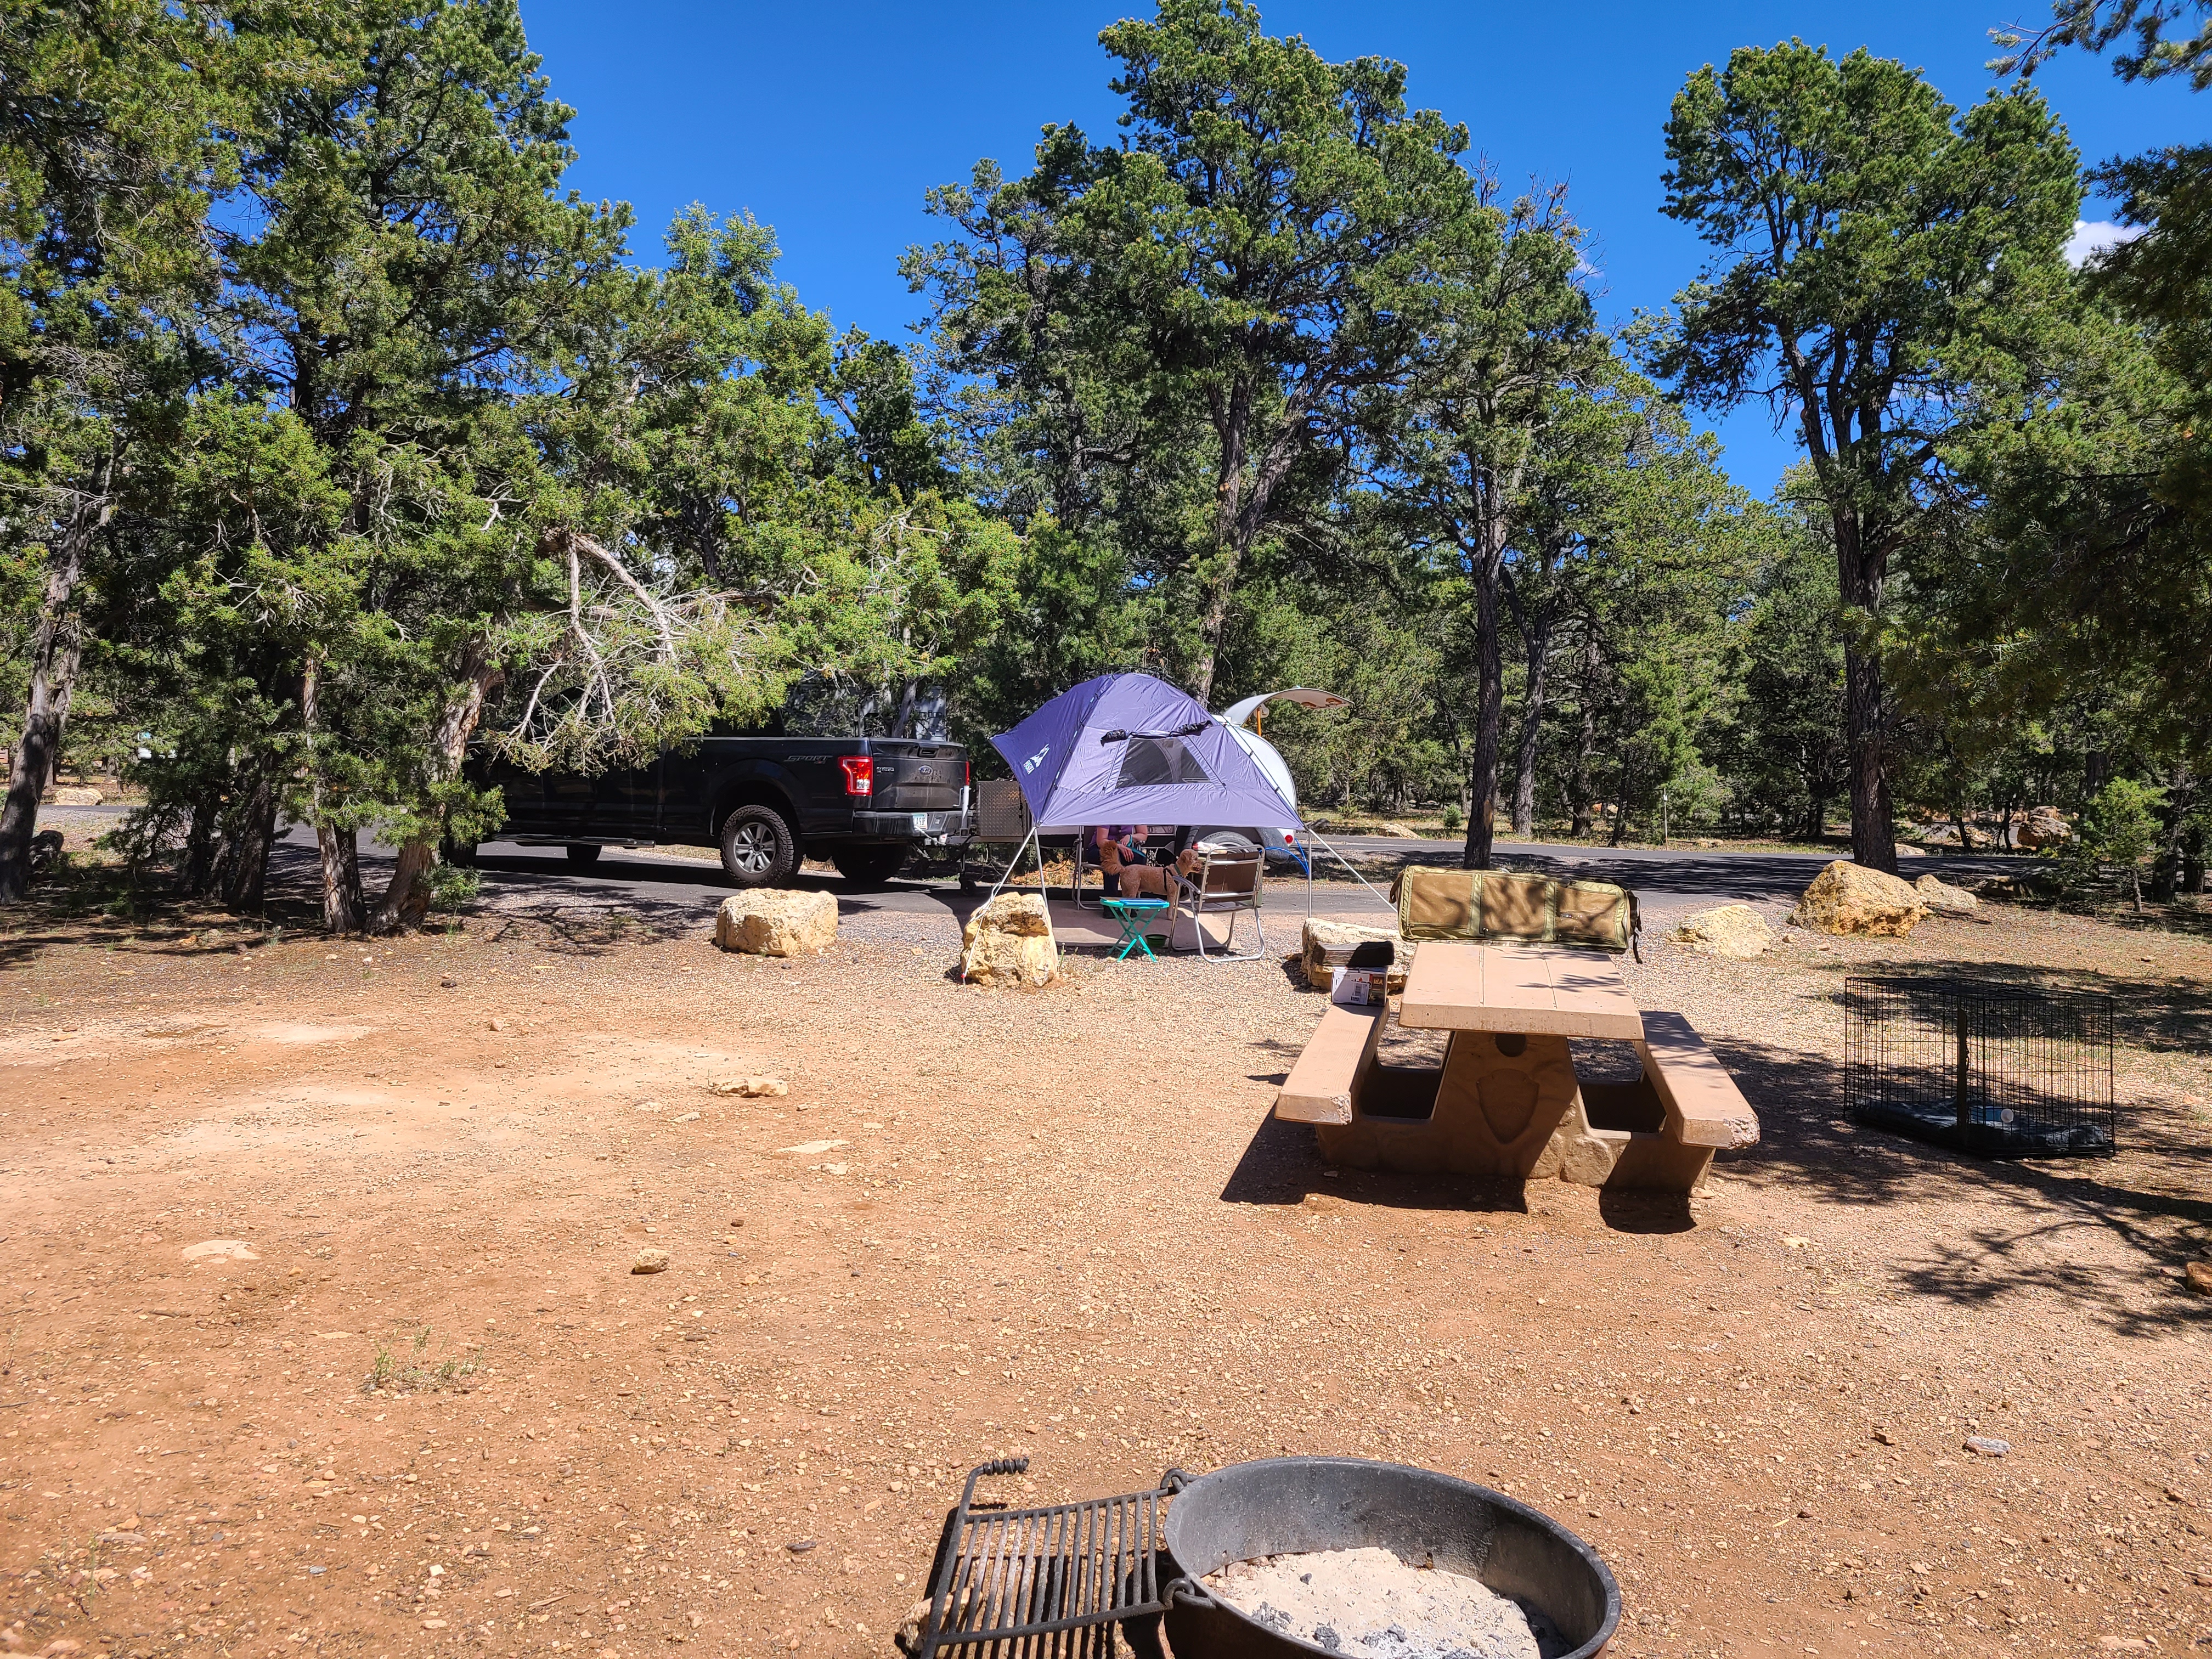
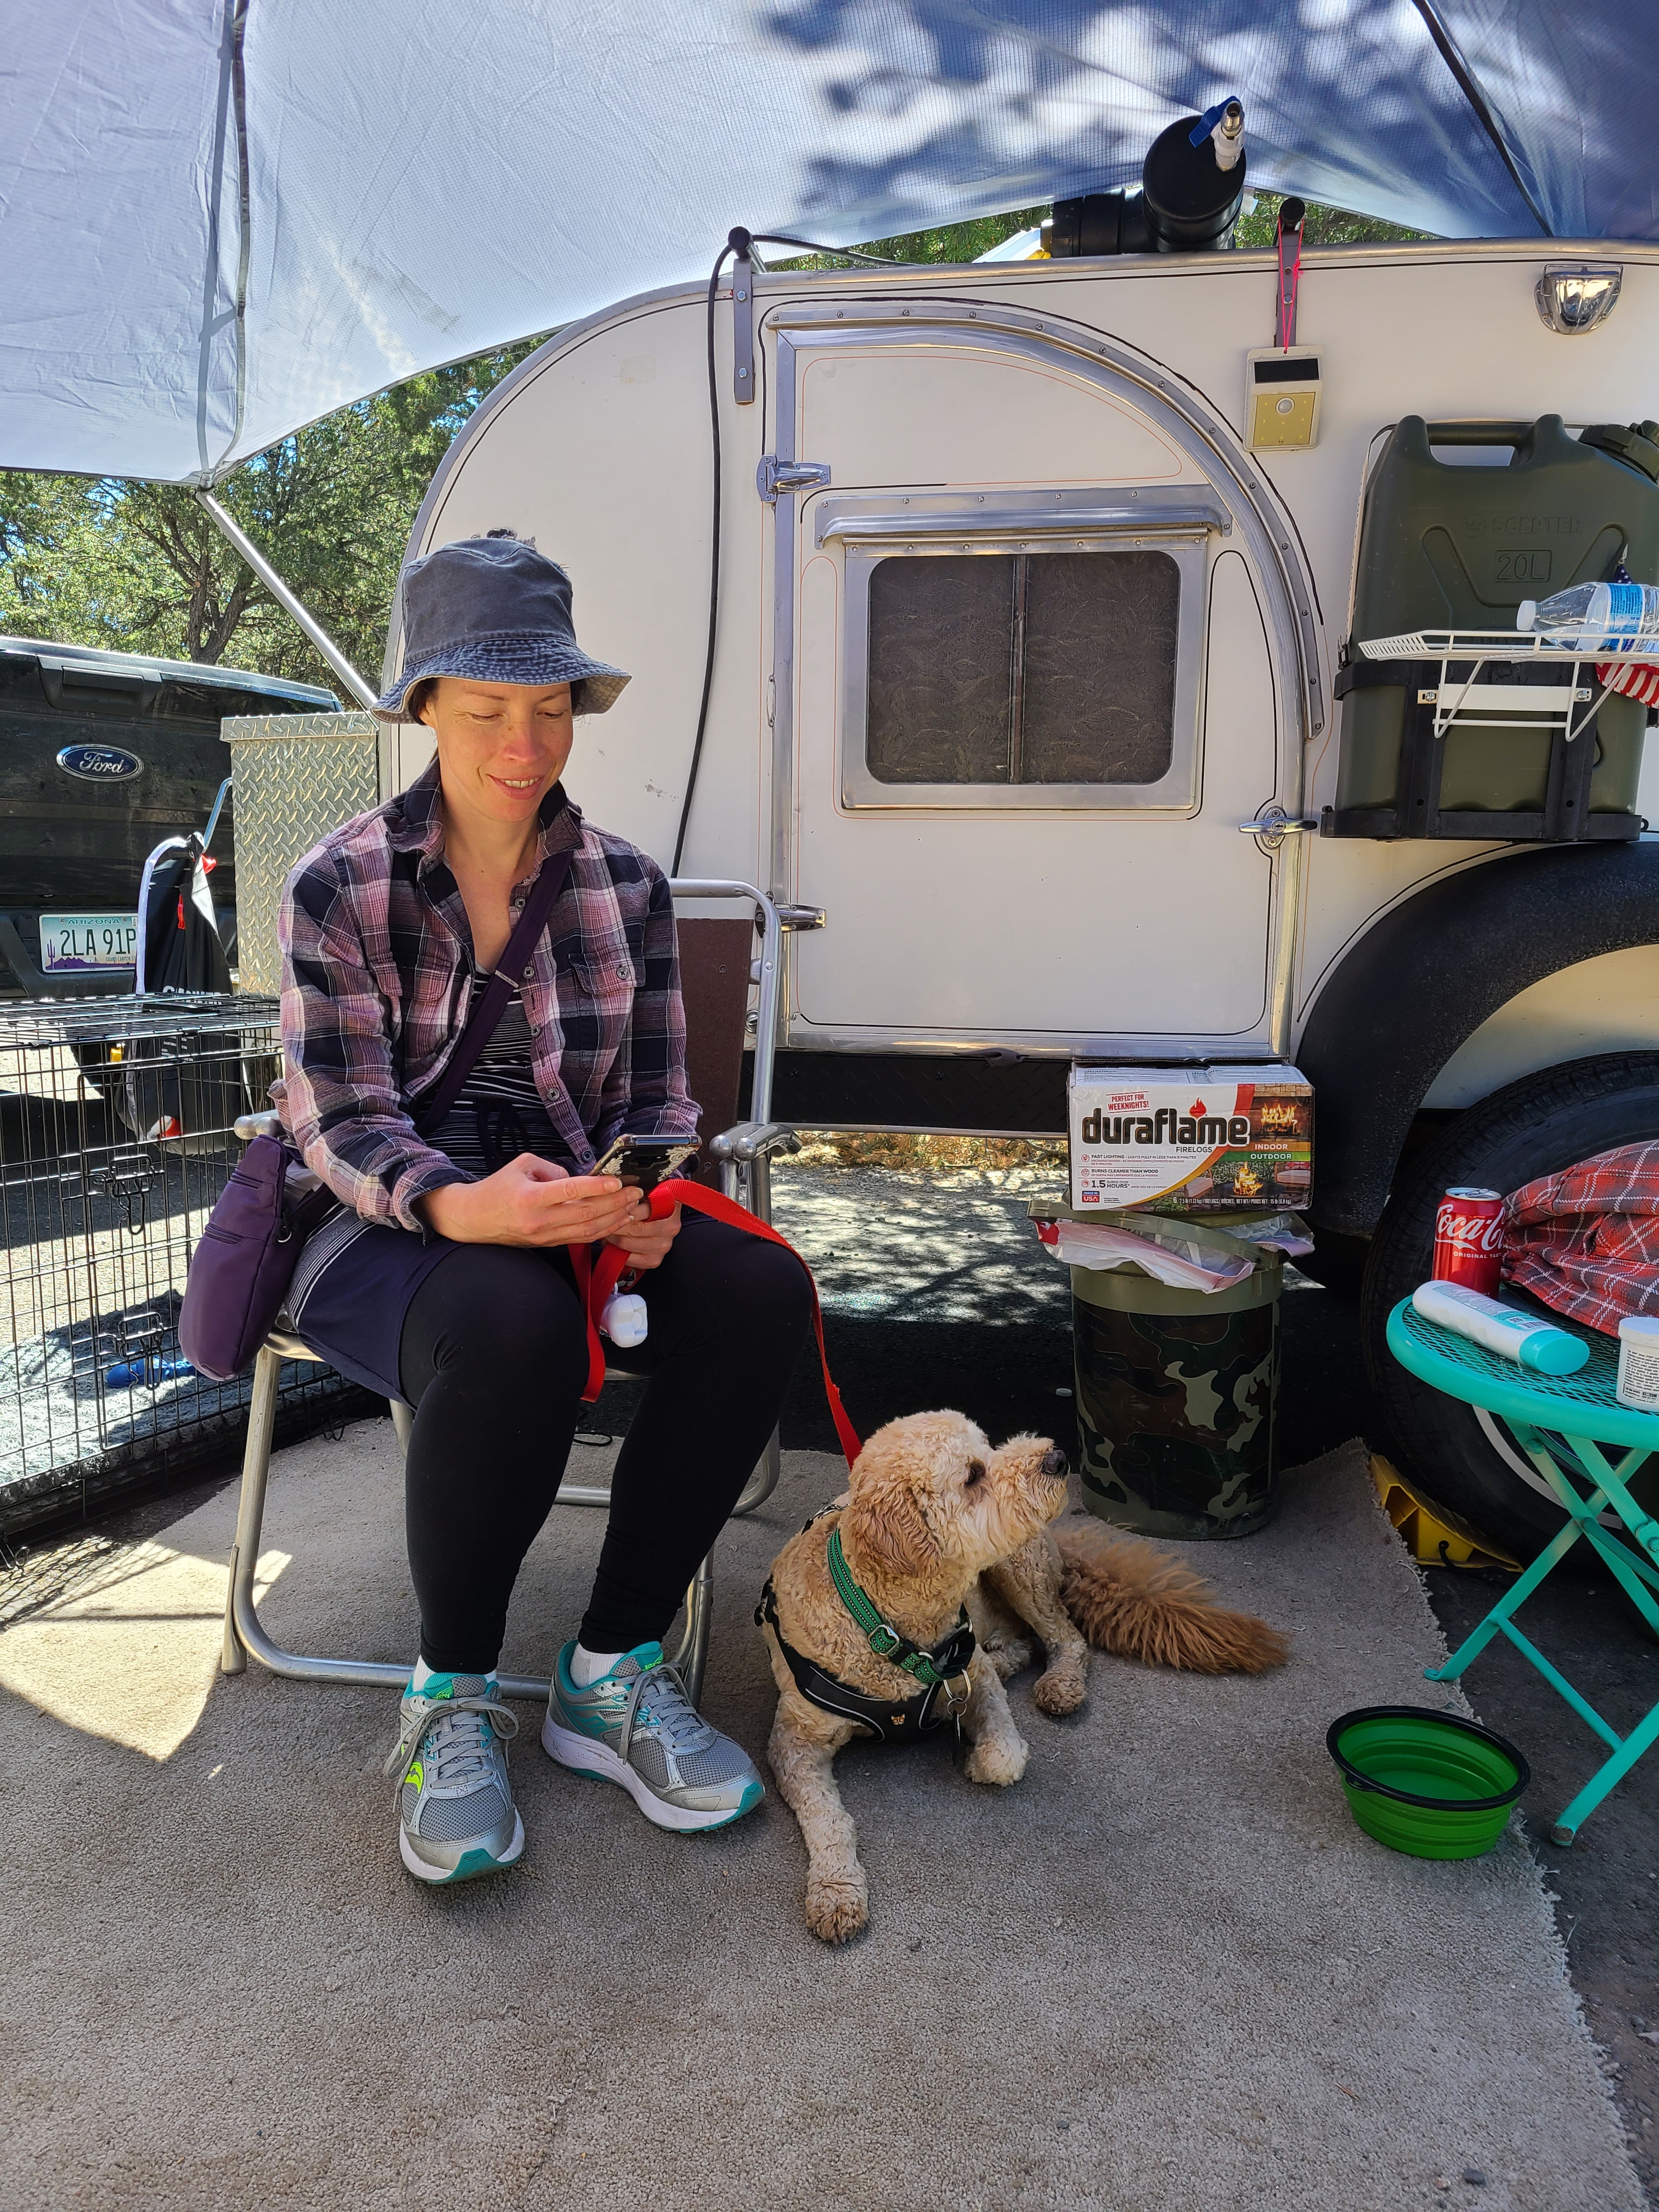
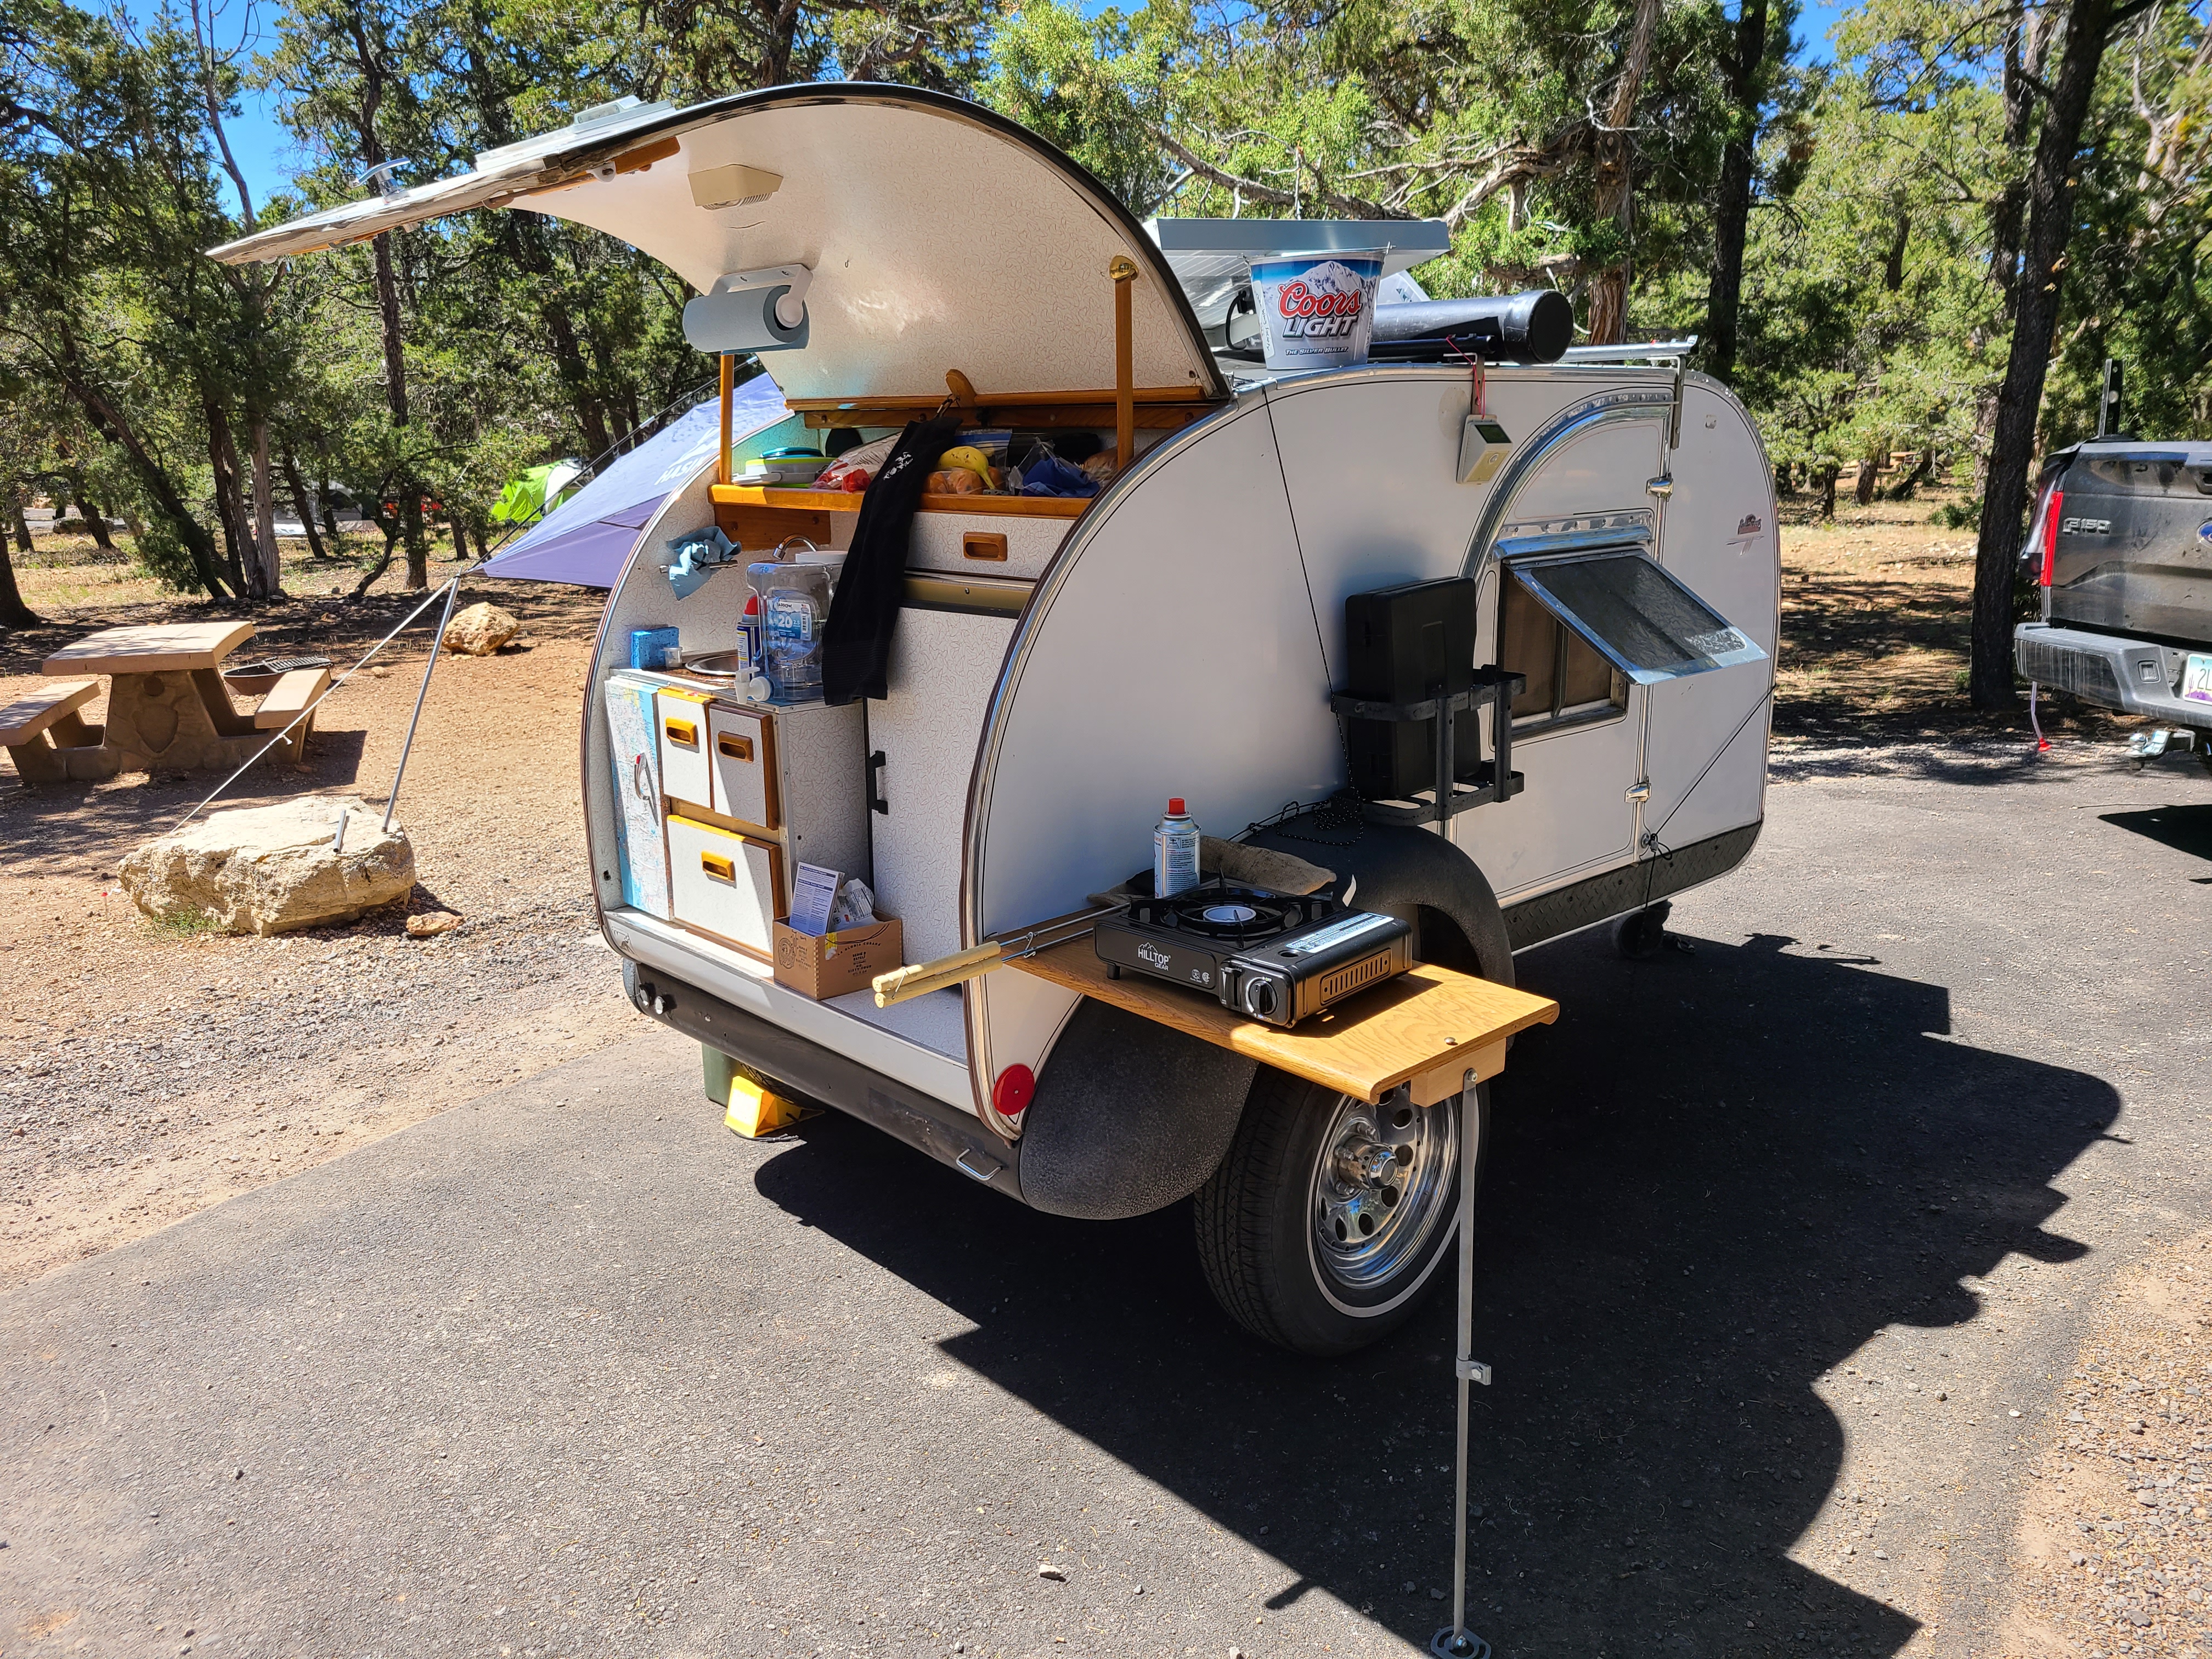
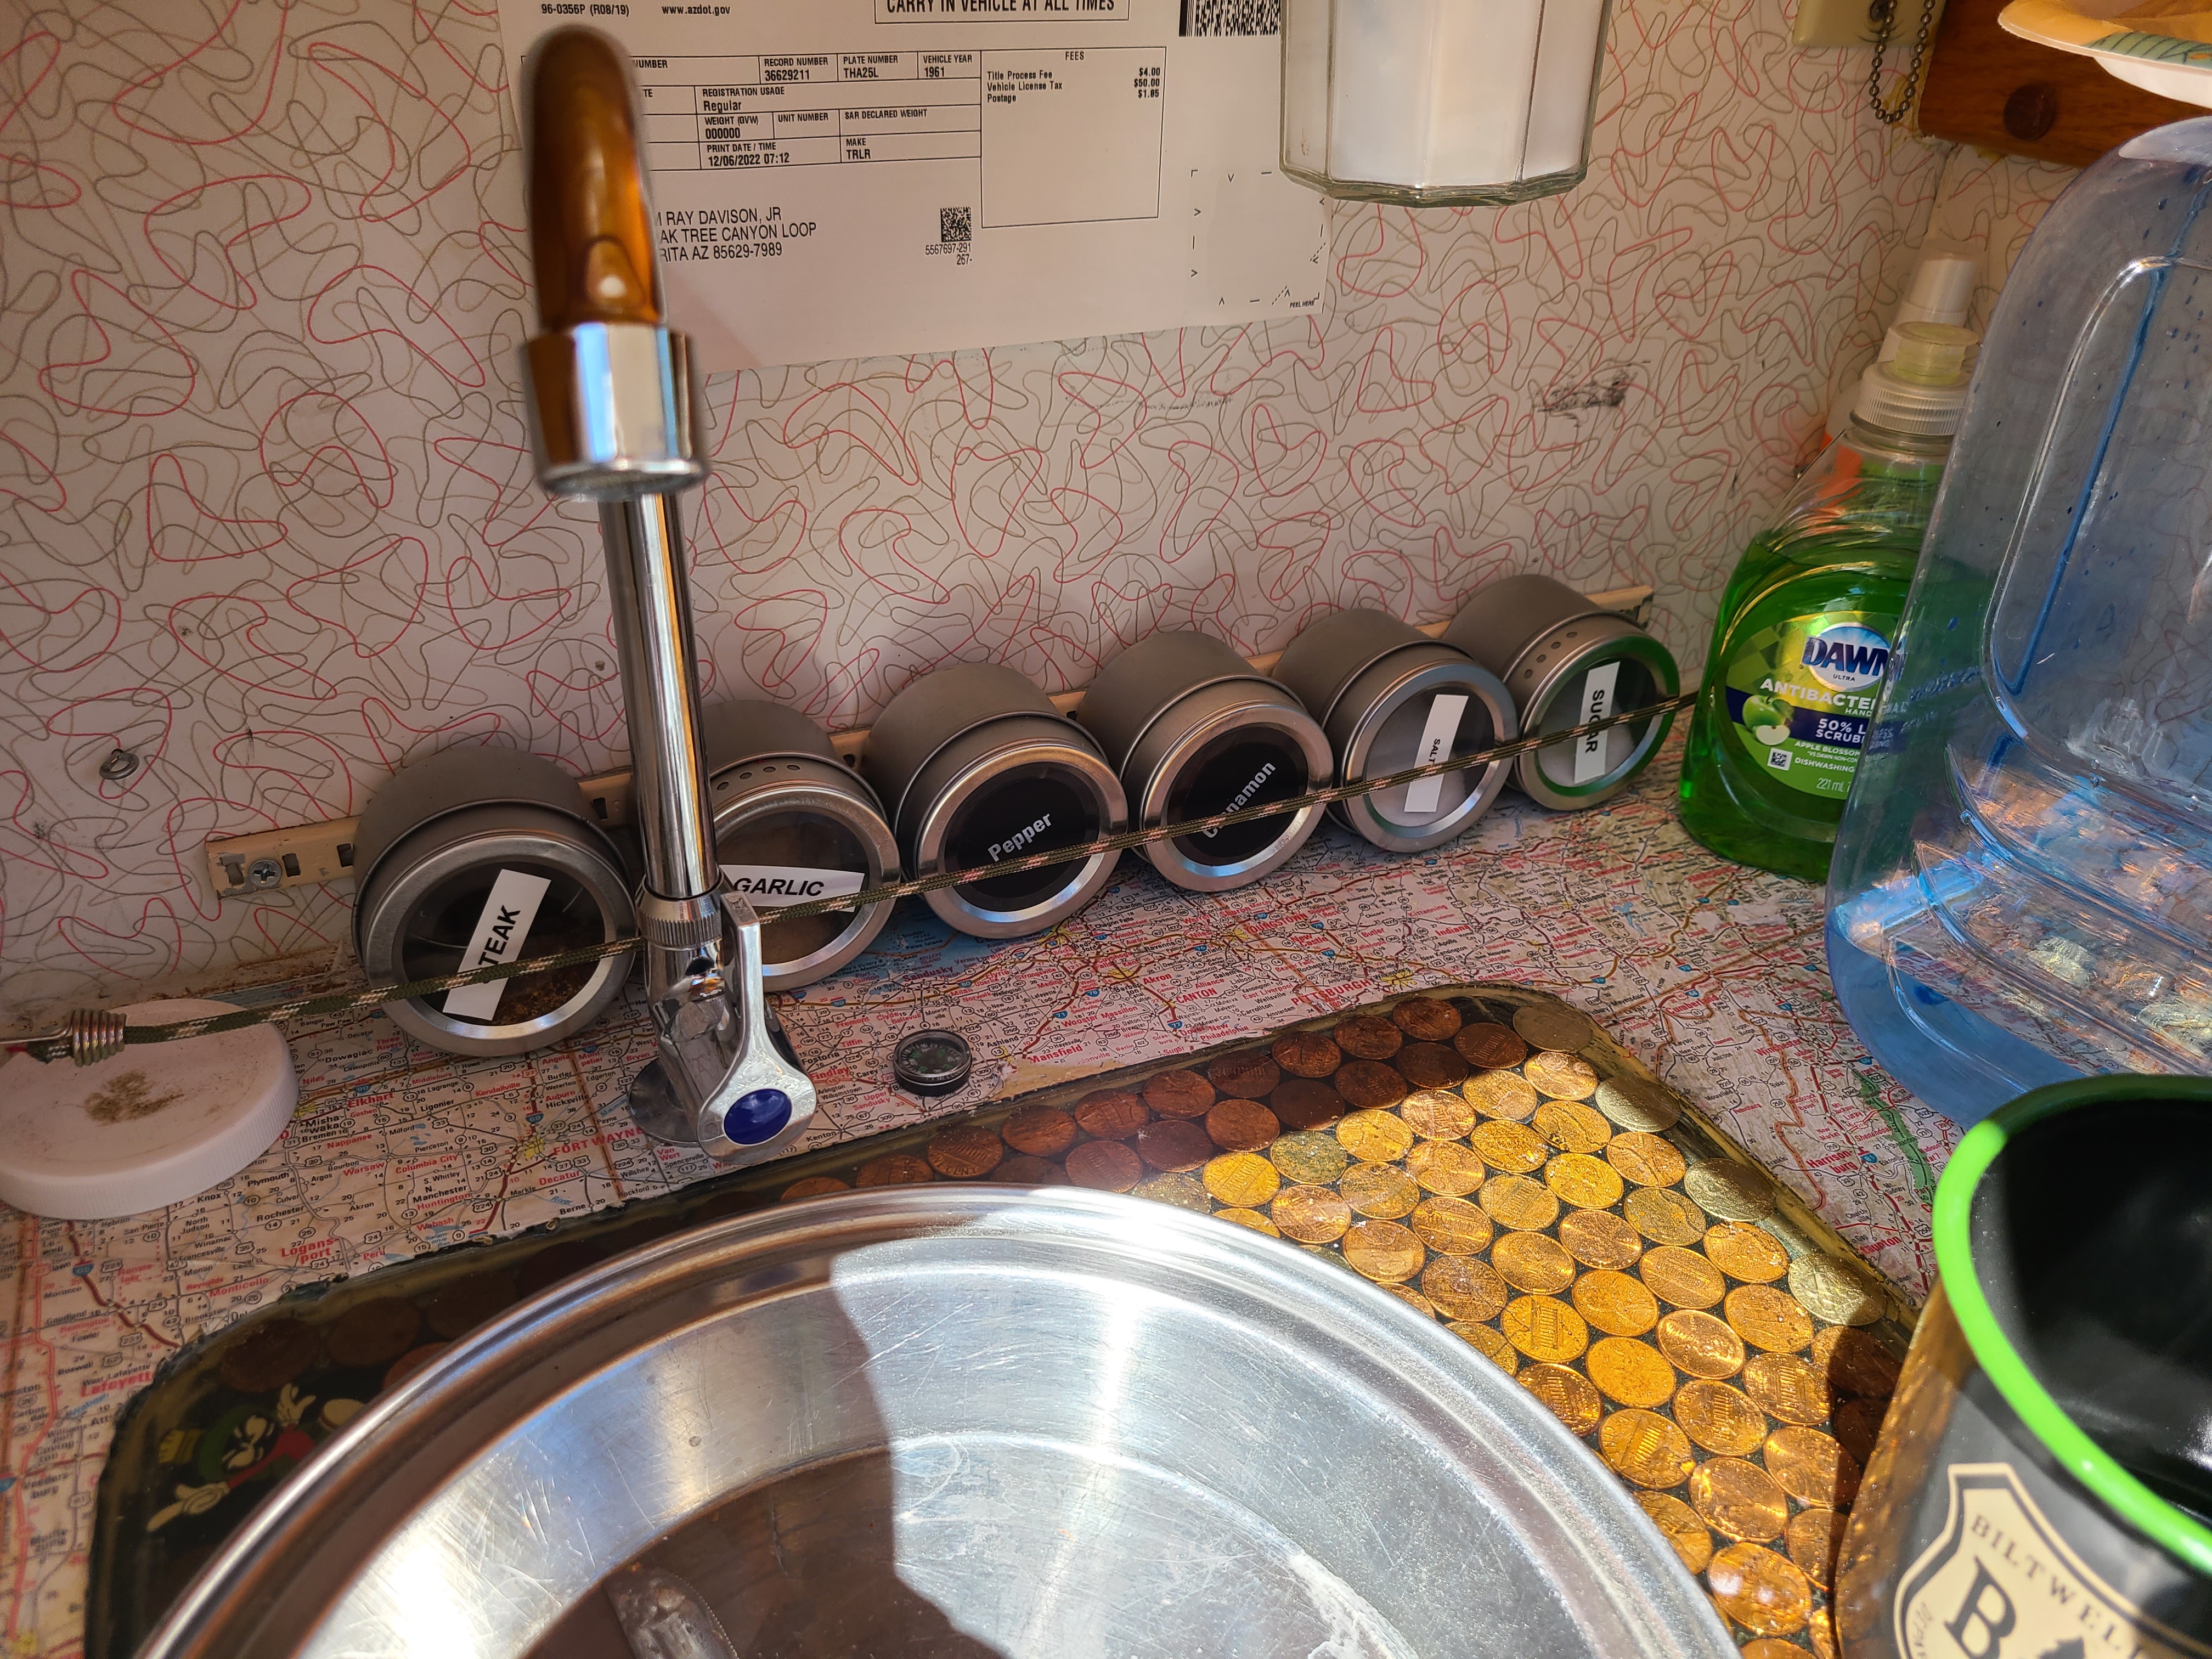
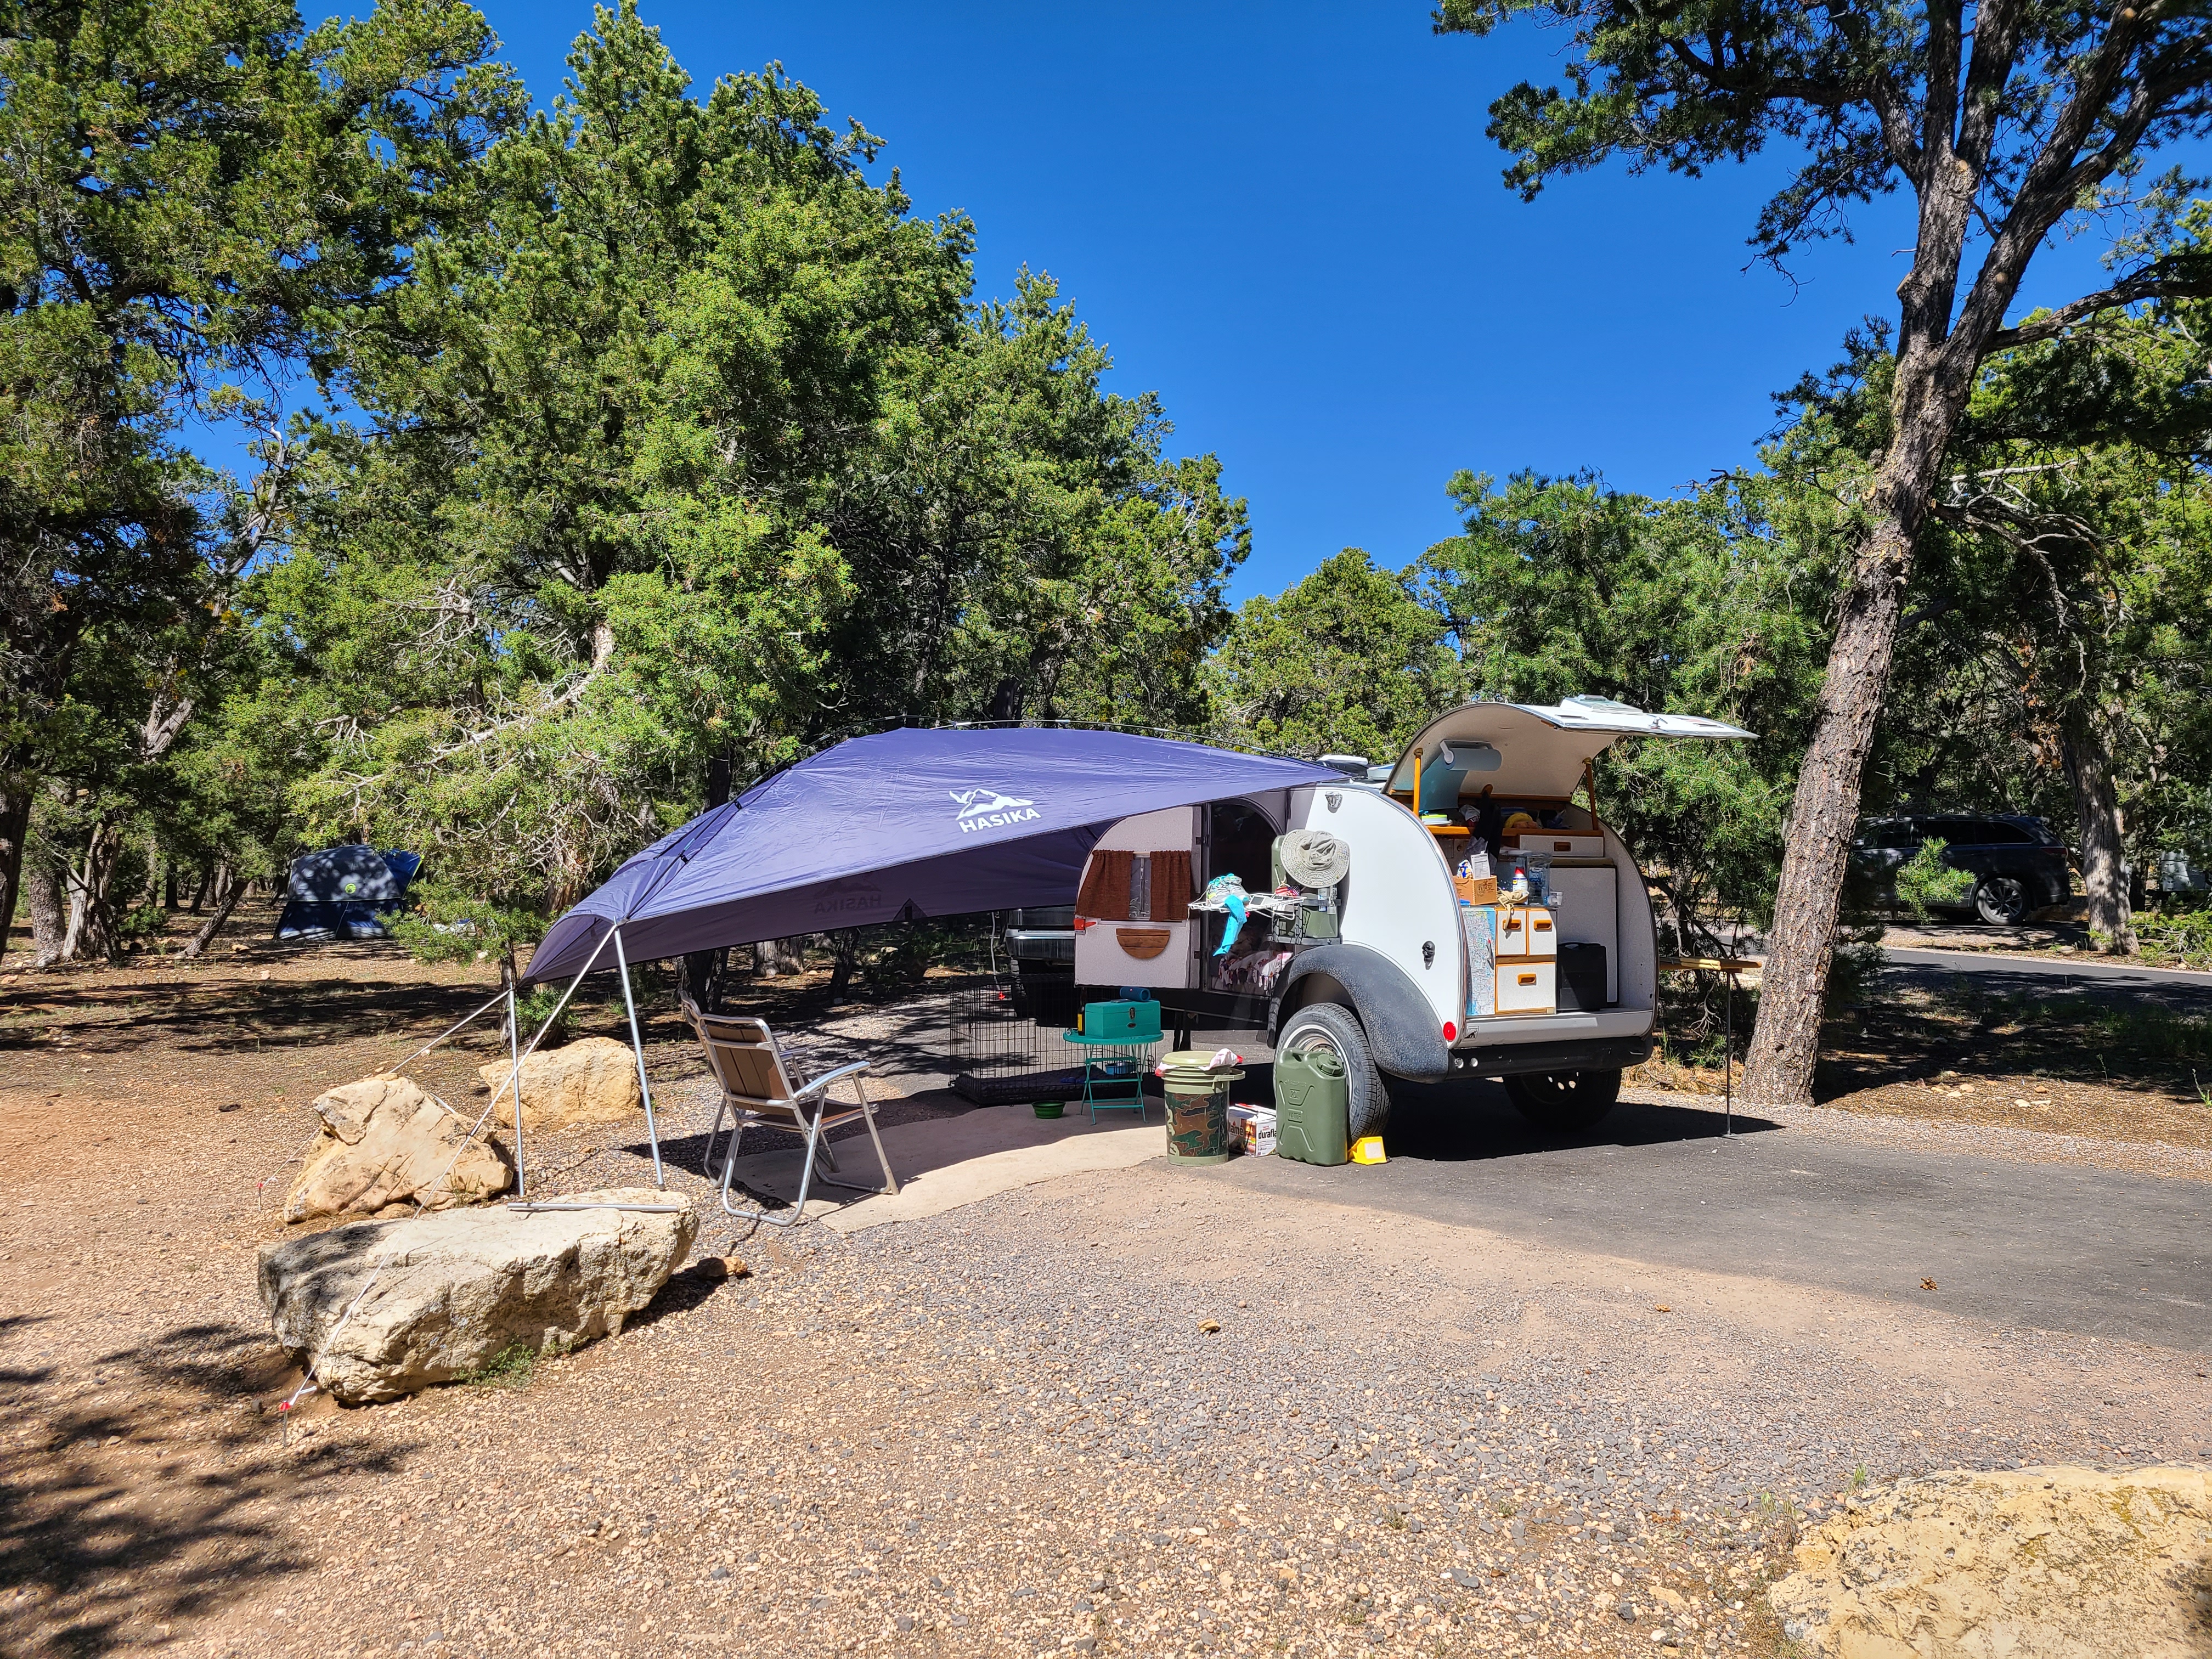
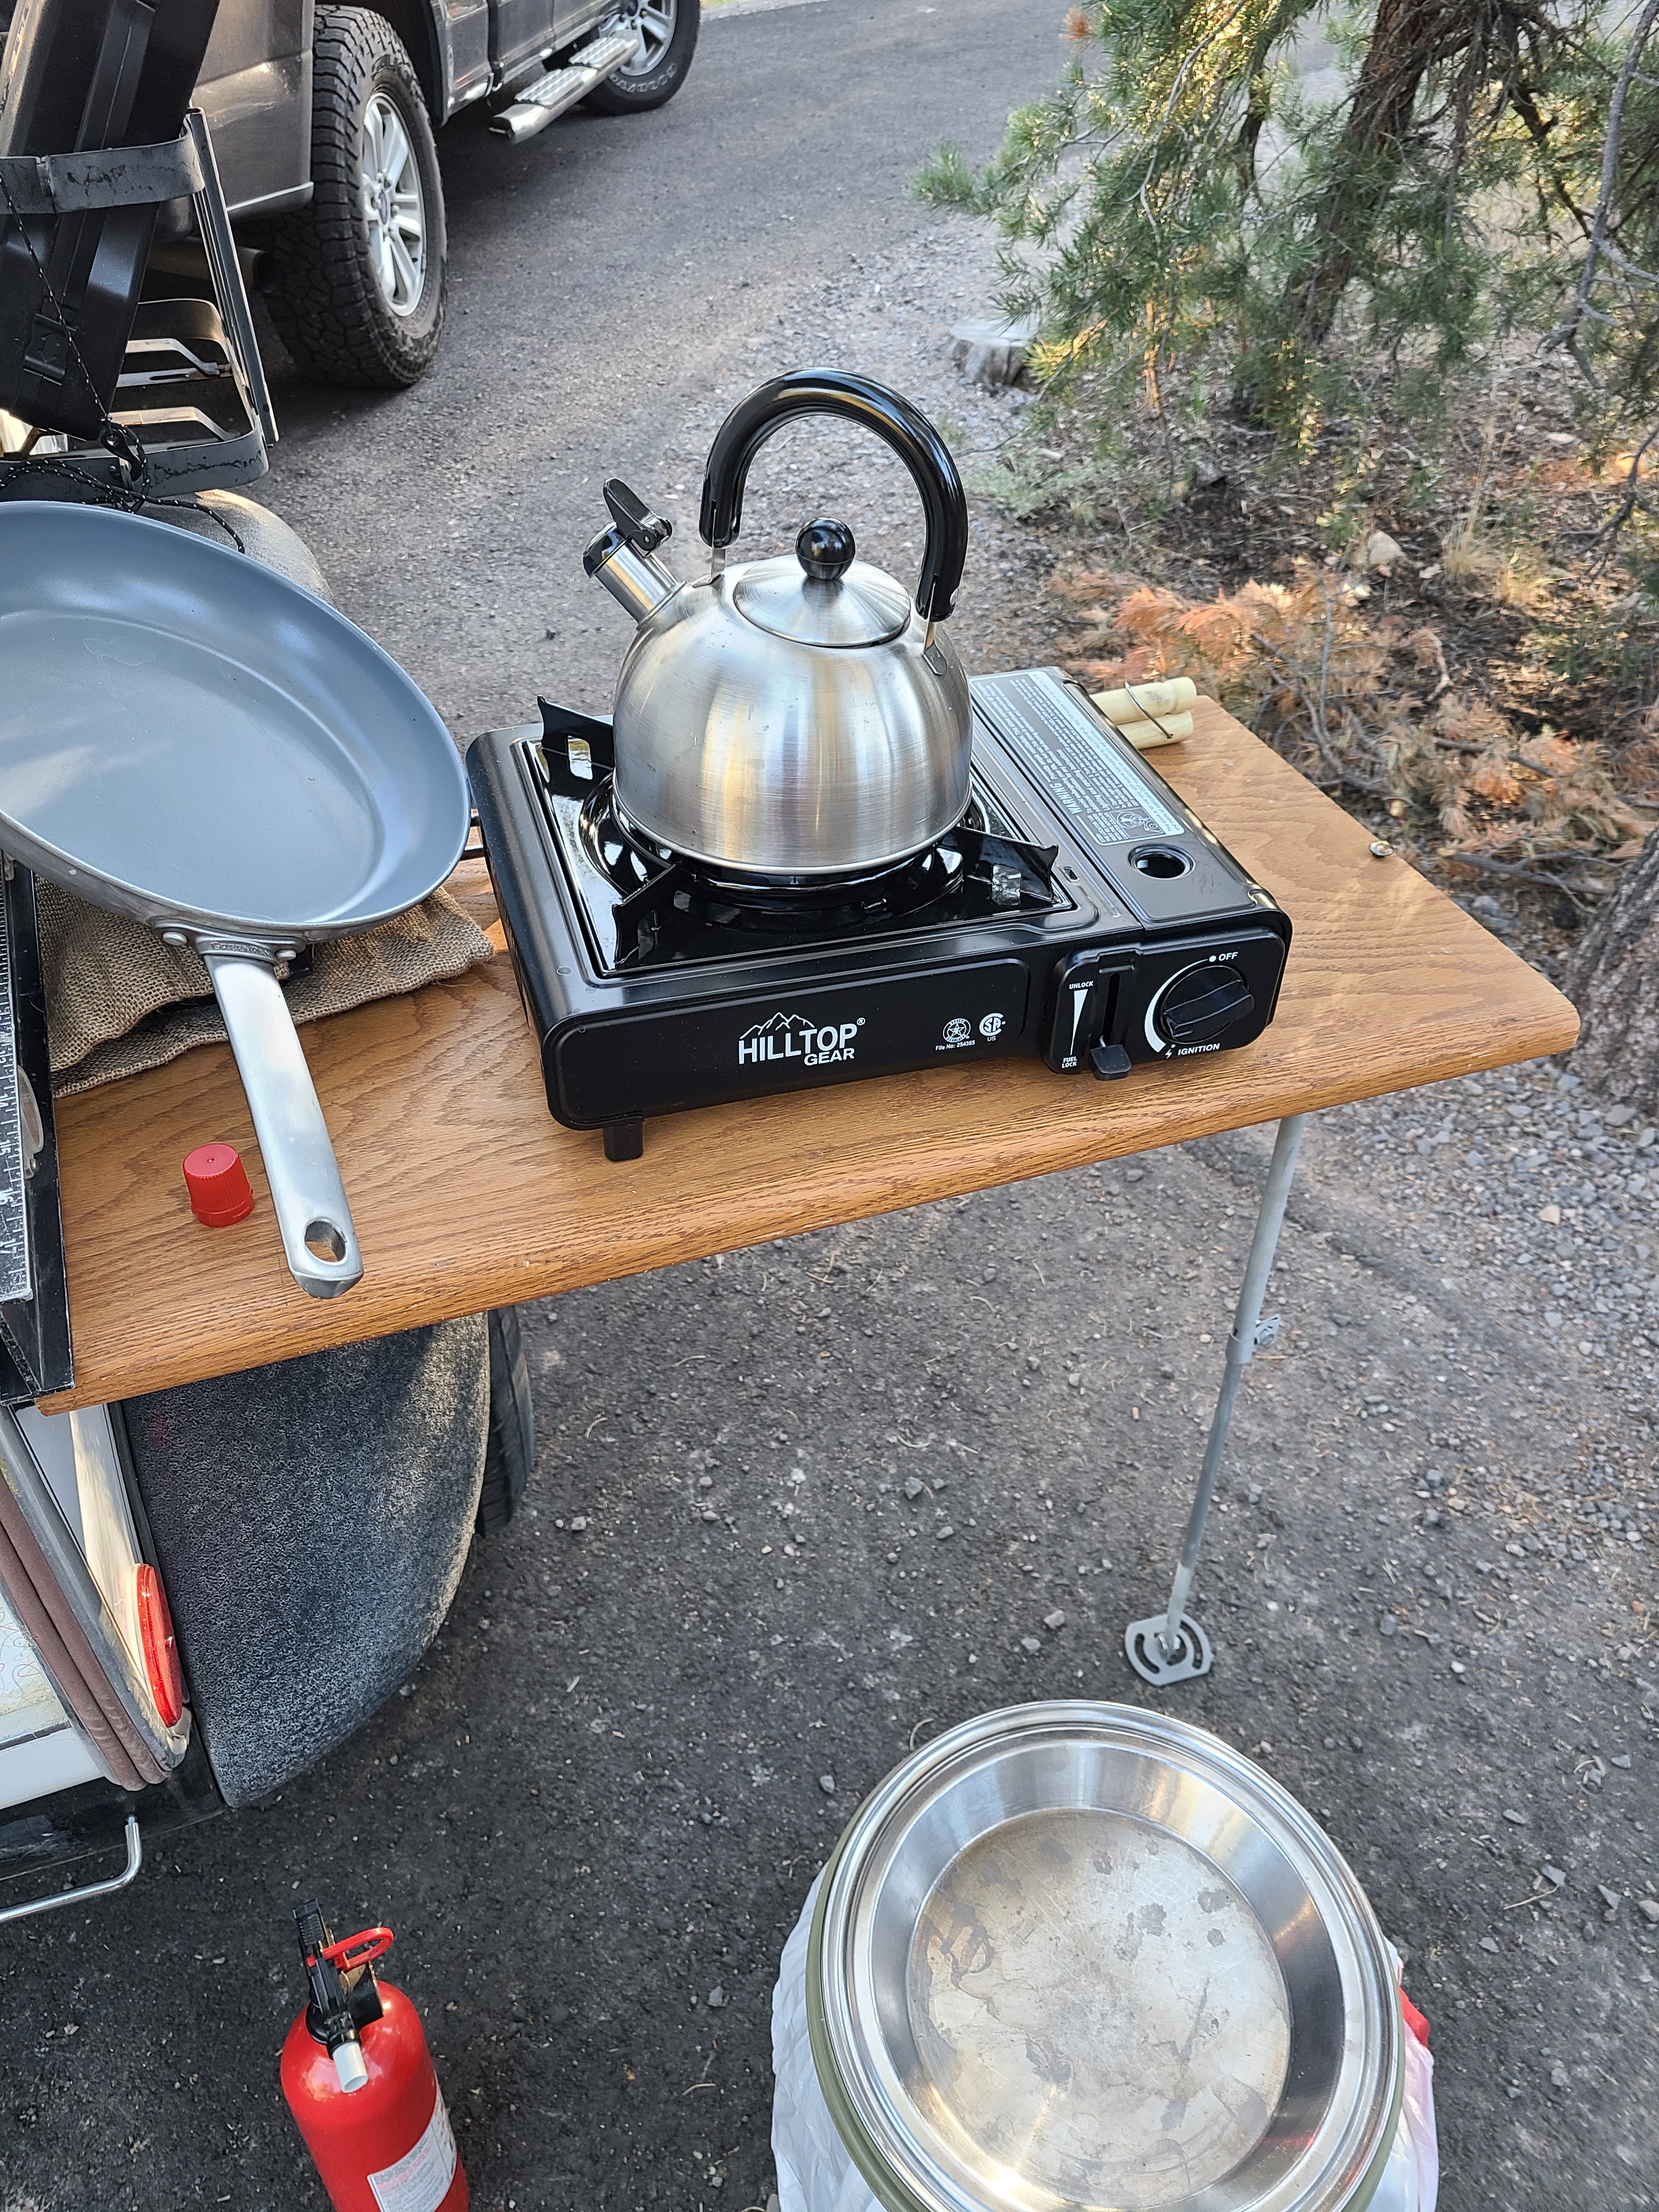
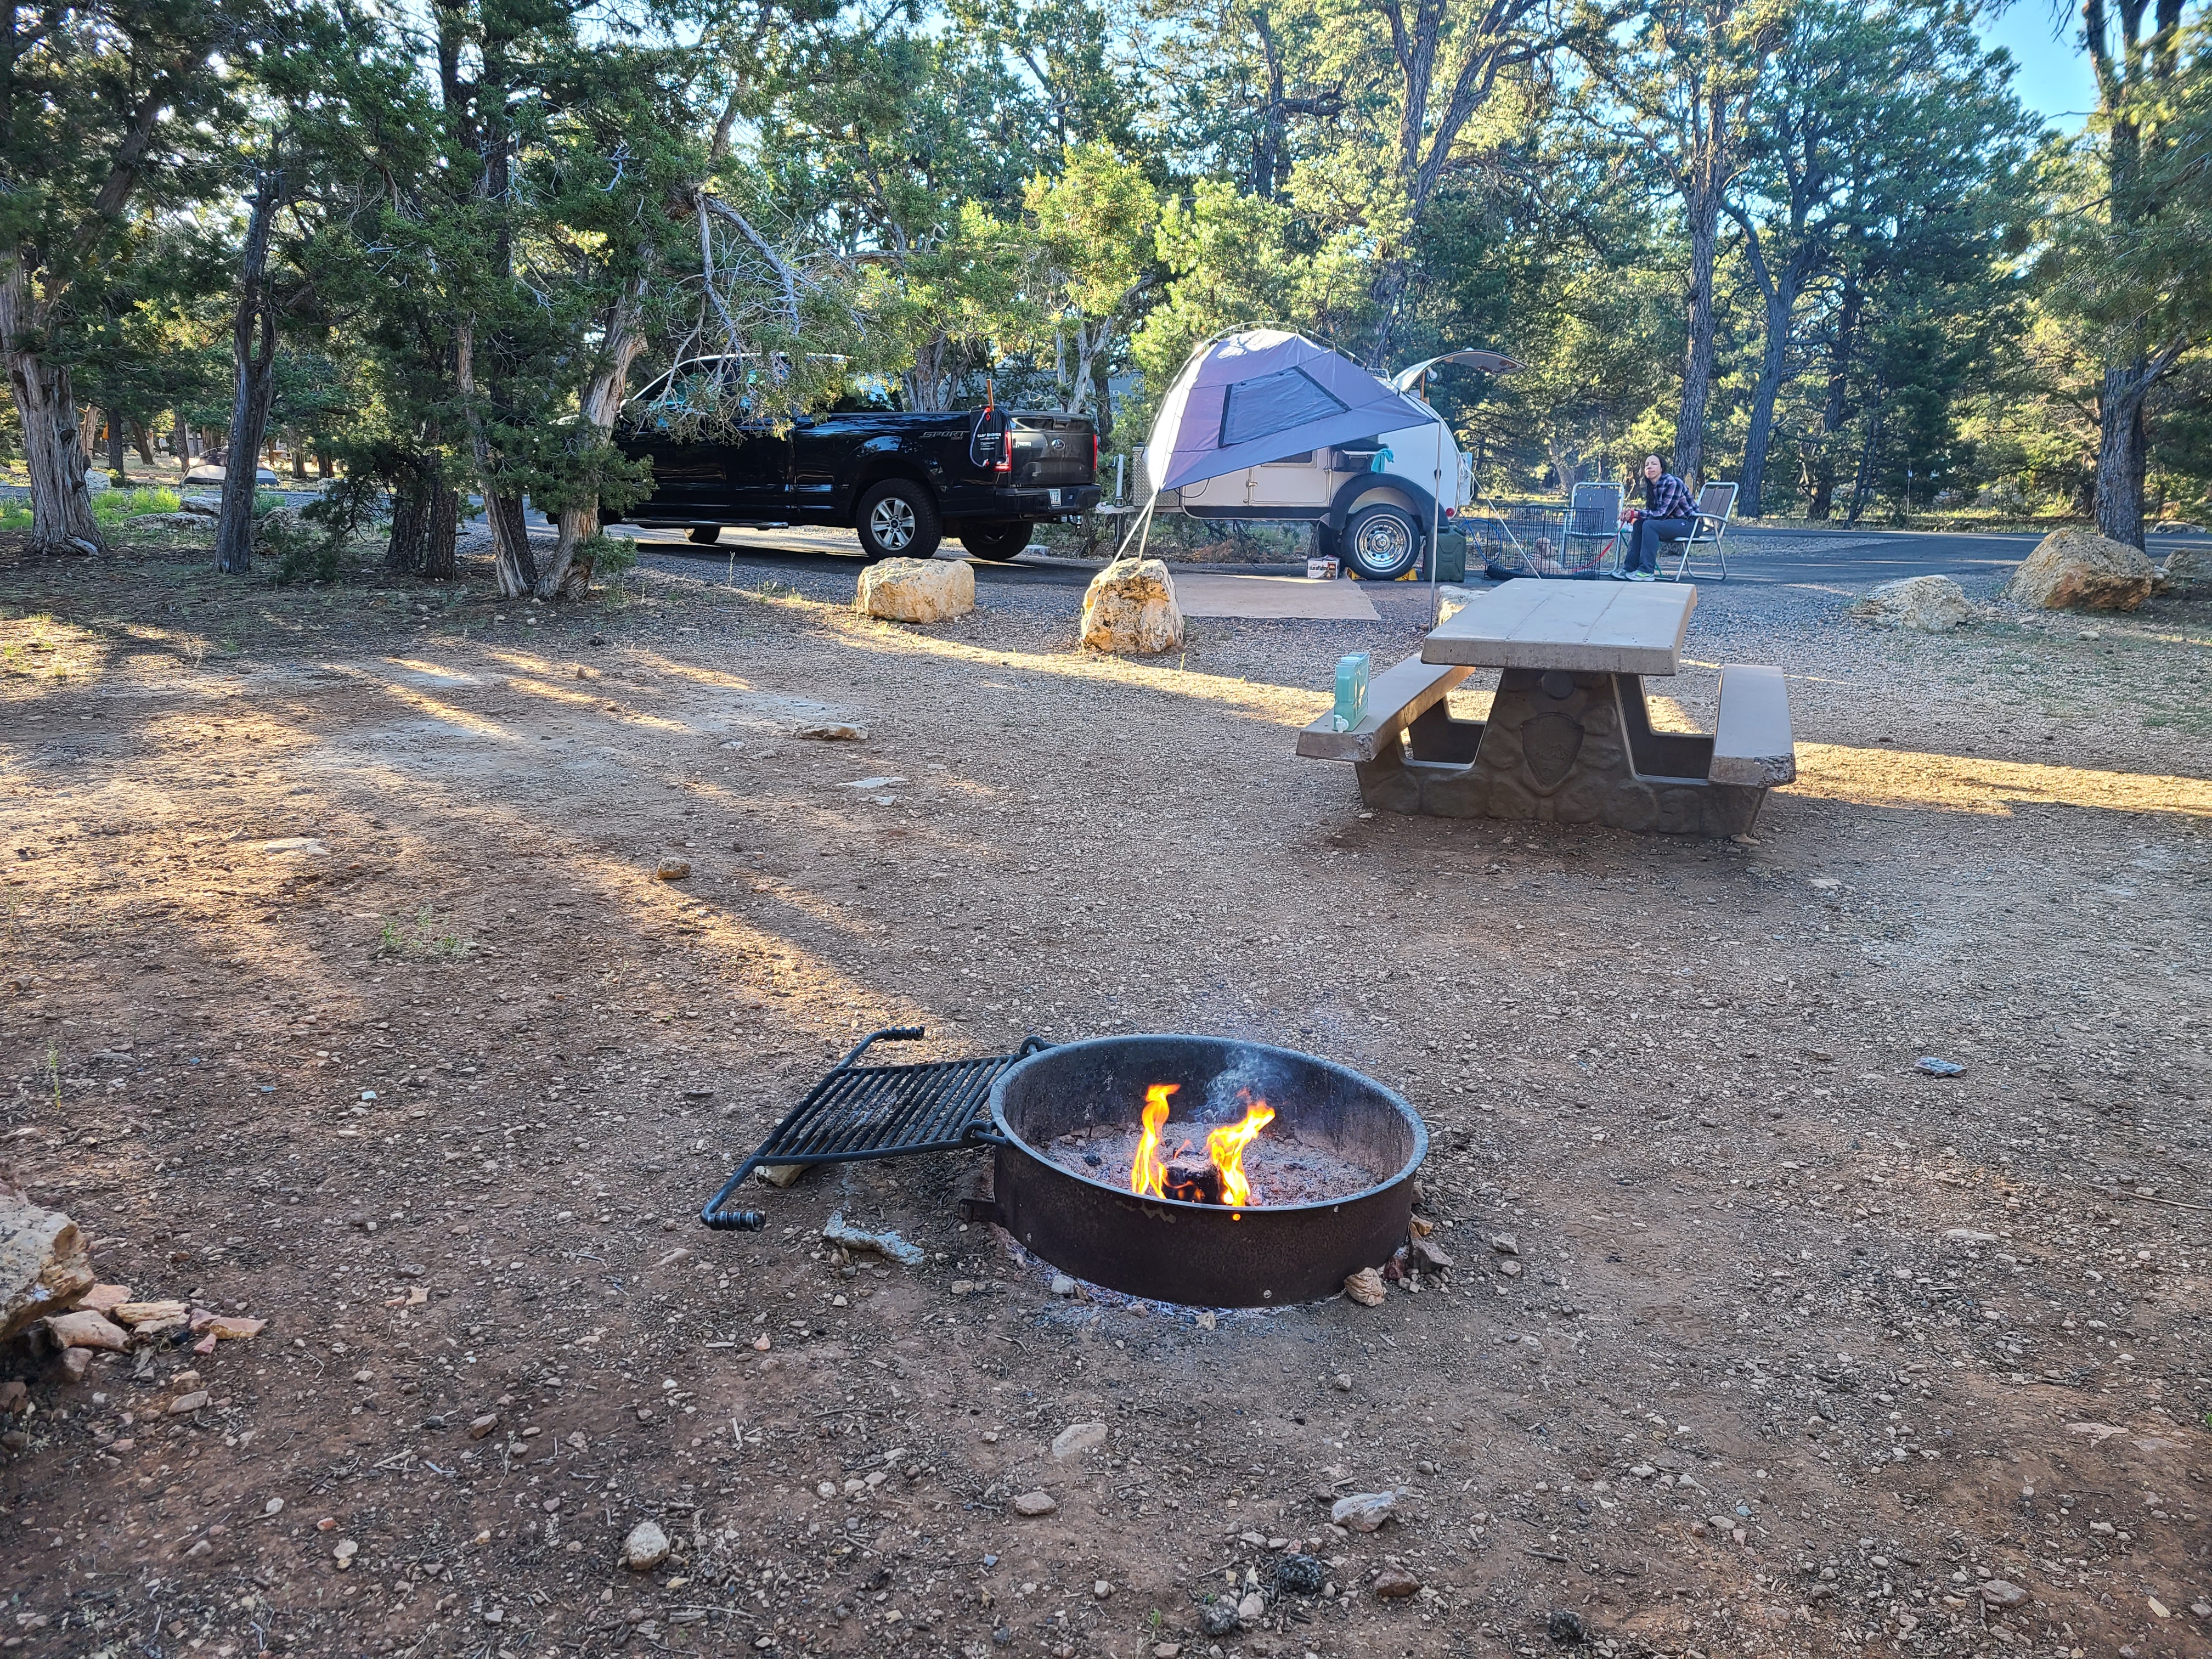
Resourcefulness is the soul of the DIY historian, a trait Davison showcased during his 1961 Scad-A-Bout teardrop camper restoration. He bypassed expensive catalogs, instead repurposing a common dog bowl as a galley sink and using a black paint pen to meticulously trace and restore the original Native American silhouette decal. He even 3D-printed custom glow-in-the-dark curtain rod holders and poured a unique “Penny Counter” to finish the space.
For the camper’s power, Davison looked to his professional world, installing a Sun Saver 6 solar controller. He chose this specific part because it is proven tech used in the oil and gas fields, where reliability is the only metric that matters. Whether he is turning weathered fence posts into a “Pallet Patio Bar” or using a kitchen oven to vacuum-mold a “Top Hat Box Ghost” mask, he finds beauty in the reclaimed and safety in the field-tested.
“I am using a sun saver 6 morning star 6amp charge… These are used in the oil and gas fields and are very easy to use and will be very reliable.”
Conclusion: The Question for the Next Generation
Life is enriched not by the things we accumulate, but by the “electrons measured” and “knuckles busted” in the process of making. William Davison Jr.’s projects remind us that the “madness” of fixing and restoring is actually a path toward sanity in a consumer-driven world. By valuing the work of our hands, we tether ourselves to our history and to one another.
Every project, from a $10 speaker to a legendary BMW, is an opportunity to move from being a spectator to a participant in the world. As you look at your own surroundings, consider the value of the “adventure” over the ease of the purchase.
In a world that wants you to be a passive consumer, what one thing will you choose to build, fix, or restore this year?