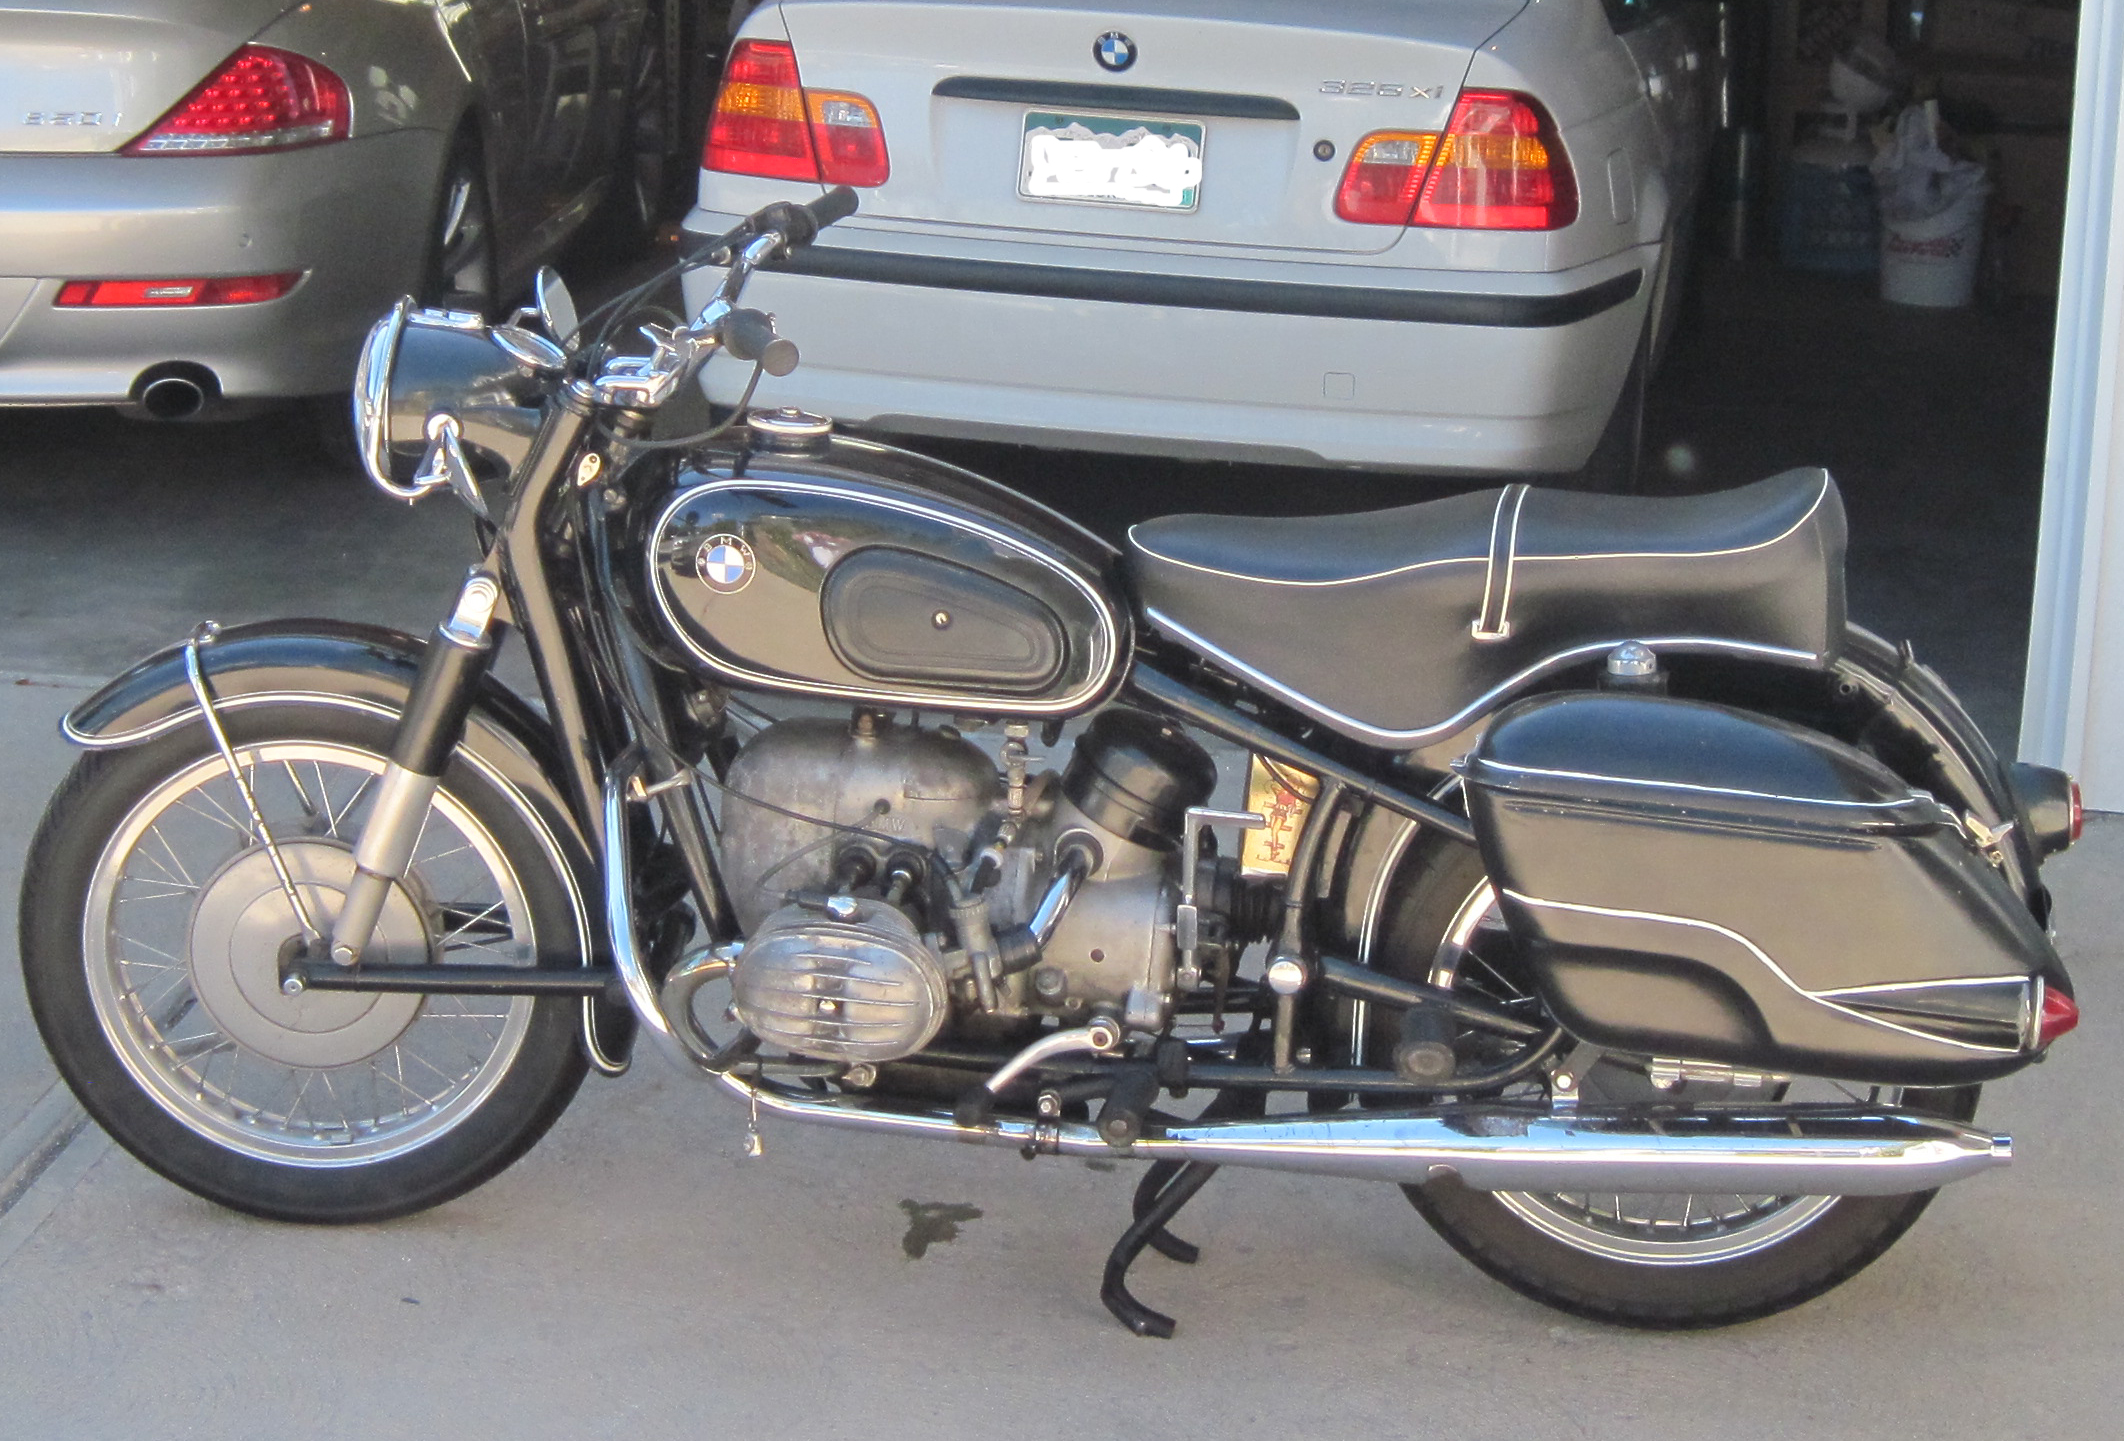
So what I thought was going to be an easy seat change ended up last me over 3 hours, but after it was done it really makes a big change in the look of my R50.
Above and below is the look of my BMW with the banana seat…
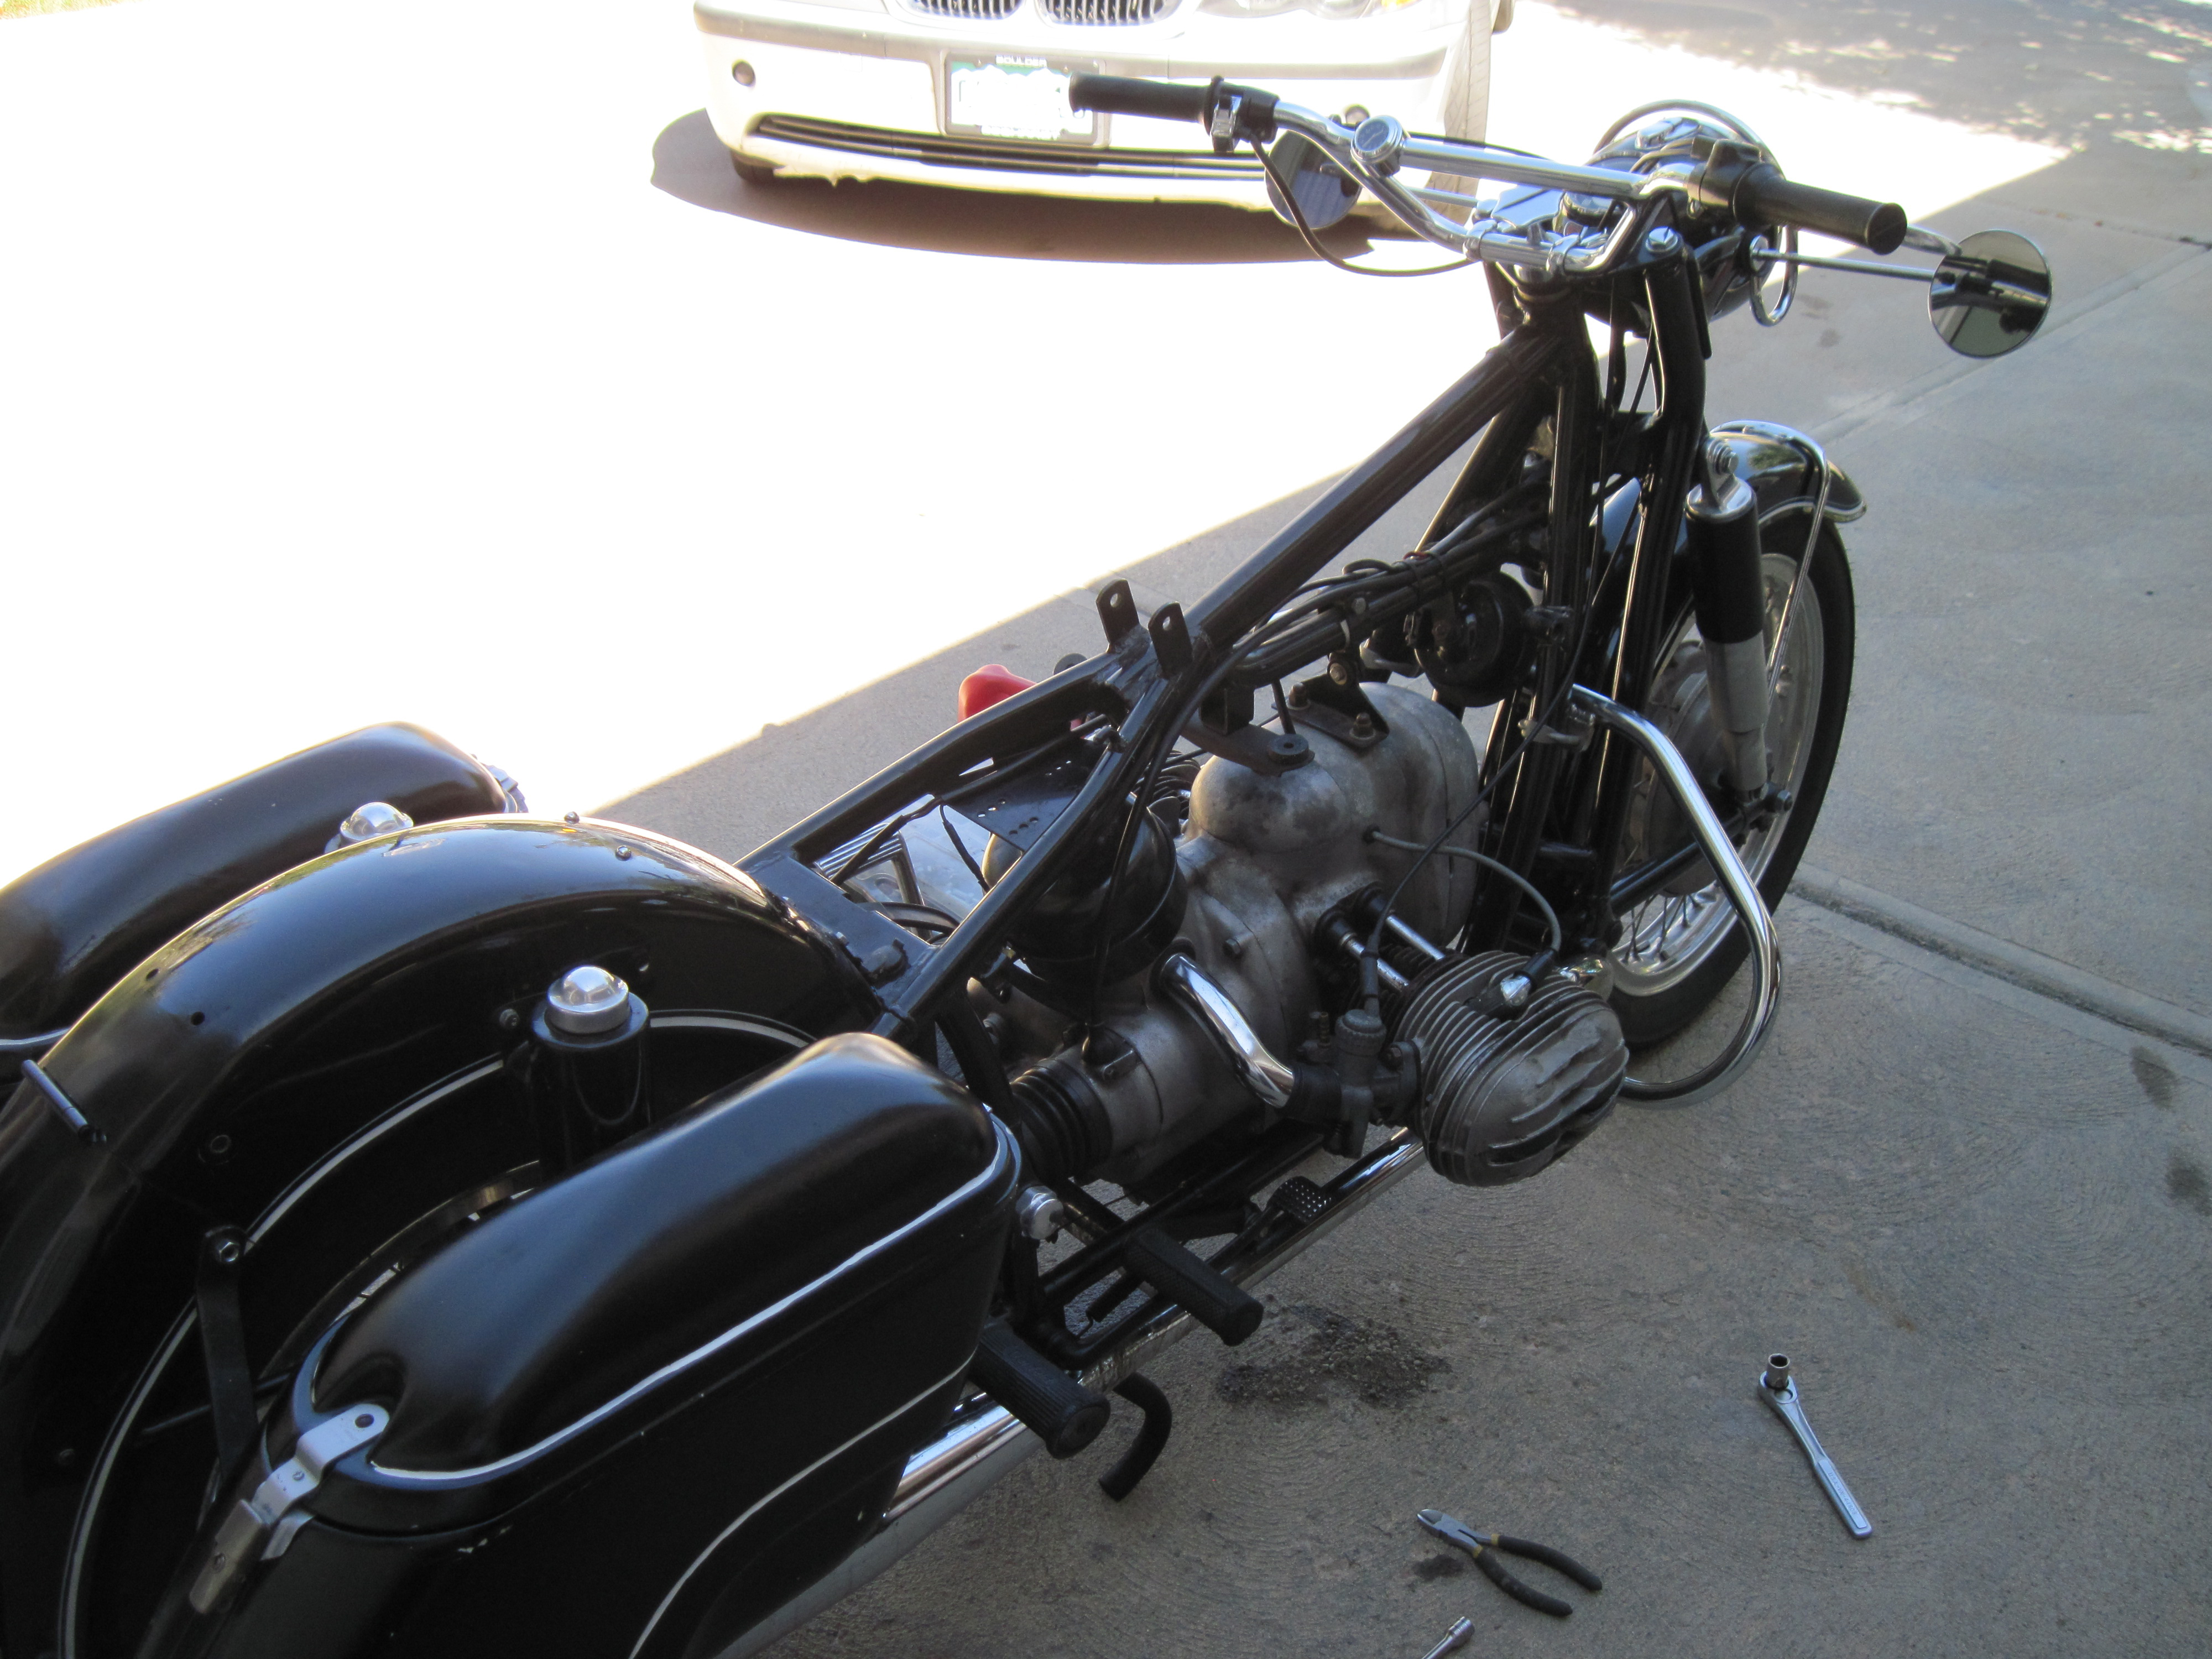
After removing the seat, i wanted to see how the chromed luggage rack o the back fender is going to look. No holes drilled yet… and will save that project for a different day.
After almost 2 hours of draining the gas out of the tank… (I made the mistake of filling up a few weeks back, not knowing I wanted to put the solo seat on) the four gallons of gas through a filtered 1/4 inch tube is not the best way to drain a tank.
Above, the tank and seat off… i went ahead and washed the back fender.
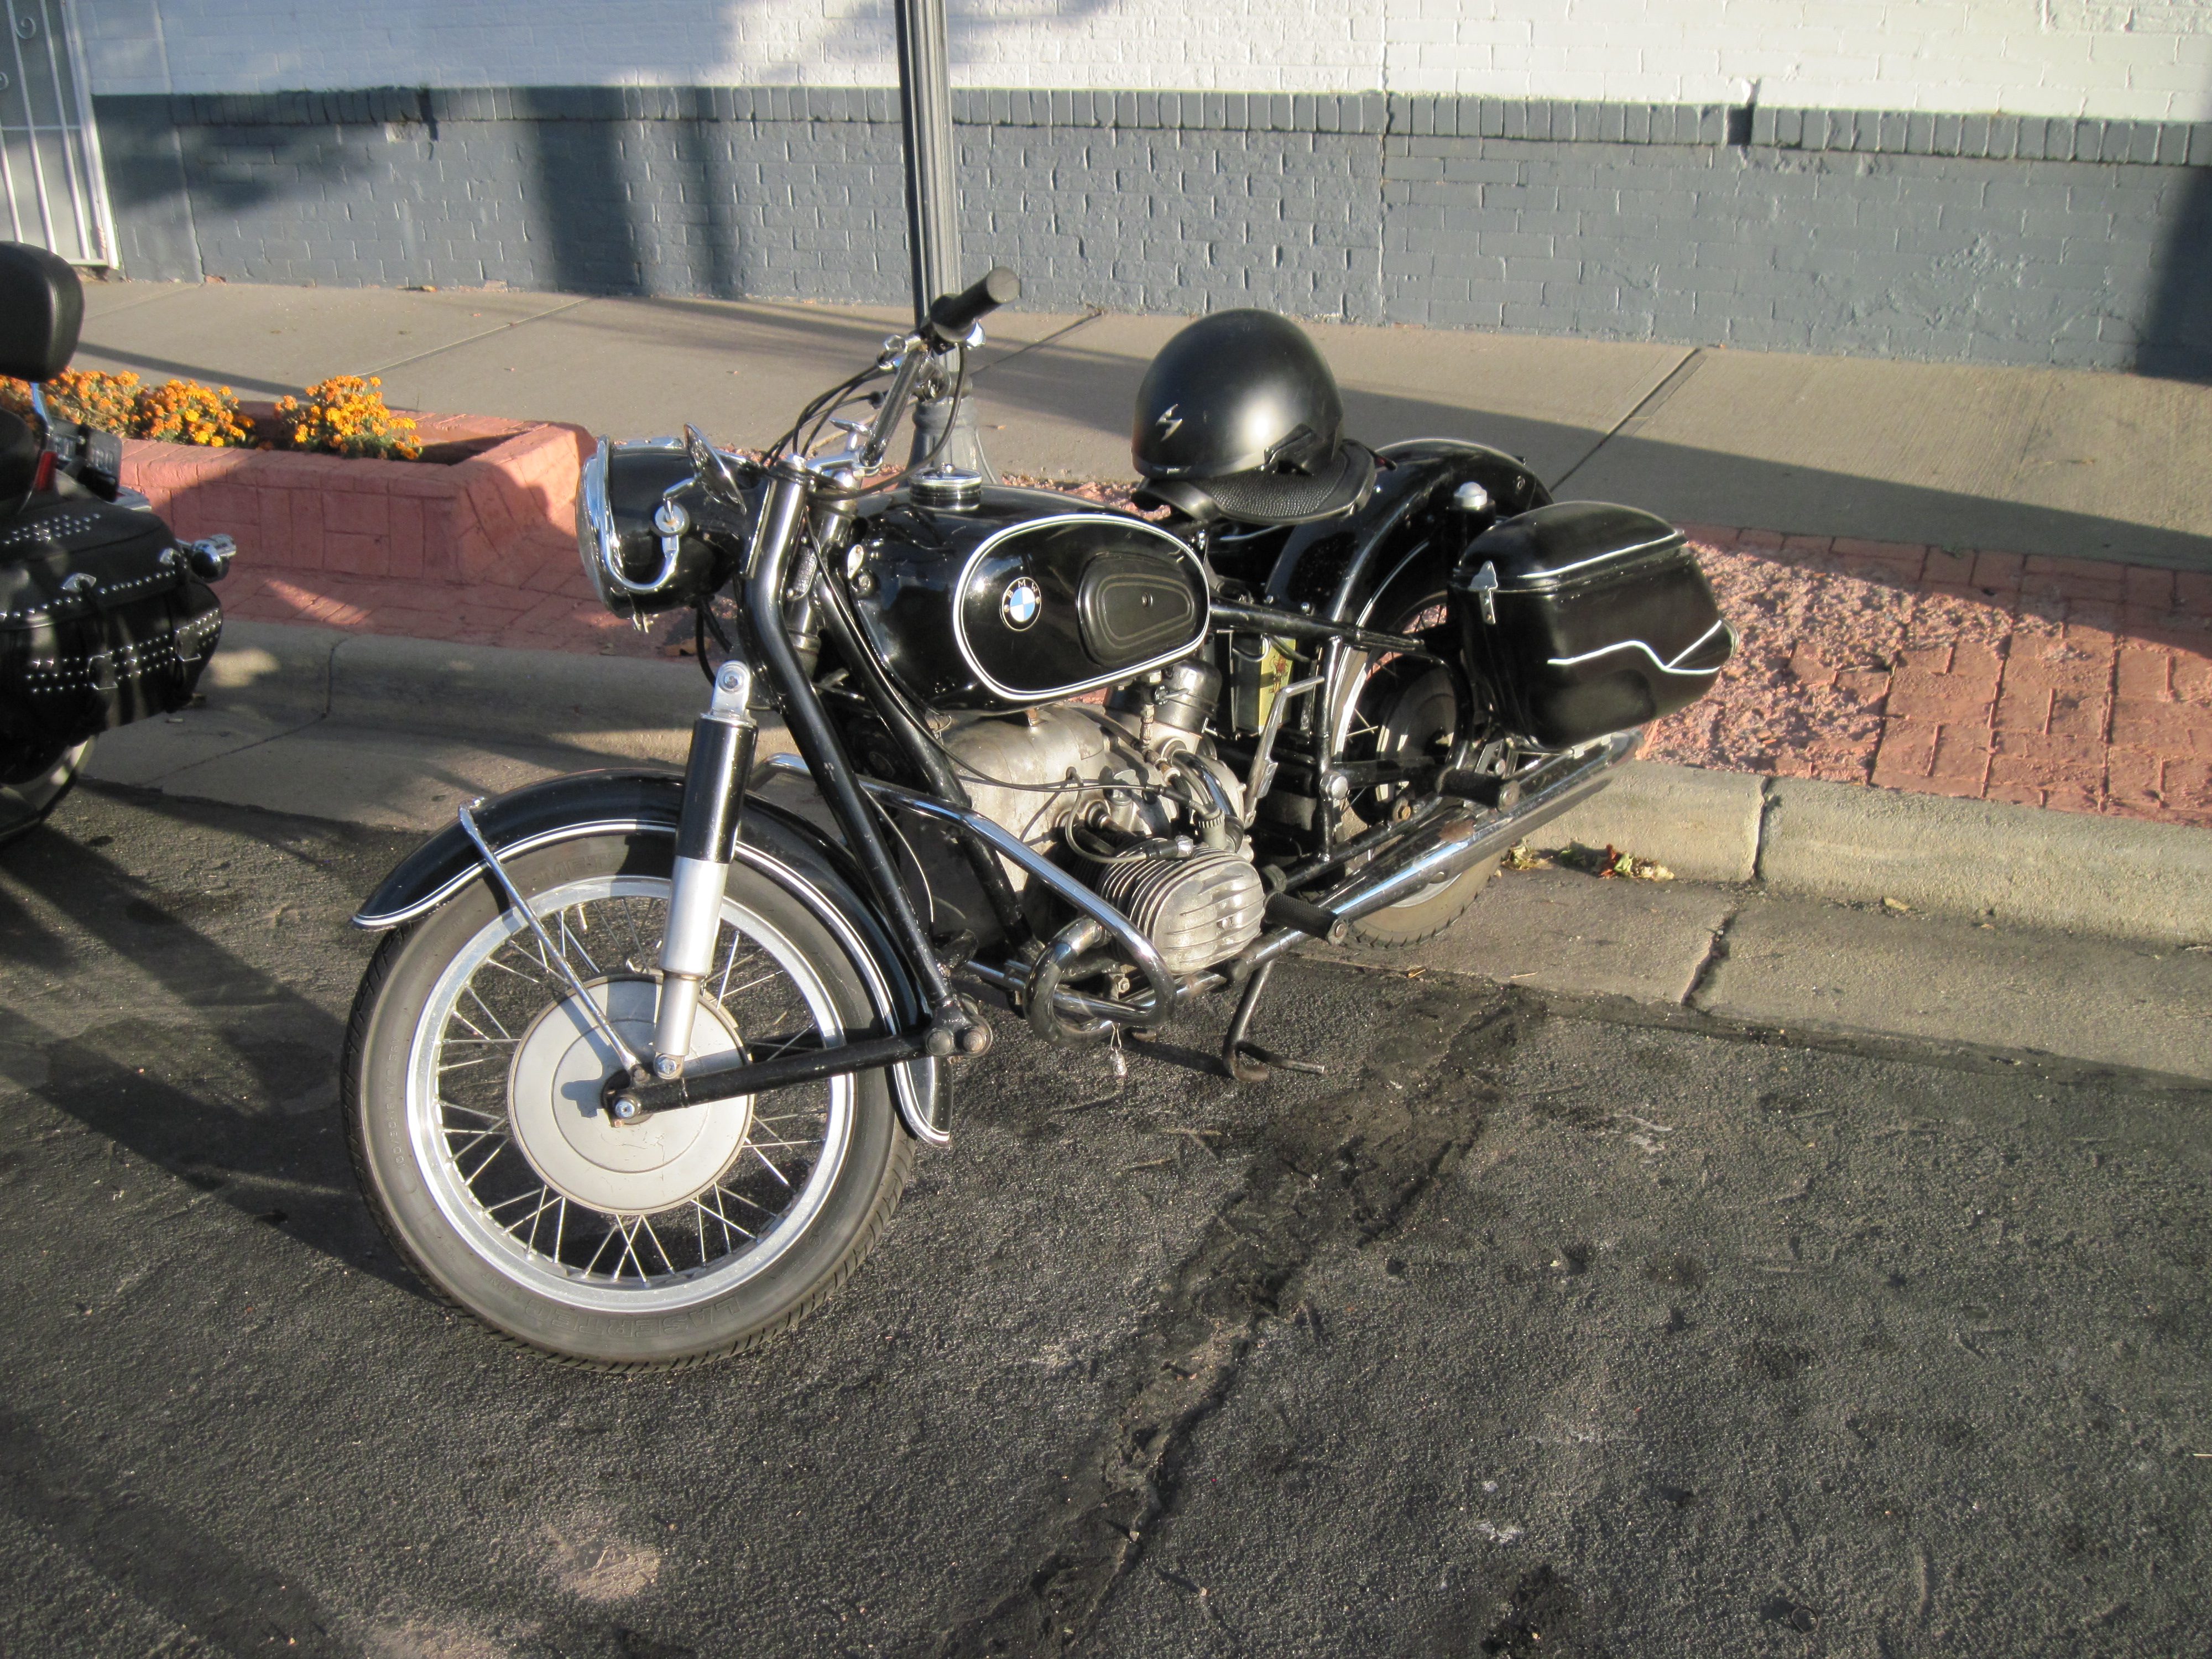
Assembly was very quick and came together quickly. All the bolt holes lined up and the review of all the items double checking that it was all assembled correctly and tight.
Out for a ride, Saturday in denver was a perfect clear and sunny day, I think the high was 80 degrees and the last Saturday of the summer for 2015 was perfect.
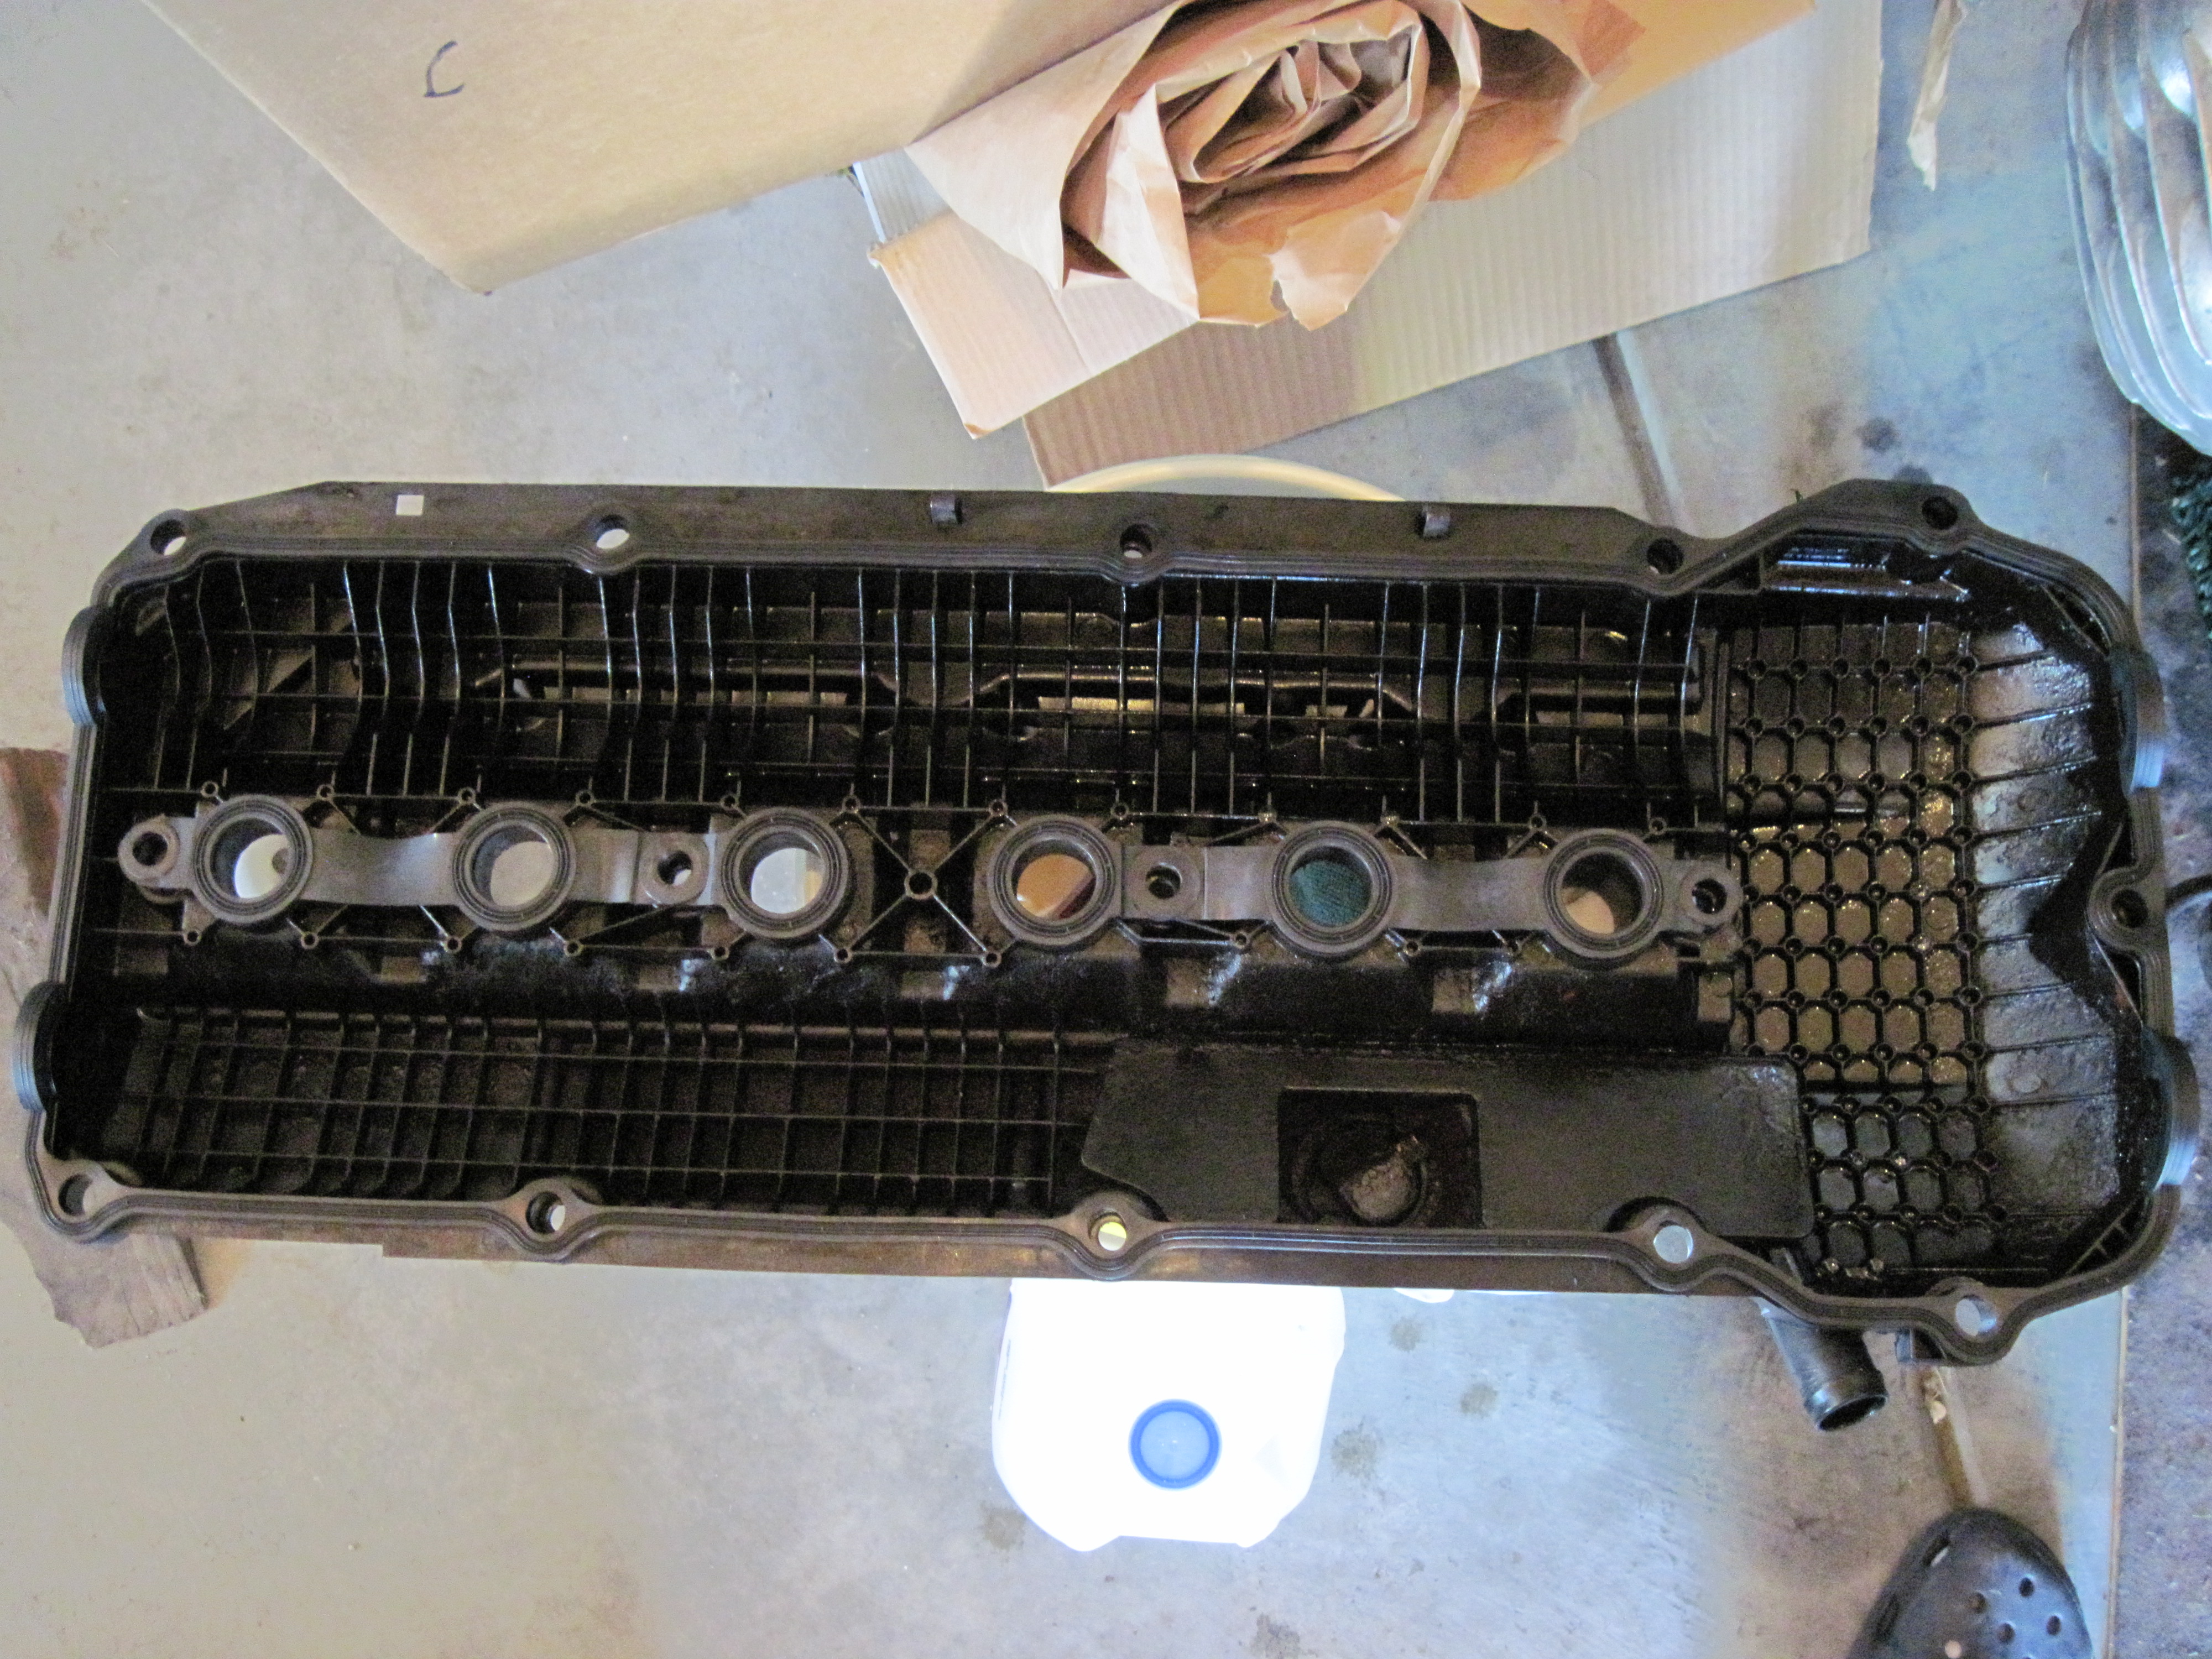
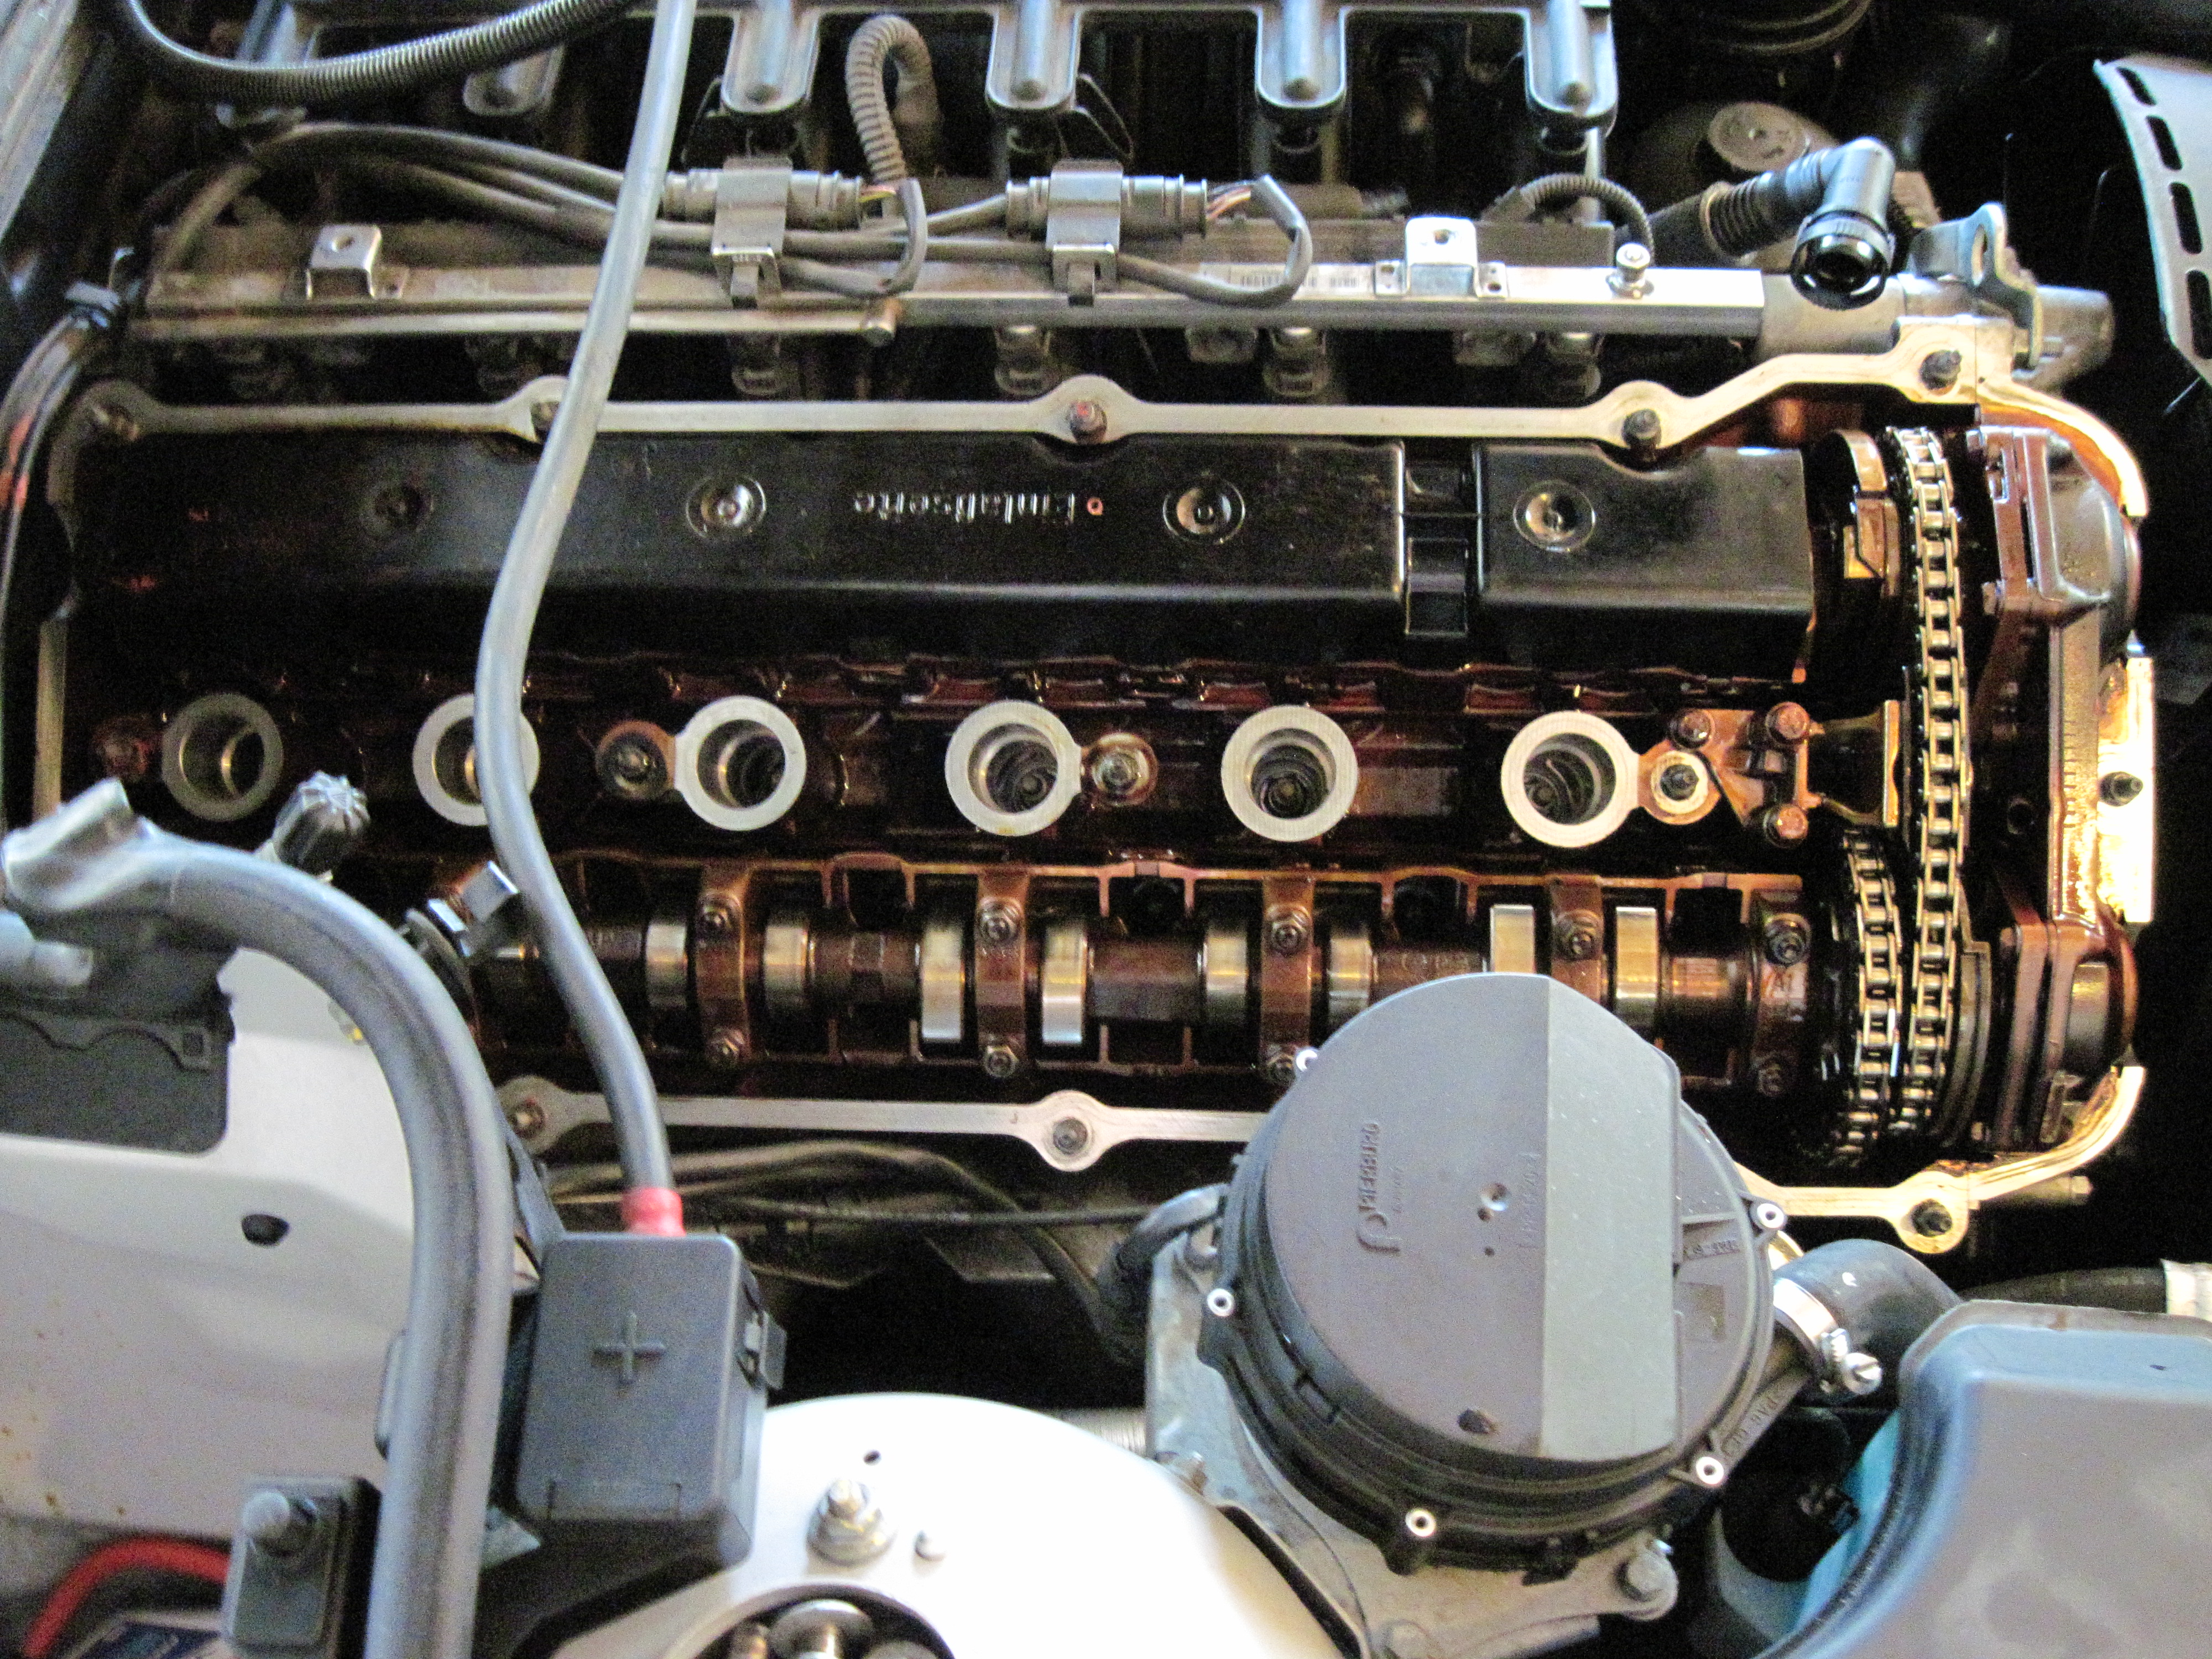
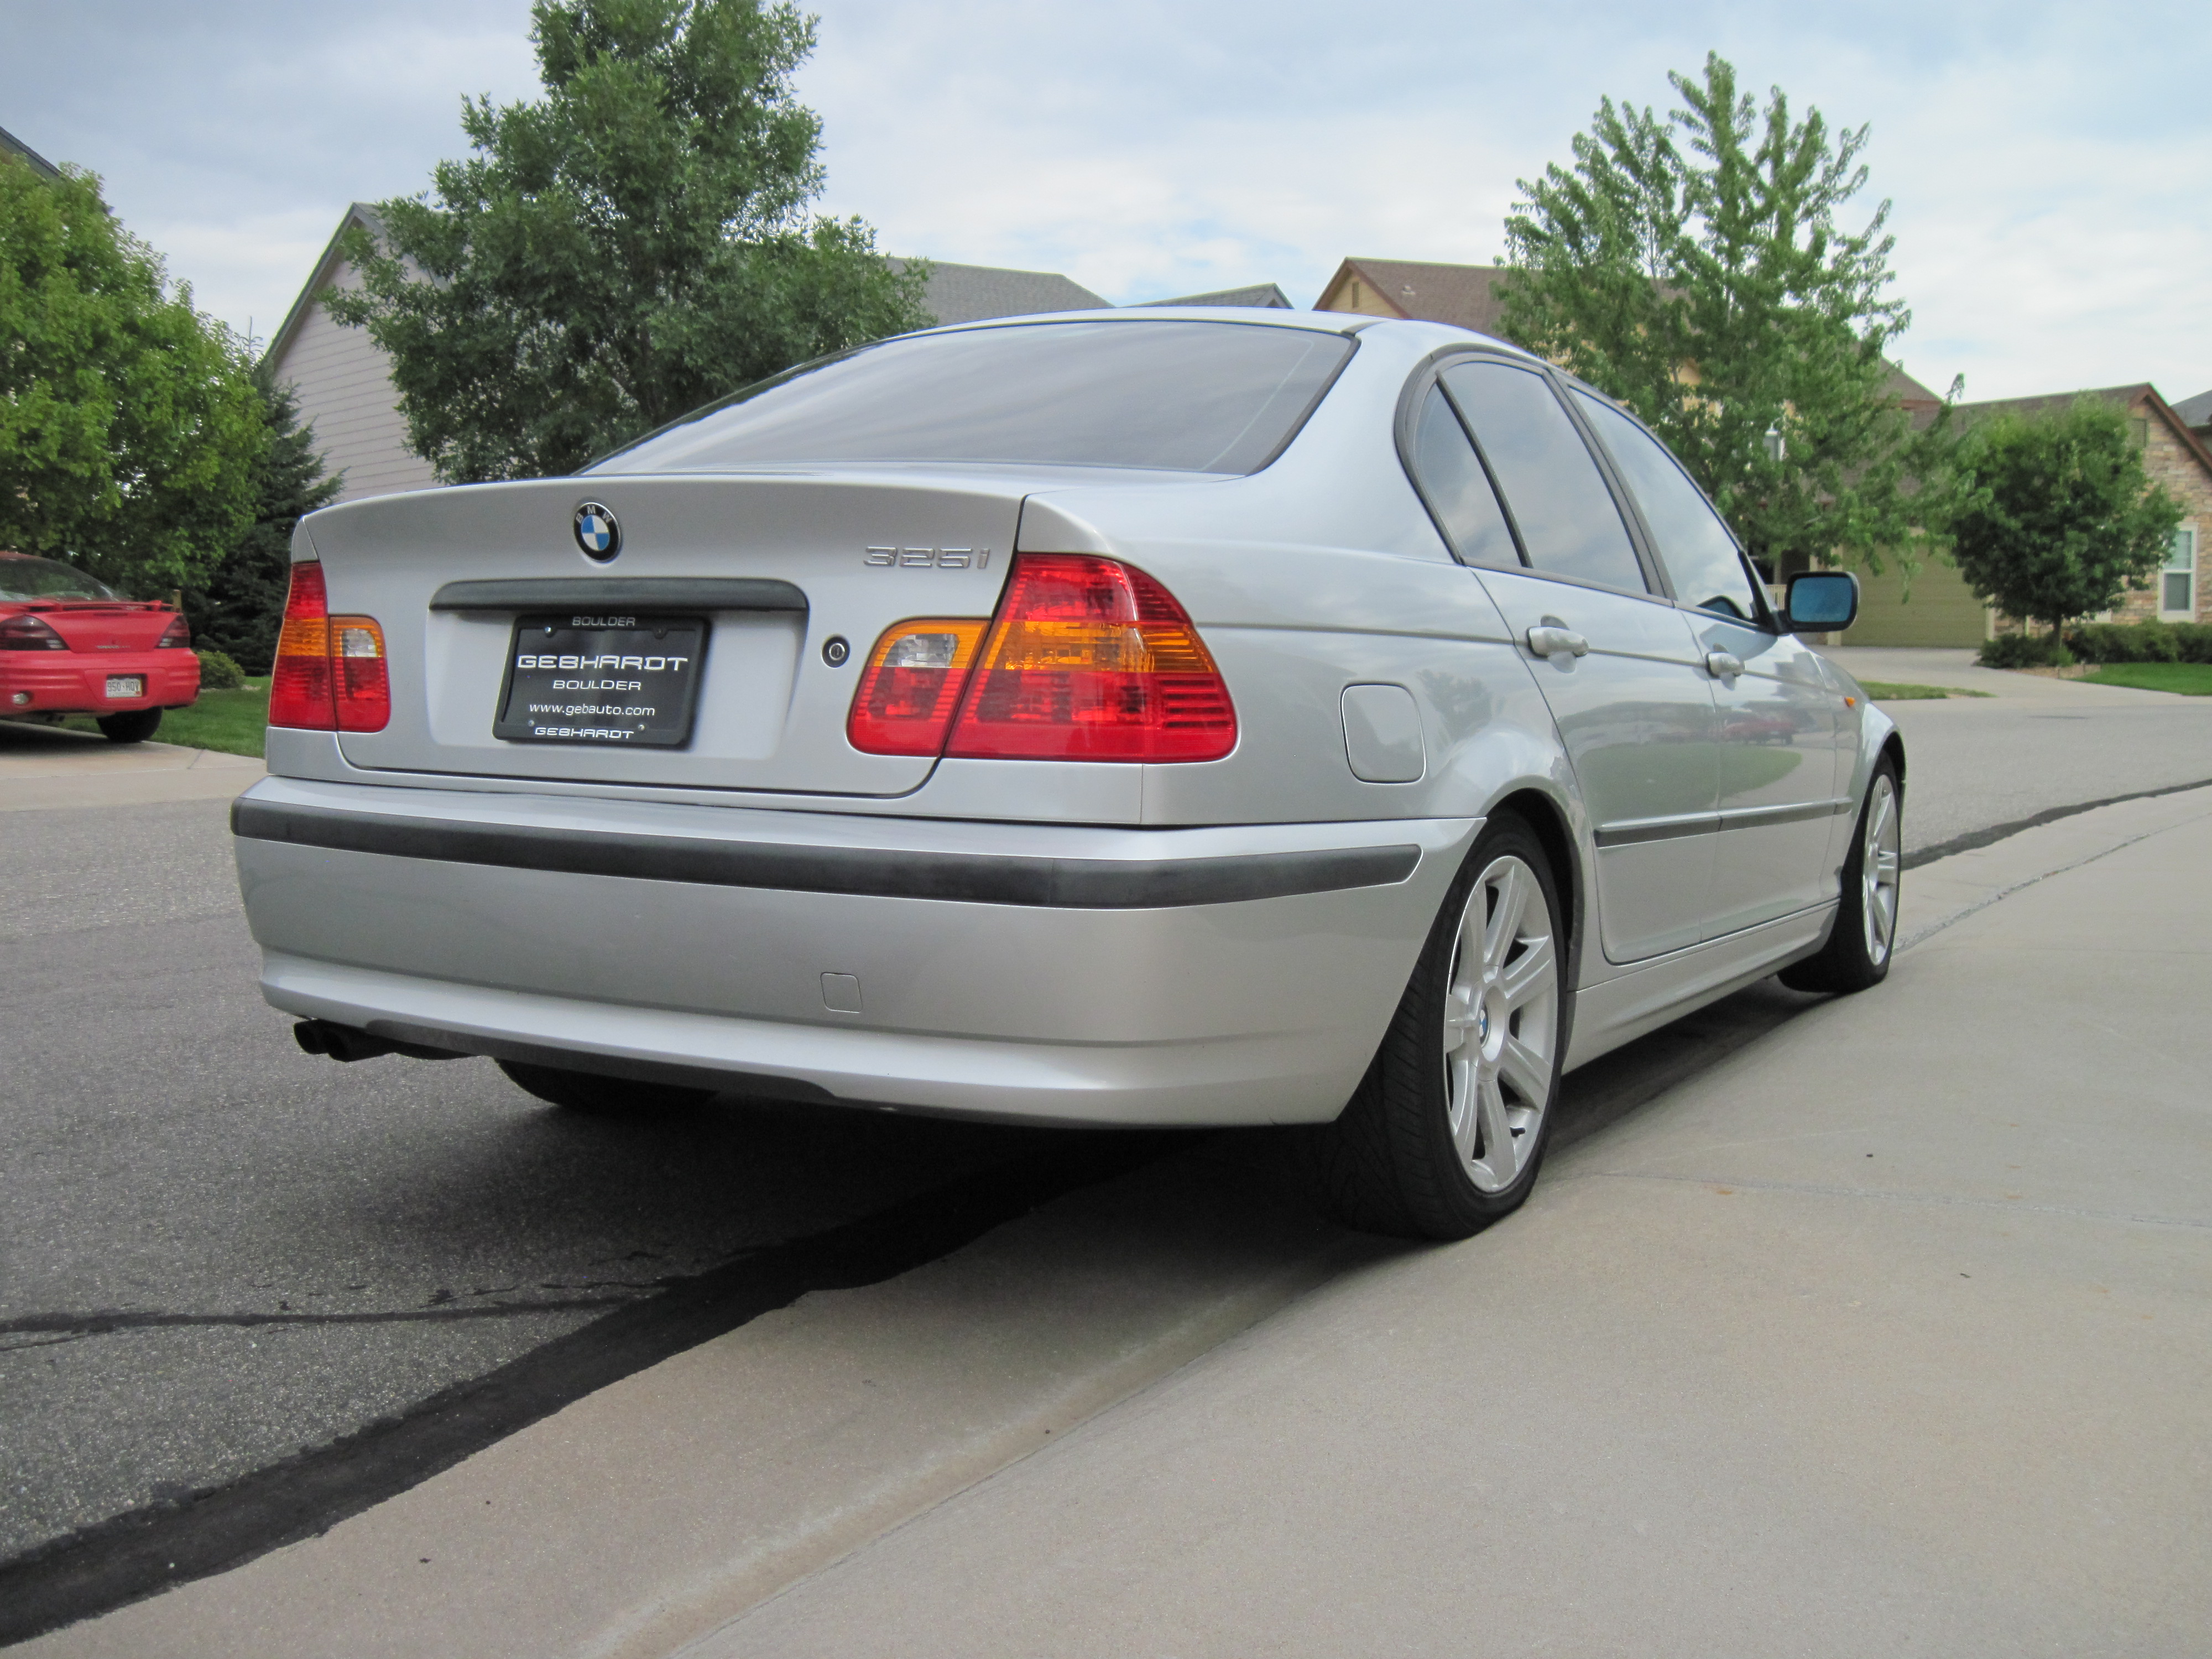
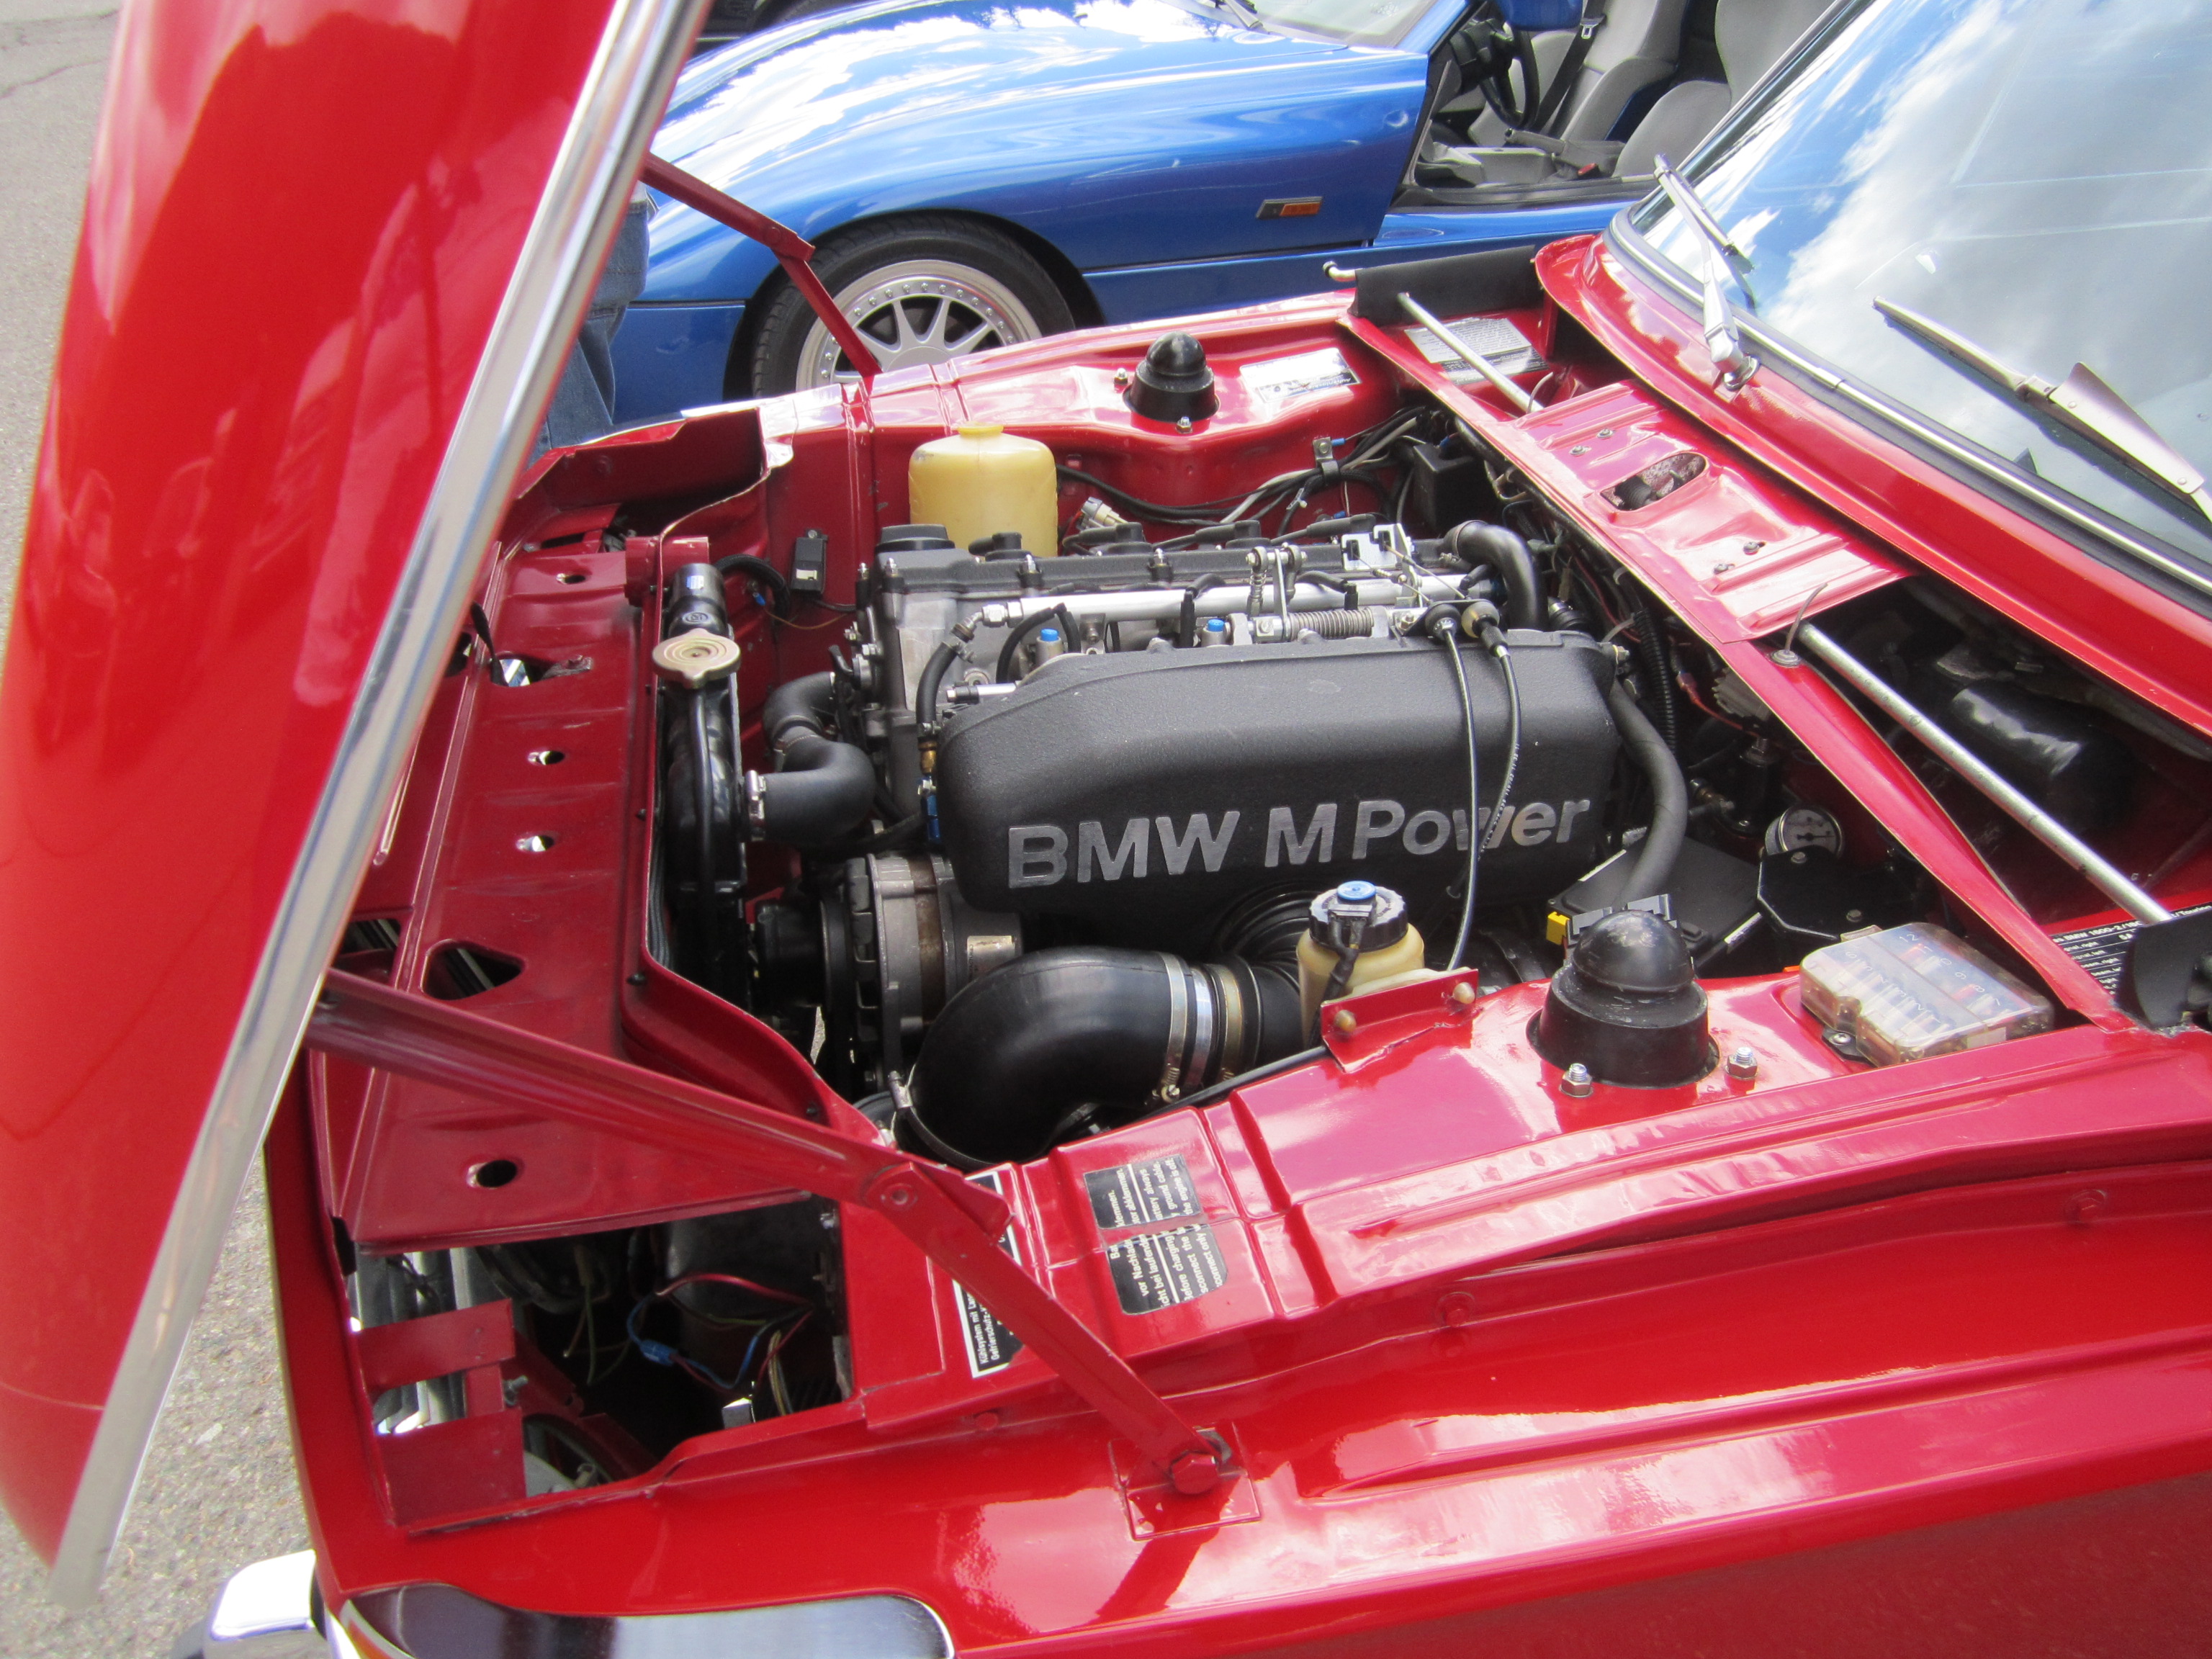
So, after purchasing a used BMW 325i 2002 I decided to check out some common issues that are prevalent in a car with 130,000 miles on it. An oil leak with really worn belts, I still think I got a good deal. During a valve cover gasket replace is a good time to check the ignition coils, spark plugs, a valve cover air circulation and other items. Digging in one saturday morning I felt the task at hand would take about 2 to 3 hours… and it did. Once into the top of the valve head I was very pleasantly surprised to find the the ignition coils were all new and replaced in October of 2013, along with the ignition coil harness with the OEM markings and labels. the valve cover gasket was replaced, along with all belts and pulley wheels with the tensioner too. everything went very smoothly and went together quickly after the part replacement.
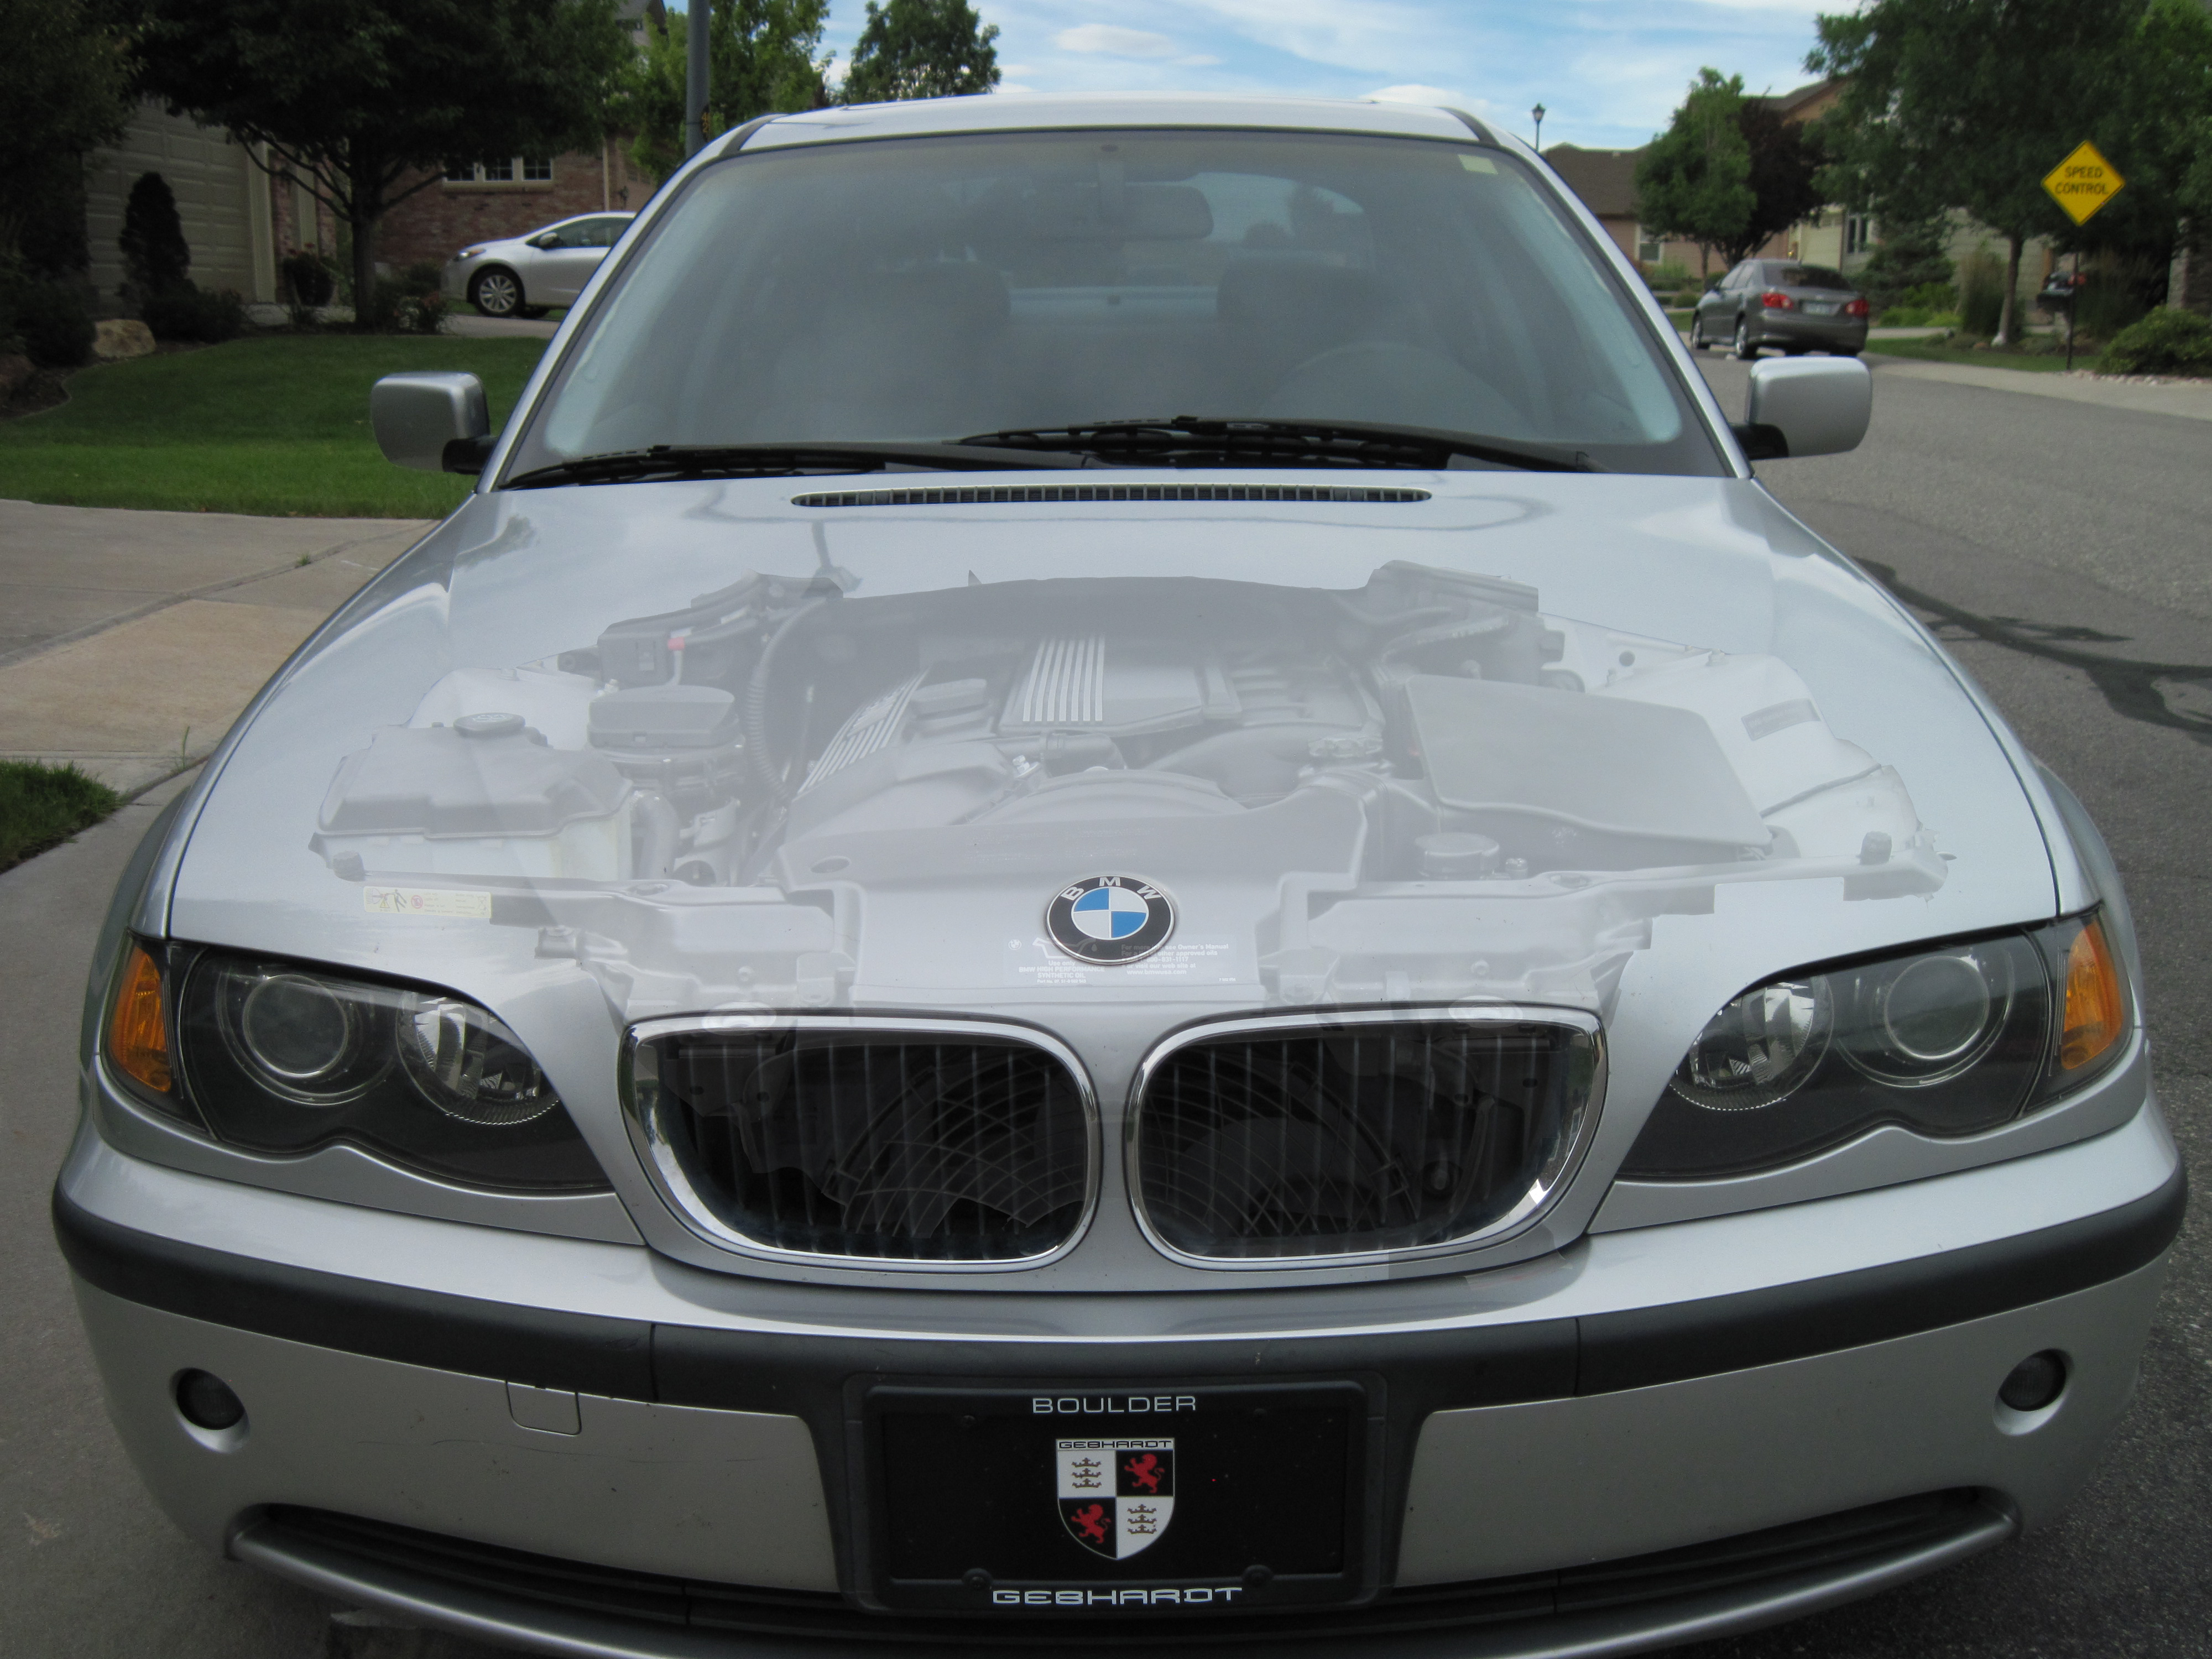
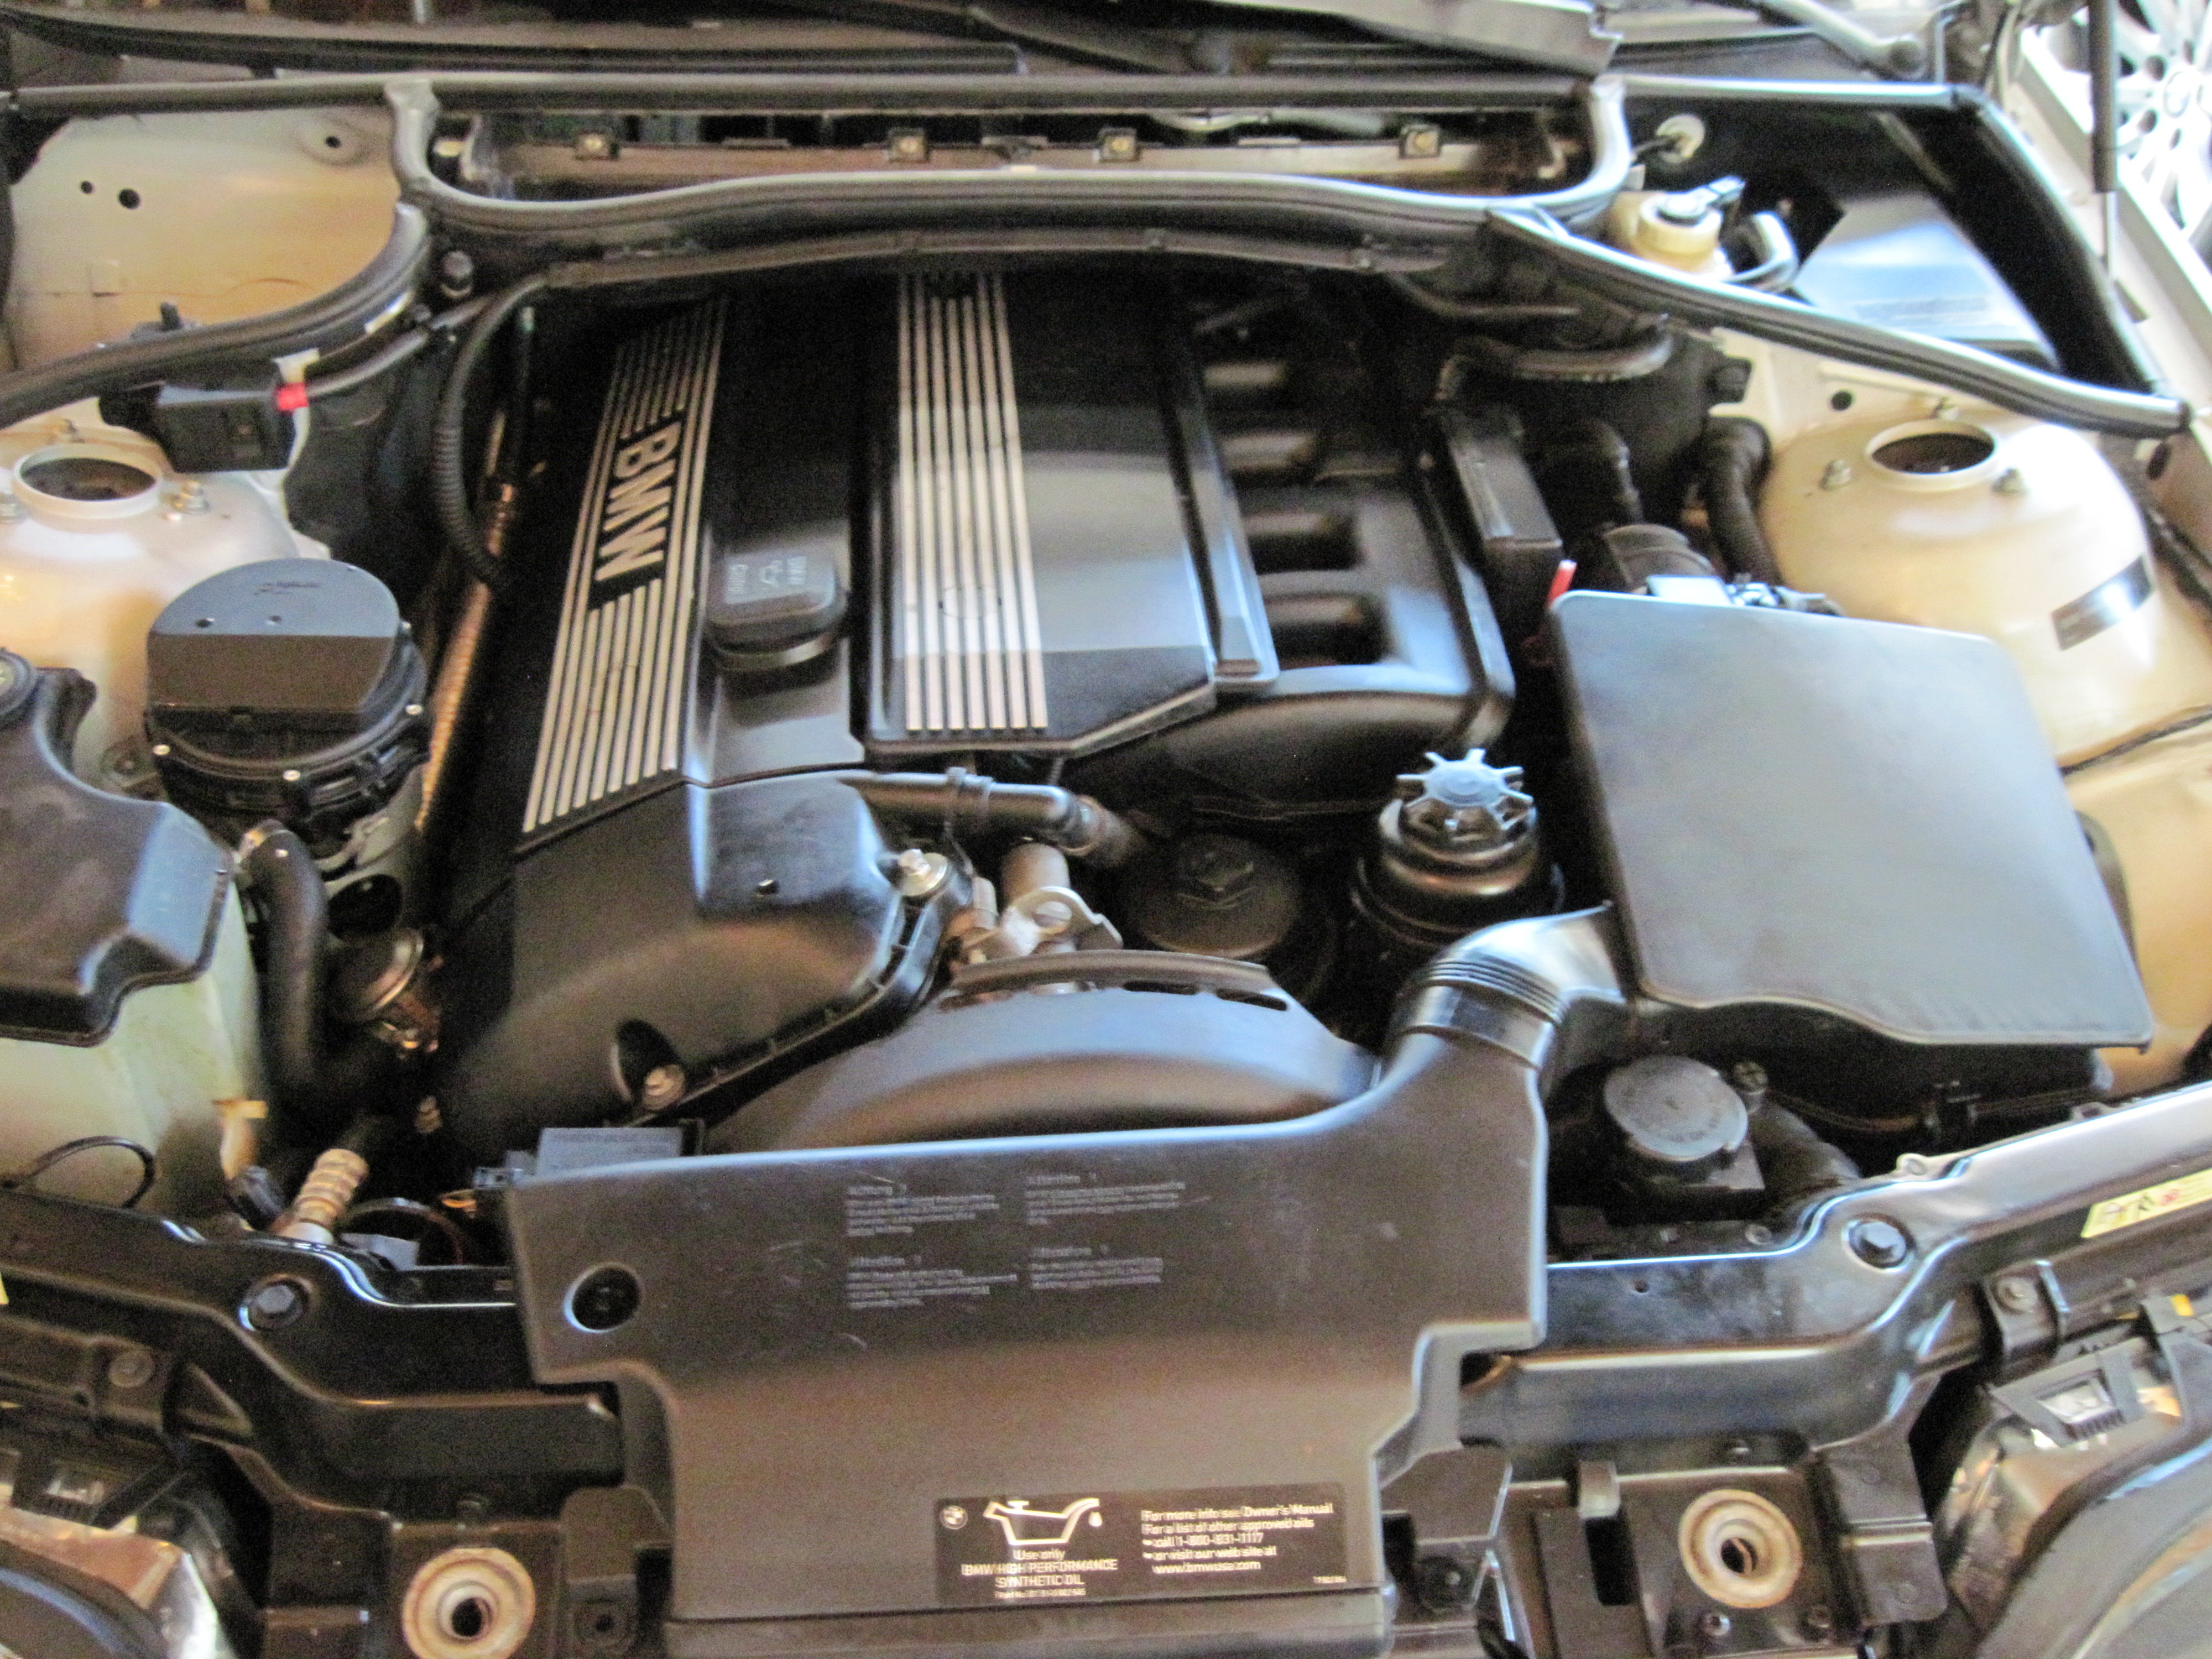
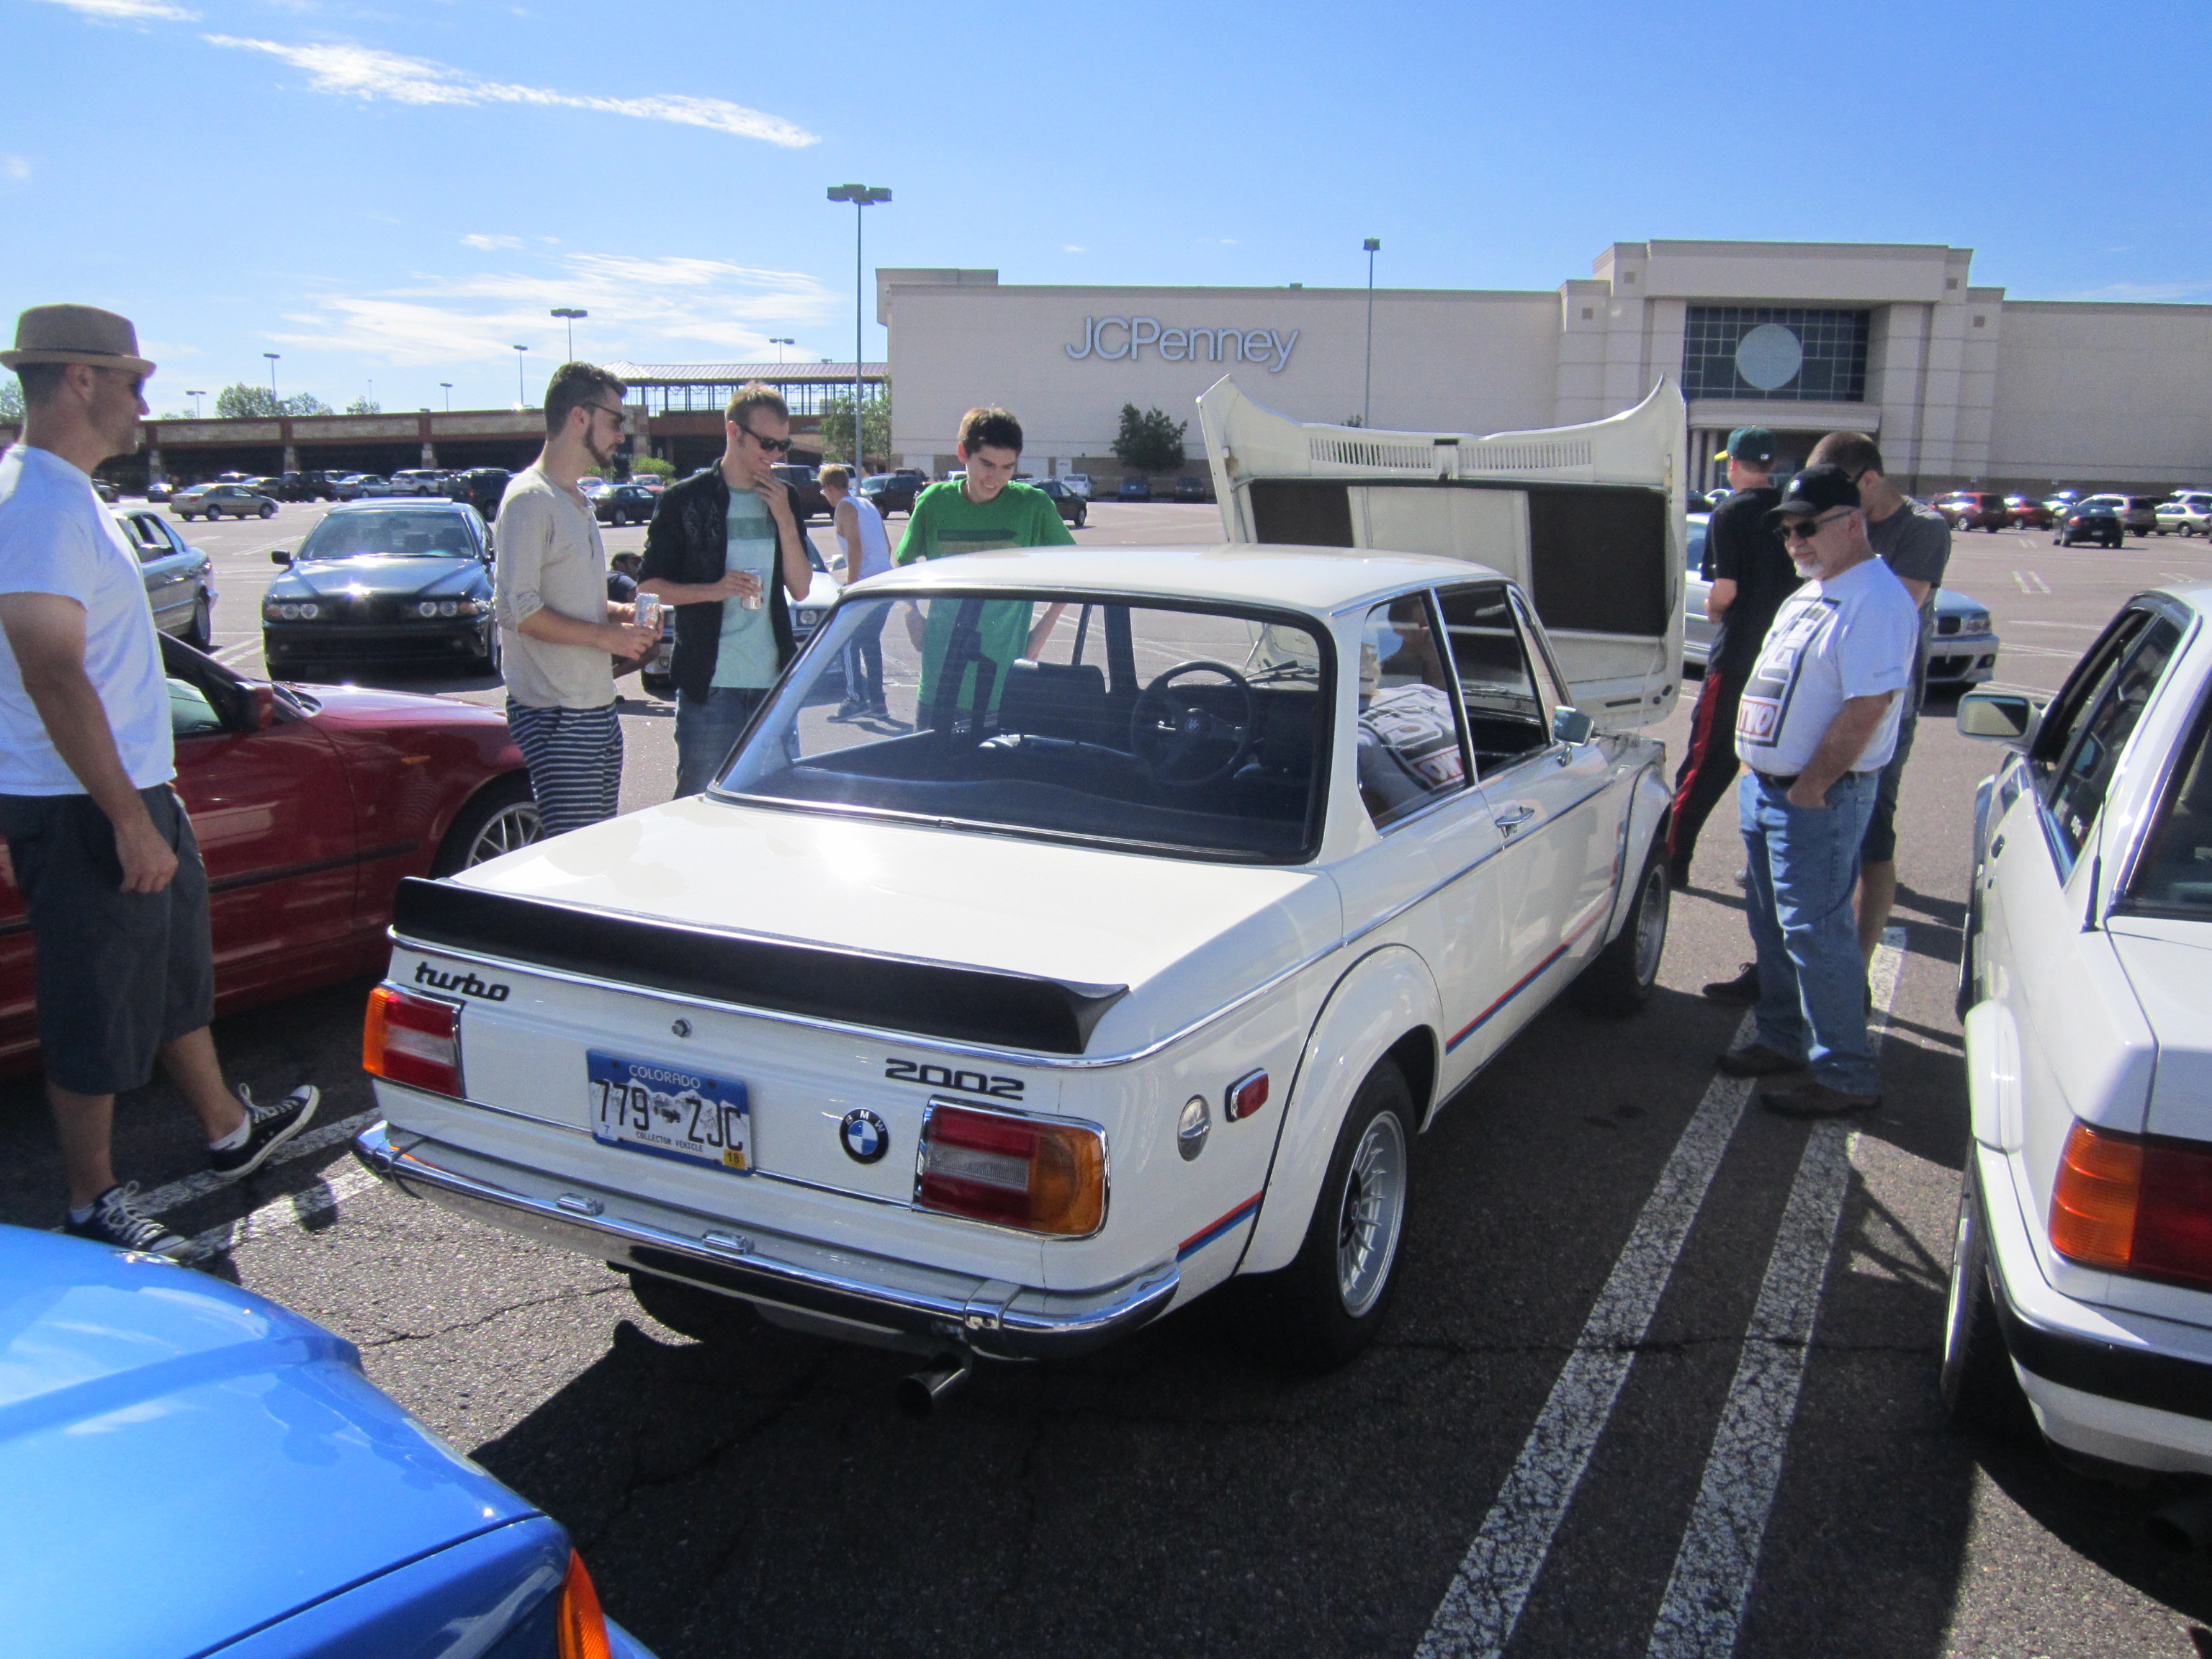
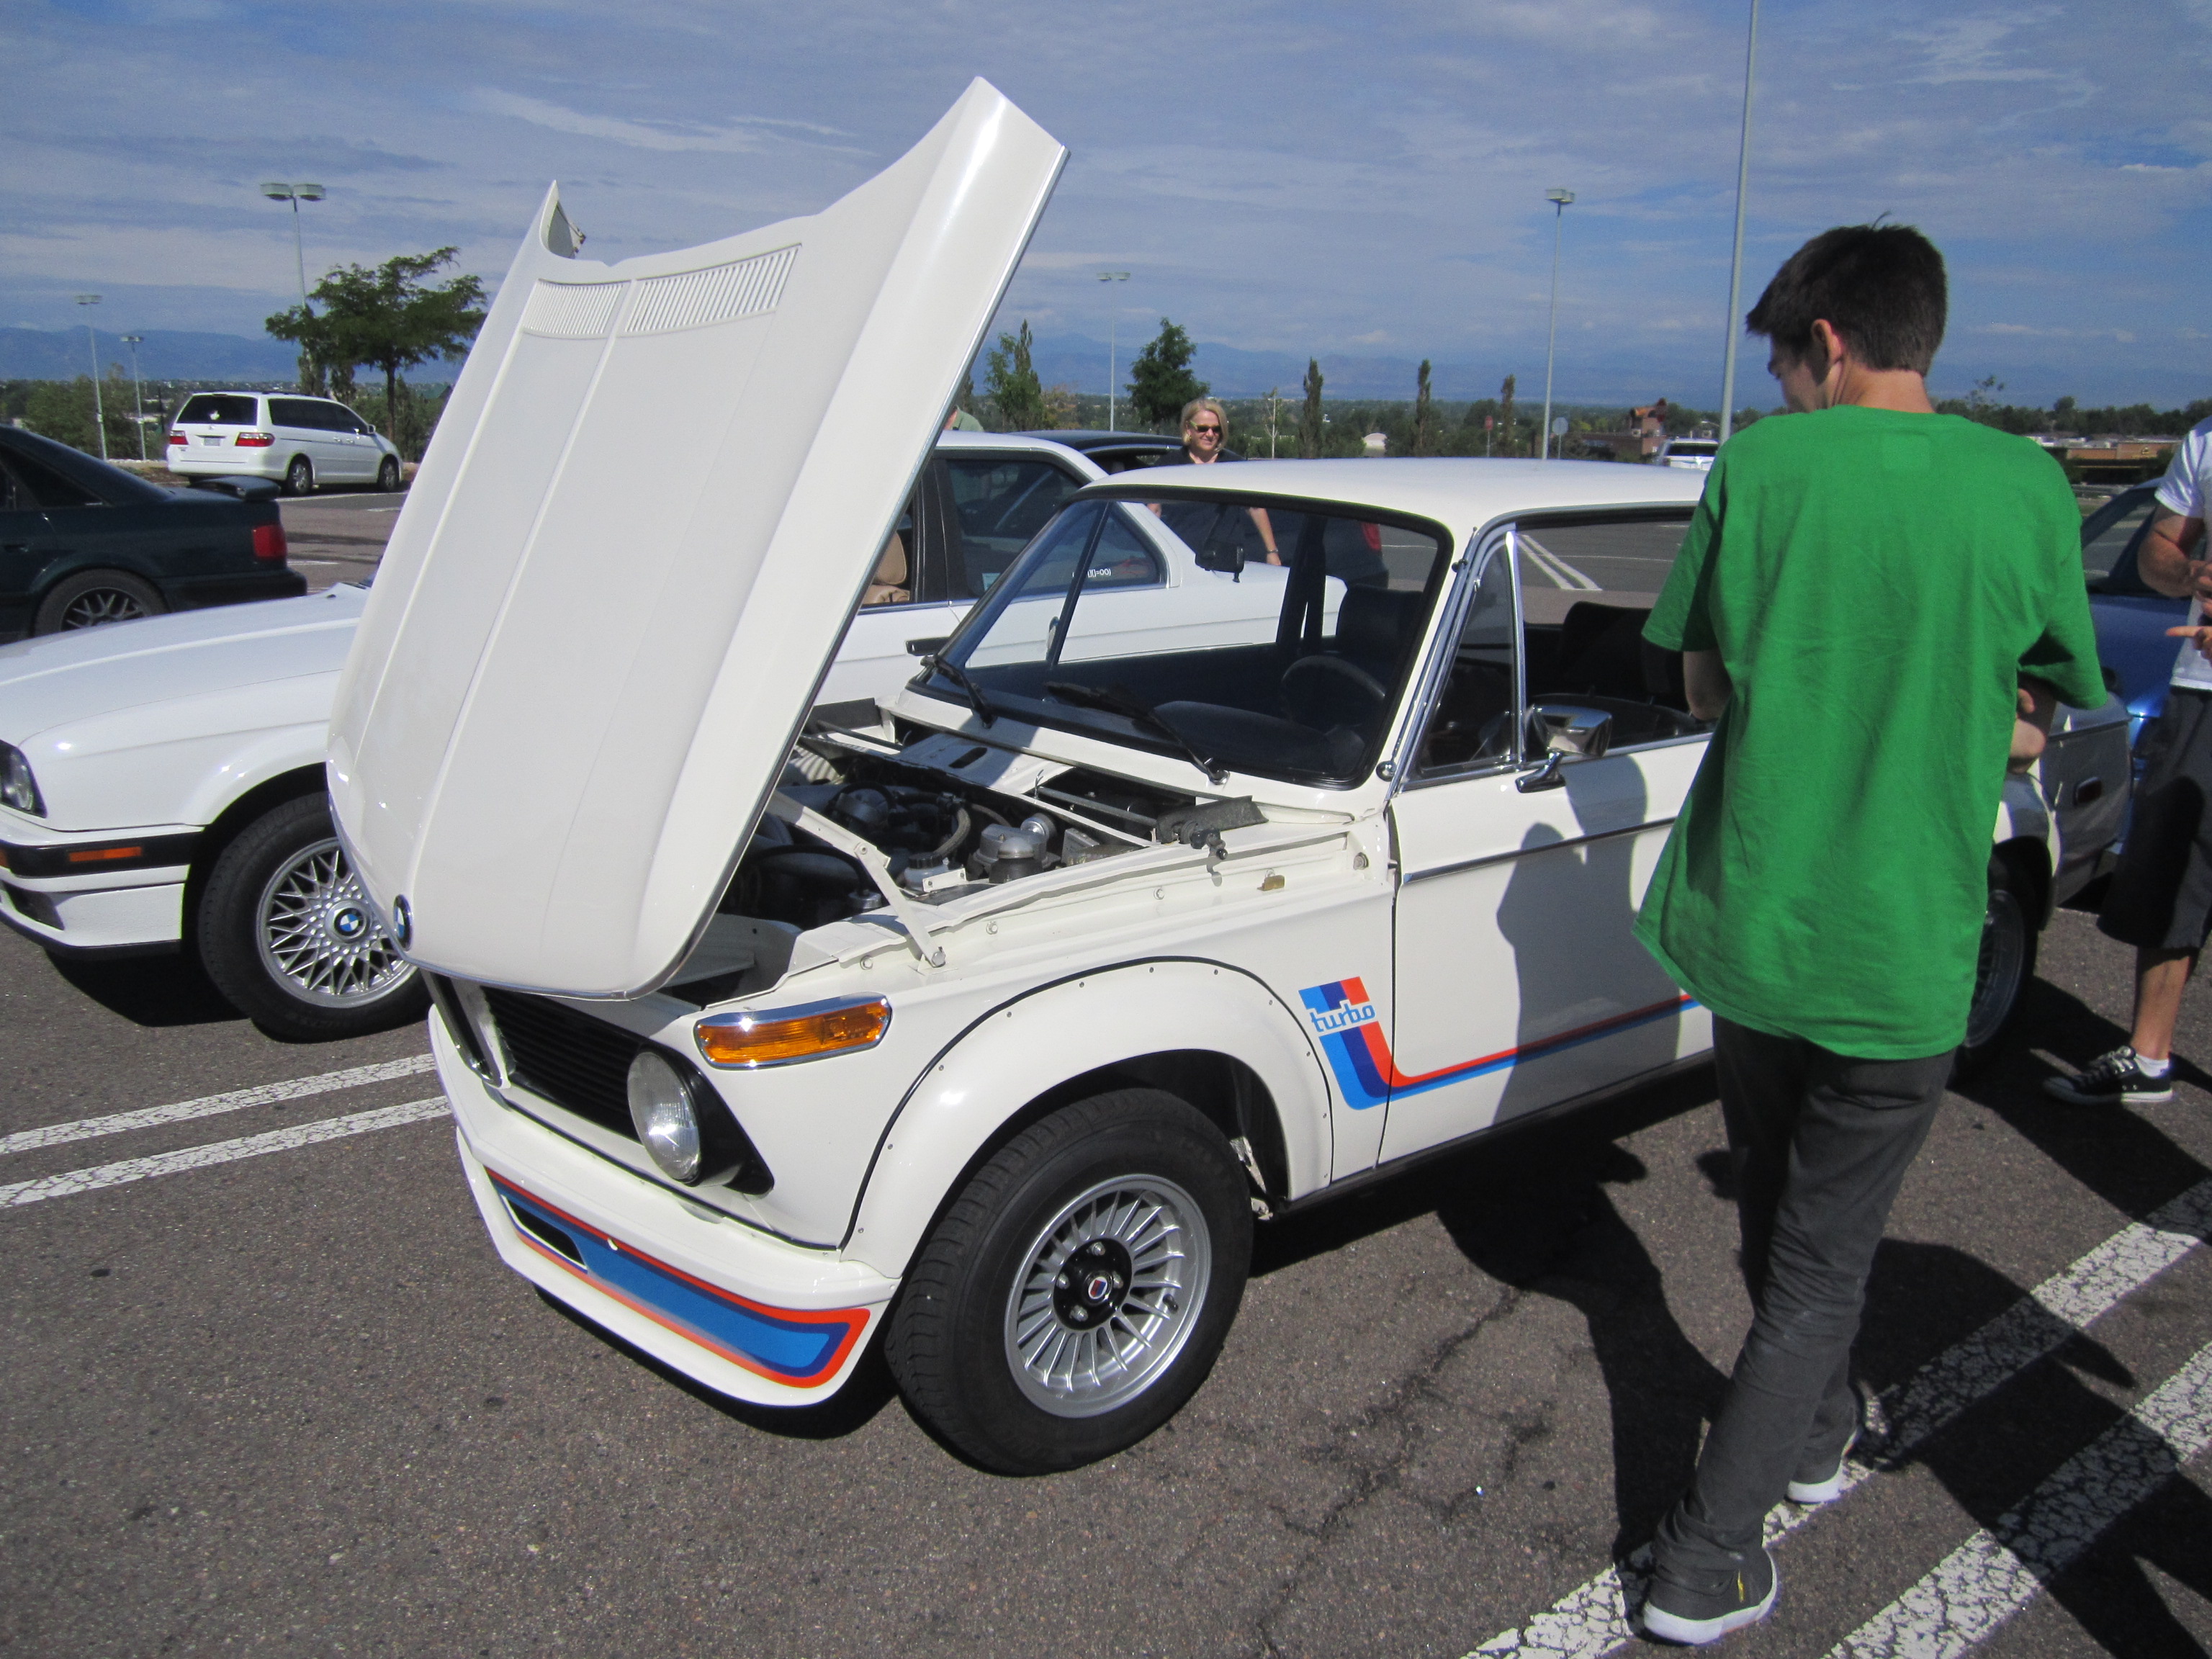
This was a fun photoshop of the engine and the hood closed… I made the engine 40% transparent and the layered the engine on top of the photo of the Bimmer with the hood closed… click on the photo to really see the detail as it will pop open in full size.
Cover for the valve head looked great, no heavy slug from water in the oil and the air circulatory tubes were also replace.
Removing the spark plugs to check the condition… they all looked great and must have been replaced when the ignition coils were done… no wonder i am getting 25 miles to the gallon!
The Vanos pump will need a rebuild soon as if seems to be leaking from the seals.
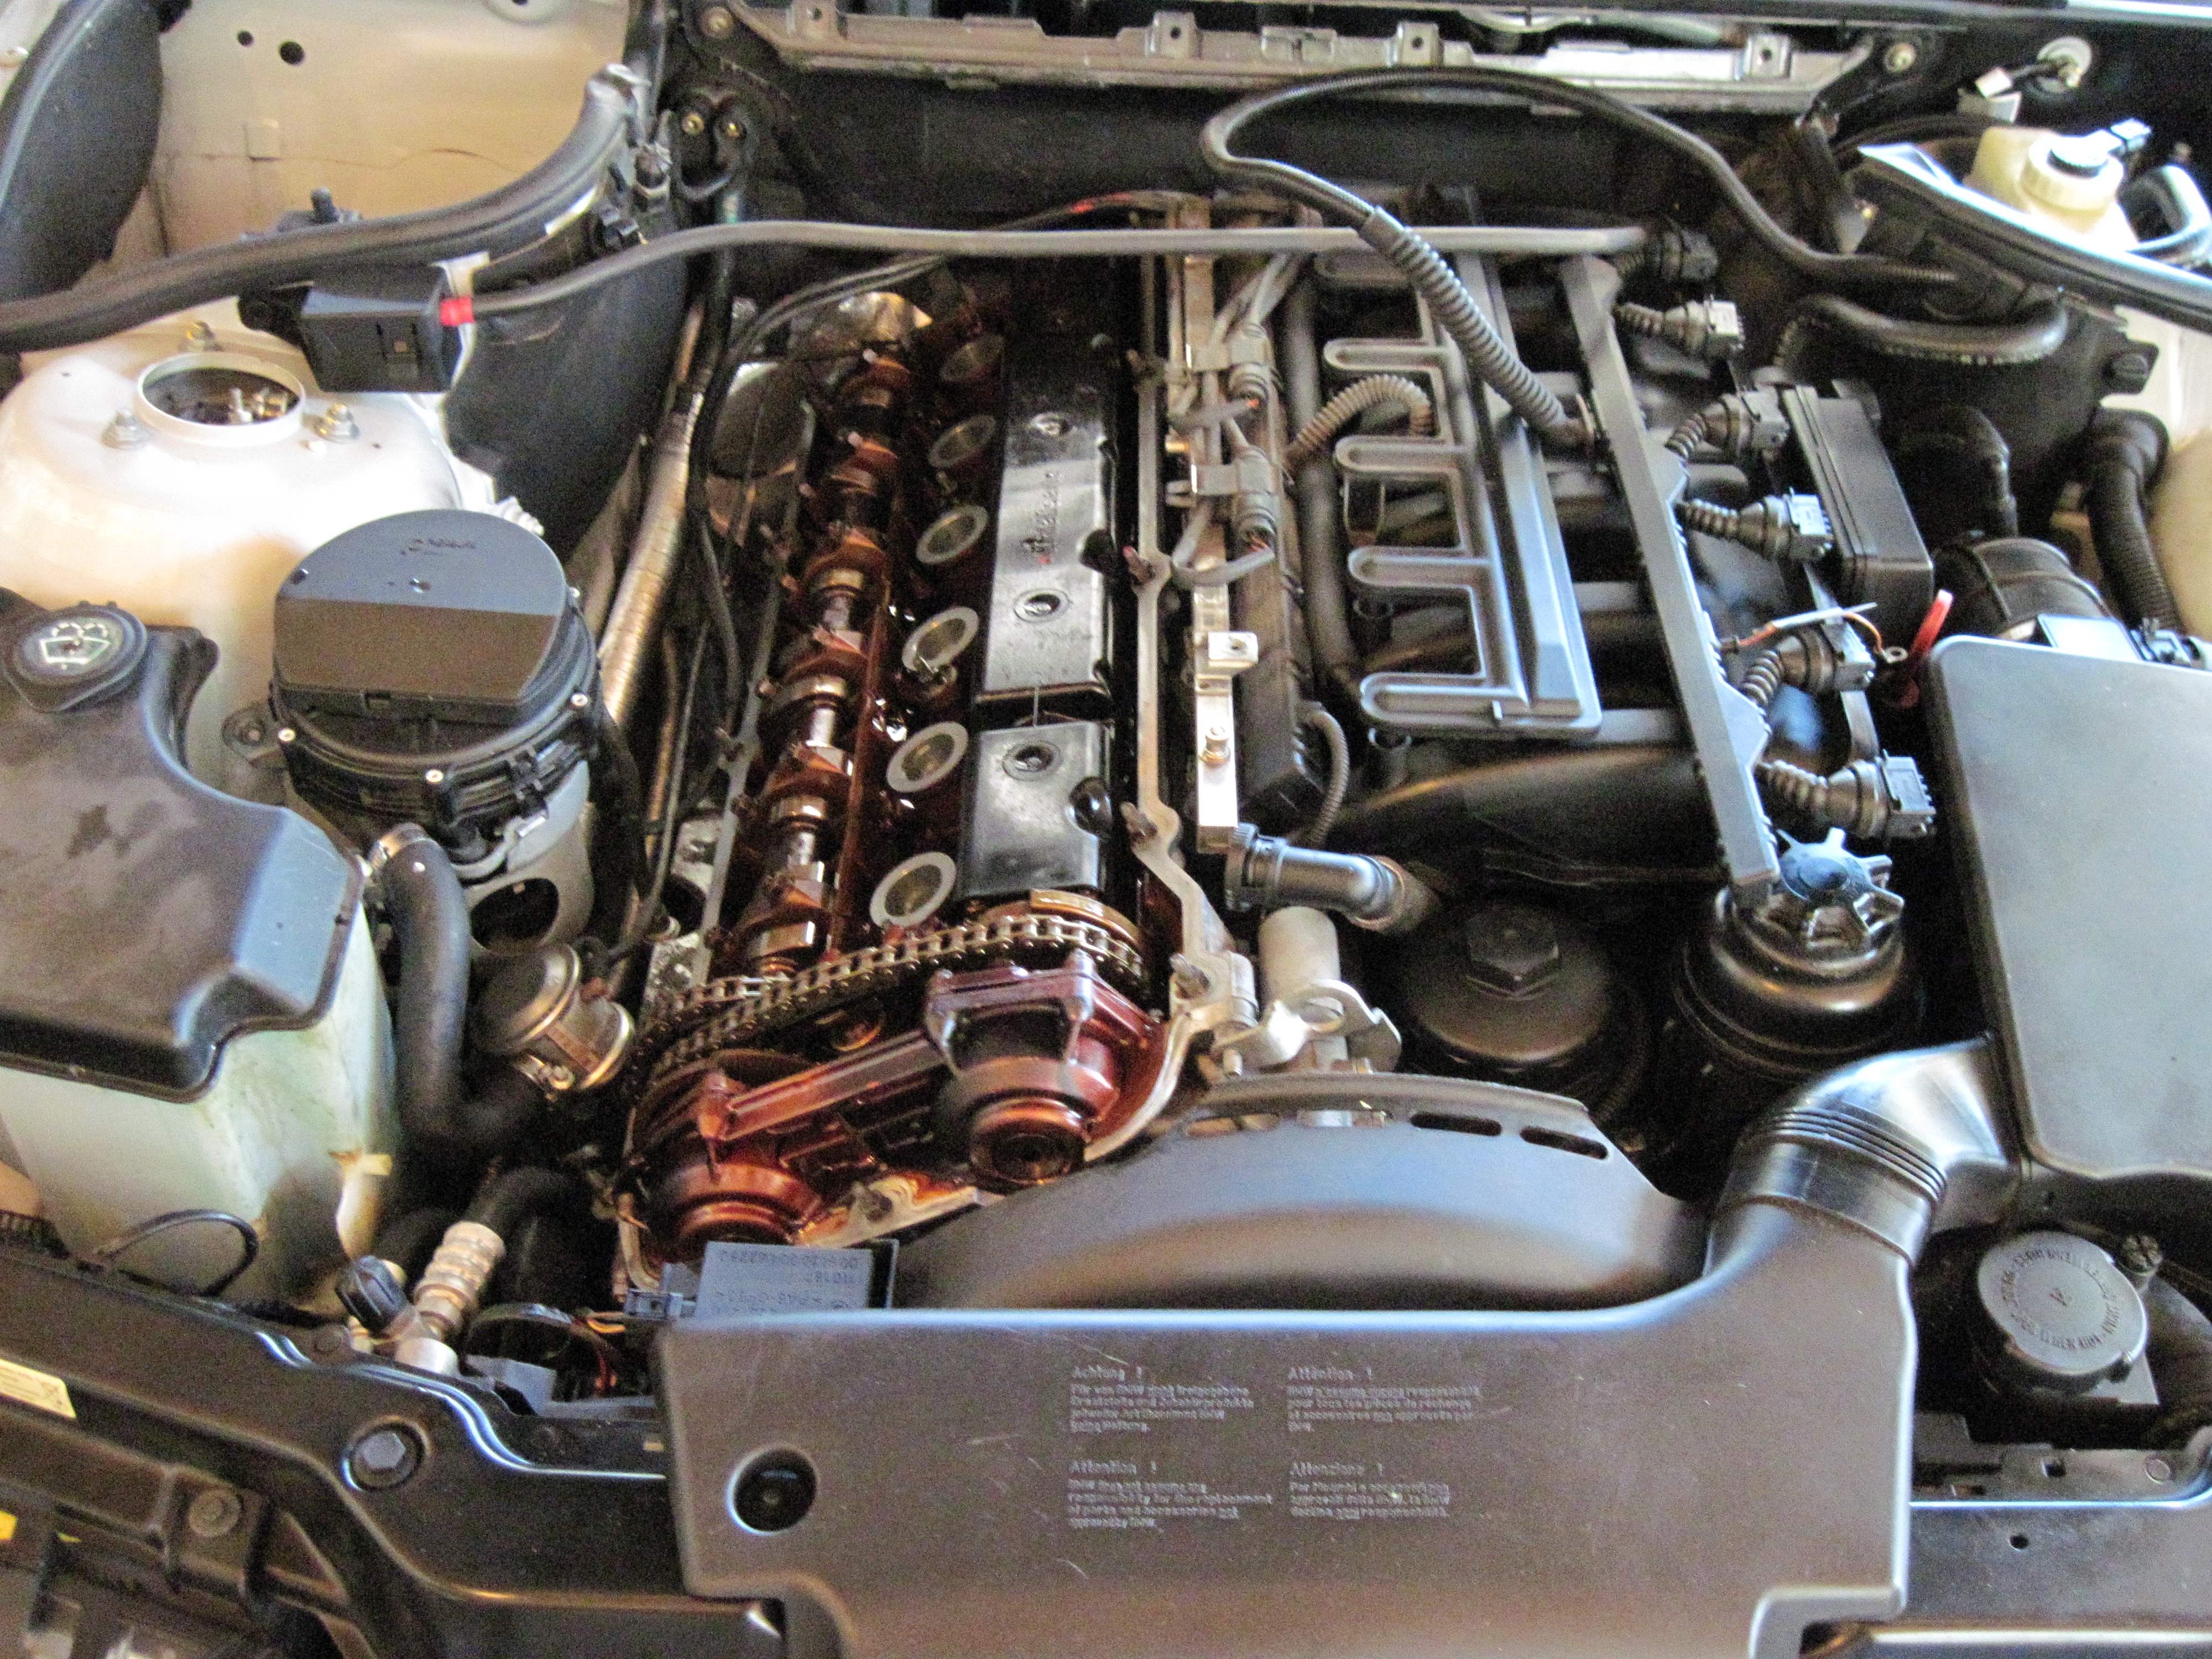
All back together minus the air cabin filter housing… since I had a new one, I replaced that too… it was full of dirt and road grim… so it was time.
open hood closed hood… mating the two images is how I got the first image of the car with the “like” see through hood!
Sports package = Sports rims, sports suspension, bucket seats, three spoke steering wheel, lowered about 2 inches compared to a normal 325i and a Harmon Kardon sound system. Not to bad for a commuter car! Next up will be to inspect the wheel bushings and brakes….
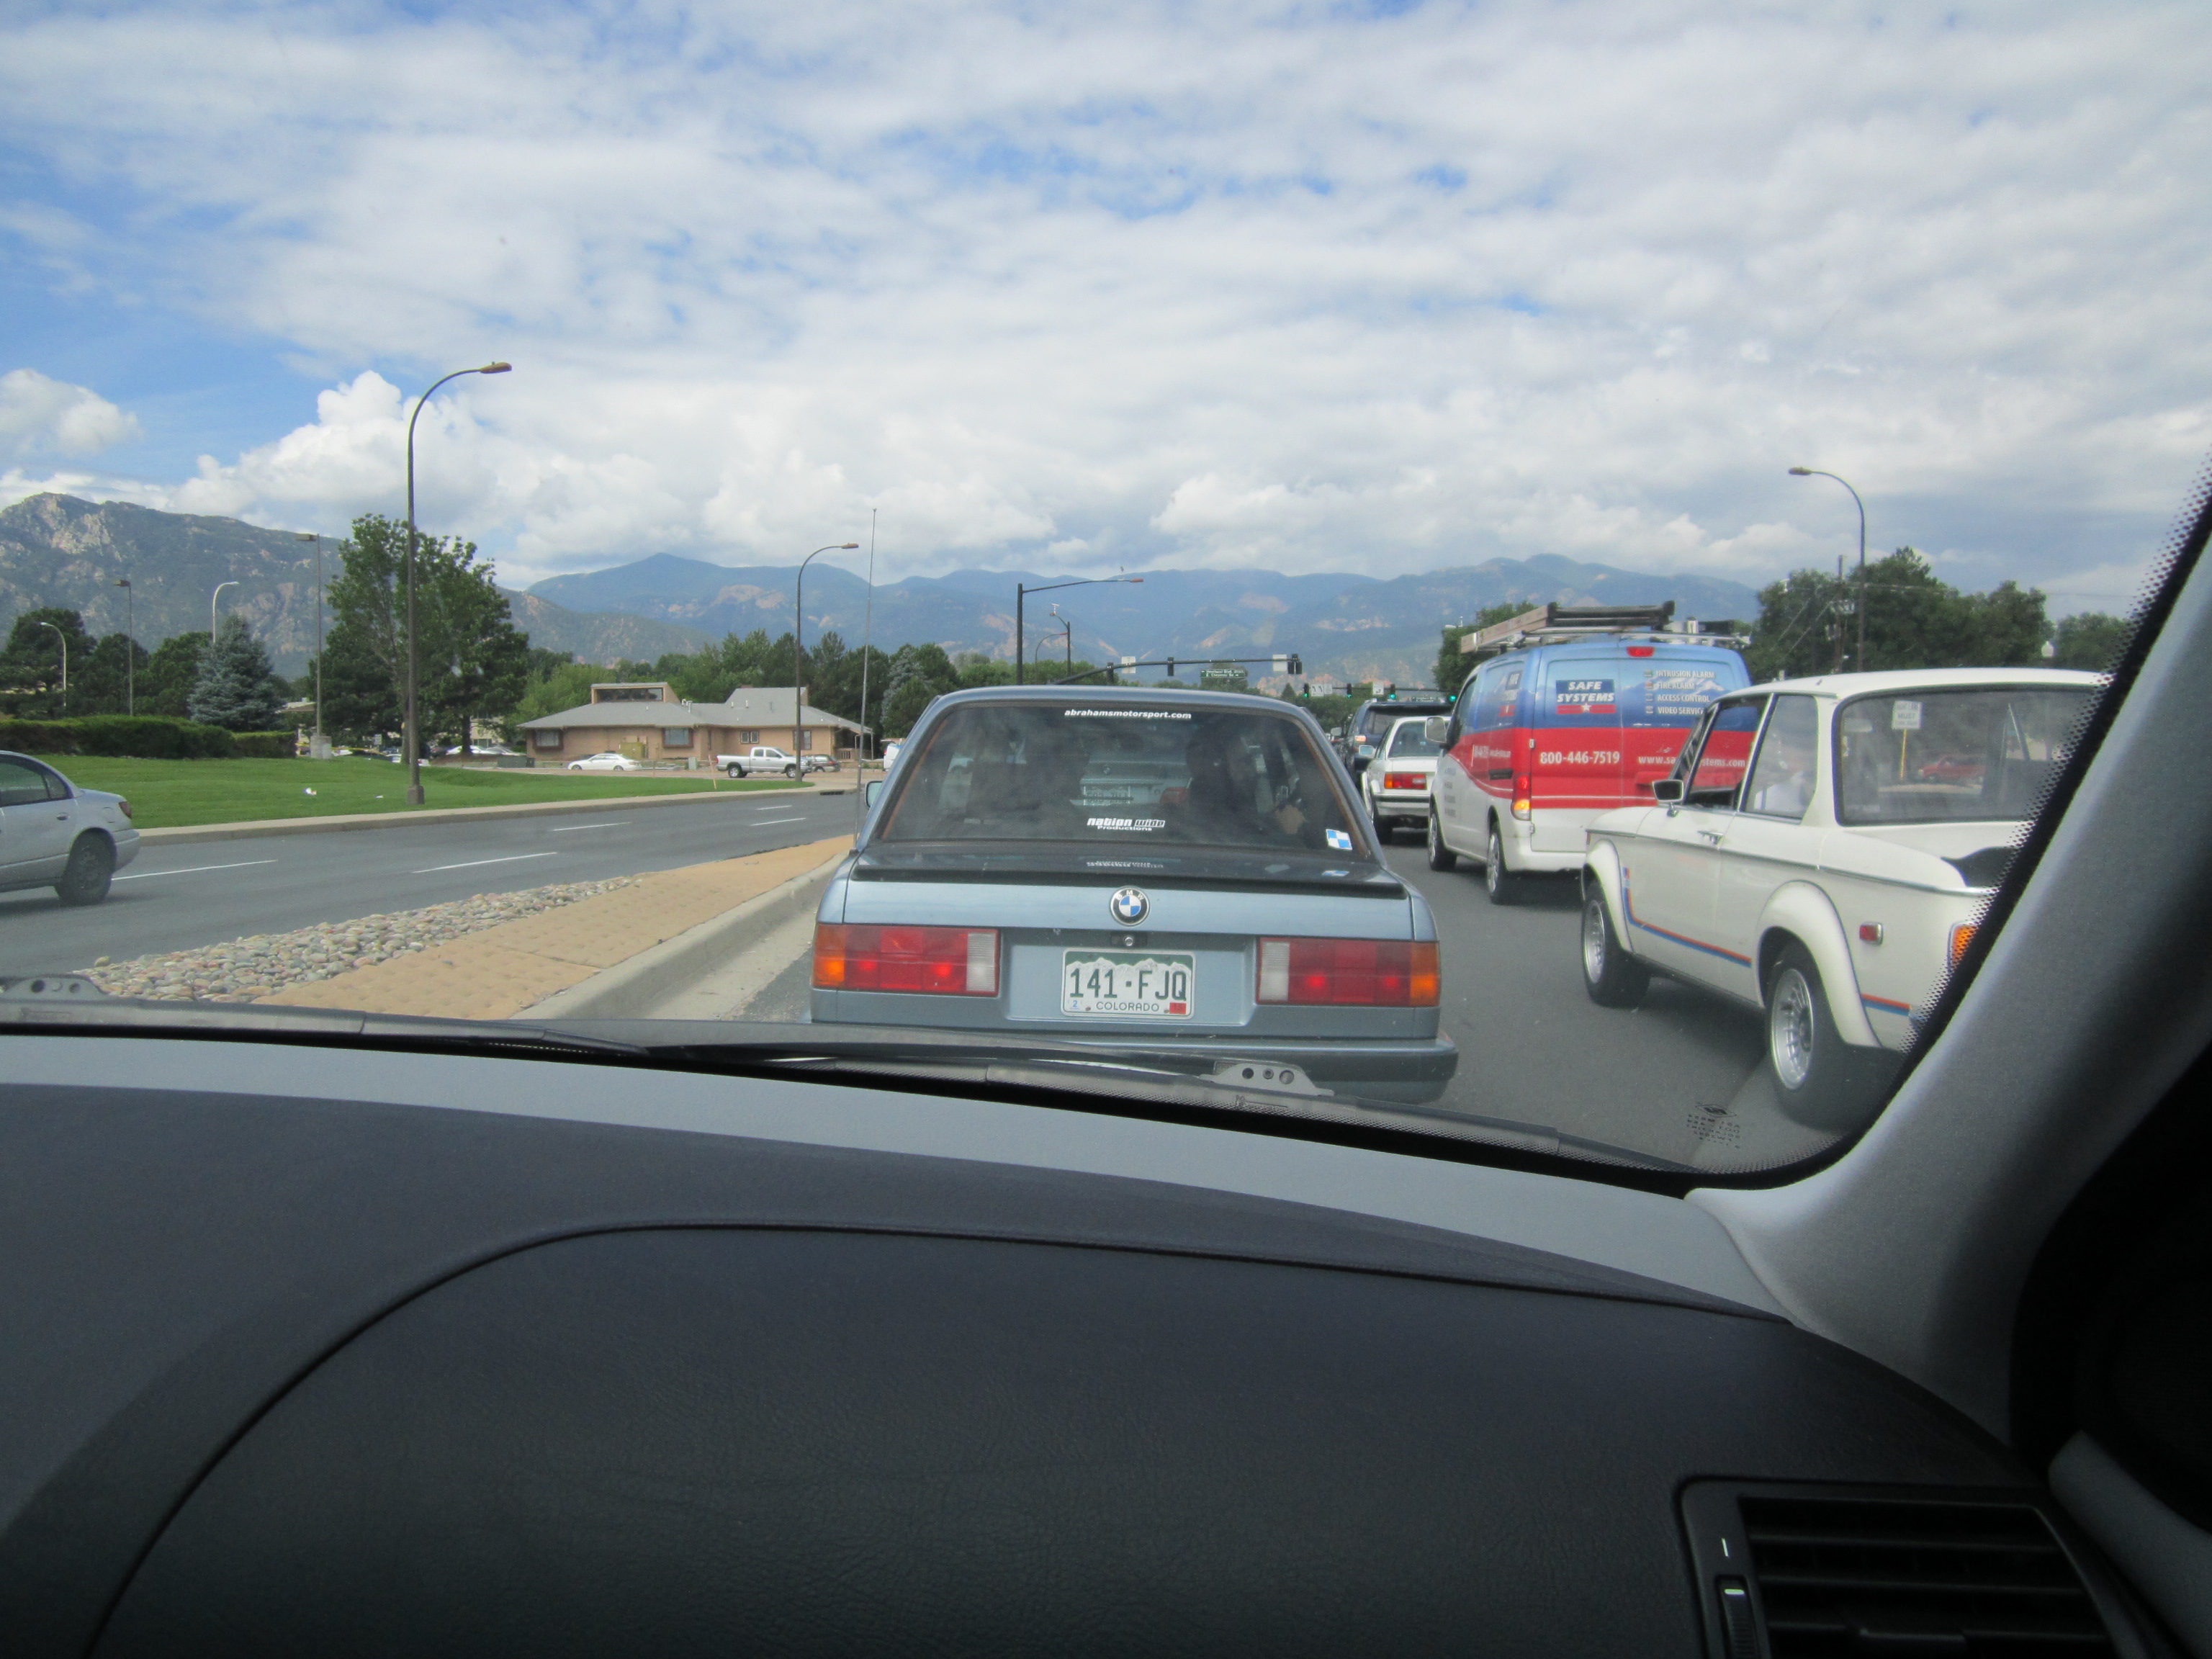
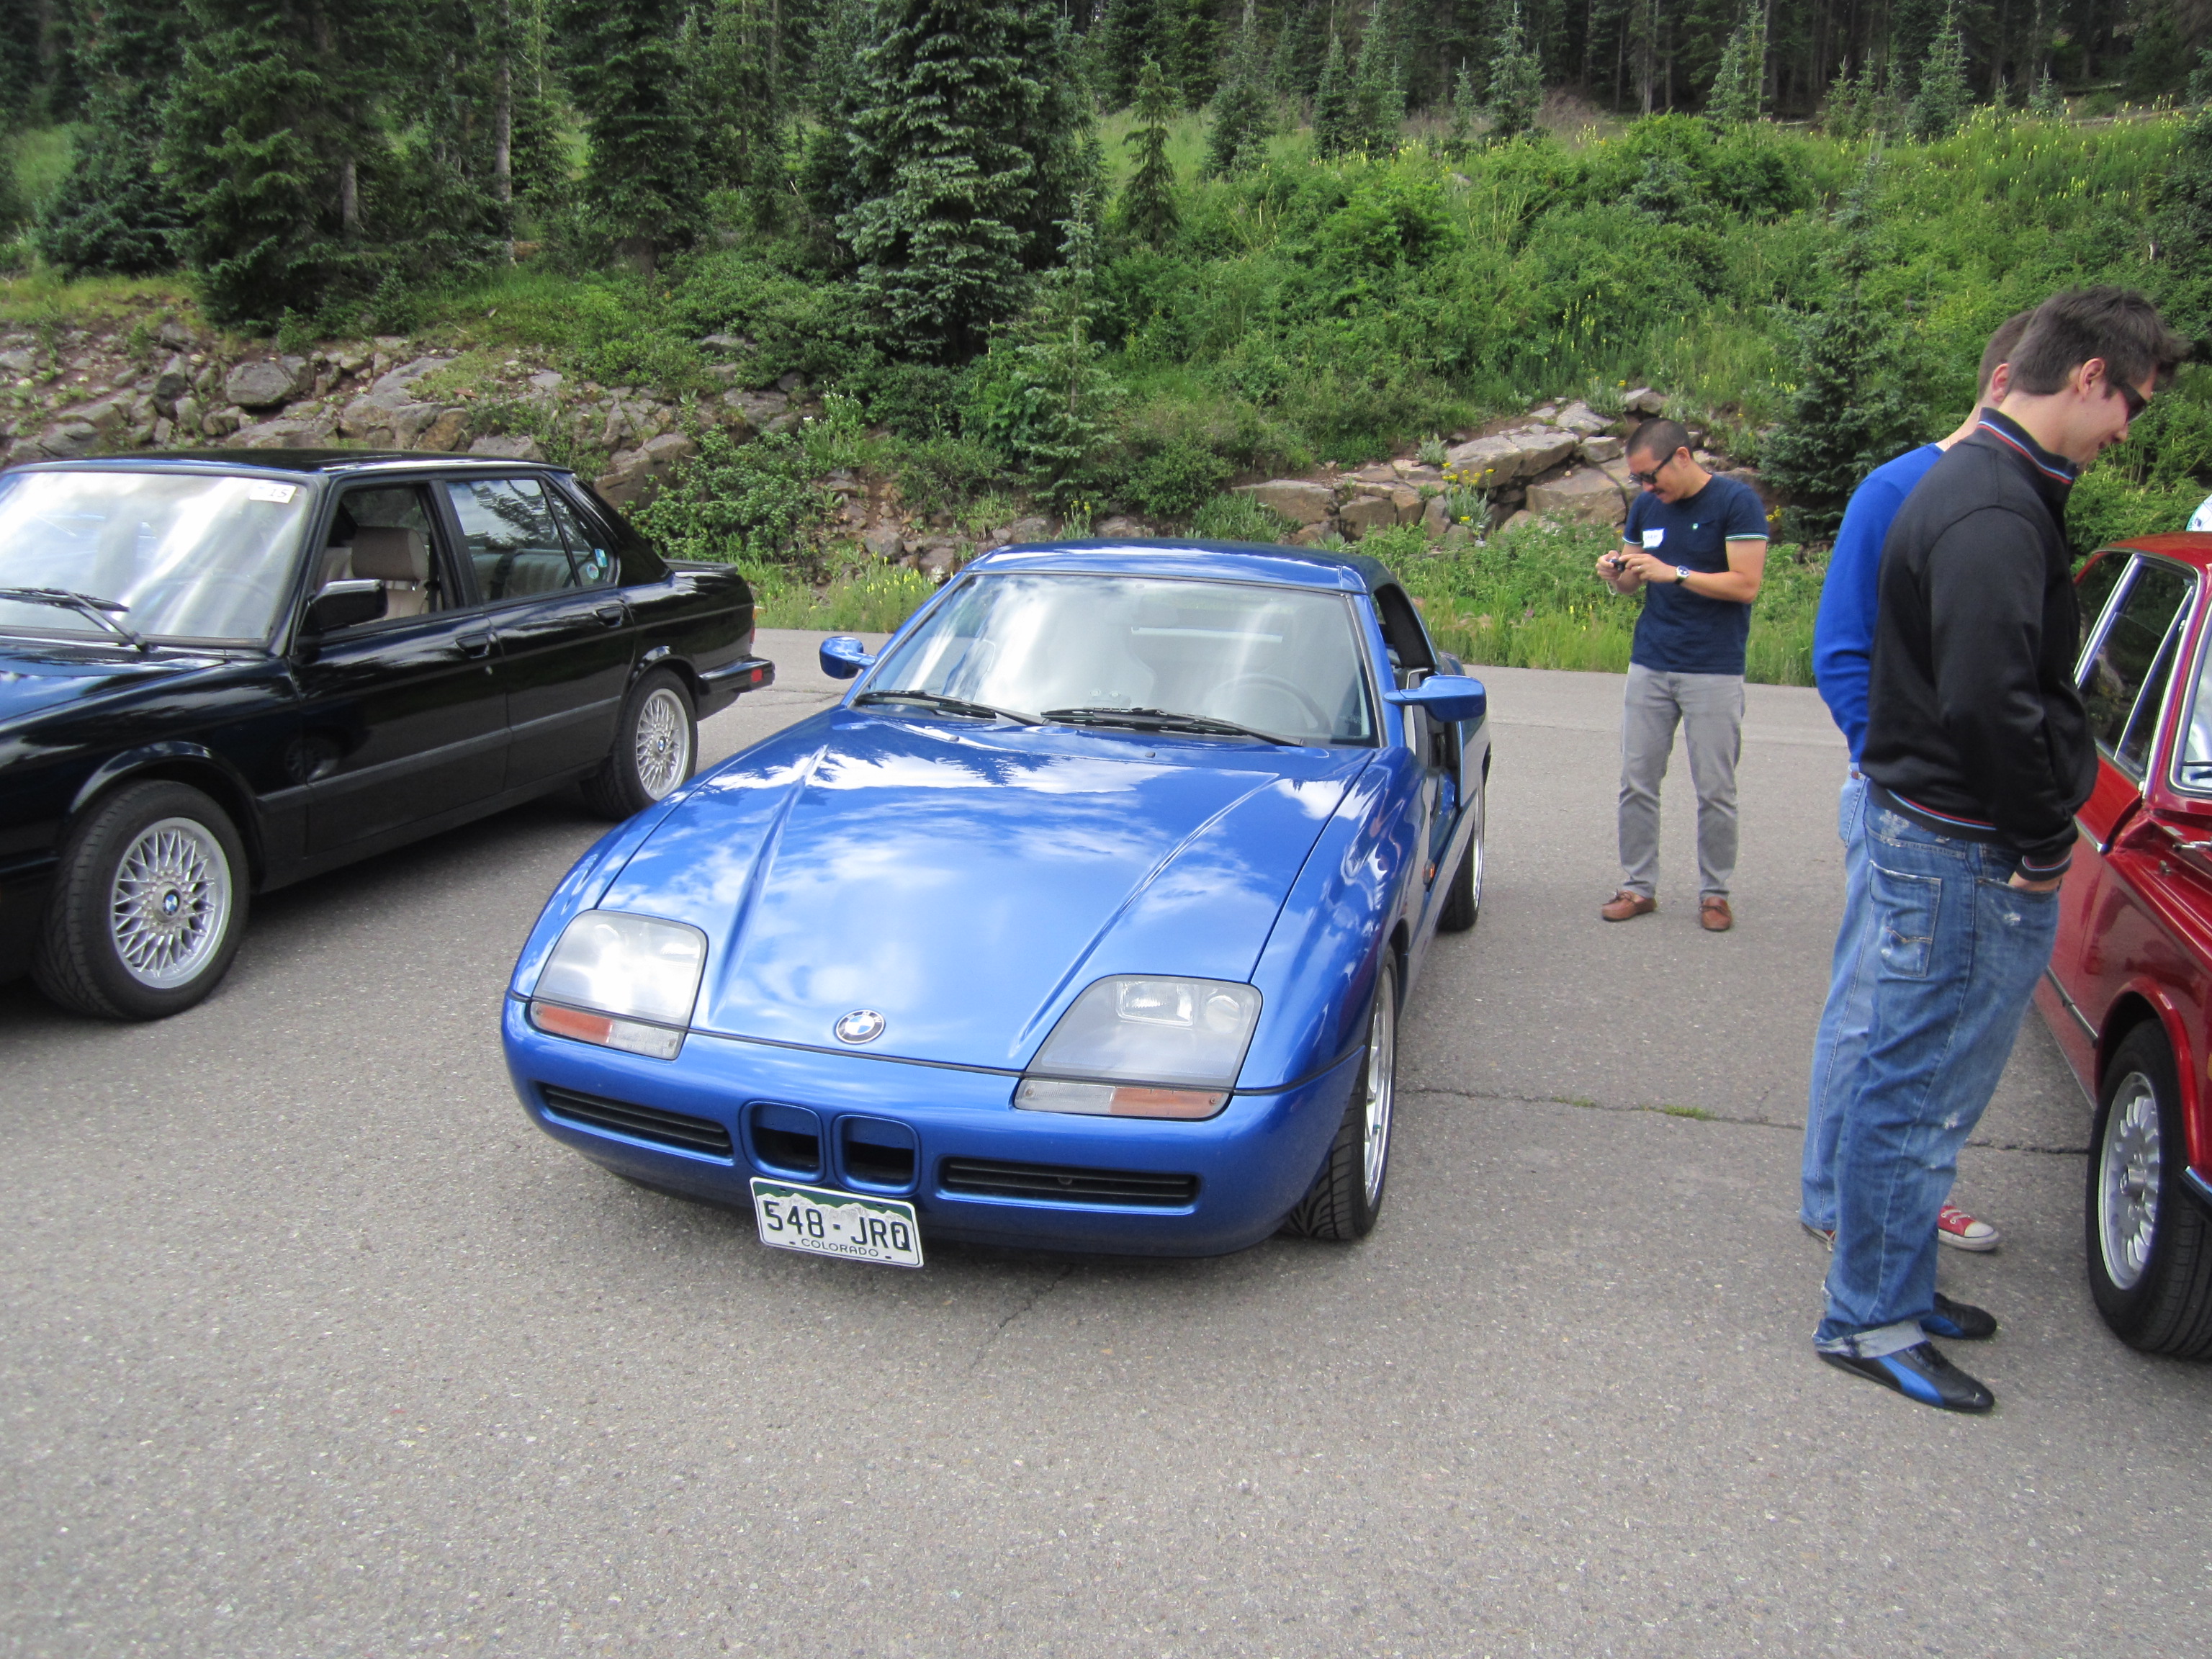
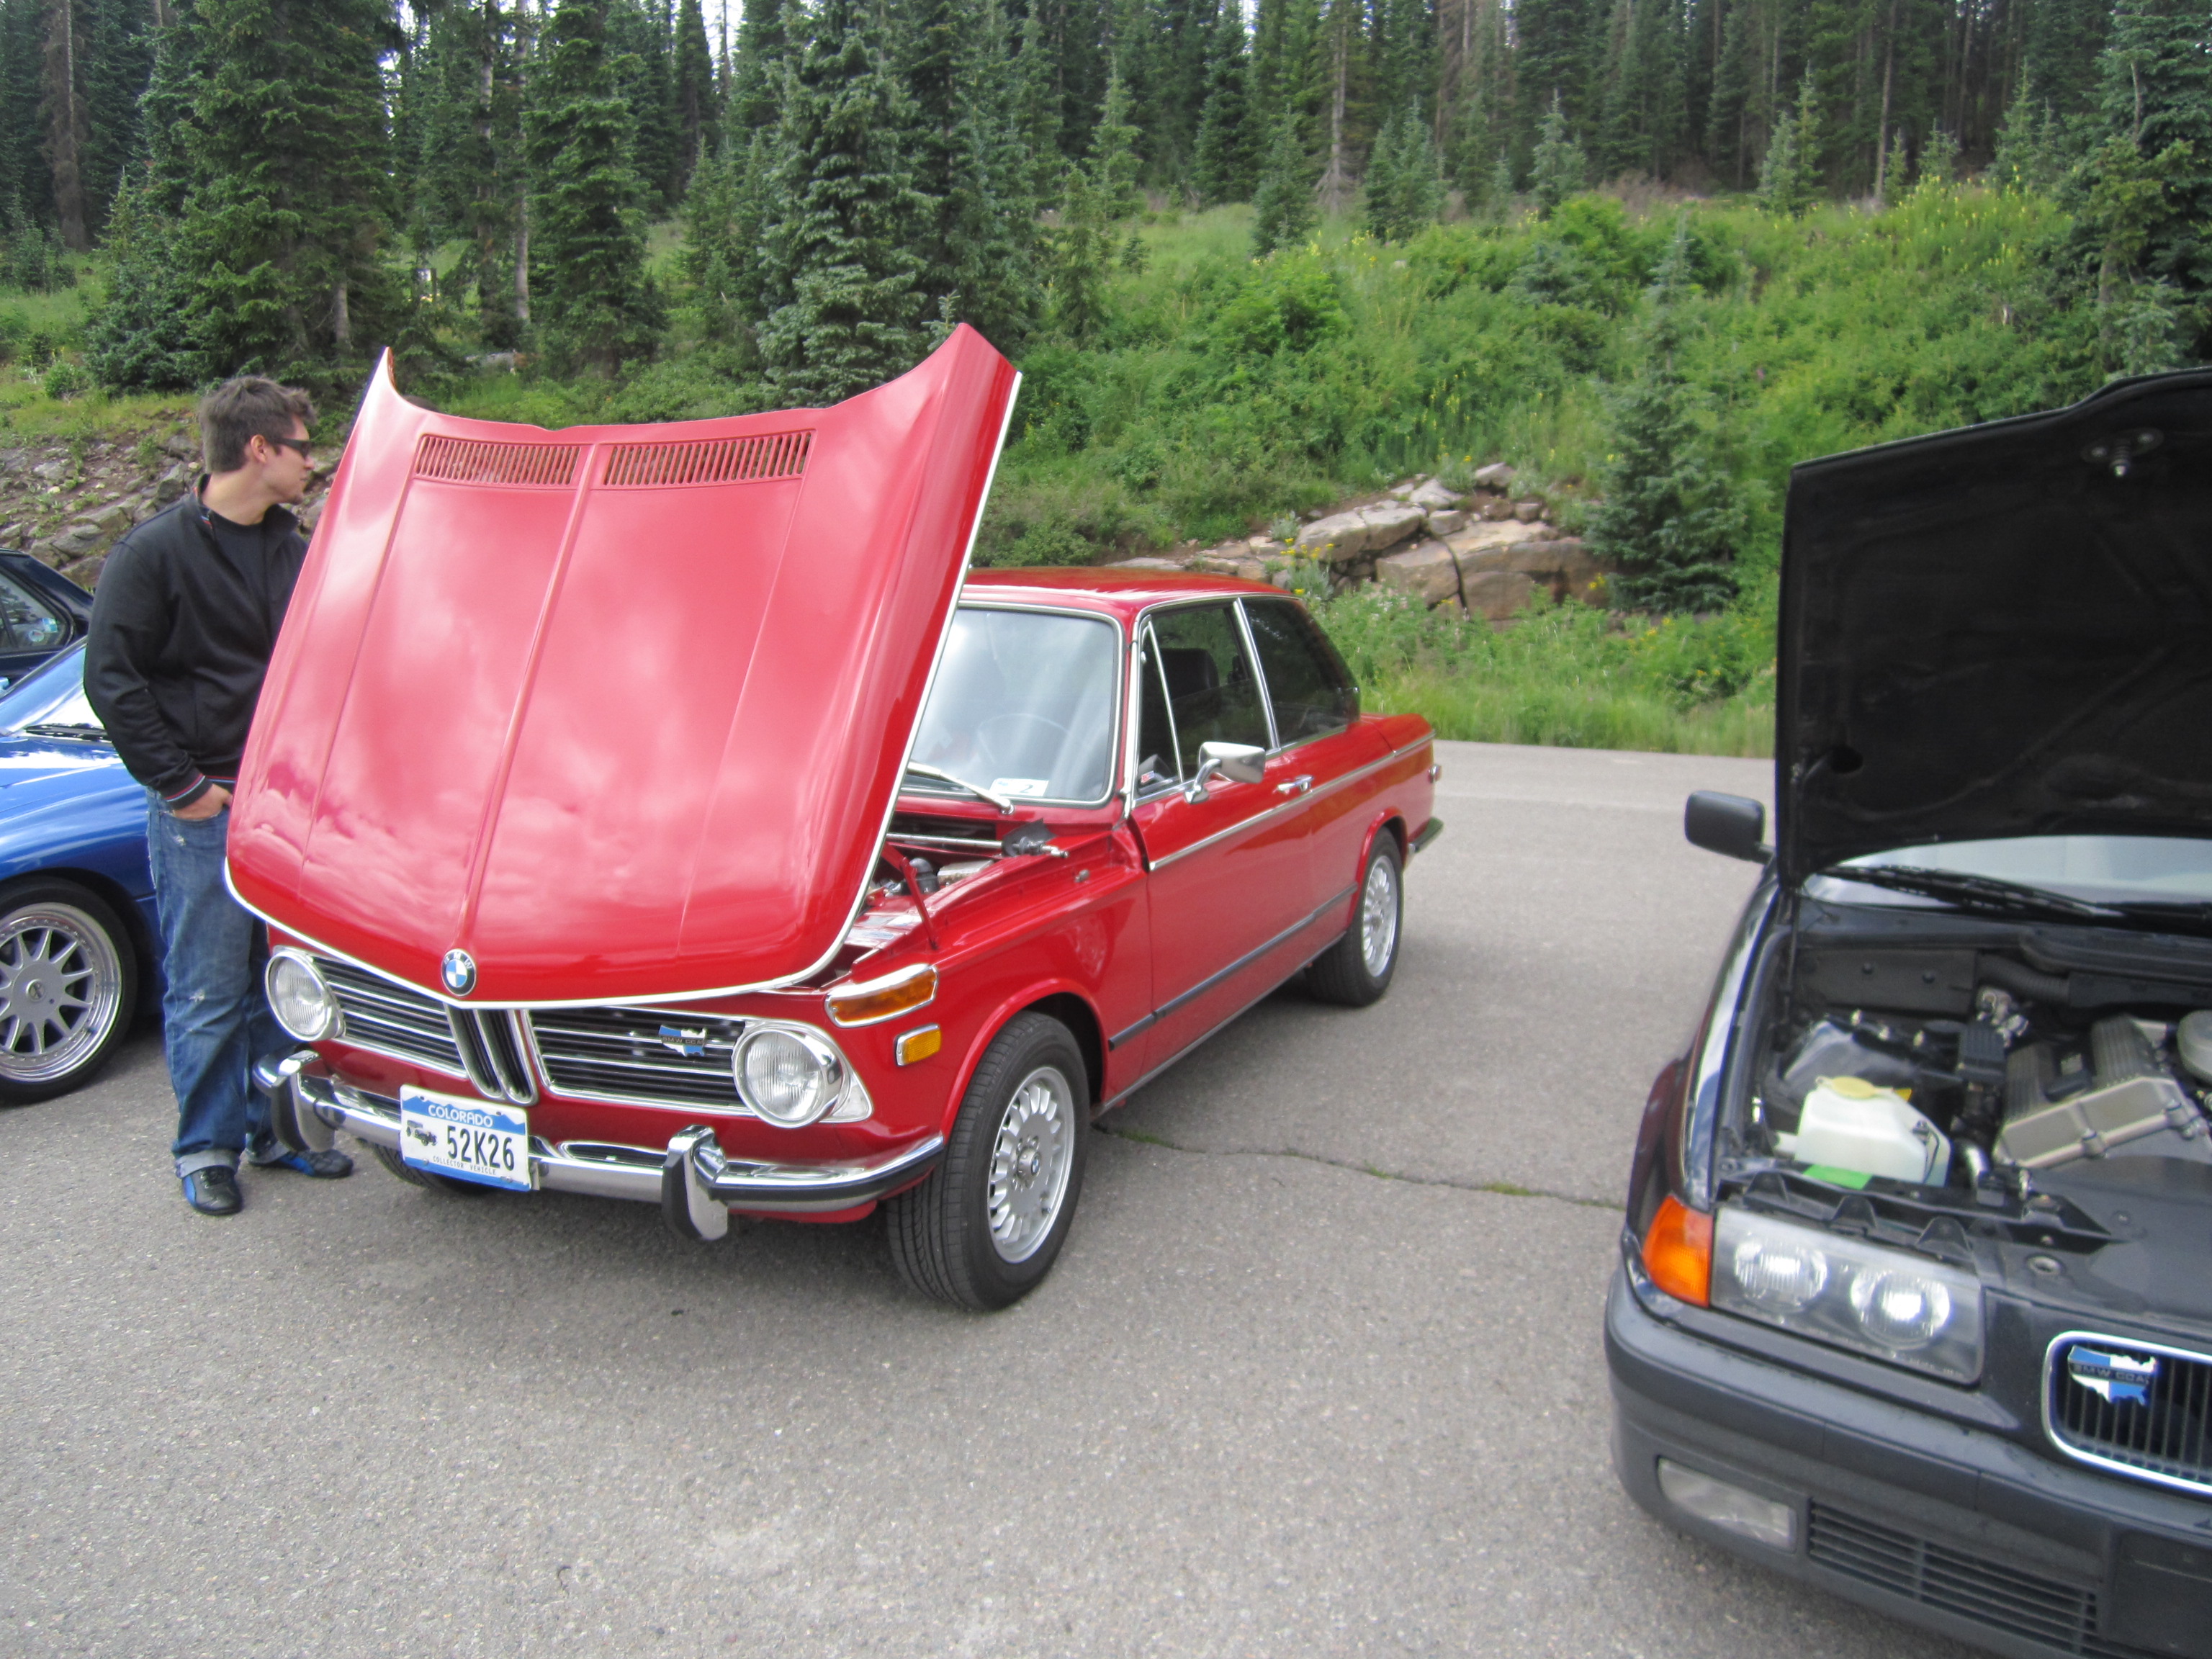
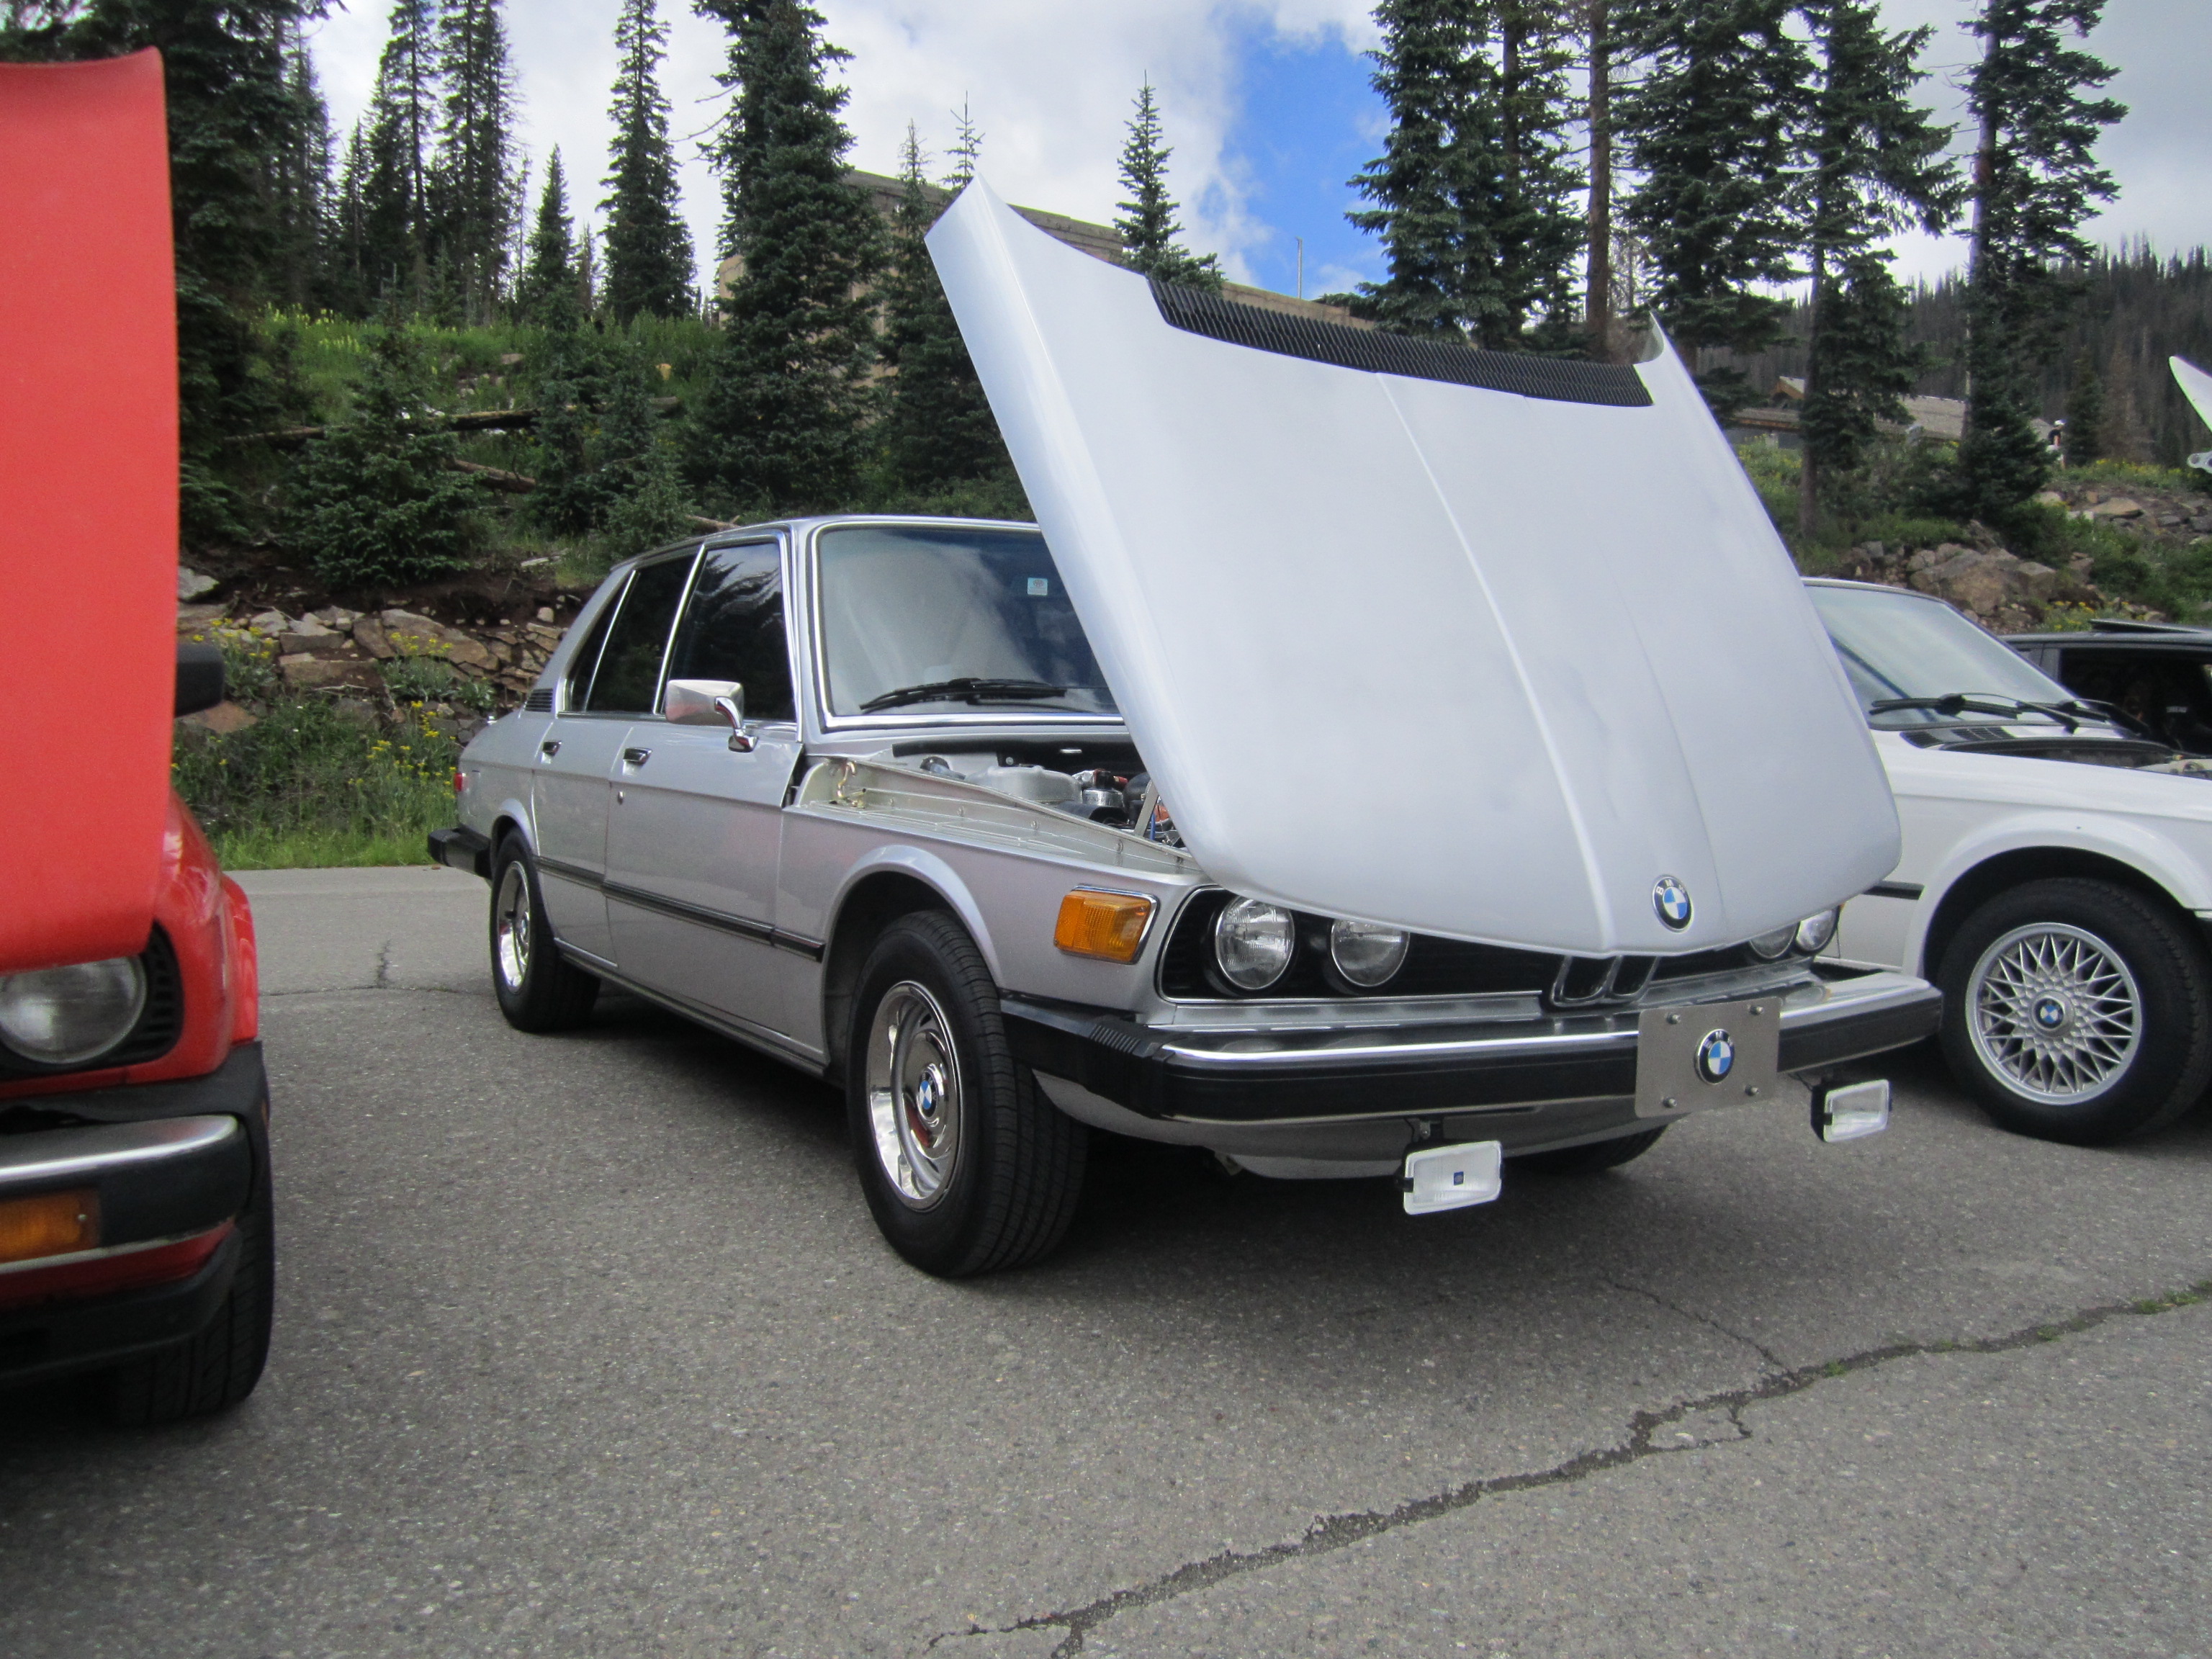
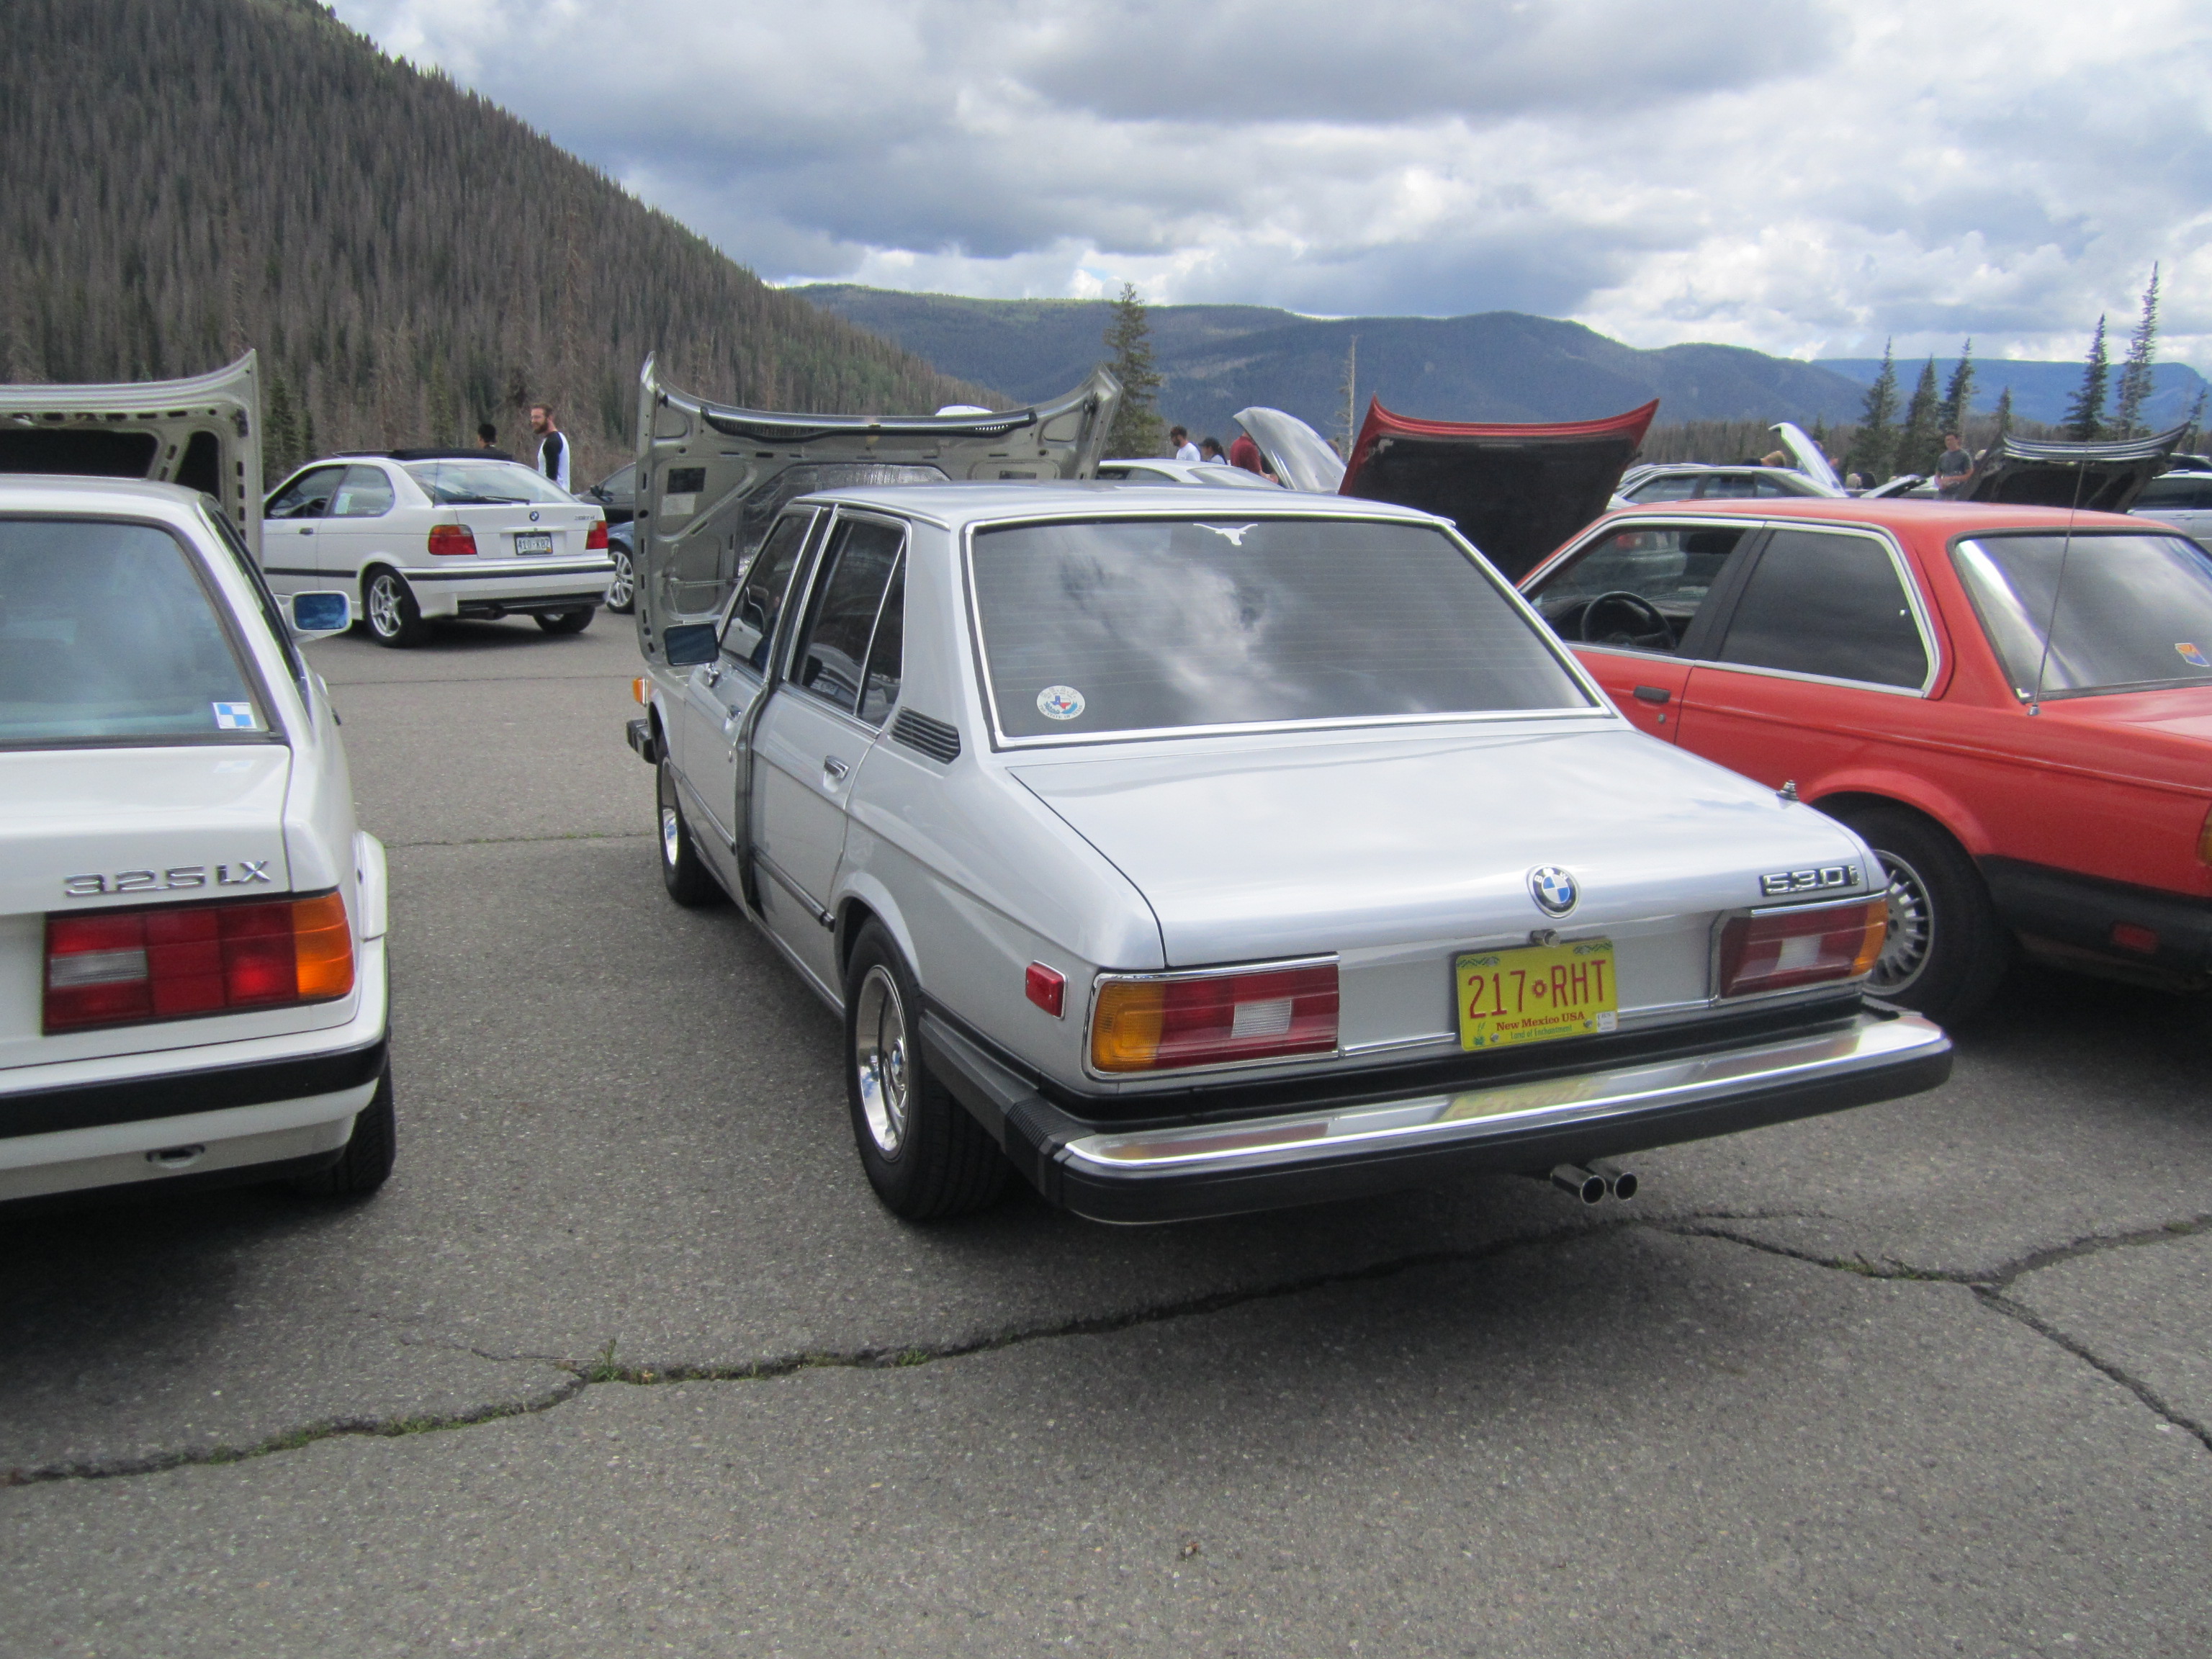
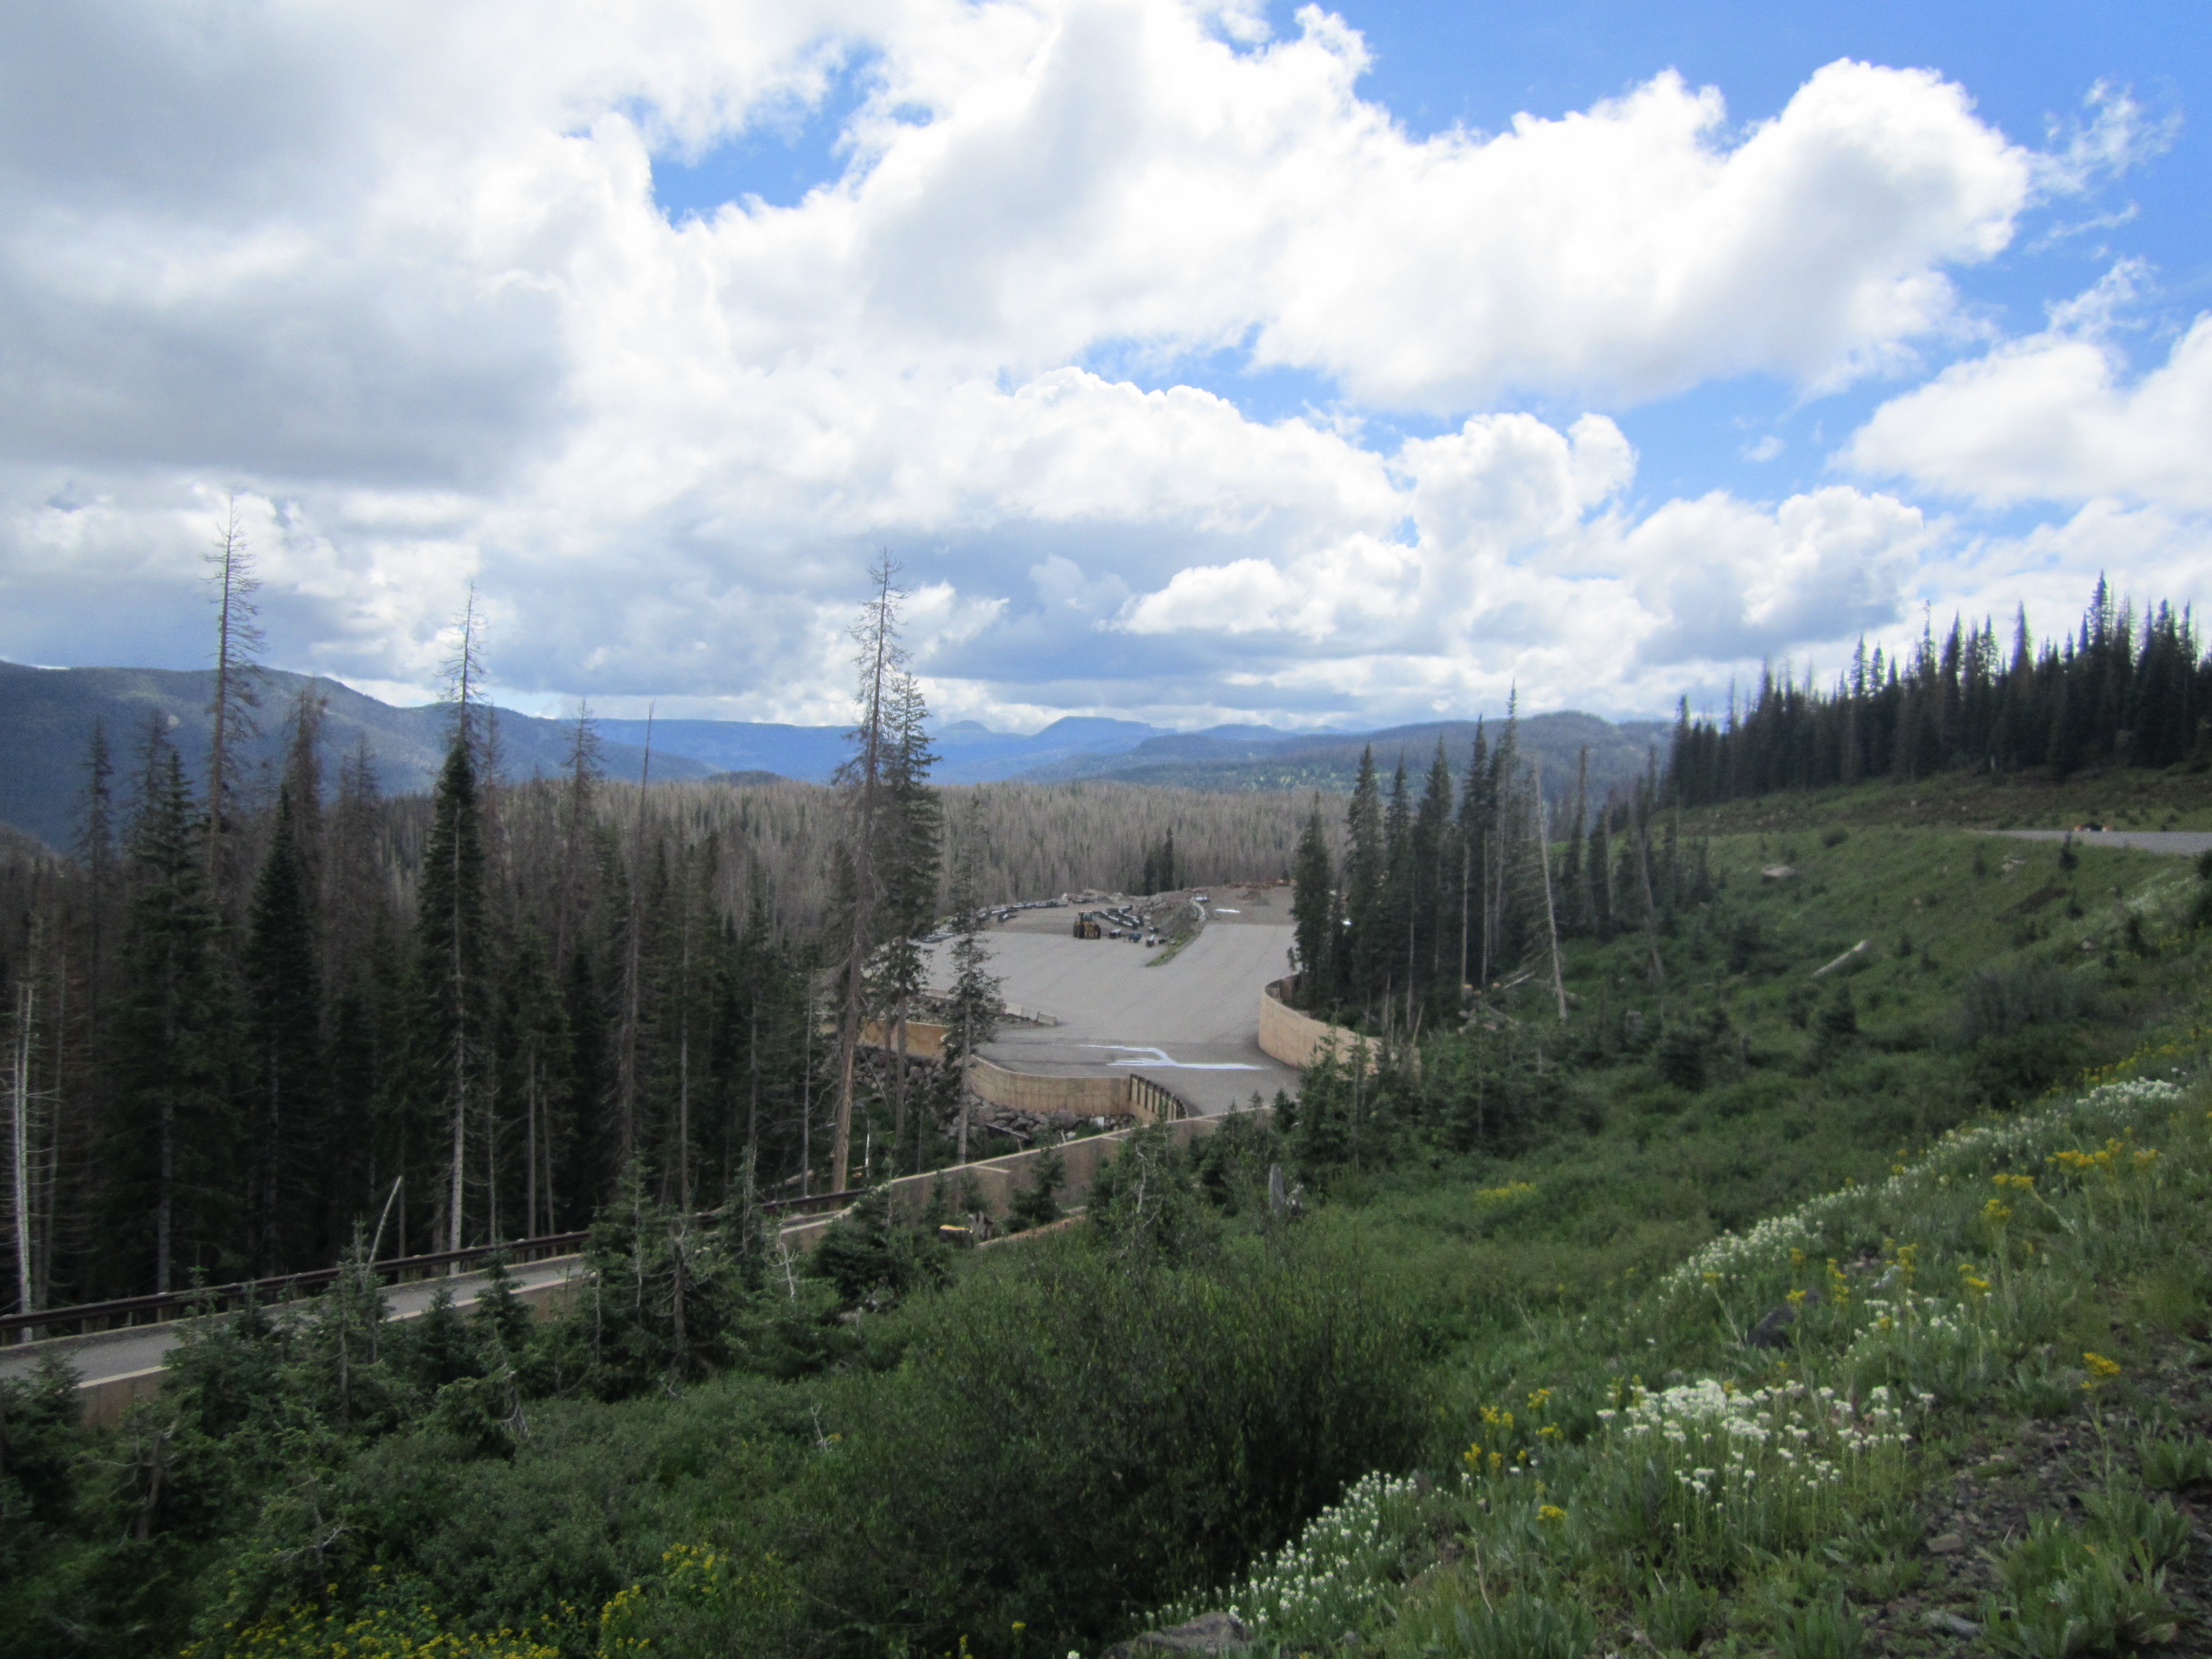
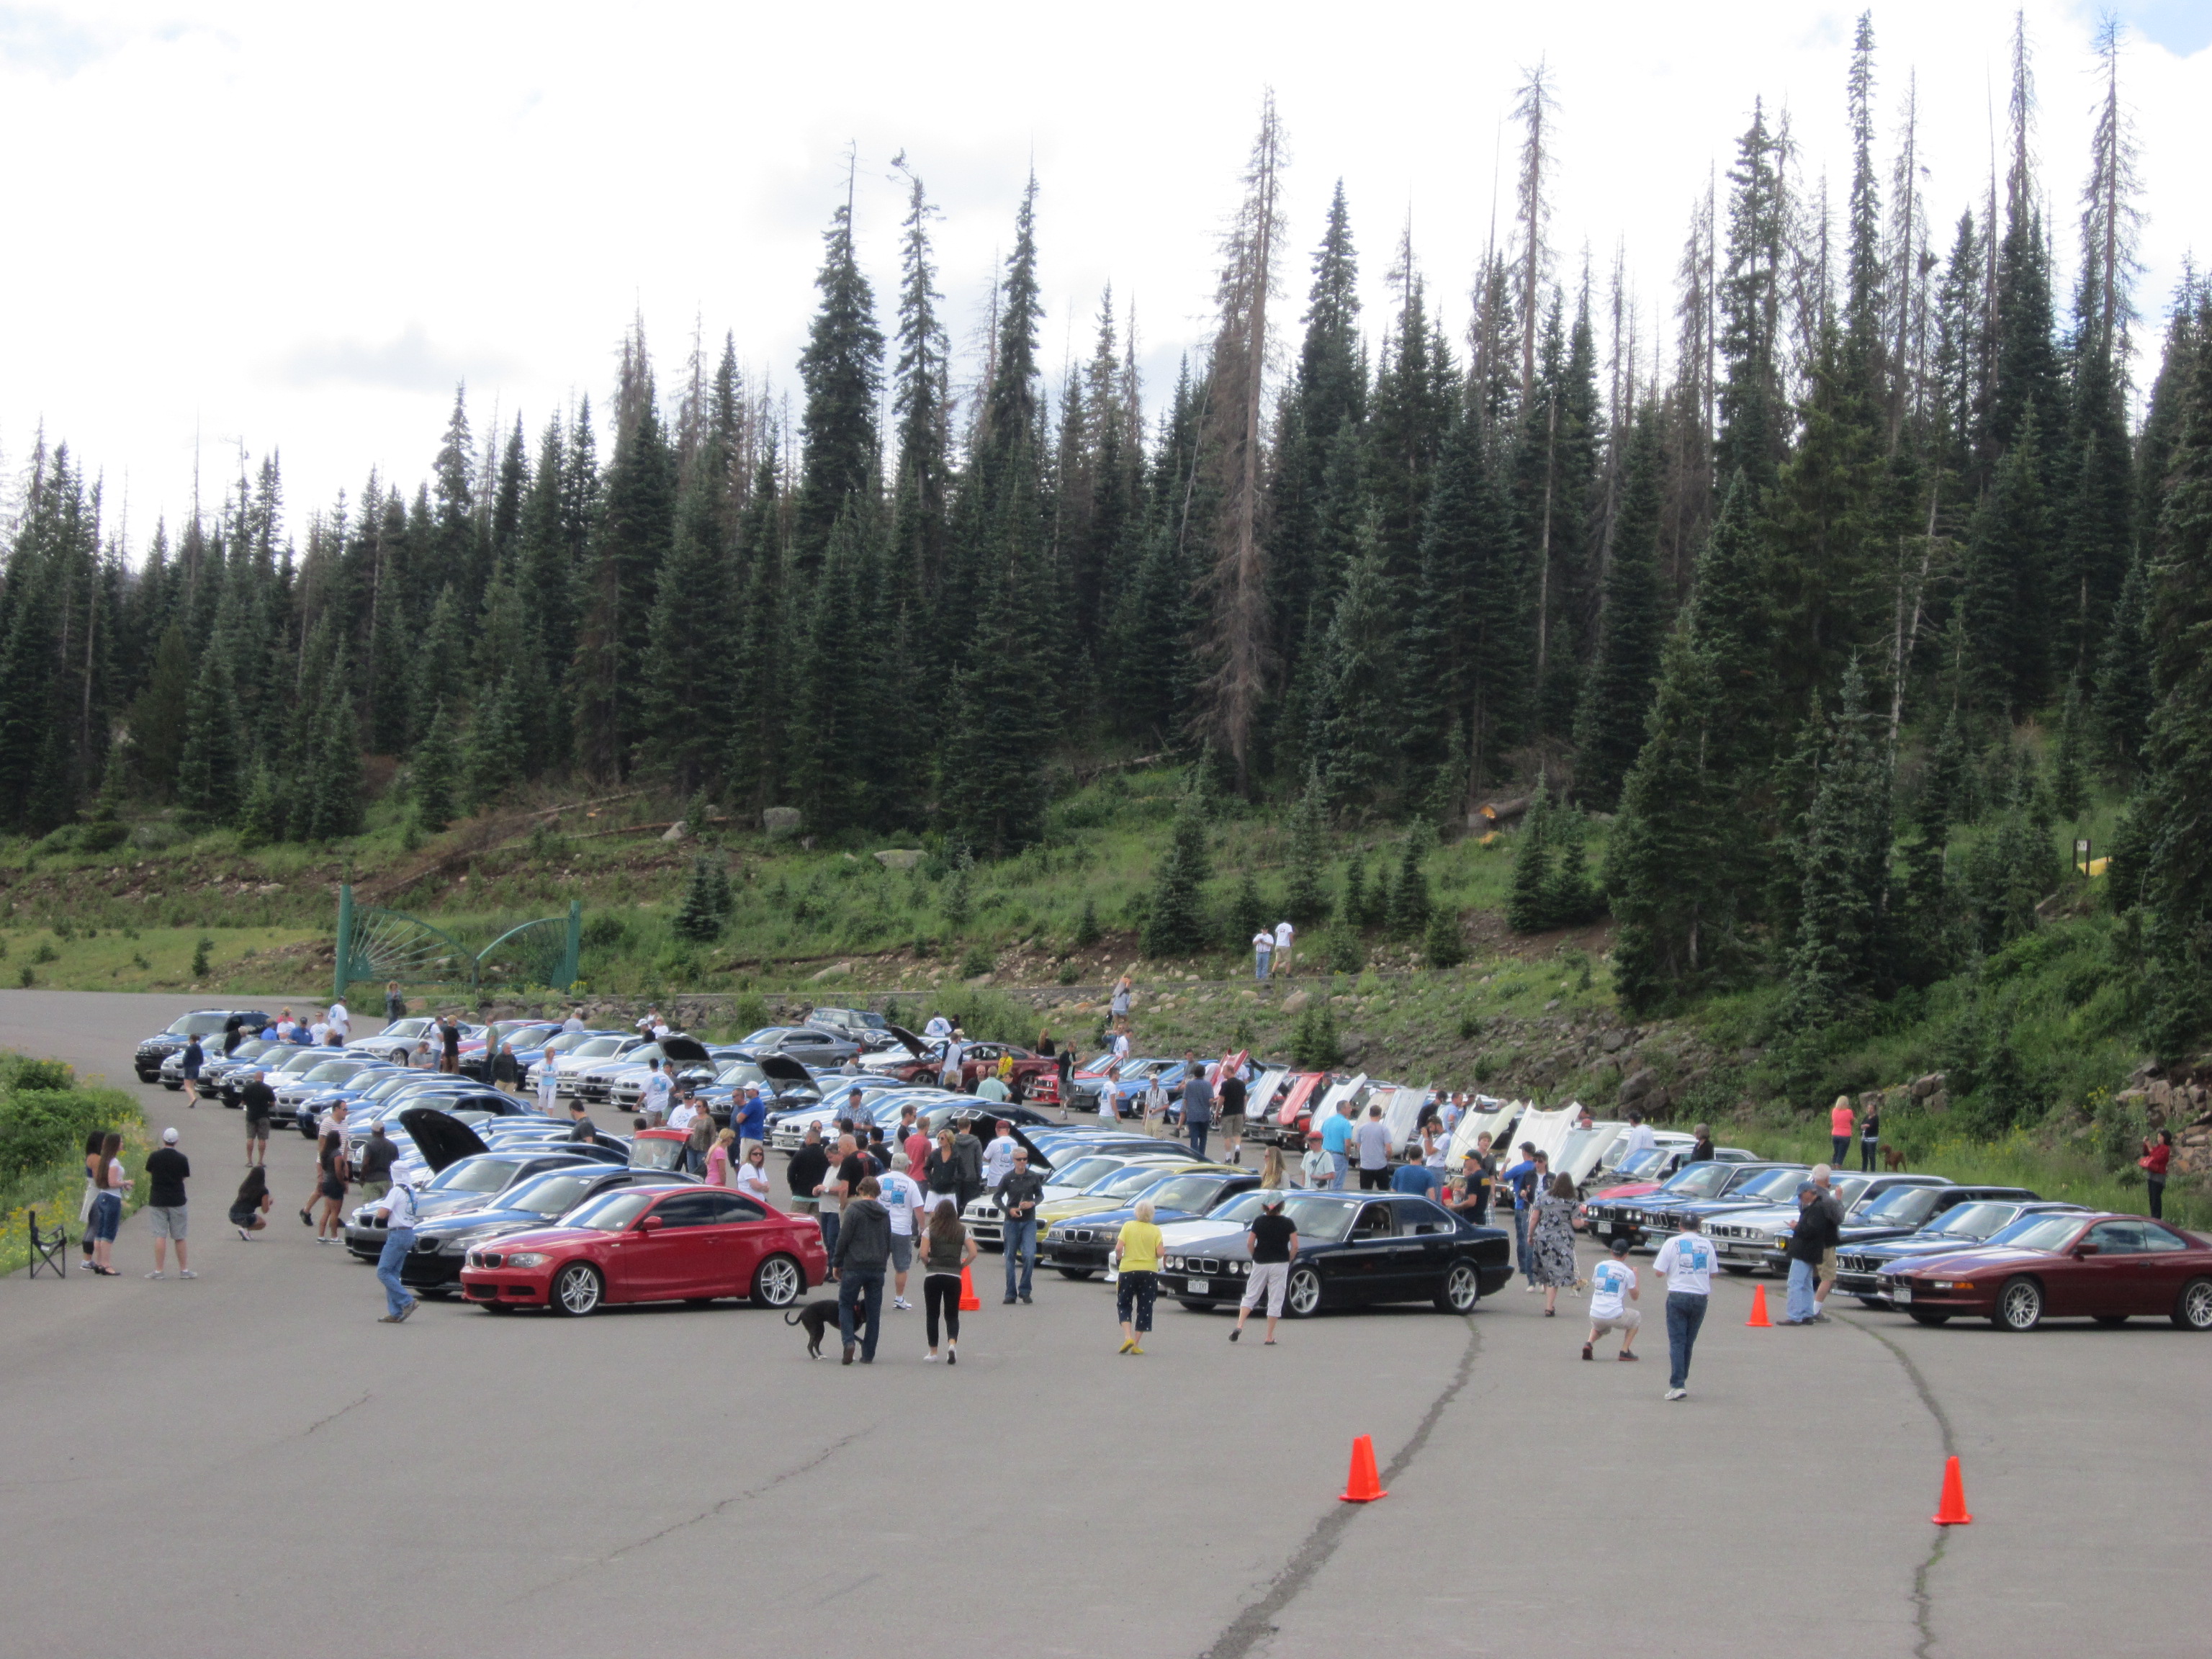
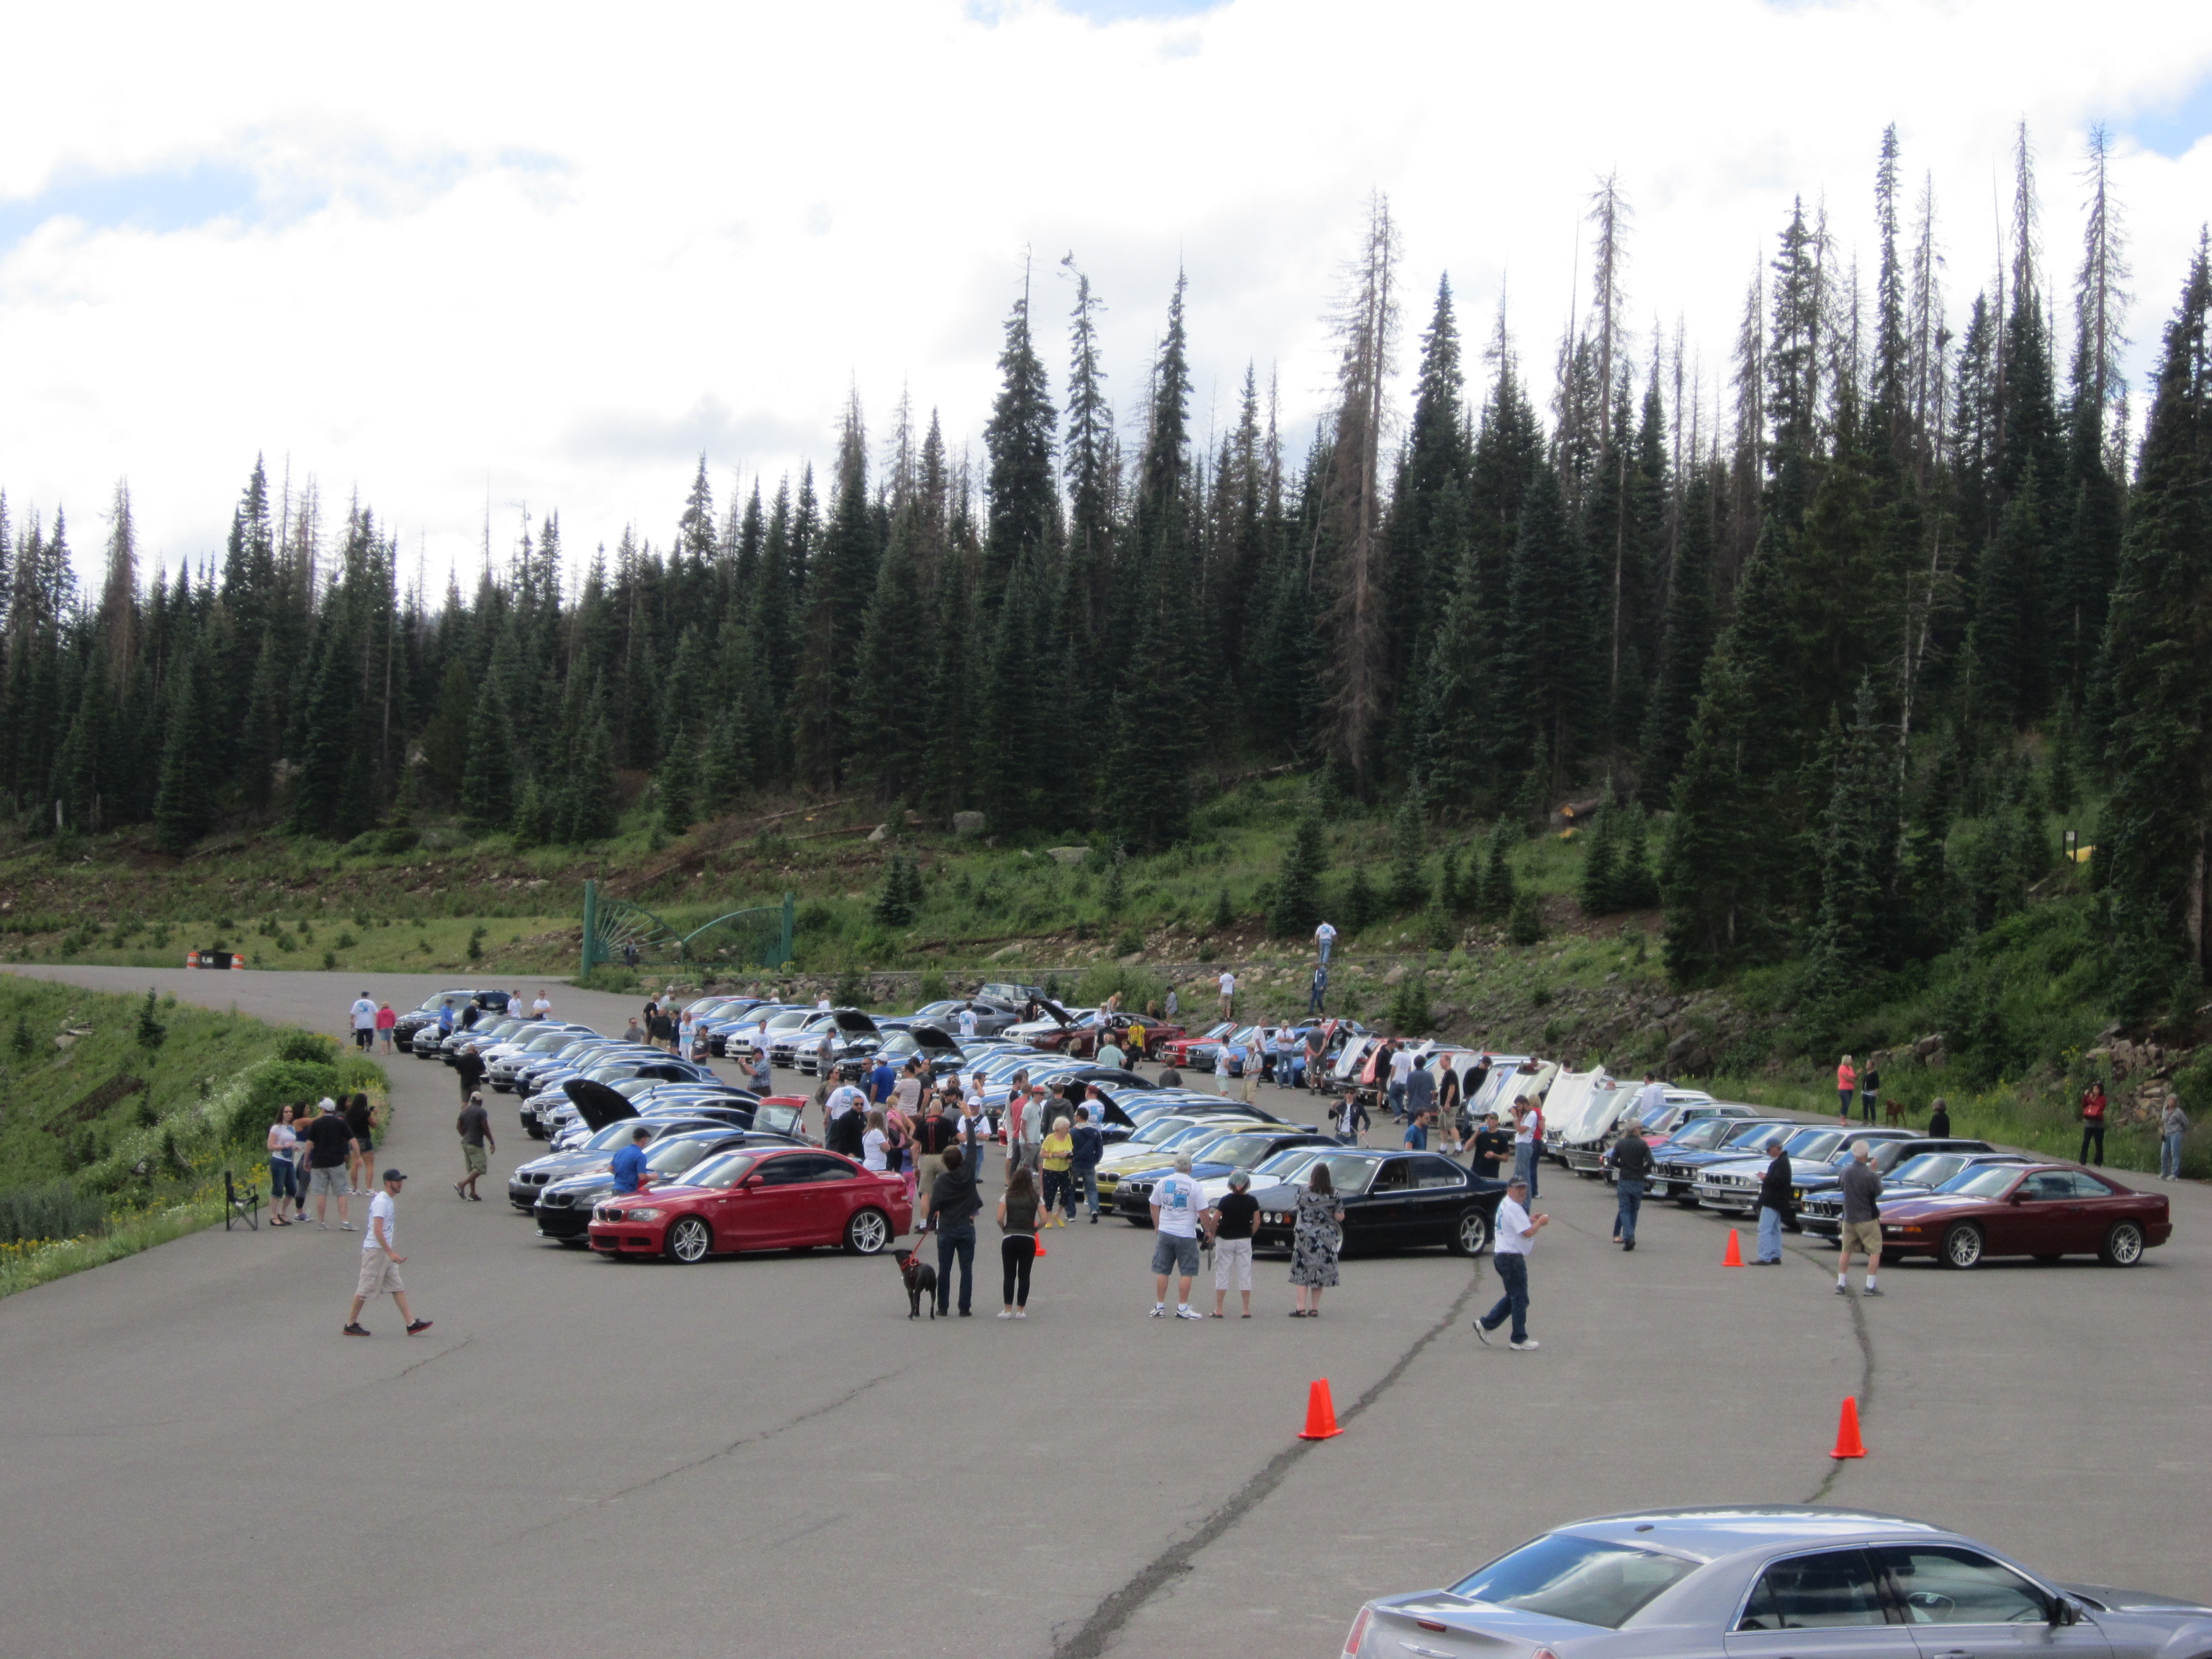
August 1st, Adrienne and I went for our first “Drive 4 Corners” BMW meet and had a blast!
A great event with an amazing drive to Pagosa Springs Colorado. Three days of scenic views, curvy roads, Bimmer talk and meeting new people with the same passion for BMWs.
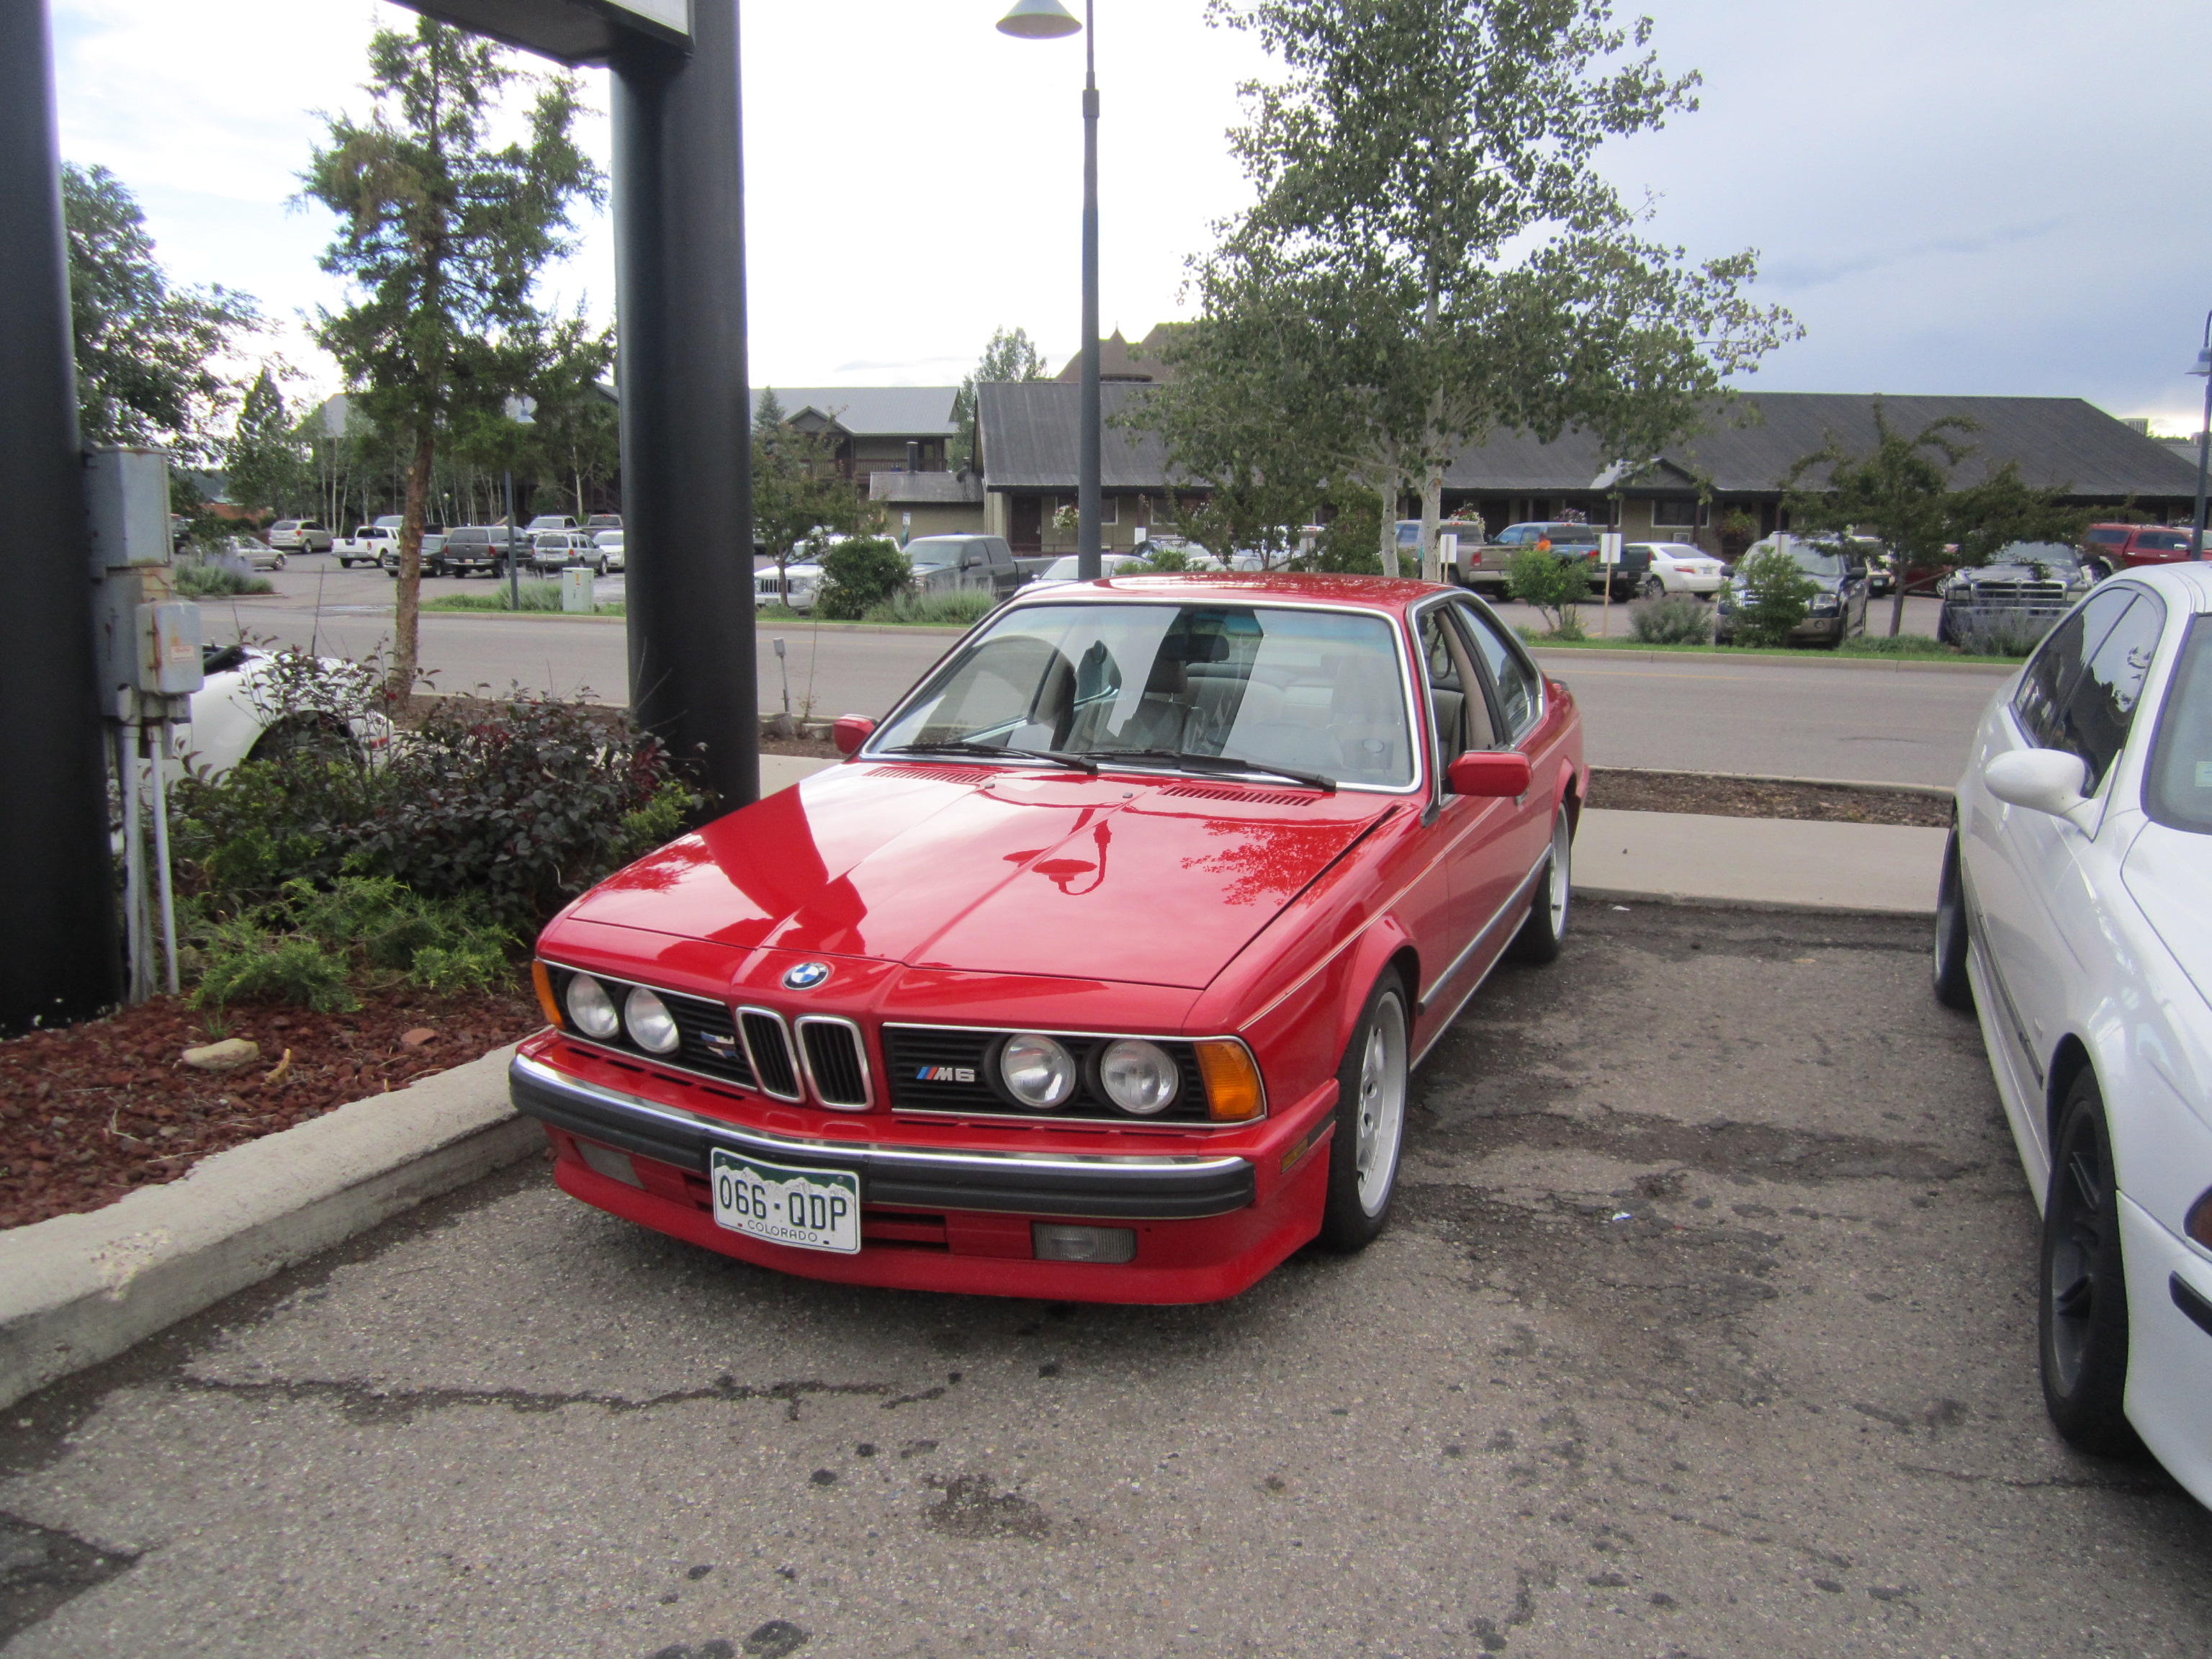
With 98 BMWs at the event there was plenty of eye candy from over 4 decades, representing 6 states. It was an event that will grow and Adrienne and I are already planning for next year… the only problem is deciding which of my BMWs to take on the drive.
The link below will take you to the offical website for the “Drive 4 Corners” BMW meet gallery
It is not very often I get up early enough with a good forecast for the afternoon and have time to be able to ride my motorcycle to work. Today was one of those mornings… it was perfect. the breeze was cool but not cold. The sun was up but not in my eyes, the roads were clear from traffic and my “scooter” fired right up. The tank was full from my ride on Sunday and the crisp clean air made the engine come alive with a very gentle kick. Having an air cooled engine the morning air must have been perfect for it, as I started on my journey to work it was running with ease. I thought to myself with not a car behind me or in front that this must have been what it was like 25 years ago… to be able to be the king of the road. To not have a care in the world and to be at peace.
No one trying to cut me off to get in front of me… no one looking to pass in a rush… just me, my motorcycle and the open road. With my new clock mounted on my handlebar I looked at it when I left my driveway… not to see “How Fast” I can get to work, but as a reminder that work was calling and to see just how long it takes me to go the “Back way”.
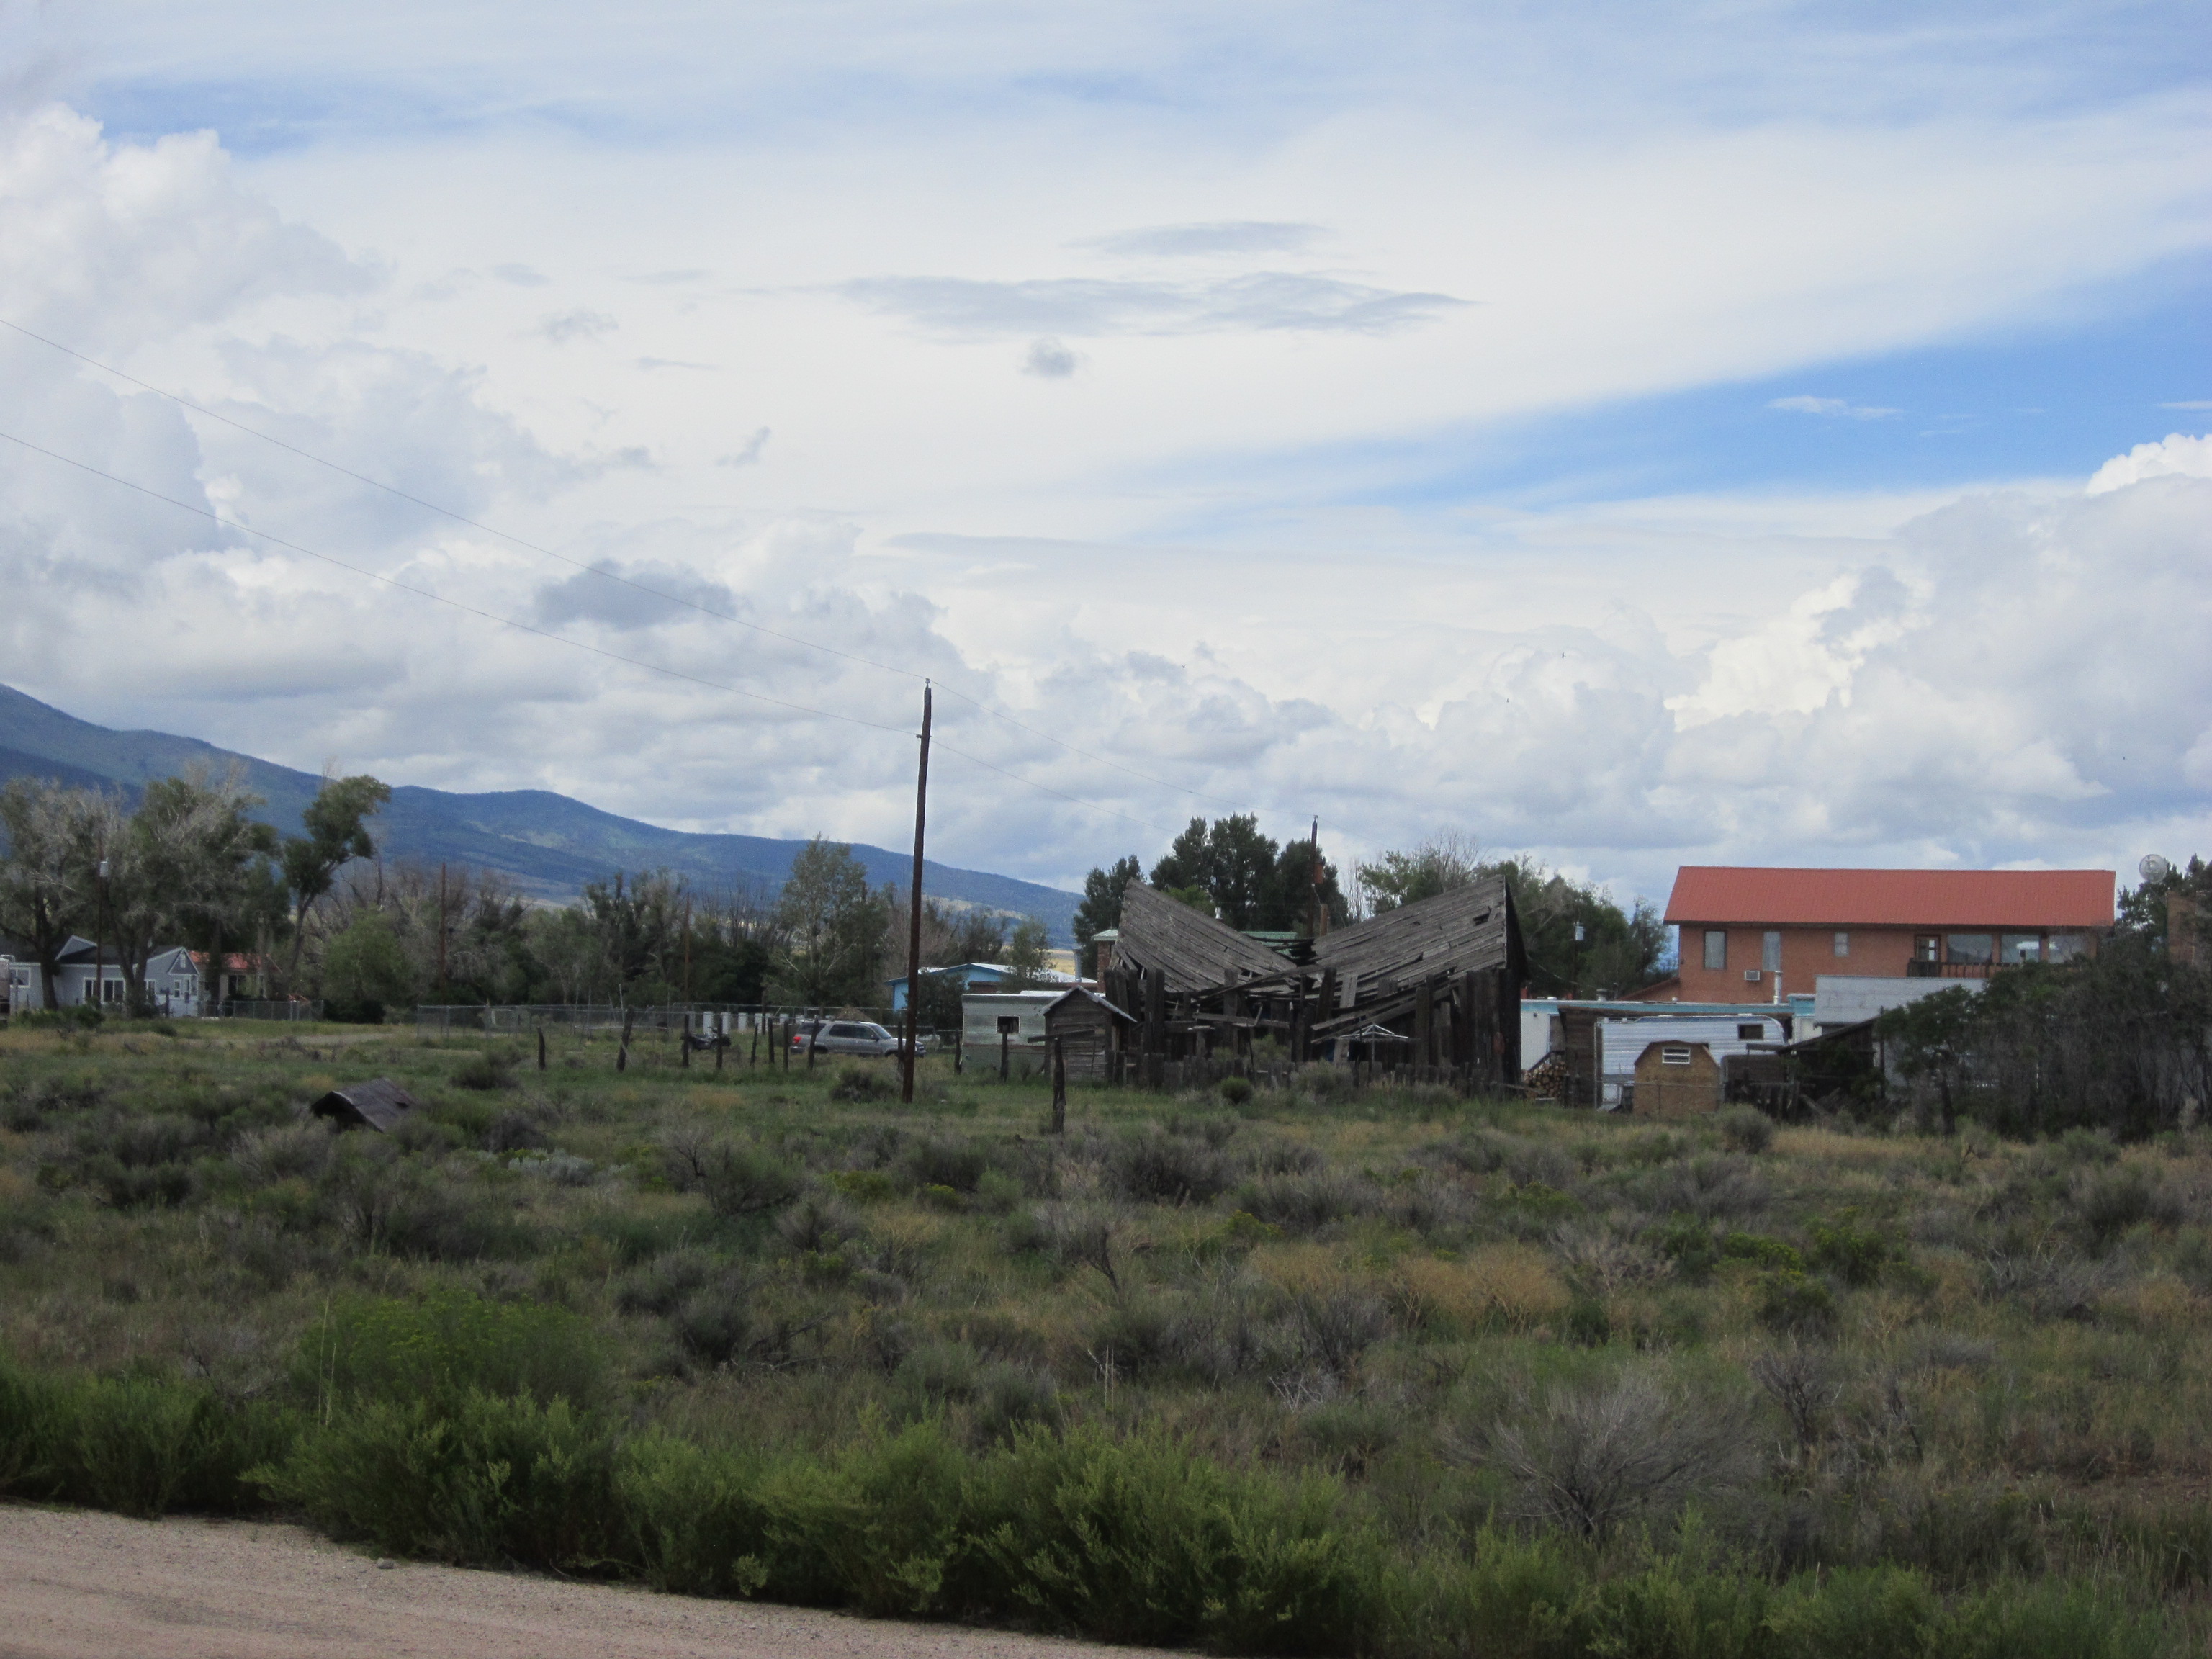
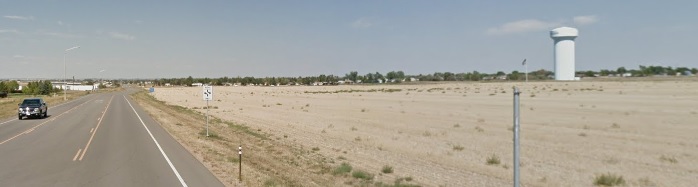
Water tower near Dacono, Co
Now the back way means to me… farm land, two lane, maximum speed 55 miles per hour, no stops, country cruising. The kind of ride you see on movies… the kind you wish you had all the time. To my left I can see the Rockies, to the north I can see the rolling hills of the green fertile plains and the large water tank in Dacono, to my right … the sun filled sky. How nice to be able to drive and really feel one with the road. I could hear the engine hum along… no stress, no over taxing the well balanced machine. The feeling of floating along at a quick pace but not feeling rushed. The smell of wet fertile soil on the freshly sowed land brought back to mind a time of care free lazy summer days. An easier time of days in the Marine Corps when all I had to do was get up and run. My legs now replaced by my scooter, but the same feeling of going down the path, seeing the farm land in North Carolina, smelling the morning air, feeling the sun on my cheeks, listening to my breath. One with my thoughts. Now a Morning Run was slightly changed… for this very brief moment in time, this calm and inviting morning…. it is replaced by my Morning Ride.
I have been working on my BMW R50 to get it ready for this summers riding season, and this time I was tinkering inside the head light housing. I had a small issue, my key plunger would not seat the contact correctly and thus the motorcycle’s lights and engine were intermittent… which is not good when riding as you never want the engine shutting off thus I was unable to ride the past few weeks until I got this figured out and fixed permanently.
Lucky for me it showed up in my garage right after I replaced the chrome cover for the key hole with a newer one. I wanted to fire the engine up and check stuff out… but it wouldn’t stay running.
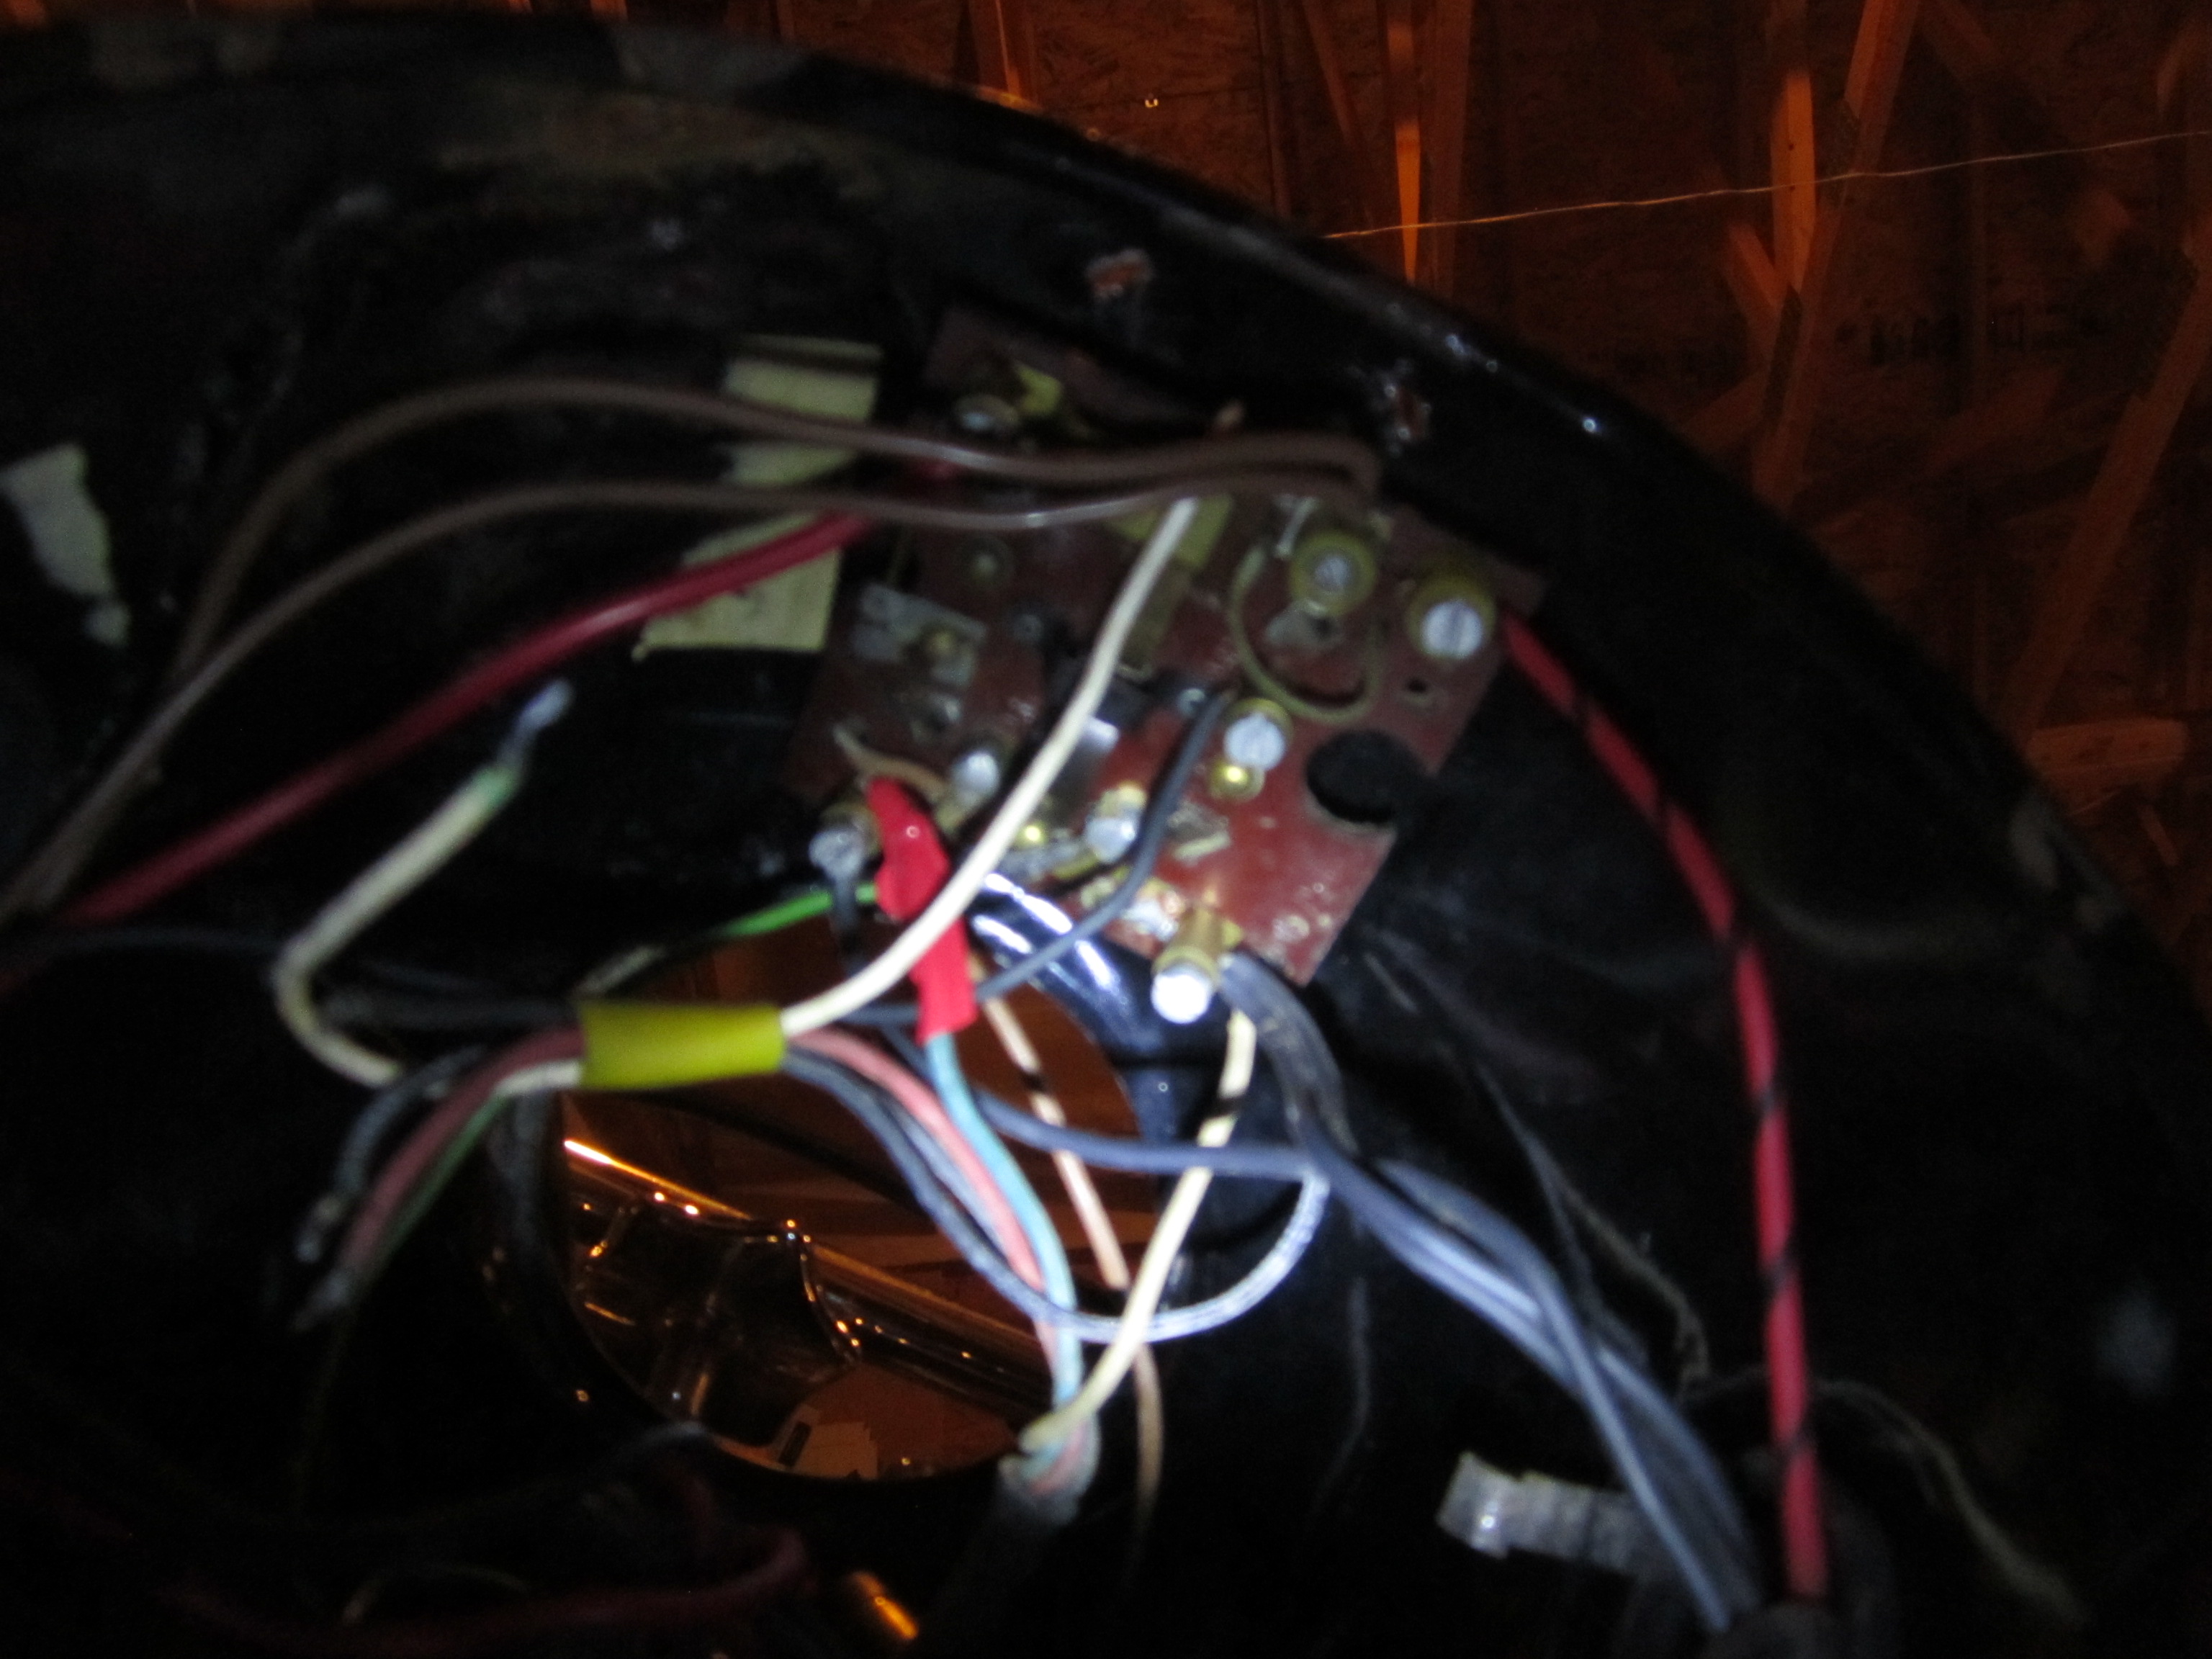
Removing the headlight and looking at the plunger key area on the ‘inside’ of the housing, I noticed a very light contact was being made. This was an easy fix… I looked at the copper “finger” that was making contact with the key plunger and notice is was barely making contact, thus I bent the thicker copper contact up and verified that when my key was inserted a good contact was made… a bit of cleaning and an emery cloth over the contact point to ensure the mate of copper was clean and with no build up of carbon.
Mess of wires in the head light housing.
I was on to my next project… the little bulb for the speedometer was out, so while I was in there I figured it would be good to fix it!
Try to find this size of bulb anywhere local would be a joke…(it is small and 6 volts) … PN 07119978270… I guess I could order it online and have it in a few days, or I could use a super bright LED and build one out of the blown bulb.
I found this bulb for sale on http://www.bmwhucky.com/
07 11 9 978 270
bulb 6V 1,5W speedometer
all 6V
$ 5.50
So here is the quick and dirty when putting together your own LED bulb… First go with super bright LEDs, next do some very simple calculations, purchase resistors, LEDs and shrink tubing (Or as I did, dig around in my electronics bins and find the parts) and prepare to hone your soldering skills!
Note: when purchasing your LEDs be sure to open the data sheet and find out the Maximum forward current and the voltage of the LED…. this will be important! You will want to have a really bright LED “light bulb”so the next step is to calculate the smallest resistor you can use and not damage the LED (The maximum operating current, typically 20 to 40 mAmps).
So to get to the heart of the topic, and to not have a bunch of calculations… I will describe my design.
Using a quick calculator I can verify my design and the size of the resistor (OHMS AND WATTAGE)
My motorcycle is 6 Volts DC, I have an LED that operates nominal at 30 mAmps (That is milliAmps)! I will use a 220 OHM resistor (1/4 watt)… and that puts the current at 27 mAmps… which is good because when the generator charges the battery, the voltage can go up a bit and thus at 6.5 Volts the current is at 29.5 mAmps, just below the max current.
Super Bright LED
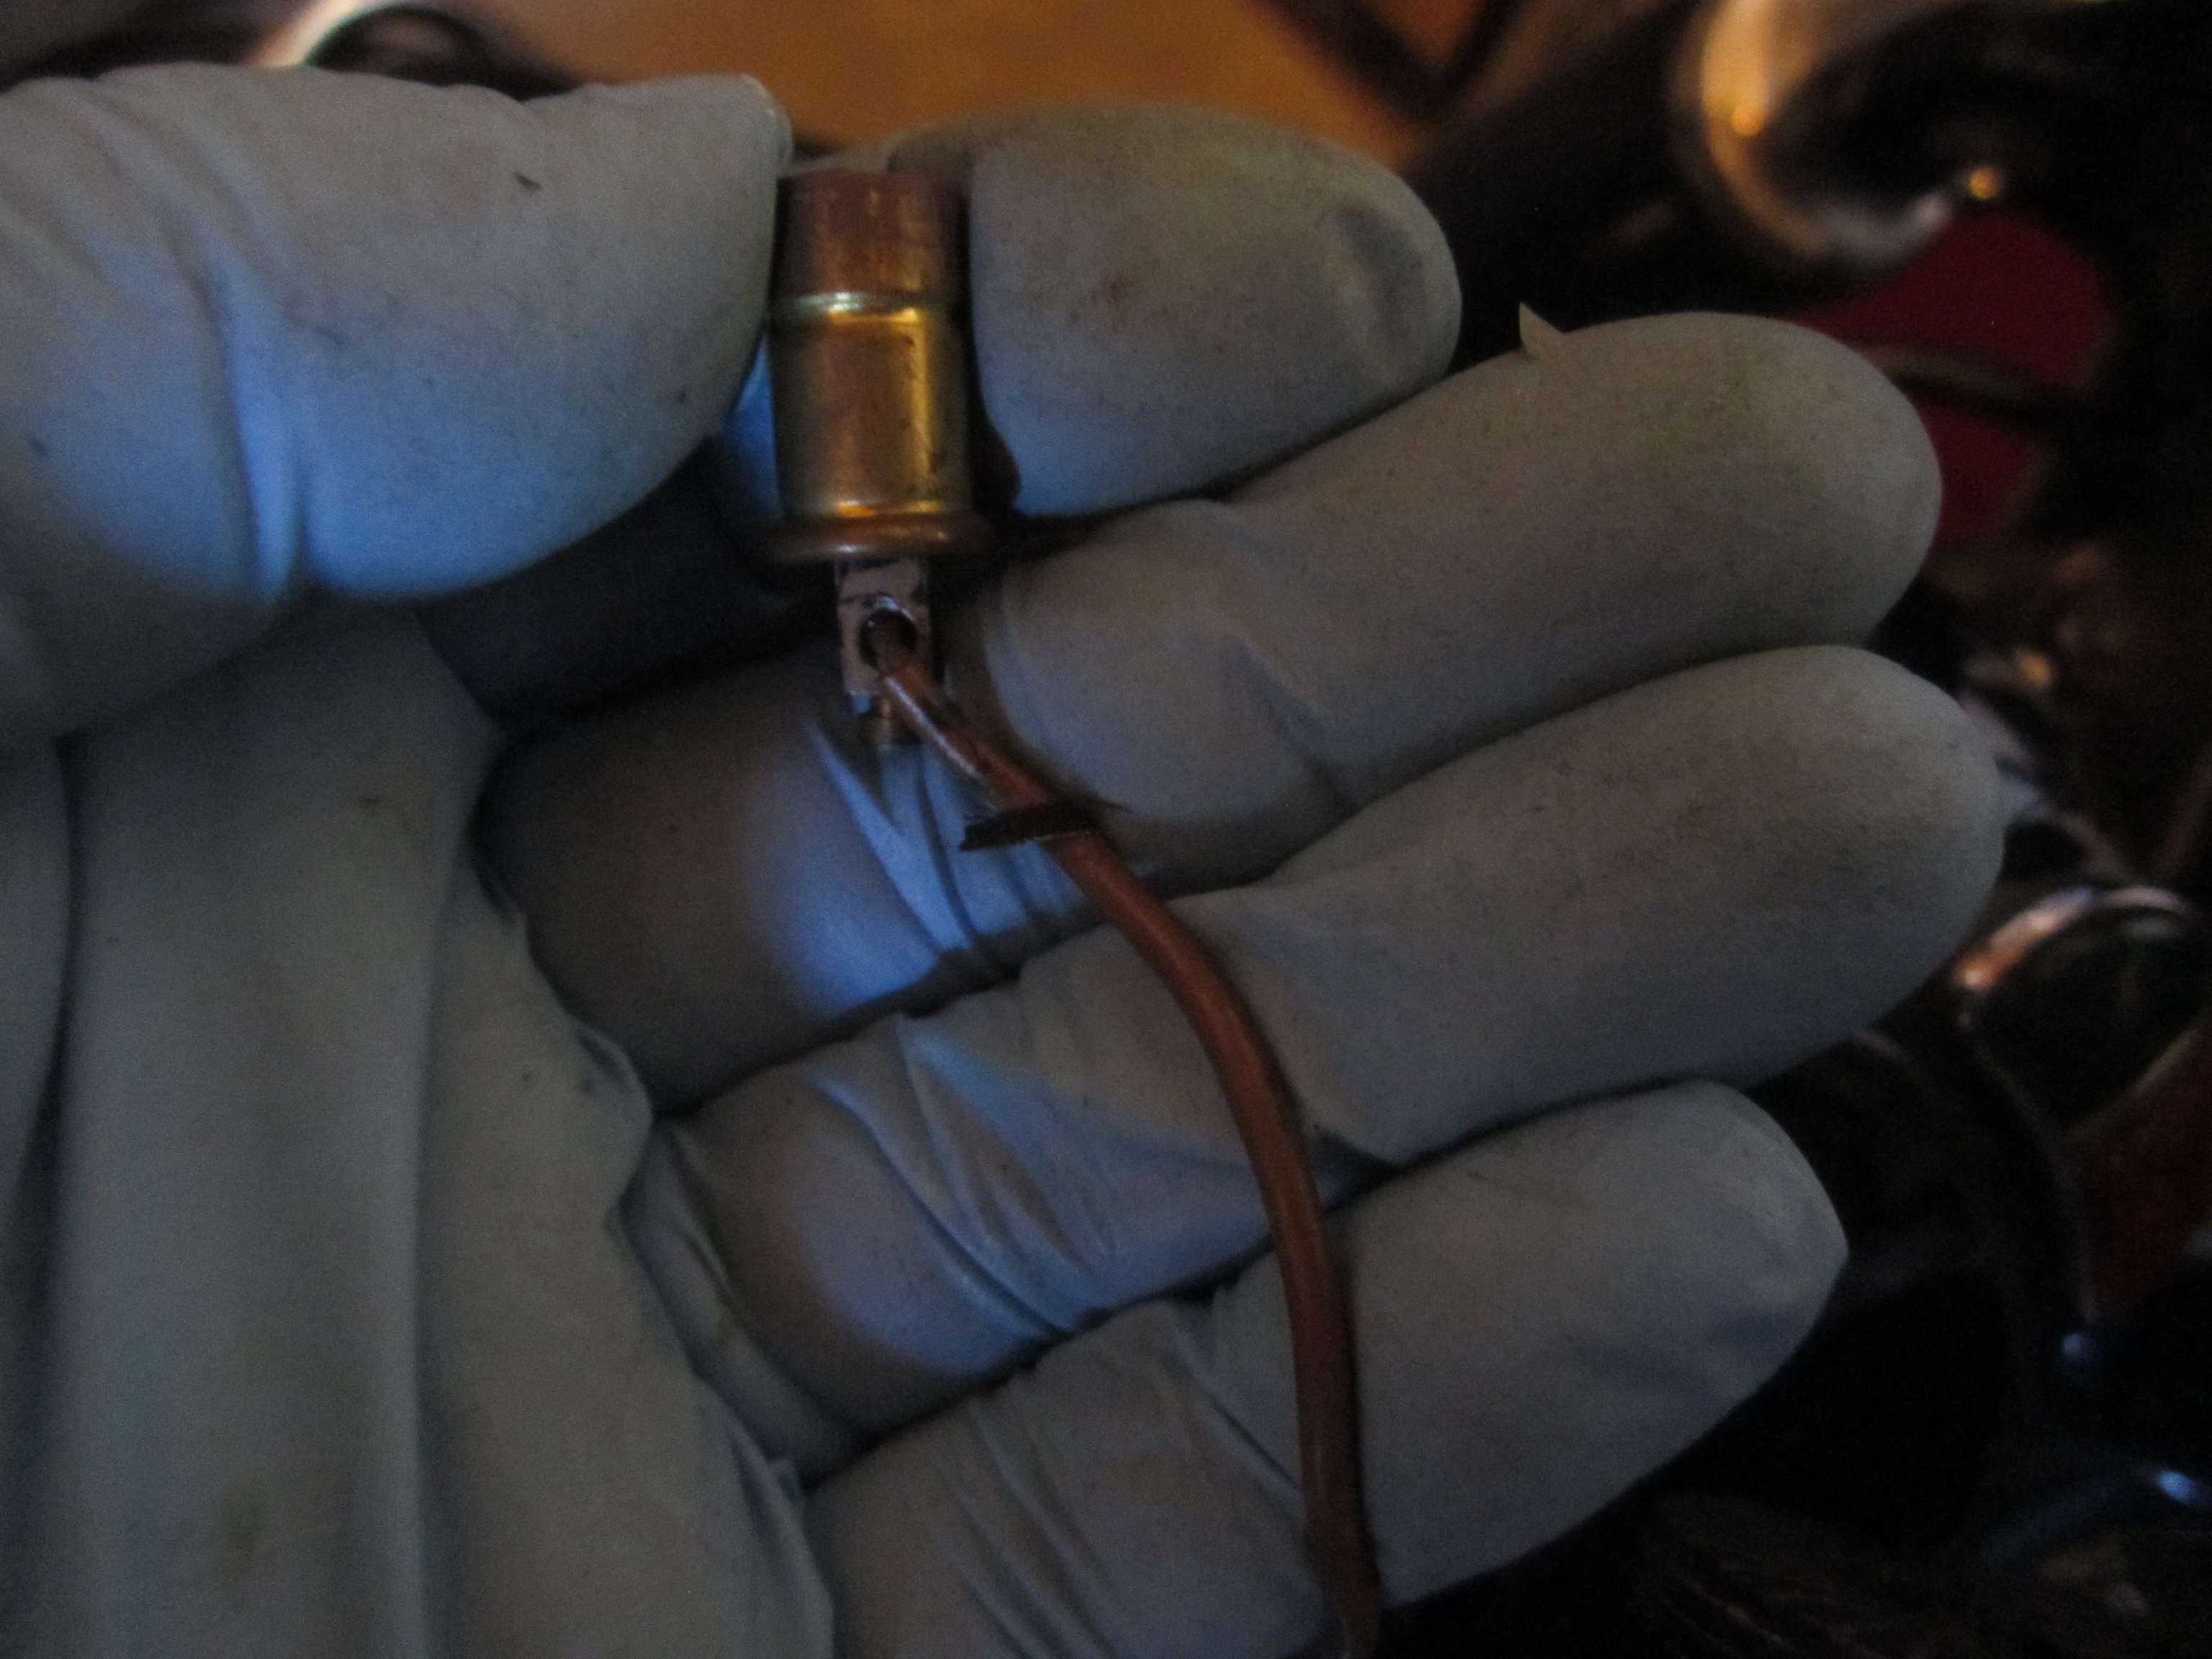
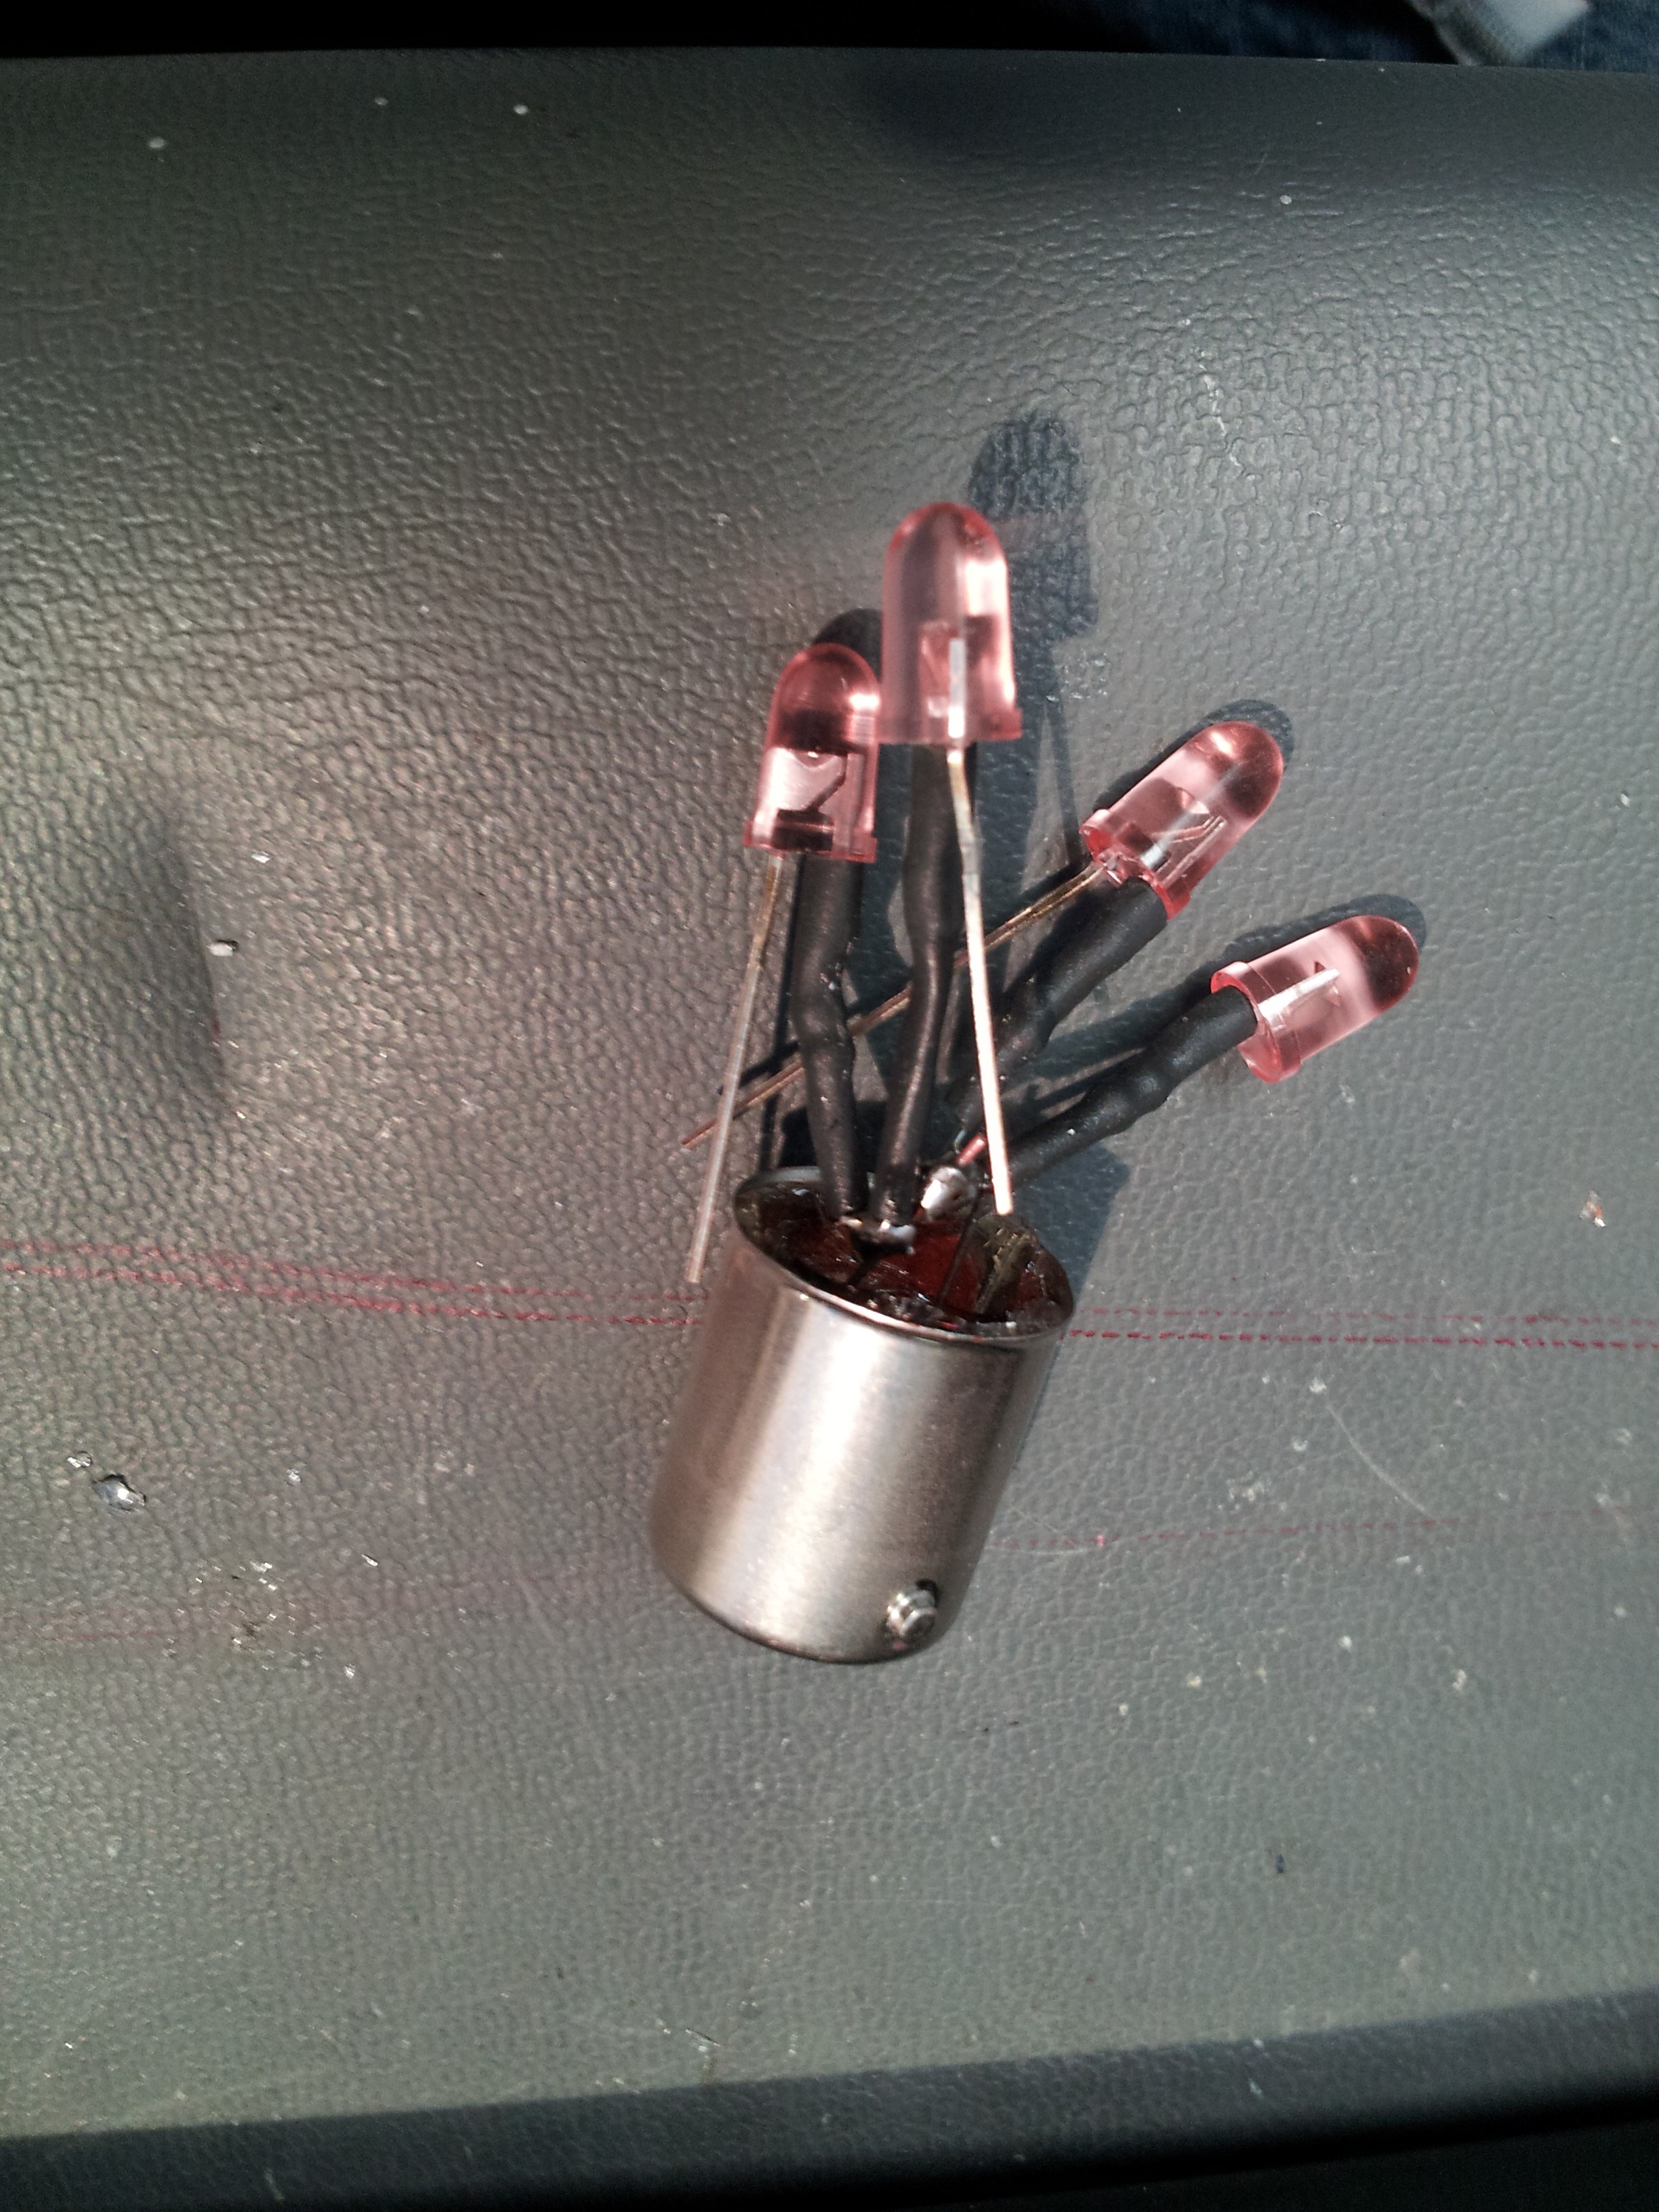
Be careful and break the glass off of the old burnt out bulb. I use a paper towel and wrap it around the glass before I break it to capture the glass fragments. Try not to break the filament in the bulb, you will use this! (Unless the bulb has a solder tab on the bottom of the connector (photo below).
Bulb ‘tit’ that allows soldering the leads of the resistor and the LED
Next find the positive lead, mark it so when you go to put the LED on it is in the right polarity! If you are using the bulb like the one above, the outer metal is usually ground the the center is positive. The nice thing about making your own LED bulb is that if you want to go back to the Bulb type light, you can take out the LED bulb and the housing (holder) is the original.
Bulb housing for the Speedometer
Now with the resistor, LED, heat shrink tubing and the bulb housing you are ready to solder it all together. Try and make the leads short and cover all leads with heat shrink tubing to protect from shorting out.
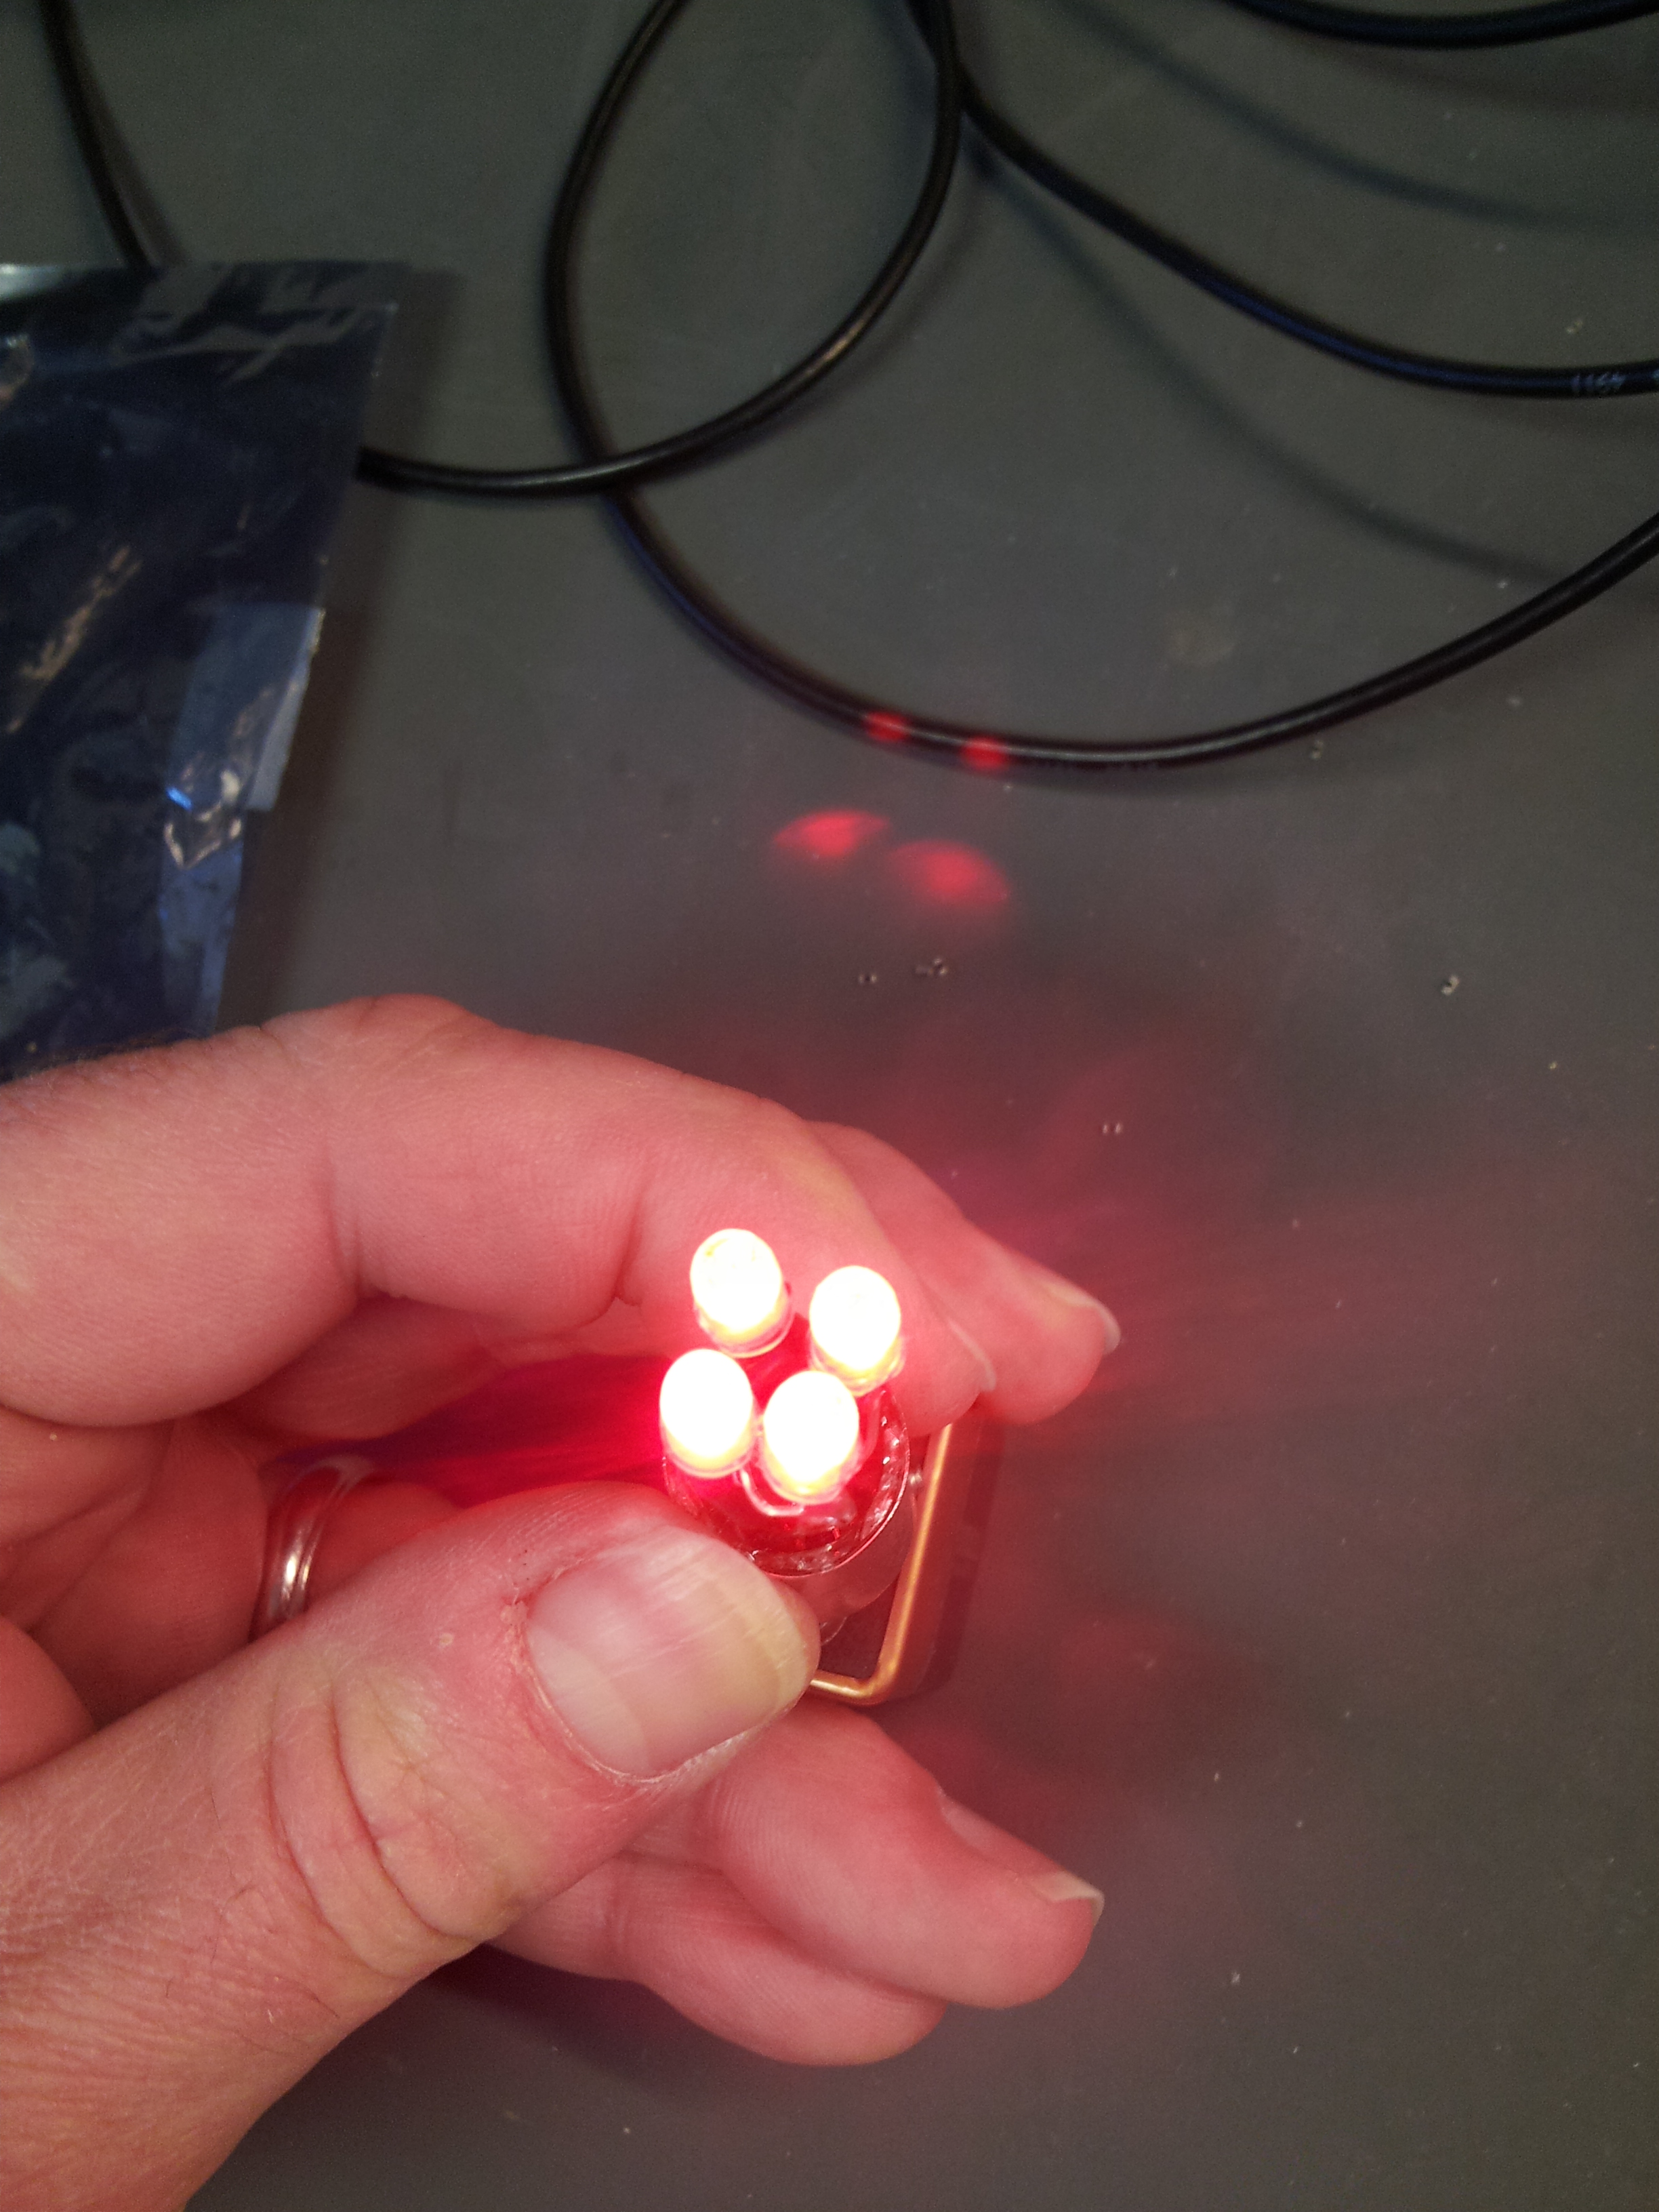
Check the polarity of the LED and try it on a power supply or a battery before installing.
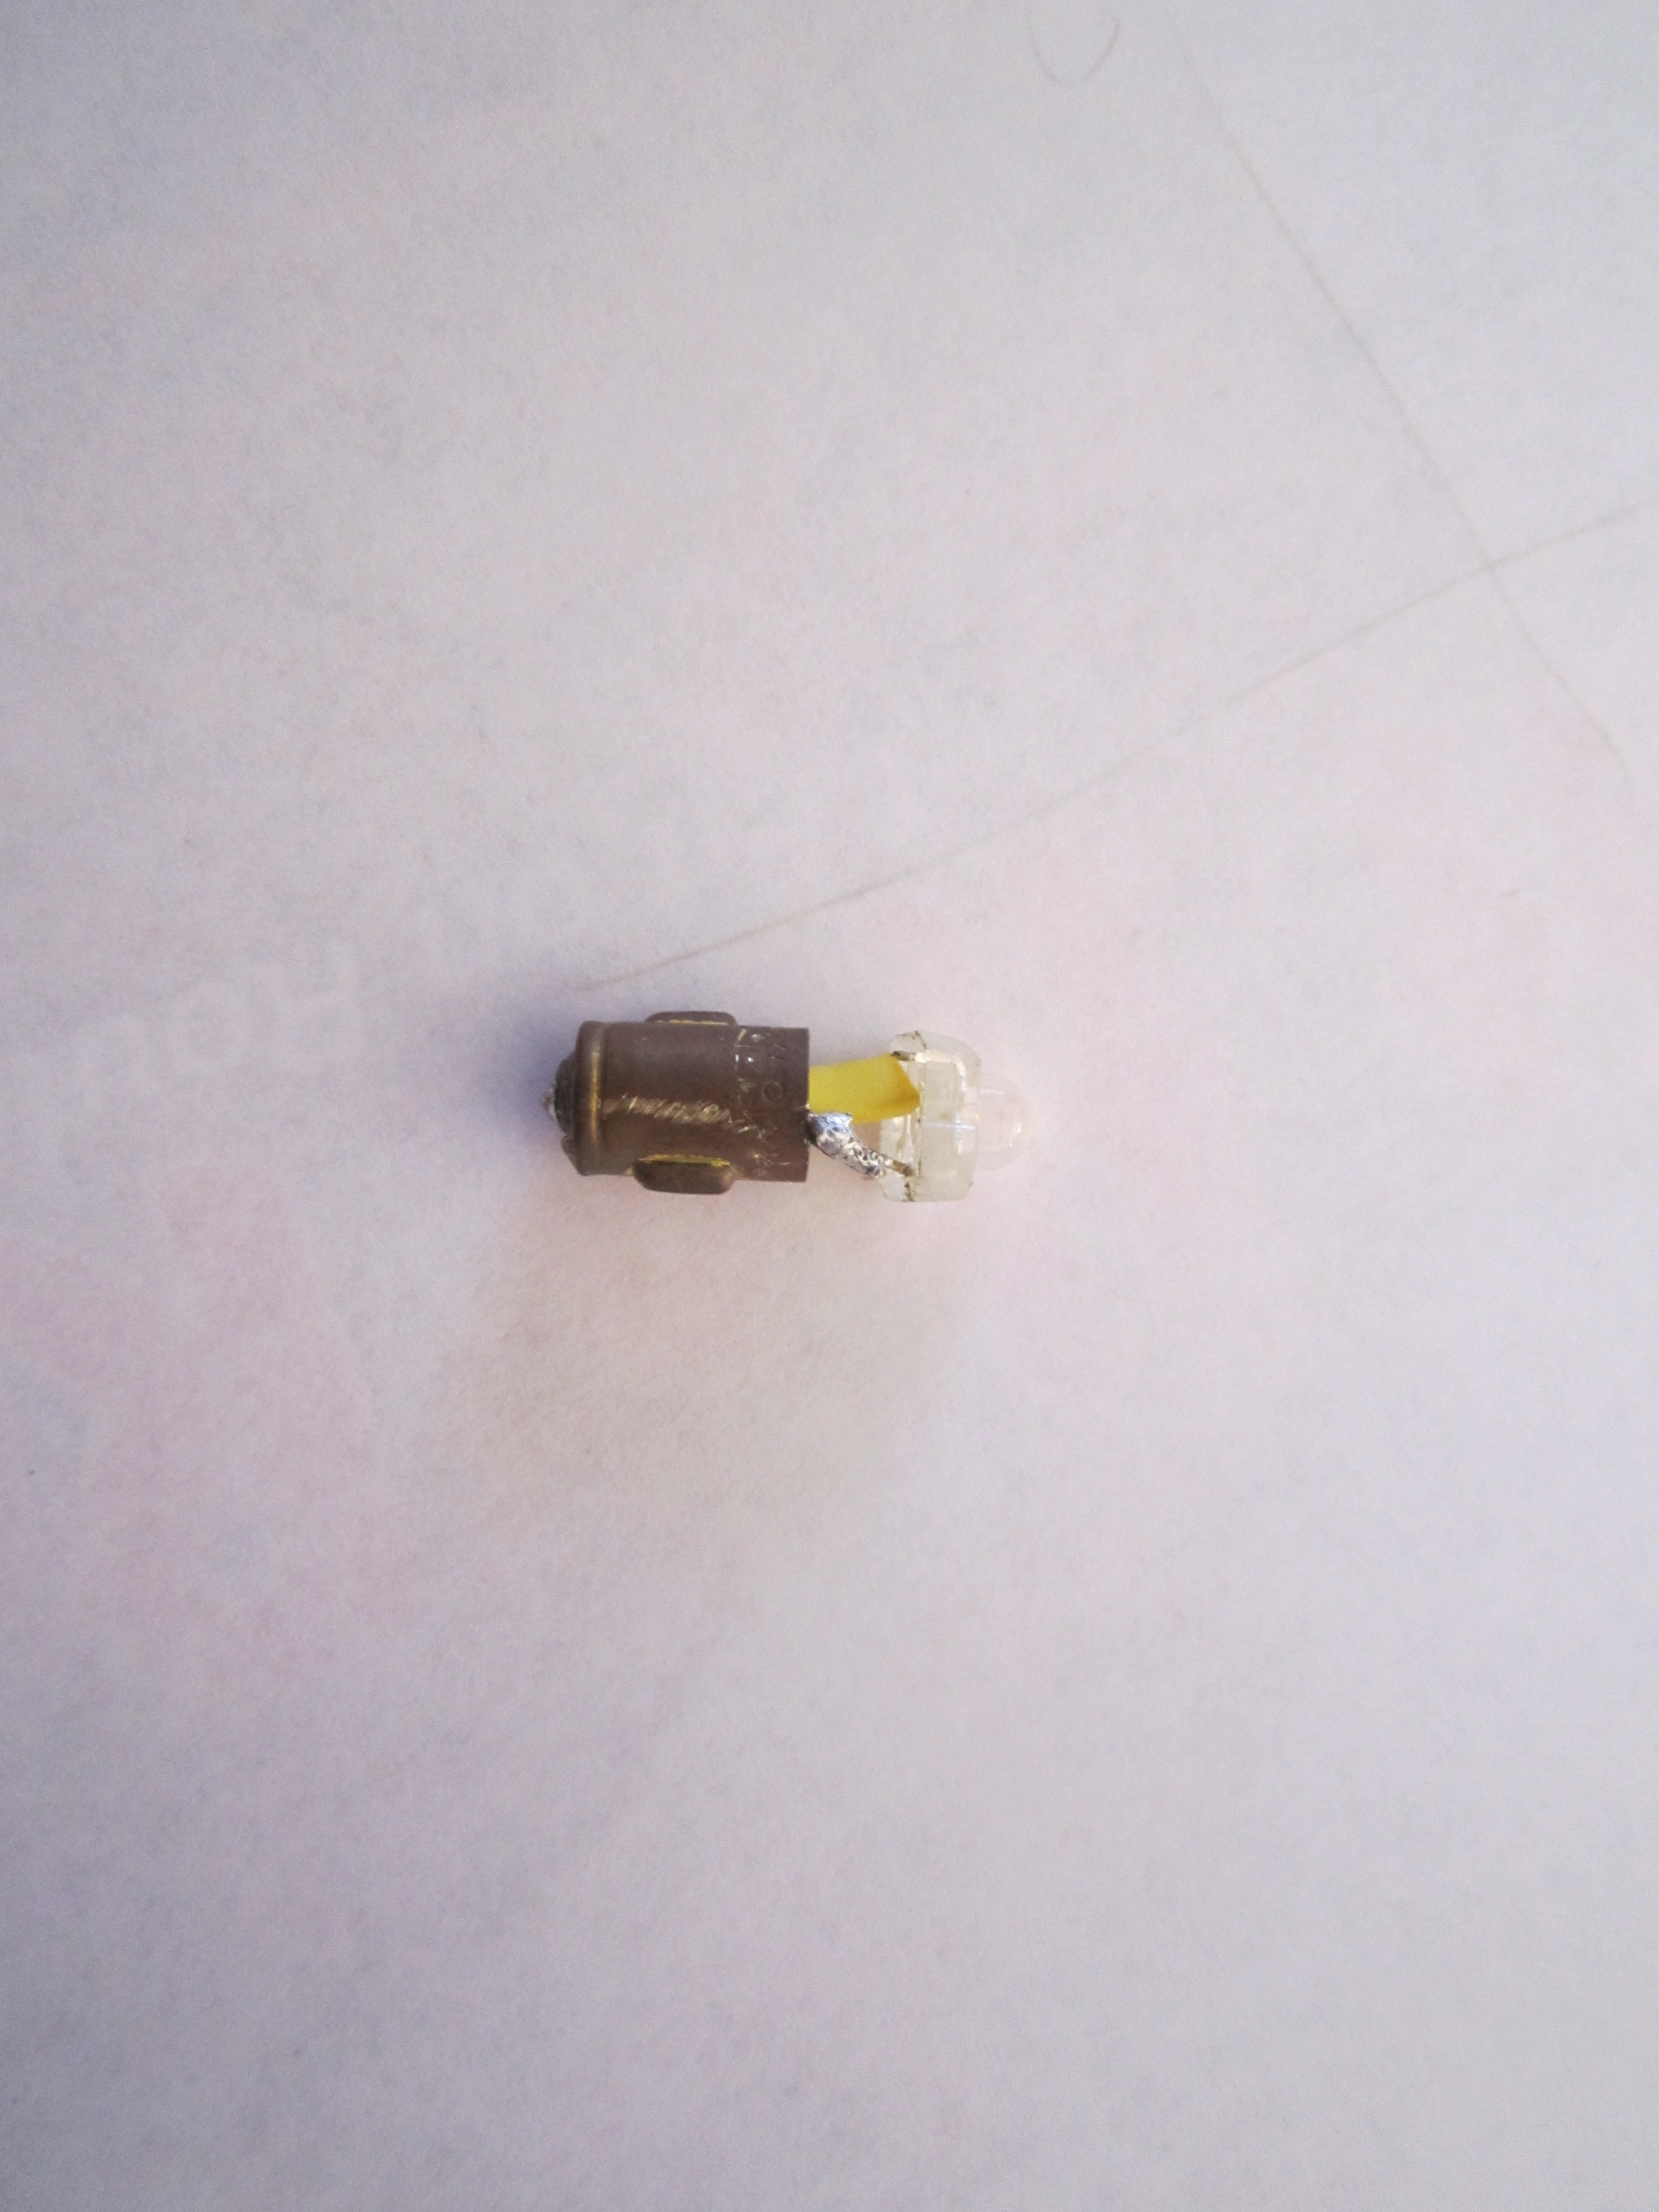
LED bulb, Finished assembly!
So, in a few minutes I had an LED bulb that is very bright and works great.
Here is a few photos of a multi LED bulb I did for a brake light.
The Goal of course is to put enough LEDs to get the brightness of the bulb to the same or better LUX .
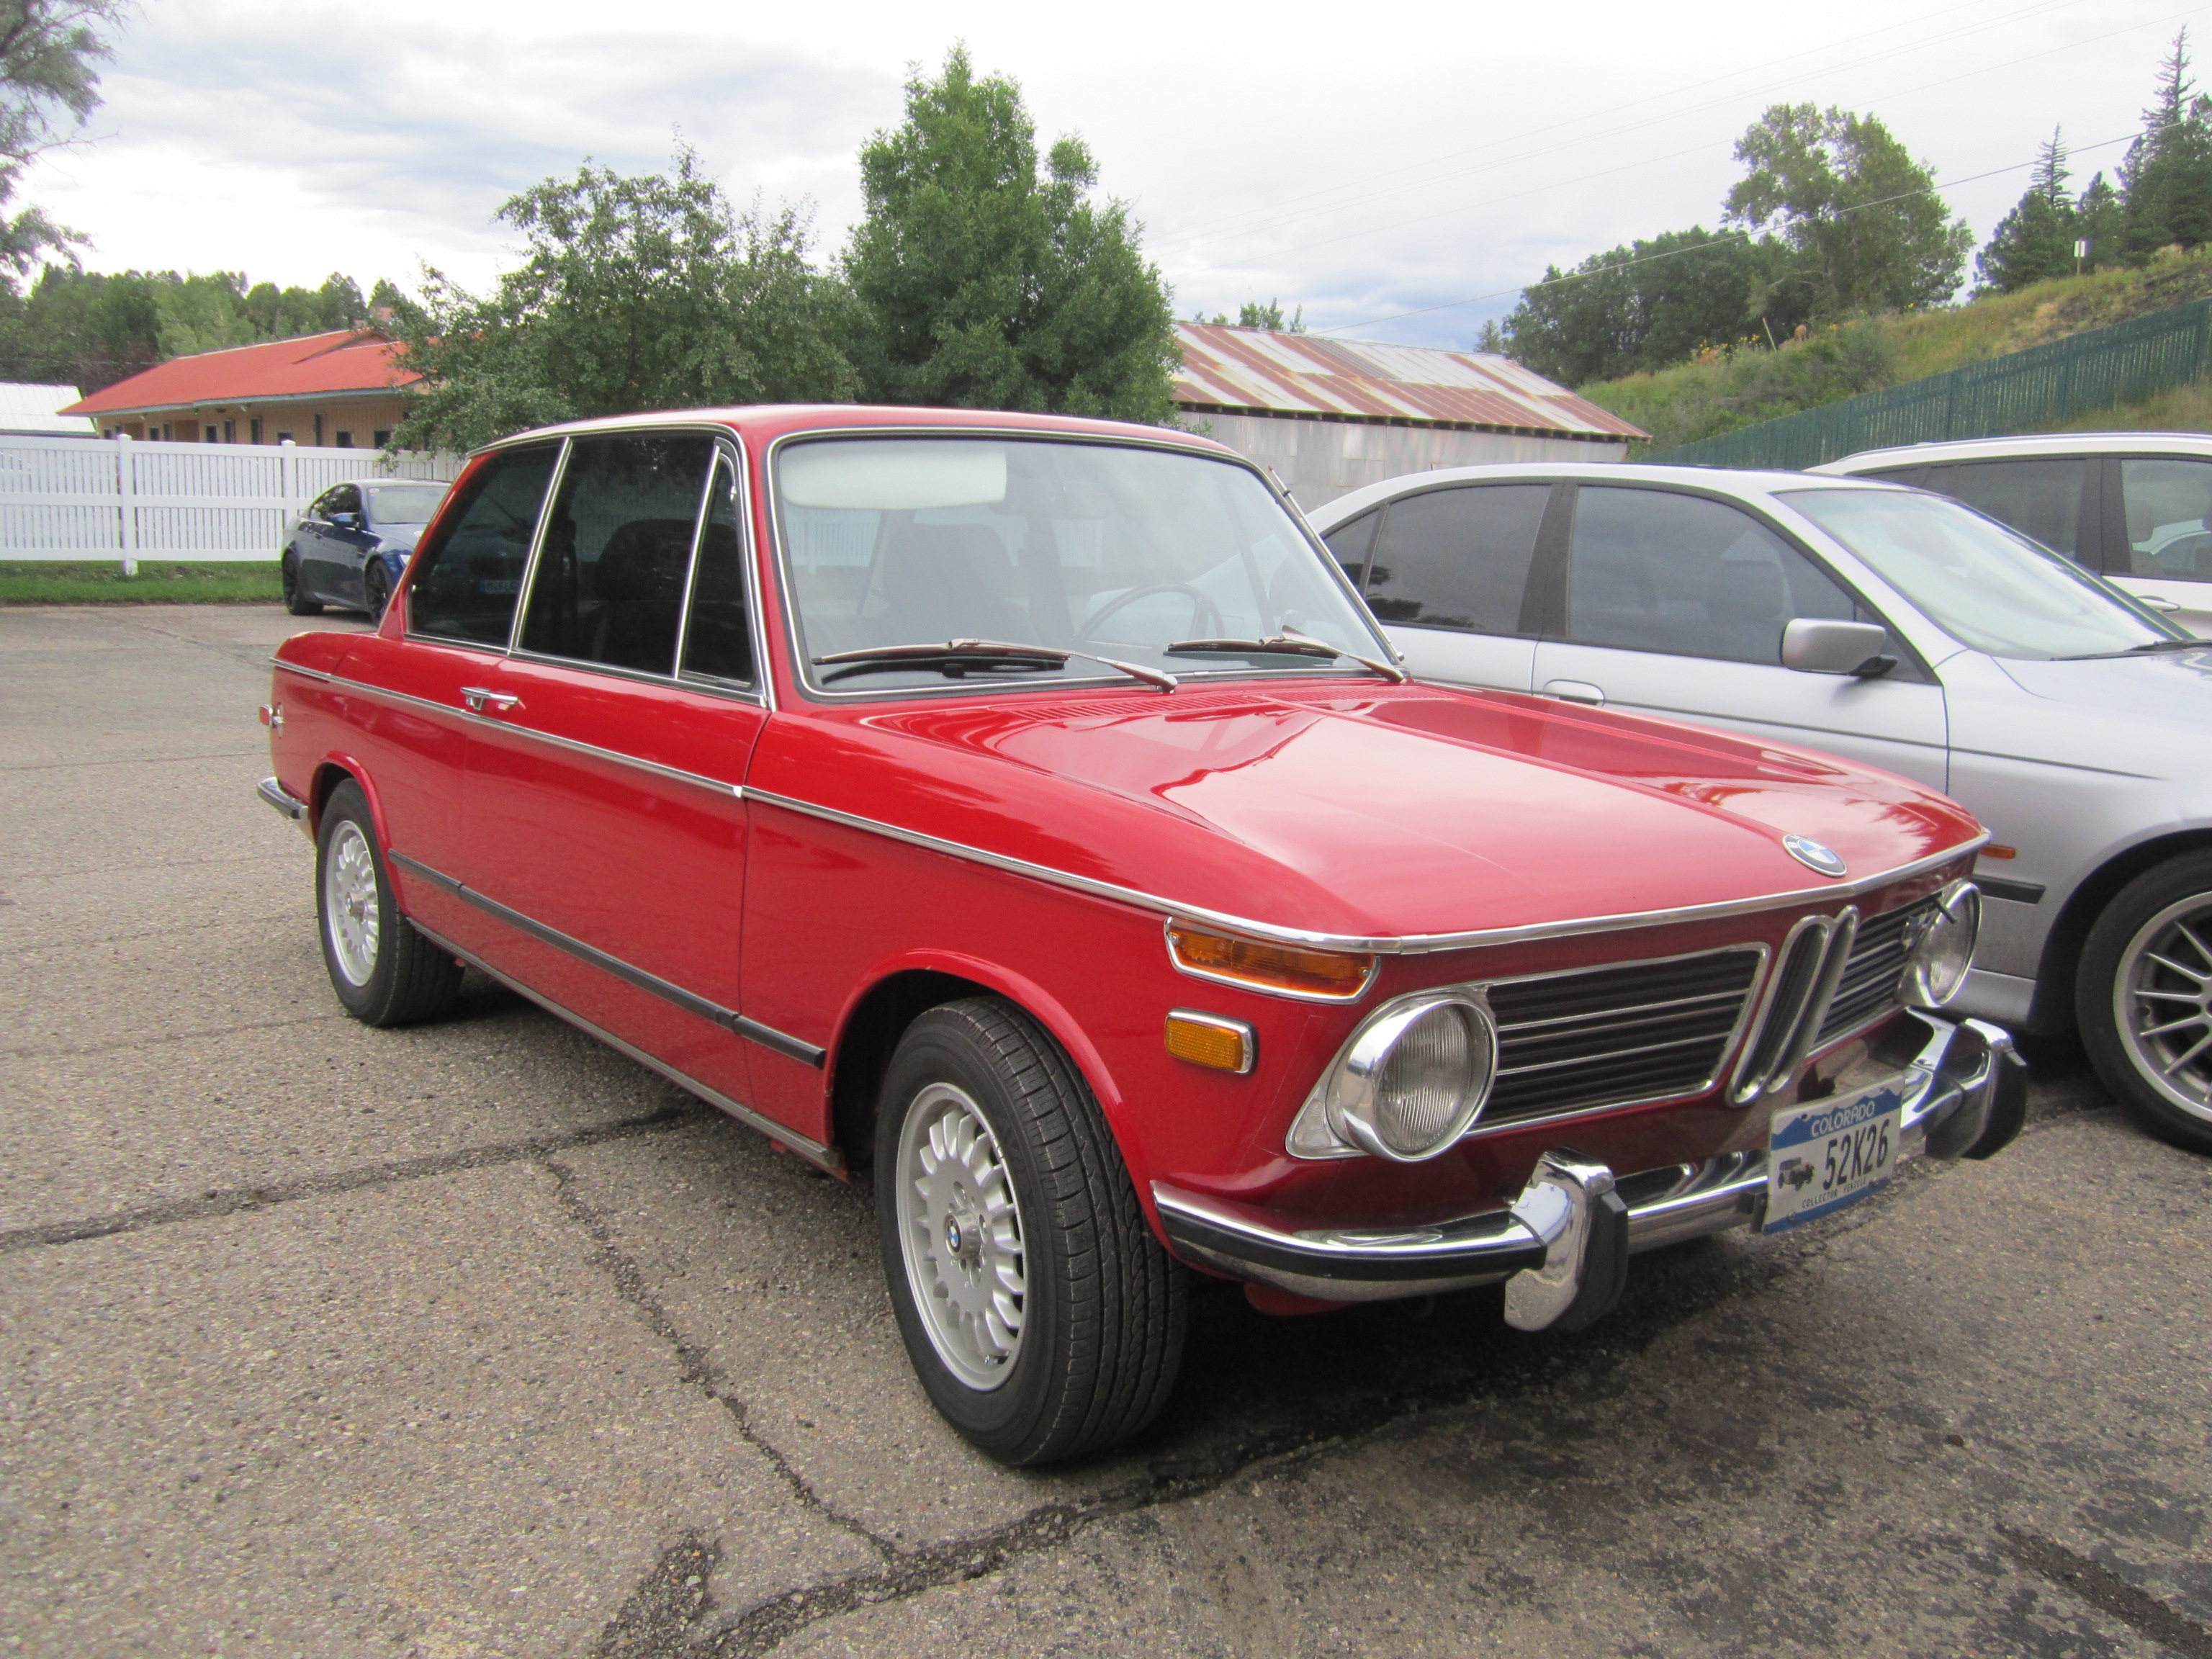
On a Sunday morning I decide I would get my 1969 BMW 2002 ready as spring is just a few weeks away and warmer days with longer day light in the late afternoons means I could be cruising to Louisville for some Texas Bar-B-Que and talking about the fun of driving BMW’s reason they “made it” in the automotive world. (BMW “Neue Klasse”: technically new, modern, fast, sports sedan, which changed the automotive industry for decades).
I changed out the Belt, added brand new bushings to my alternator, checked the valve rocker clearance and did an oil change and tune up. There was another reason I needed to drive my “Stuka” (Named after the Junkers Ju 87 or Stuka was a two-man German dive bomber) for my BMW 525i Wagon had just had the serpentine belt DISINTEGRATE while driving to work one morning and I had to wait for tools and parts to be mailed to me. (You can read about my belts and pulley replacement here : http://blog.fcpeuro.com/2014/03/18/bmw-525i-diy-belt-and-pulley-replacement/ ) So, I thought what a good time to get her running again and enjoy some quality time.
My 1969 BMW 2002
Monday morning I headed out and the Stuka was running great, the engine warmed up and the drive was pleasant. Getting off on my exit I had a large truck carrying propane jump from the middle lane all the way over tot he exit and before I knew it I was slamming on the breaks and seeing the large bumper at the level of my front grill and hood quickly approaching… not wanting to total the front end I dropped the transmission into 3rd gear in a panic and let the clutch out to be awaken by a large pop and a grinding sound… I had blown the transmission… but avoided the crash. Knowing I had high speed traffic behind me I forced it into neutral and coasted to the side of the road. Not a great way to start a Monday. Nursing it into 2nd gear and crawling through the stop light, two left turns and several rude drivers later I made it to the safety of my work’s parking lot.
Later in the afternoon I got it home by means of a flat bed tow truck and started my research for a used replacement. How painful.
I ended up on a Pittsburgh Craigslist to find a suitable donor transmission and after speaking with the gentleman on the phone about the condition, approximate miles and what other items would come along in the package I made my purchase. He was very nice and understood my vocal and in depth discussion about my concerns. It arrived that Friday via FedEx Ground and I had been talking with my neighbor about my near miss when it showed up. “Is that your transmission?!” he asked, seeing how the box was no bigger than a small wine cooler refrigerator and weighed about 80 pounds as I picked it up and brought it into the garage. I told him that this car is not build on being large and bulky but clean, light and fast. Thus the transmission is very small and does the job nicely with out trying to look like a Muscle car.
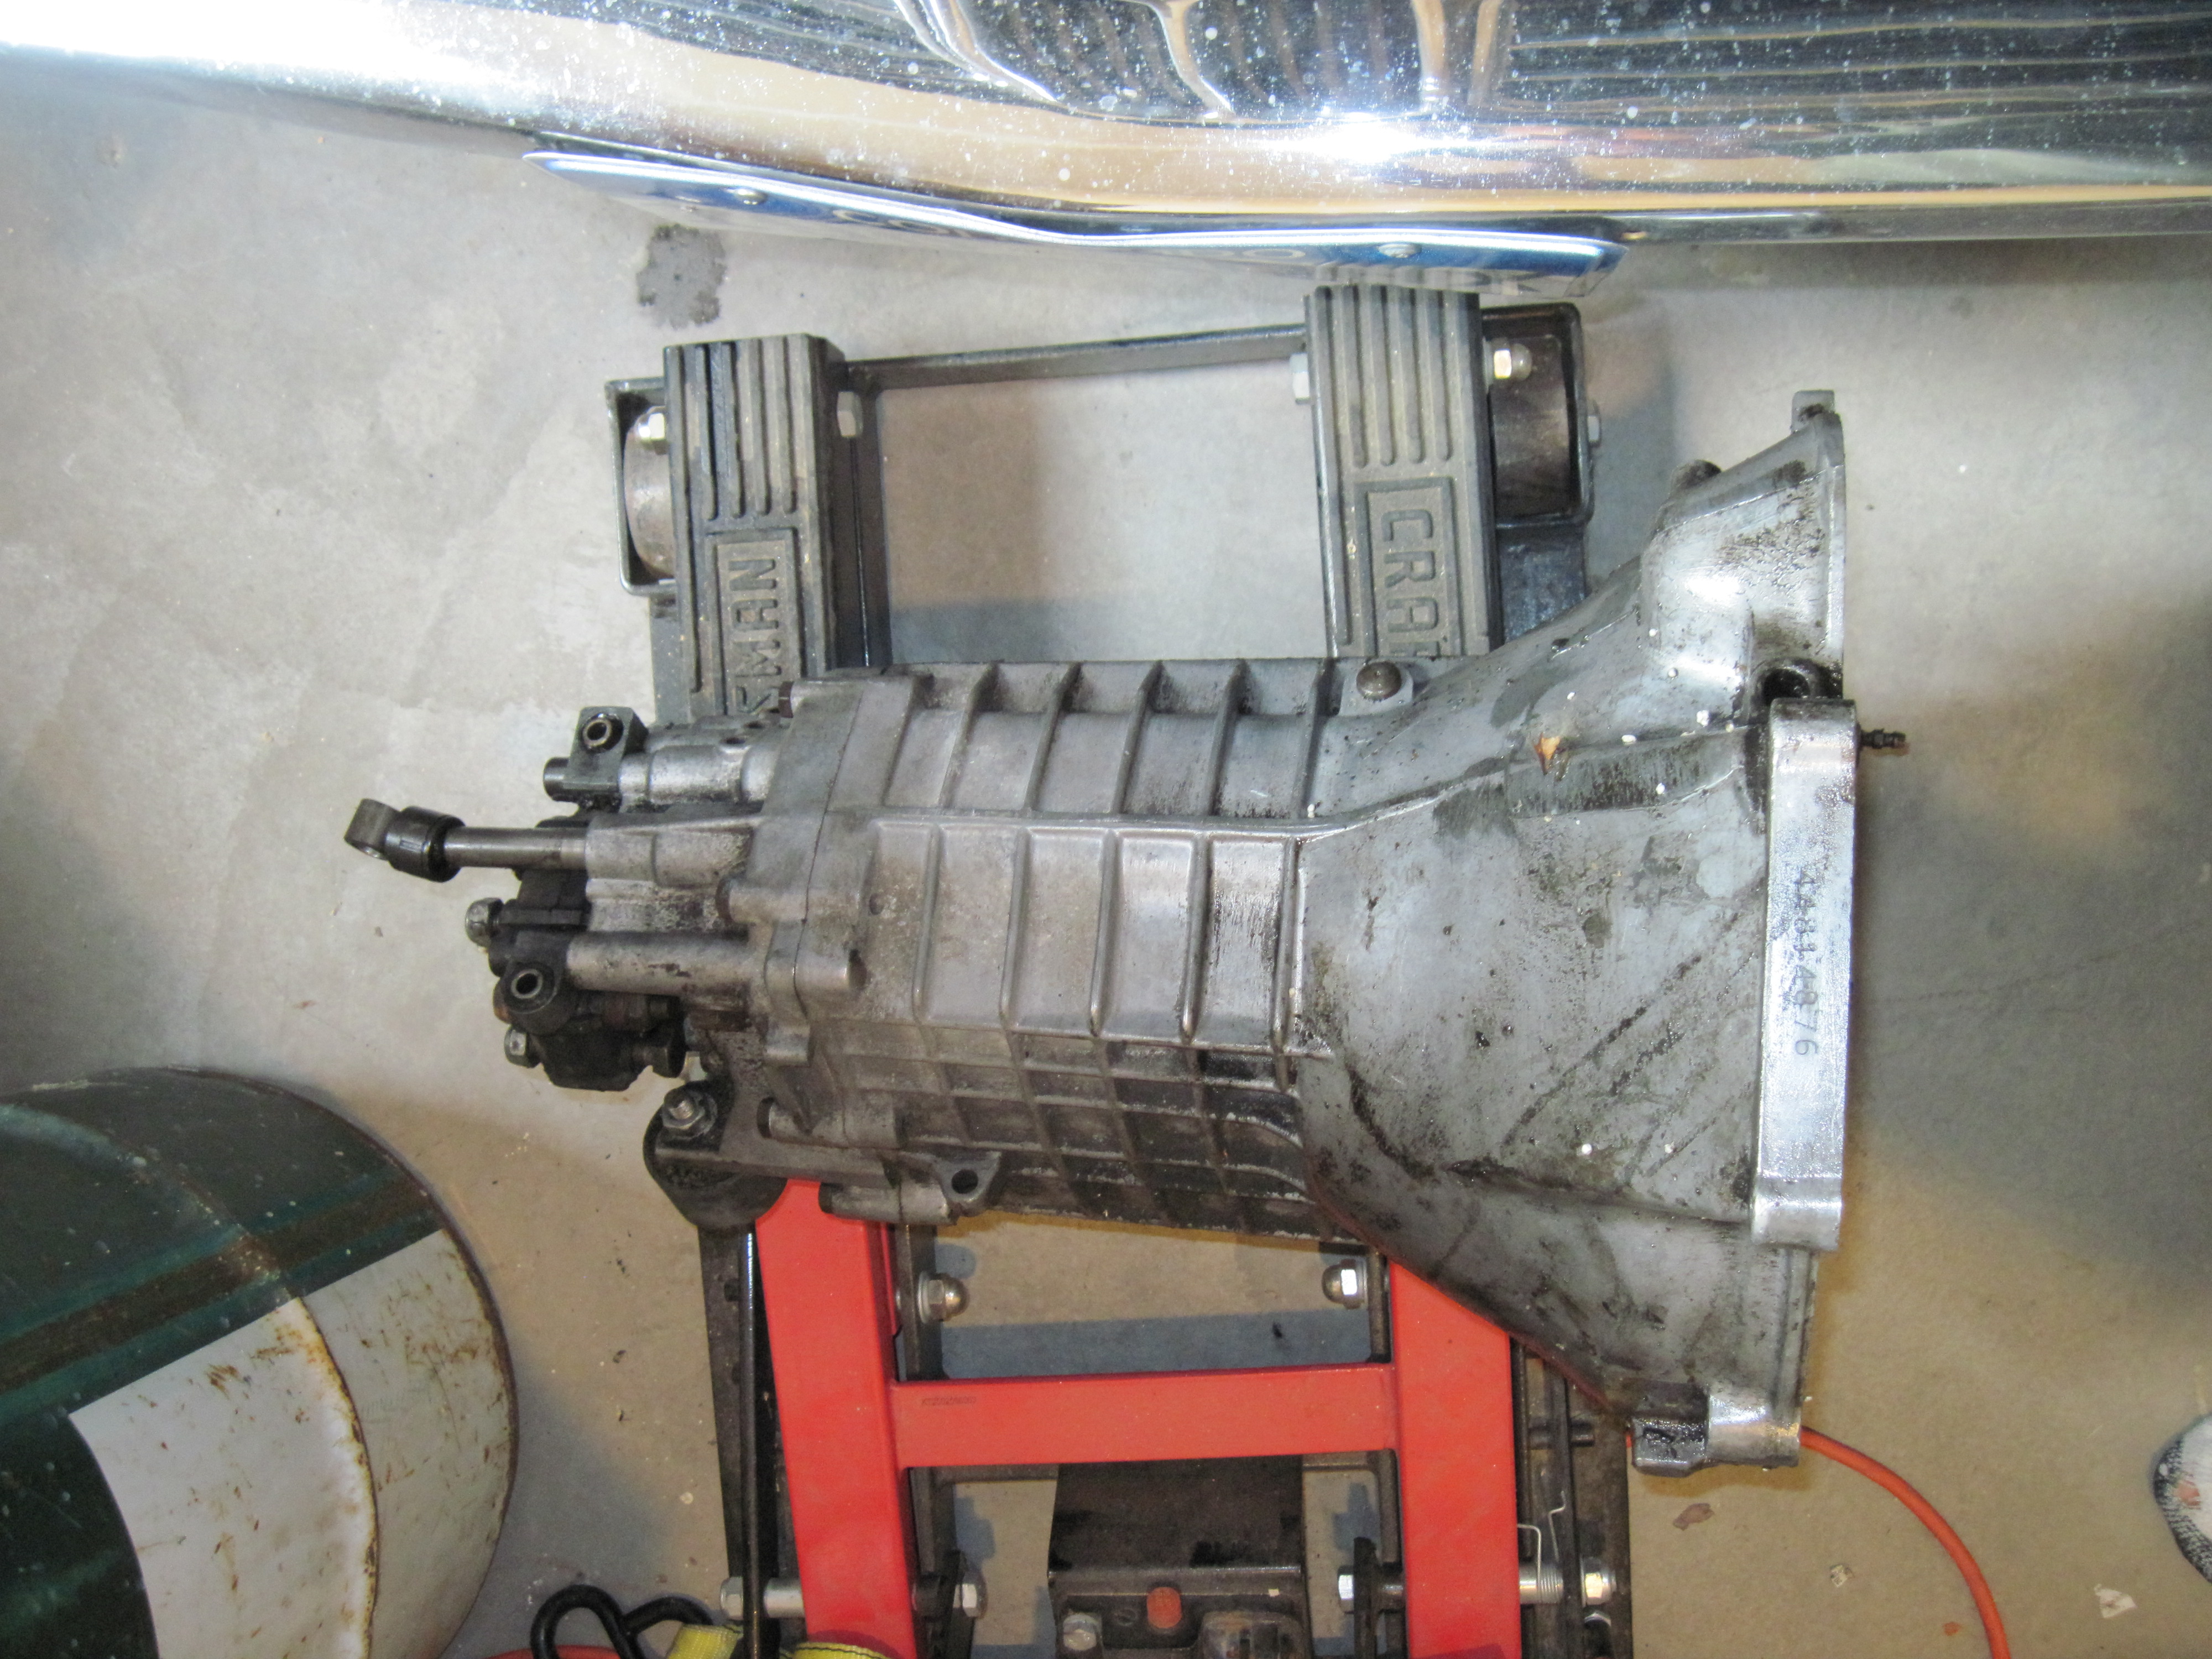
New “Used” Transmission prior to clean up.
This morning I am embarking on the adventure of removal of the bad transmission, clearing critical work shop space and cleaning up, replacing the fluid and gaskets on the new “used” one.
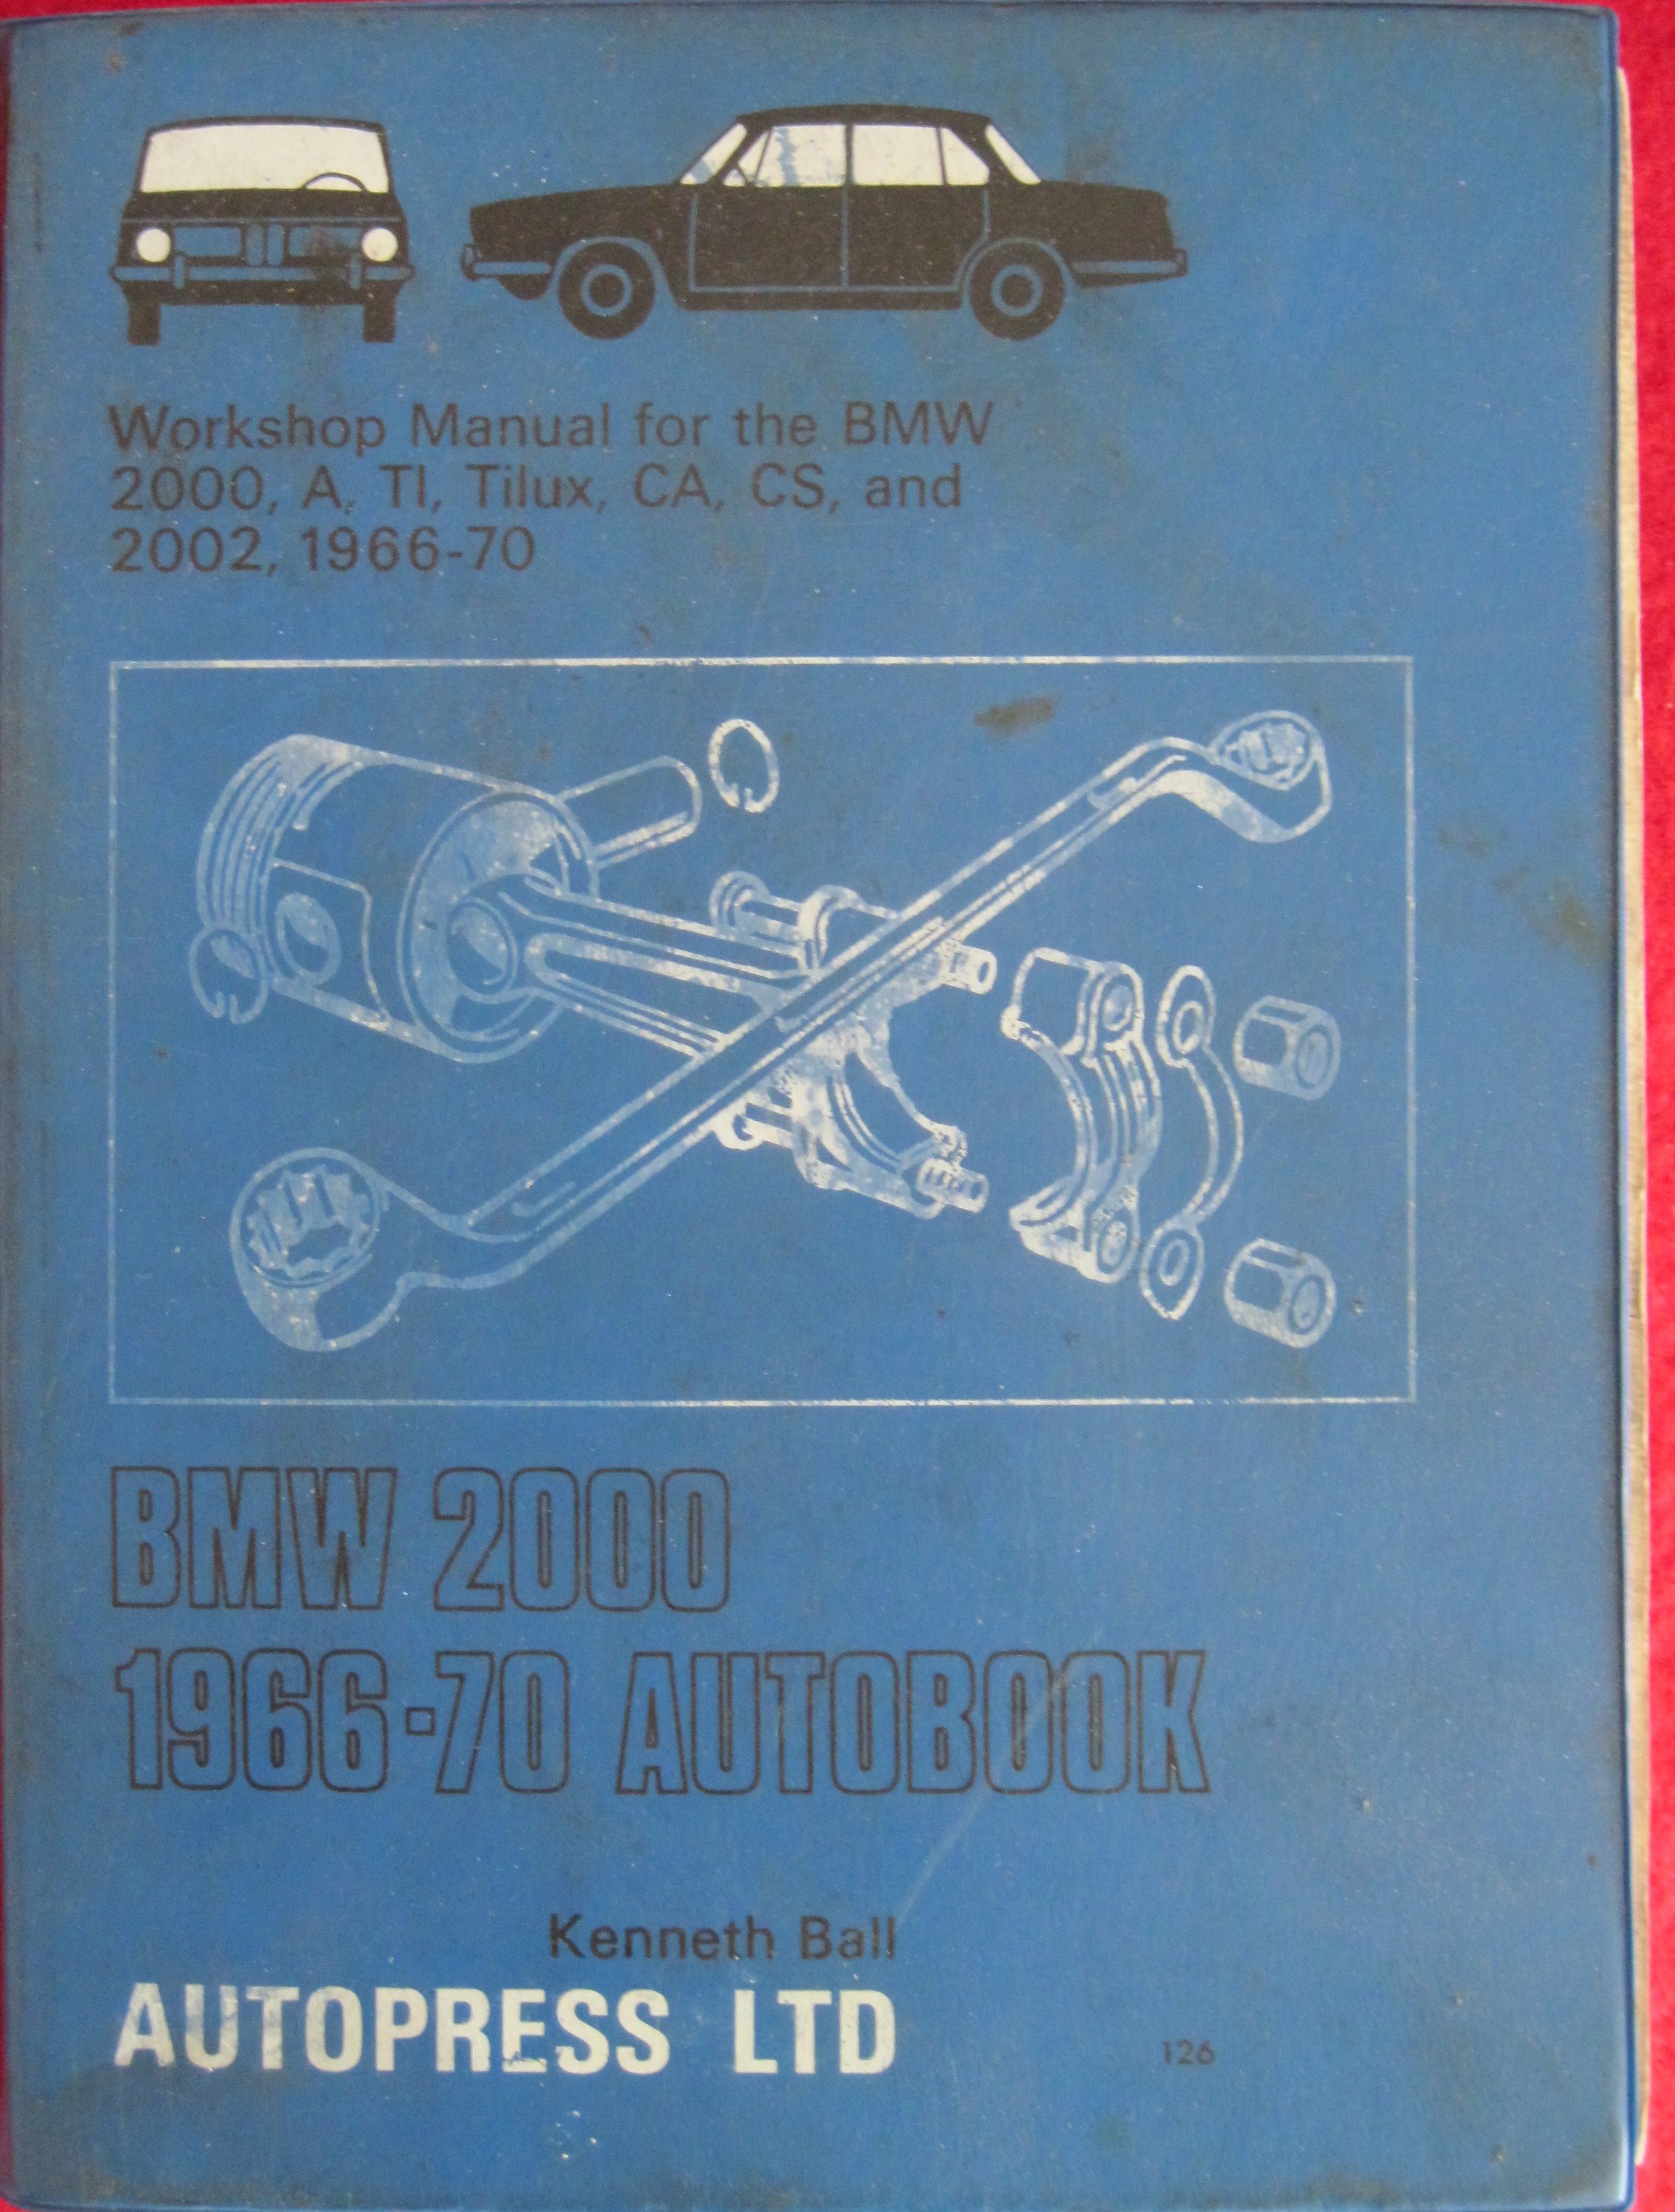
I will be posting more about this adventure as I go, I will try and post as many pictures as I can through out my experience. I also will be using my very informative and vintage (first edition 1970) Autopress workshop manual to guide me through the process.
Autopress workshop repair manual. First edition 1970
I hope you will enjoy this adventure as much as I will. As learning something new on my Stuka, is always a fun filled experience.