Category Archives: repair

Solo Rider Seat, BMW 1956 R50

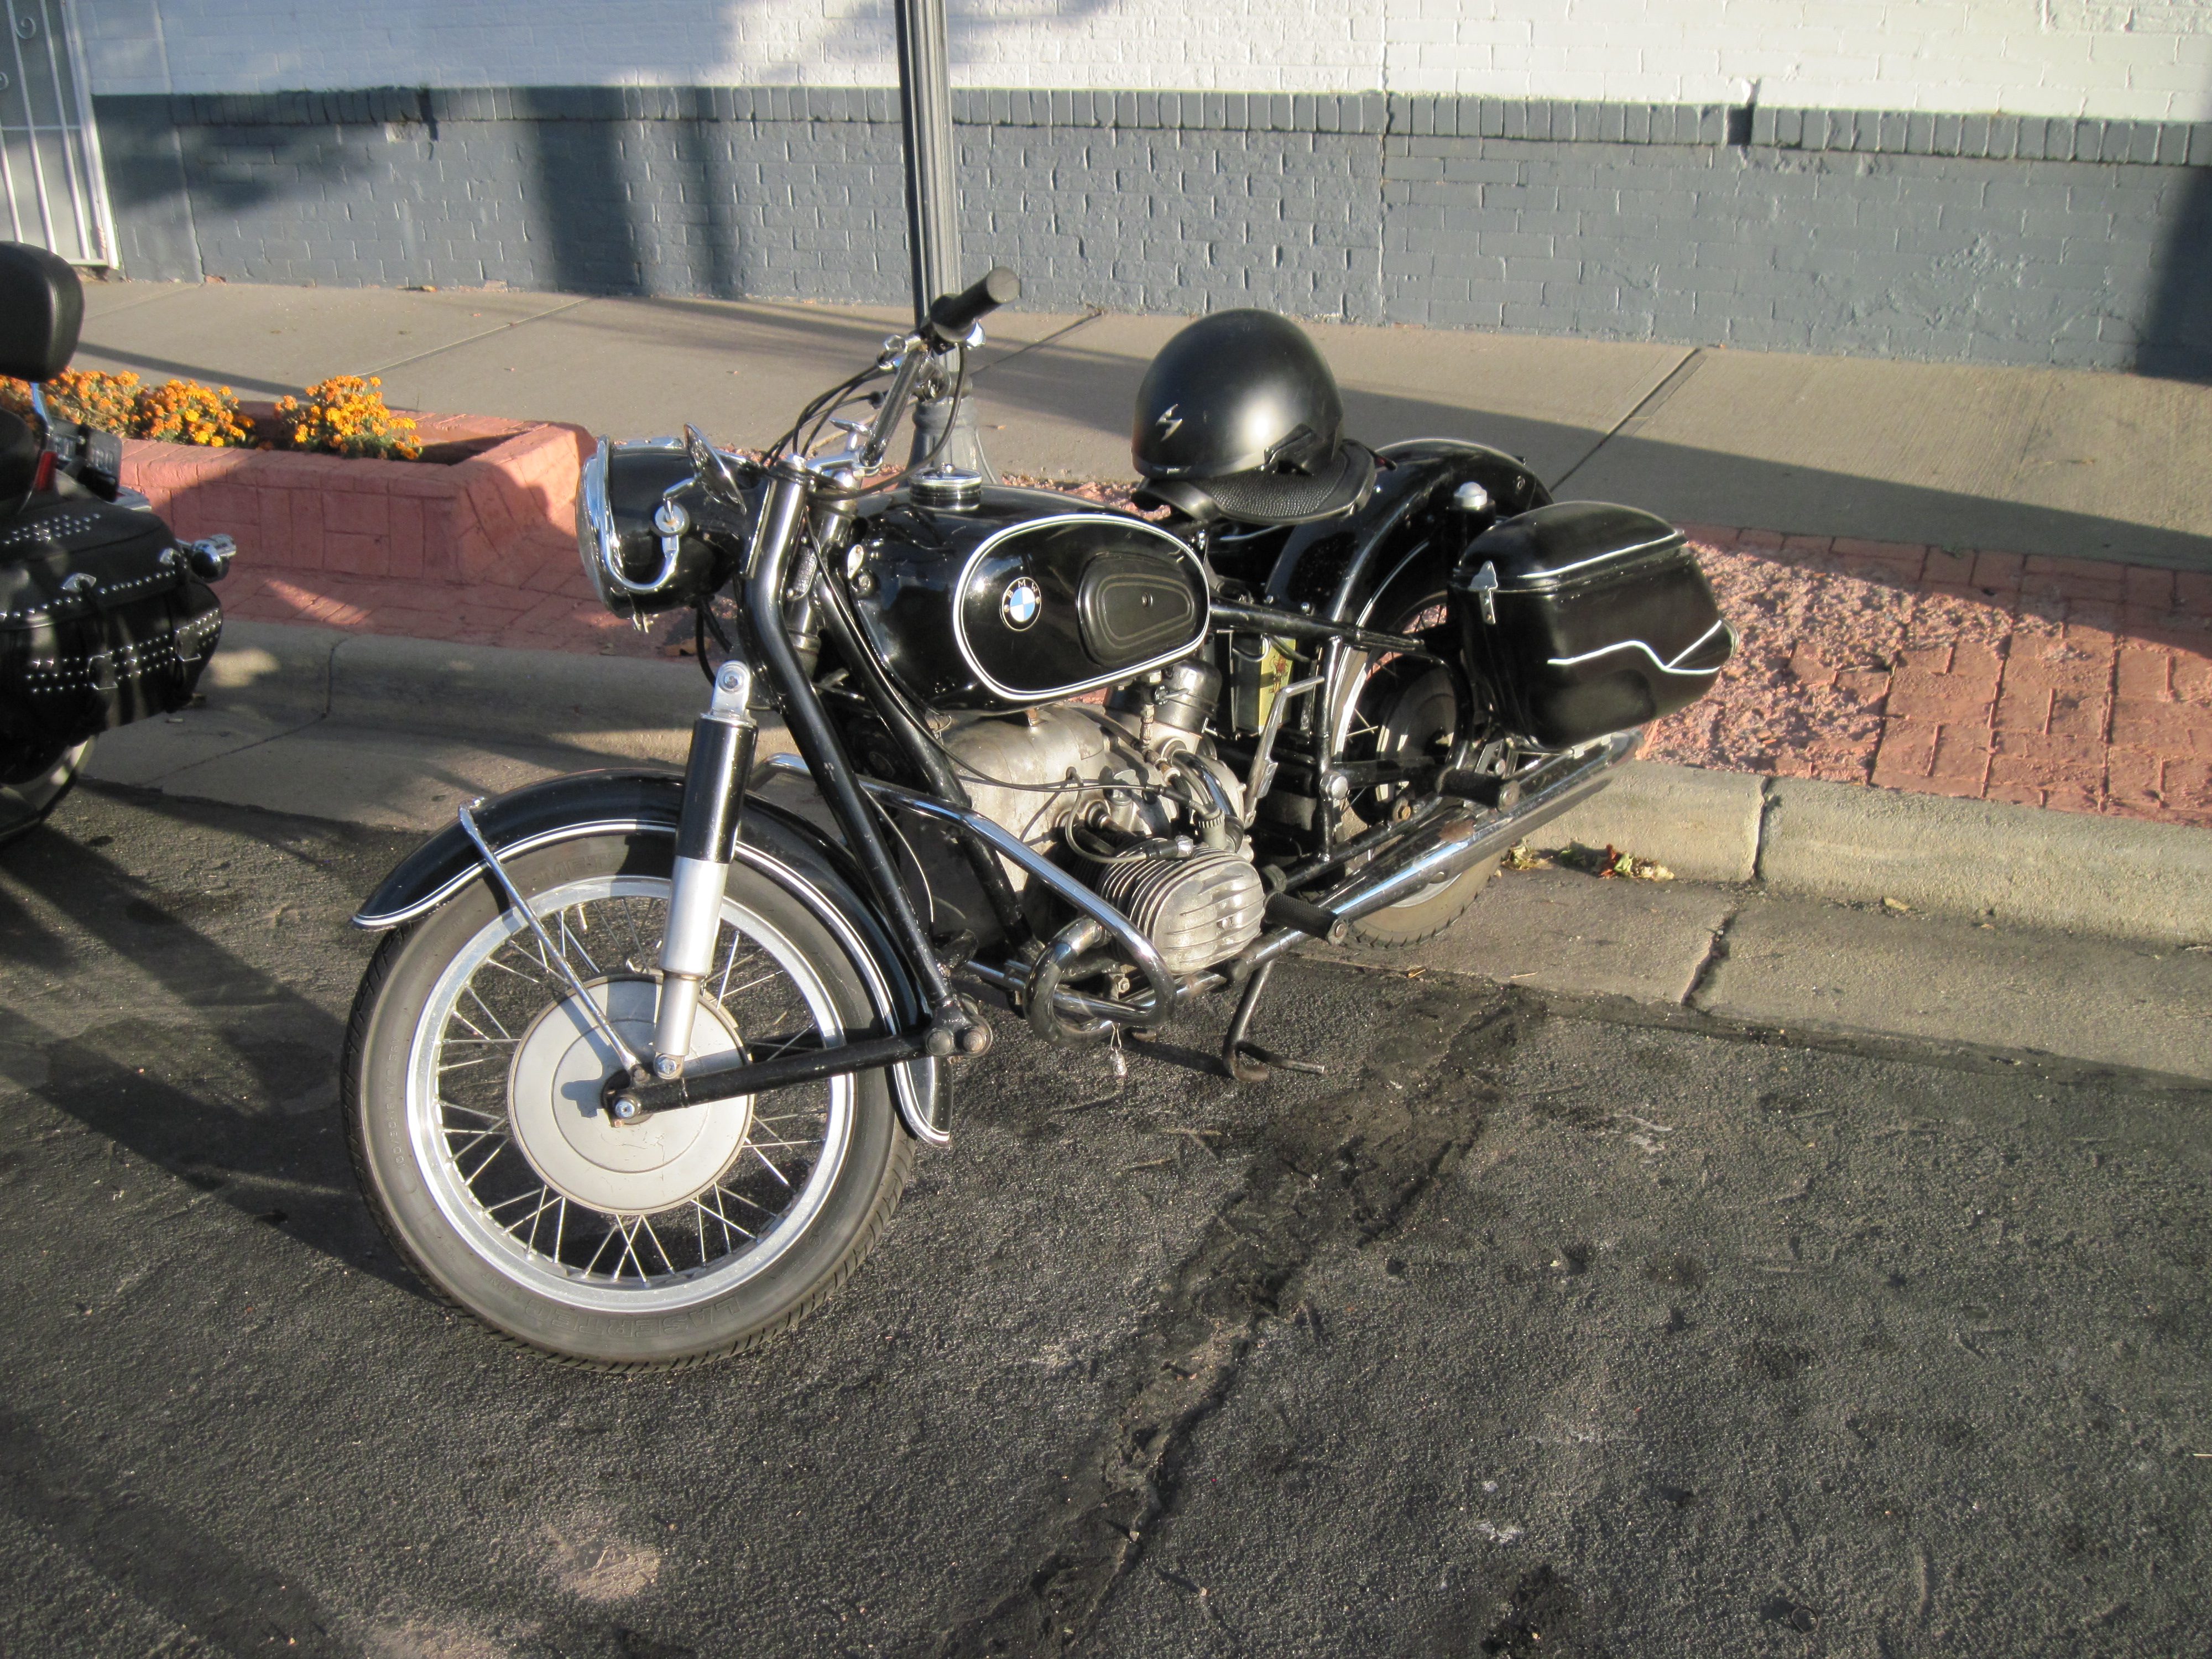
So what I thought was going to be an easy seat change ended up last me over 3 hours, but after it was done it really makes a big change in the look of my R50.

IMG_0019_cropped

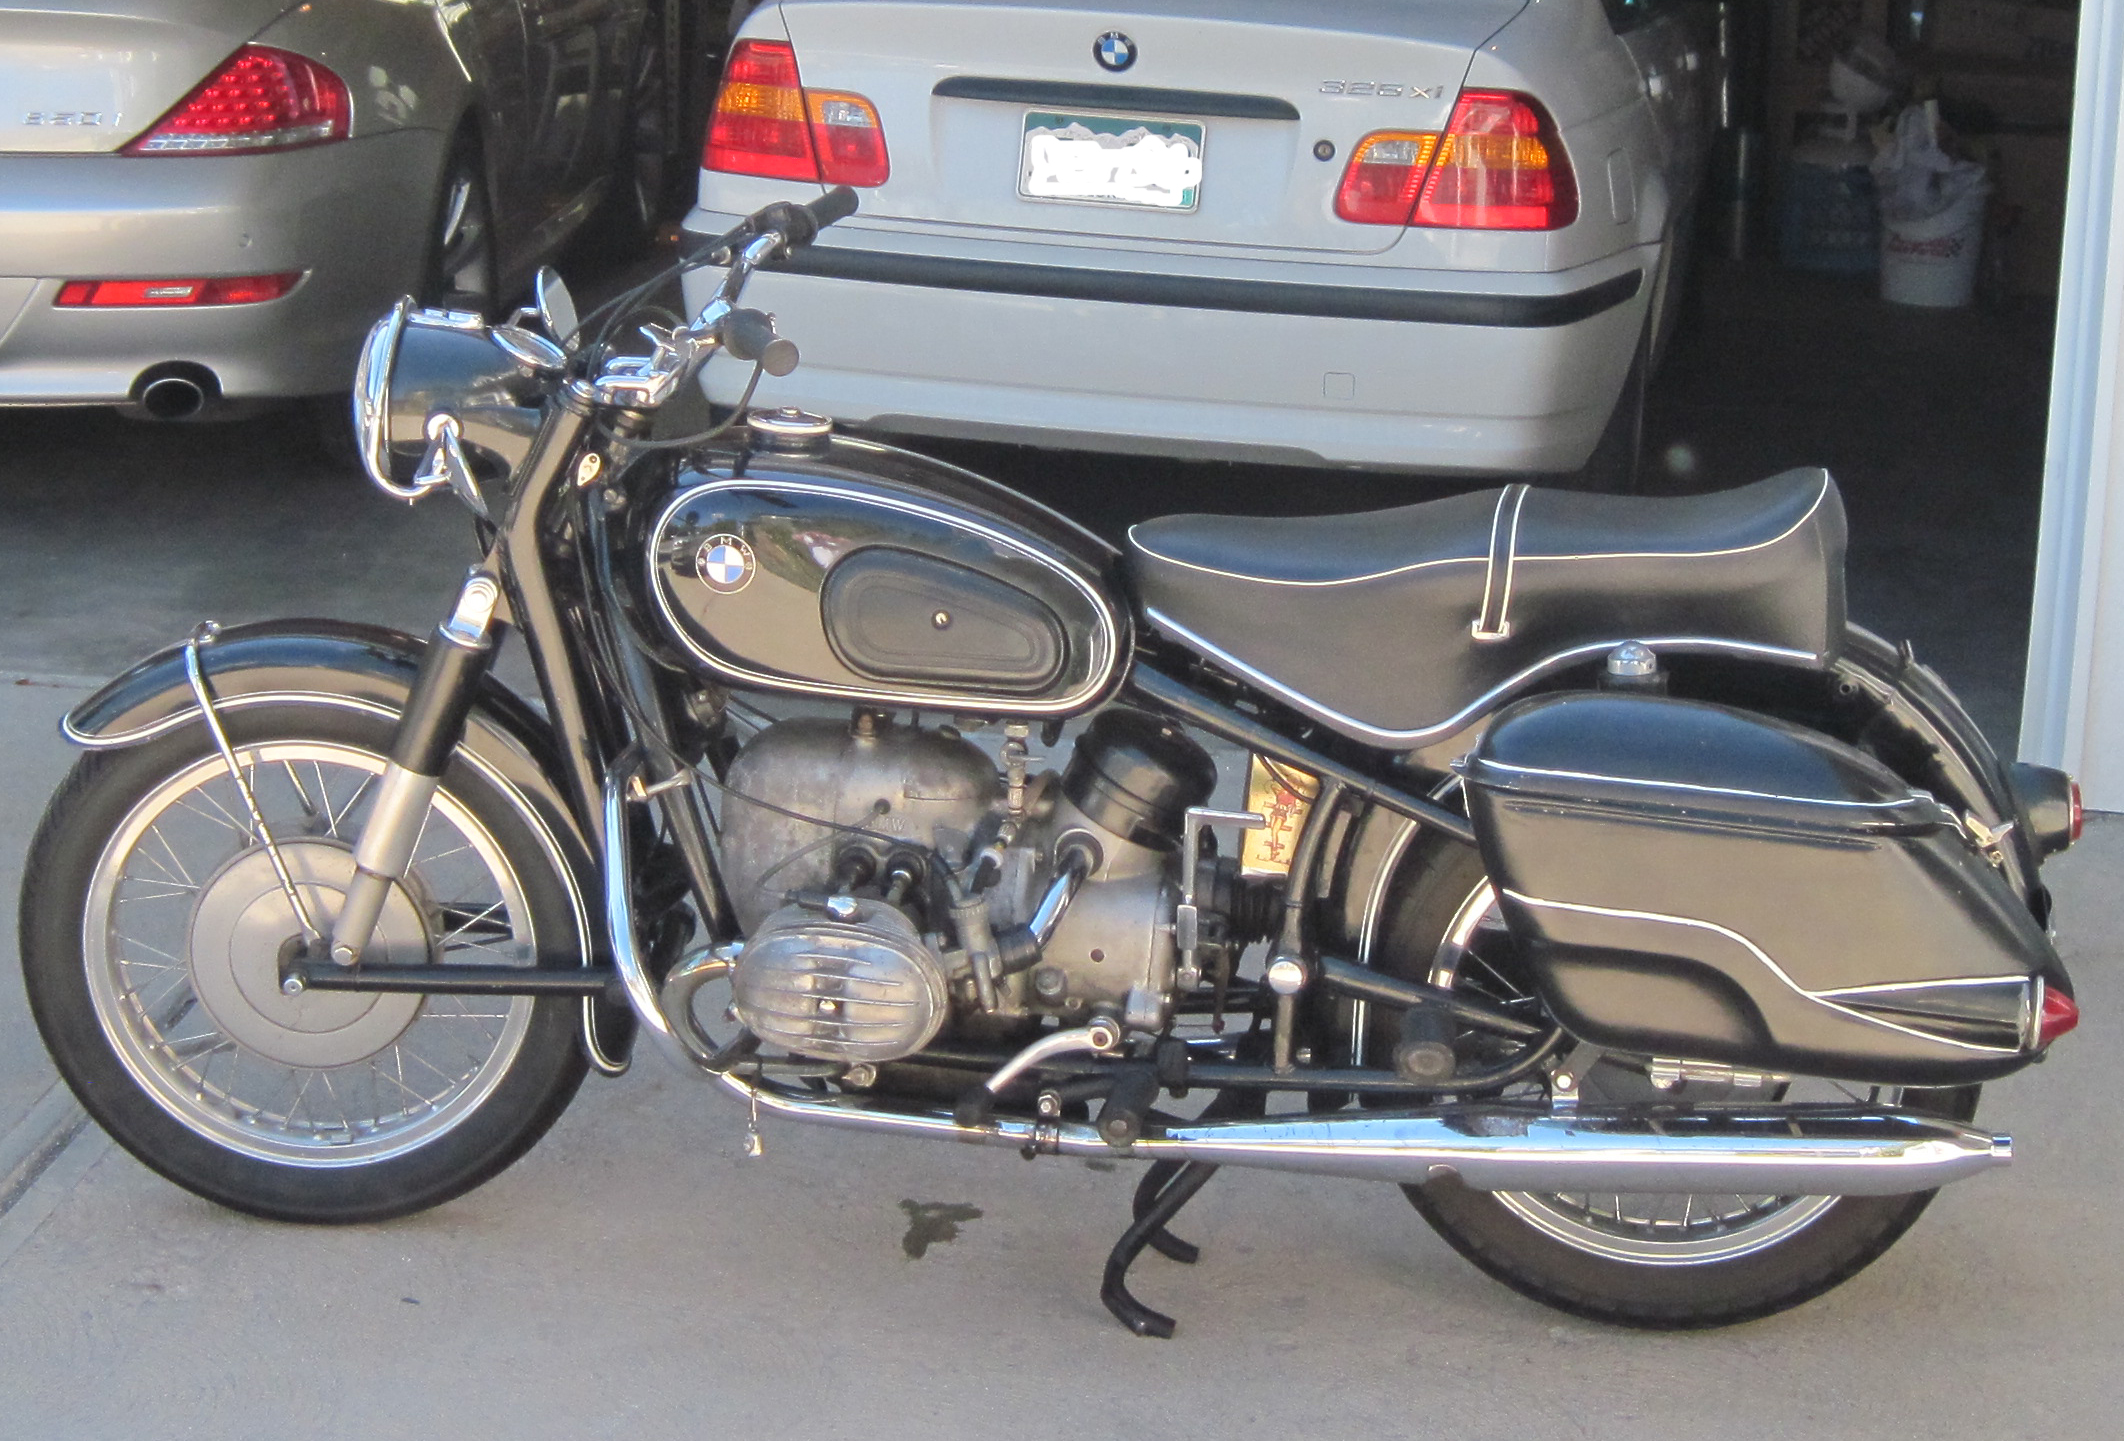
Above and below is the look of my BMW with the banana seat…

IMG_0022_crpped

After removing the seat, i wanted to see how the chromed luggage rack o the back fender is going to look. No holes drilled yet… and will save that project for a different day.

IMG_0023

IMG_0024

After almost 2 hours of draining the gas out of the tank… (I made the mistake of filling up a few weeks back, not knowing I wanted to put the solo seat on) the four gallons of gas through a filtered 1/4 inch tube is not the best way to drain a tank.

IMG_0025_no tank_no seat

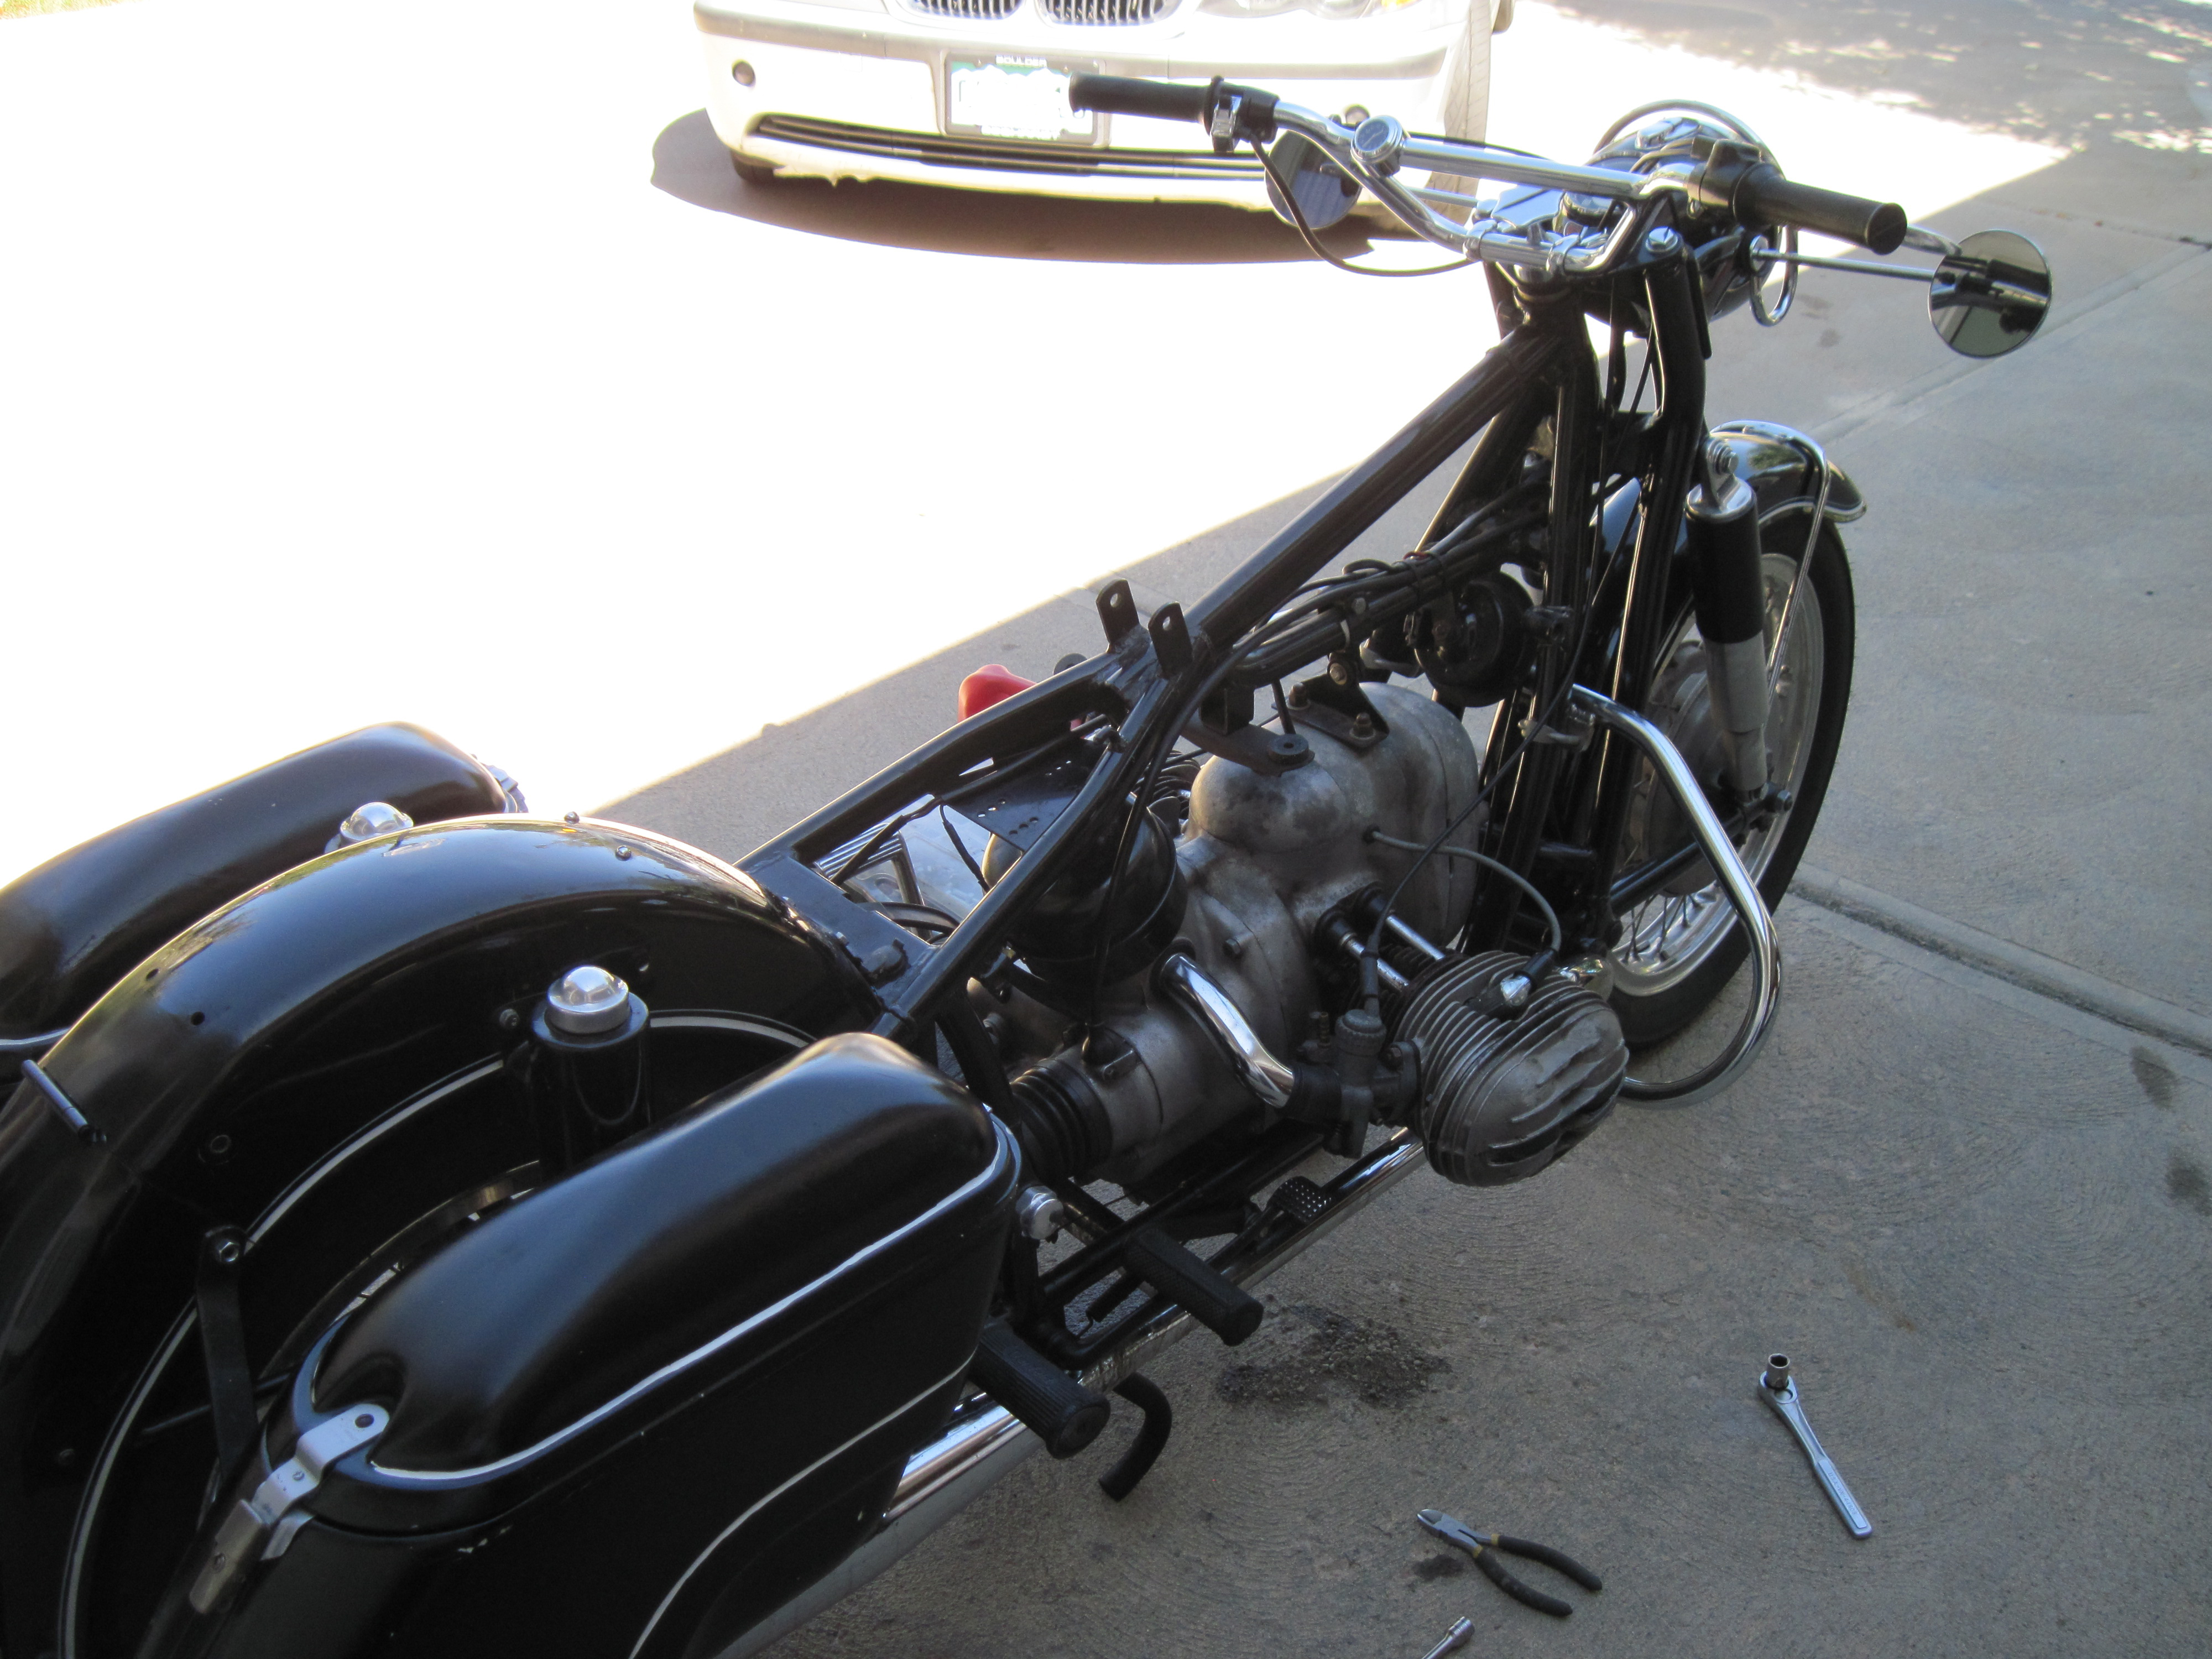
Above, the tank and seat off… i went ahead and washed the back fender.

IMG_0027_cropped

Assembly was very quick and came together quickly. All the bolt holes lined up and the review of all the items  double checking that it was all assembled correctly and tight.

IMG_0028_cropped

Out for a ride, Saturday in denver was a perfect clear and sunny day, I think the high was 80 degrees and the last Saturday of the summer for 2015 was perfect.

IMG_0033

Repair, refurbish and reuse. BMW 2002 325i

So, after purchasing a used BMW 325i 2002 I decided to check out some common issues that are prevalent in a car with 130,000 miles on it. An oil leak with really worn belts, I still think I got a good deal. During a valve cover gasket replace is a good time to check the ignition coils, spark plugs, a valve cover air circulation and other items. Digging in one saturday morning I felt the task at hand would take about 2 to 3 hours… and it did. Once into the top of the valve head I was very pleasantly surprised to find the the ignition coils were all new and replaced in October of 2013, along with the ignition coil harness with the OEM markings and labels. the valve cover gasket was replaced, along with all belts and pulley wheels with the tensioner too. everything went very smoothly and went together quickly after the part replacement. bmw_with engine

This was a fun photoshop of the engine and the hood closed… I made the engine 40% transparent and the layered the engine on top of the photo of the Bimmer with the hood closed… click on the photo to really see the detail as it will pop open in full size.

IMG_0107

Cover for the valve head looked great, no heavy slug from water in the oil and the air circulatory tubes were also replace. IMG_0108

Removing the spark plugs to check the condition… they all looked great and must have been replaced when the ignition coils were done… no wonder i am getting 25 miles to the gallon!

IMG_0110

The Vanos pump will need a rebuild soon as if seems to be leaking from the seals.   IMG_0113

All back together minus the air cabin filter housing… since I had a new one, I replaced that too… it was full of dirt and road grim… so it was time.

IMG_0114

open hood    closed hood… mating the two images is how I got the first image of the car with the “like” see through hood! IMG_0118

IMG_0120_crop

Sports package = Sports rims, sports suspension, bucket seats, three spoke steering wheel, lowered about 2 inches compared to a normal 325i and a Harmon Kardon sound system. Not to bad for a commuter car!   Next up will be  to inspect the wheel bushings and brakes….

IMG_0123

Tube Checking!

I started last night working again on the RCA console and decided prior to a thorough cleaning, I would check all of the tubes for good gain, emission, shorts and quality.IMG_1584

I first draw out the map of all the tubes, place the correct tube designator and Tube number. This ensures i have the correct tube placement and that as I test i can mark off “bad” or “good” or “weak”. The weak might be good enough to get the amplifier working, but will need replacement for long term use.

IMG_1582

Next I select a tube and and gently remove the glass electron masterpiece.

IMG_1583

As you can see, some tubes are in great shape and others need some cleaning to be able to read the tube part number.

IMG_1581

I have several resources to verify that the tube I have can be tested in the Knight Kit Tube tester that I have had for over 20 years.

IMG_1580

If the tube is old enough I can use the scroll paper inside the KNIGHT “KG” 600 “B”  (Why they had the letters KGB in the nomenclature of the tester I have no idea!)  Kit test kit with the back lit scroll.

IMG_1572

If not I have to turn to my other resource book with newer tubes. As the case for this very cool 6AL7 radio tuning tube. The tube lights the upper part of the glass on a grid that allows the user to “see” how in tune the radio station is getting. (I was very impressed as i have never see a working signal strength tube in working condition, and was surprised about how bright it really was.)

IMG_1578

It was go time… setting the correct switches, turning to the correct voltage and socket selector I was ready to test!

IMG_1575 Even bright enough with the lights on!

IMG_1577Checking for the gain of the tube you can see the upper scale read “Good”

After a test of all tubes my failed list will be easy to acquire from E-Bay as I have already started the bidding process!

IMG_1574Here is a good picture of the Knight tube tester. It has been working perfect since the day i bought it!

Here are tubes I need to replace out of 14 tubes:

2- 6cg7

2- 6v6
1- 6x8a
1- 6av6
1-6au6
More soon!

Back to something fun. (1958 RCA Orthophonic Stereo SHC-4 )

My friends found a great AM/FM Record player console at a garage sell and picked it up for  steal… my part, I am going to do a restoration on the amplifier, receiver and turntable. It is in great condition except for the missing speakers. I did my research and found out that this console is a real top of the line for the year. A 1958 RCA Orthophonic Stereo SHC-4 console in blond wood.   High Fidelity, so close your eyes and see if it sounds like you are sitting with the musicians as they play. (I will continue to post as I go, the detailed steps and the finish product).   Here is a good 1957 advertisement that just now a days seems silly, but the information is great!  https://www.youtube.com/watch?v=lbG-ps0CSkQ

I have removed everything from the cabinet and will start to clean everything. I have not powered up any of the electronics as I do not want to damage anything or the tubes until I know exactly that all the components are in at least working order. I will go back and use an oscilloscope to verify the quality of the amplification of the sound and check the stages of the quality.

More soon….  I hope you will enjoy the next few post as I dive into something fun!


IMG_1563

IMG_1560

IMG_1561

Turning over an old Key

I was bummed when I broke my door handle lock on my 1968 BMW 2002, the entire tumbler came out leaving no way to lock my driver side door. I searched for all kinds of fixes, replacement parts but nothing I could find would really work, and I want to keep my key that starts my car and unlocks the other door the same.

Broken tumbler with key pins removed.

I was on ebay and found a very good condition used driver side door handle and i thought this was it! I got it for a very reasonable price considering that these parts for a 68 are getting a bit hard to find…

Taking apart the new locking mechanism and pulling the tumbler out, it was very easy to take each one in order of the key pins out, and replace into the new tumbler…  and with a bit of new grease… it worked!

IMG_1480

A spot check of the key in the key hole to verify all the key pins where at an acceptable level (Below the housing) I was good to go!

Reassembly went fast and double checking the spring, it all came together!

IMG_1481

turning the key is below, which will move the lock, unlock lever:

IMG_1482

I will replace the handle of my BMW tomorrow and feel comfortable driving around town now knowing I can lock my door.

My 1969 BMW 2002
My 1969 BMW 2002

Fix something Old.

On Sunday, I was asked if I could look at an old clock that was rescued from what I am sure was going to be a sad place…

Working clock, after some attention.

I am always looking to save great vintage items from the trash or from being piled into a donation box, then to be shuttled off to remain uncovered until certain death when someone looks at it at a thrift store and says “It doesn’t work… toss it!”

A simple night stand clock, an alarm, a minute hand, and a second hand! Wow… nice markings, with the original manufacture sticker… what a find!

IMG_1342

Opening it up exposed a nightmare of gunky gears, a broken and brittle AC wire and a fine layer of “Age” or others like the word “patina” … model 7H139! Approximately 1930’s… Now I think Techtron was bought or used them as vendors for parts by GE .. which made later a very close sibling to this clock the model number 7H140… hmmm. Interesting.

IMG_1341

A few cleaning and lubricating solutions, some elbow grease, a soldering iron, to complete the soldering of a new power AC cord and a simple check with the Digital Multimeter and I was telling time as the clock smoothly came to life… what a great feeling knowing that this little clock has a few more years, of days, of nights, of hours, of minutes, of seconds to pass the time by… as a clock.