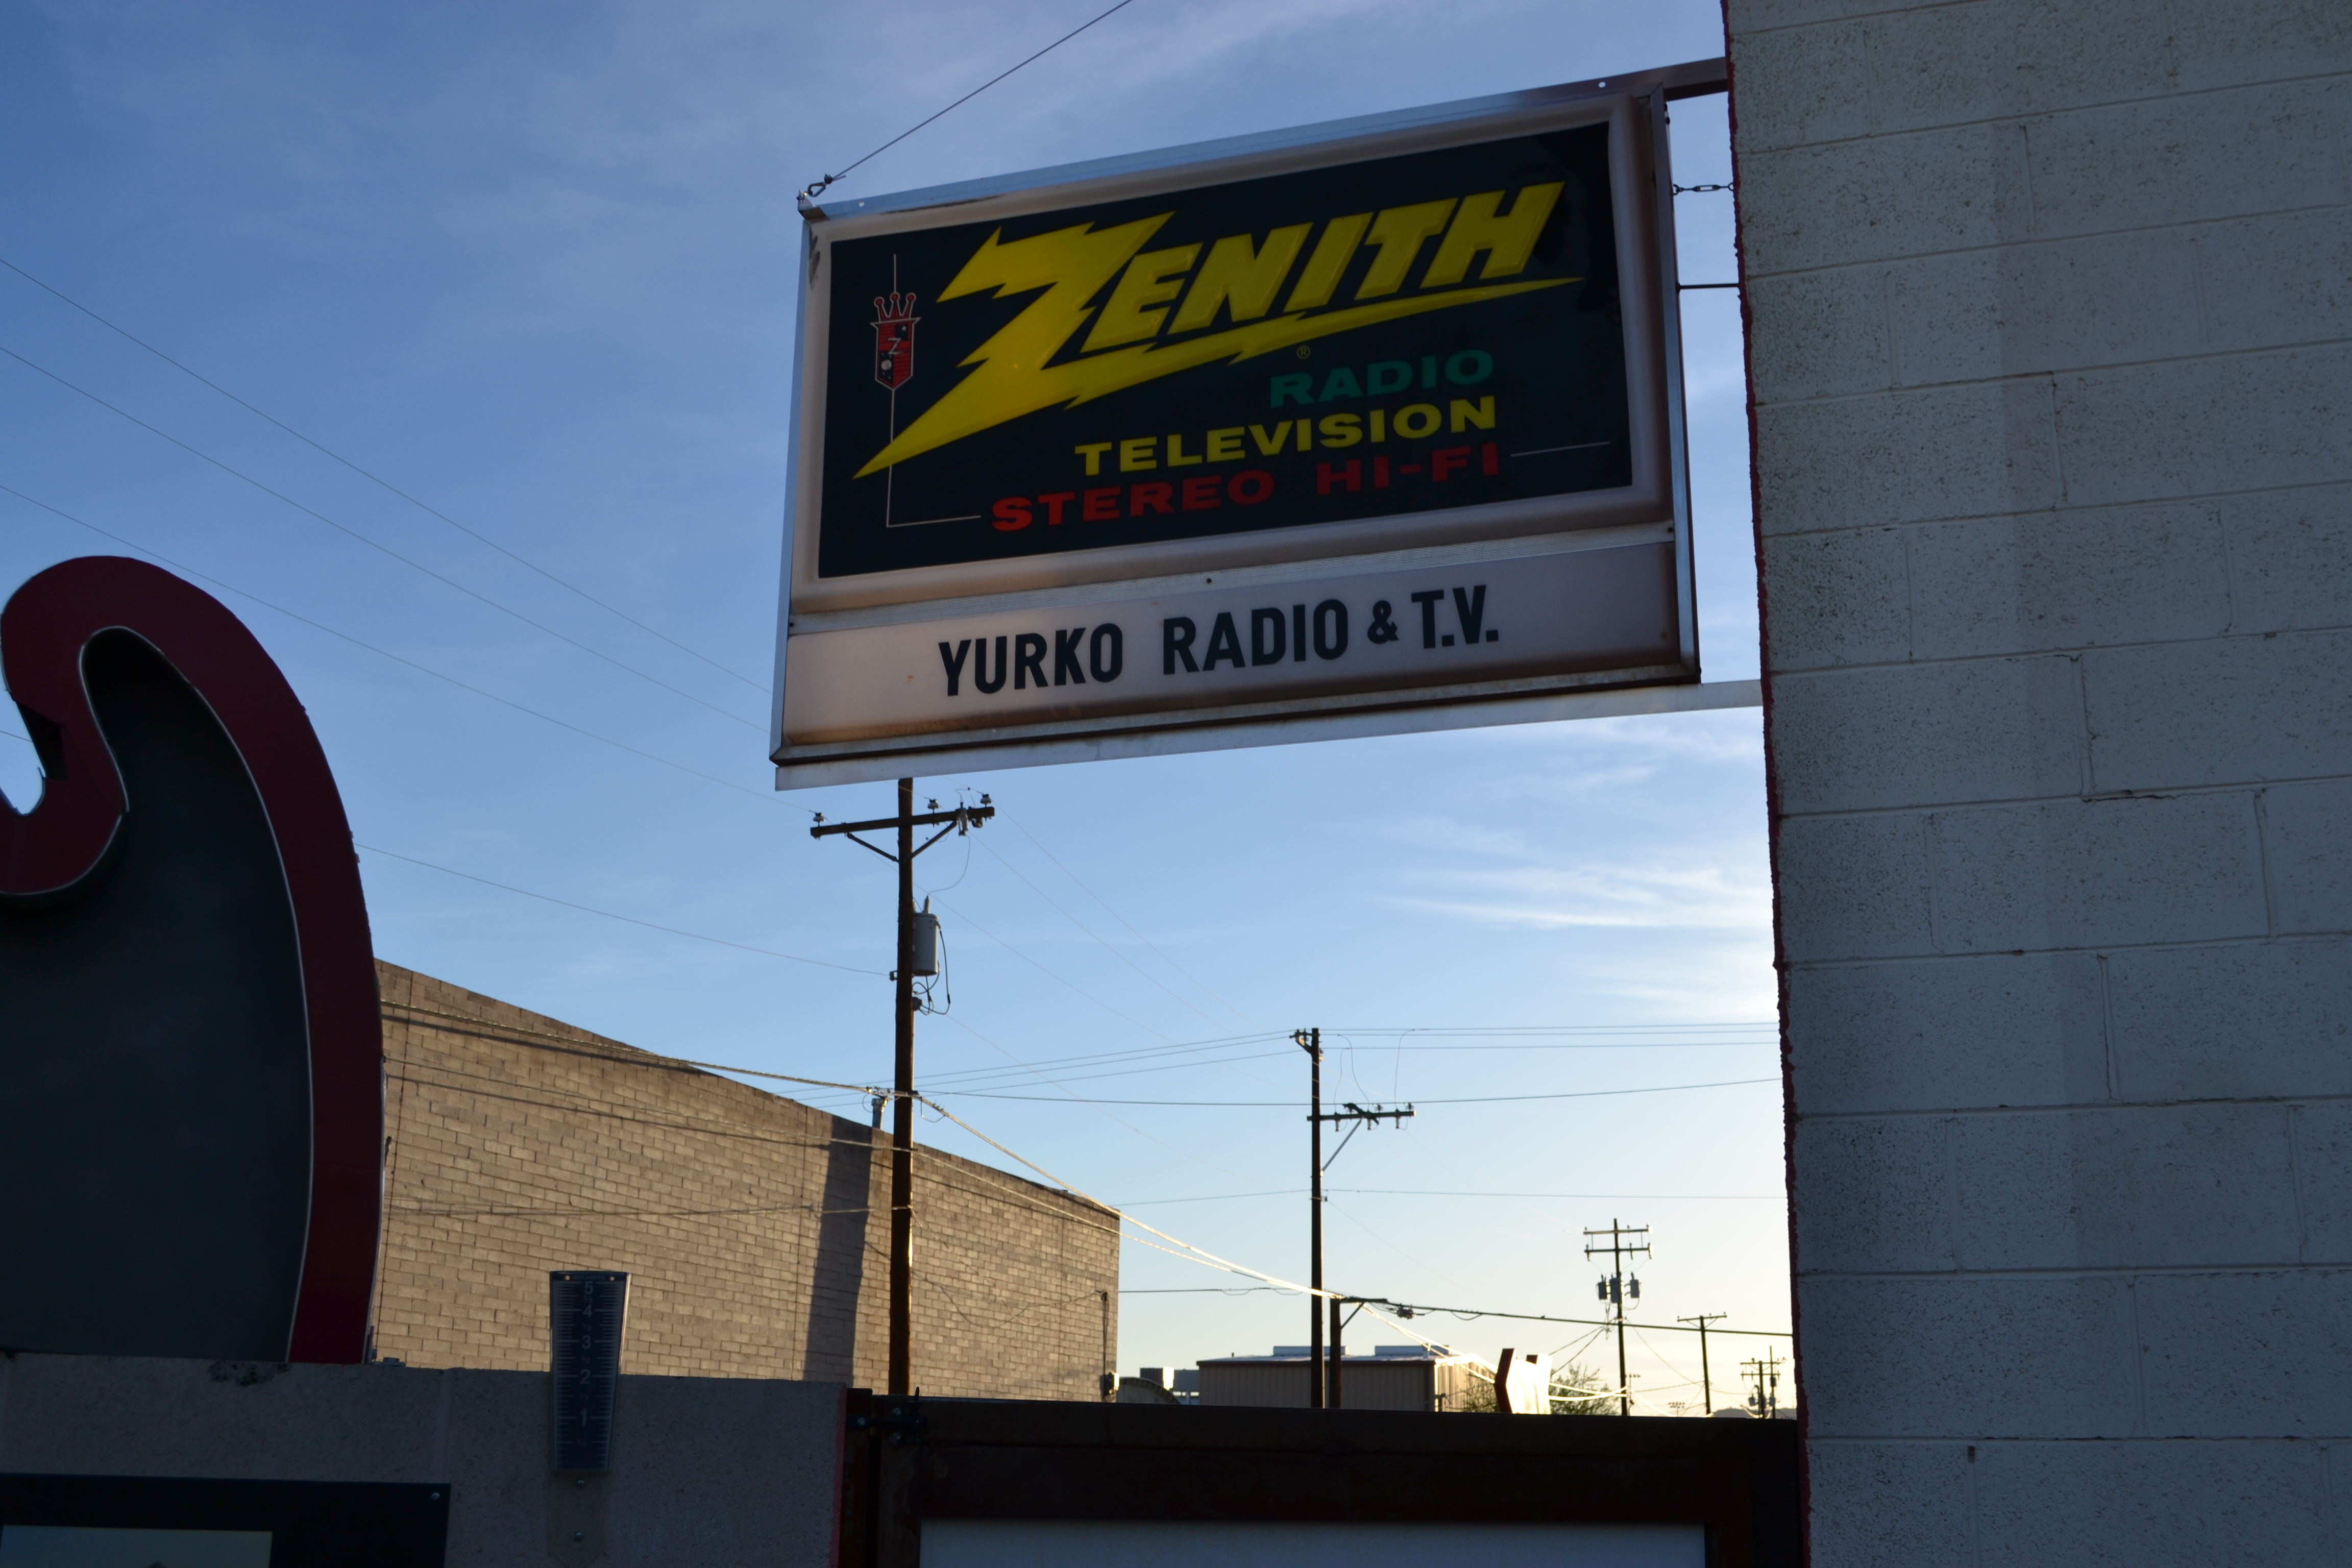
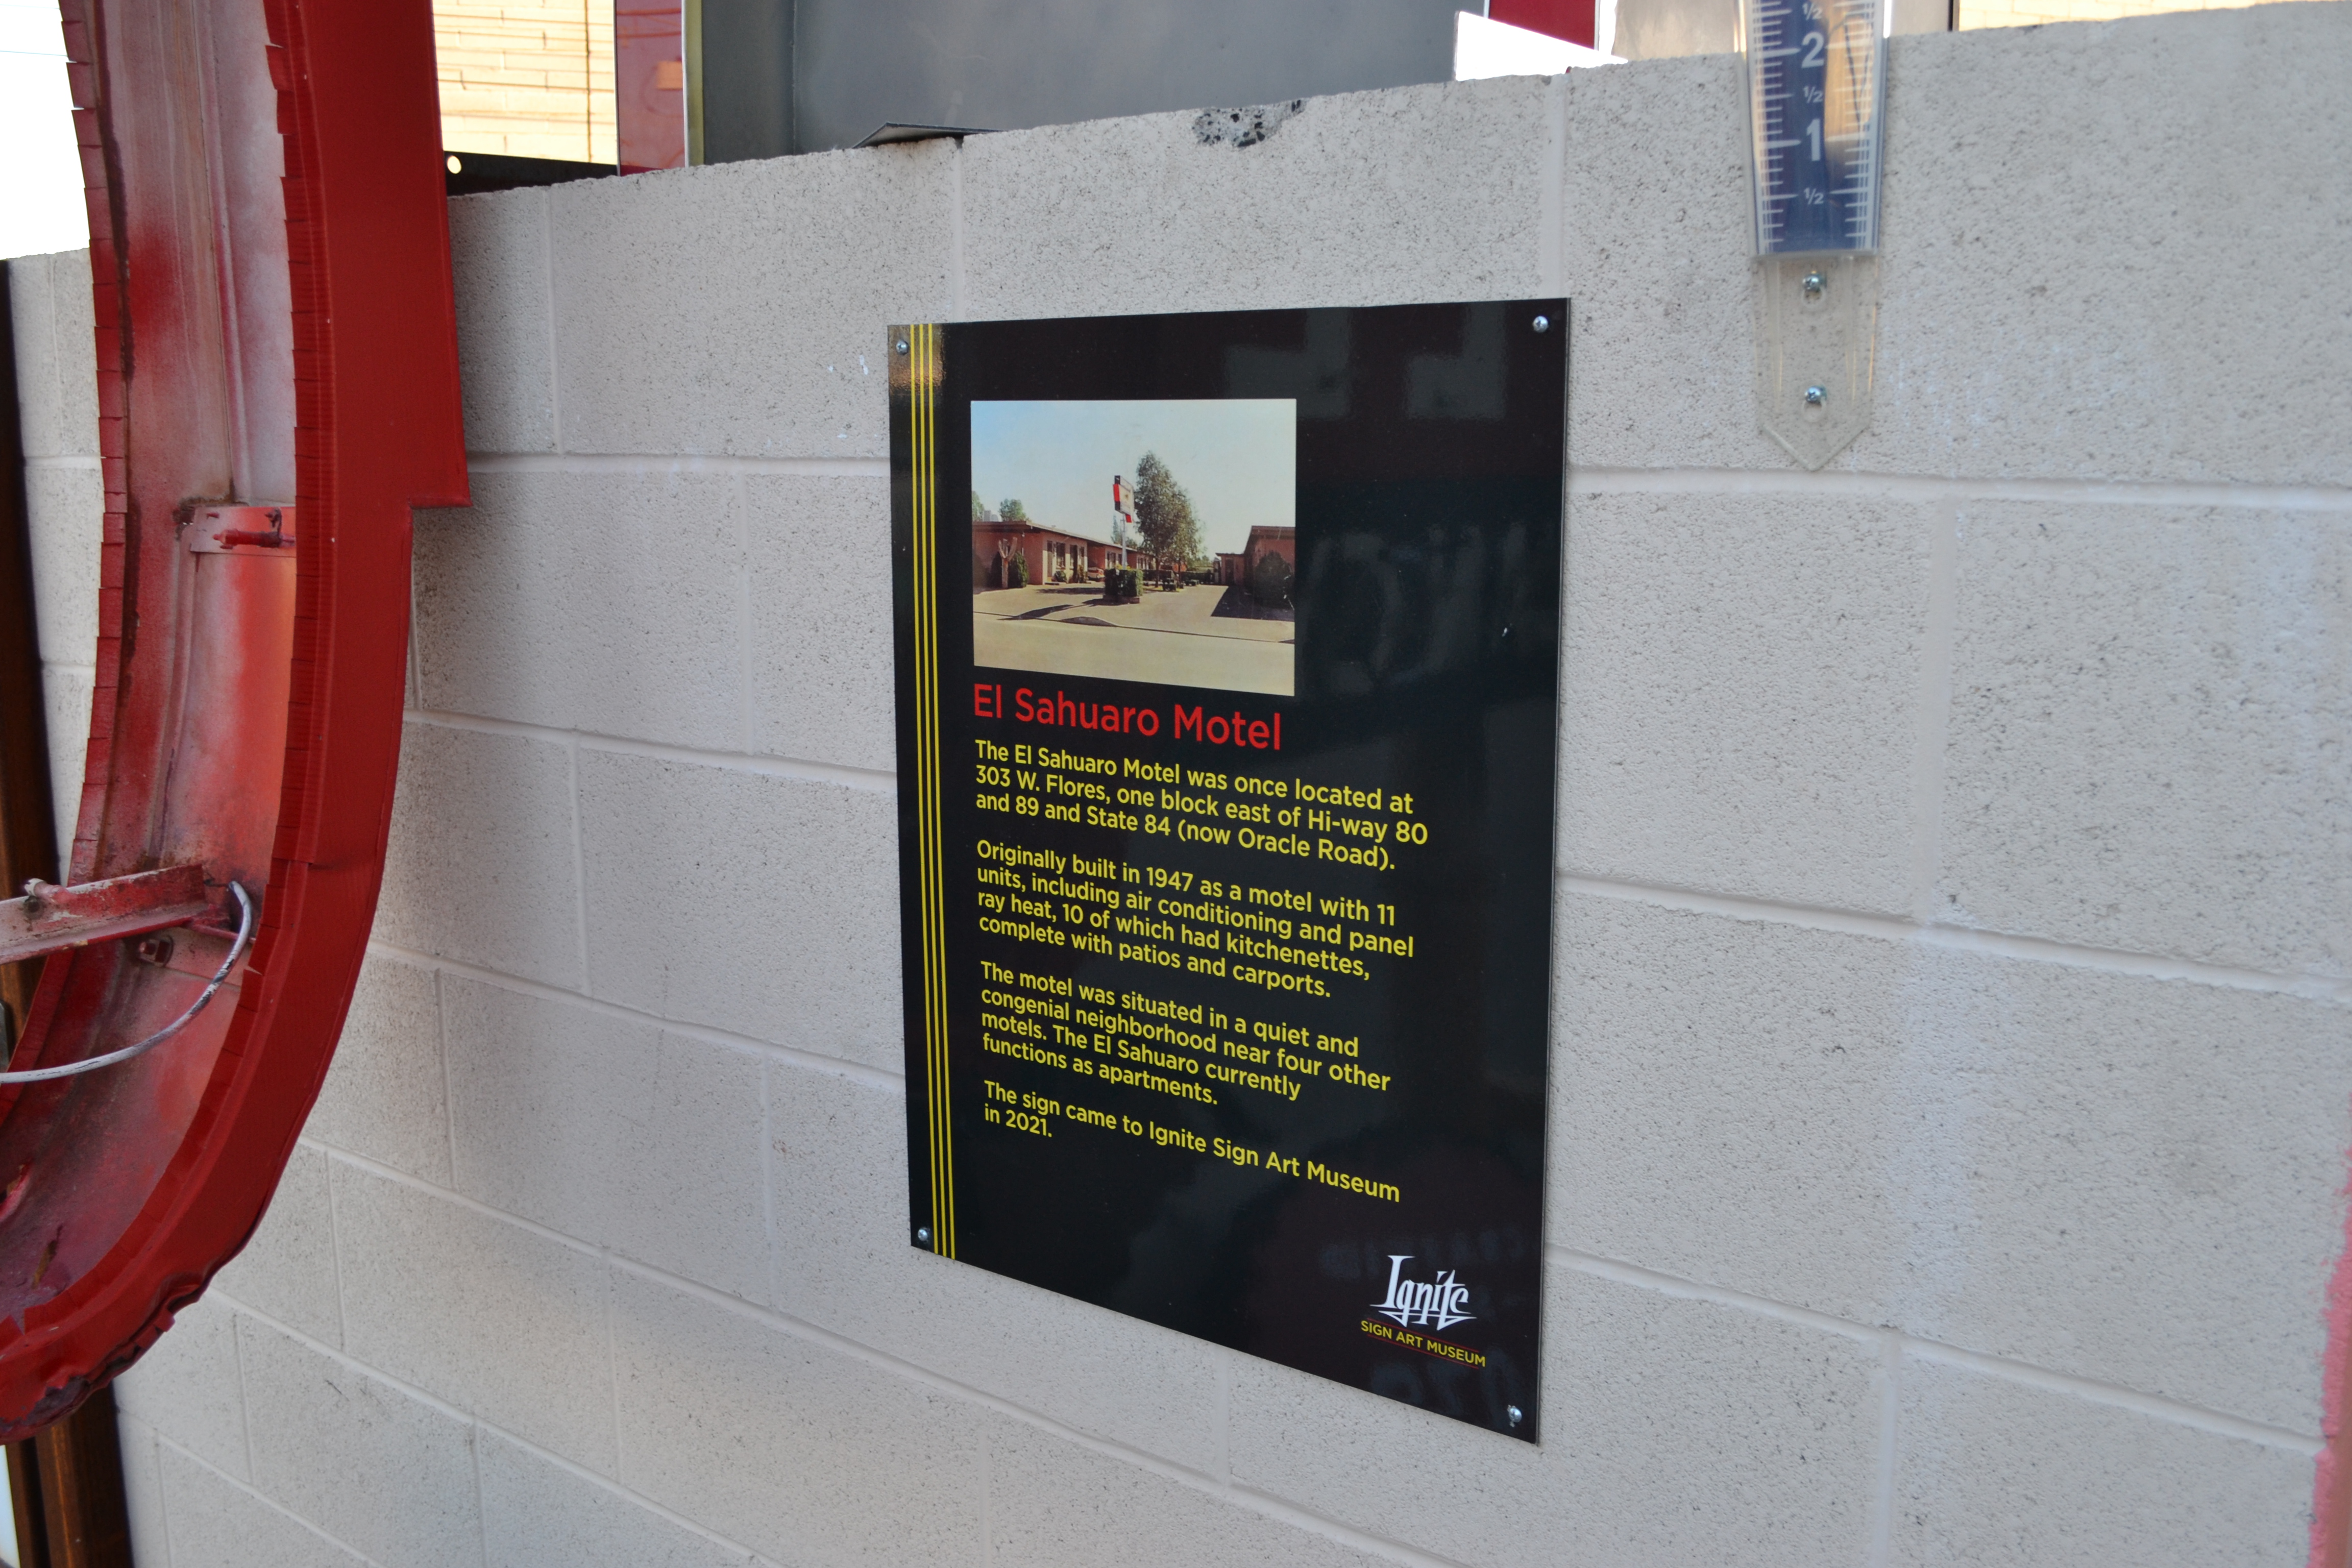
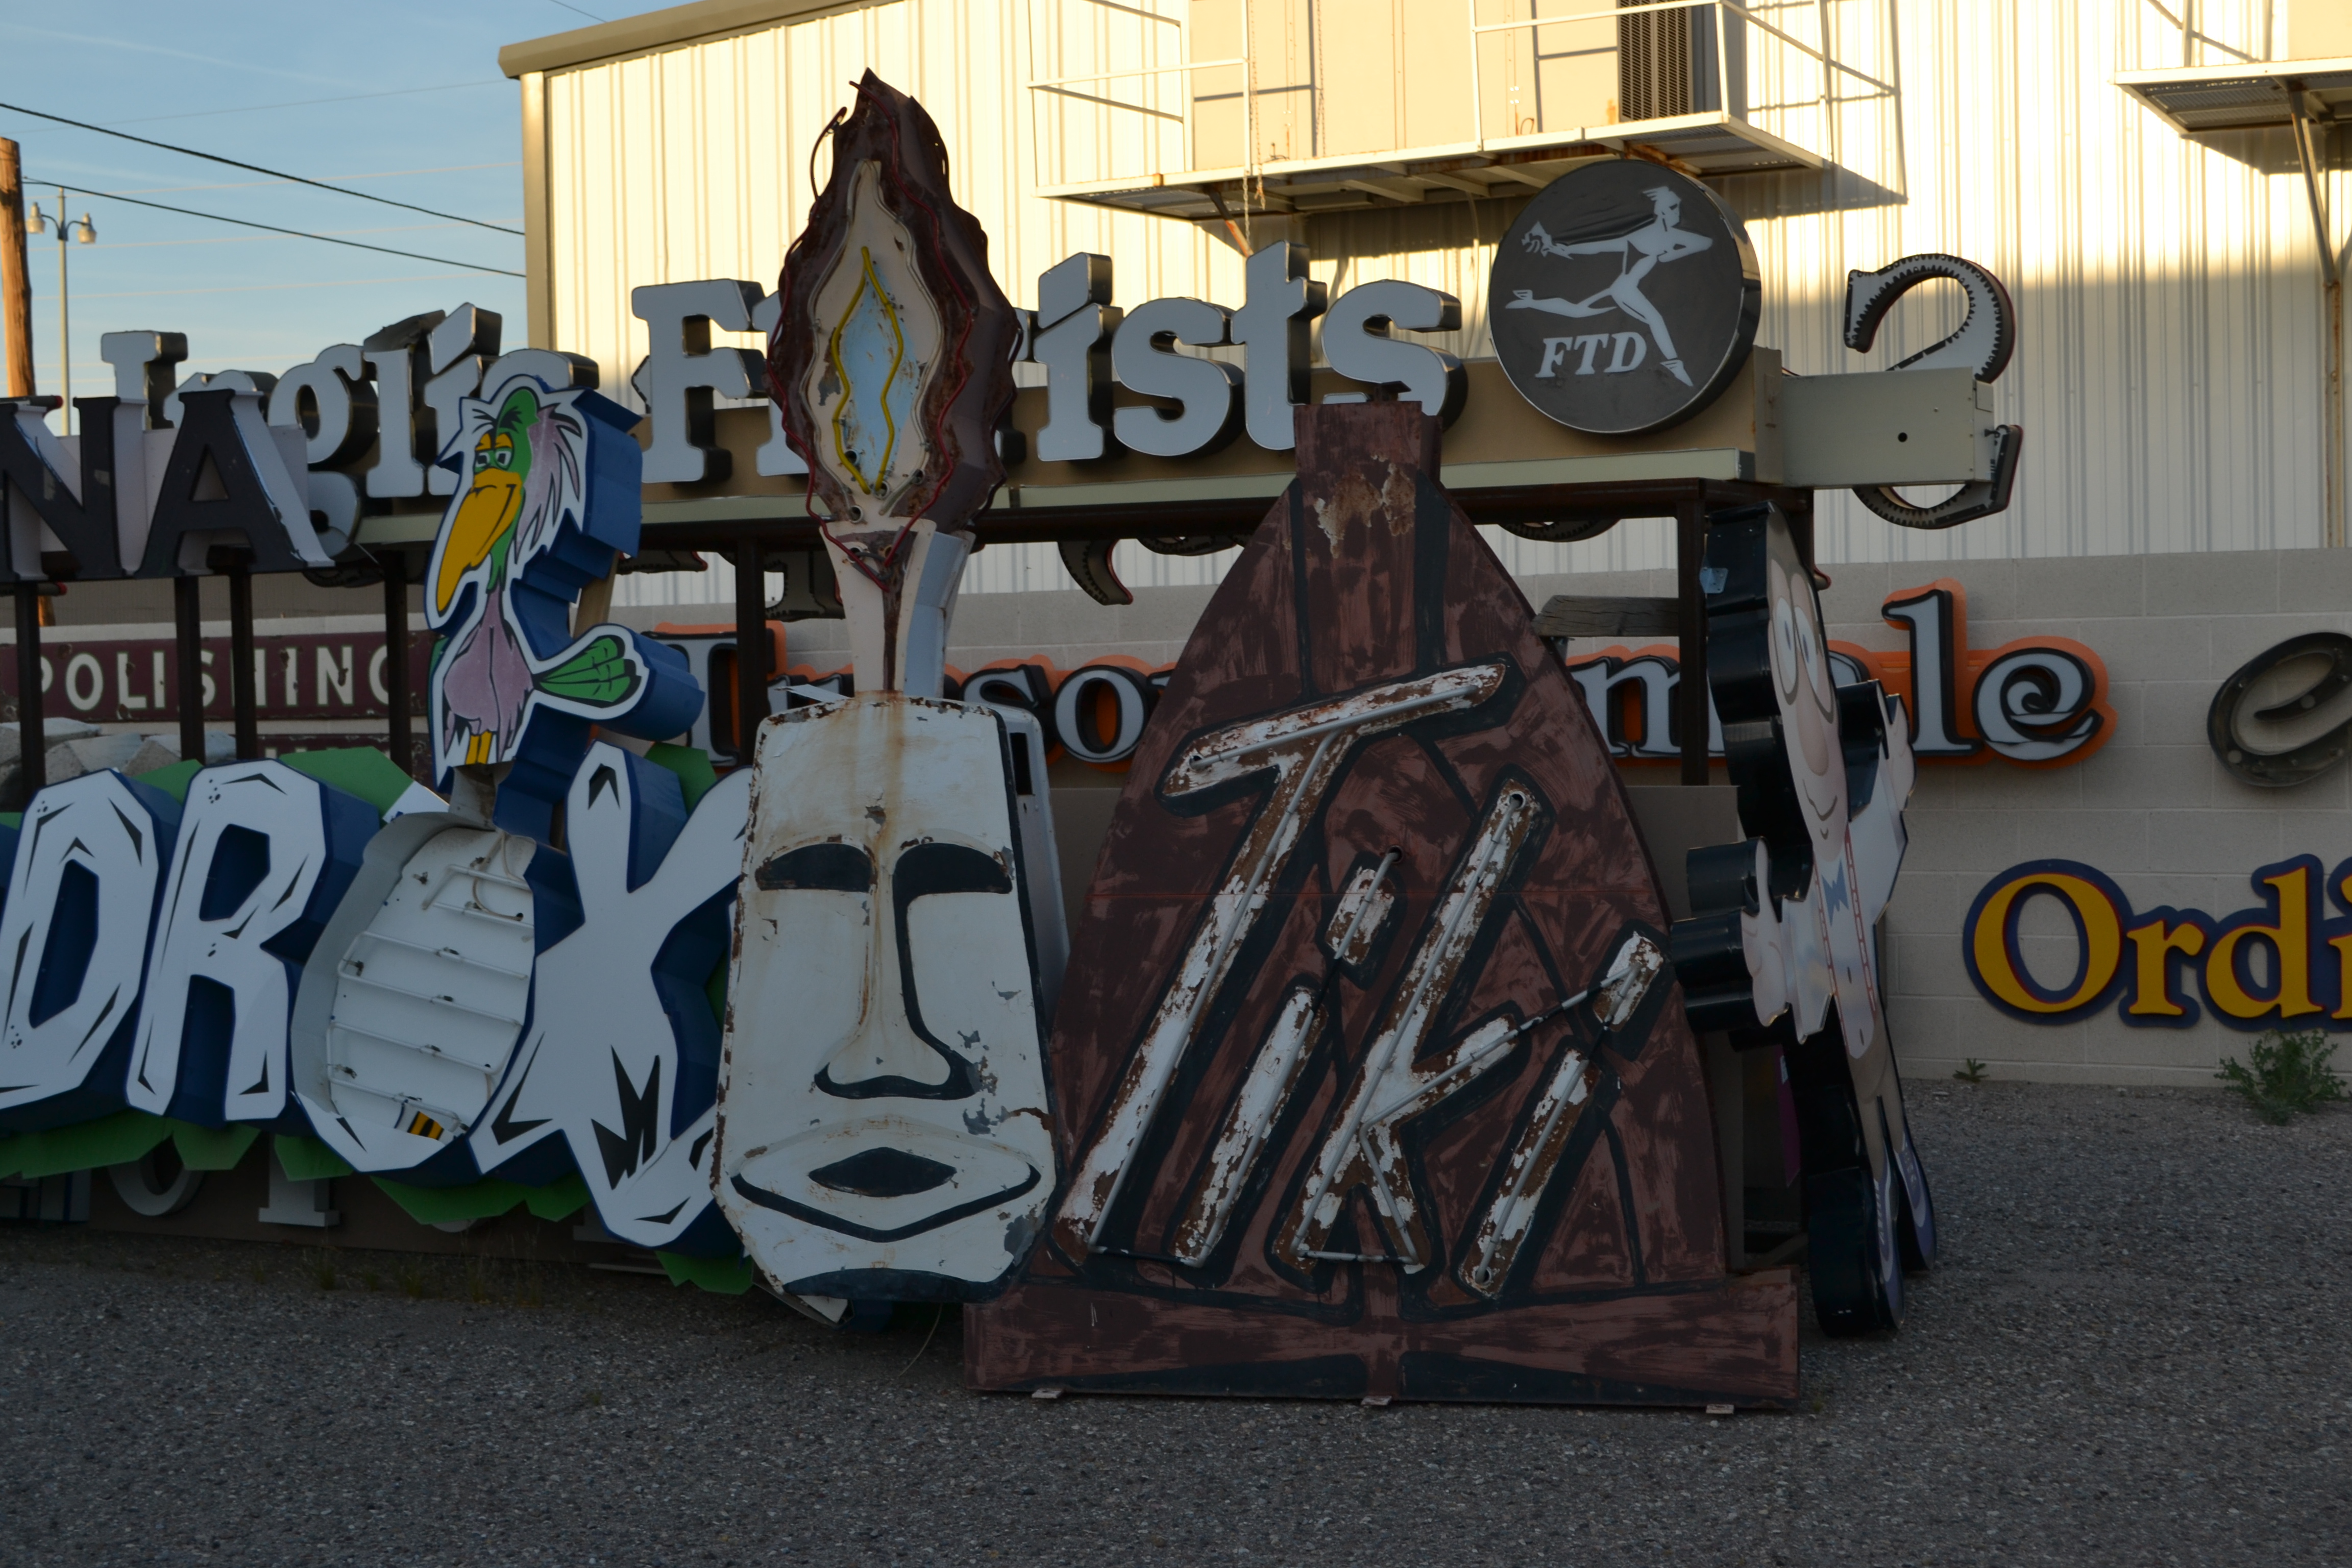
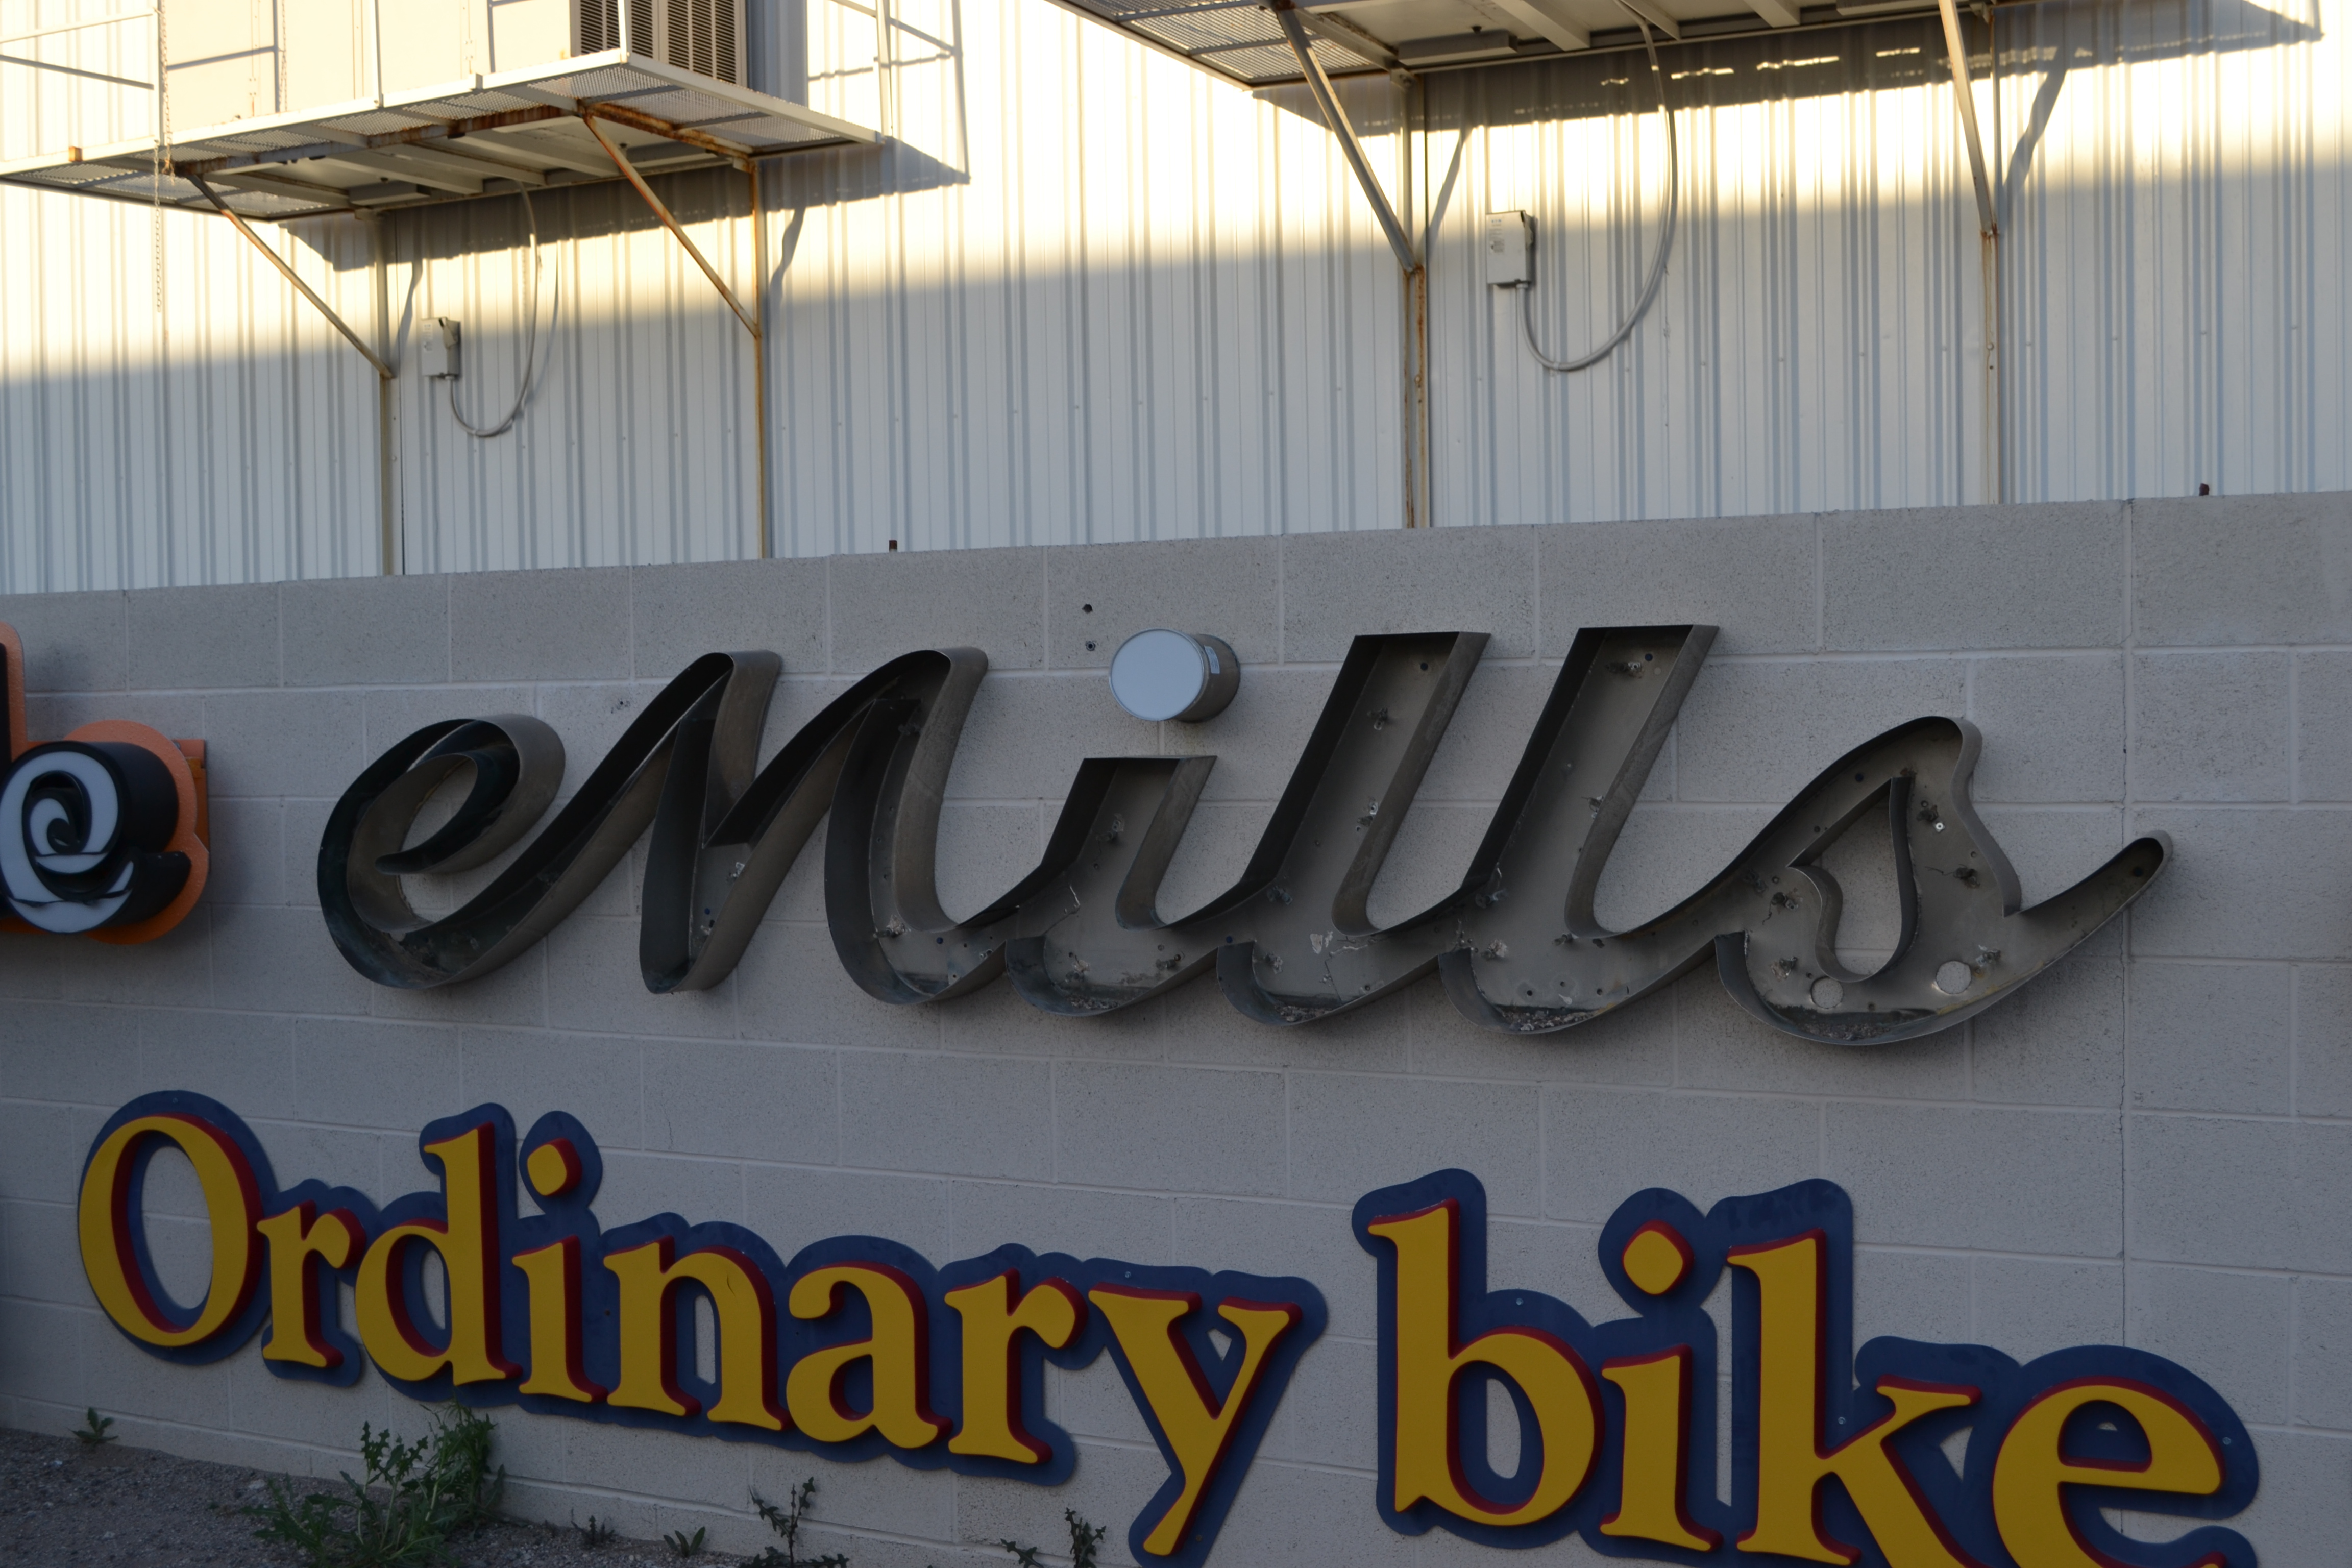
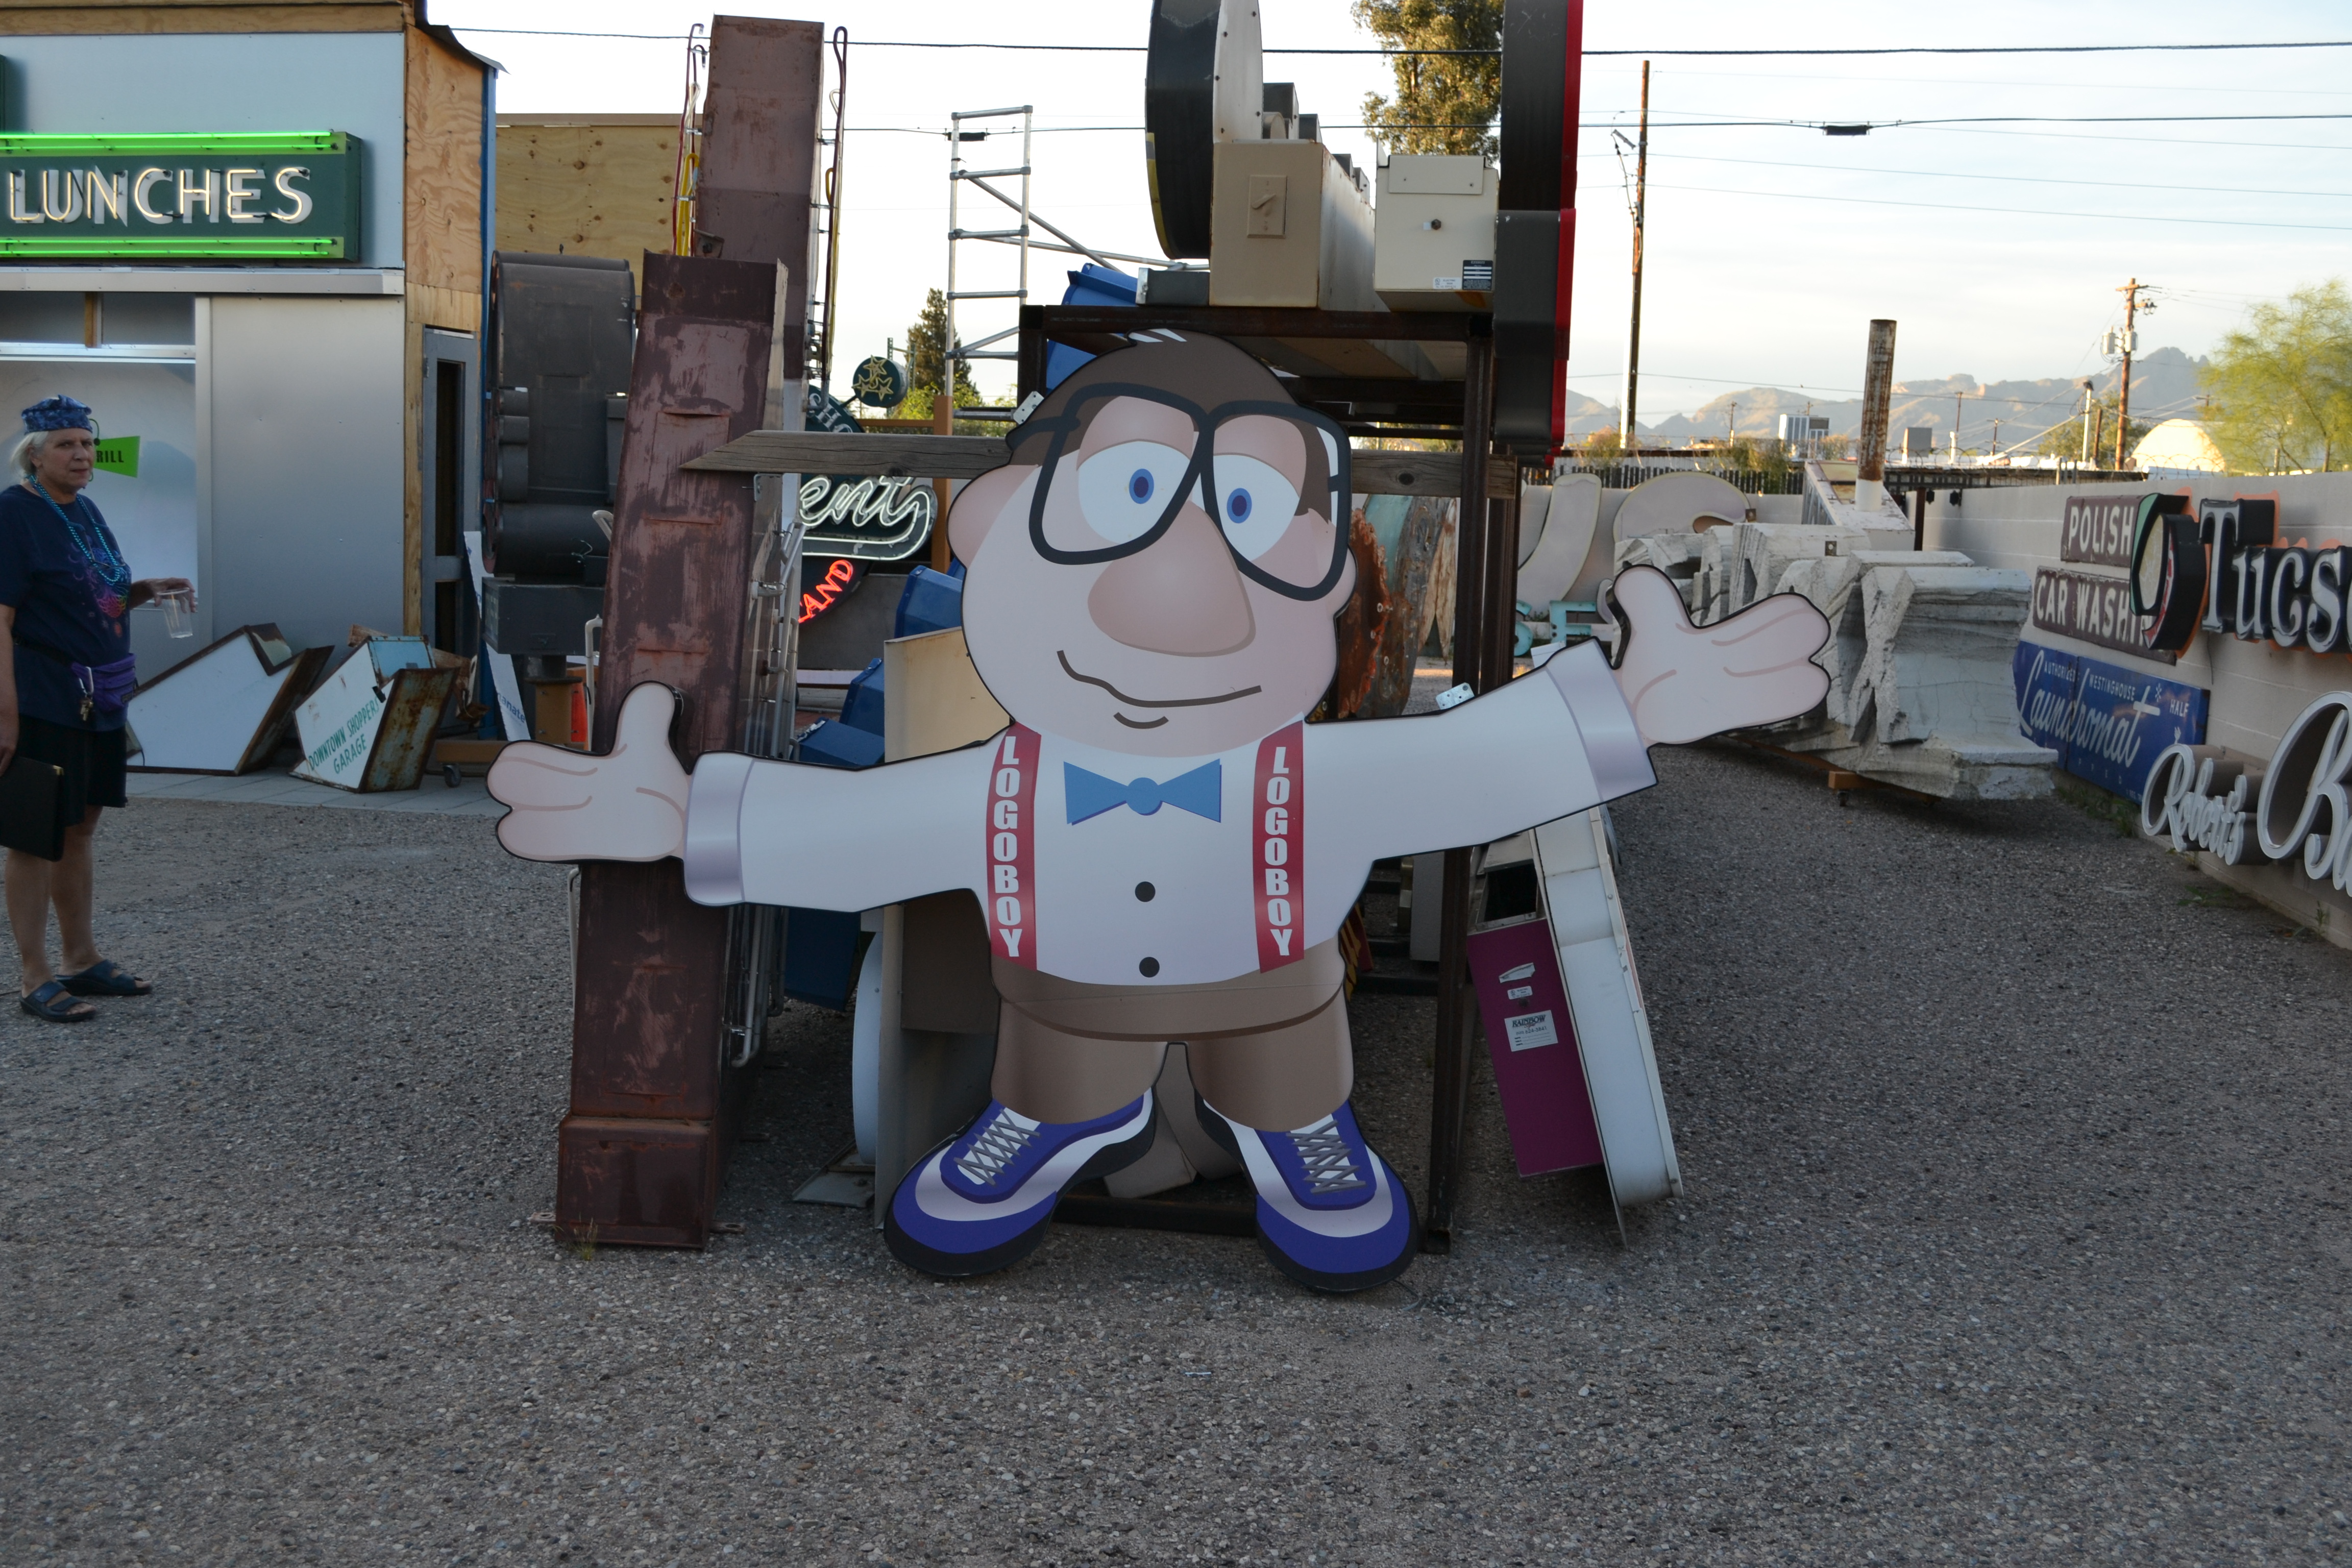
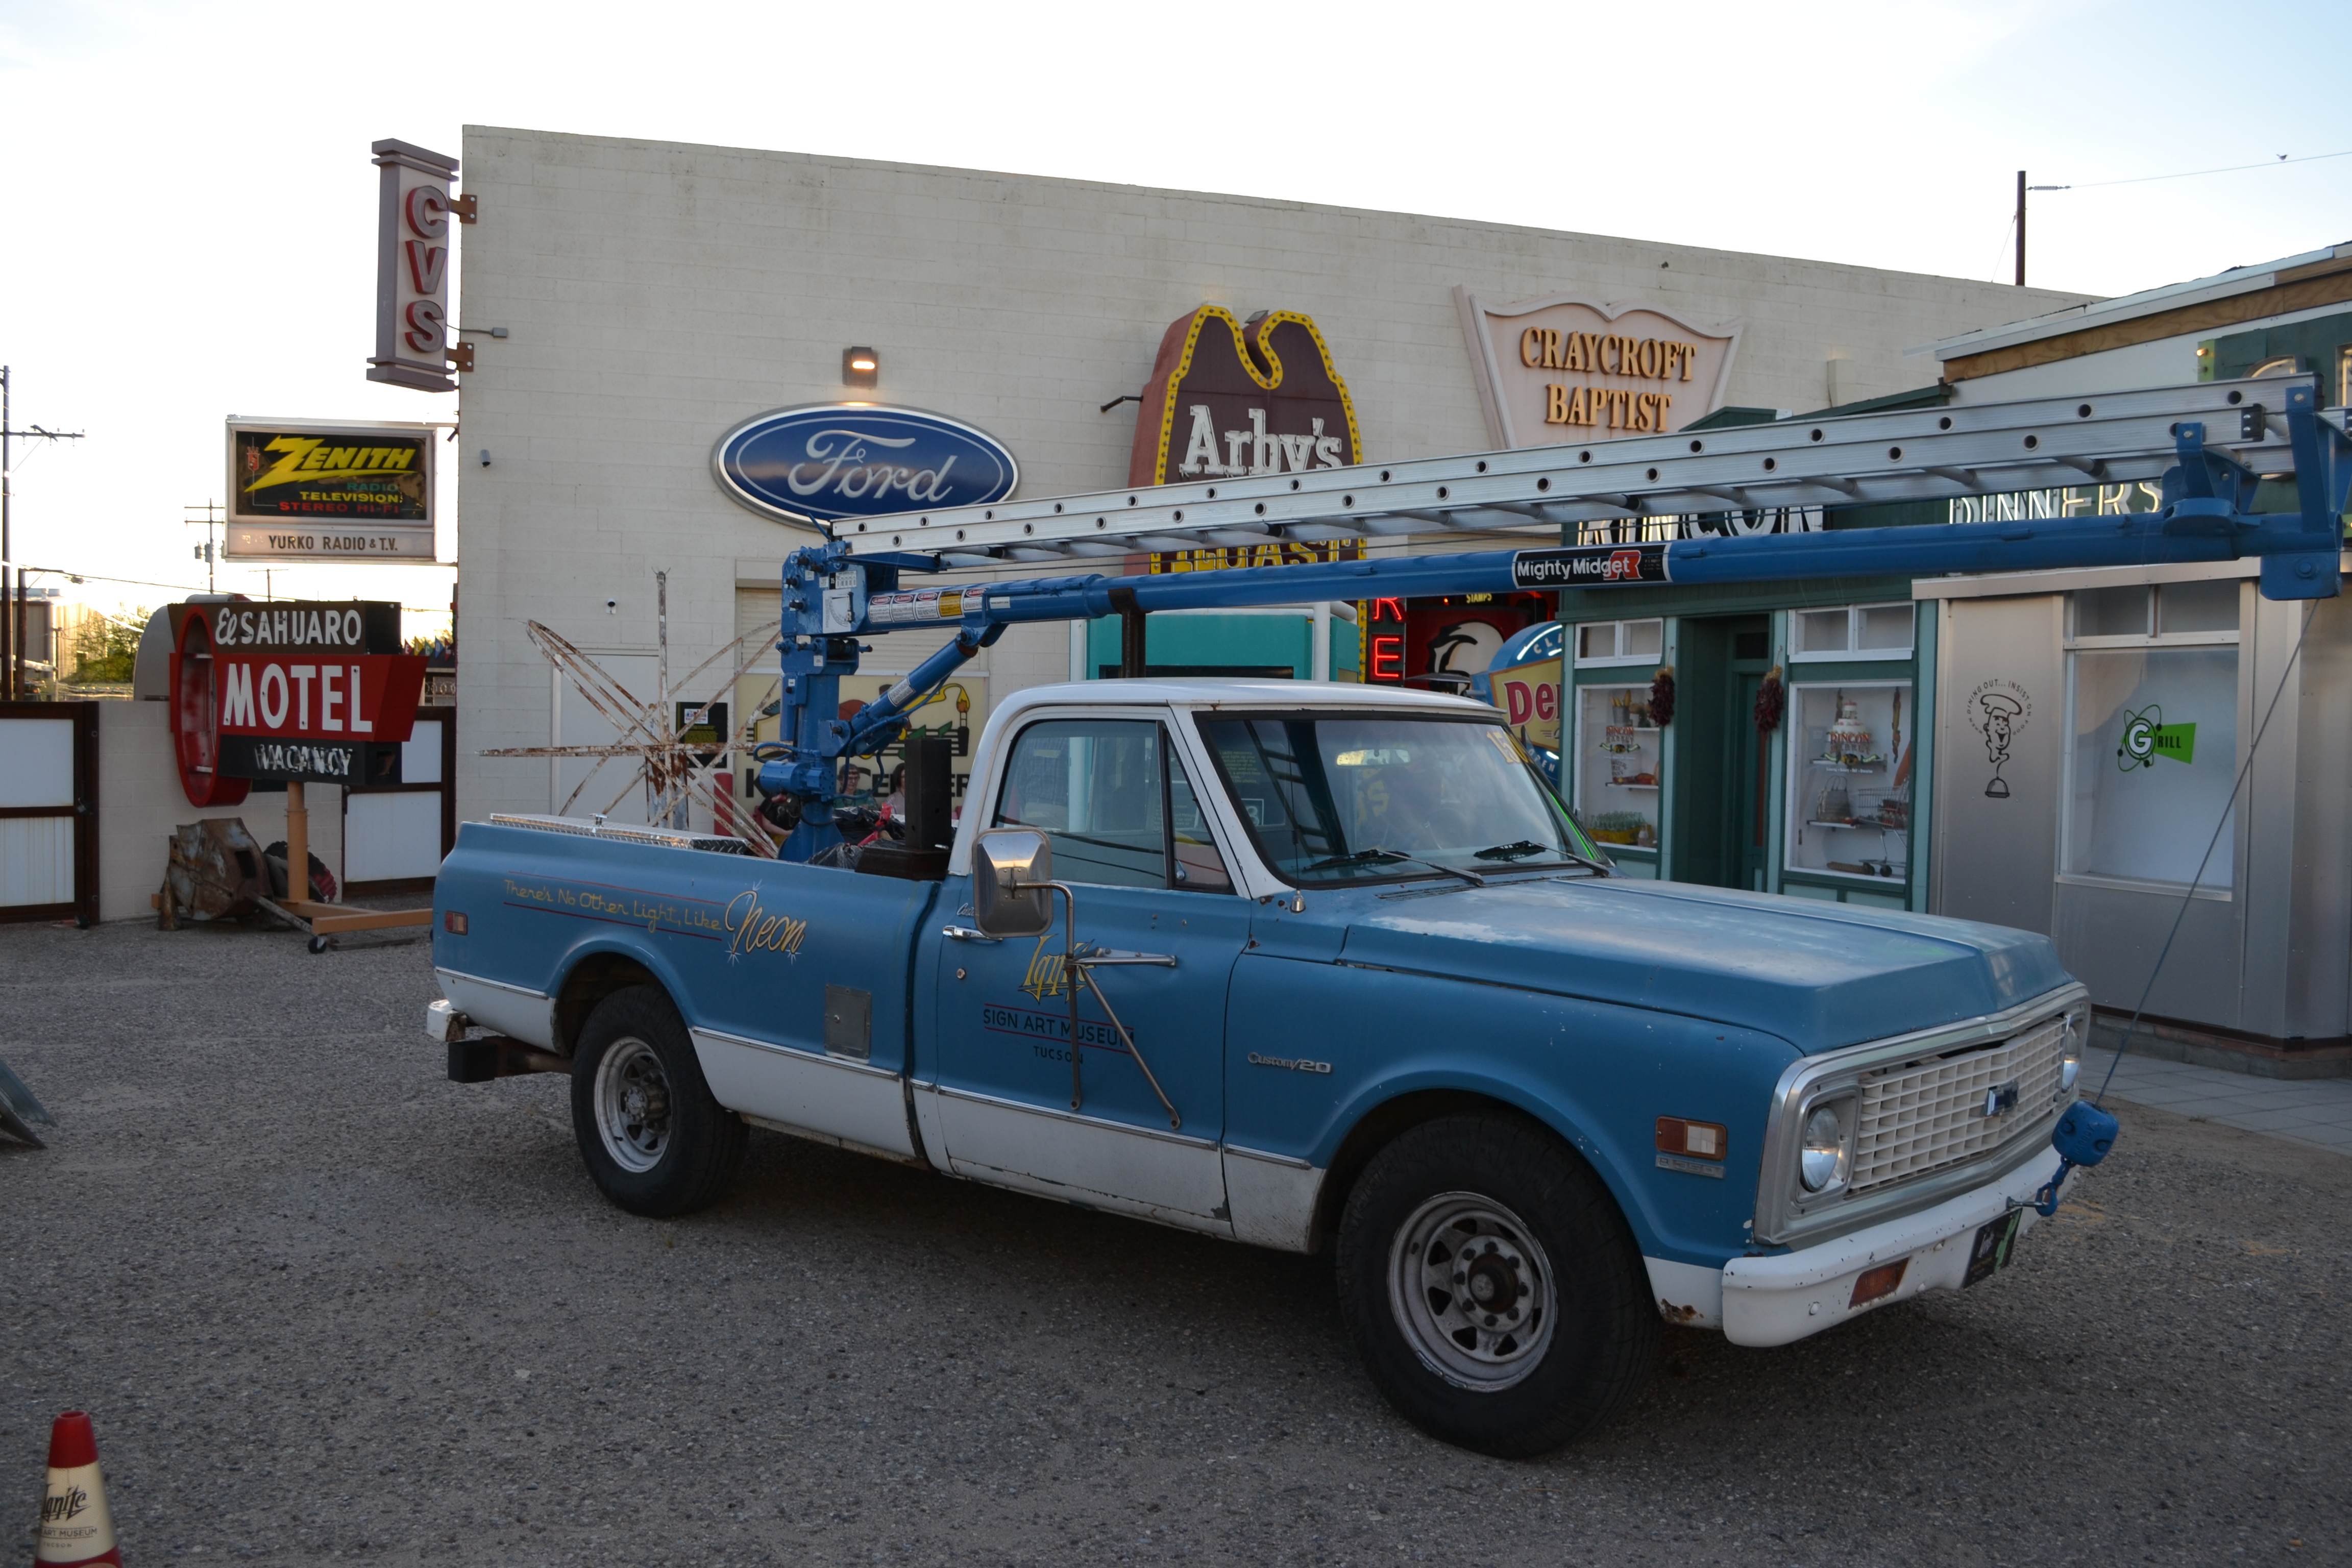
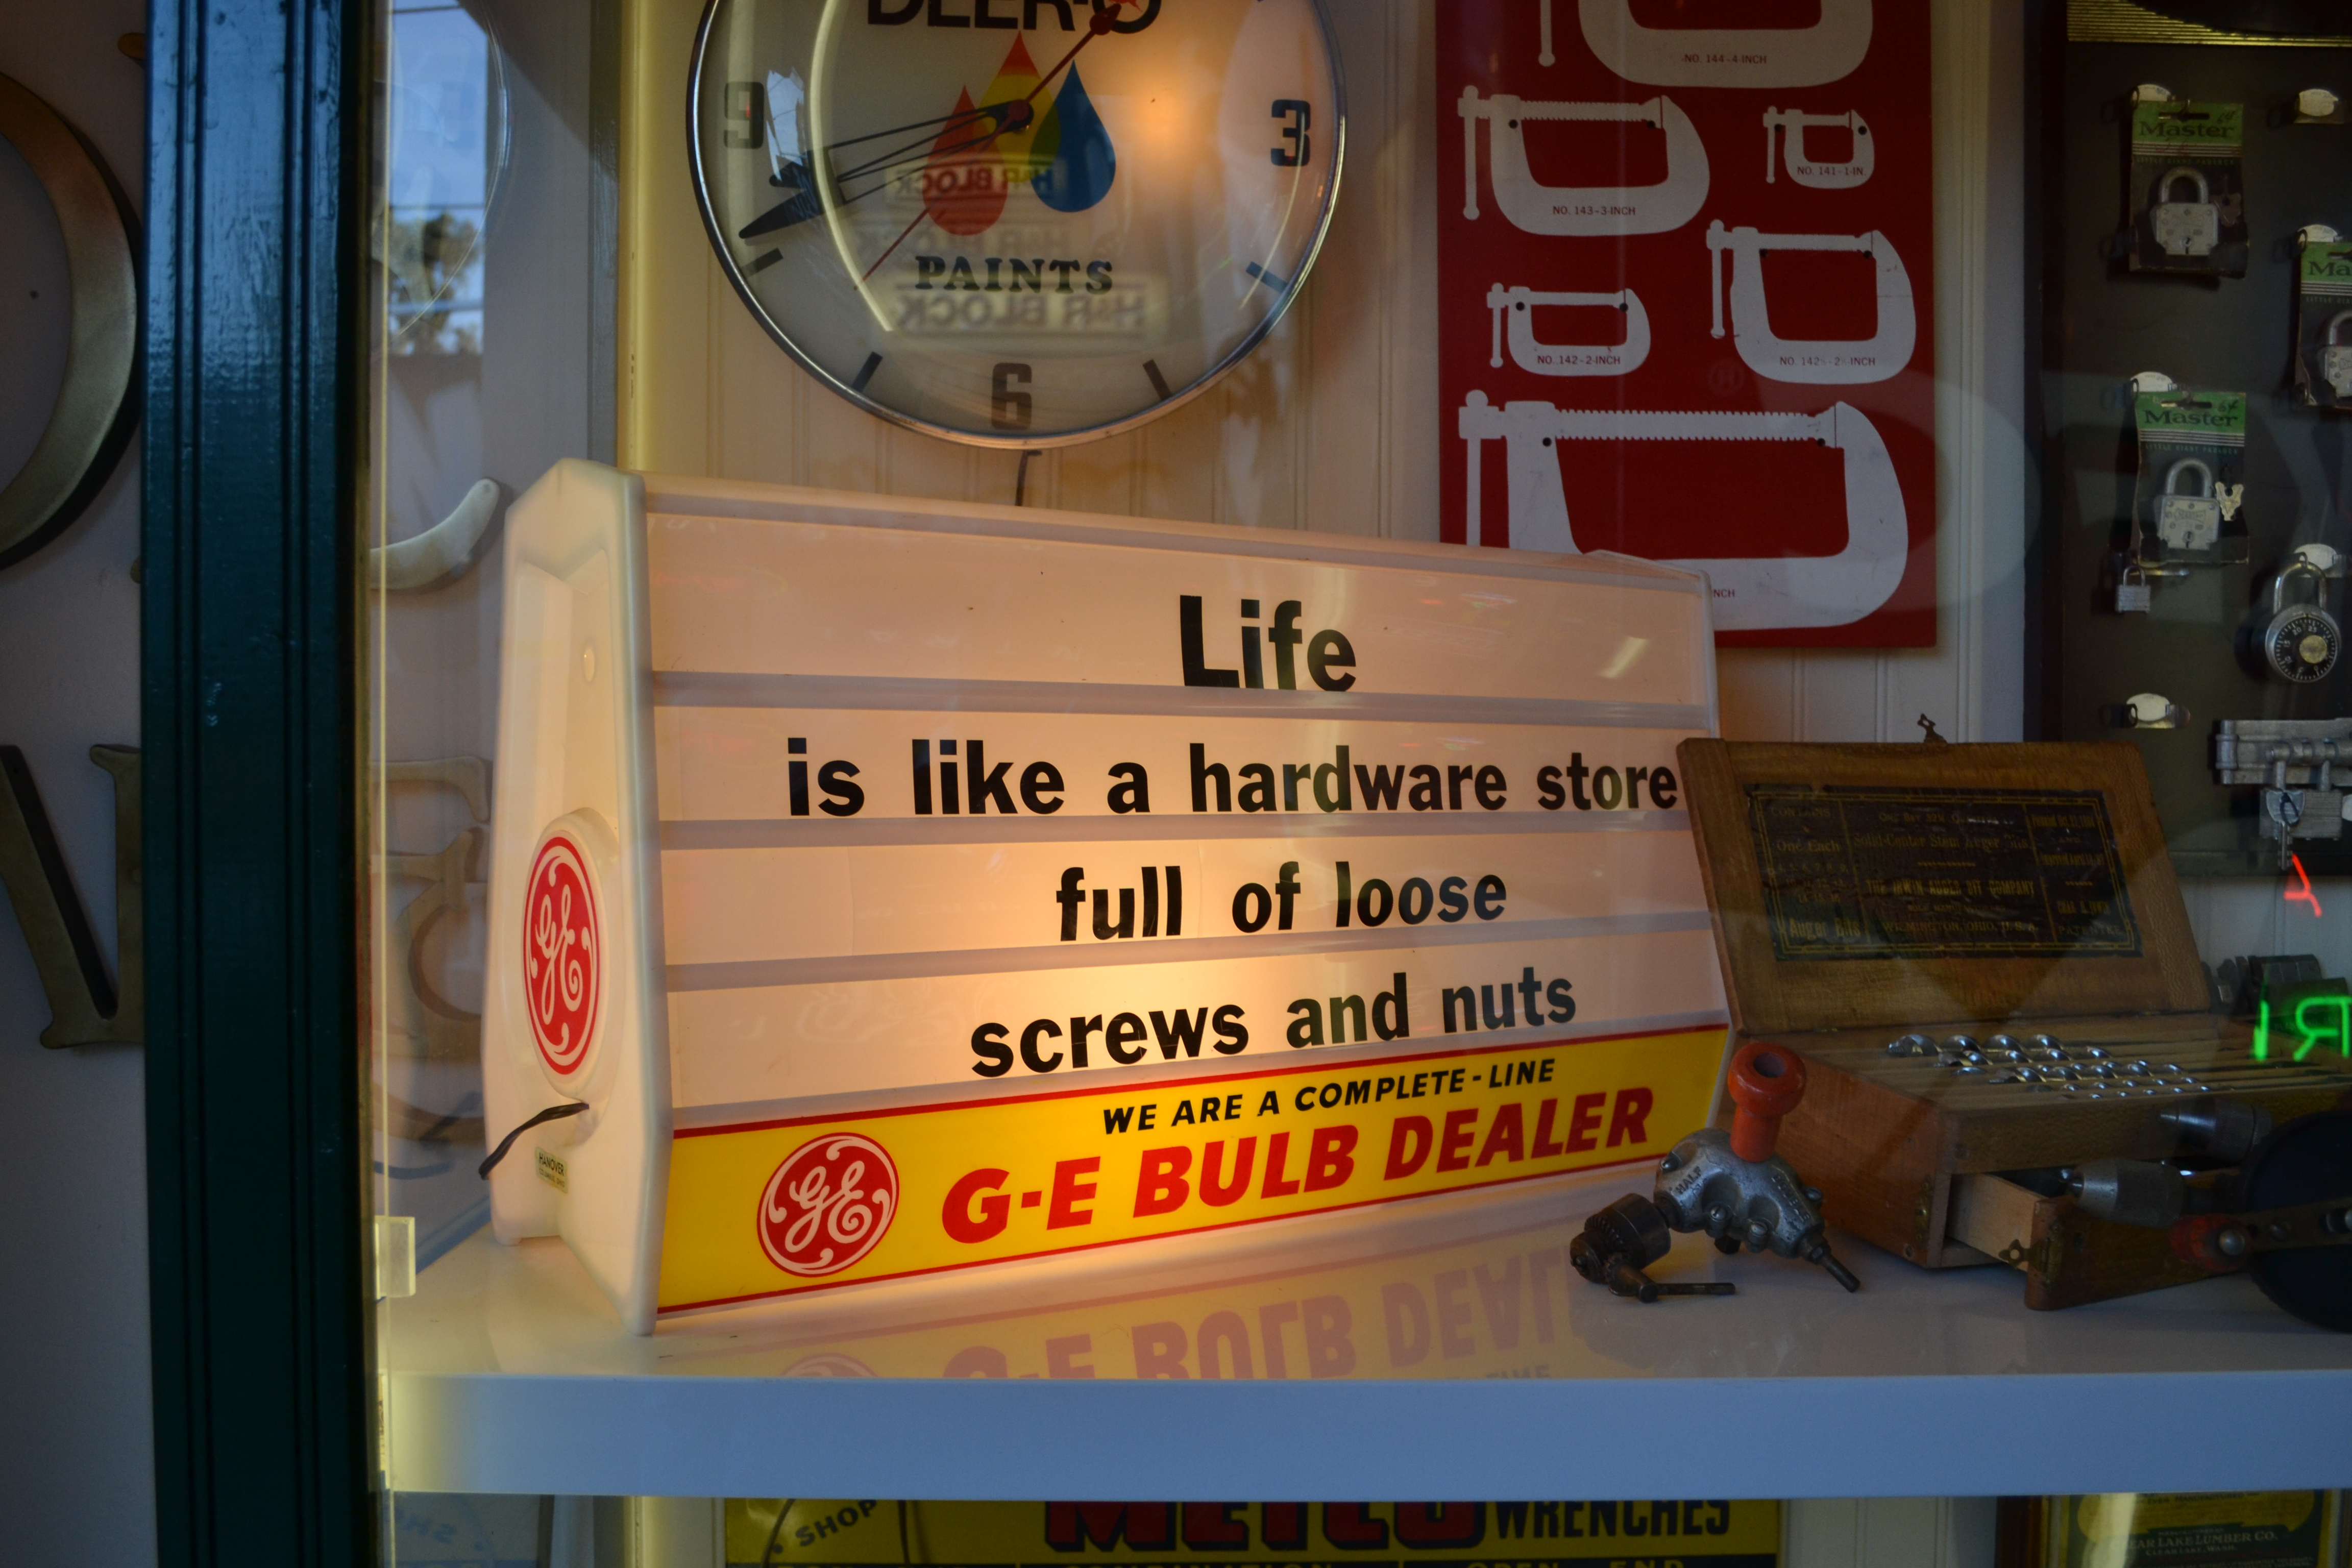
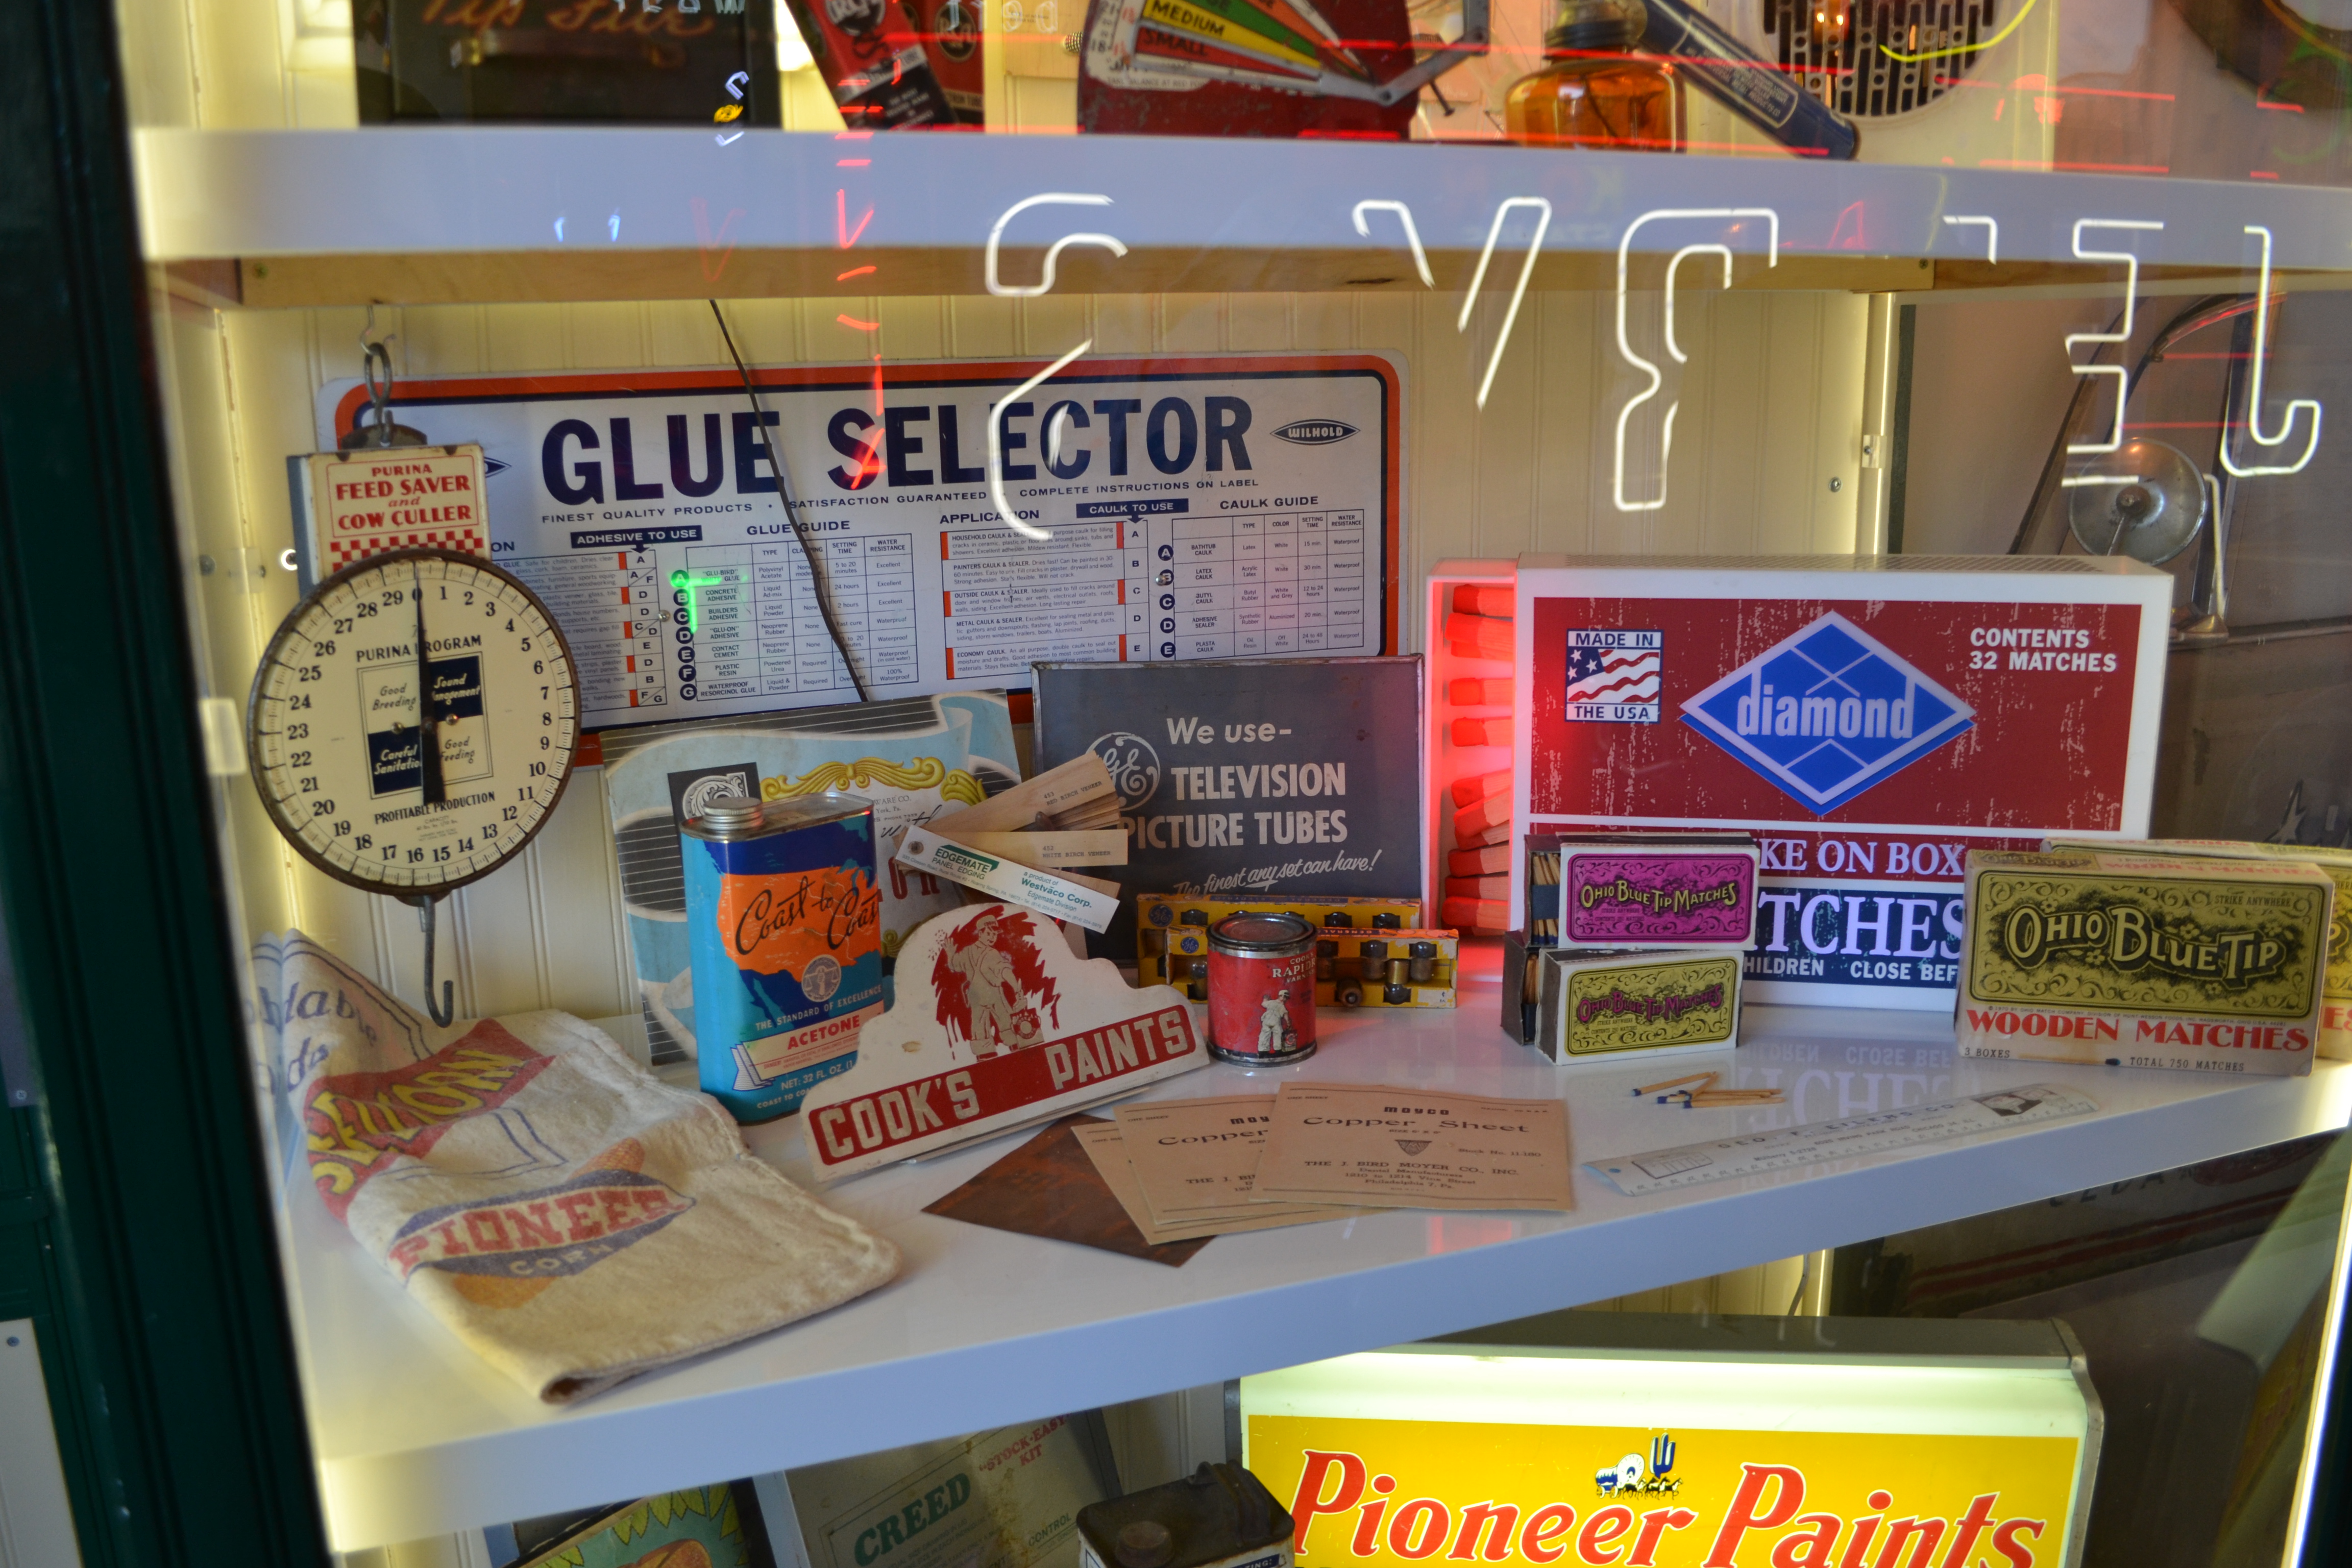
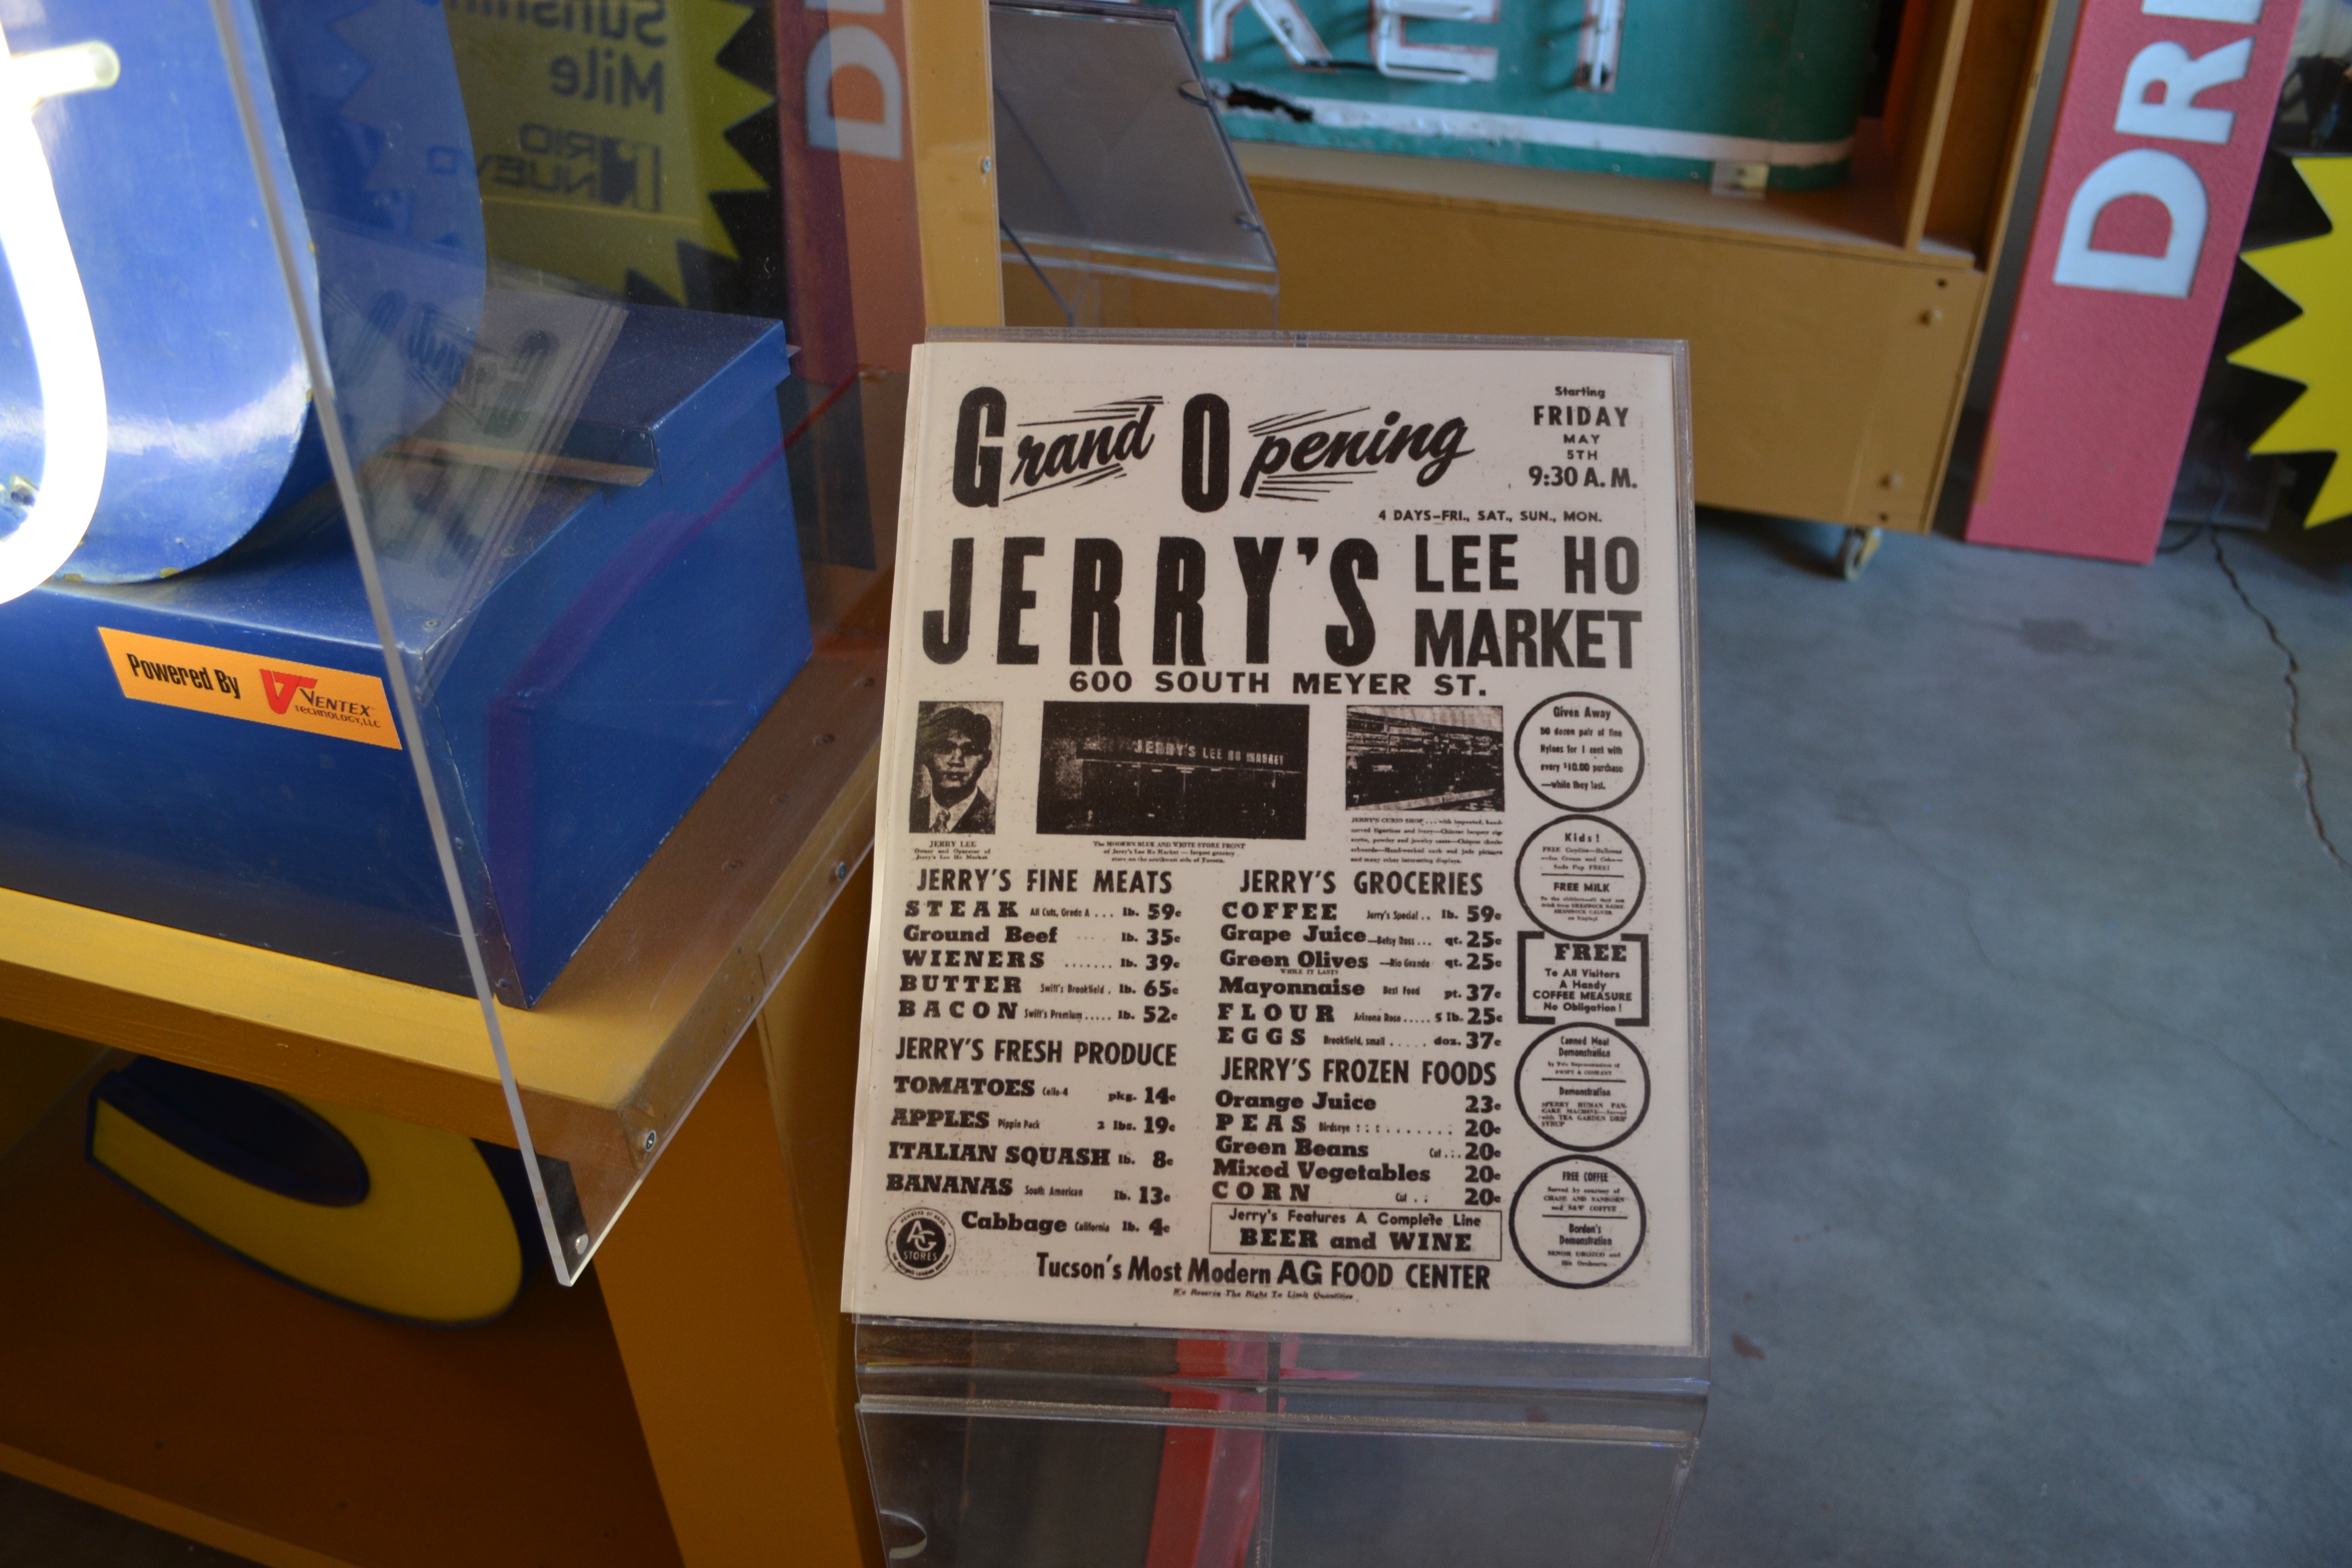
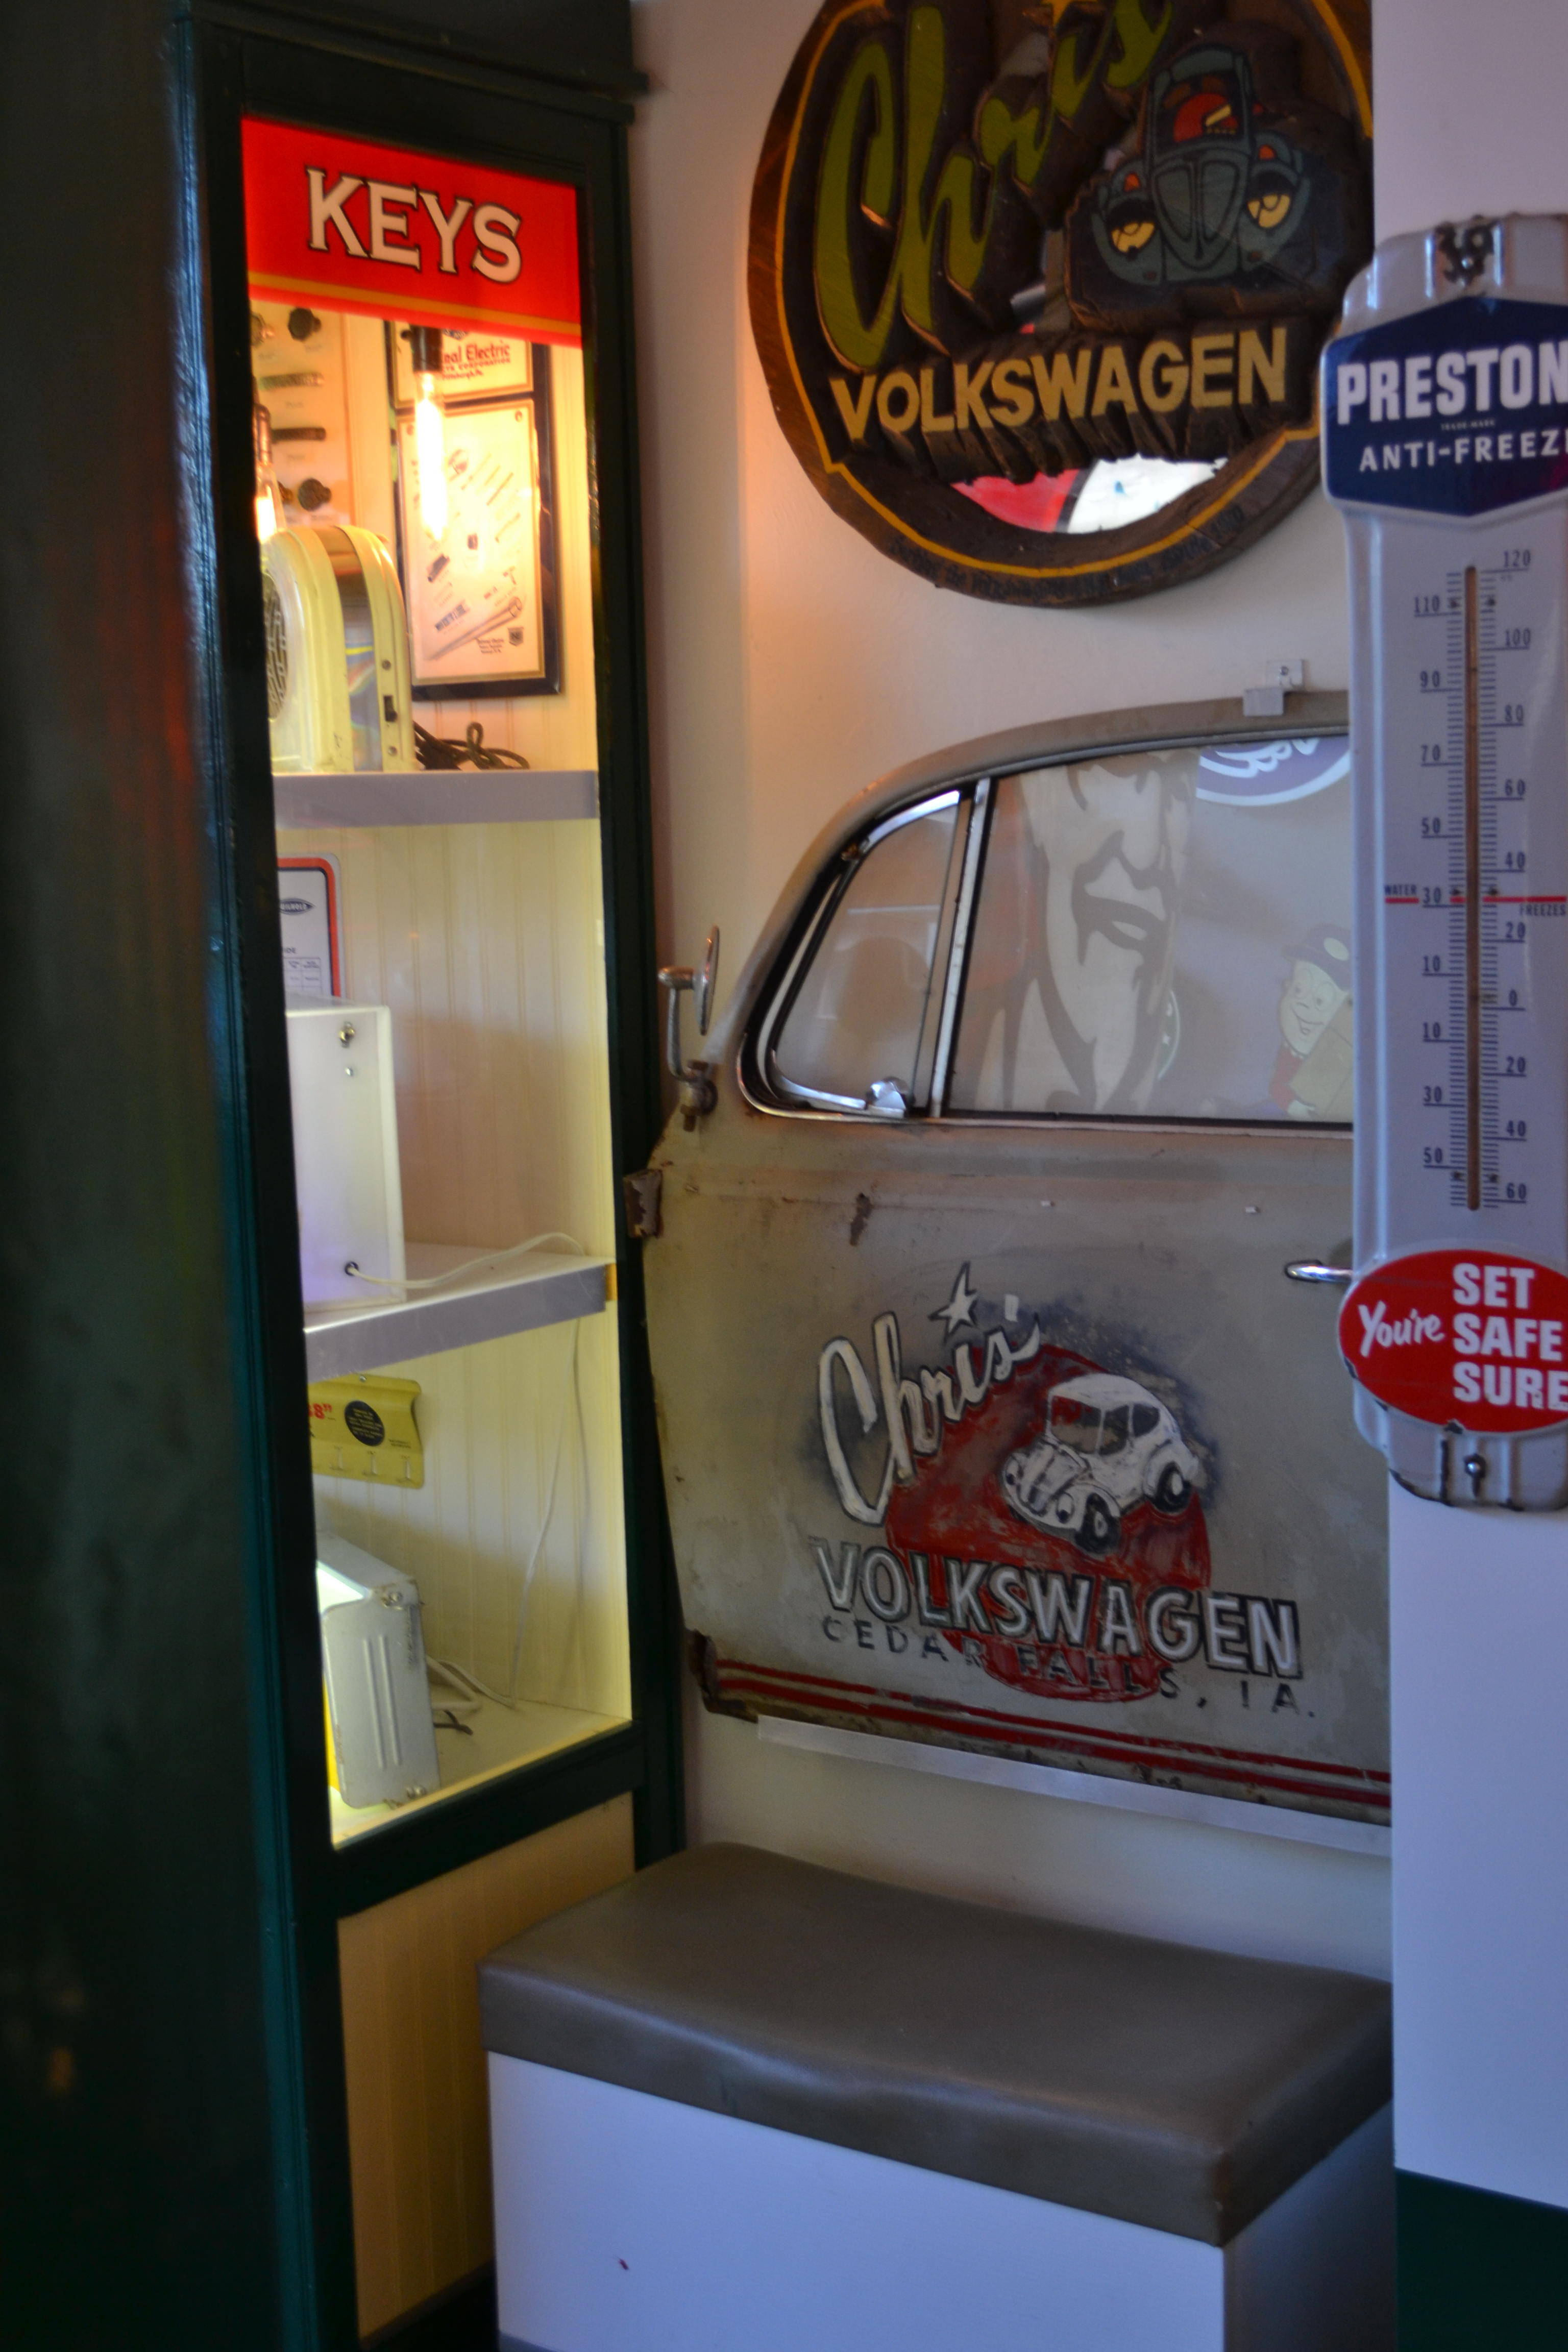
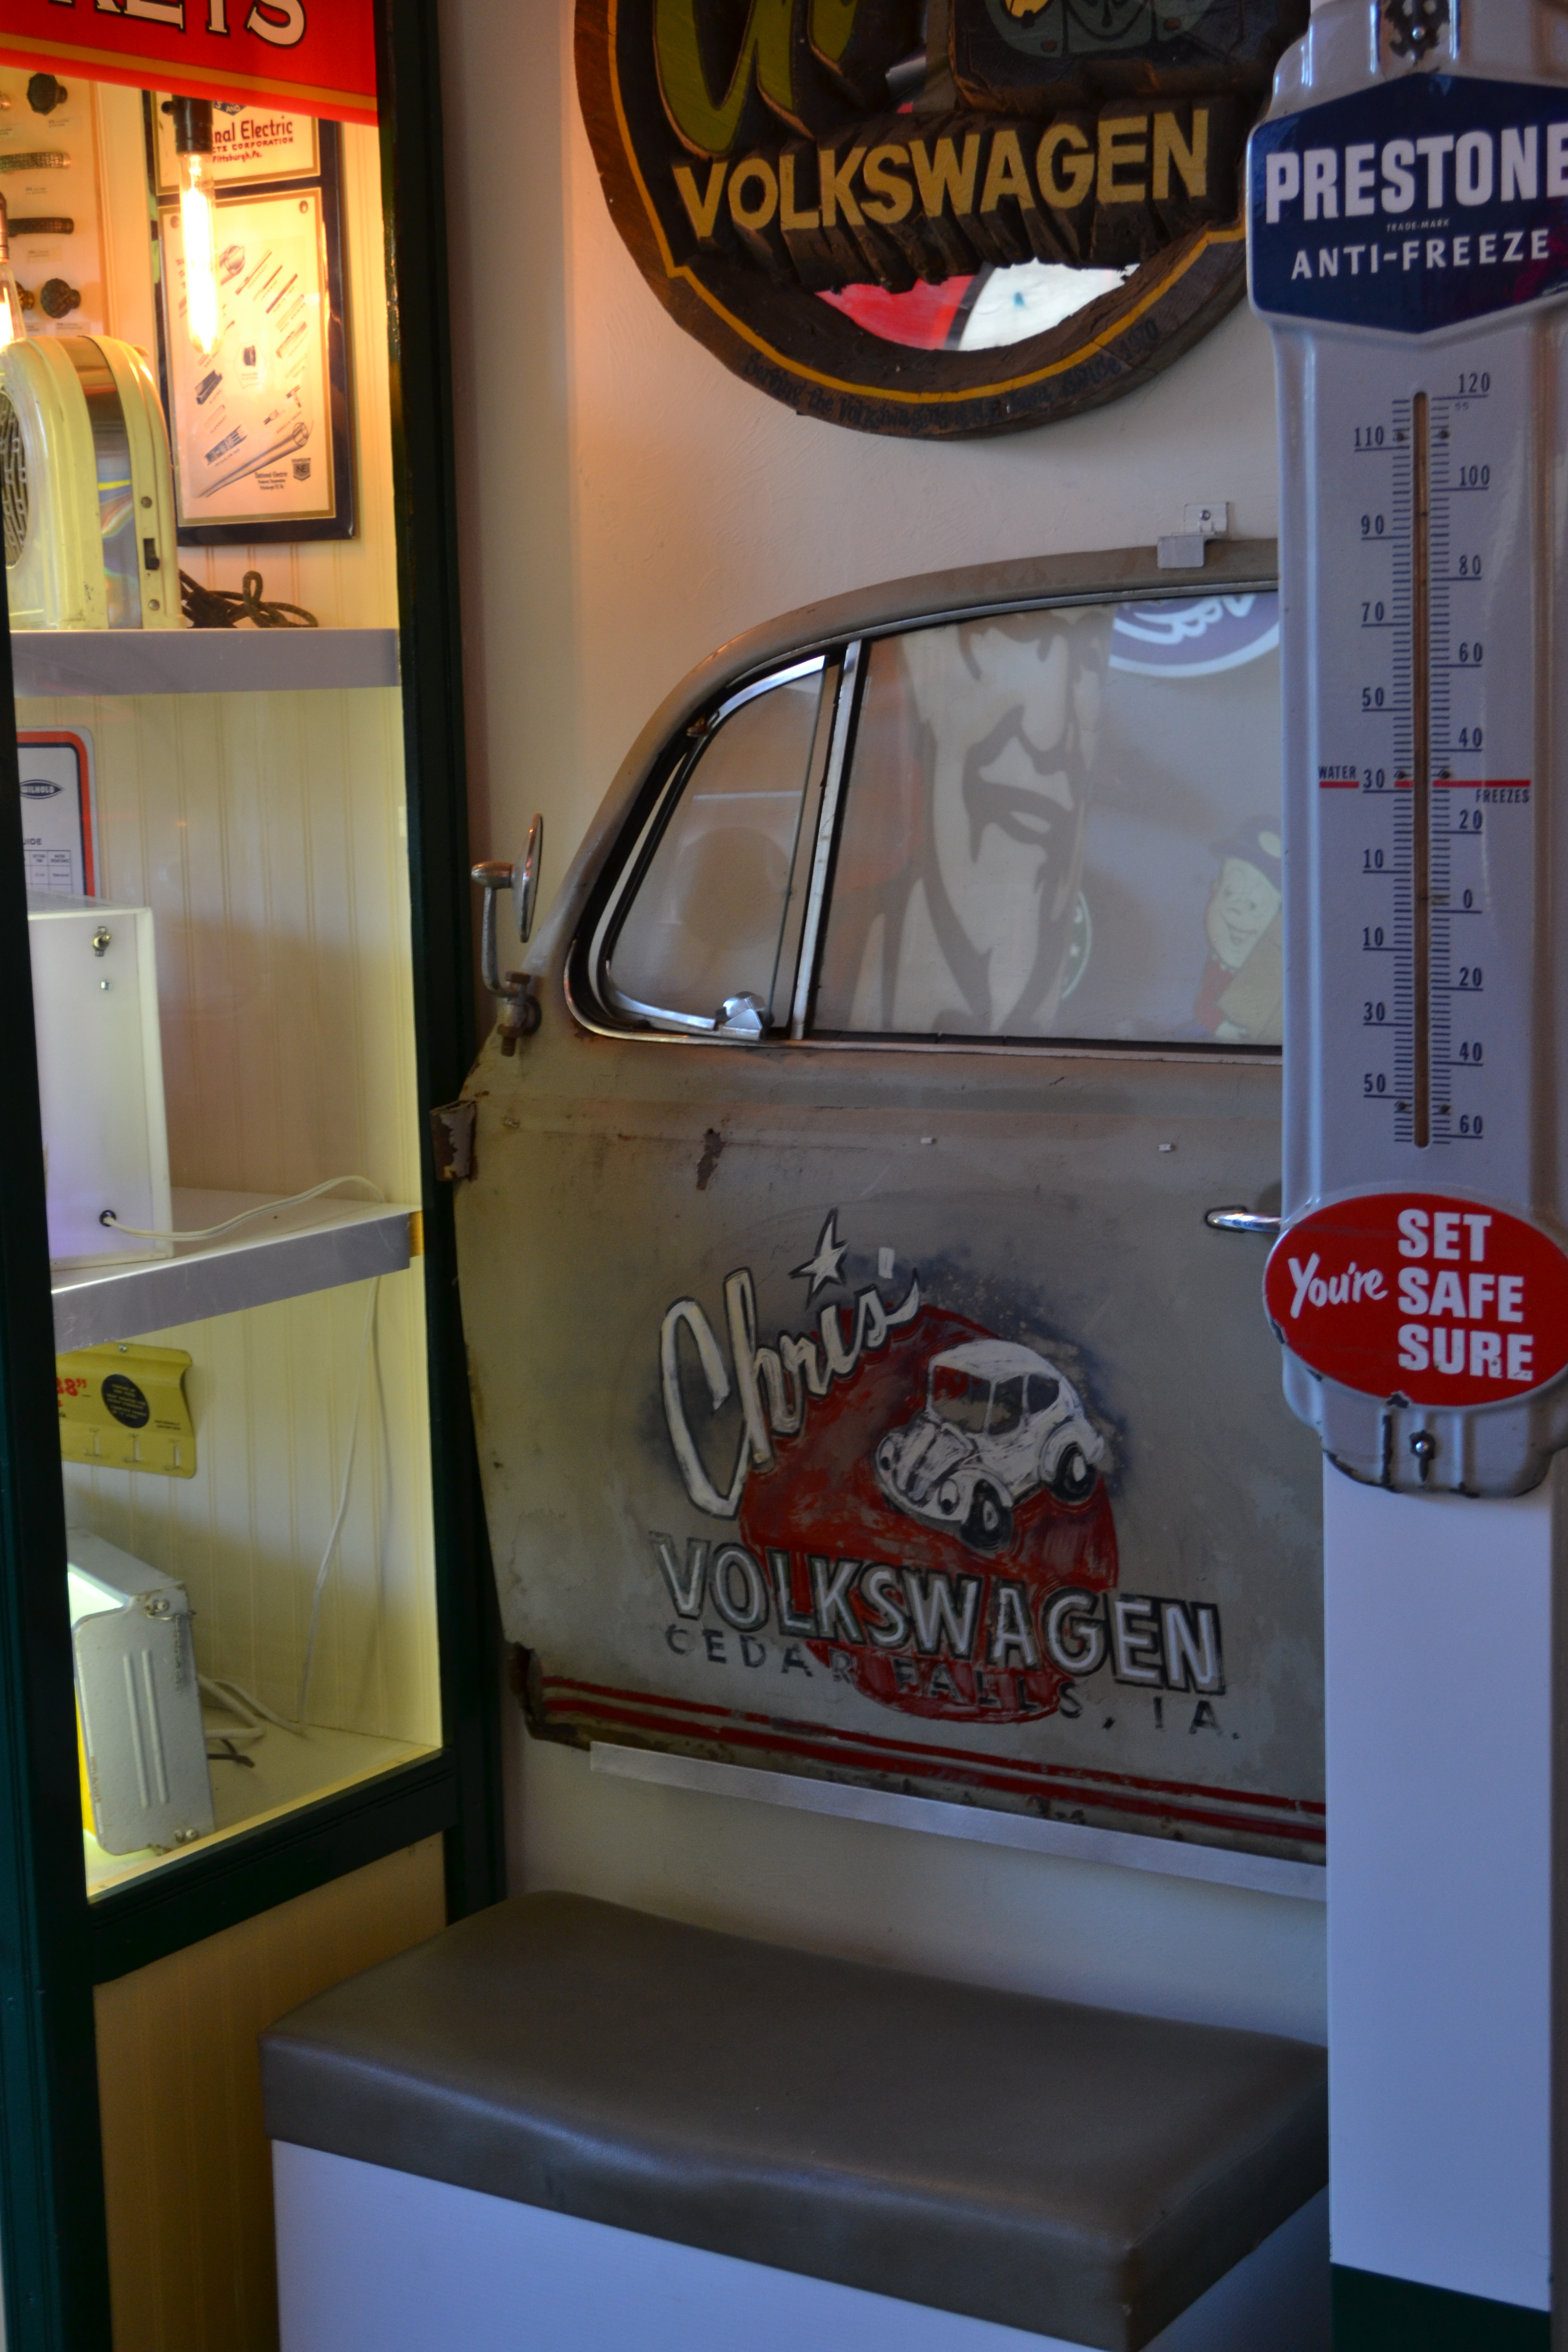
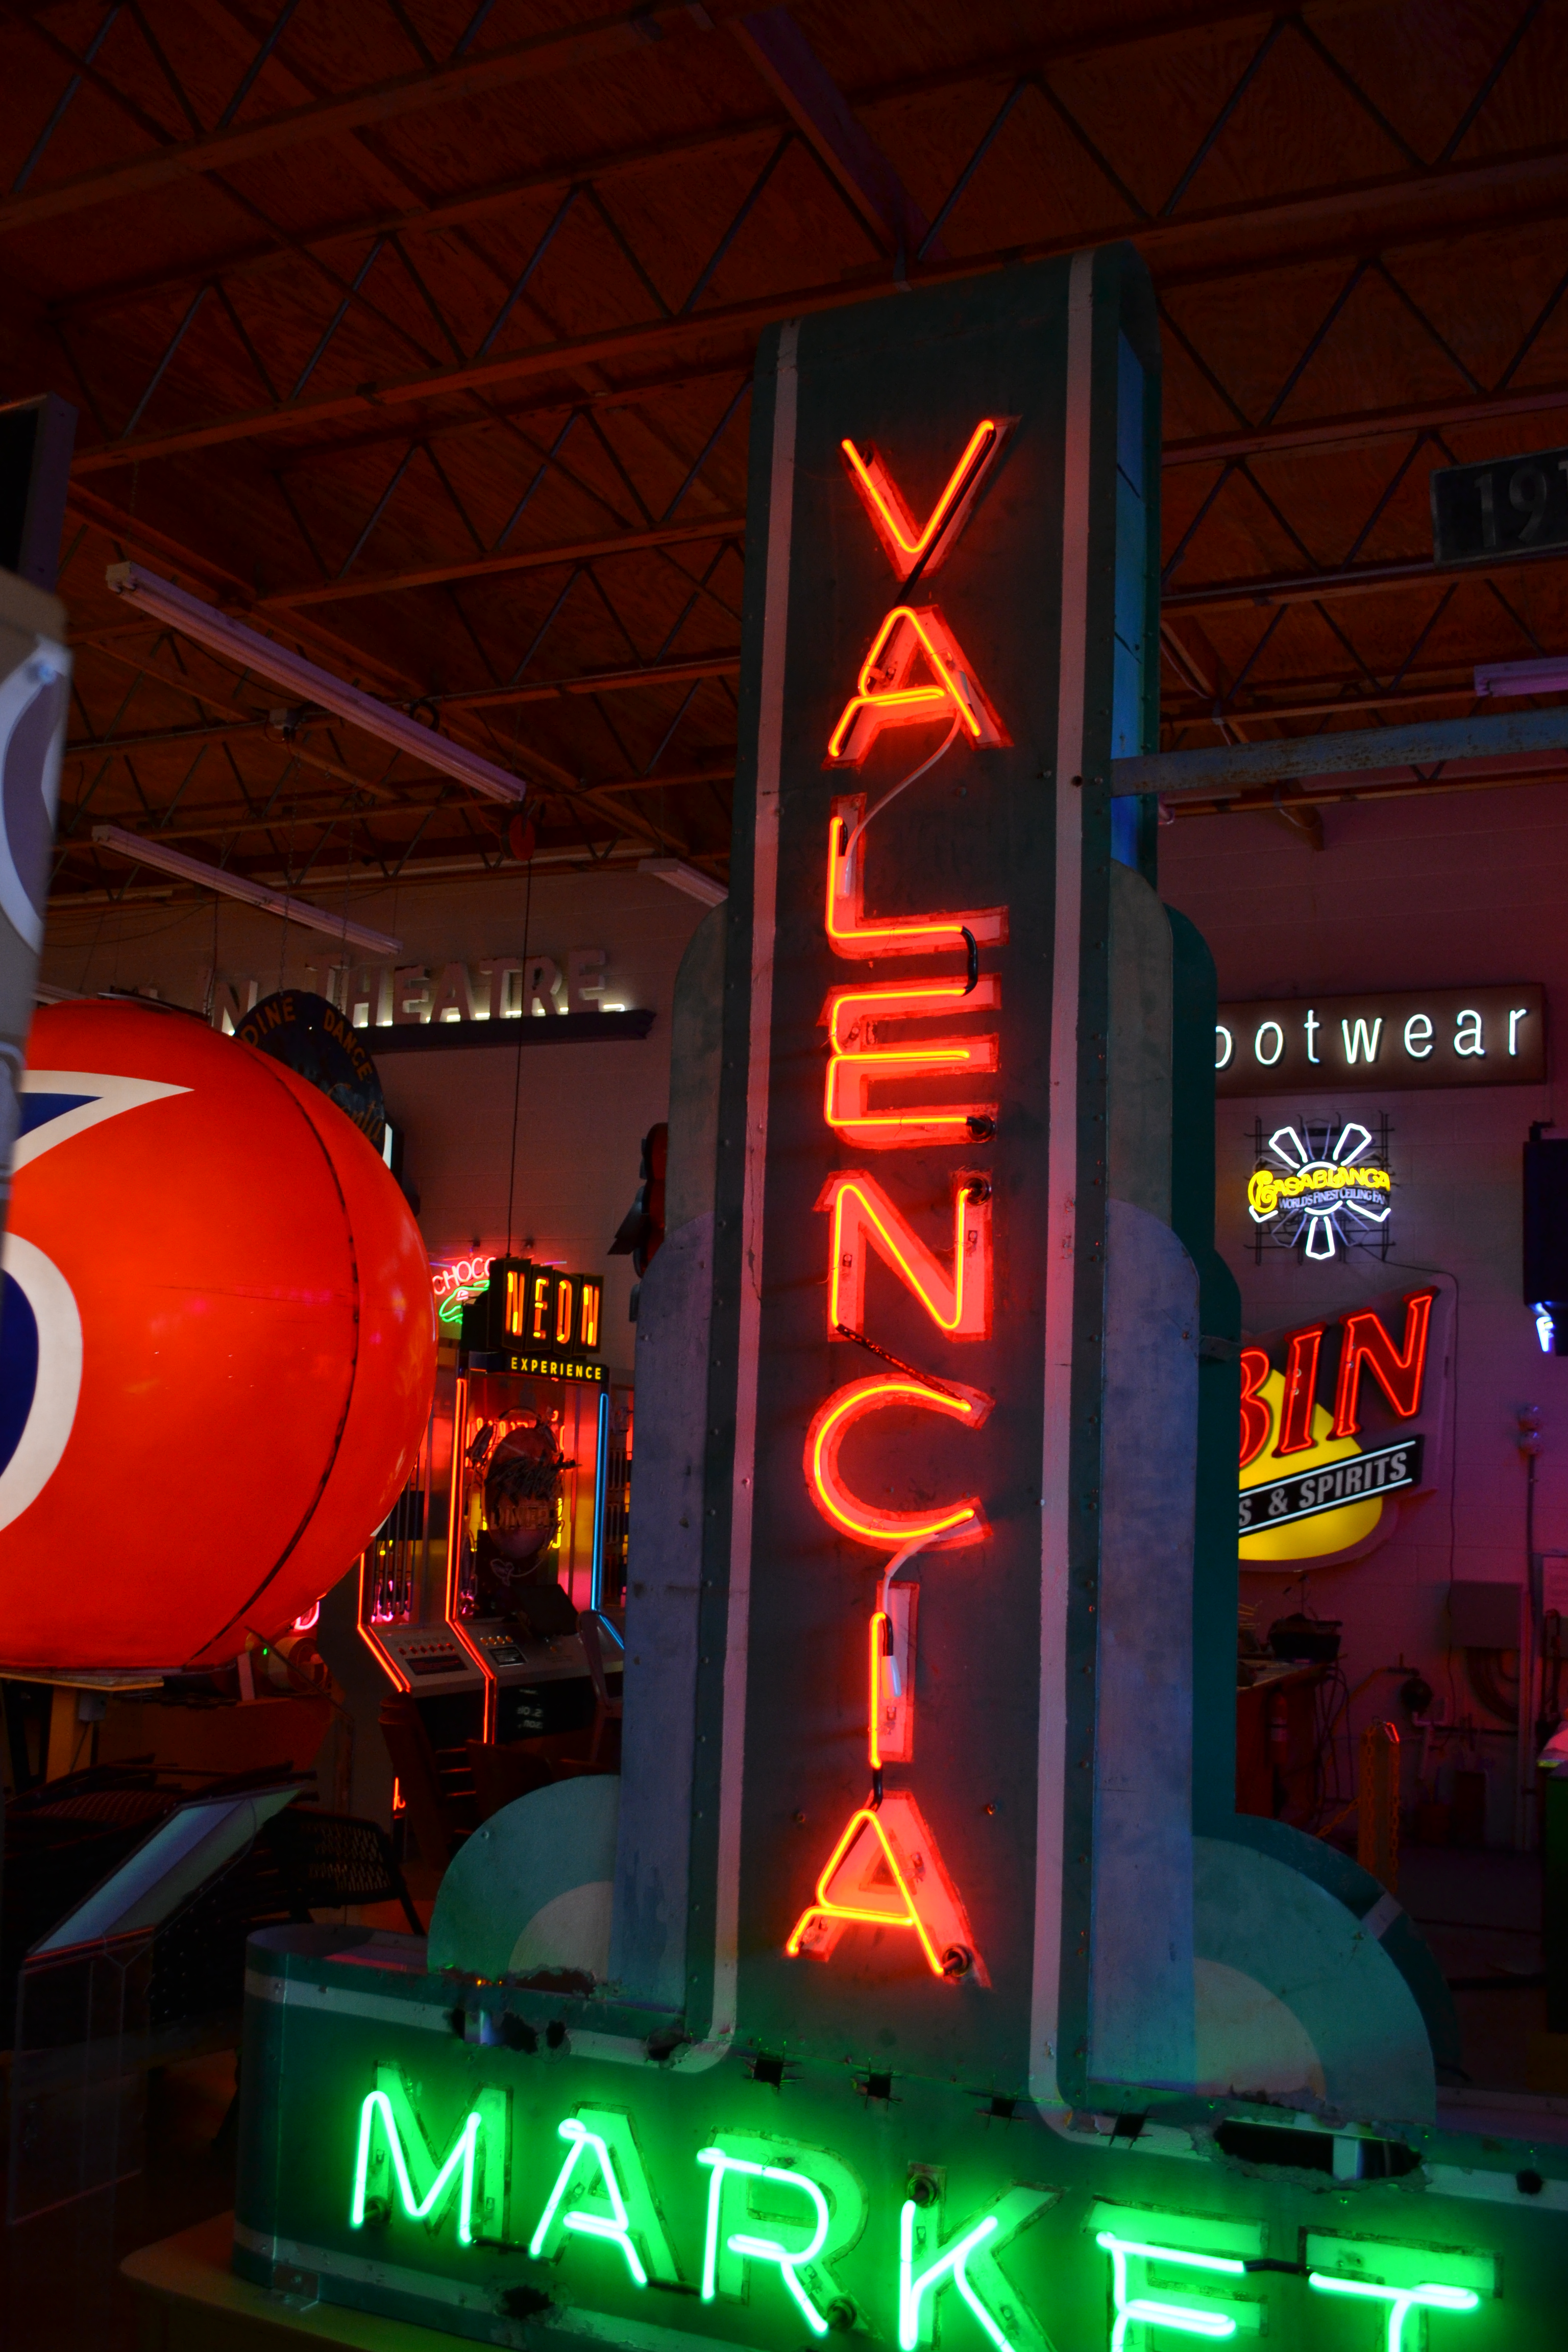
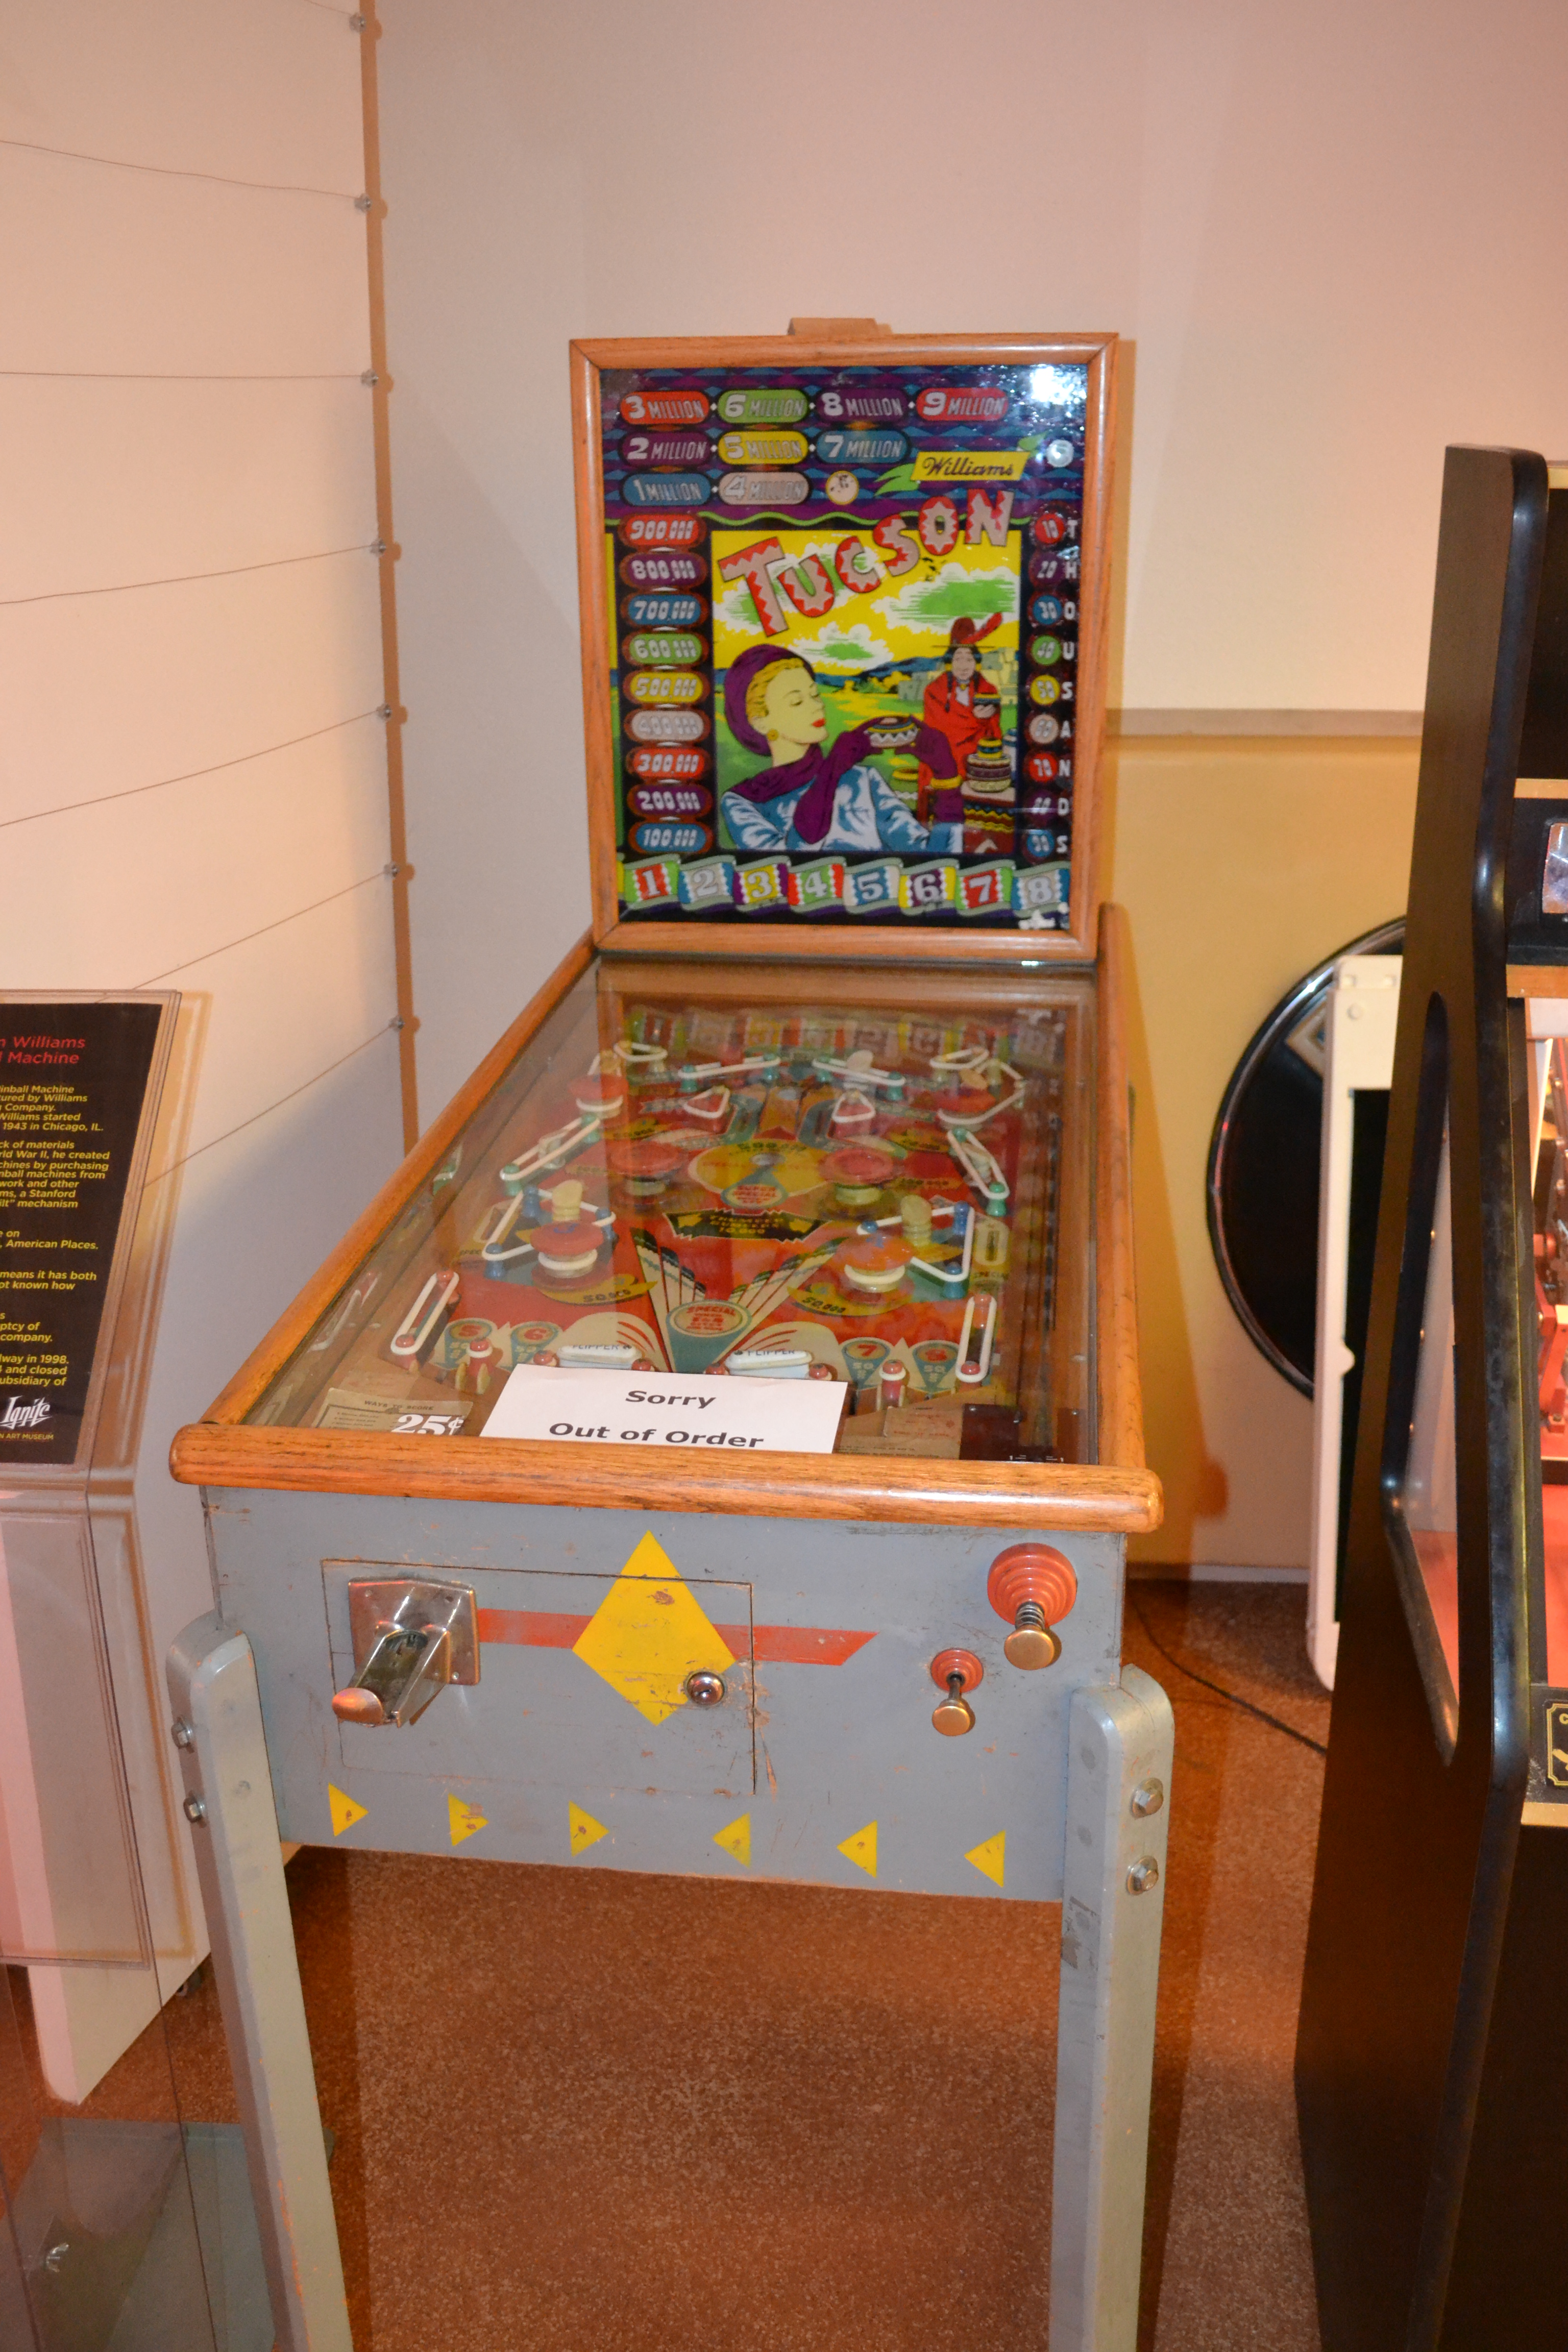
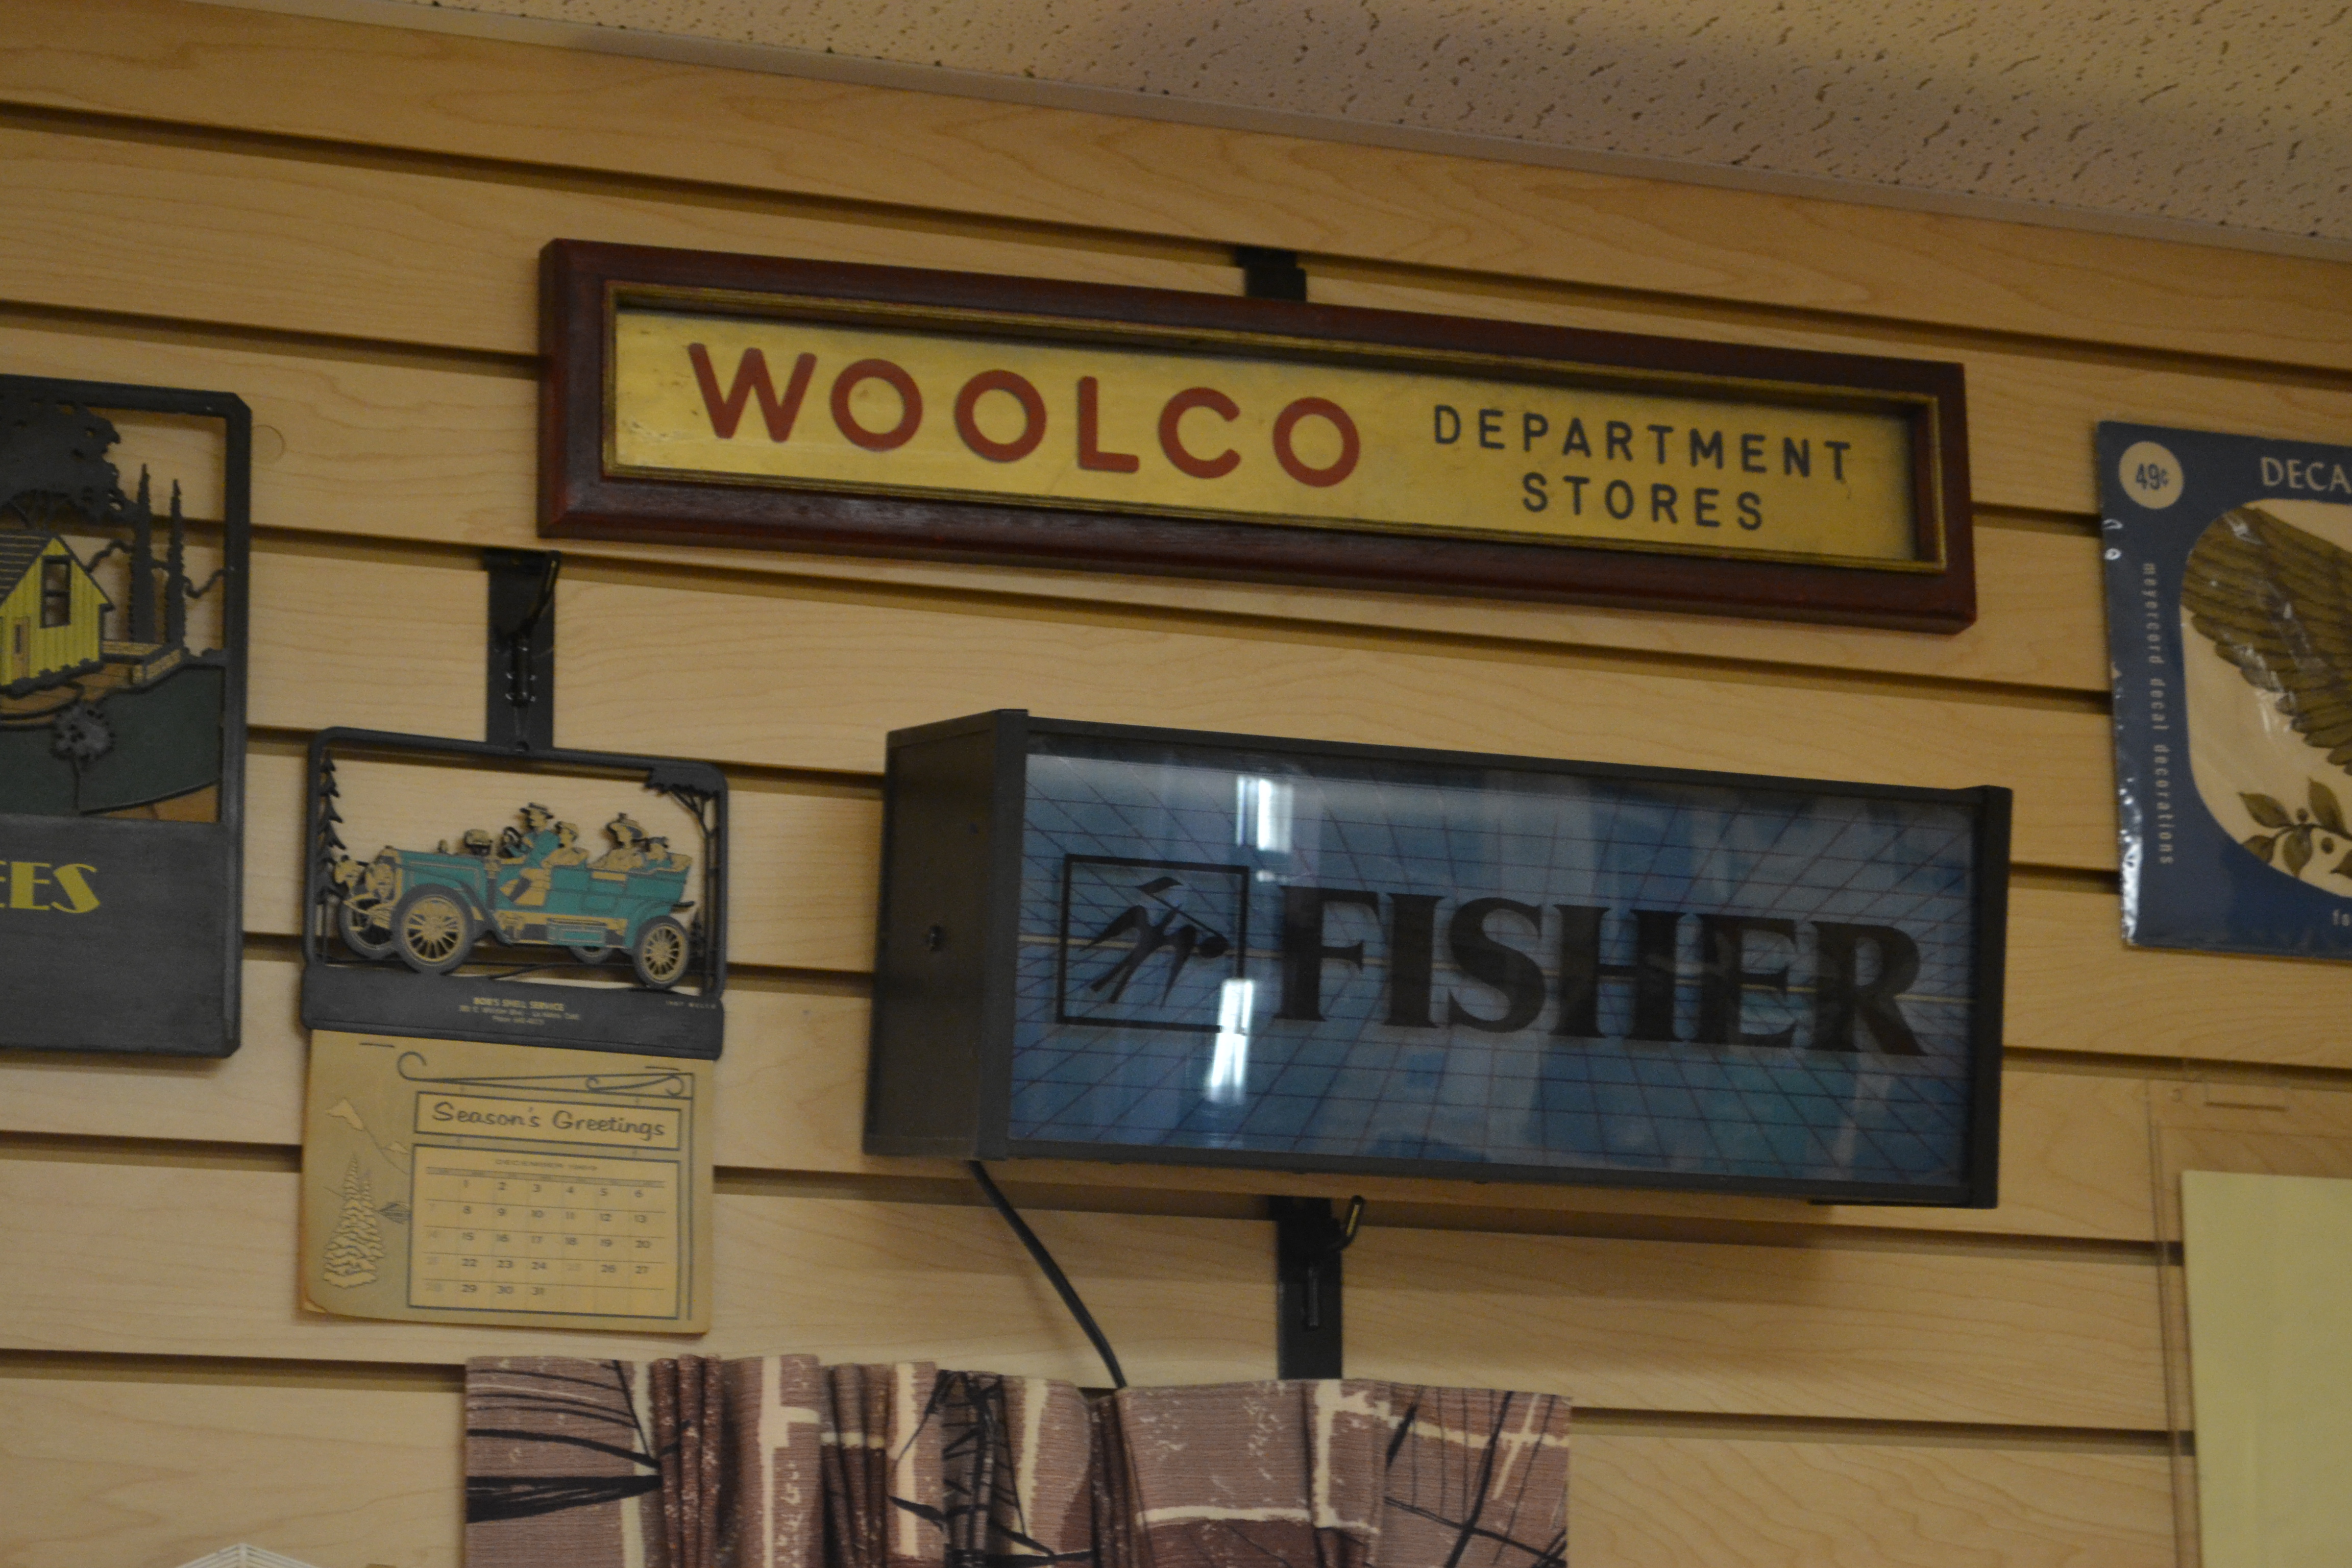
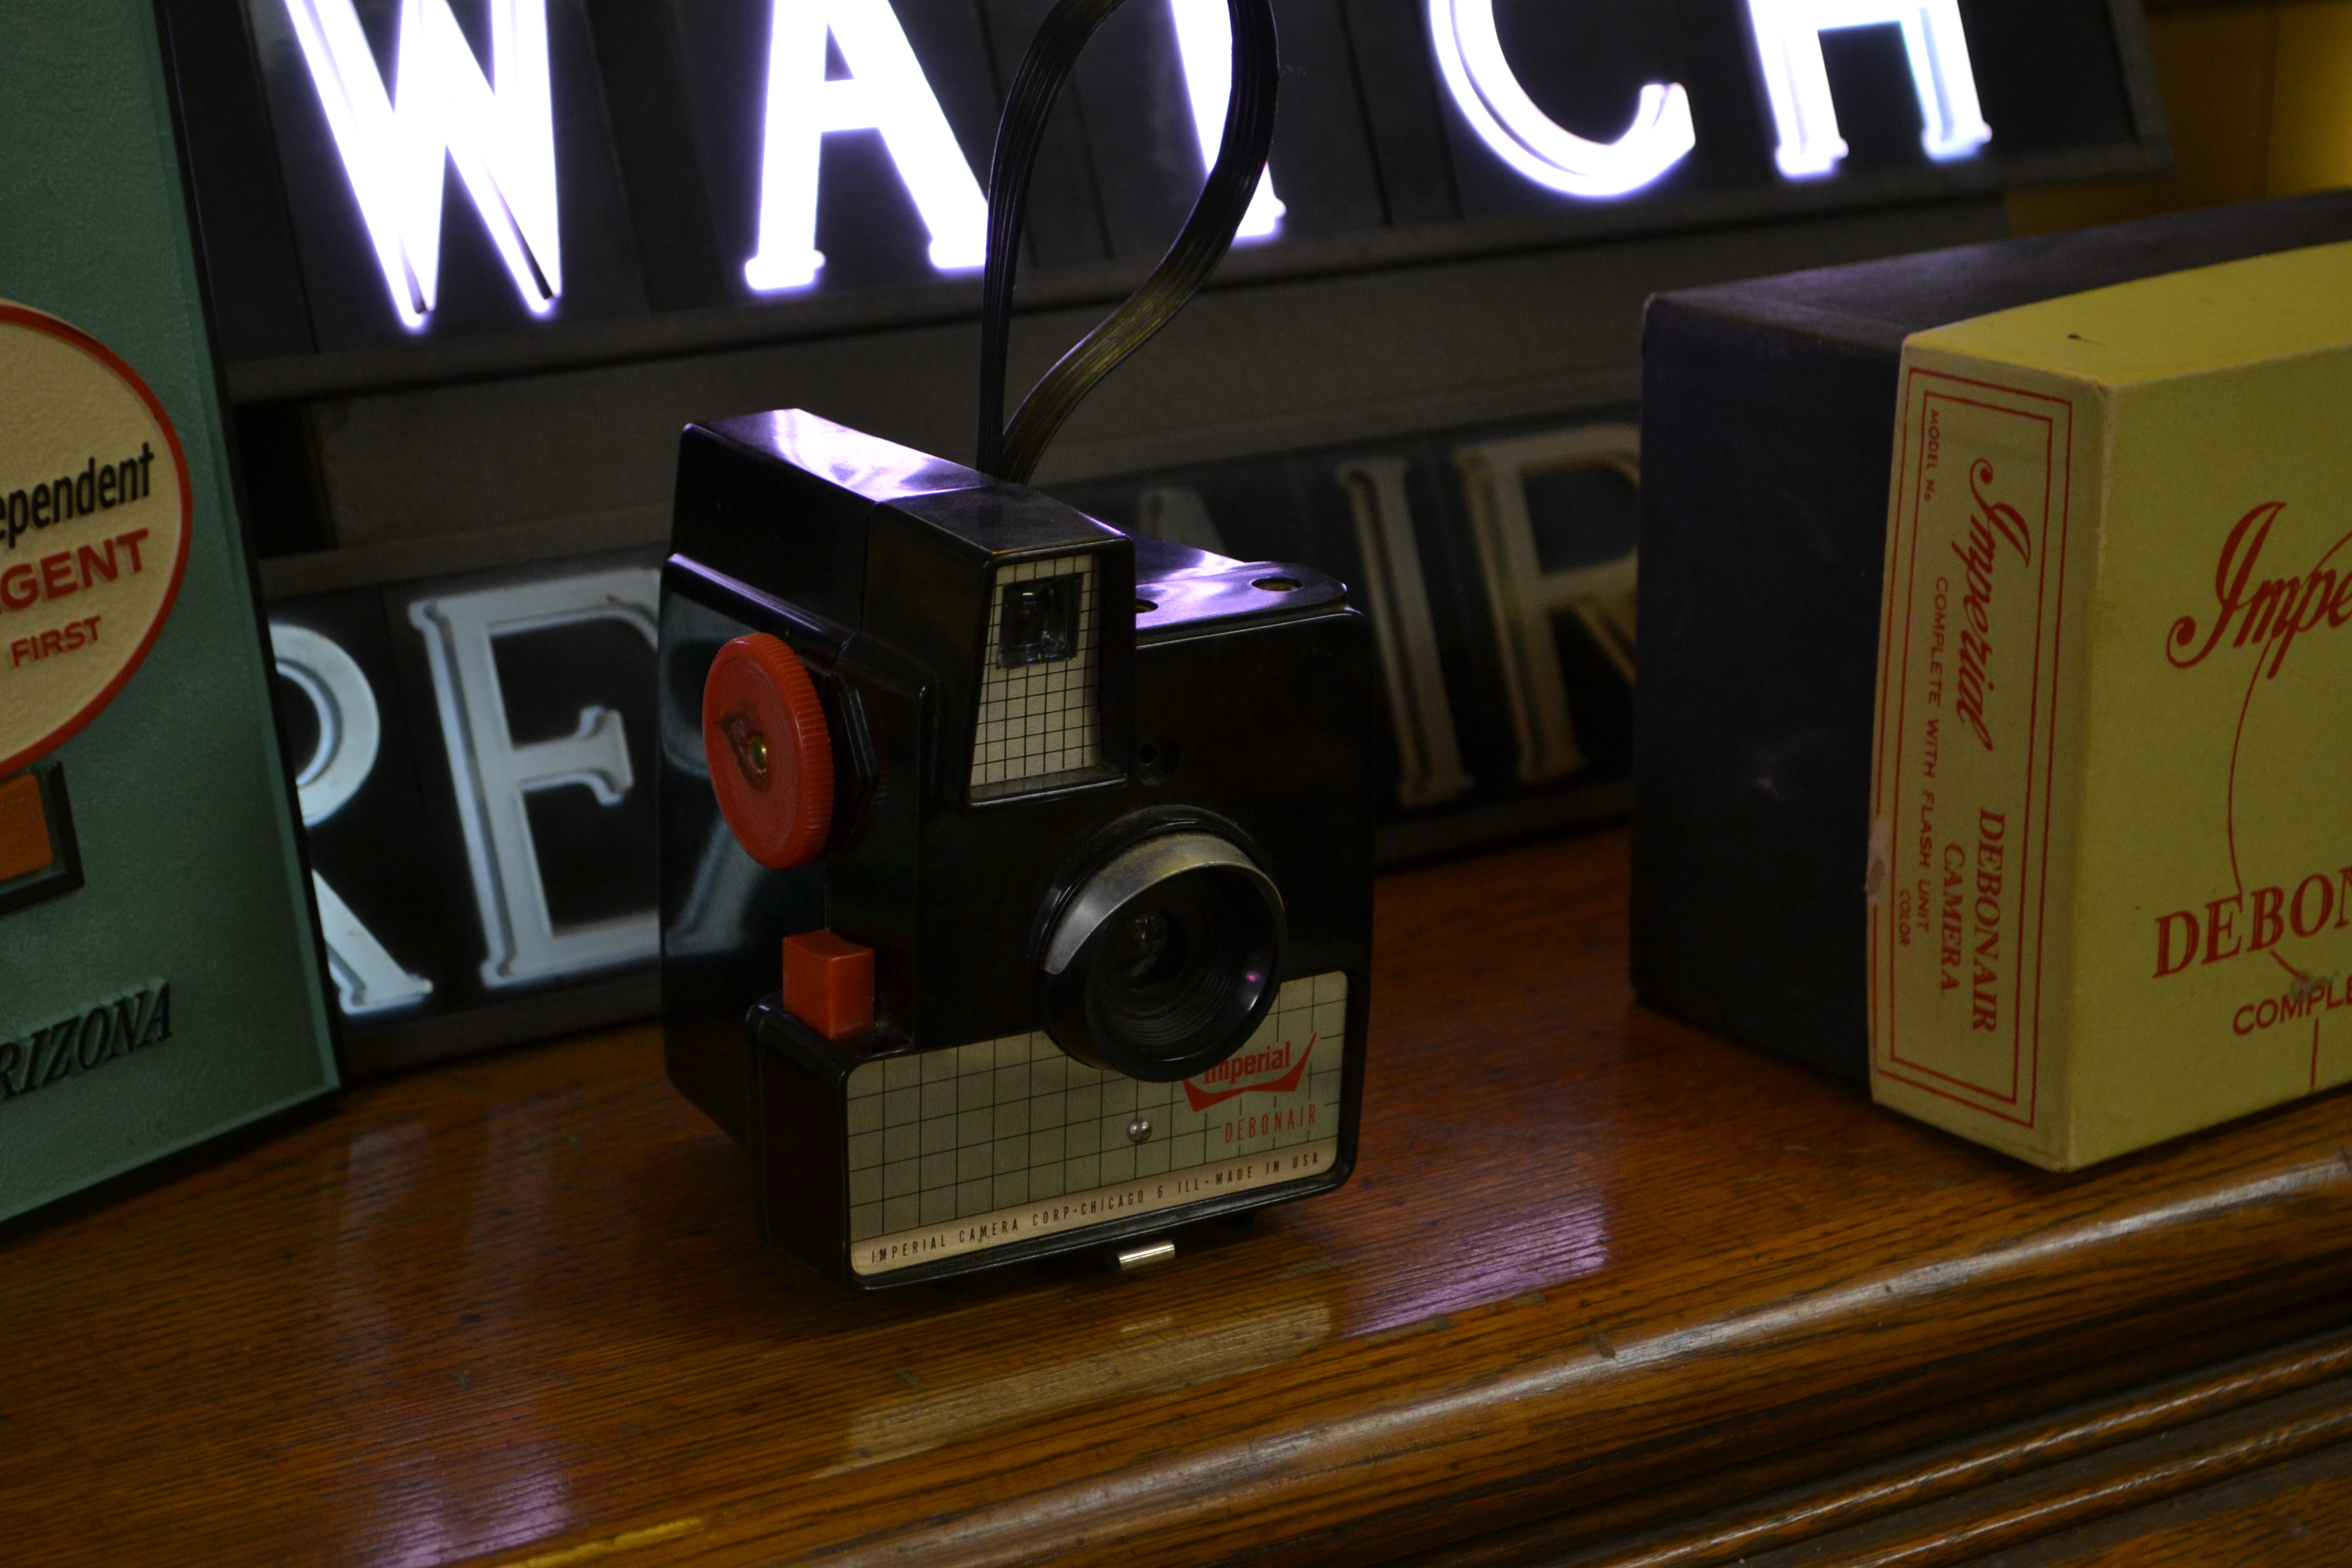
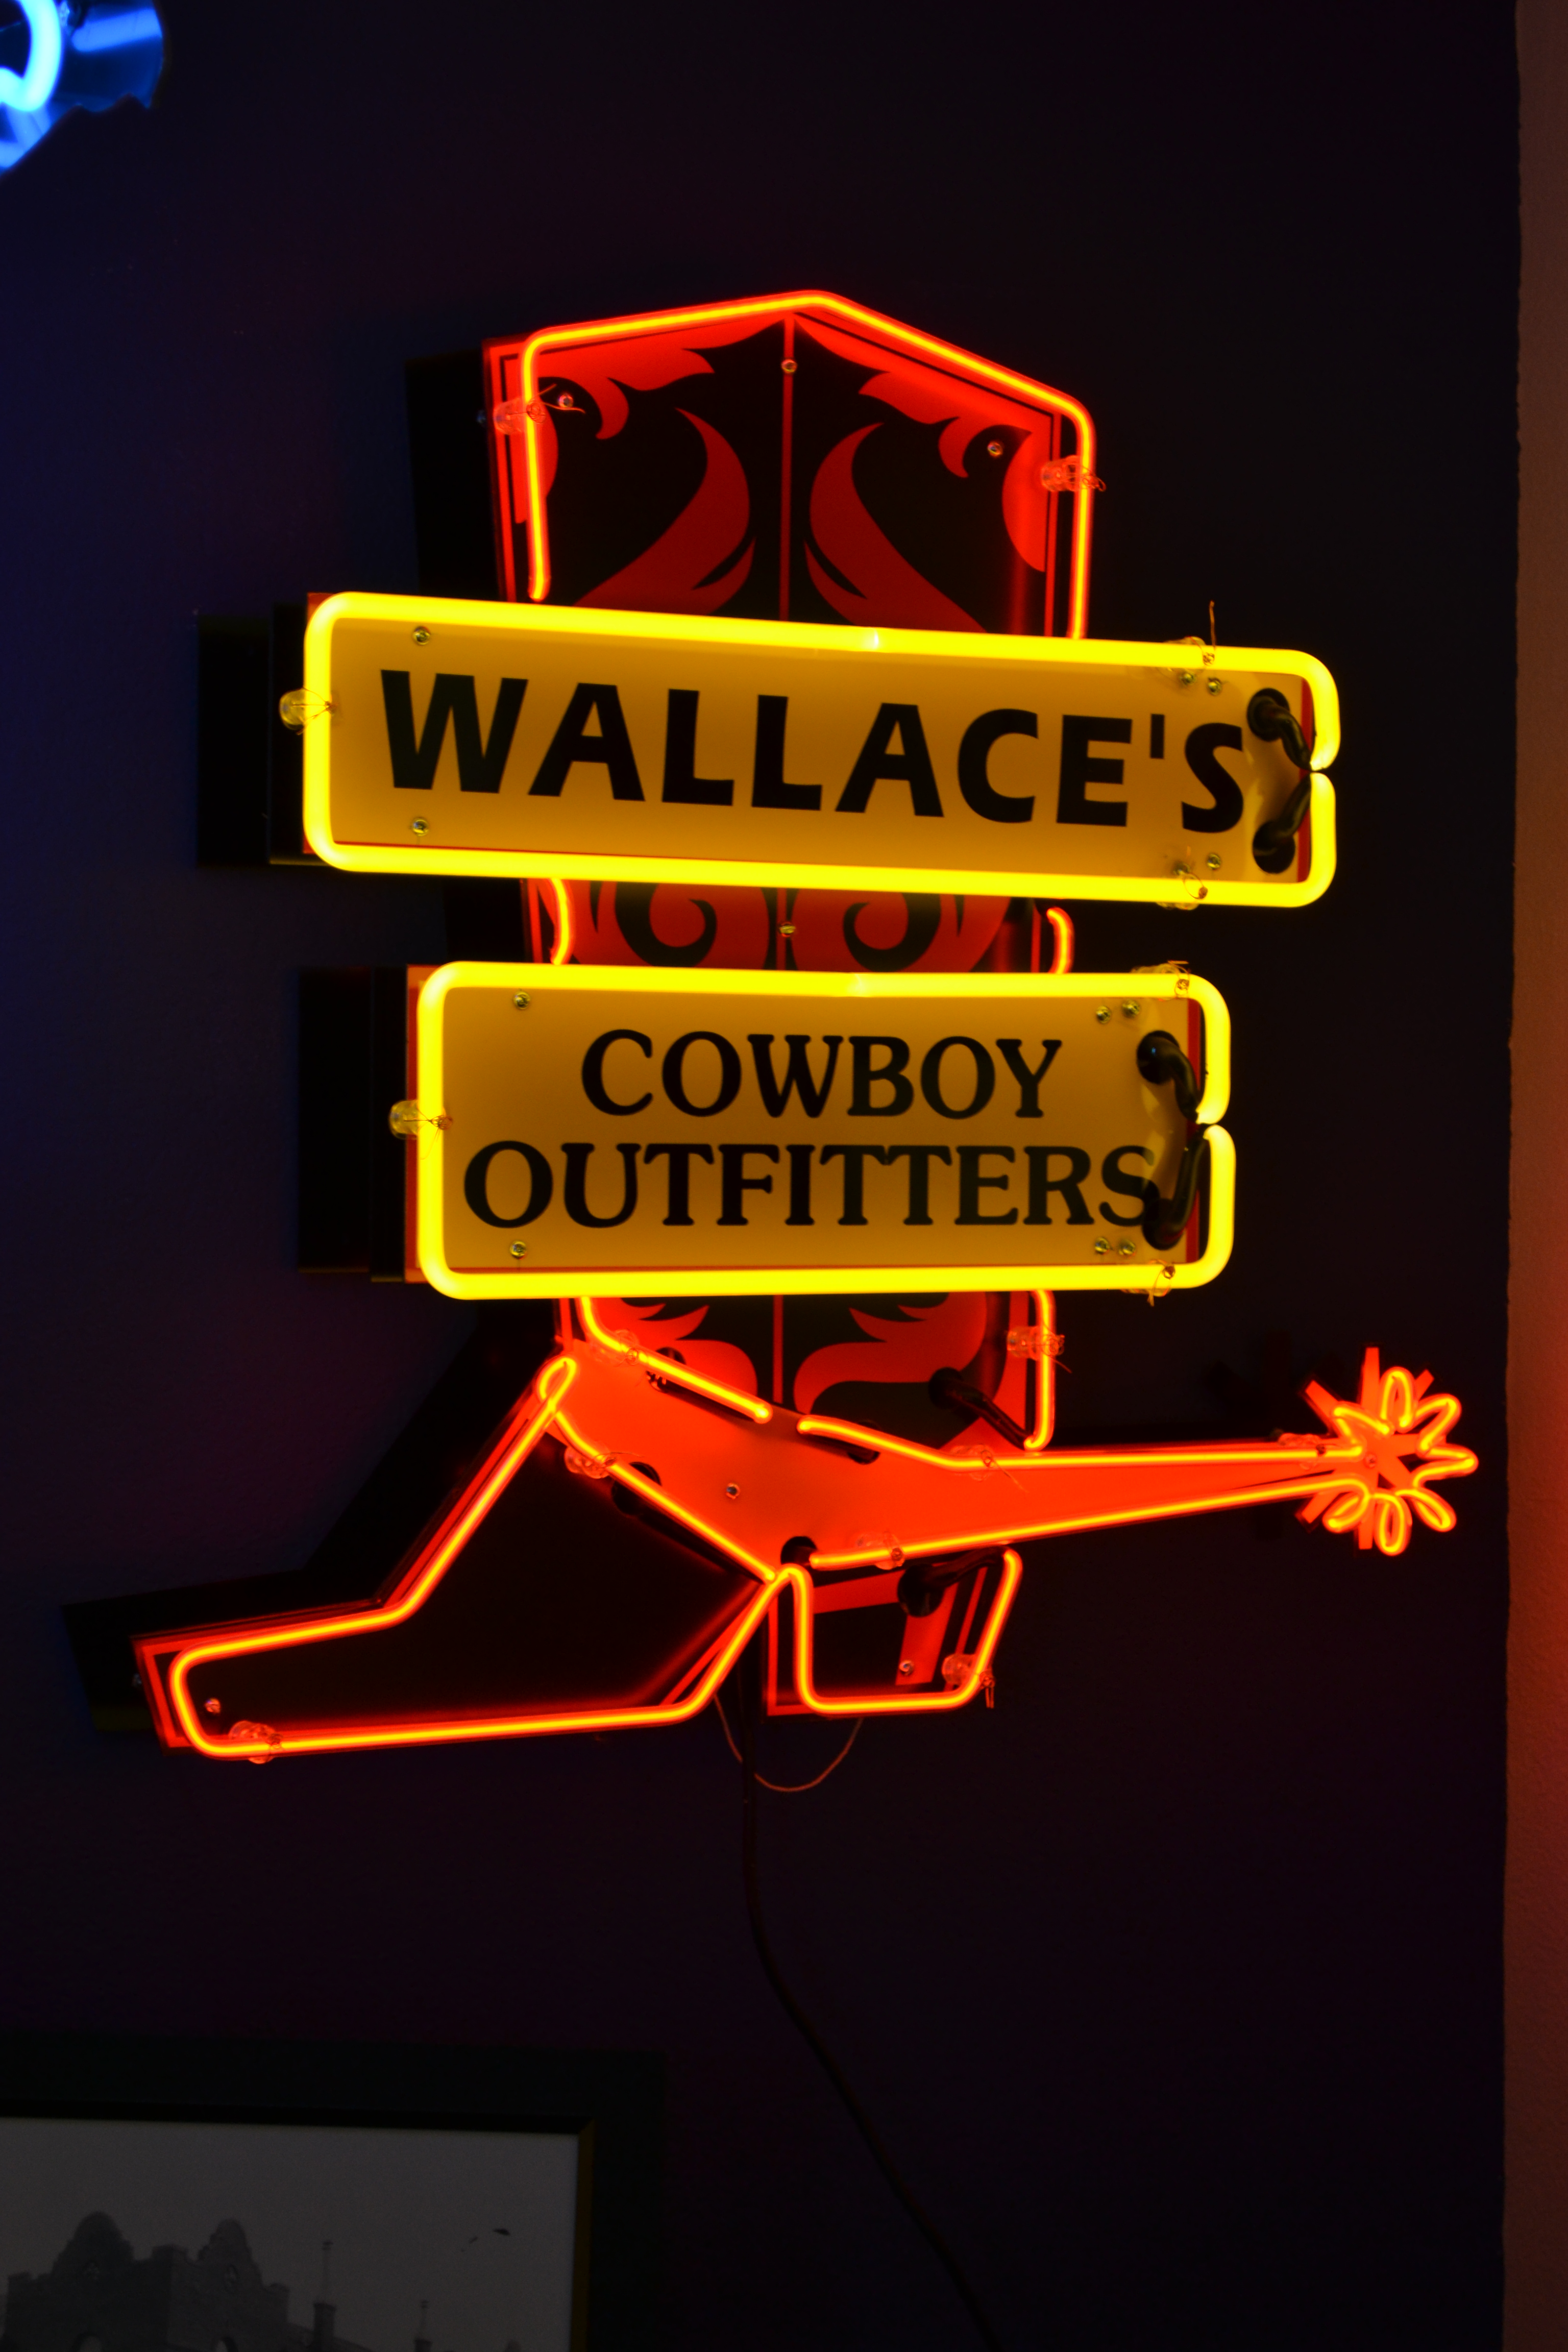
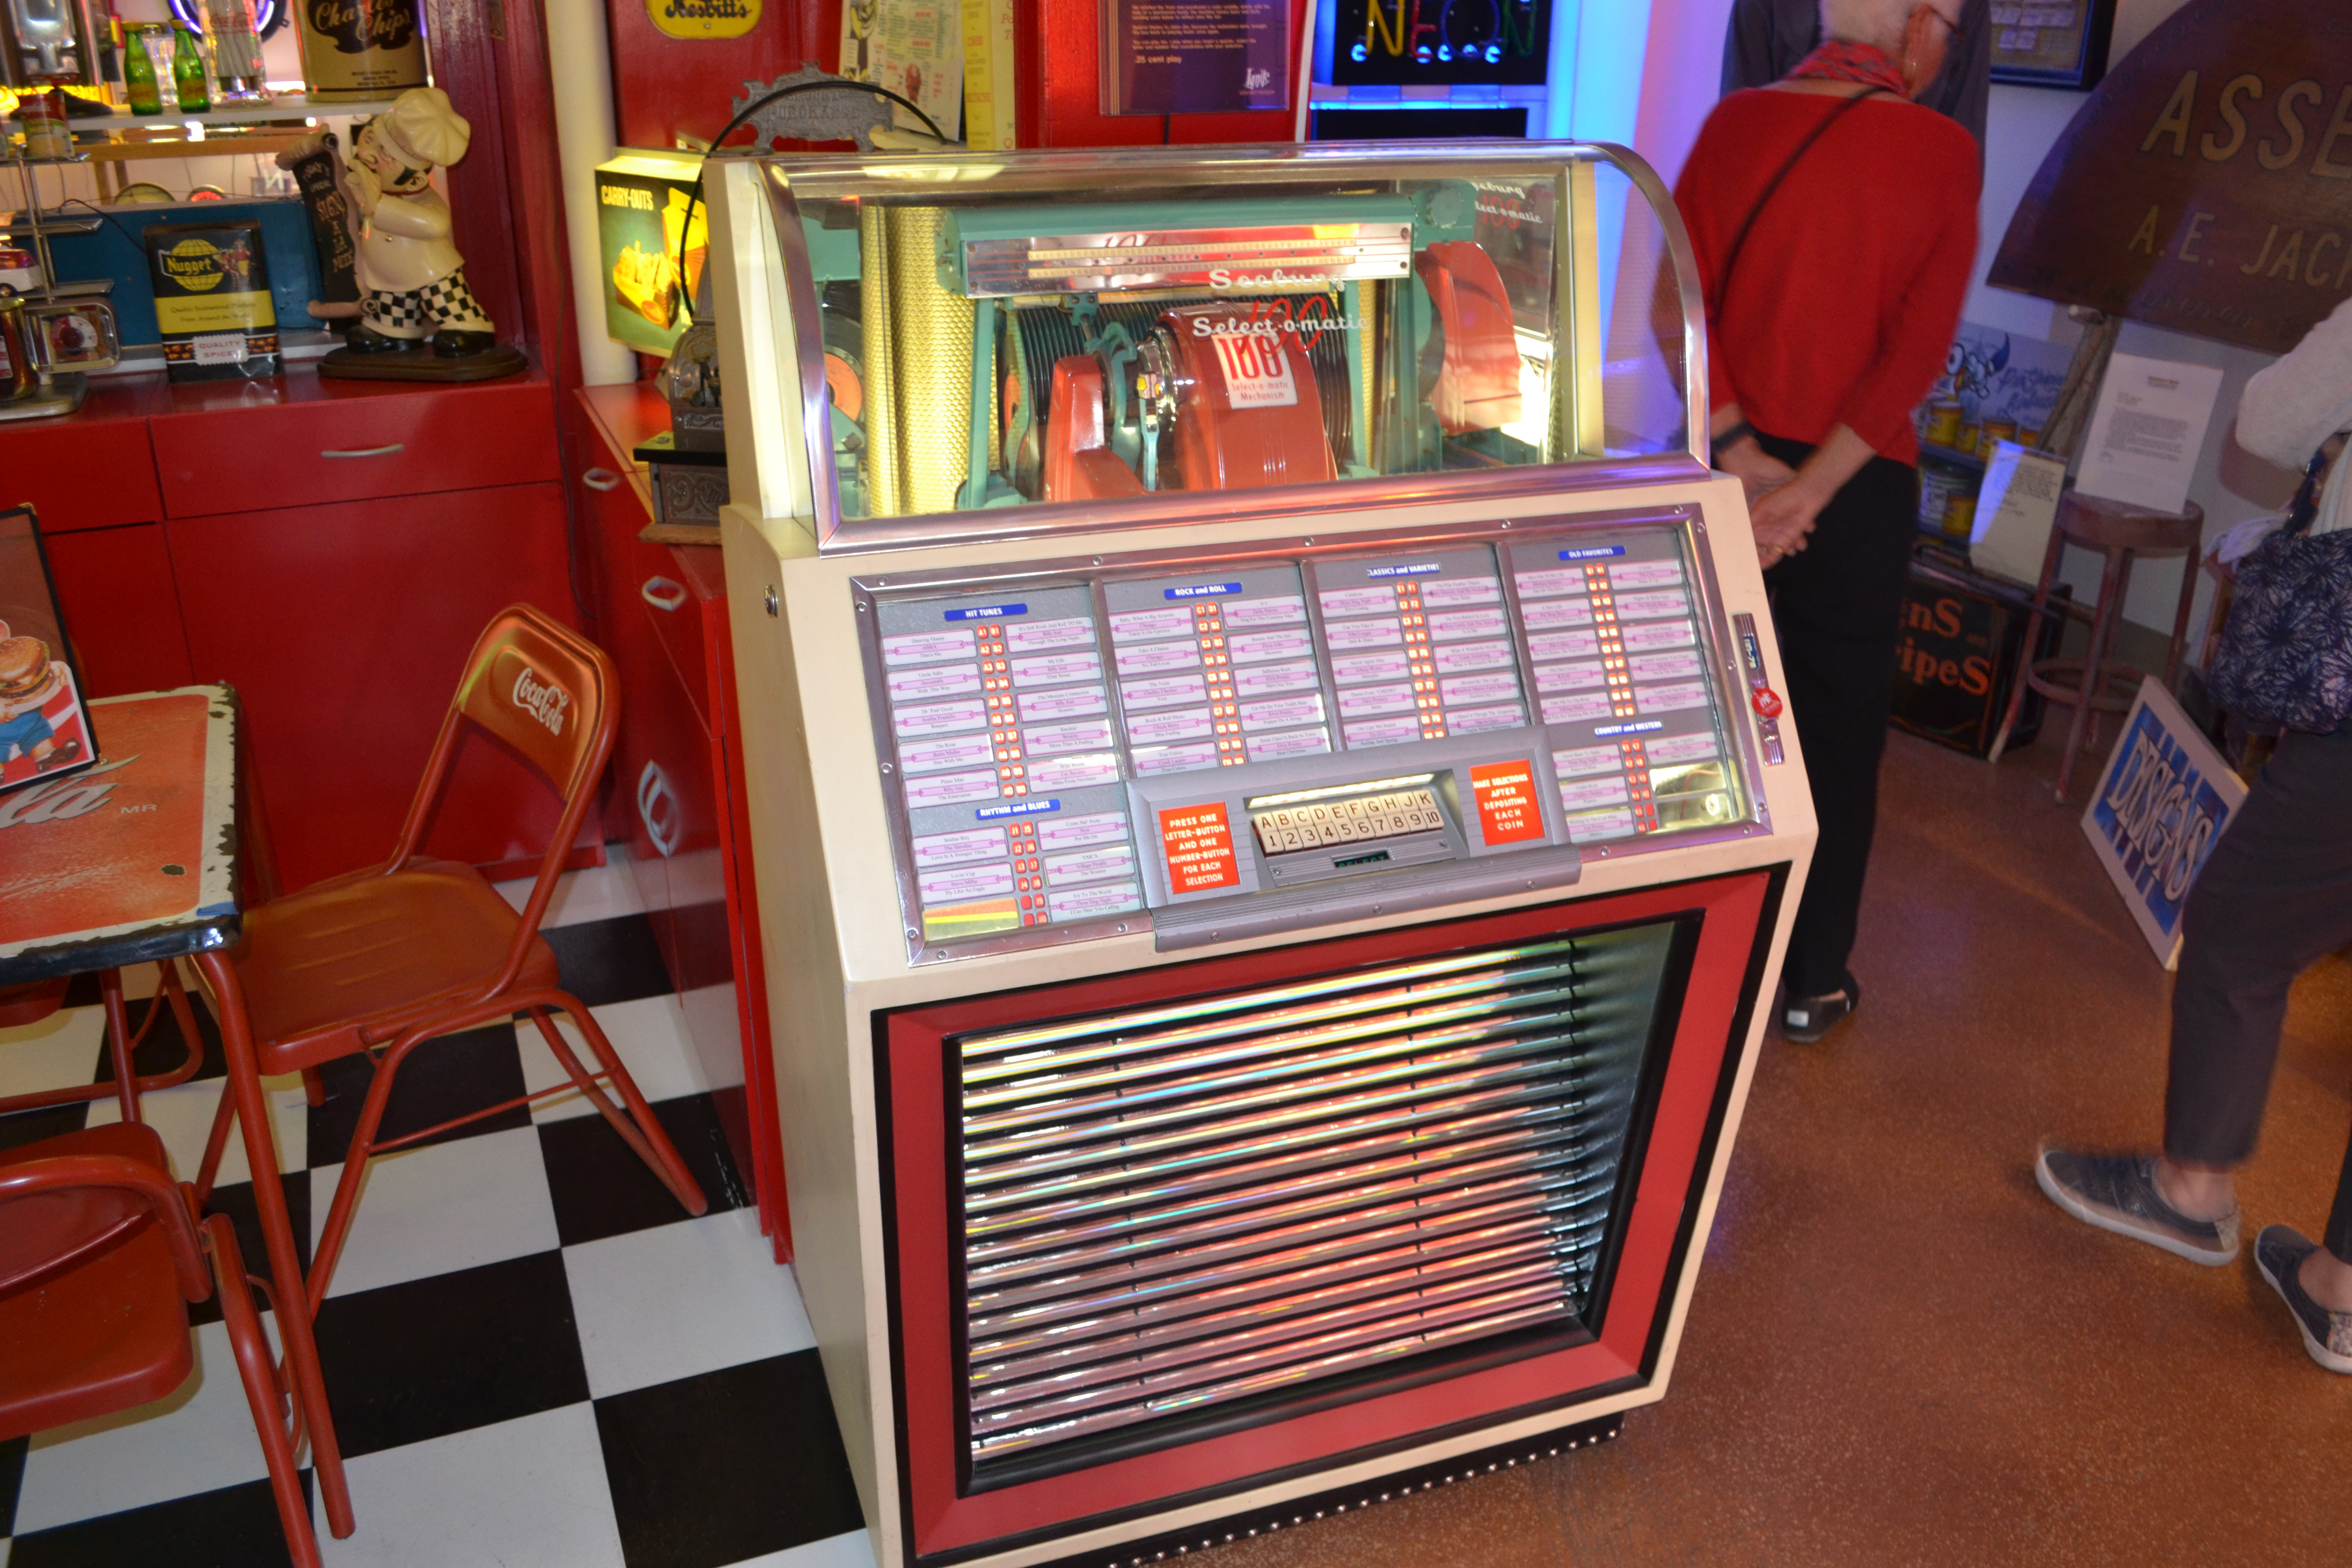
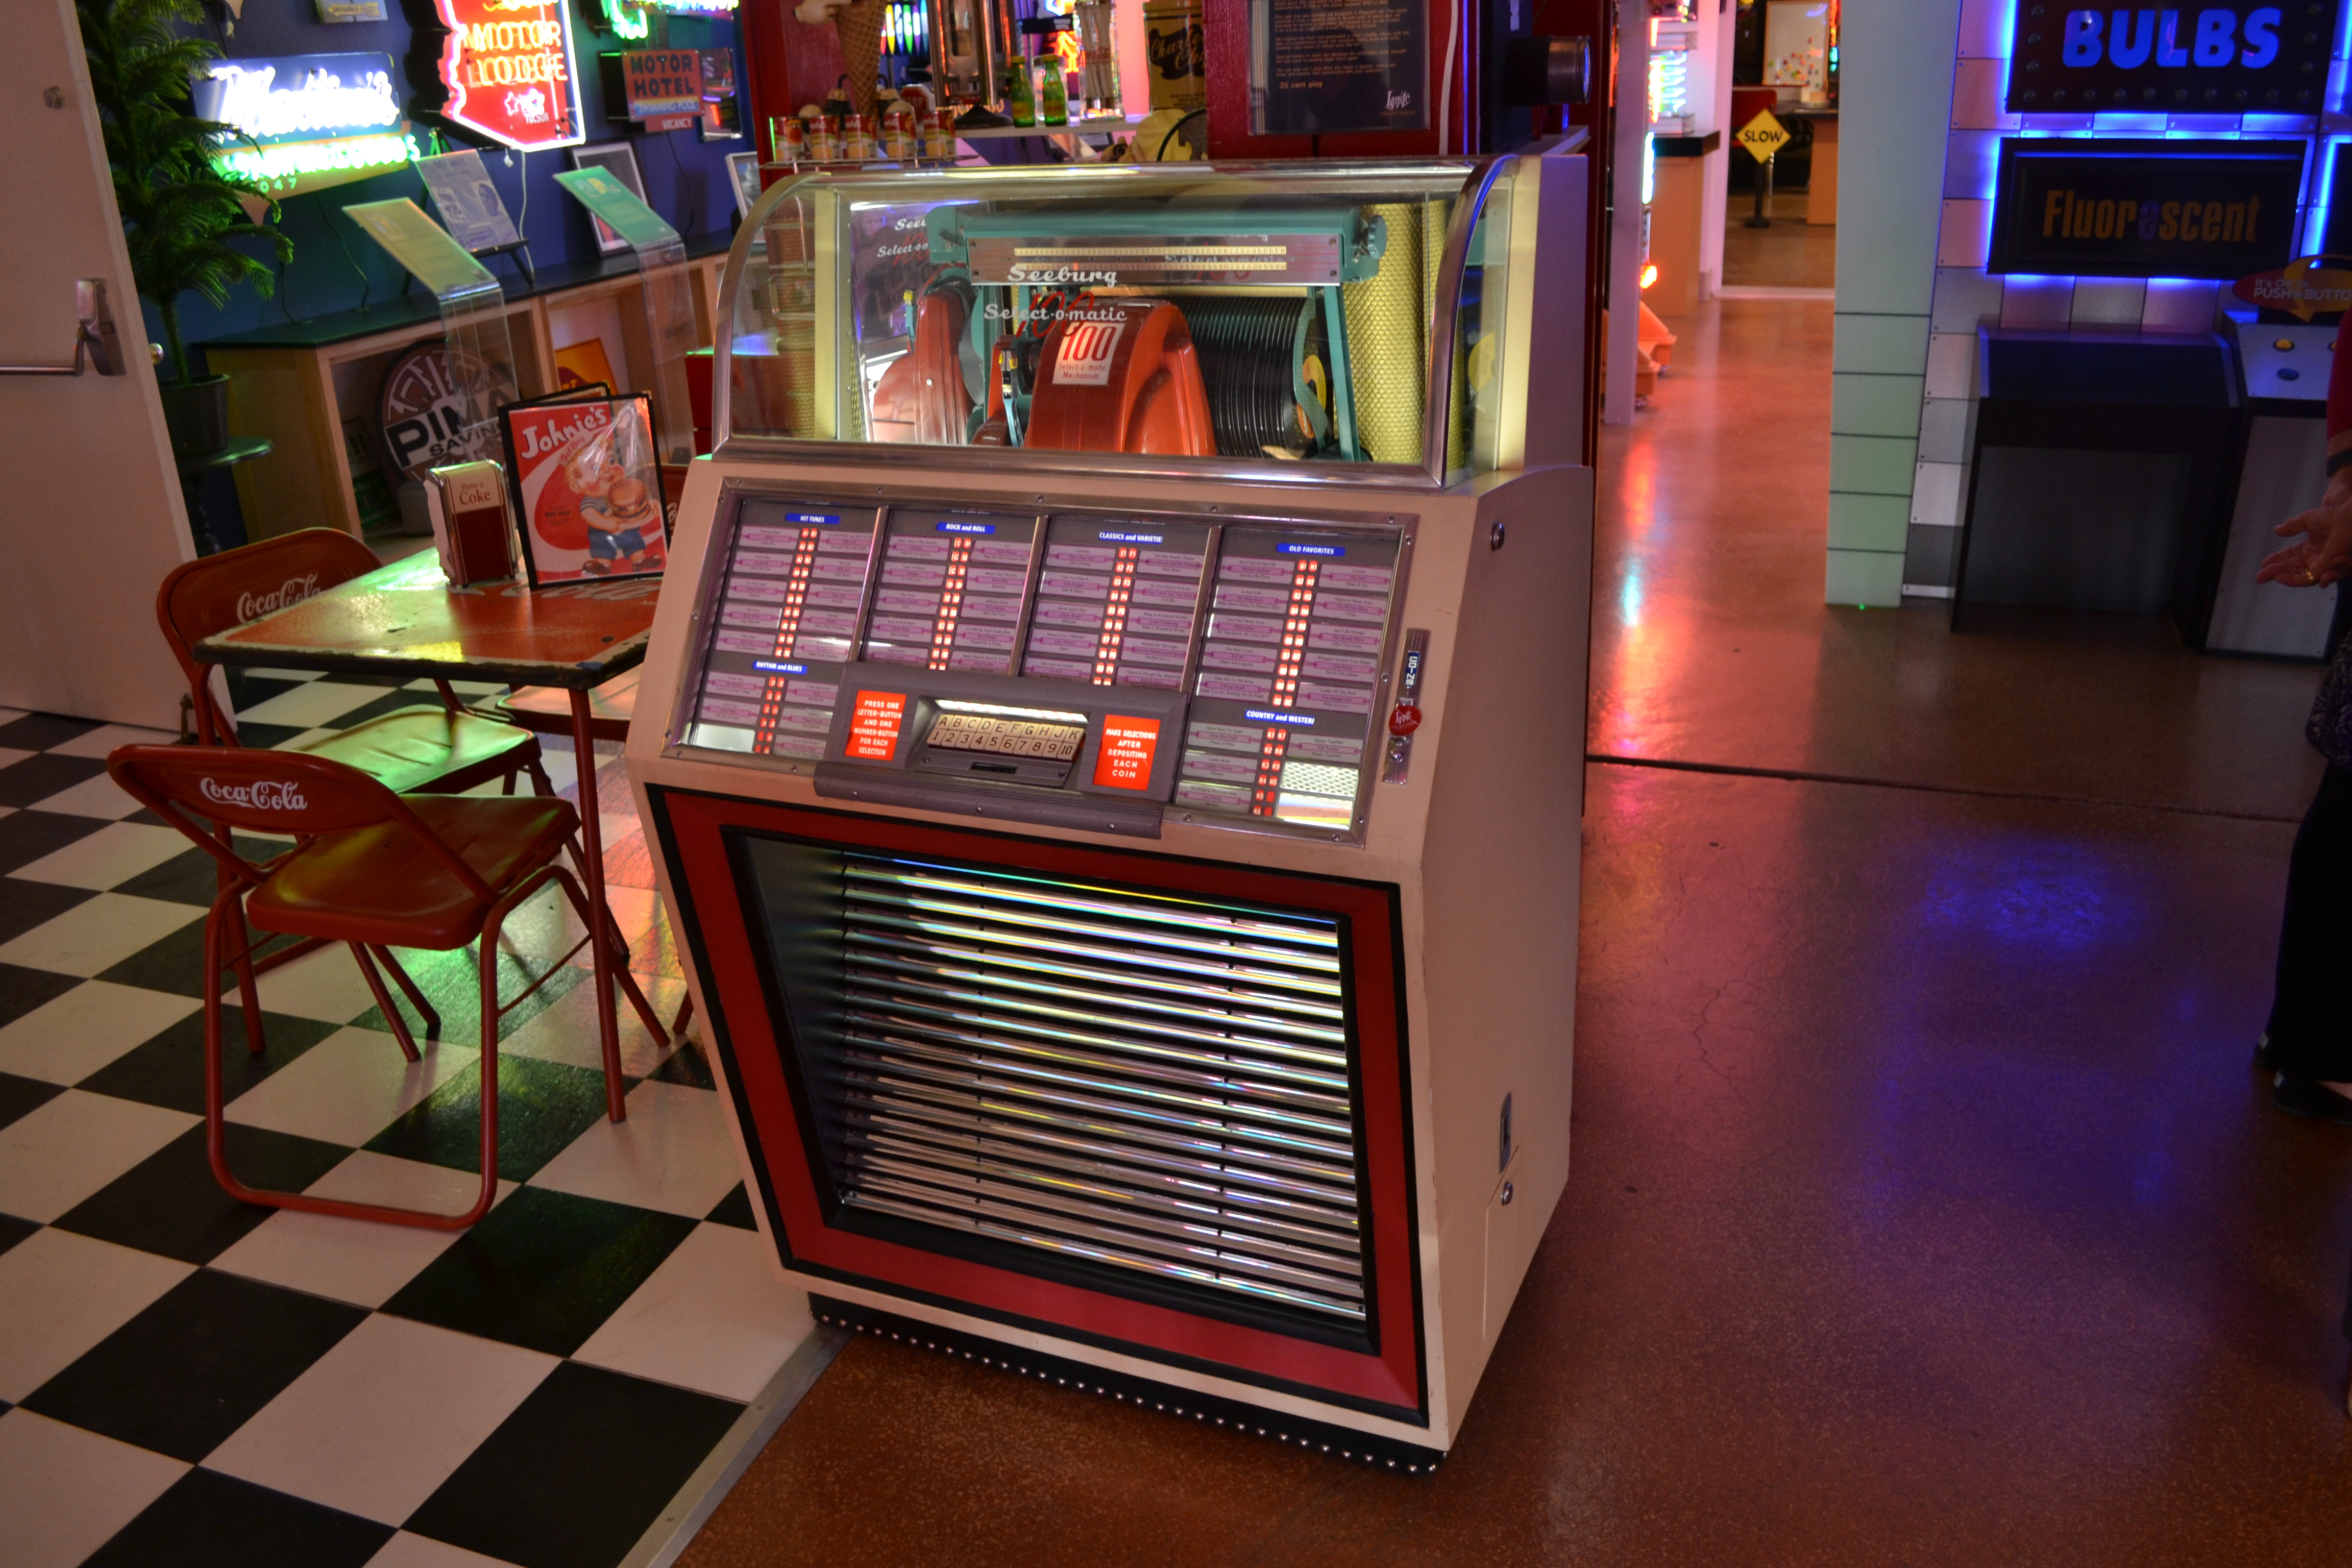
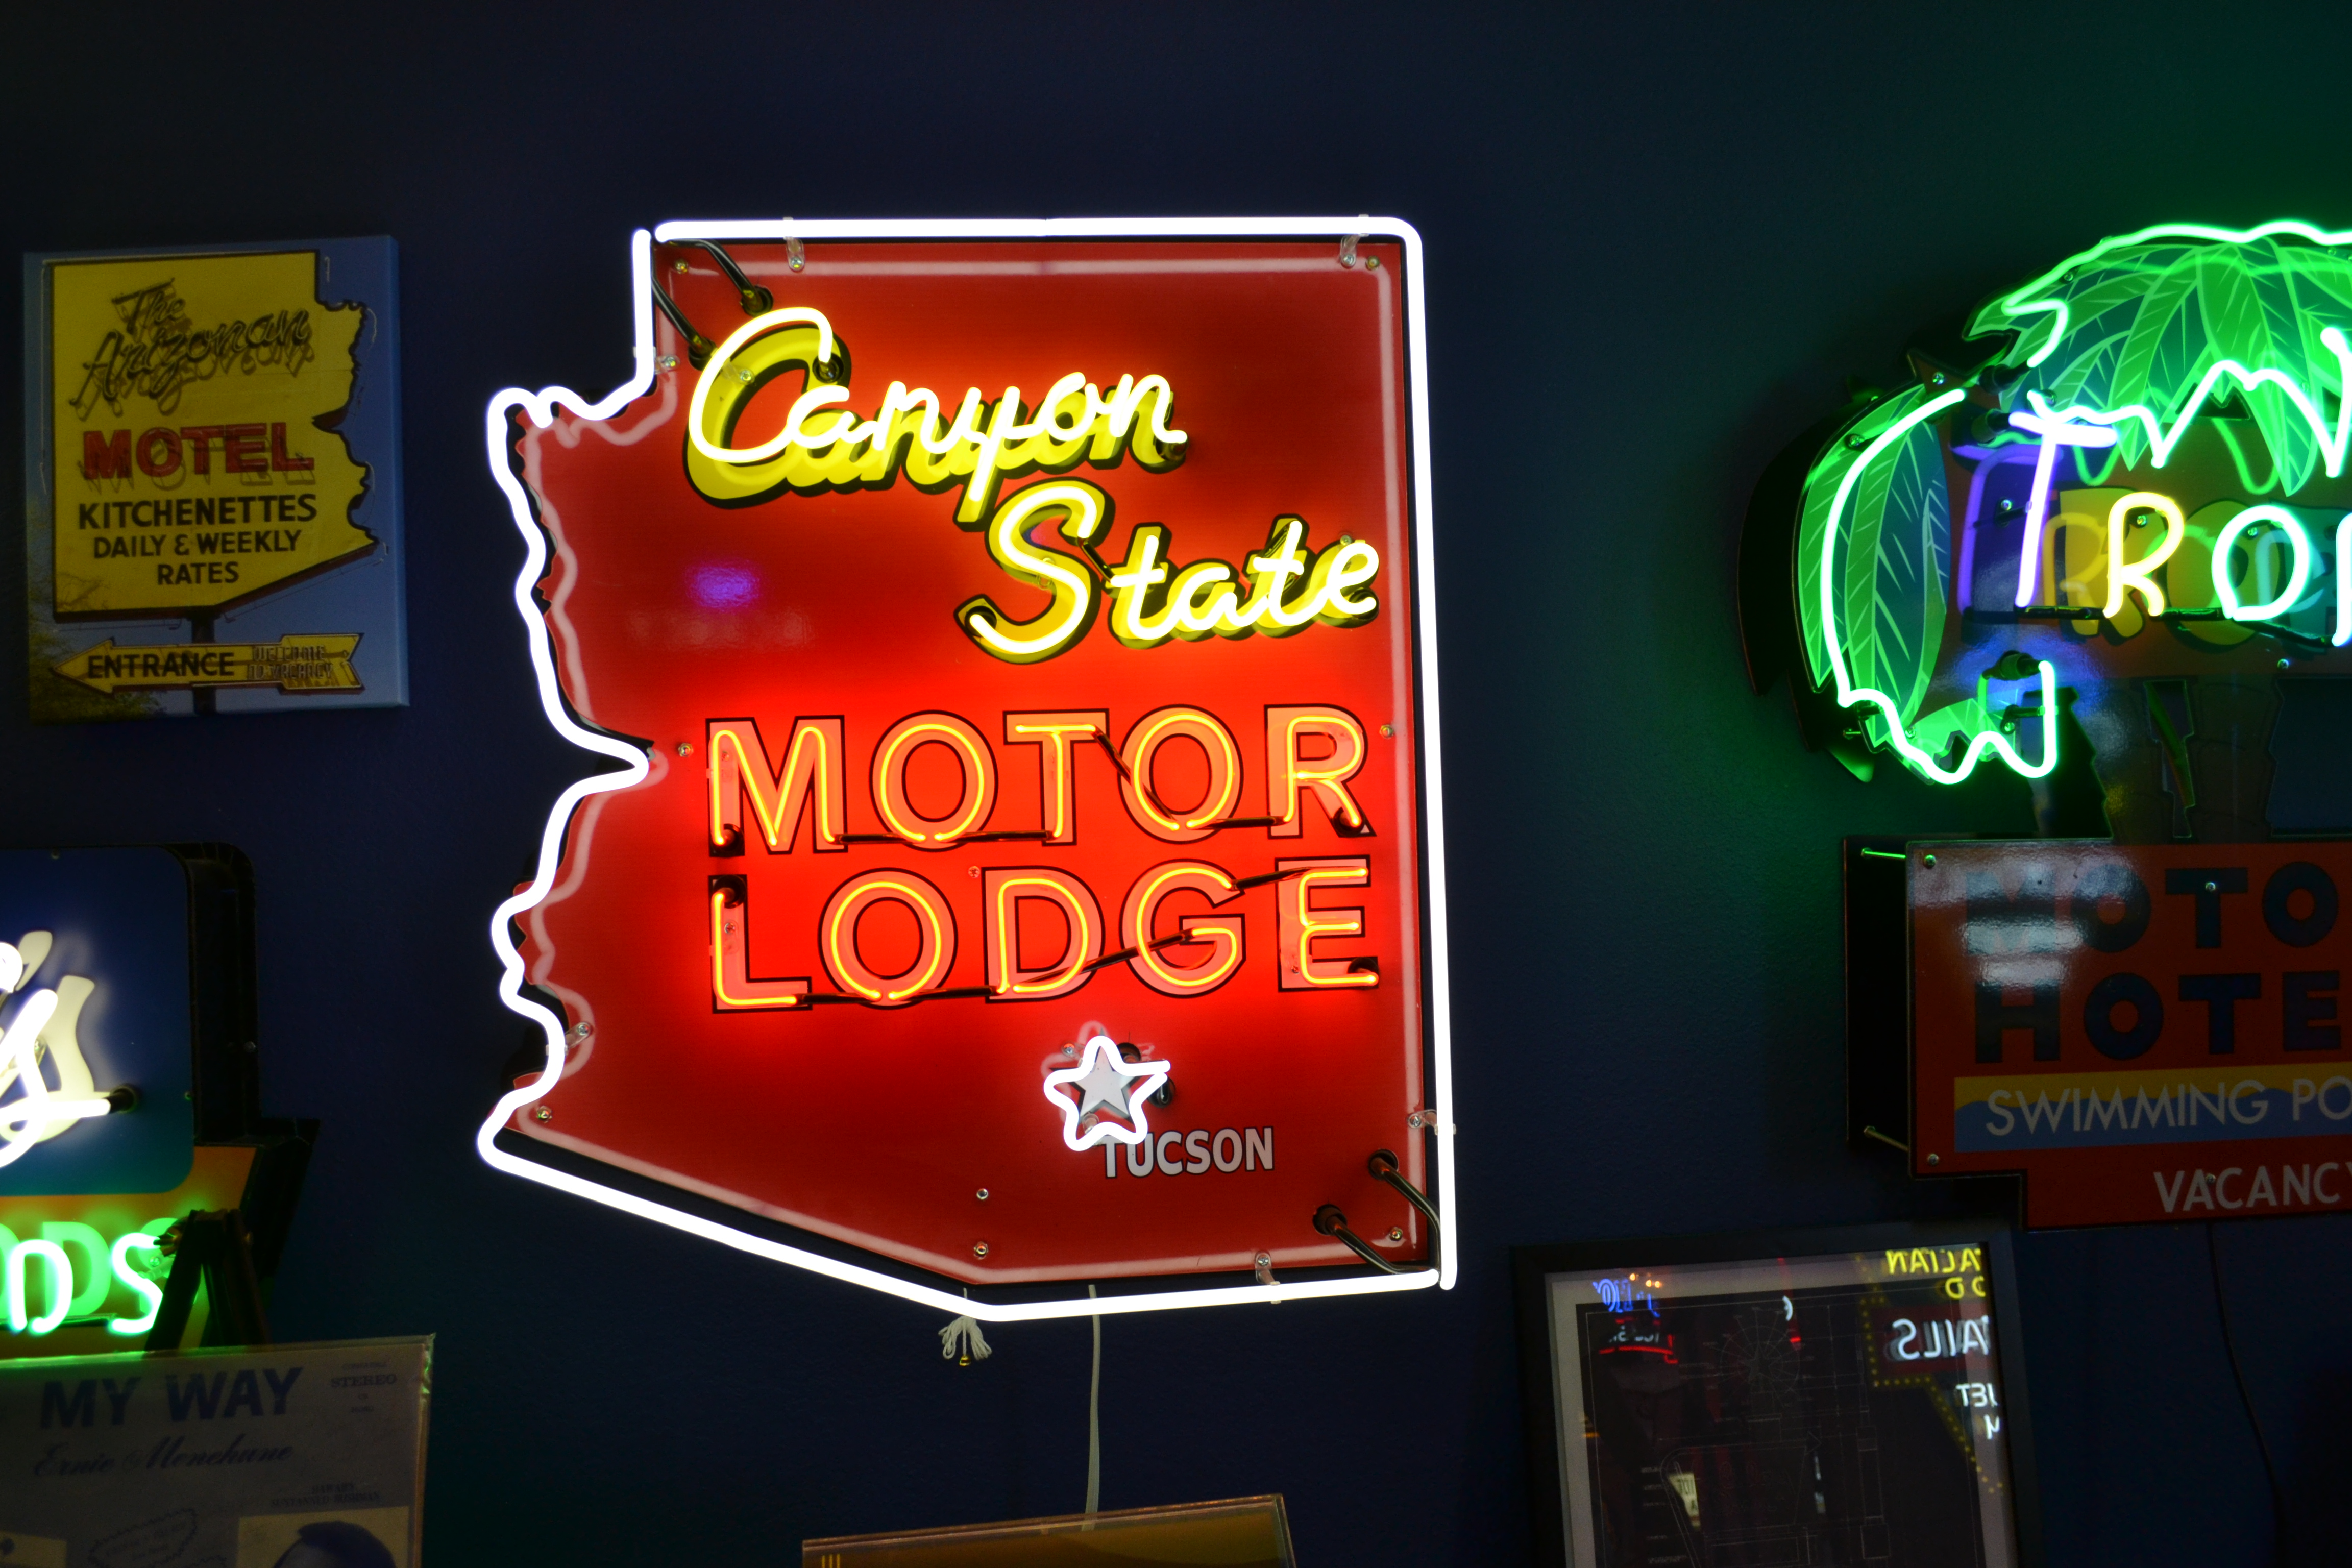
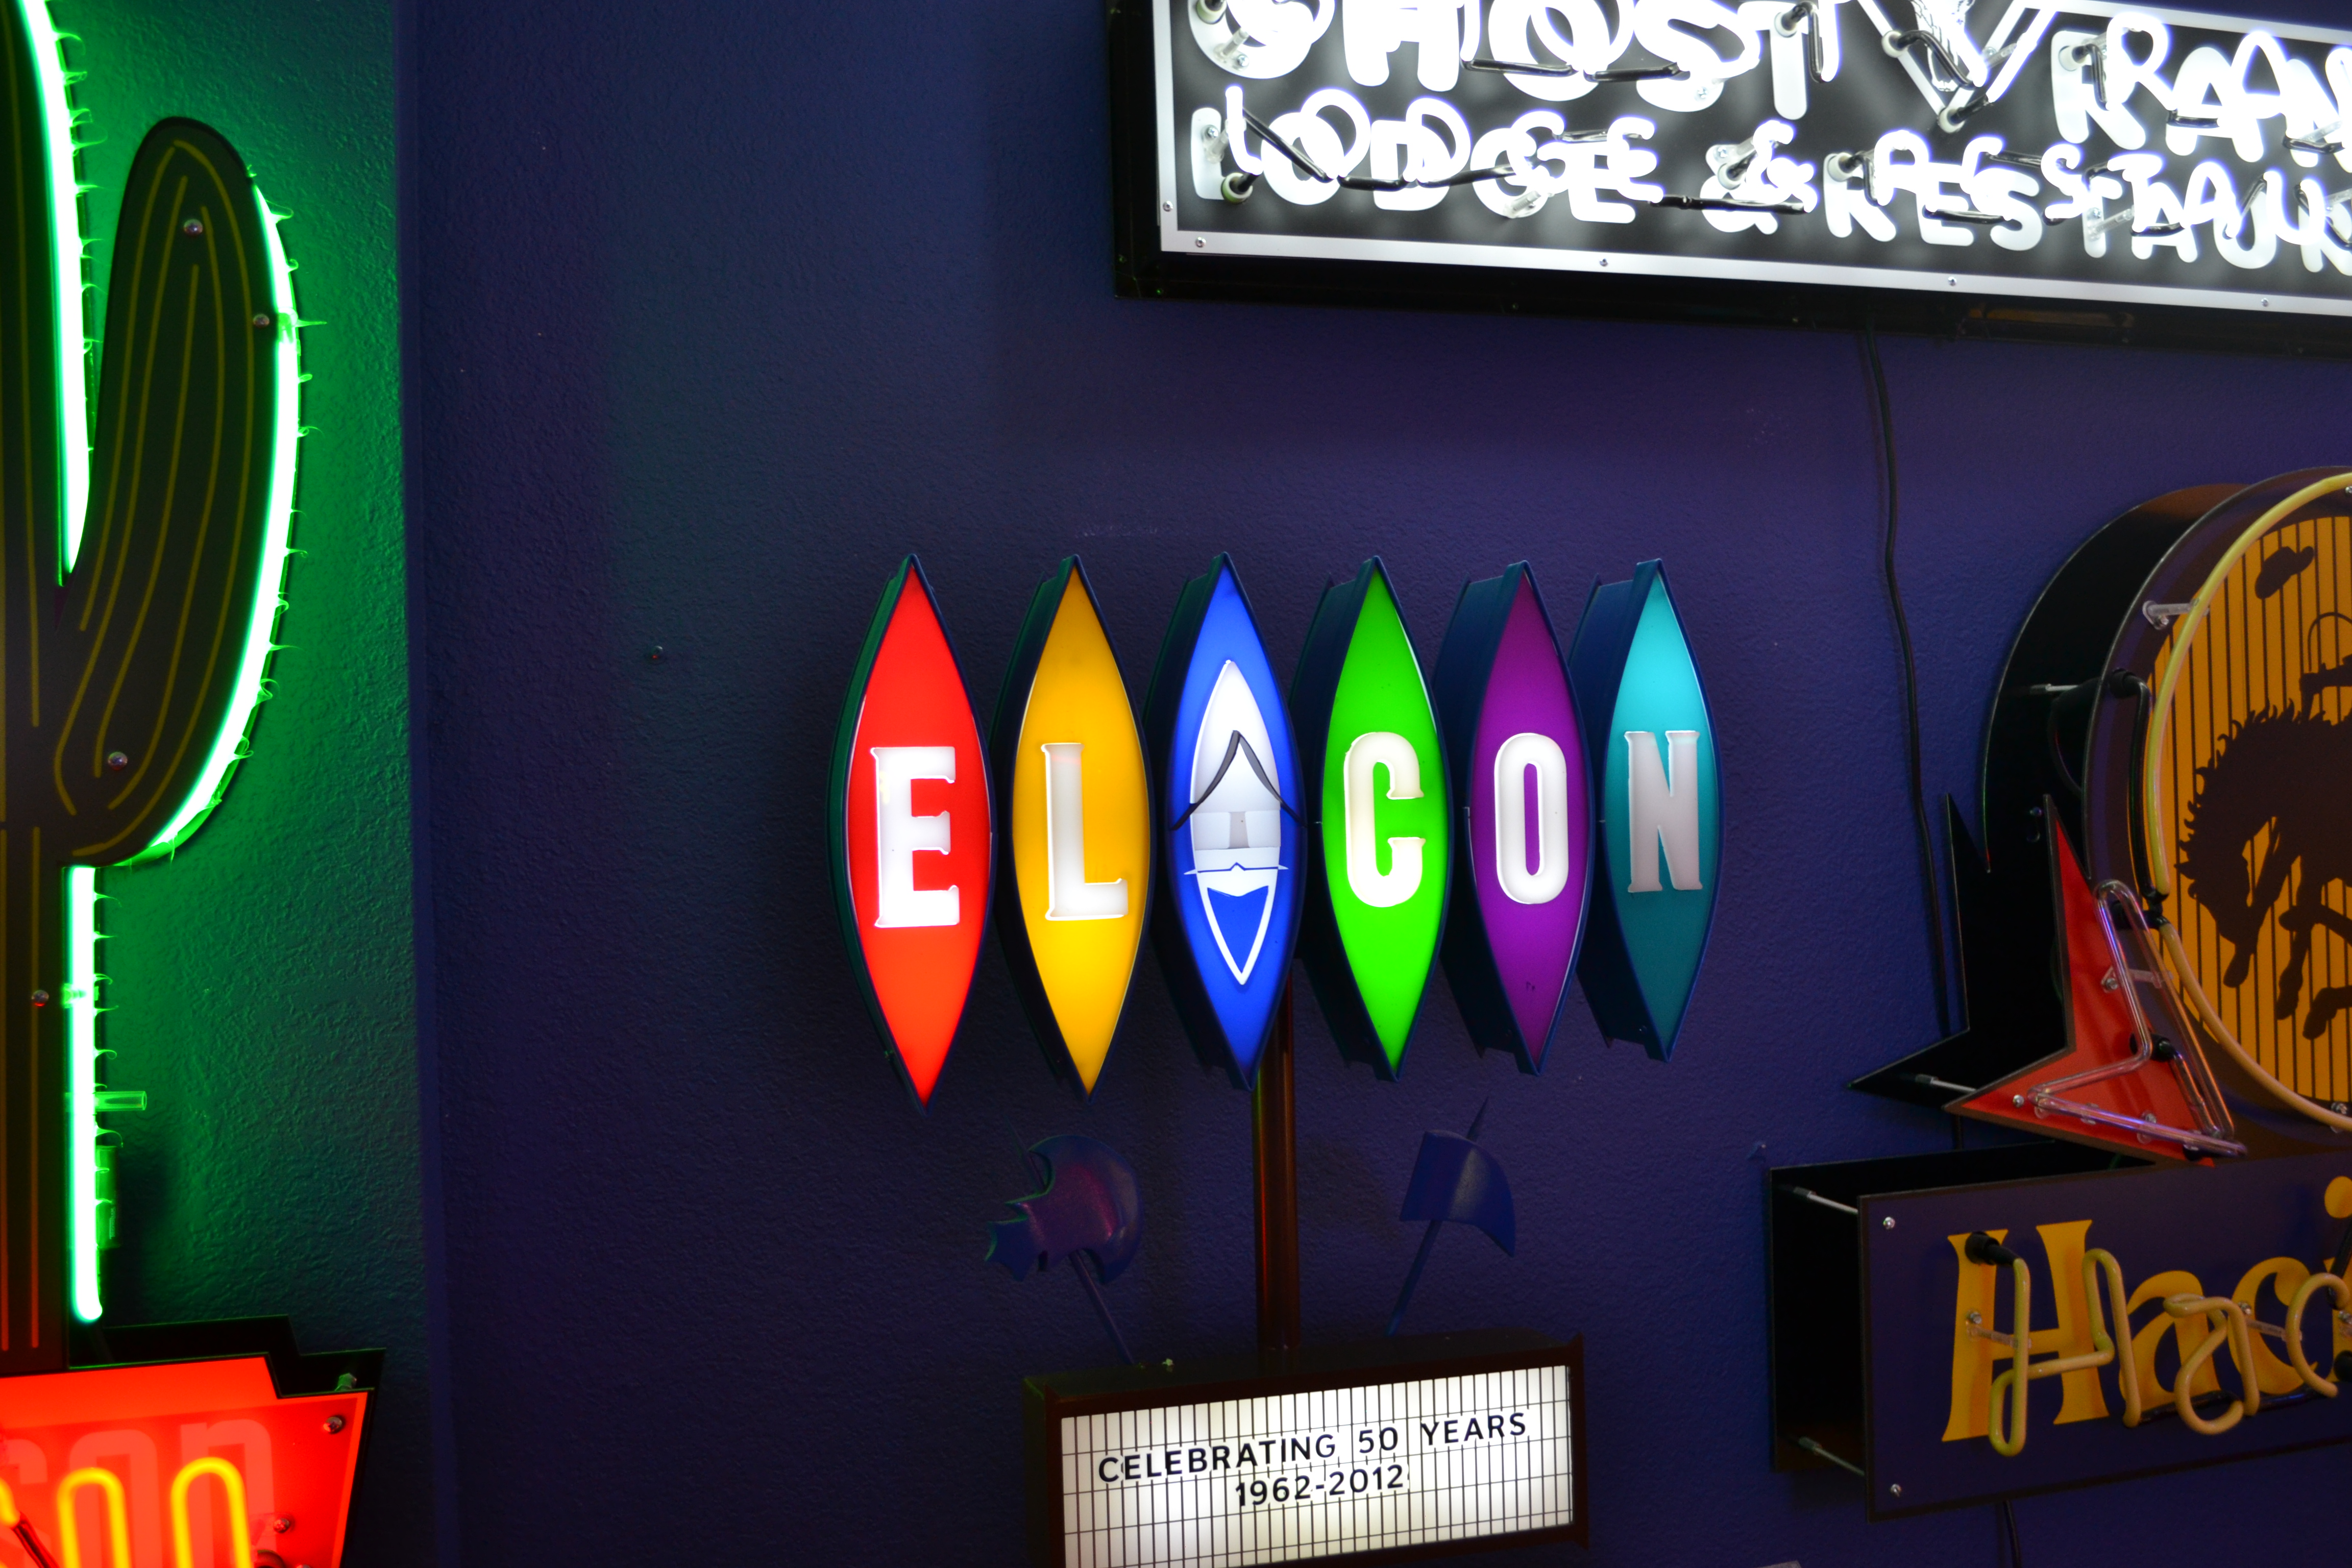
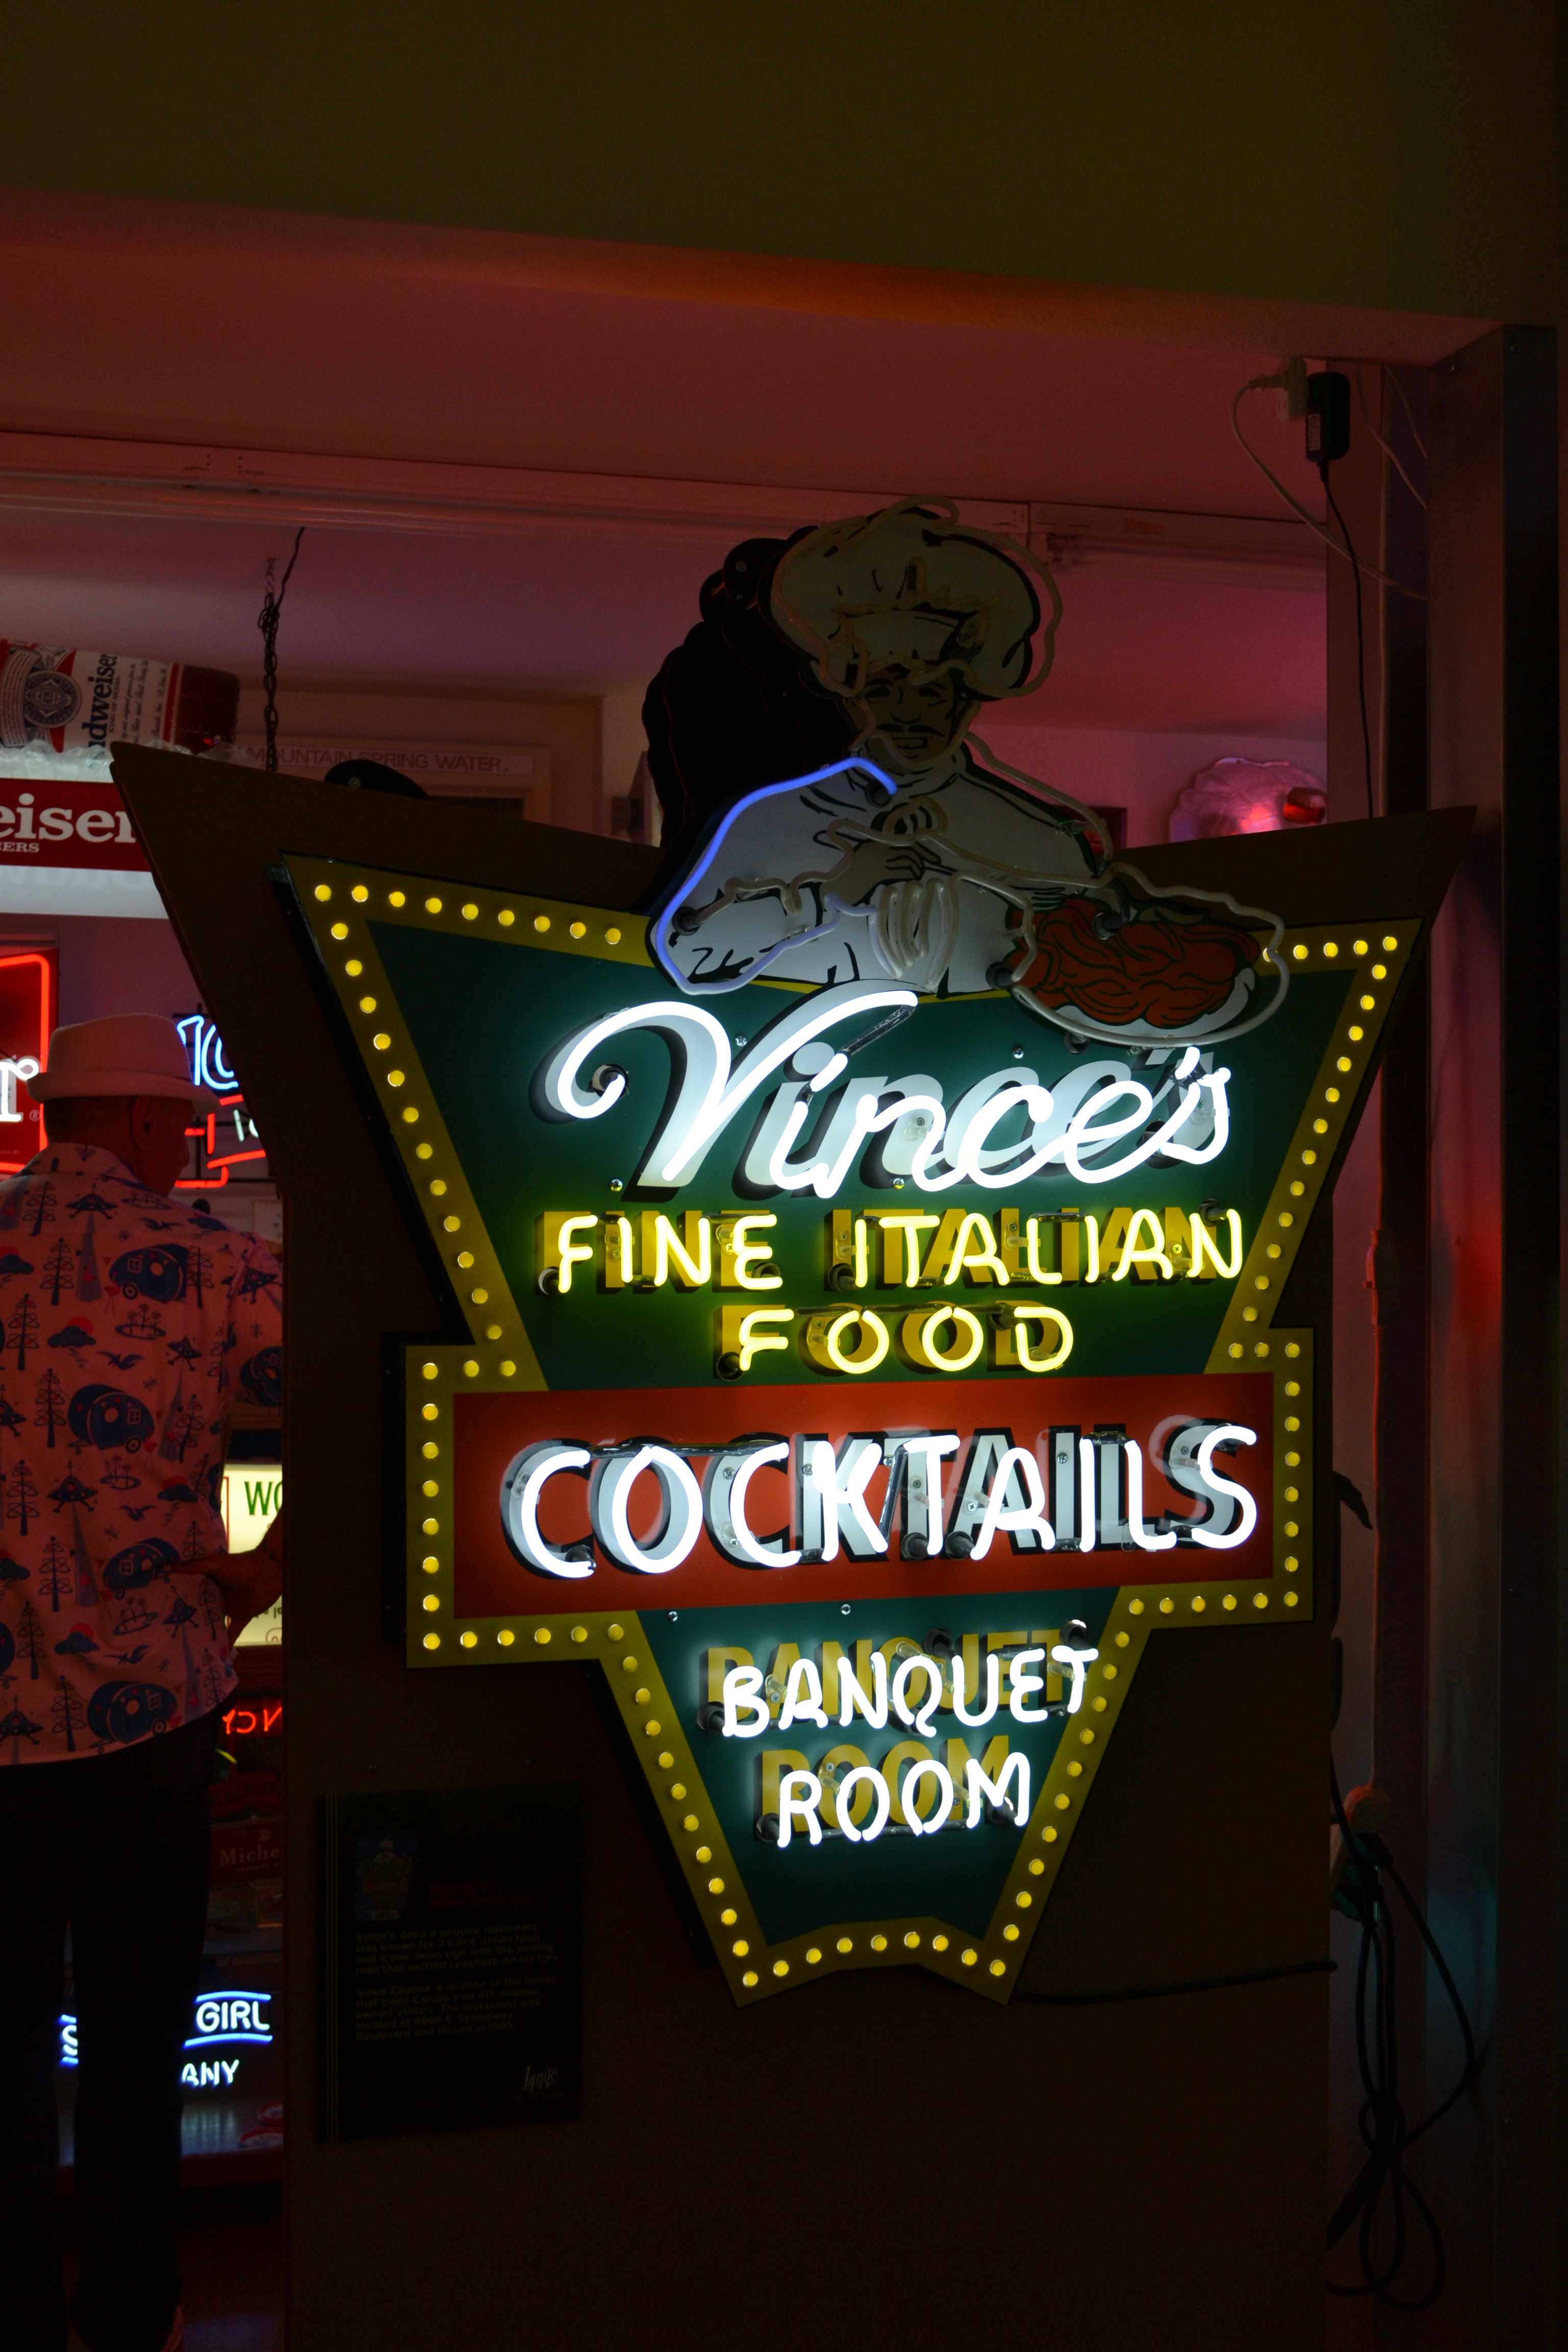
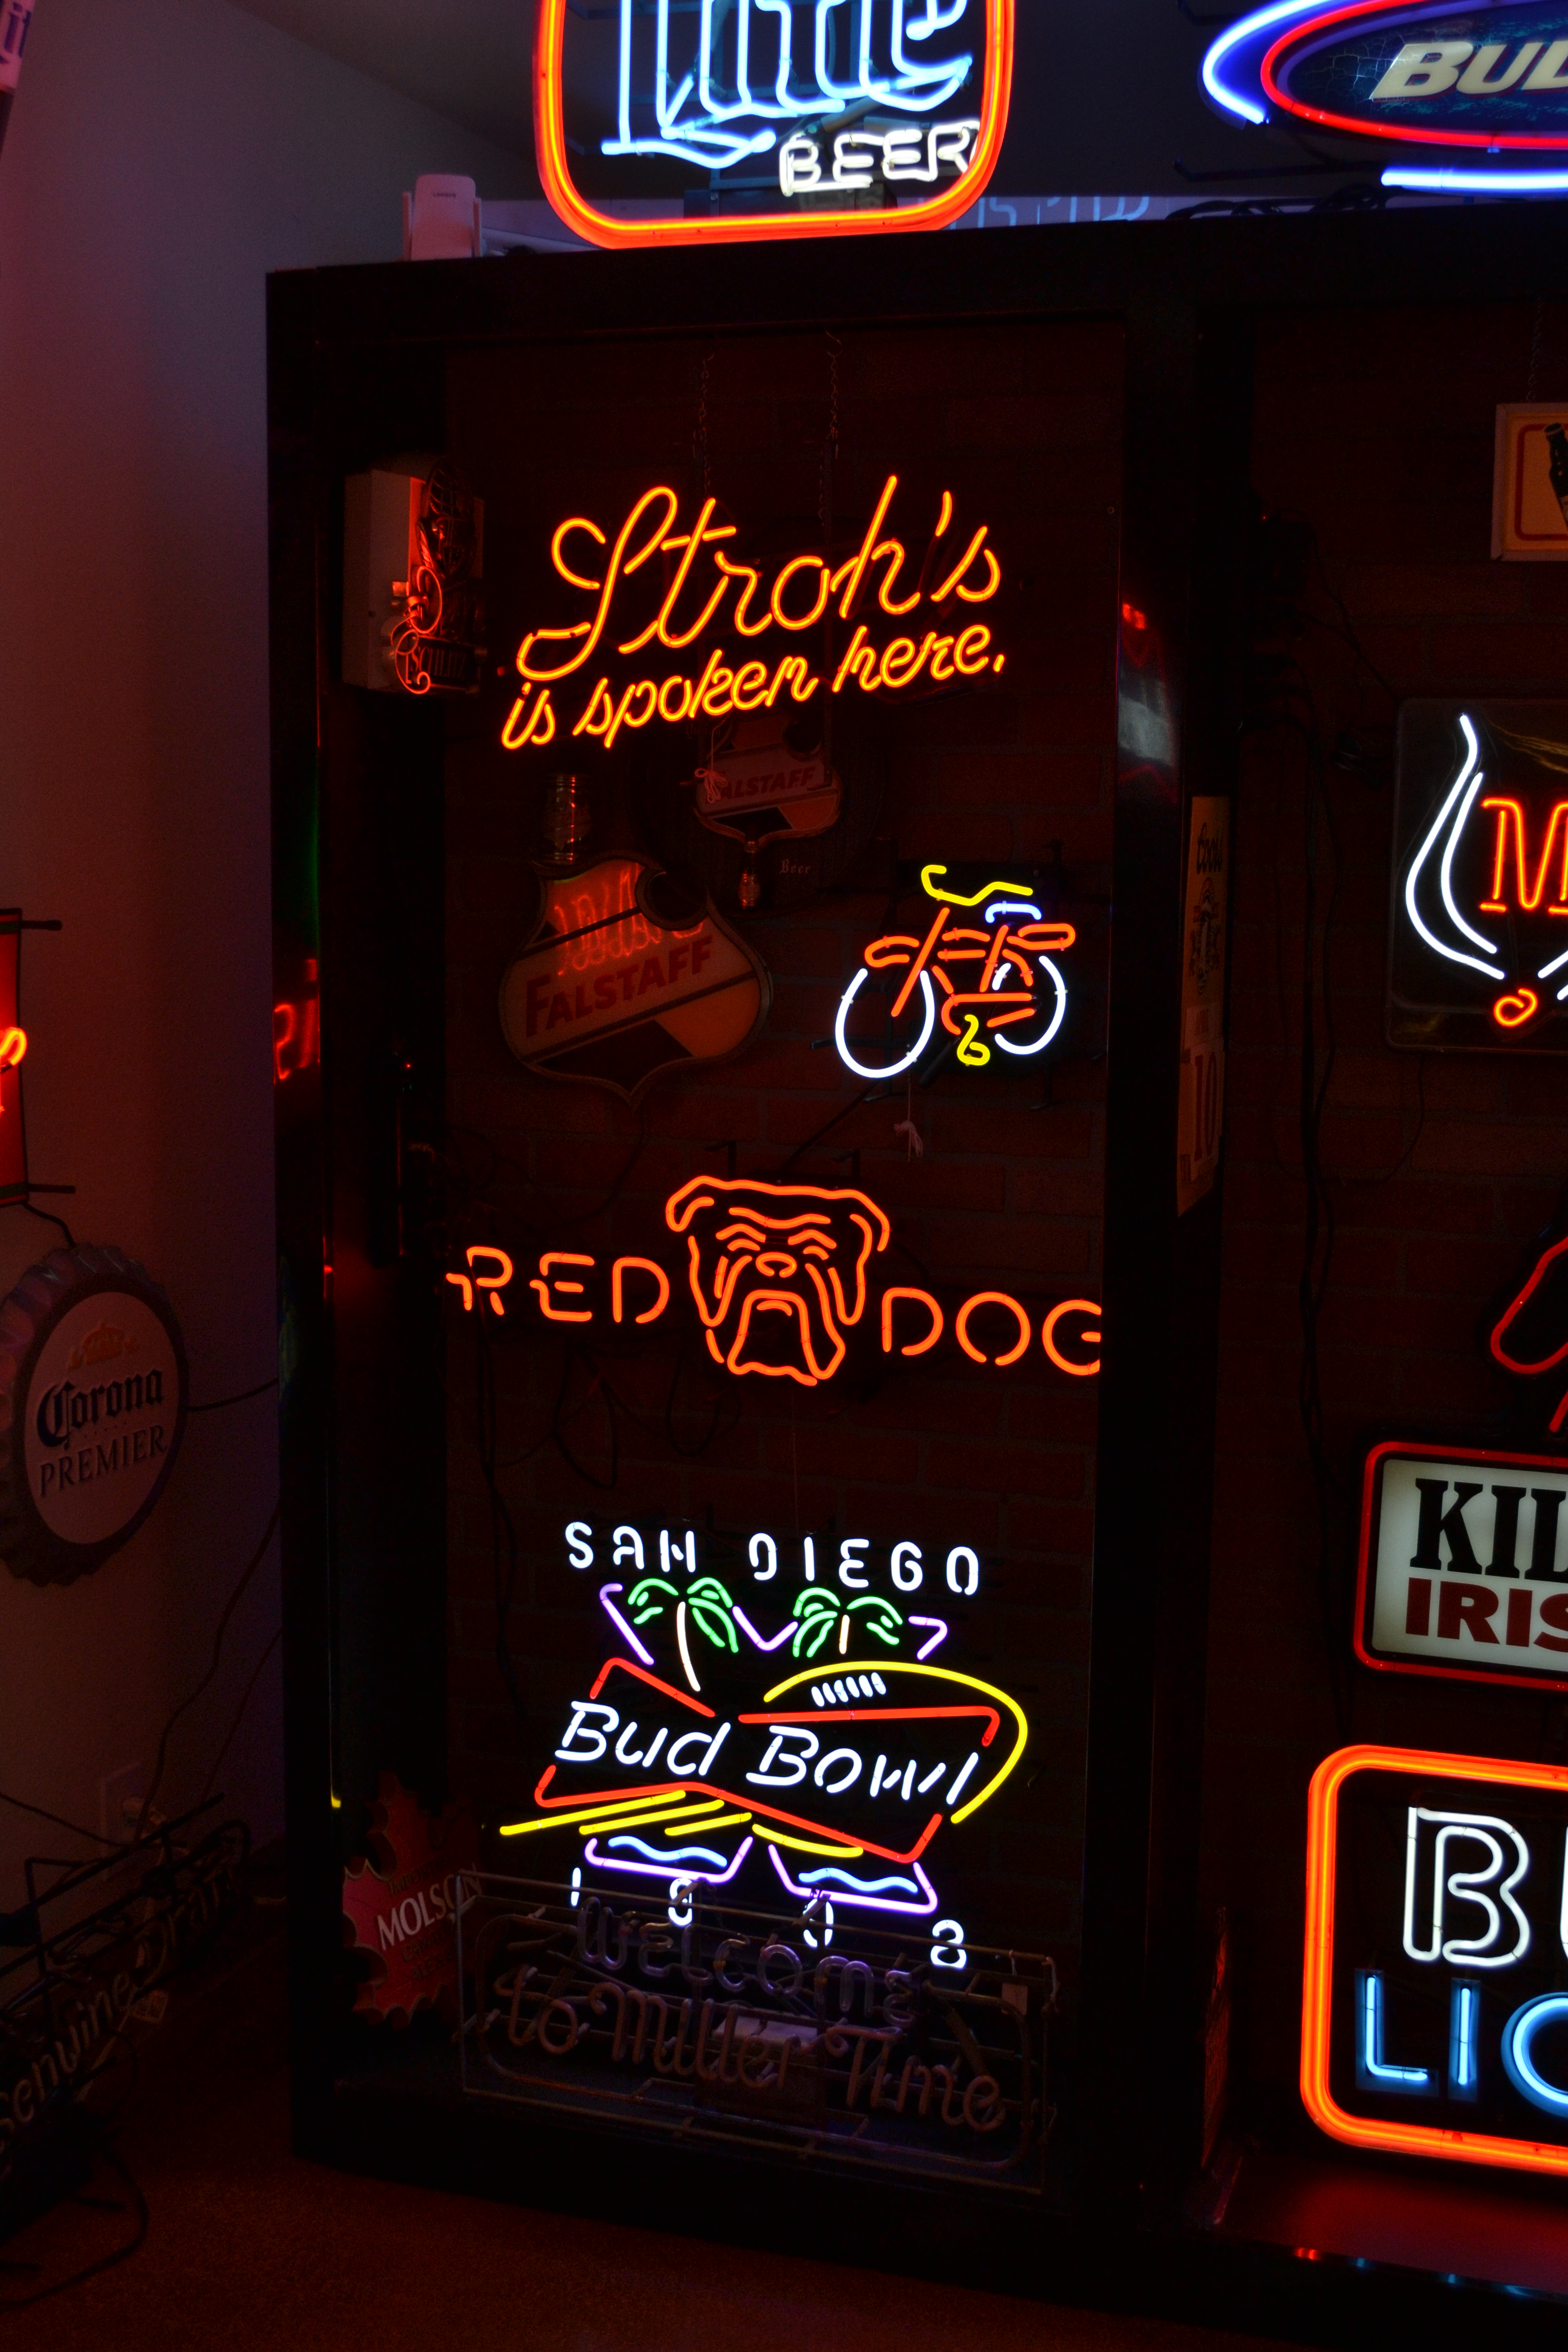
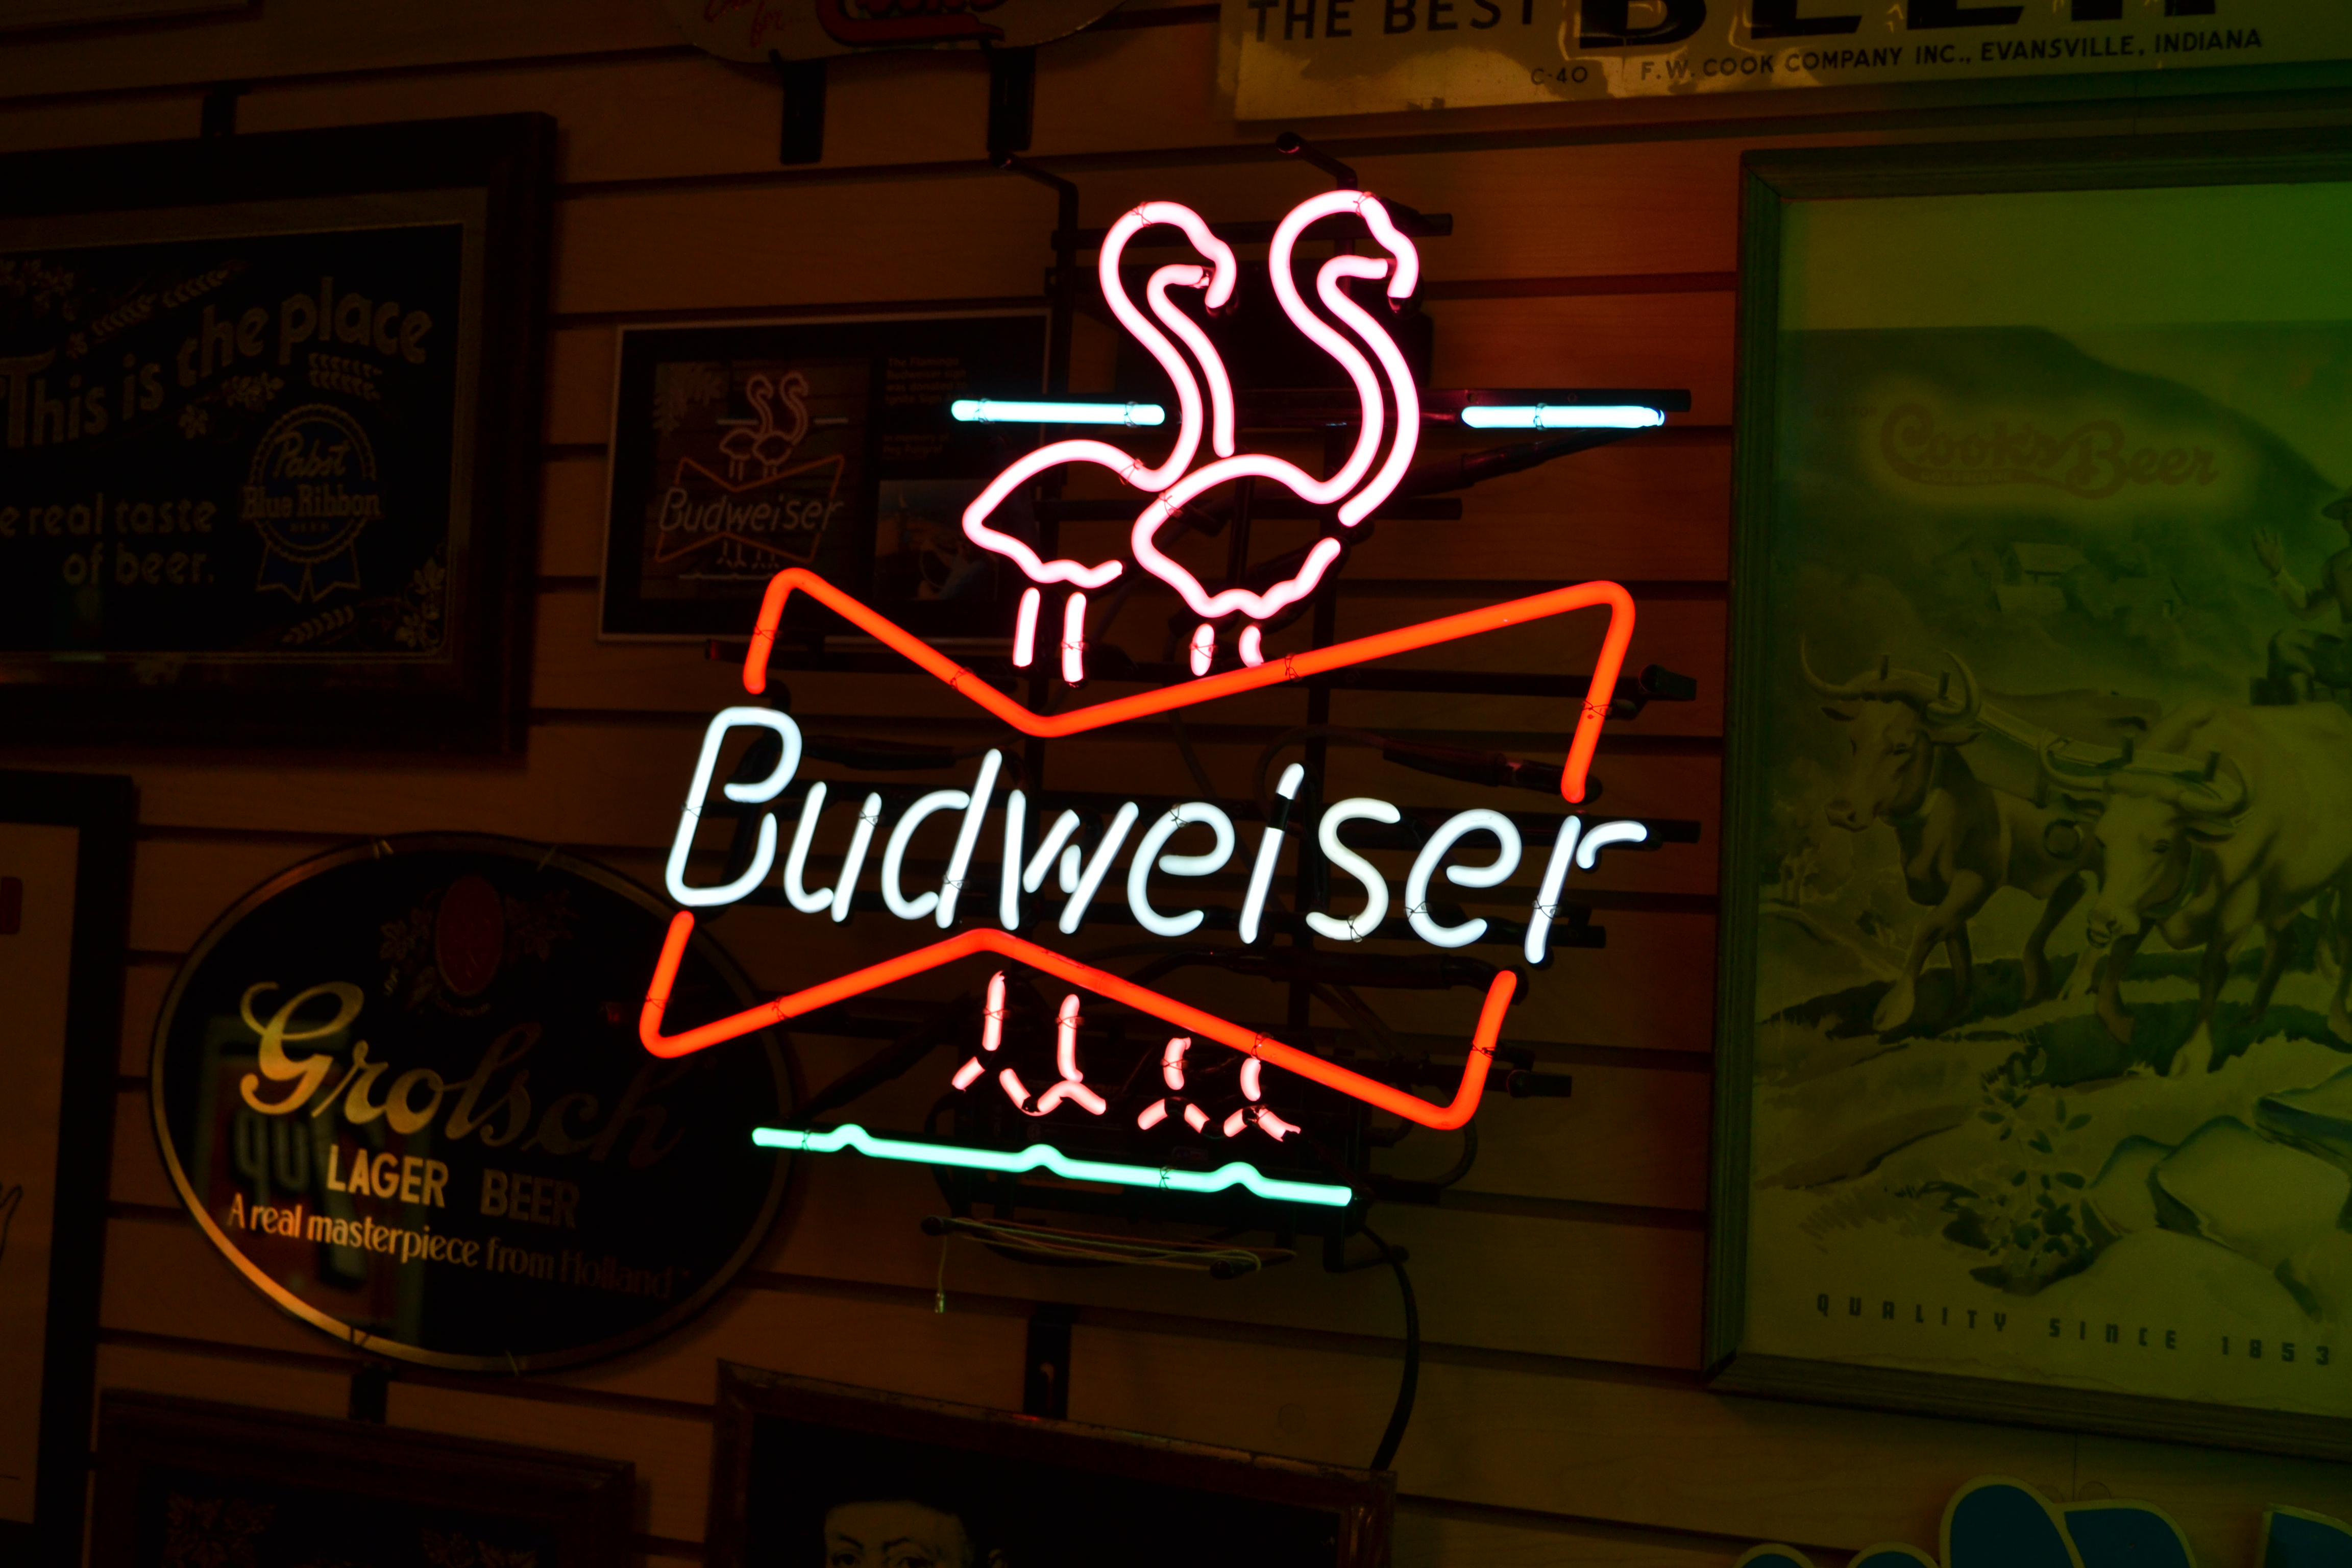
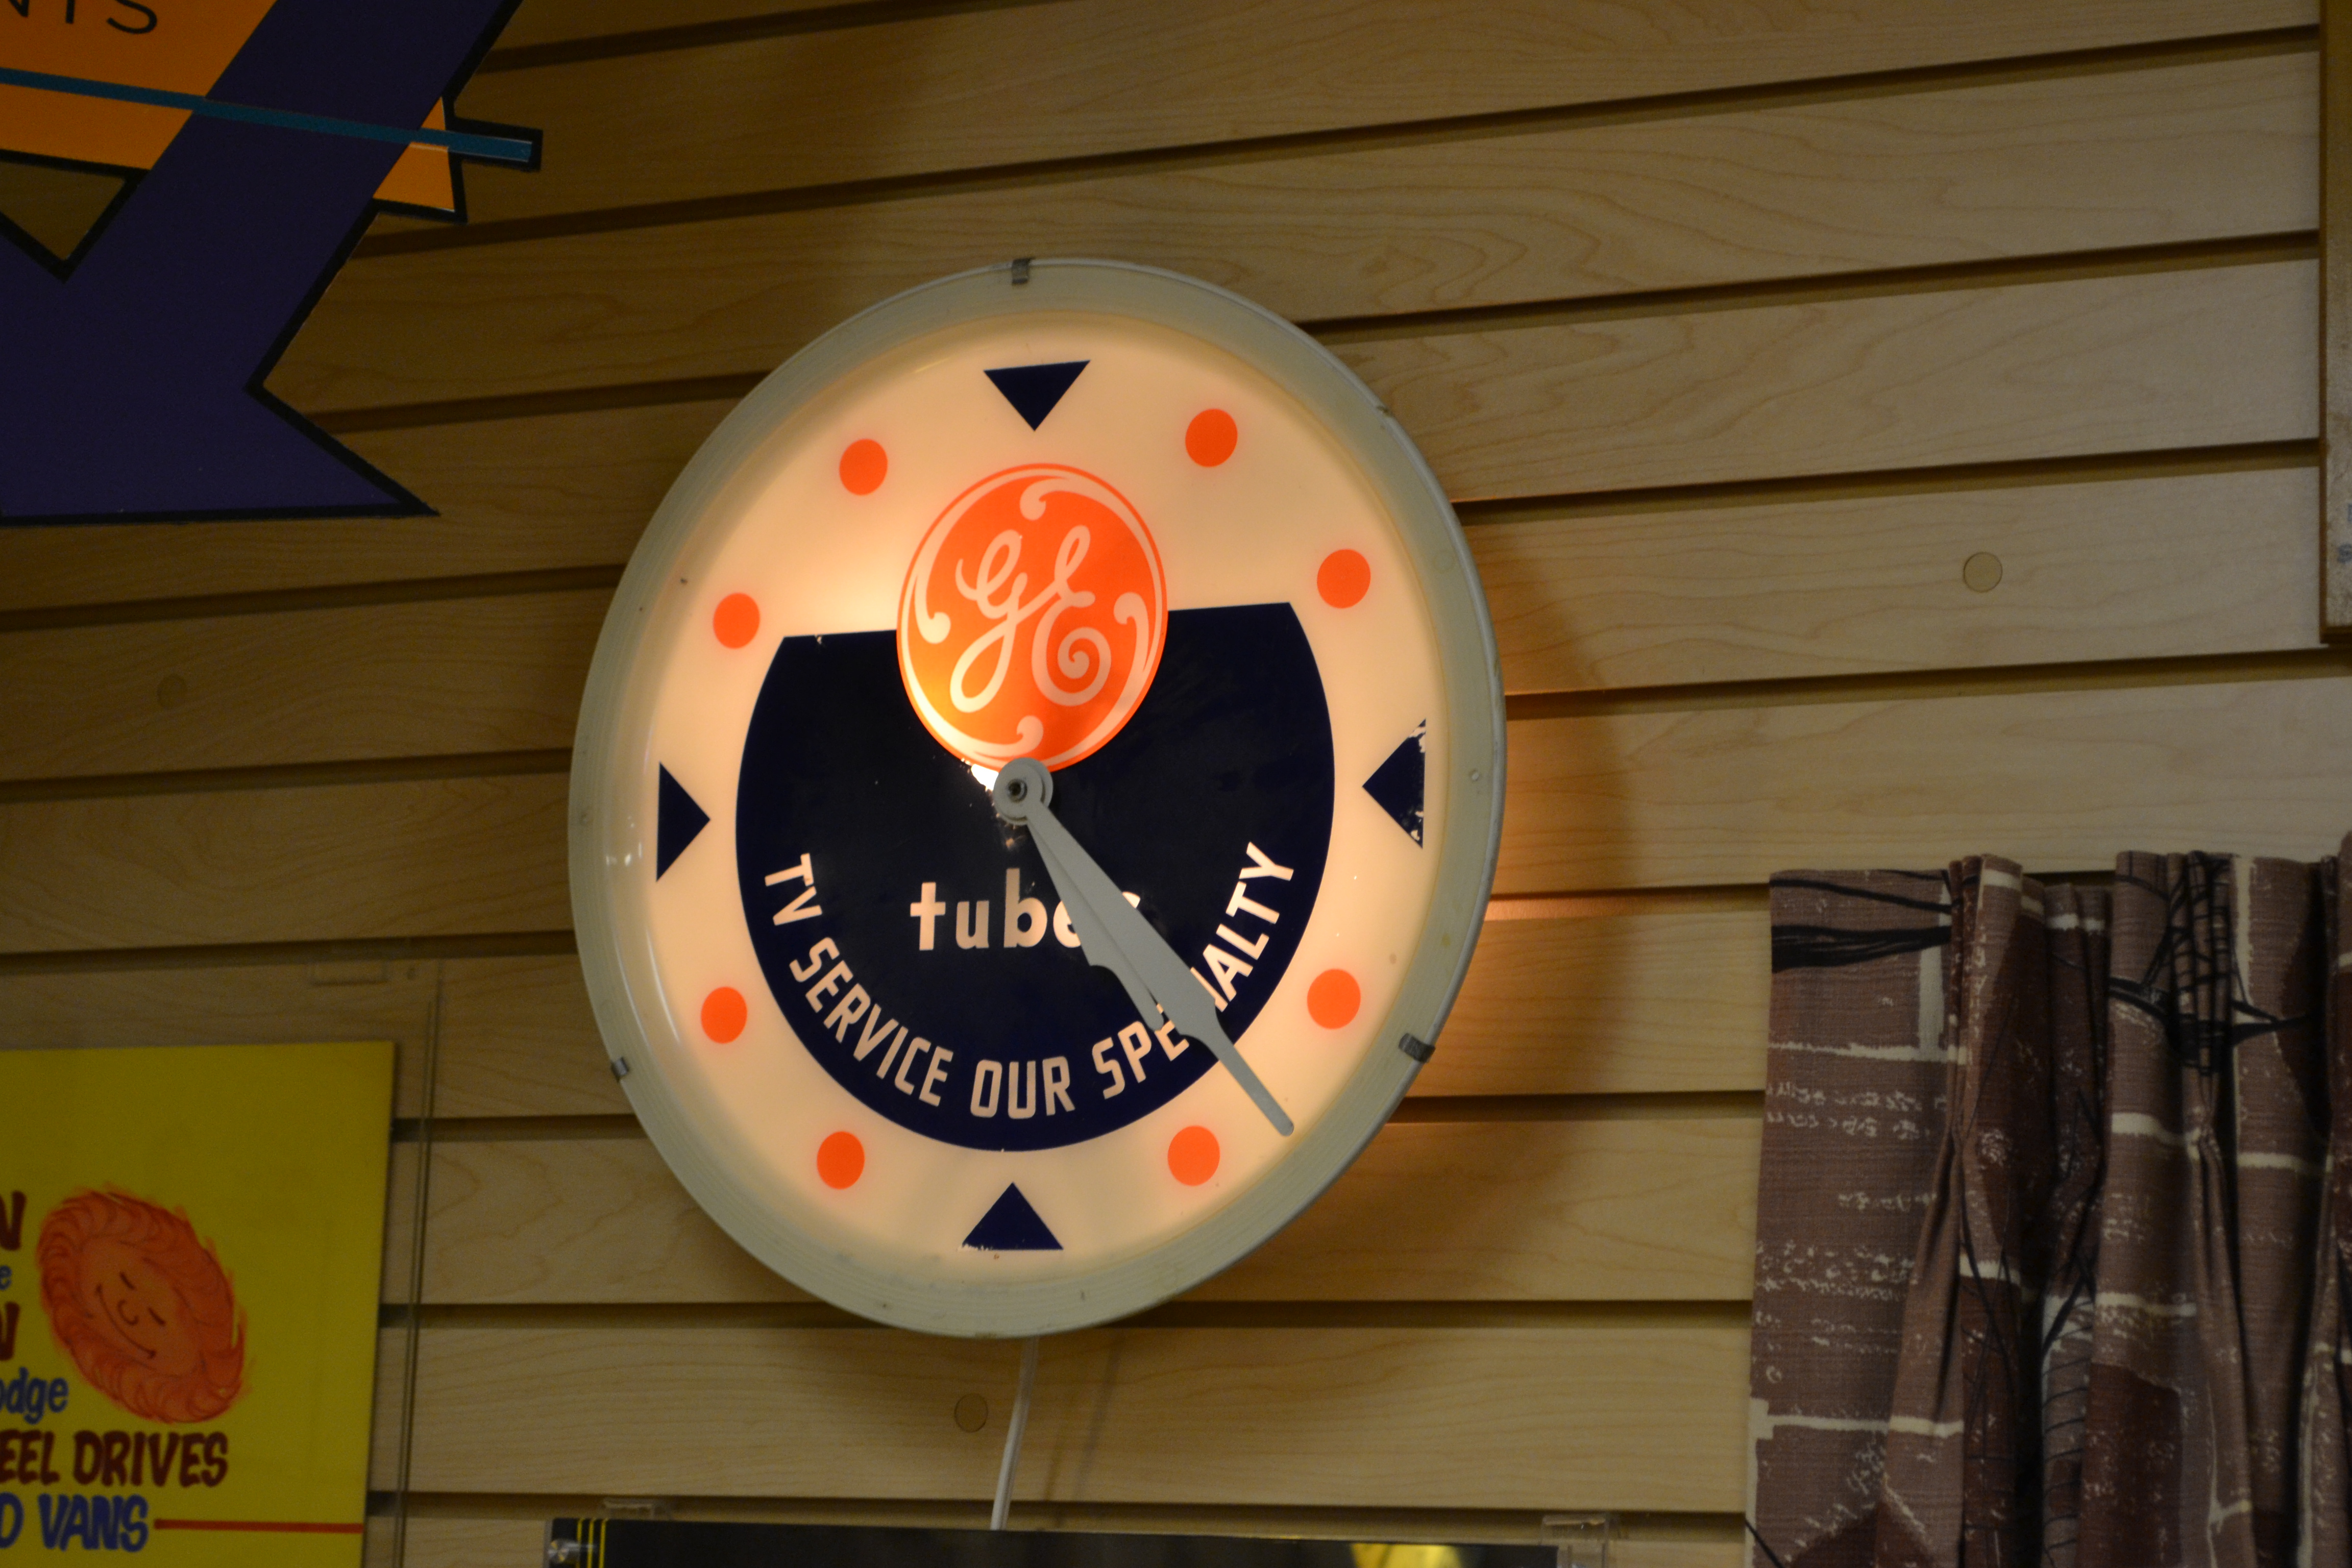
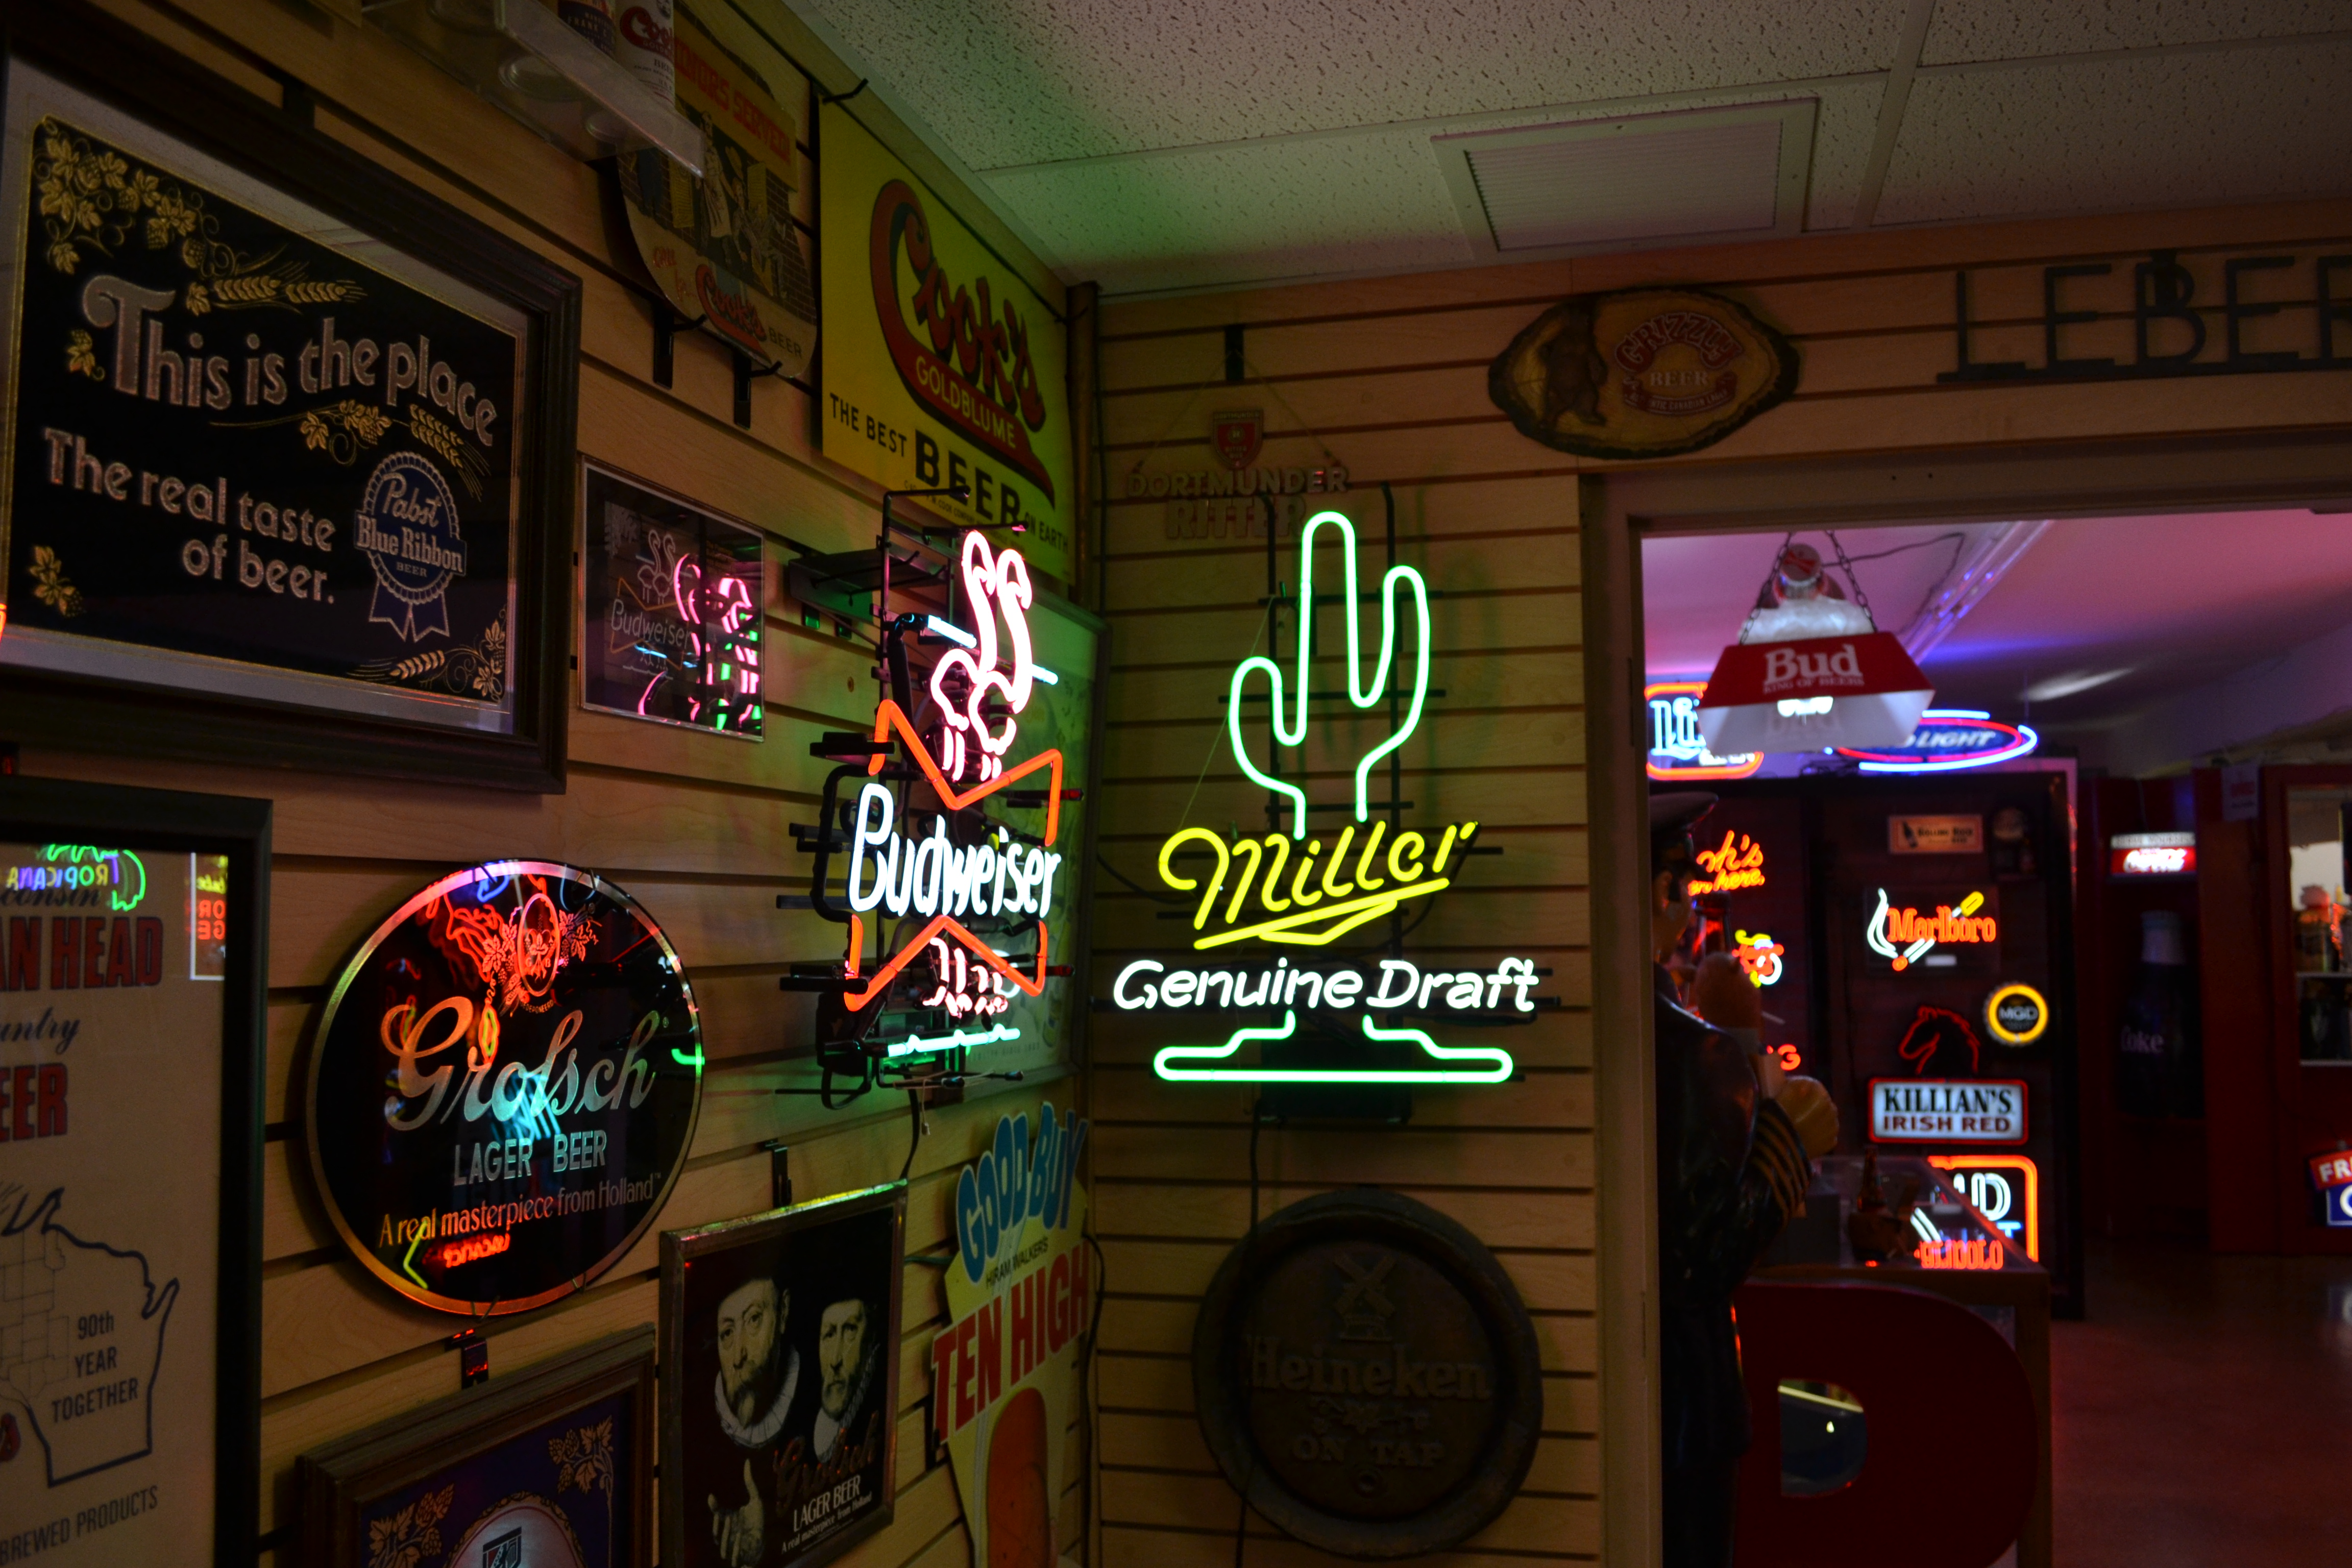
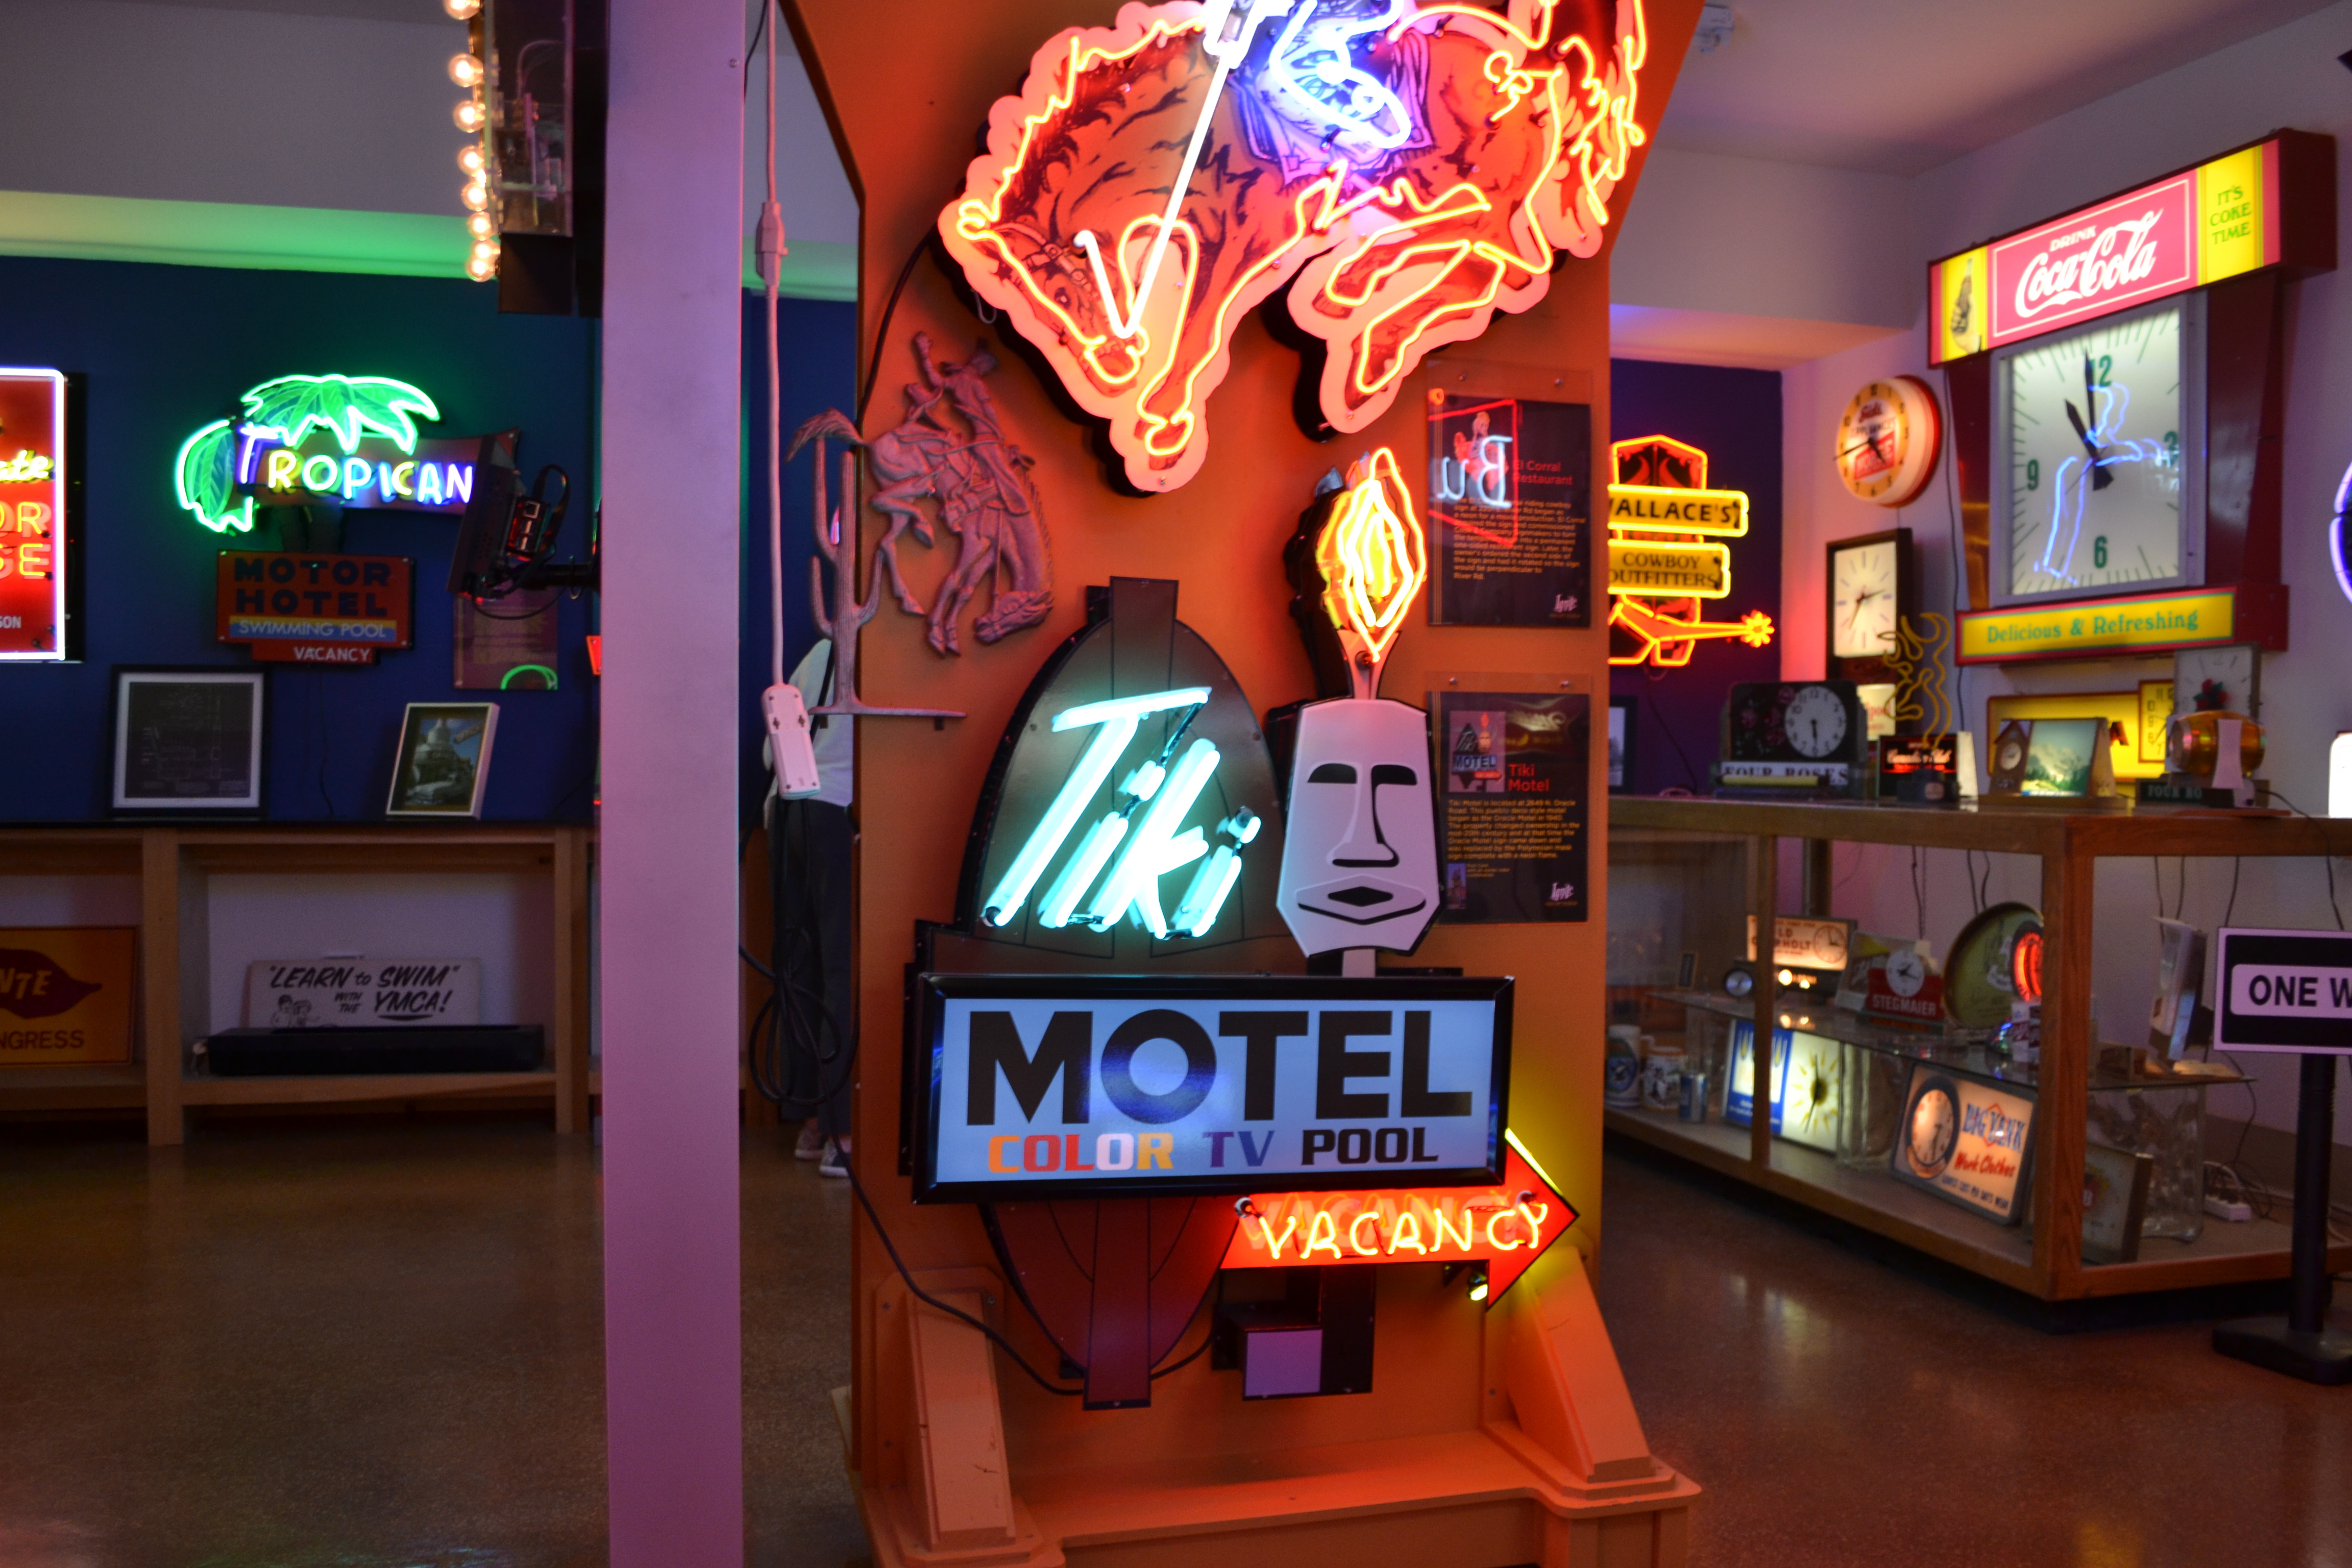
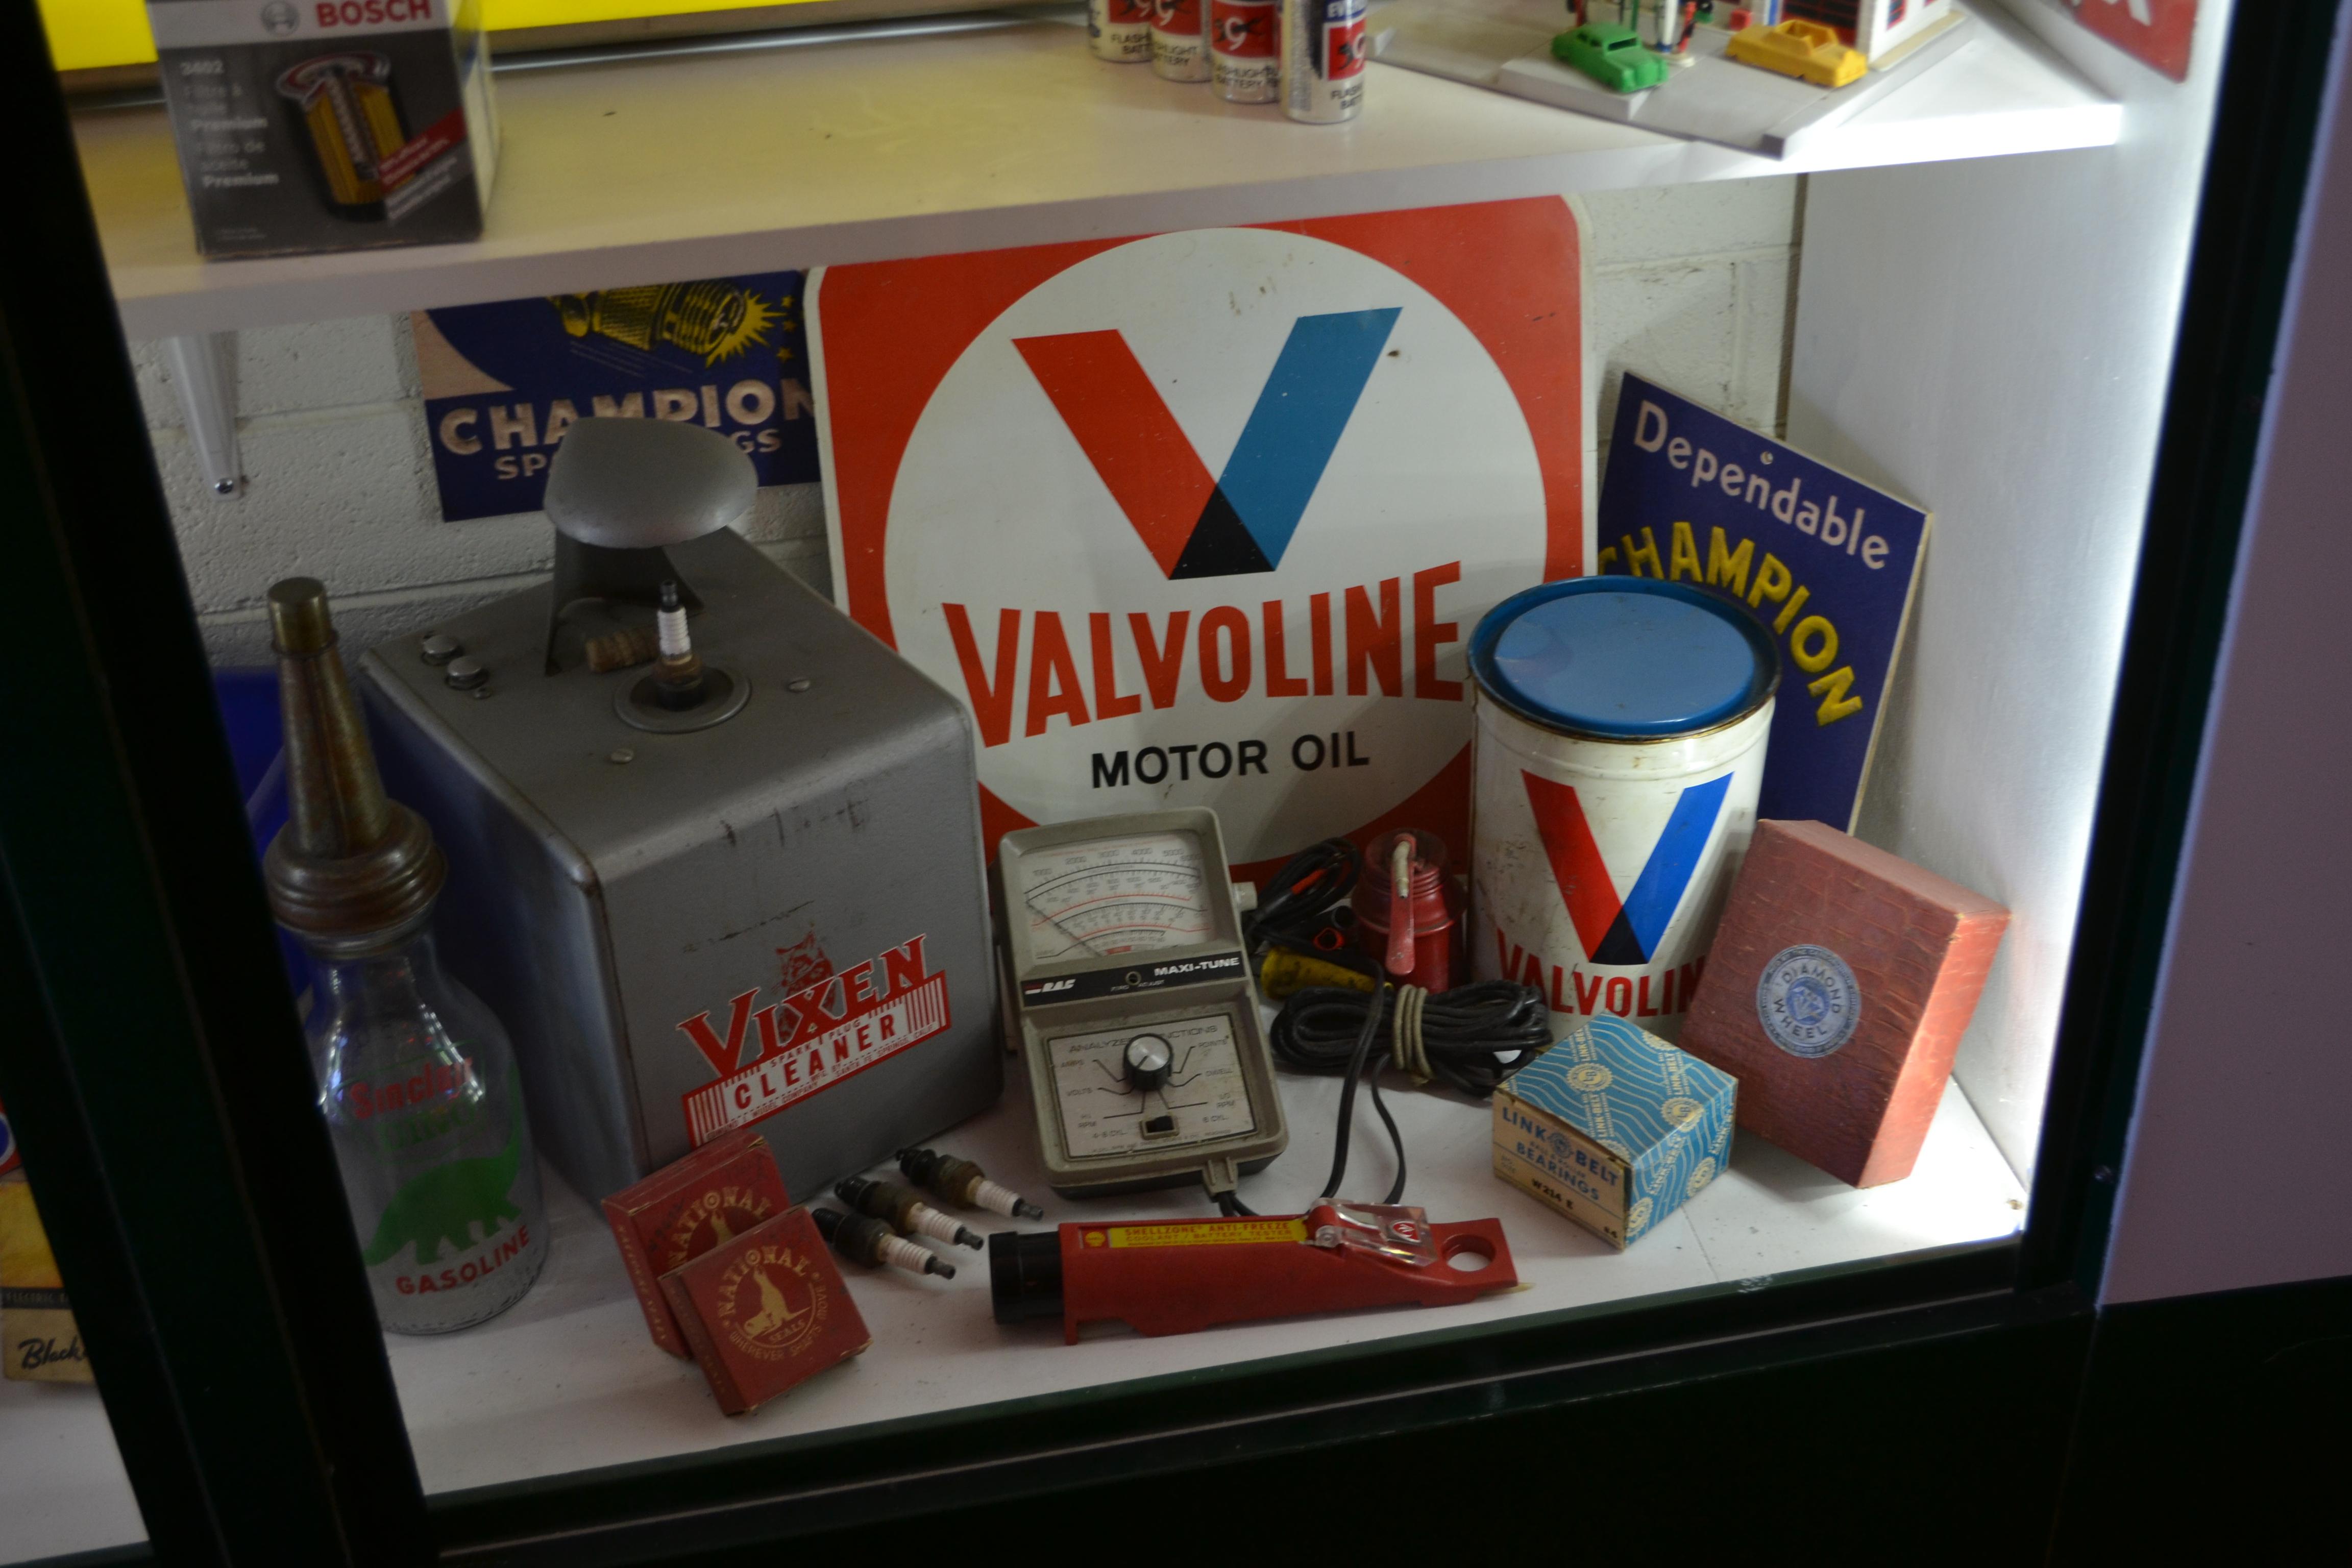
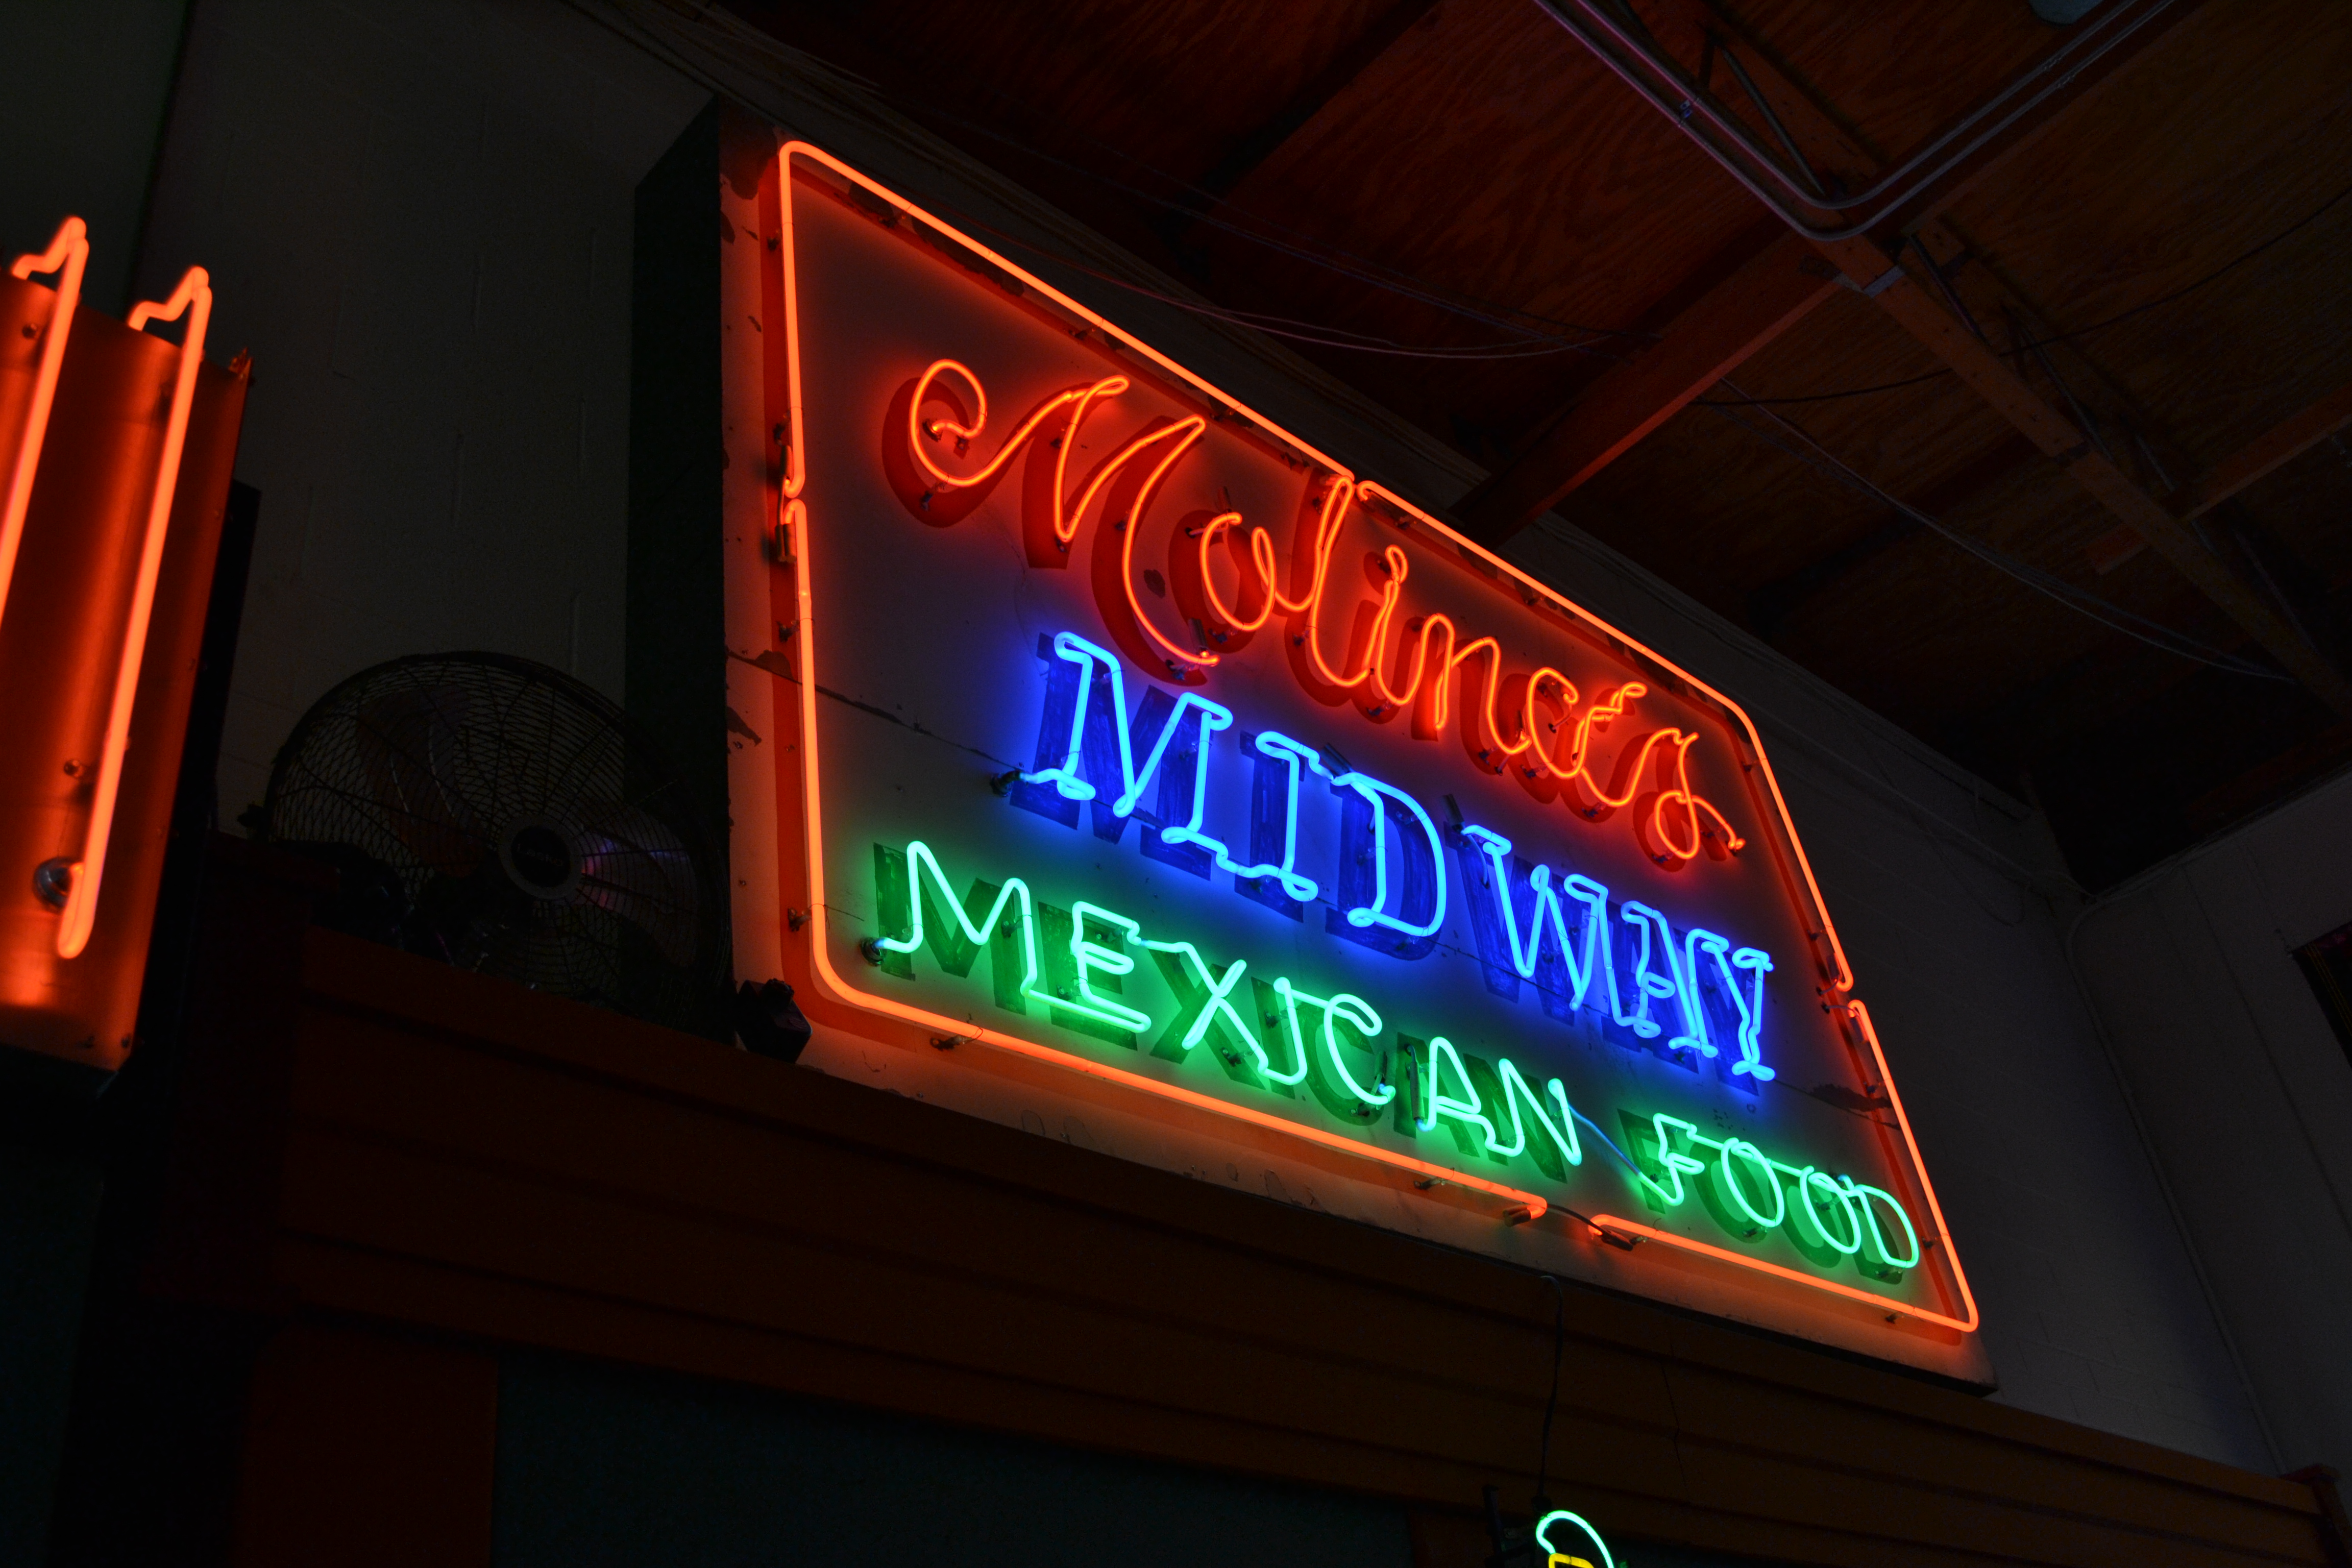
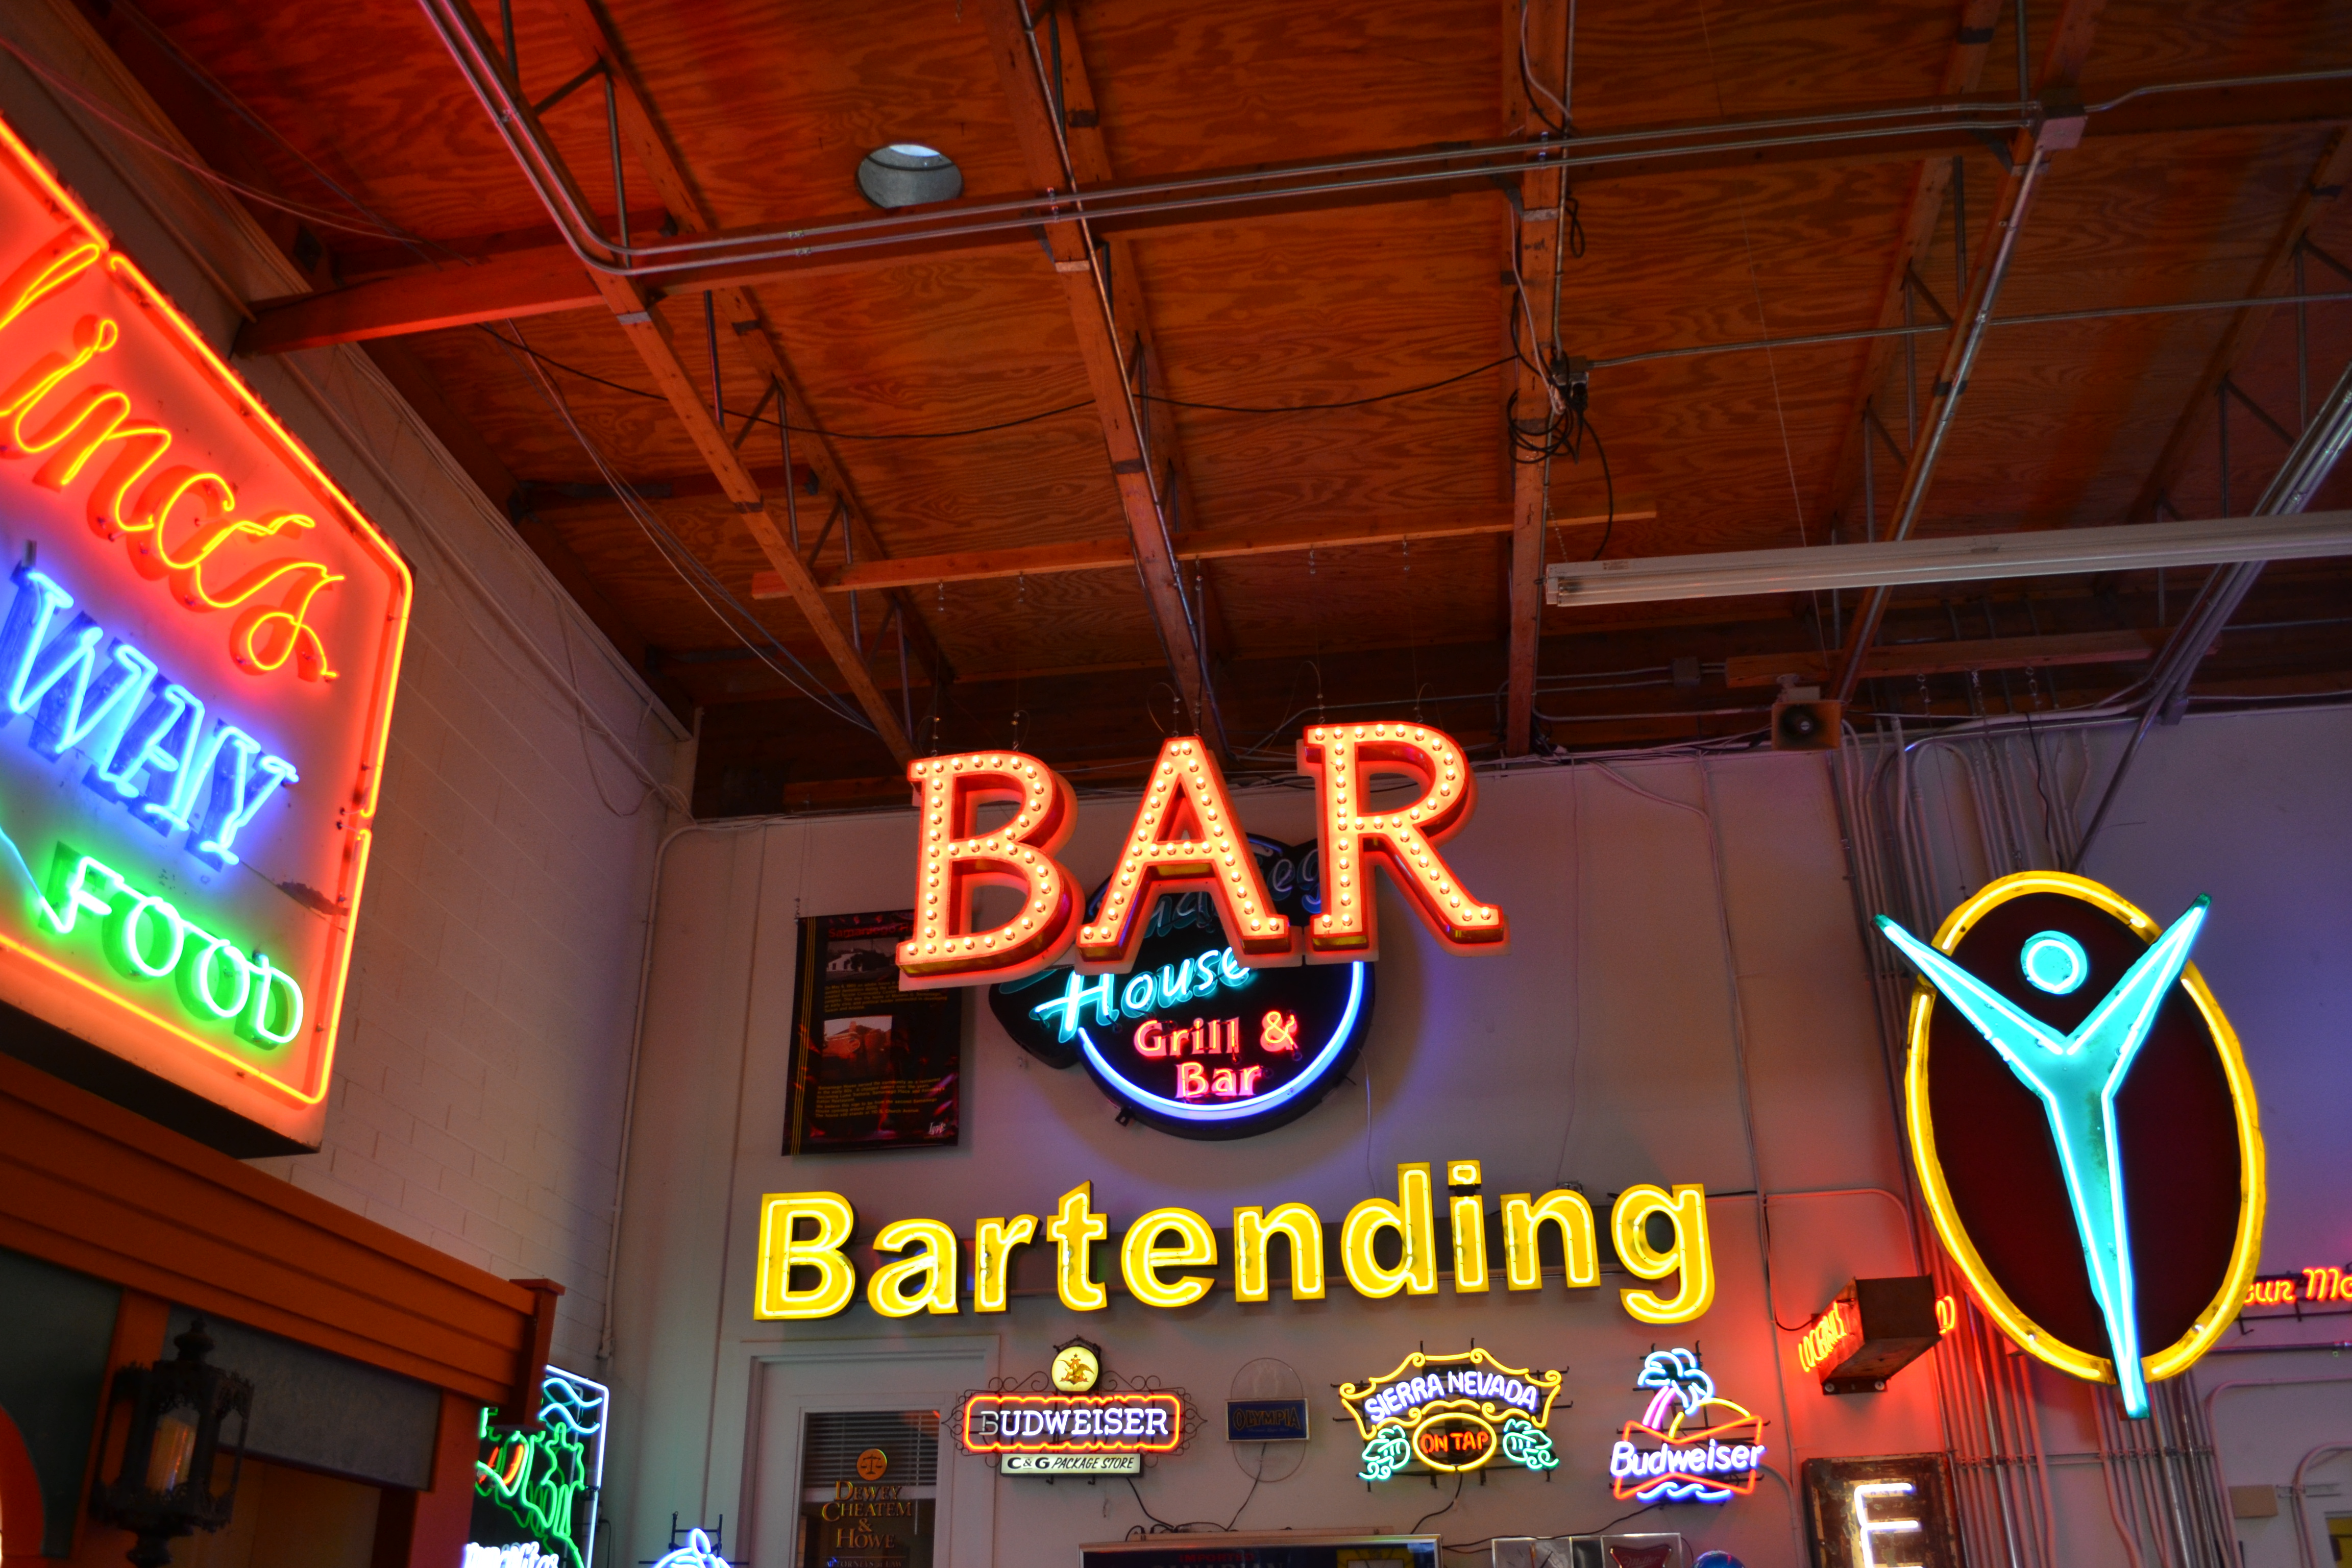
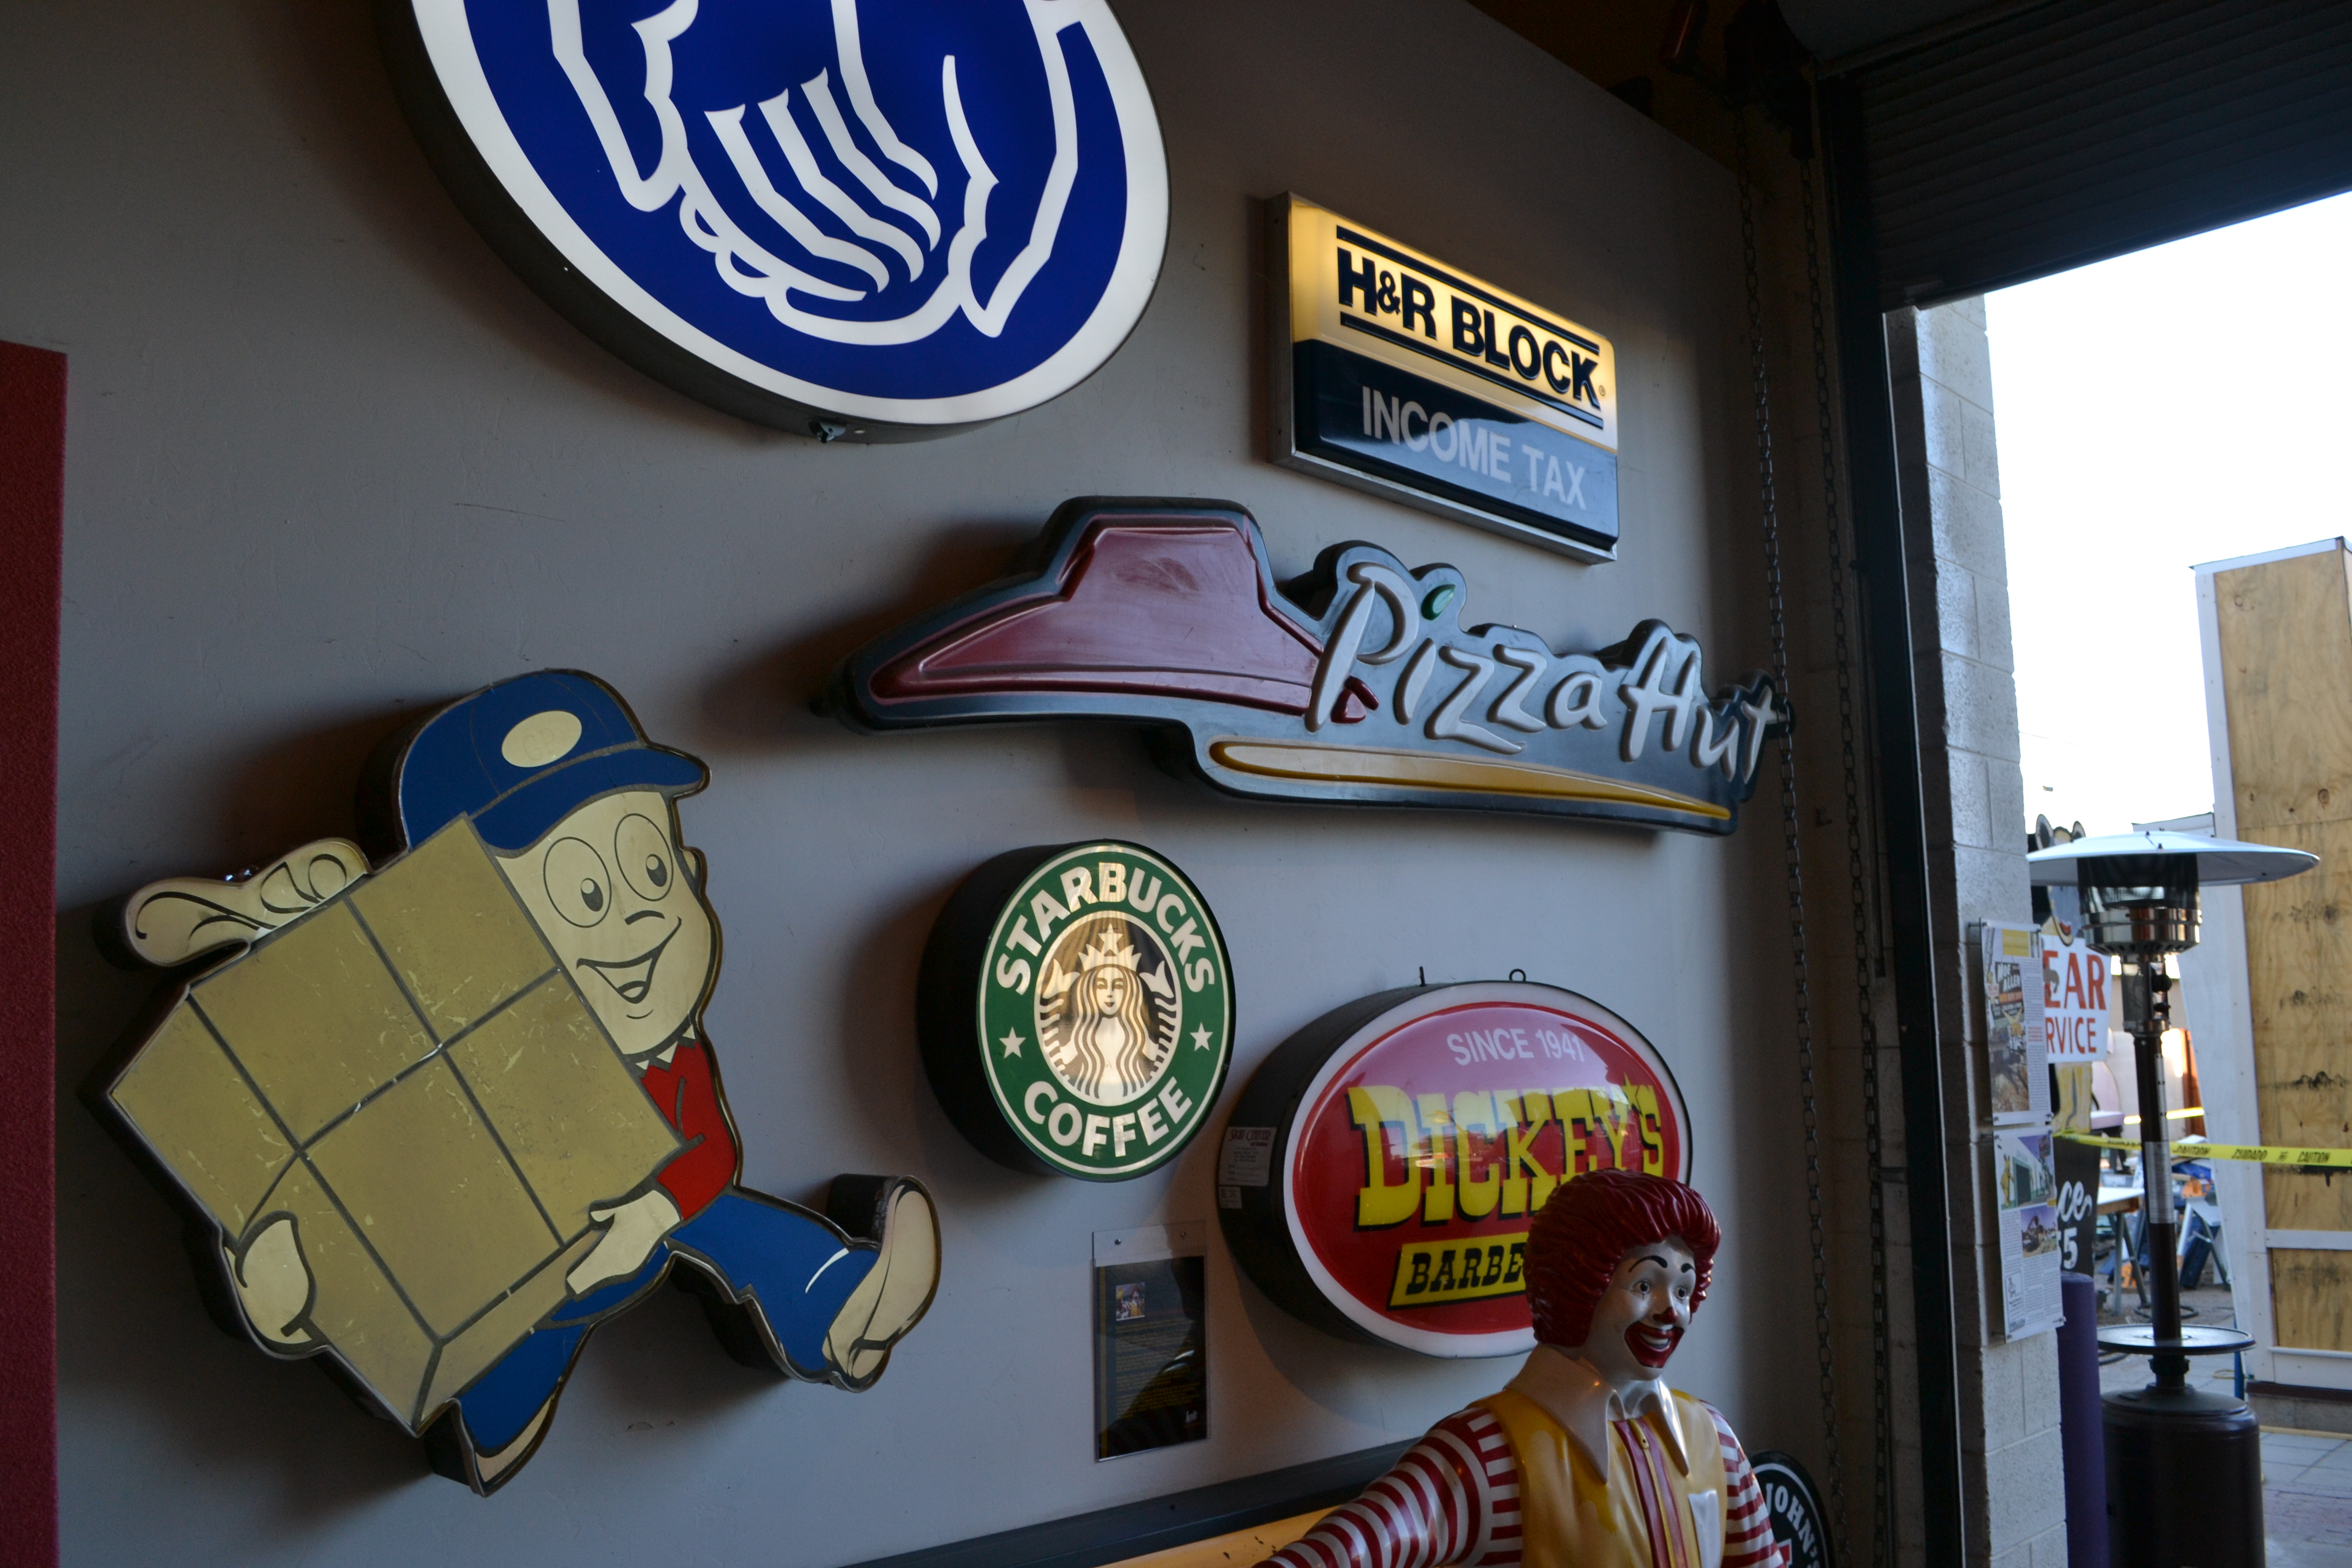
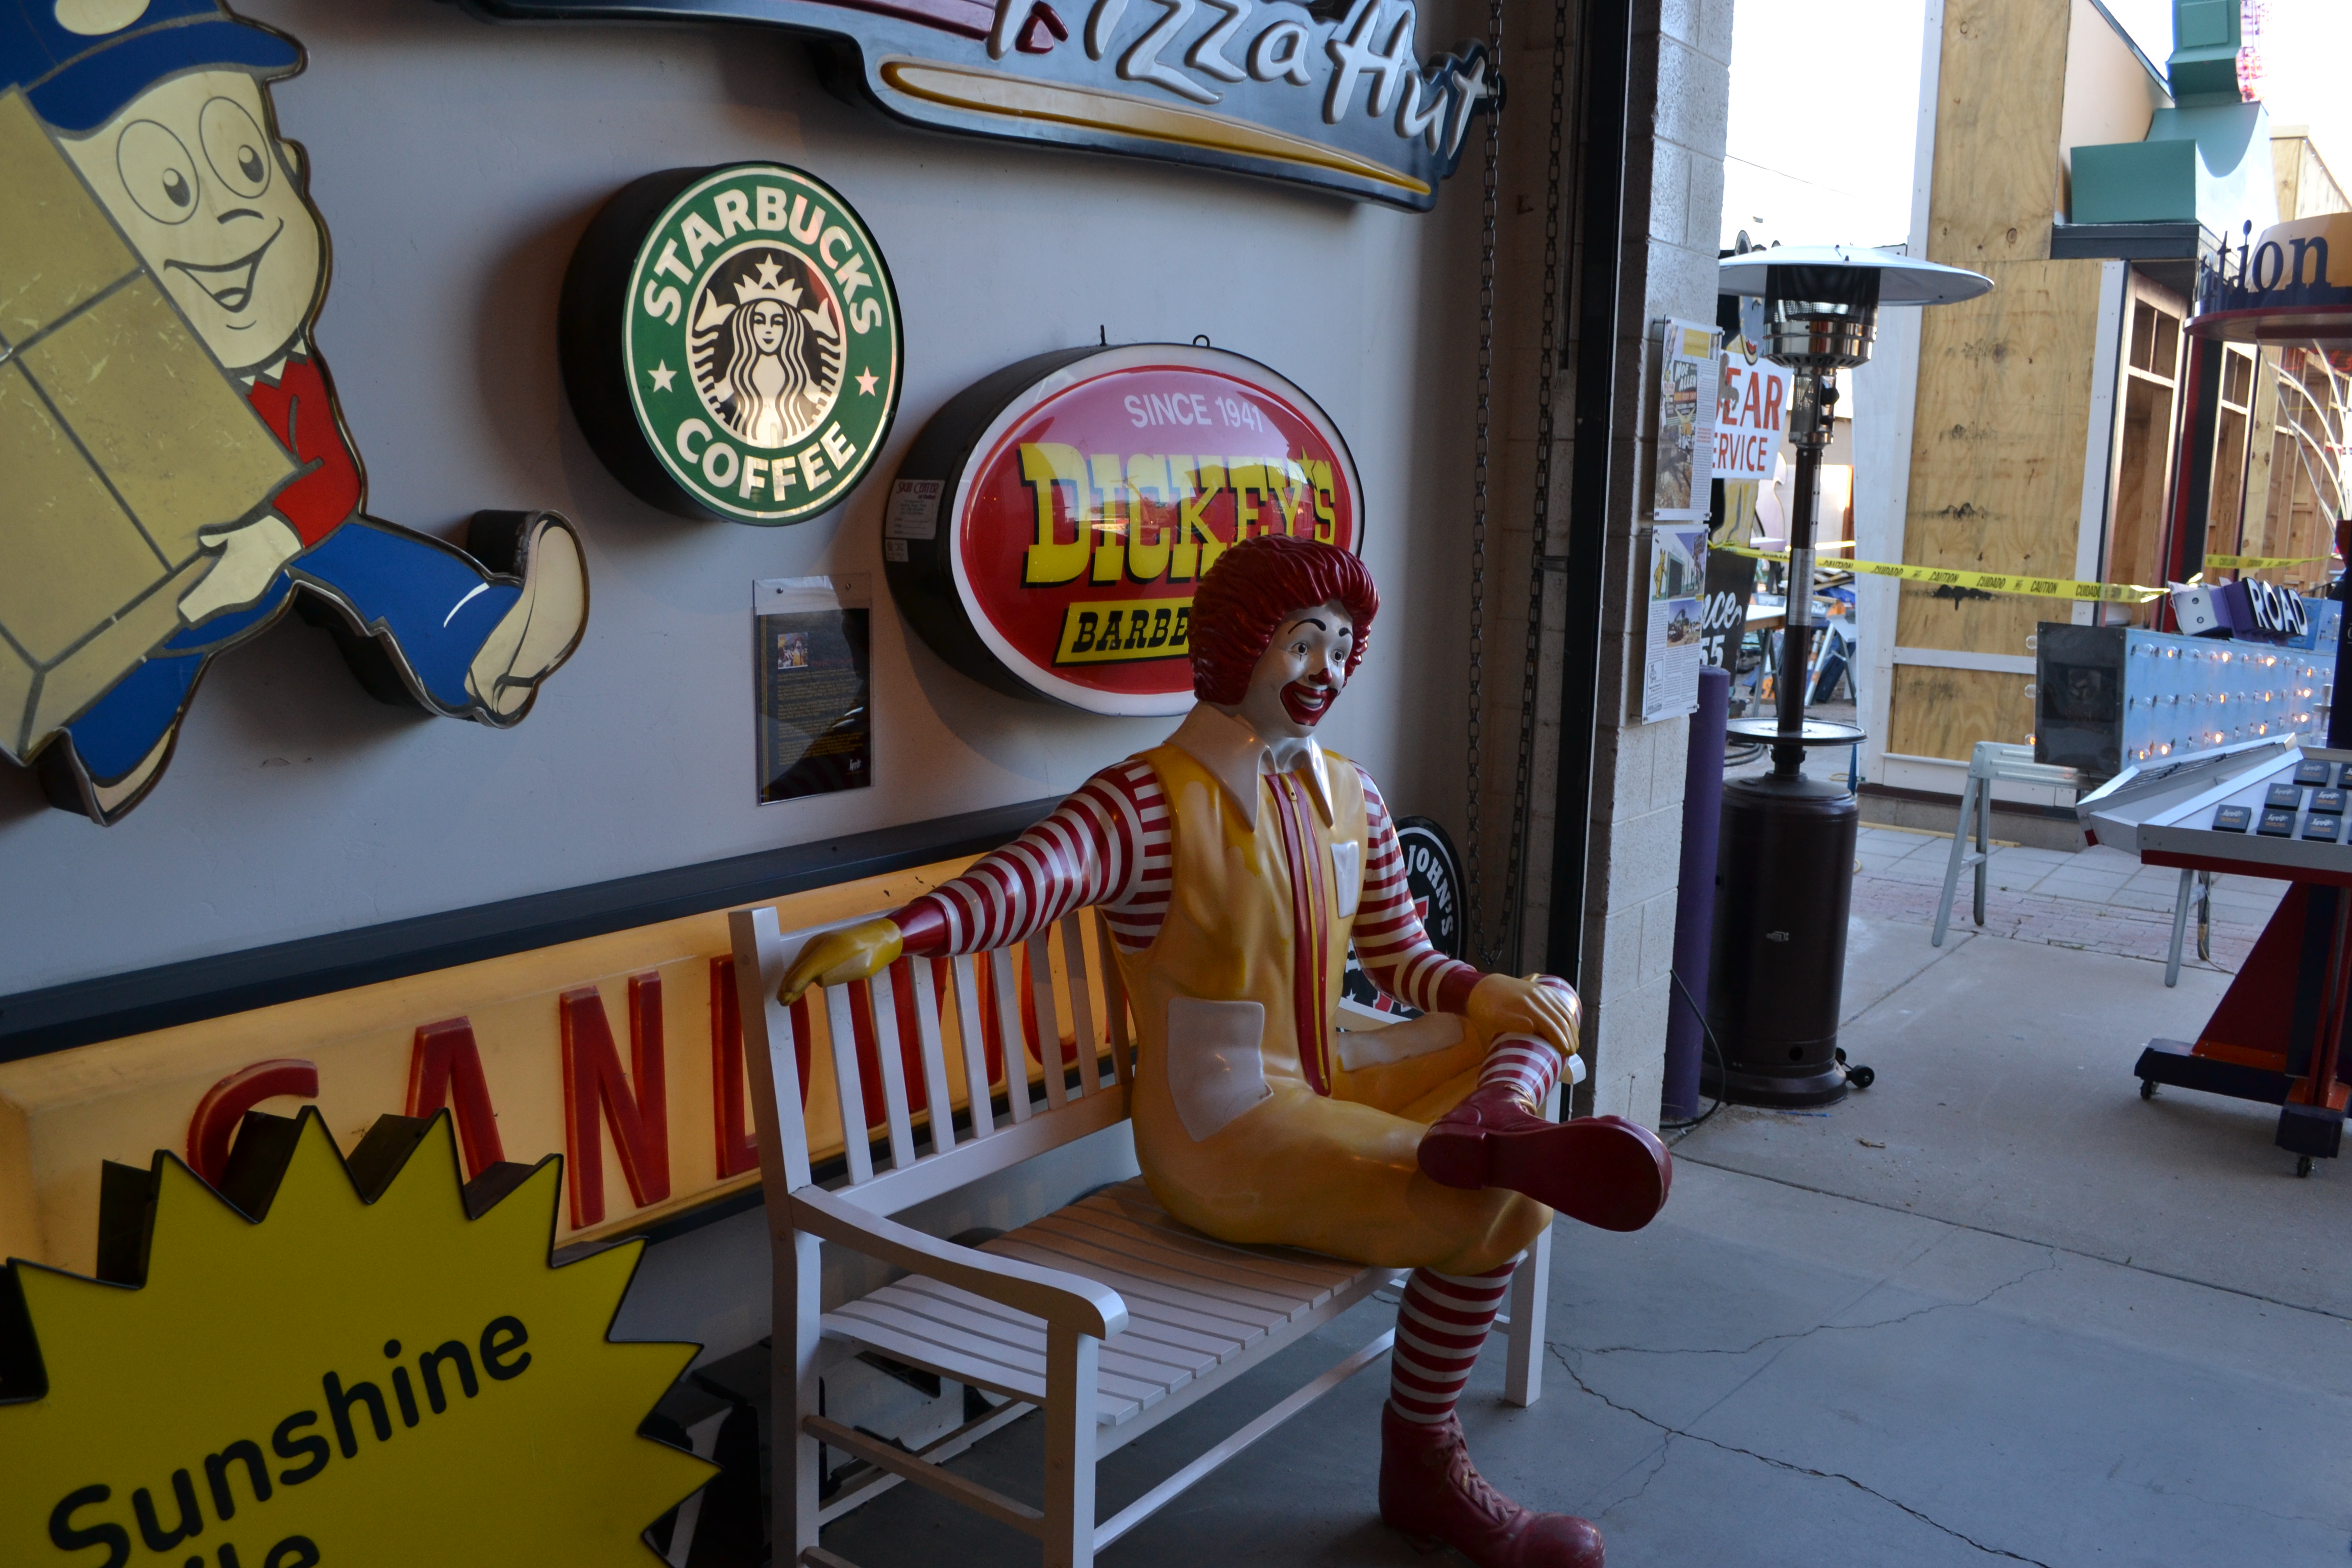
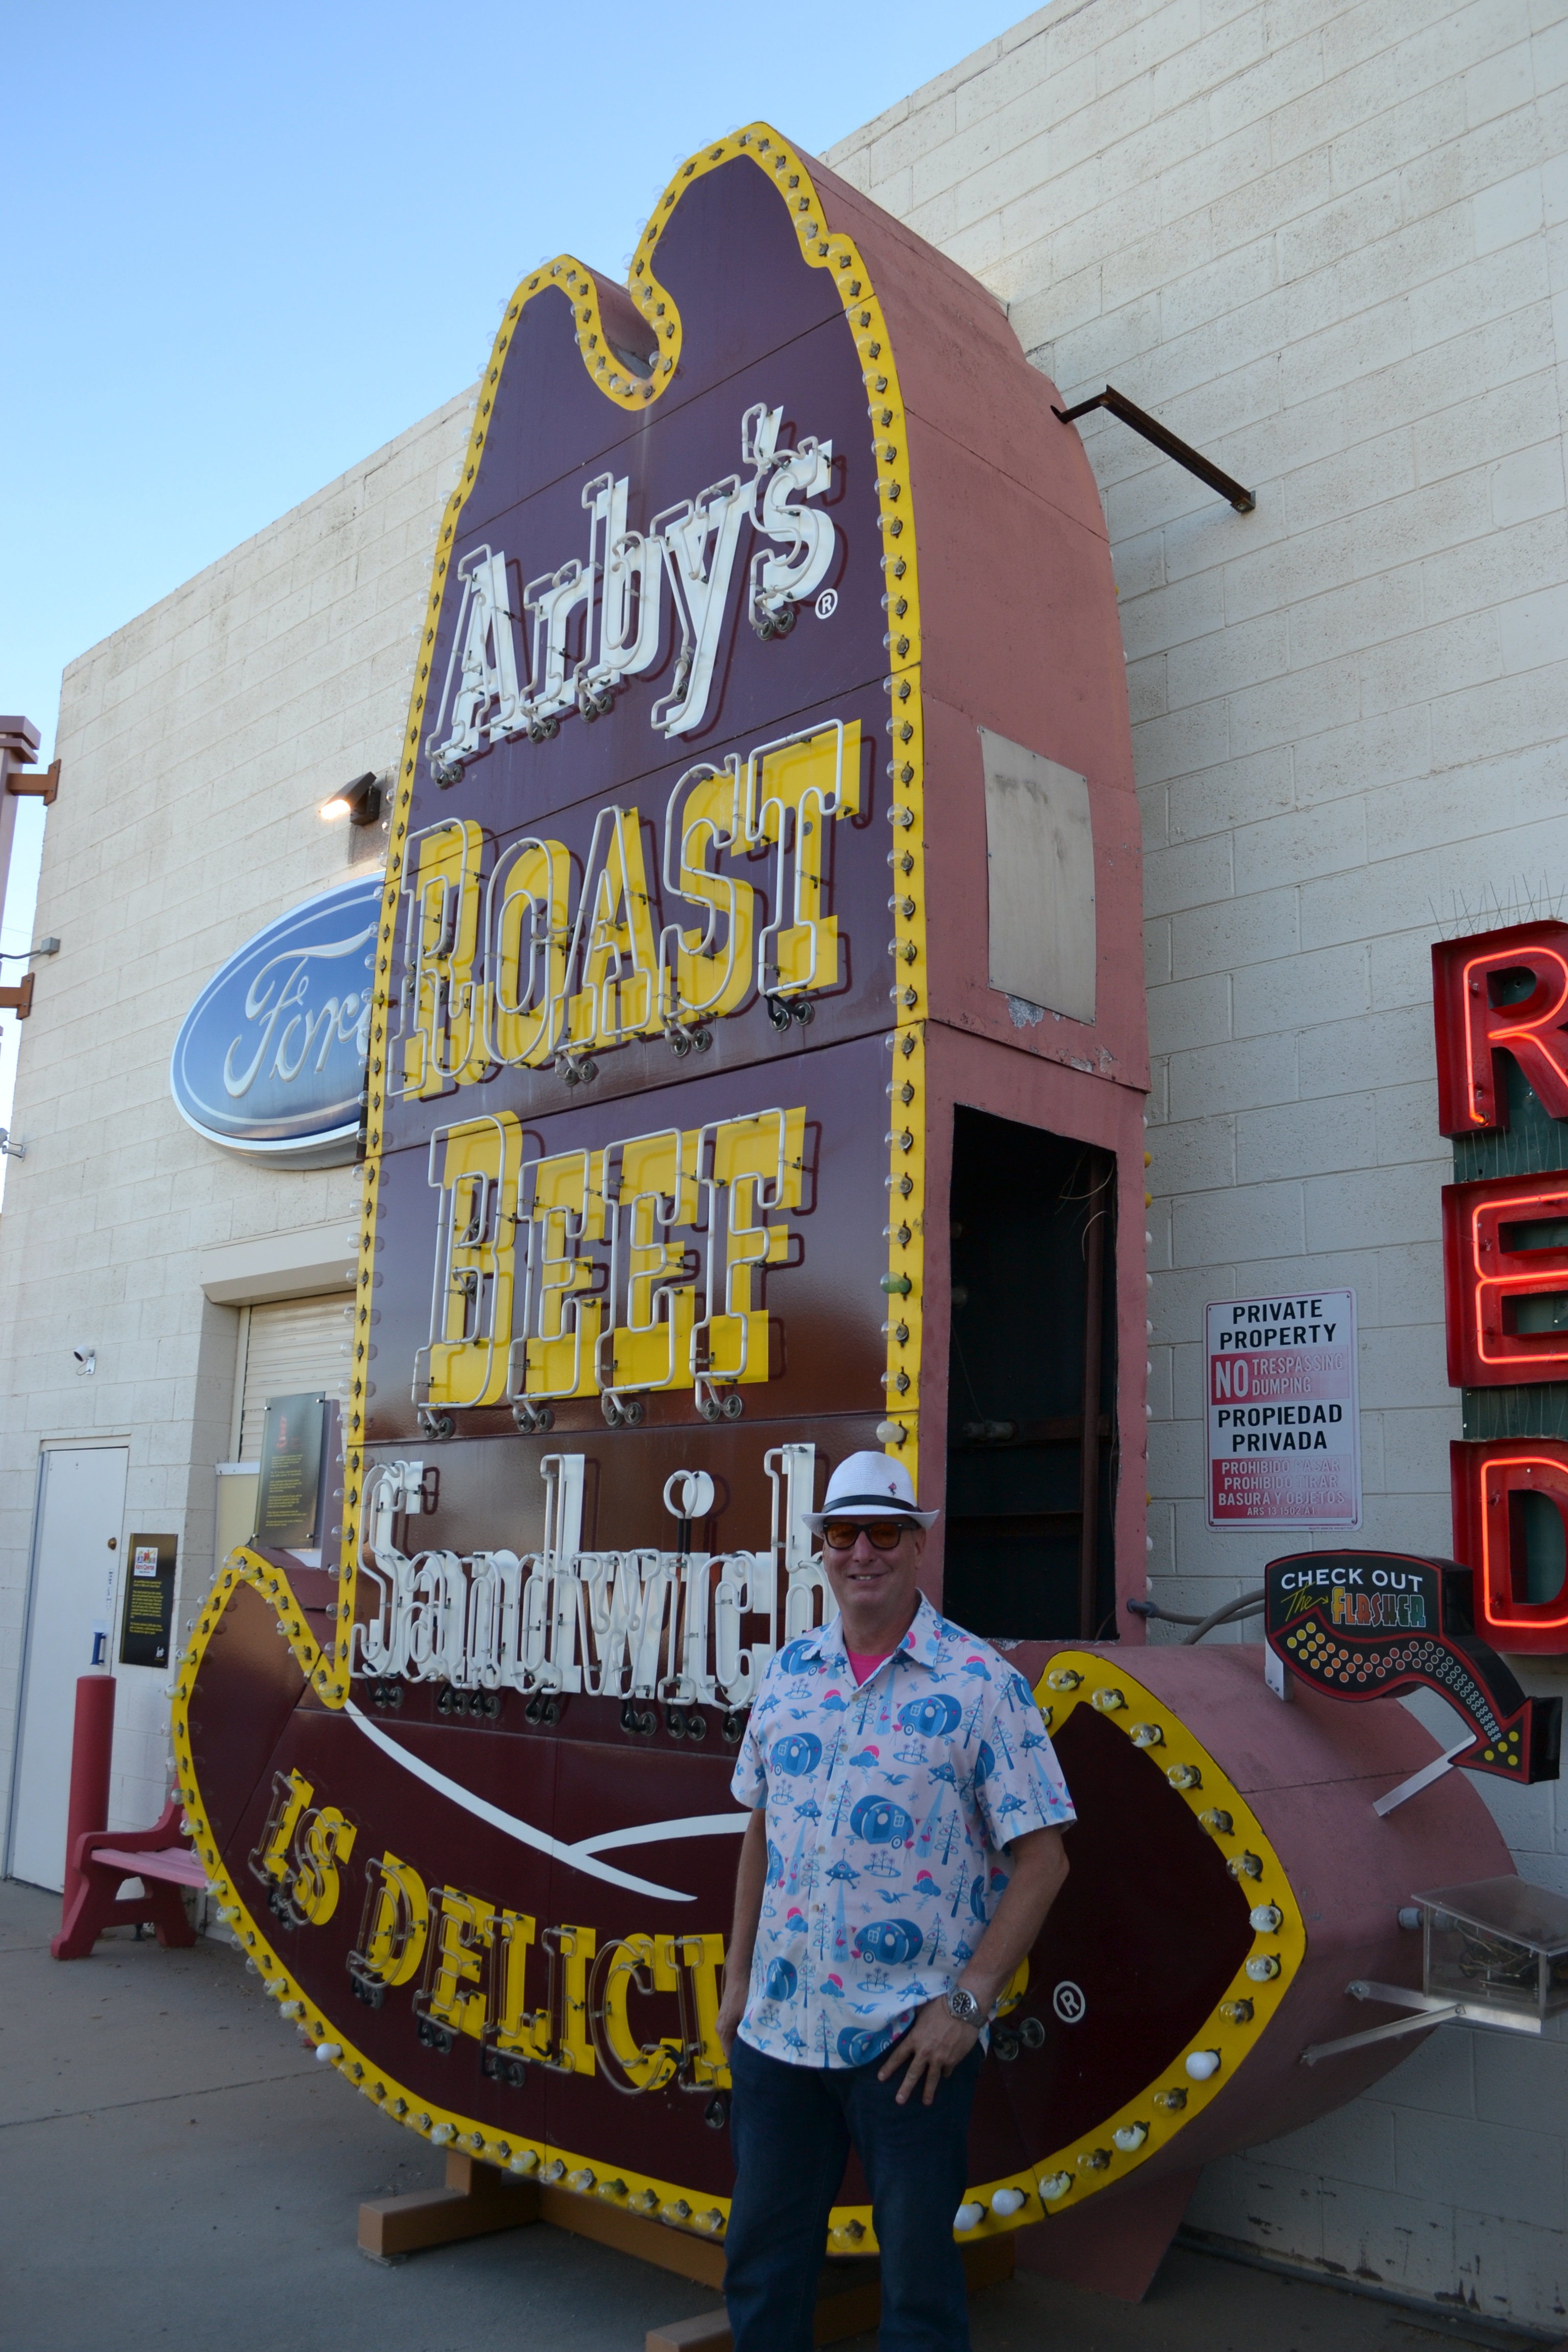
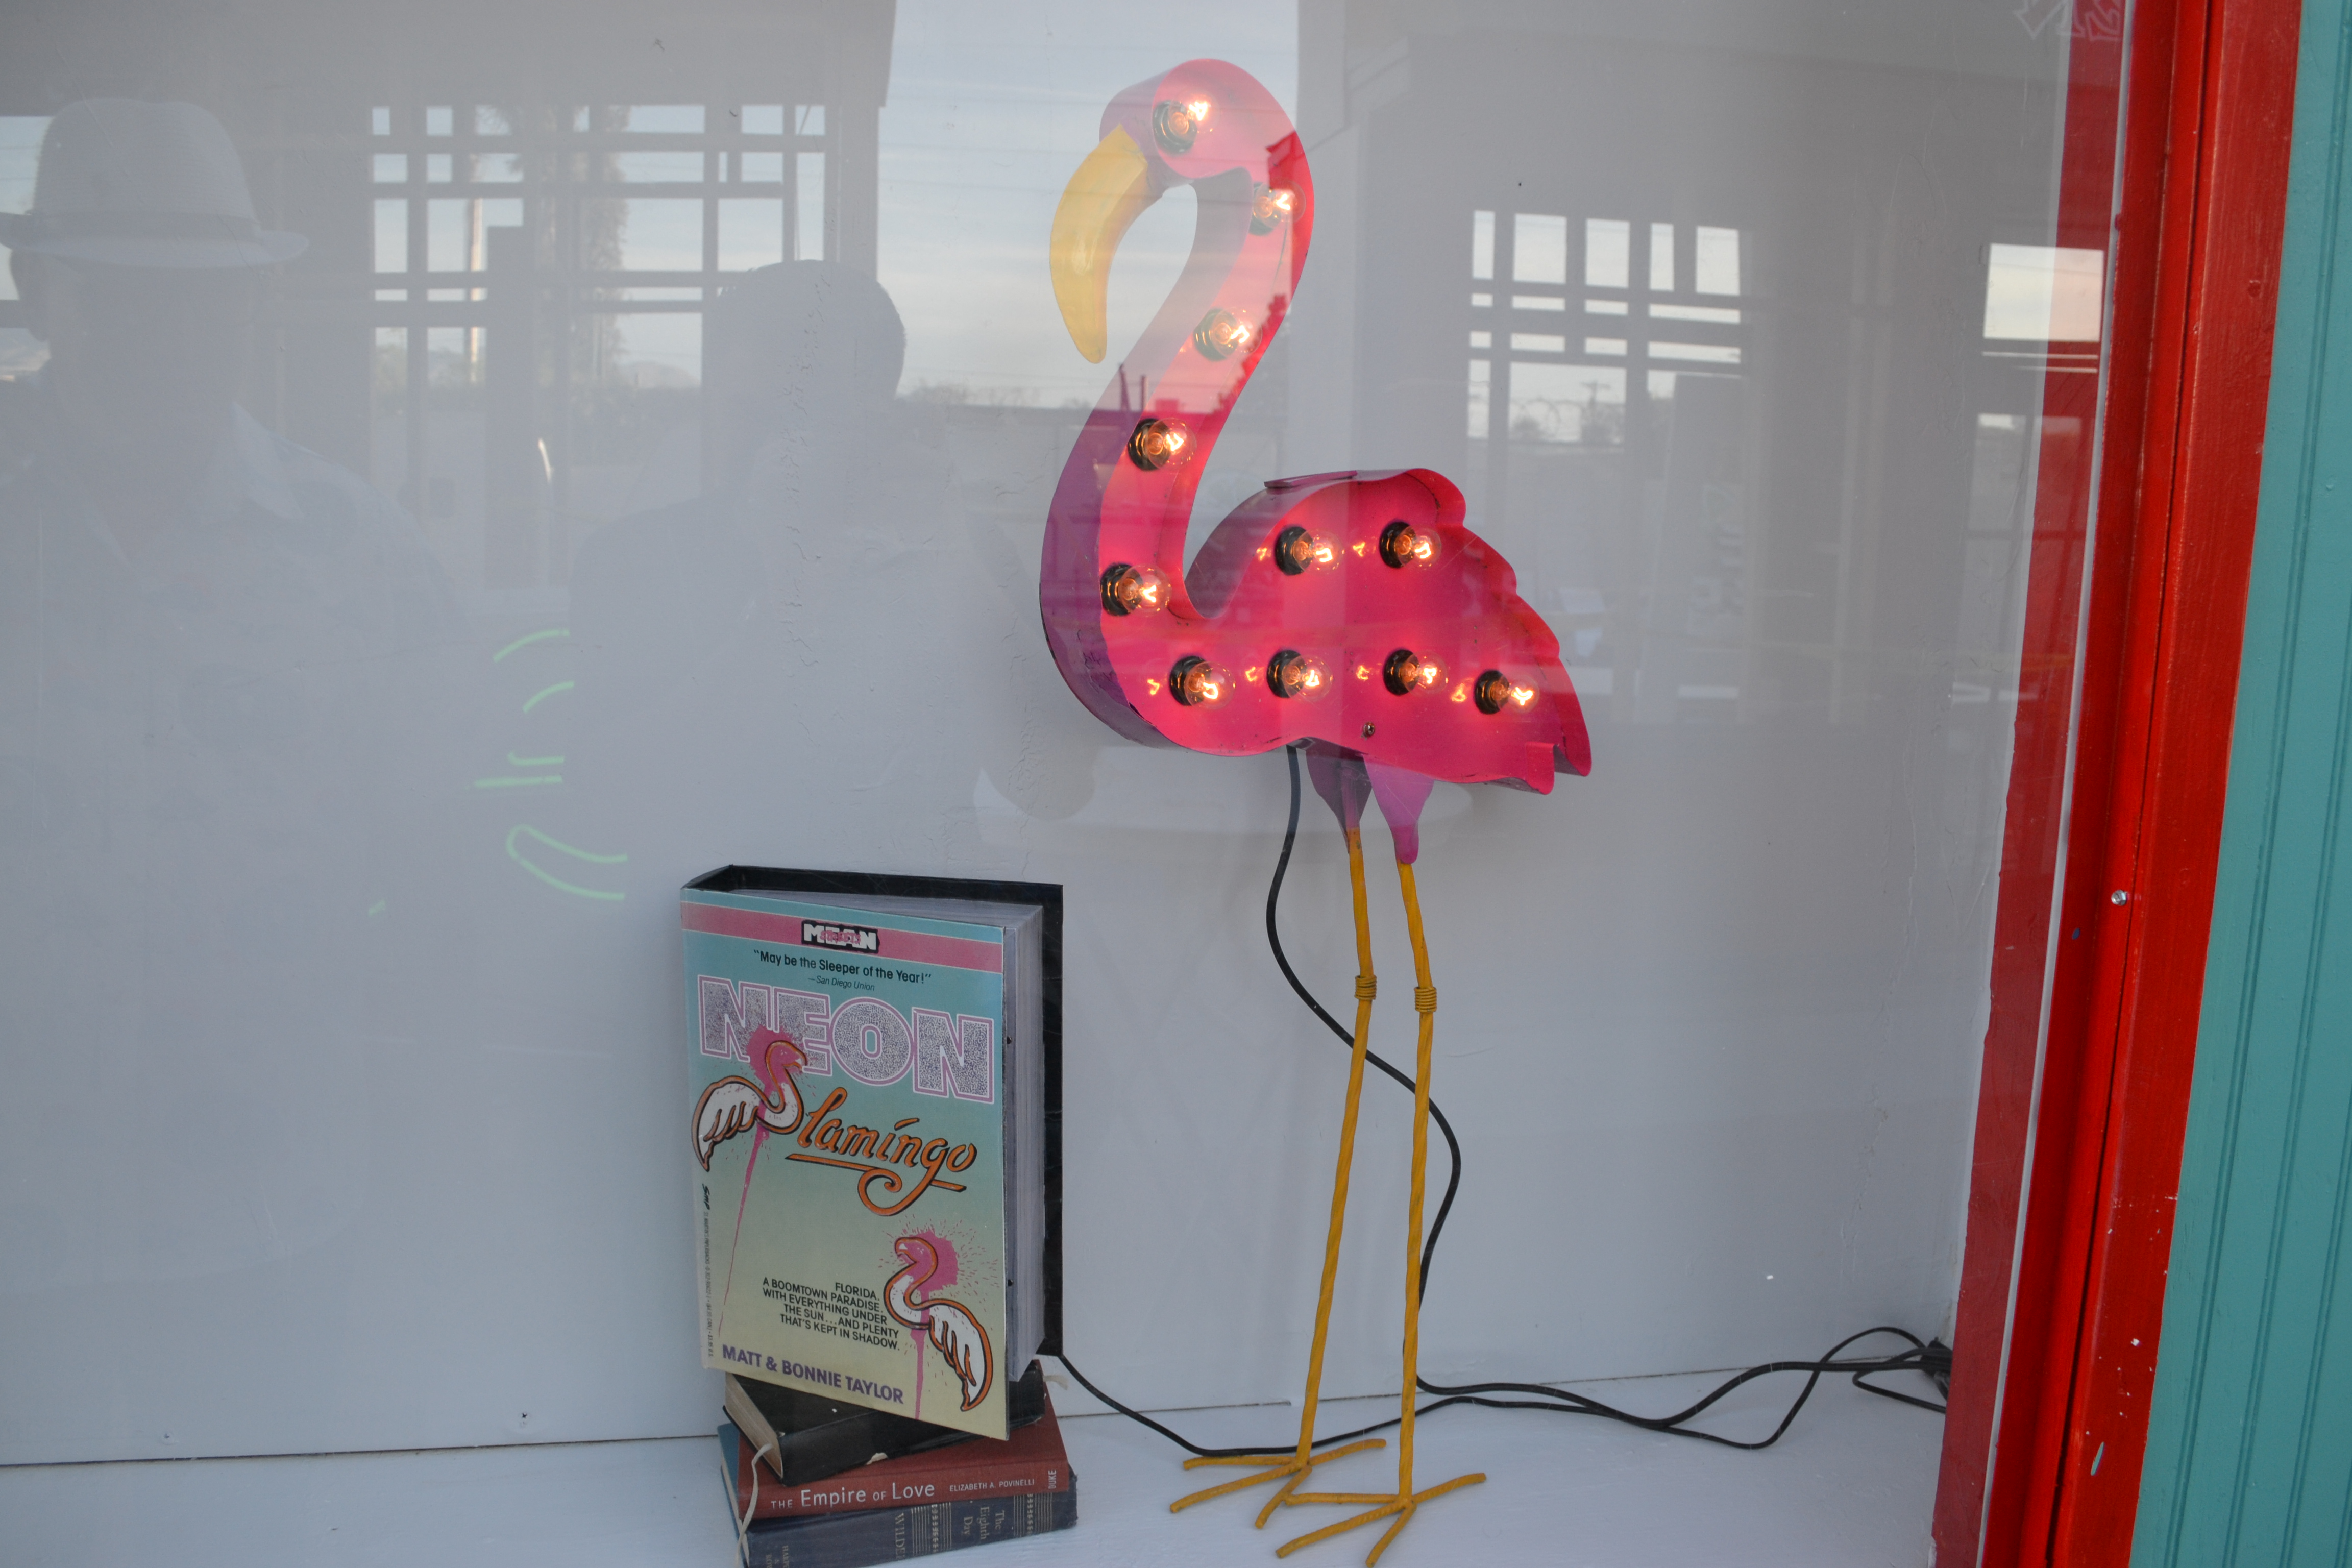
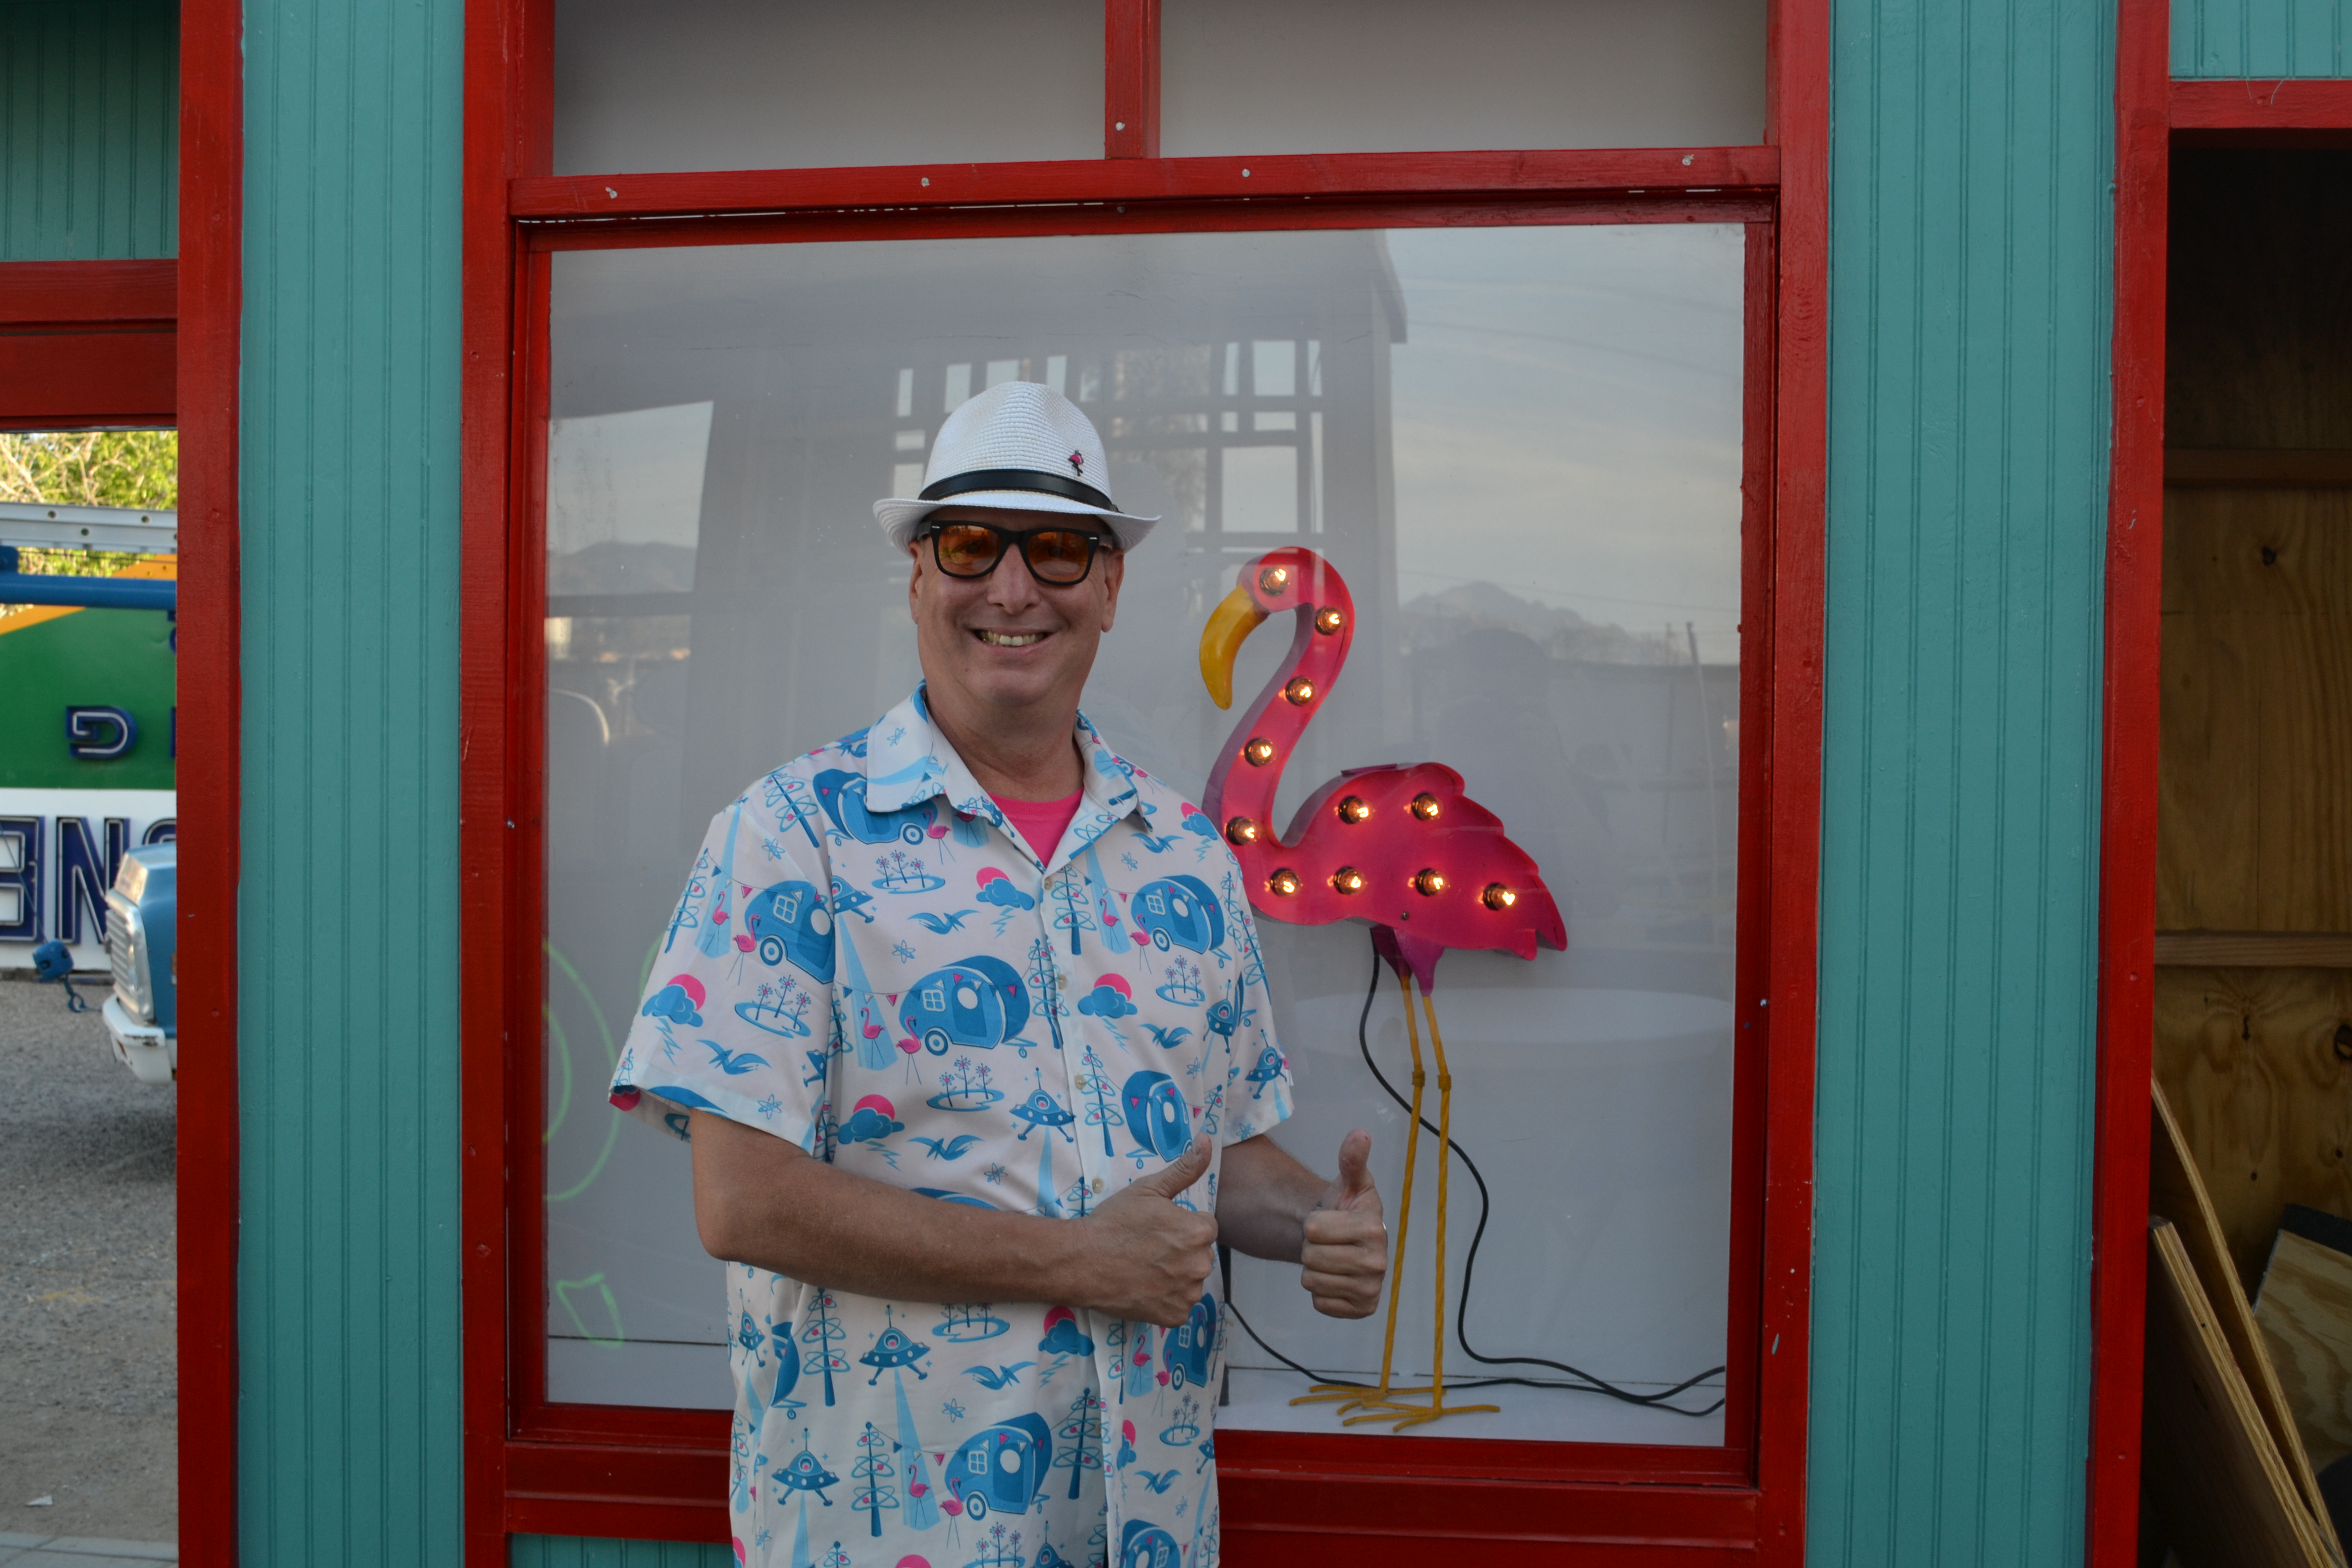
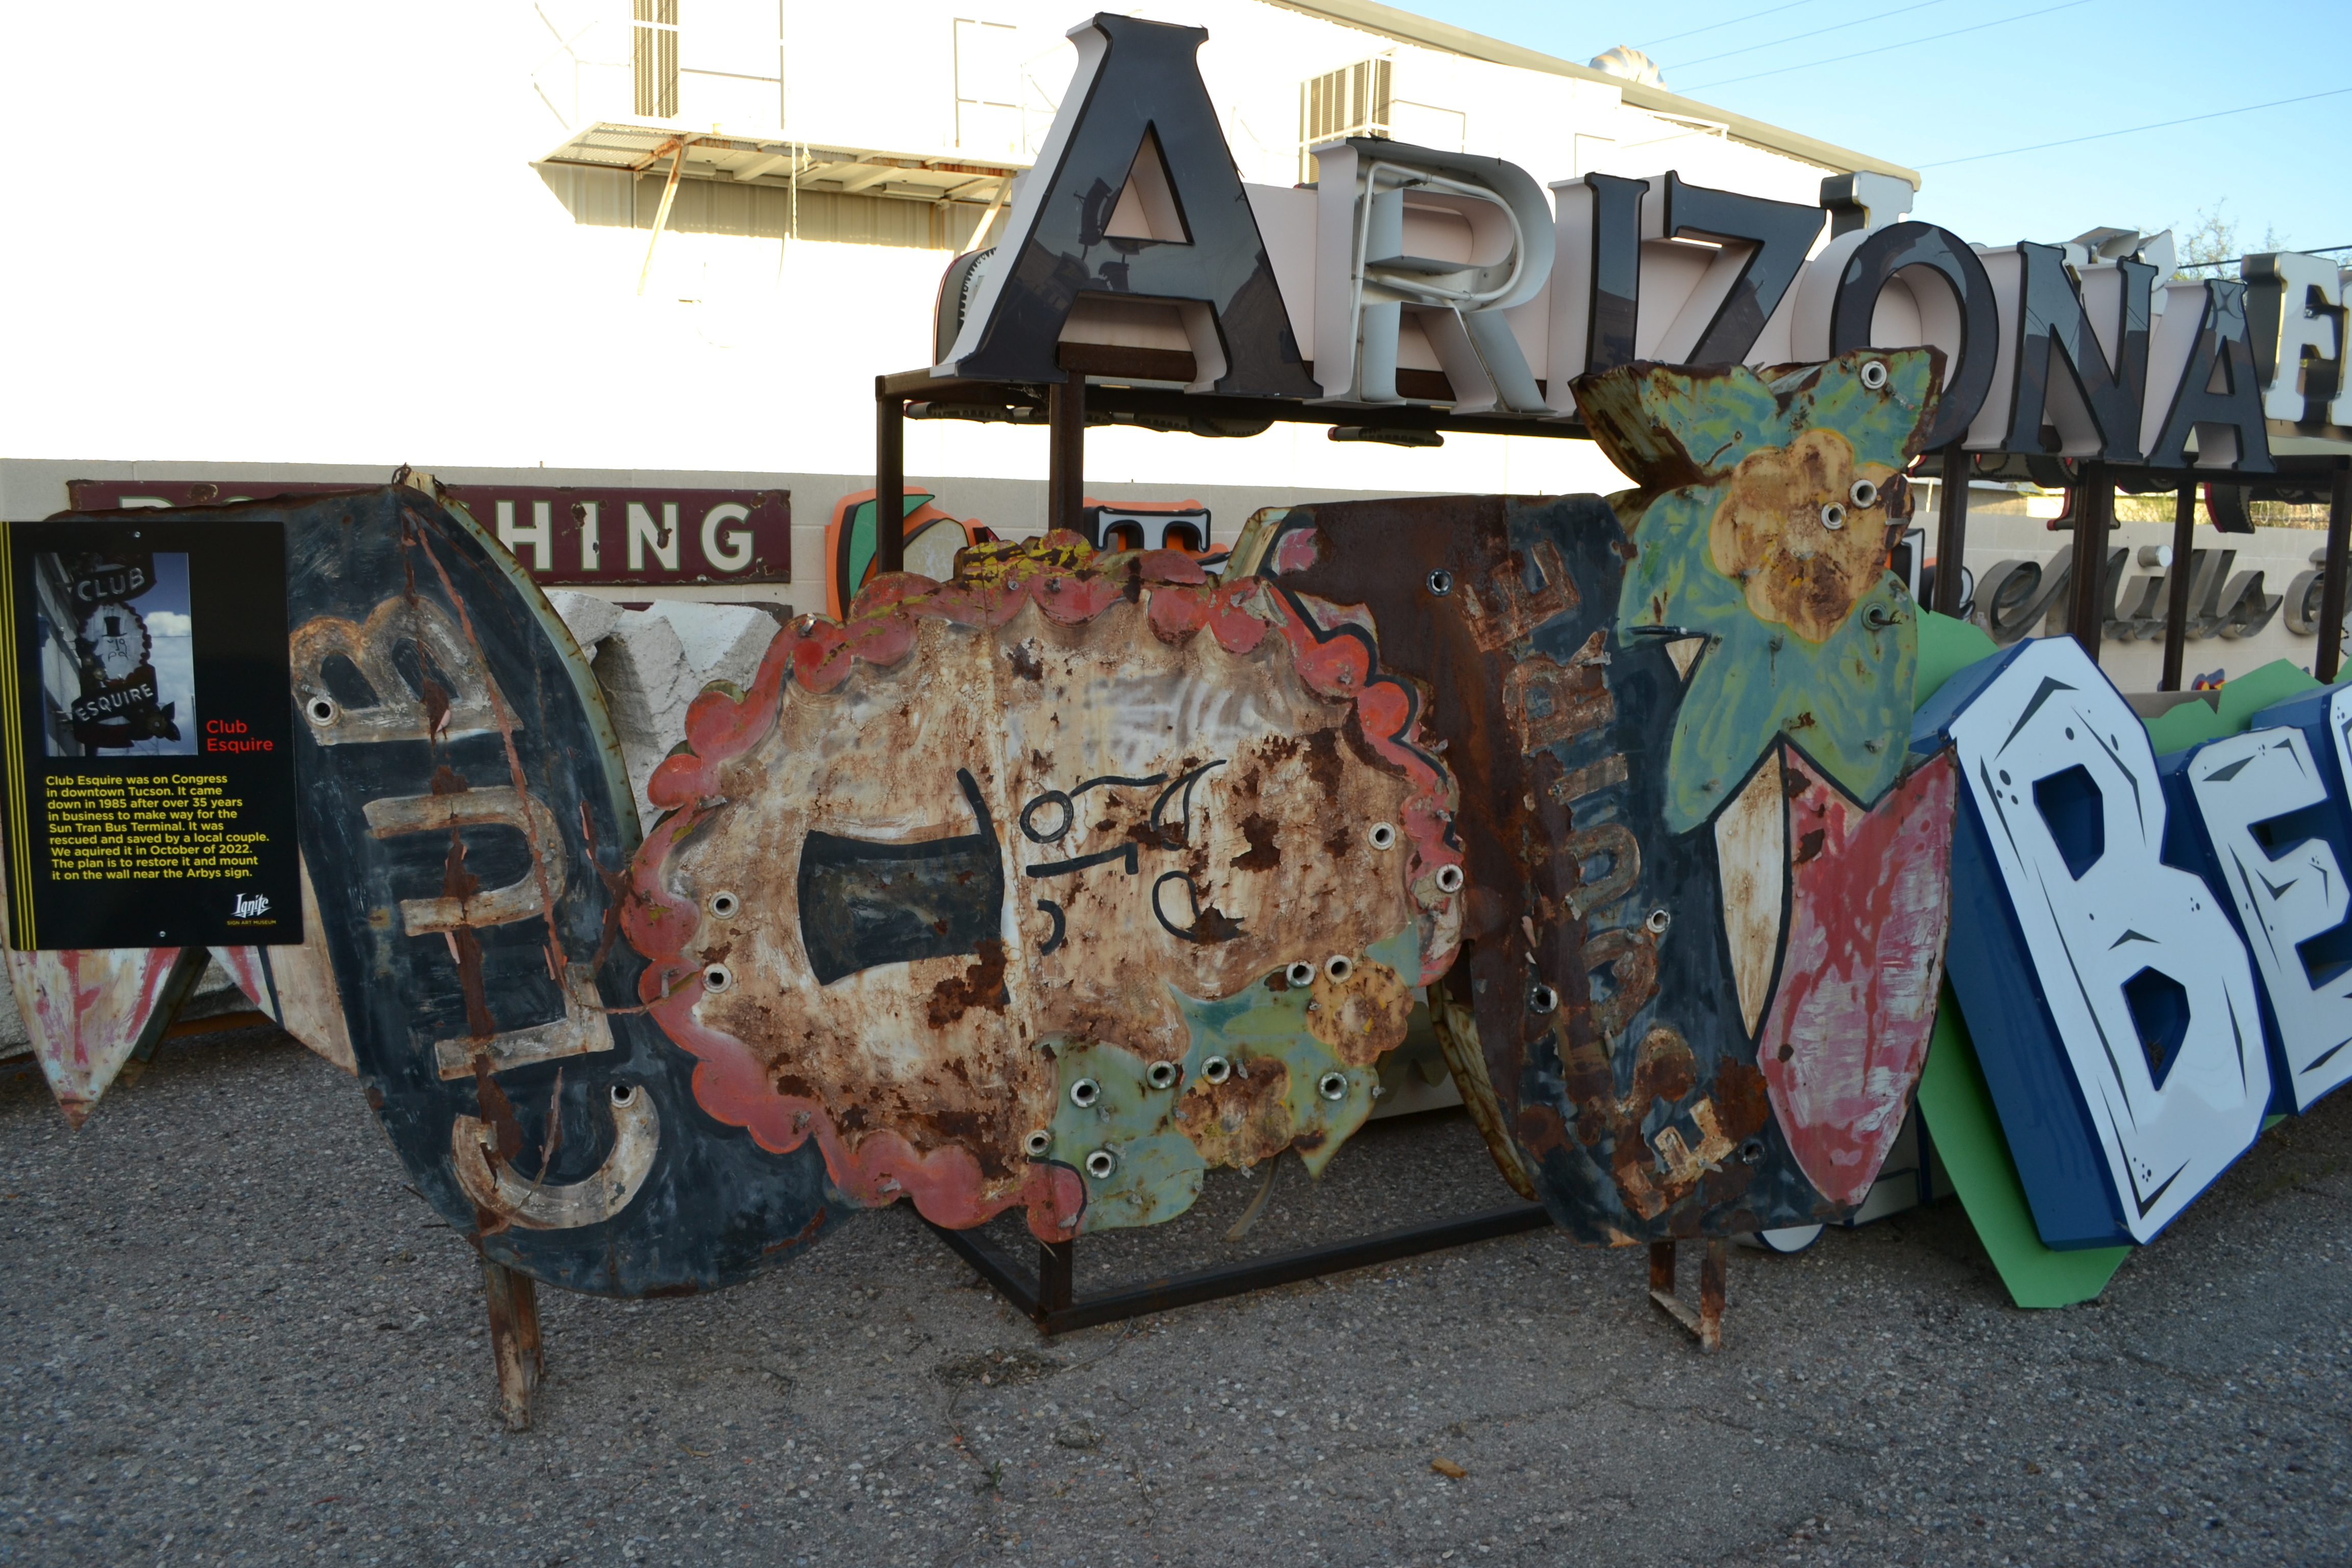
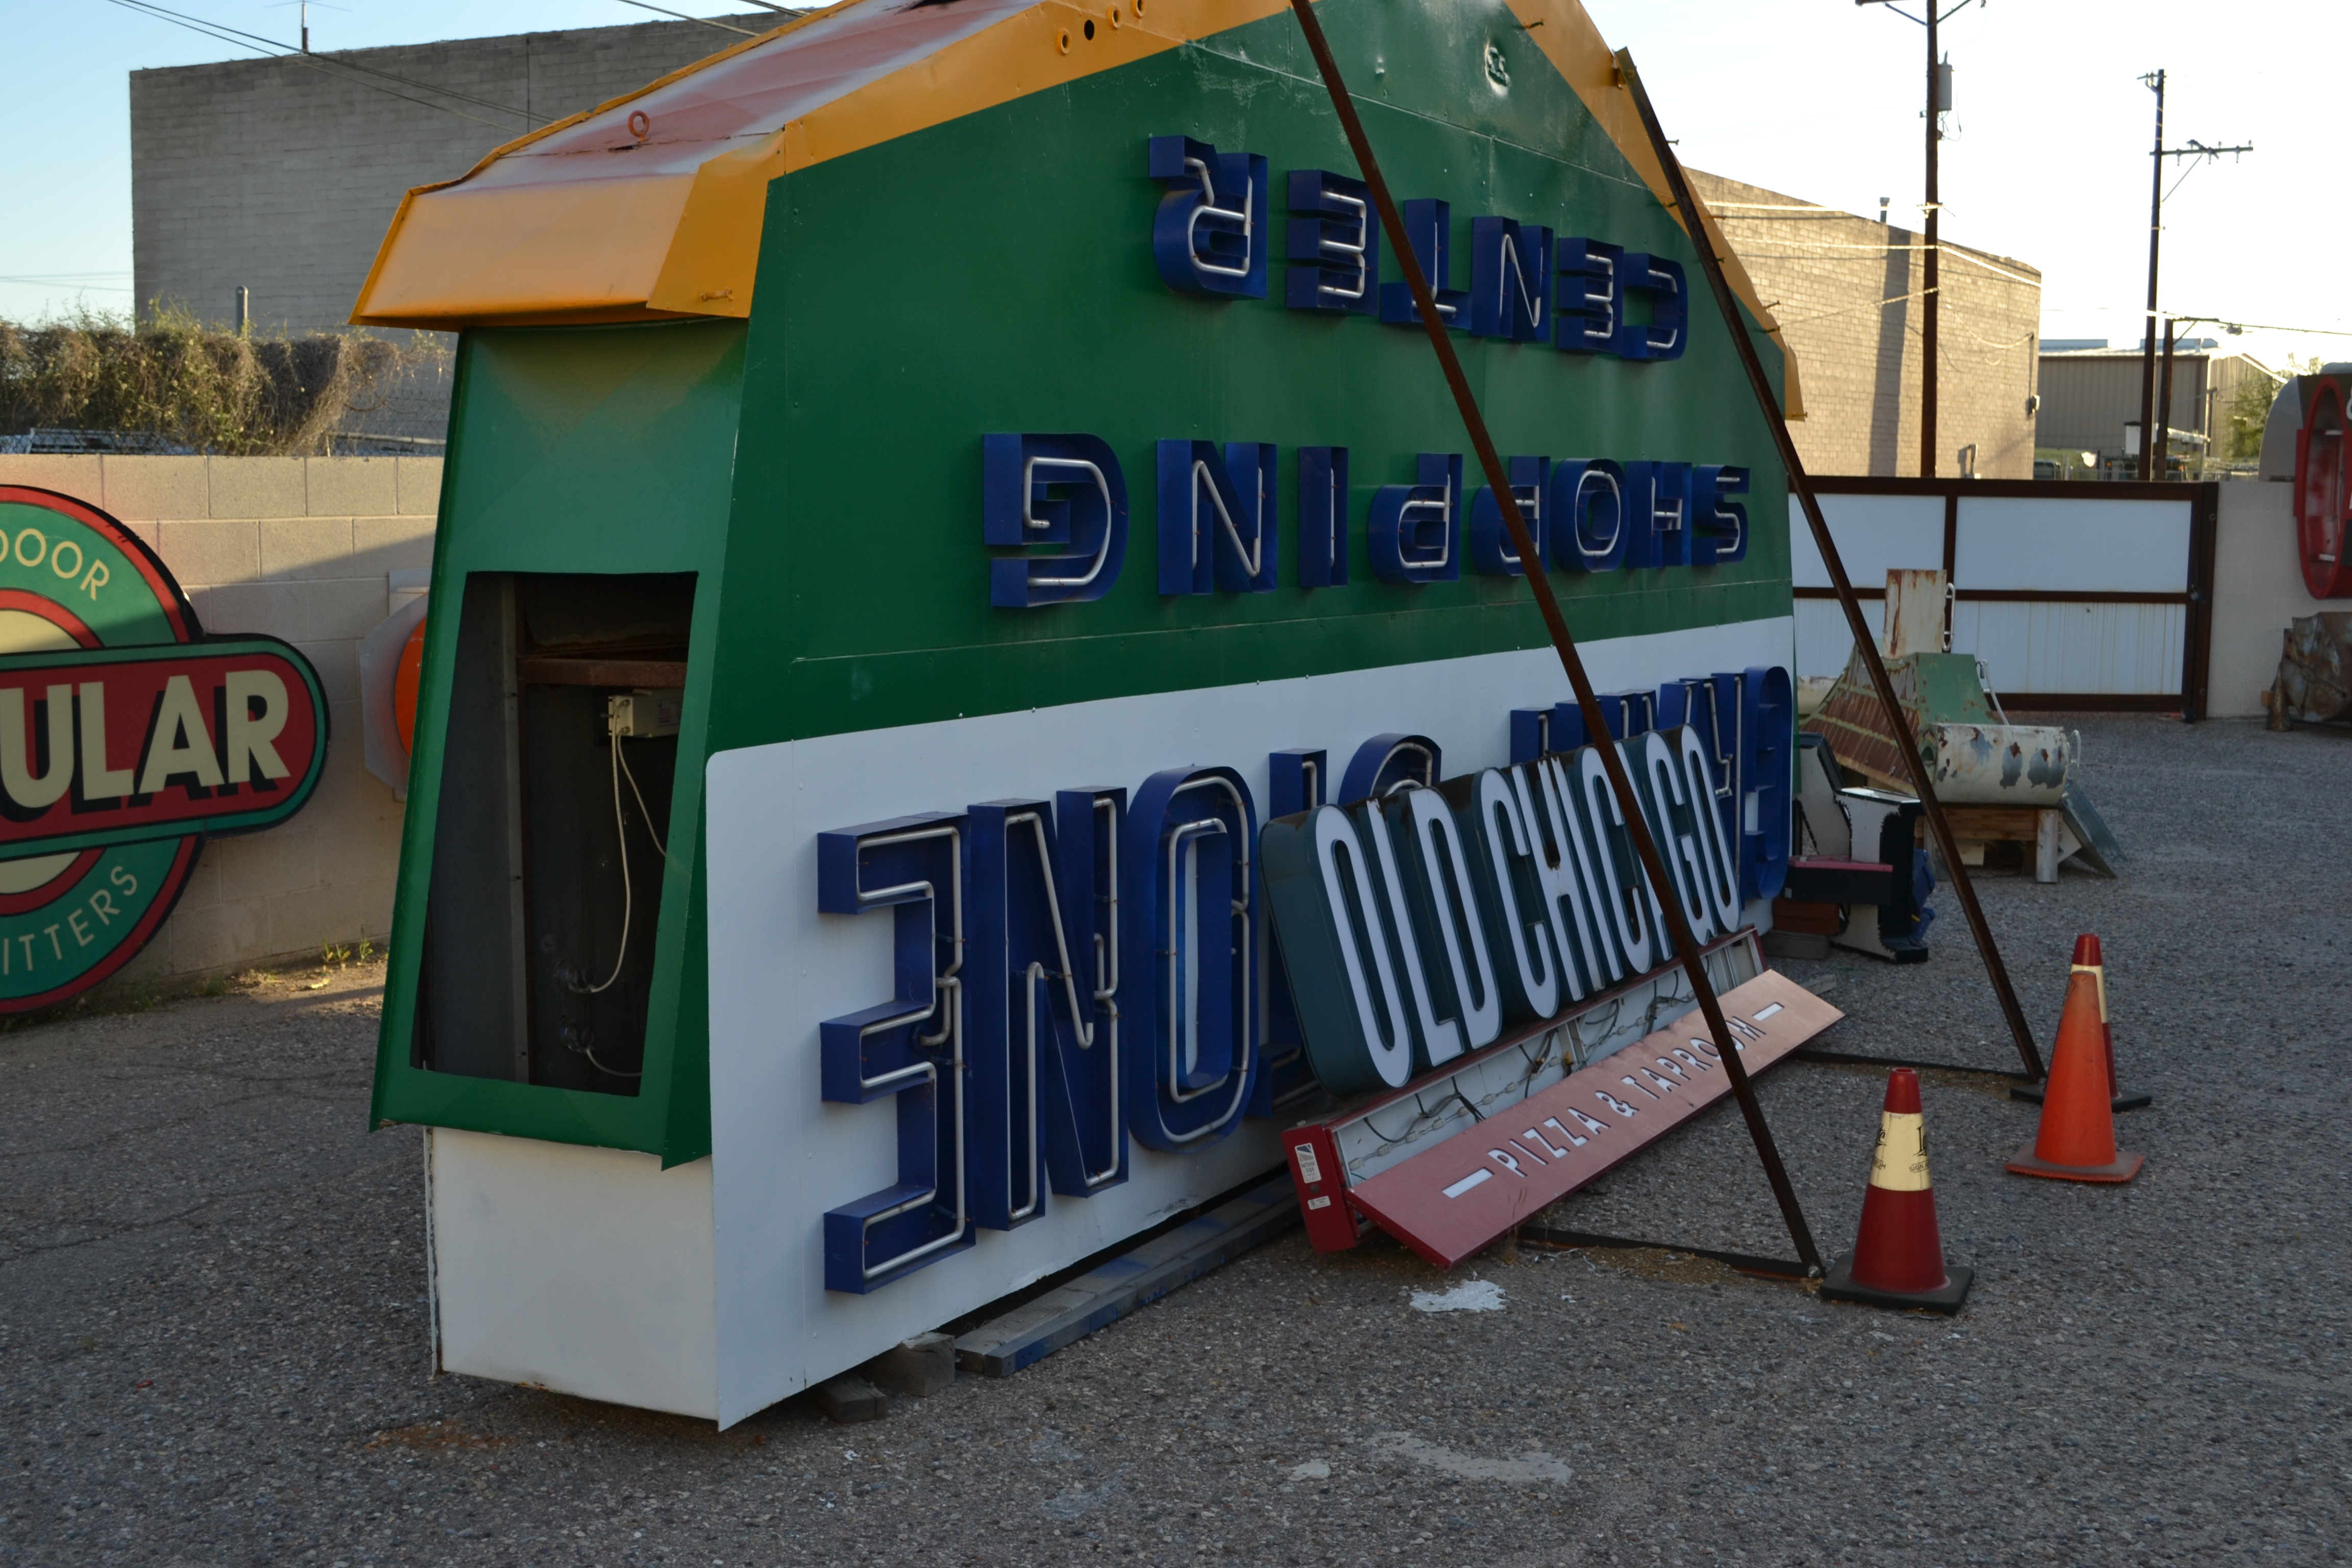
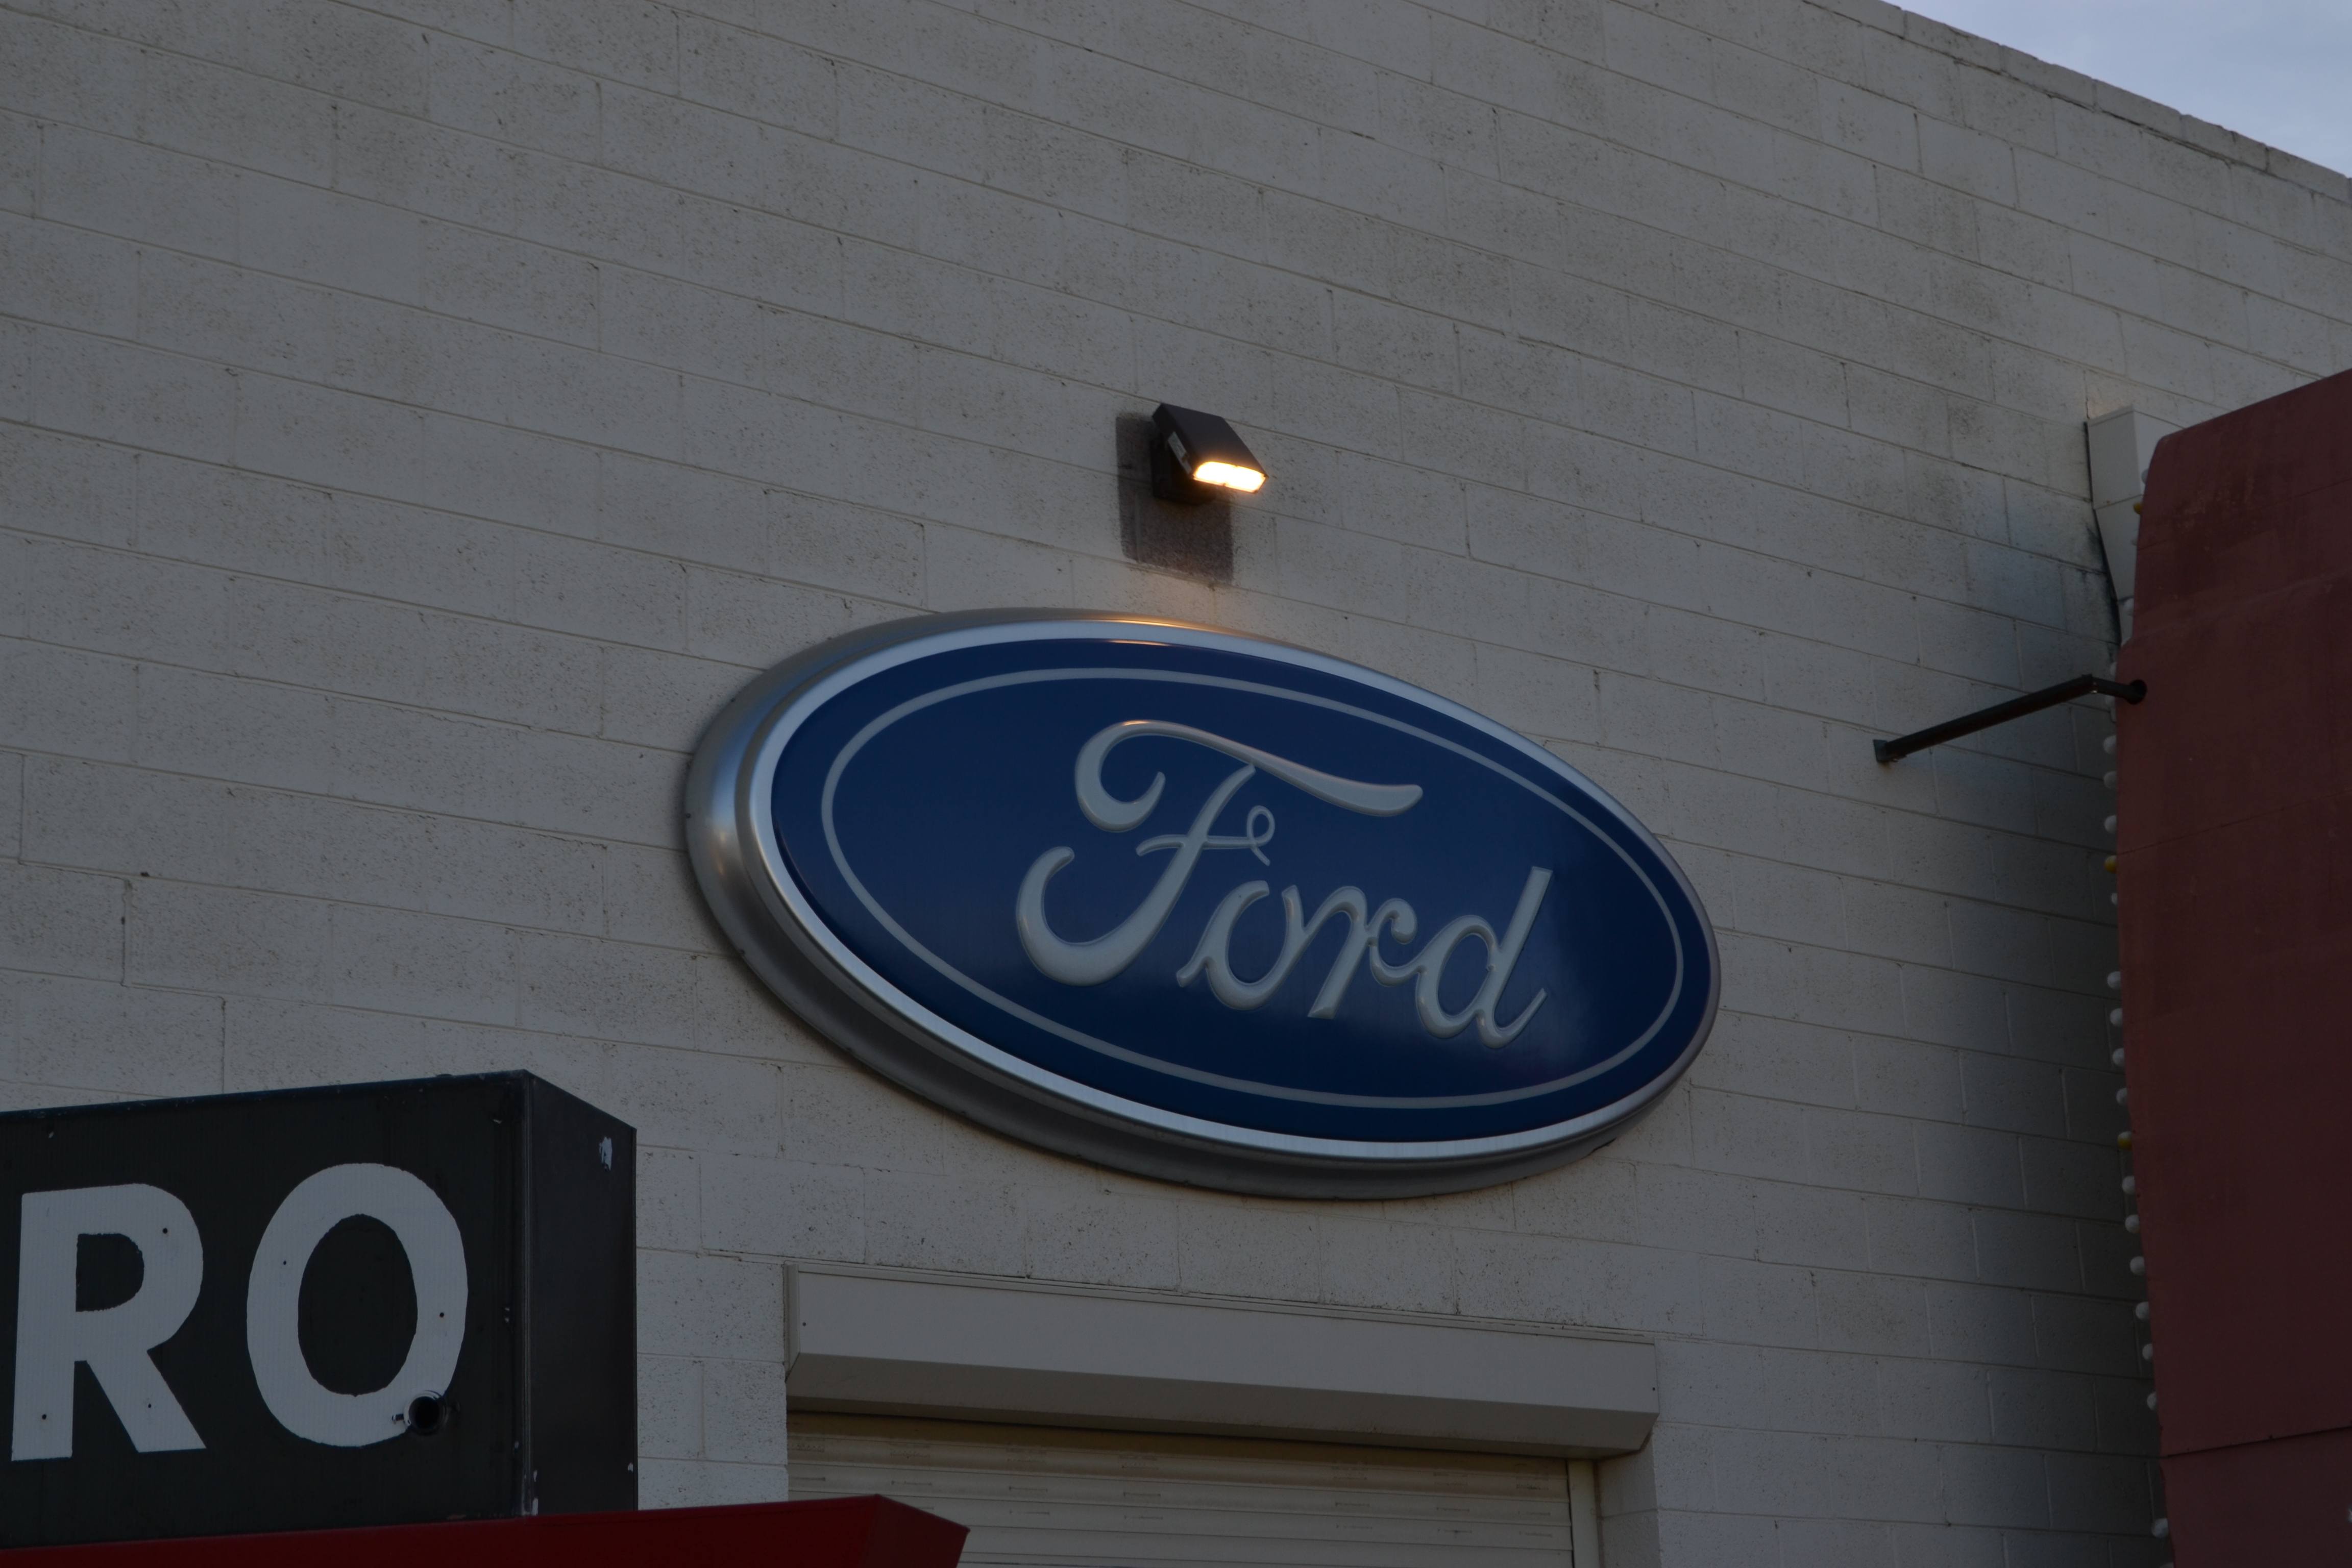
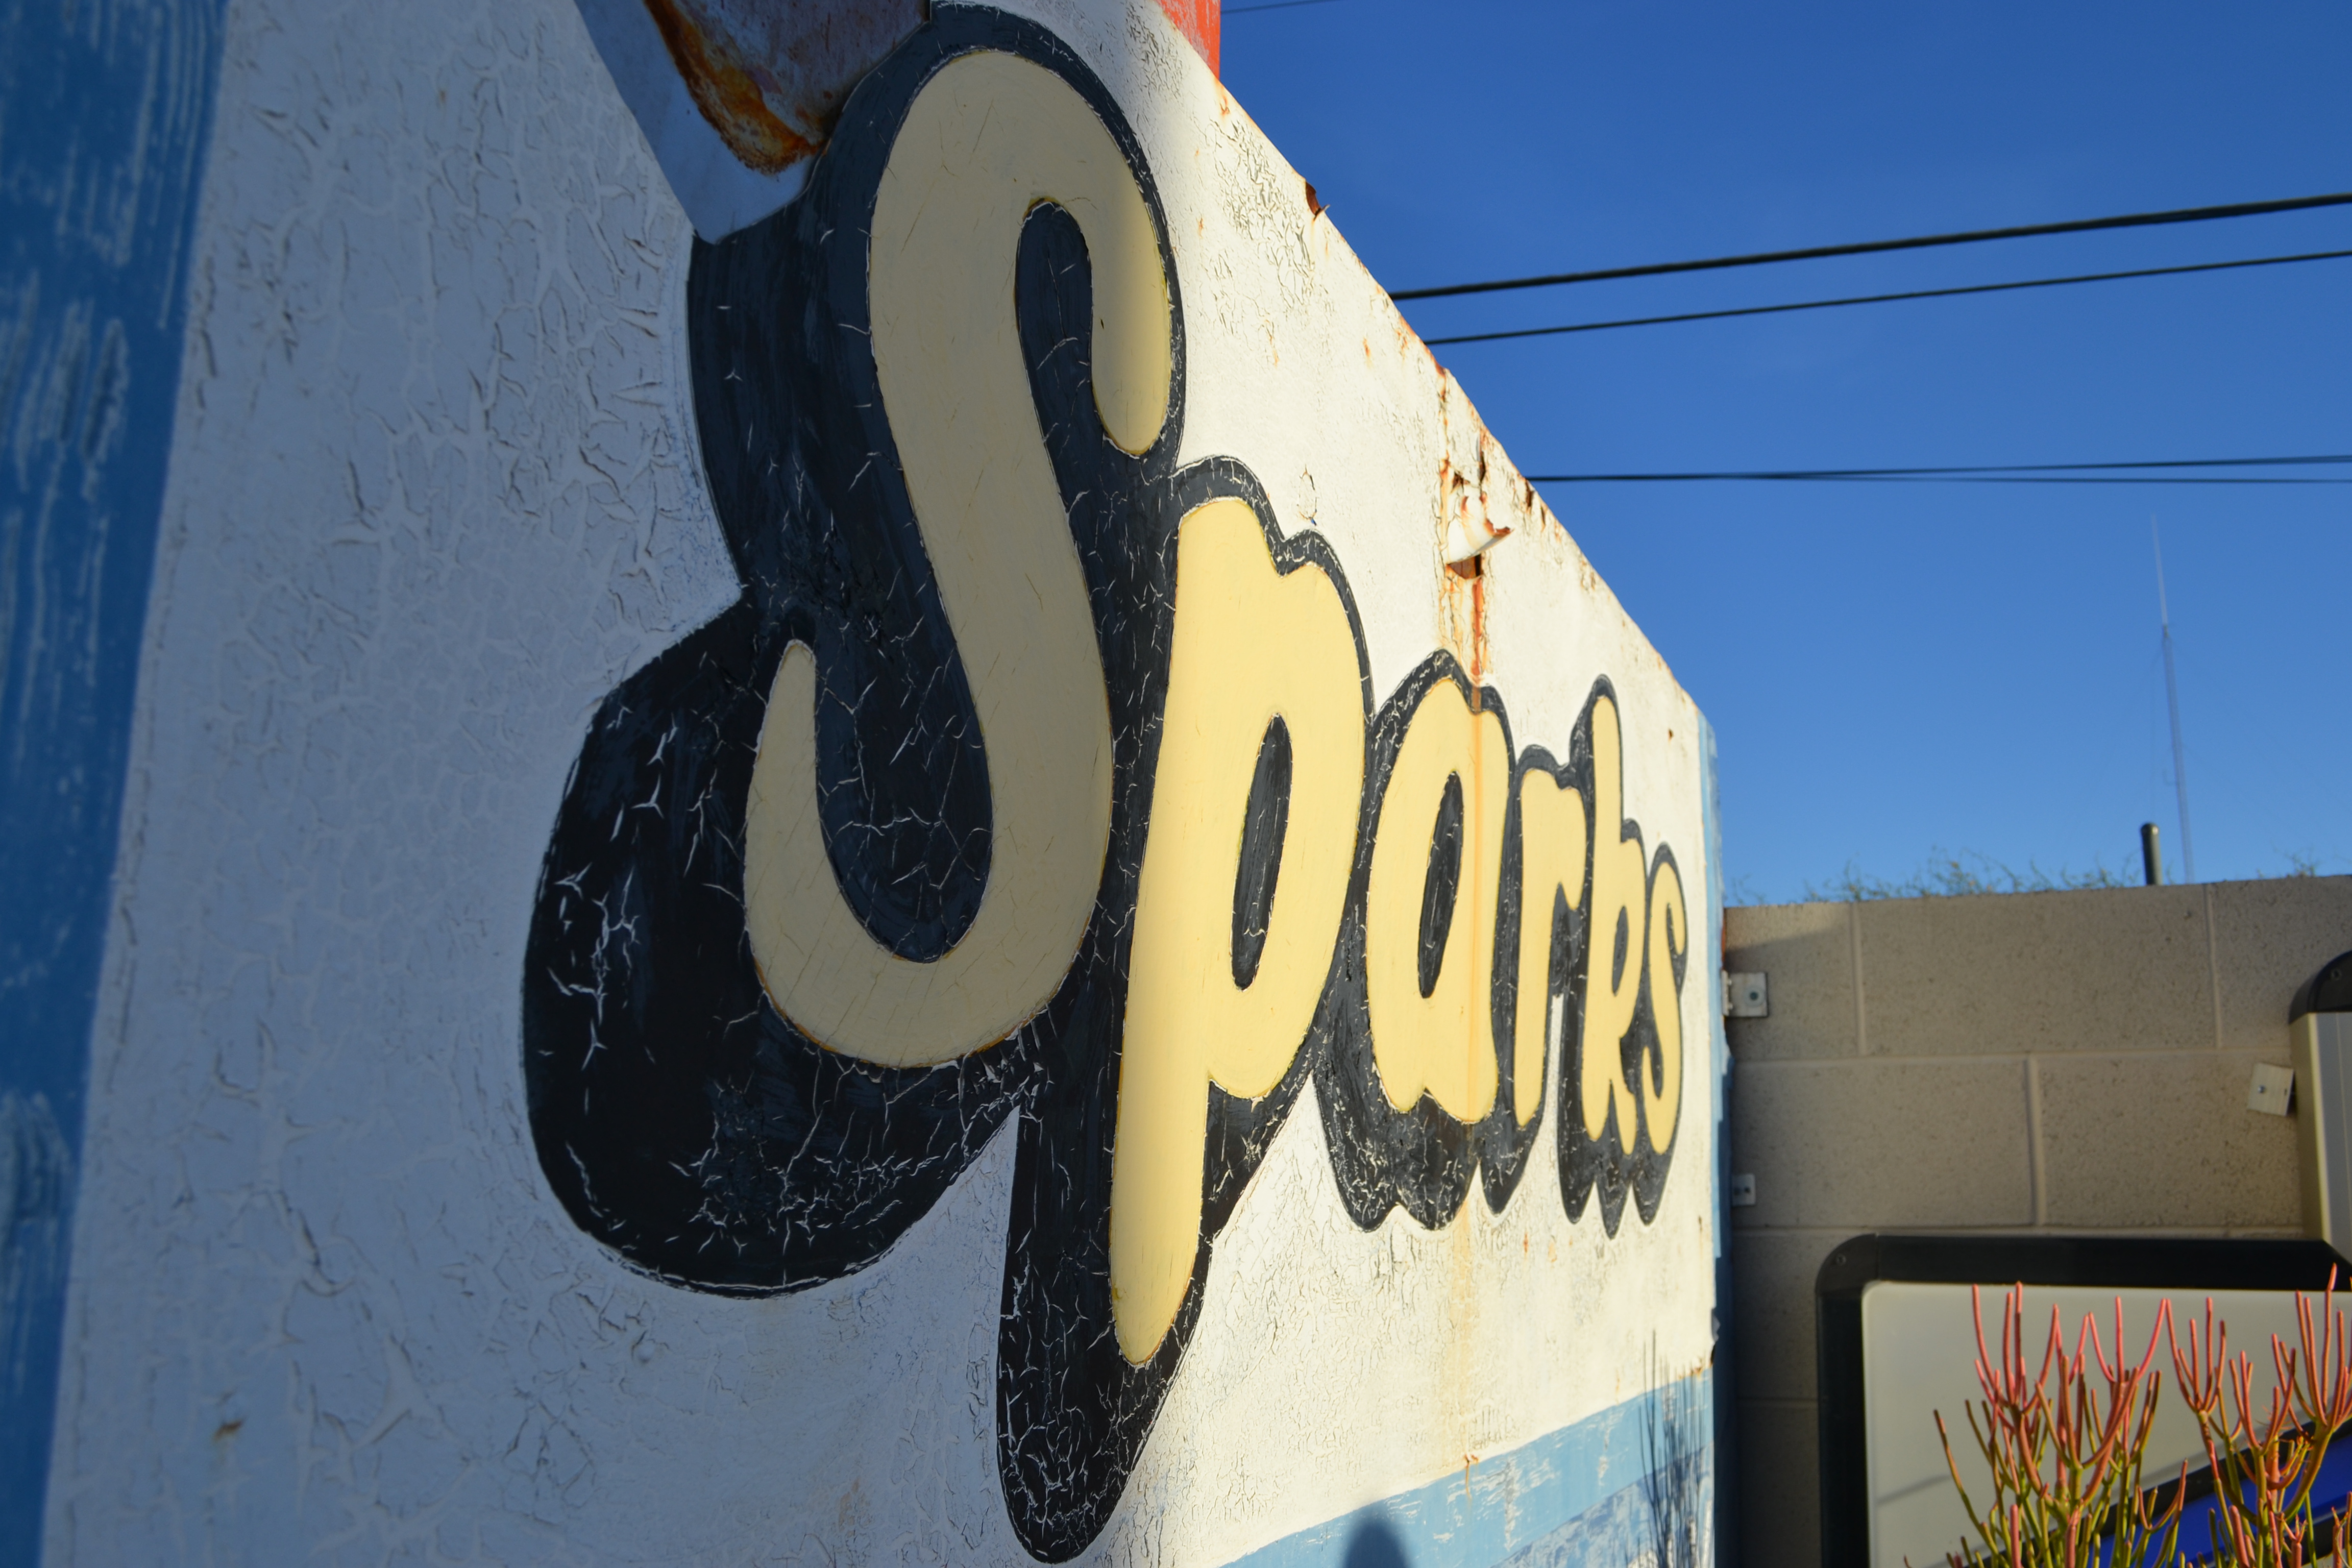
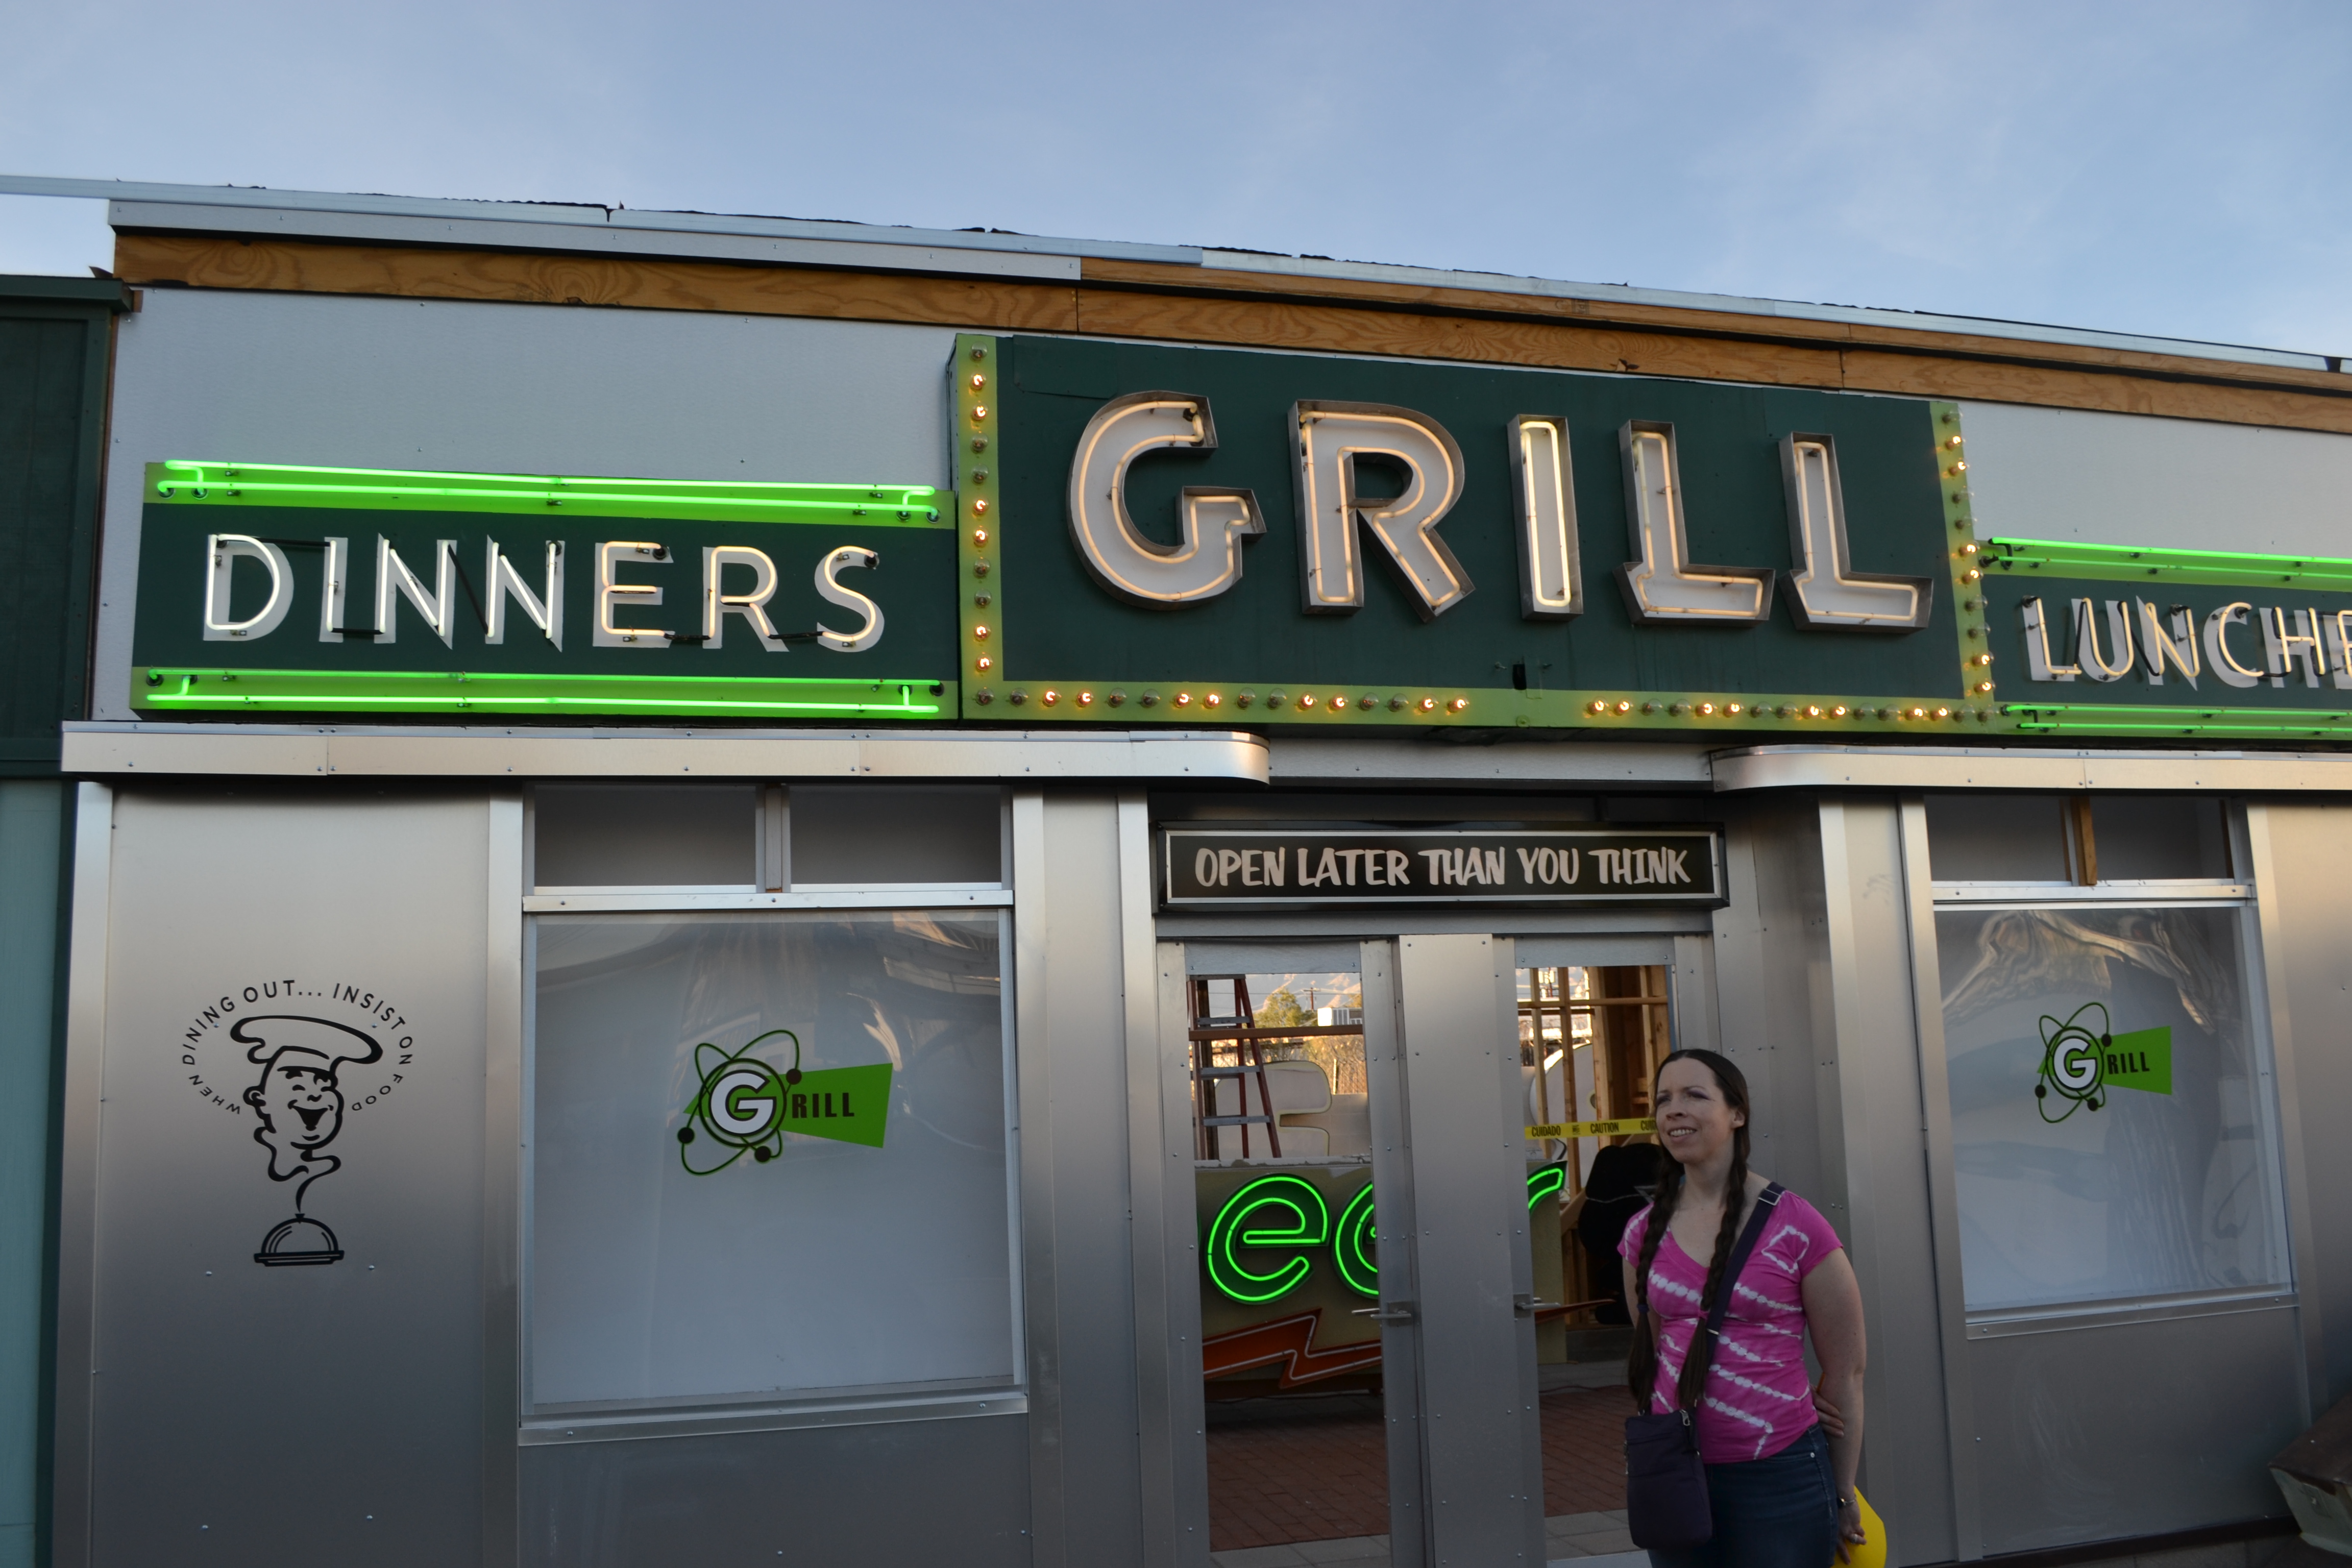
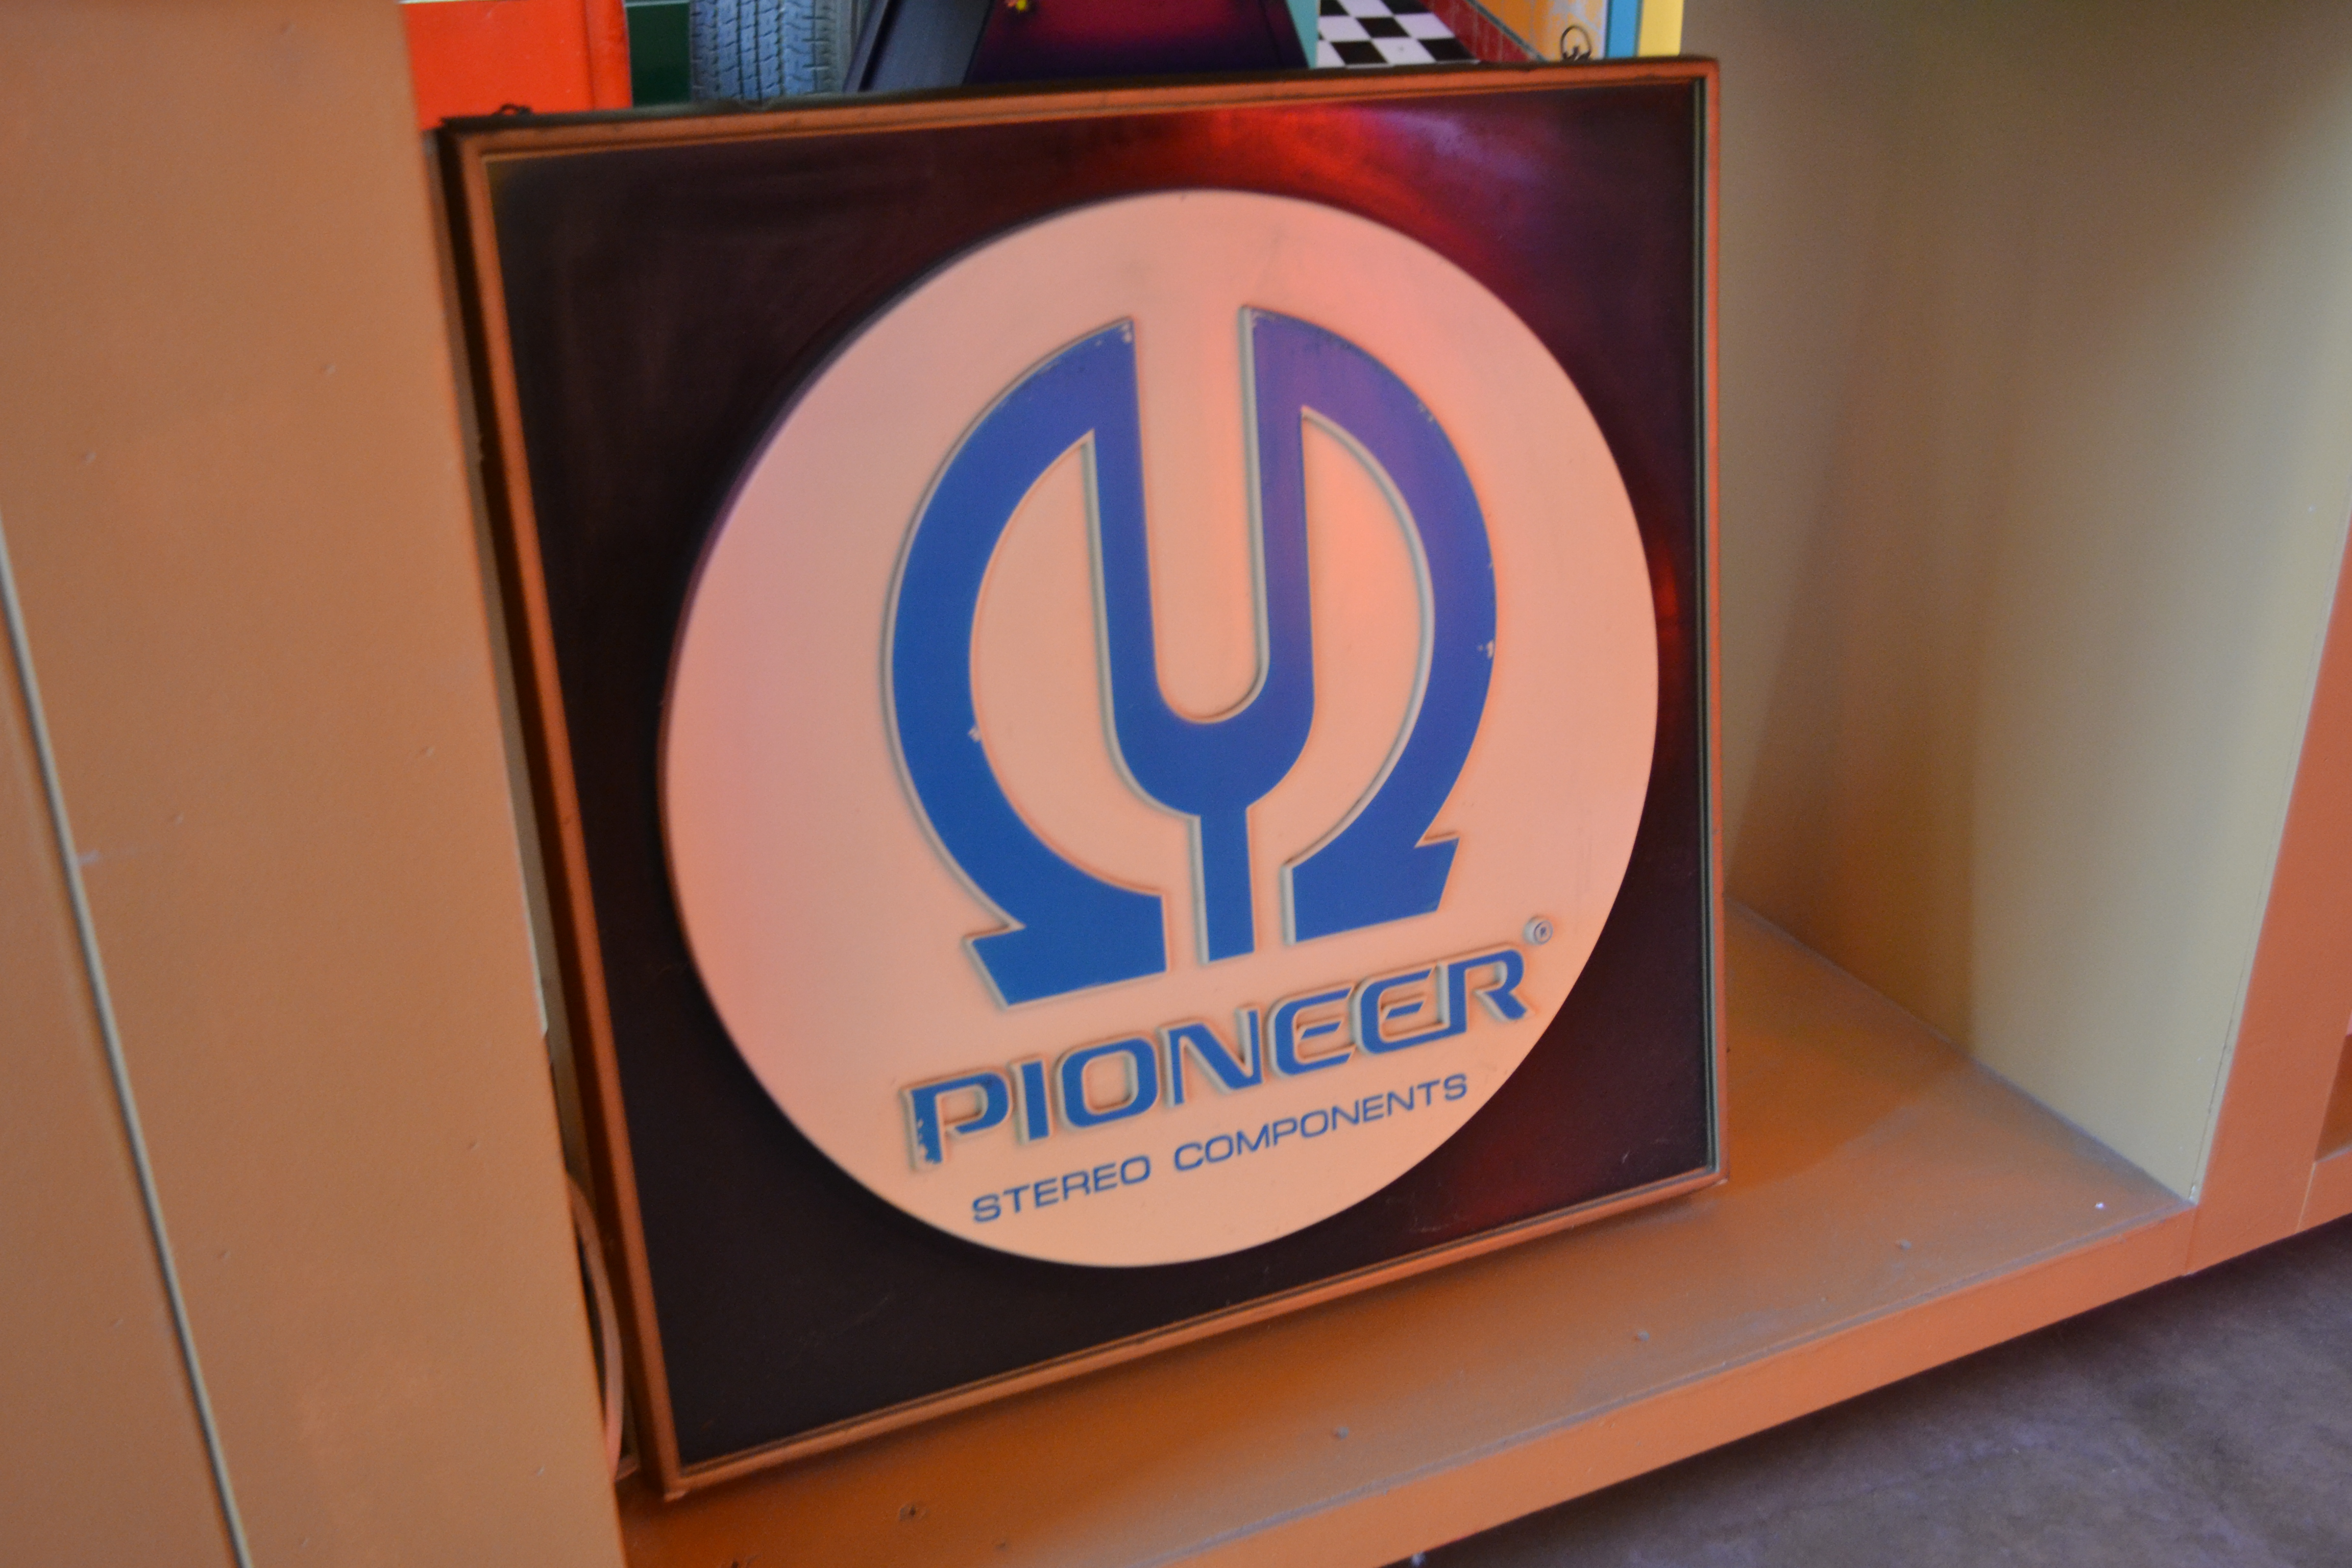
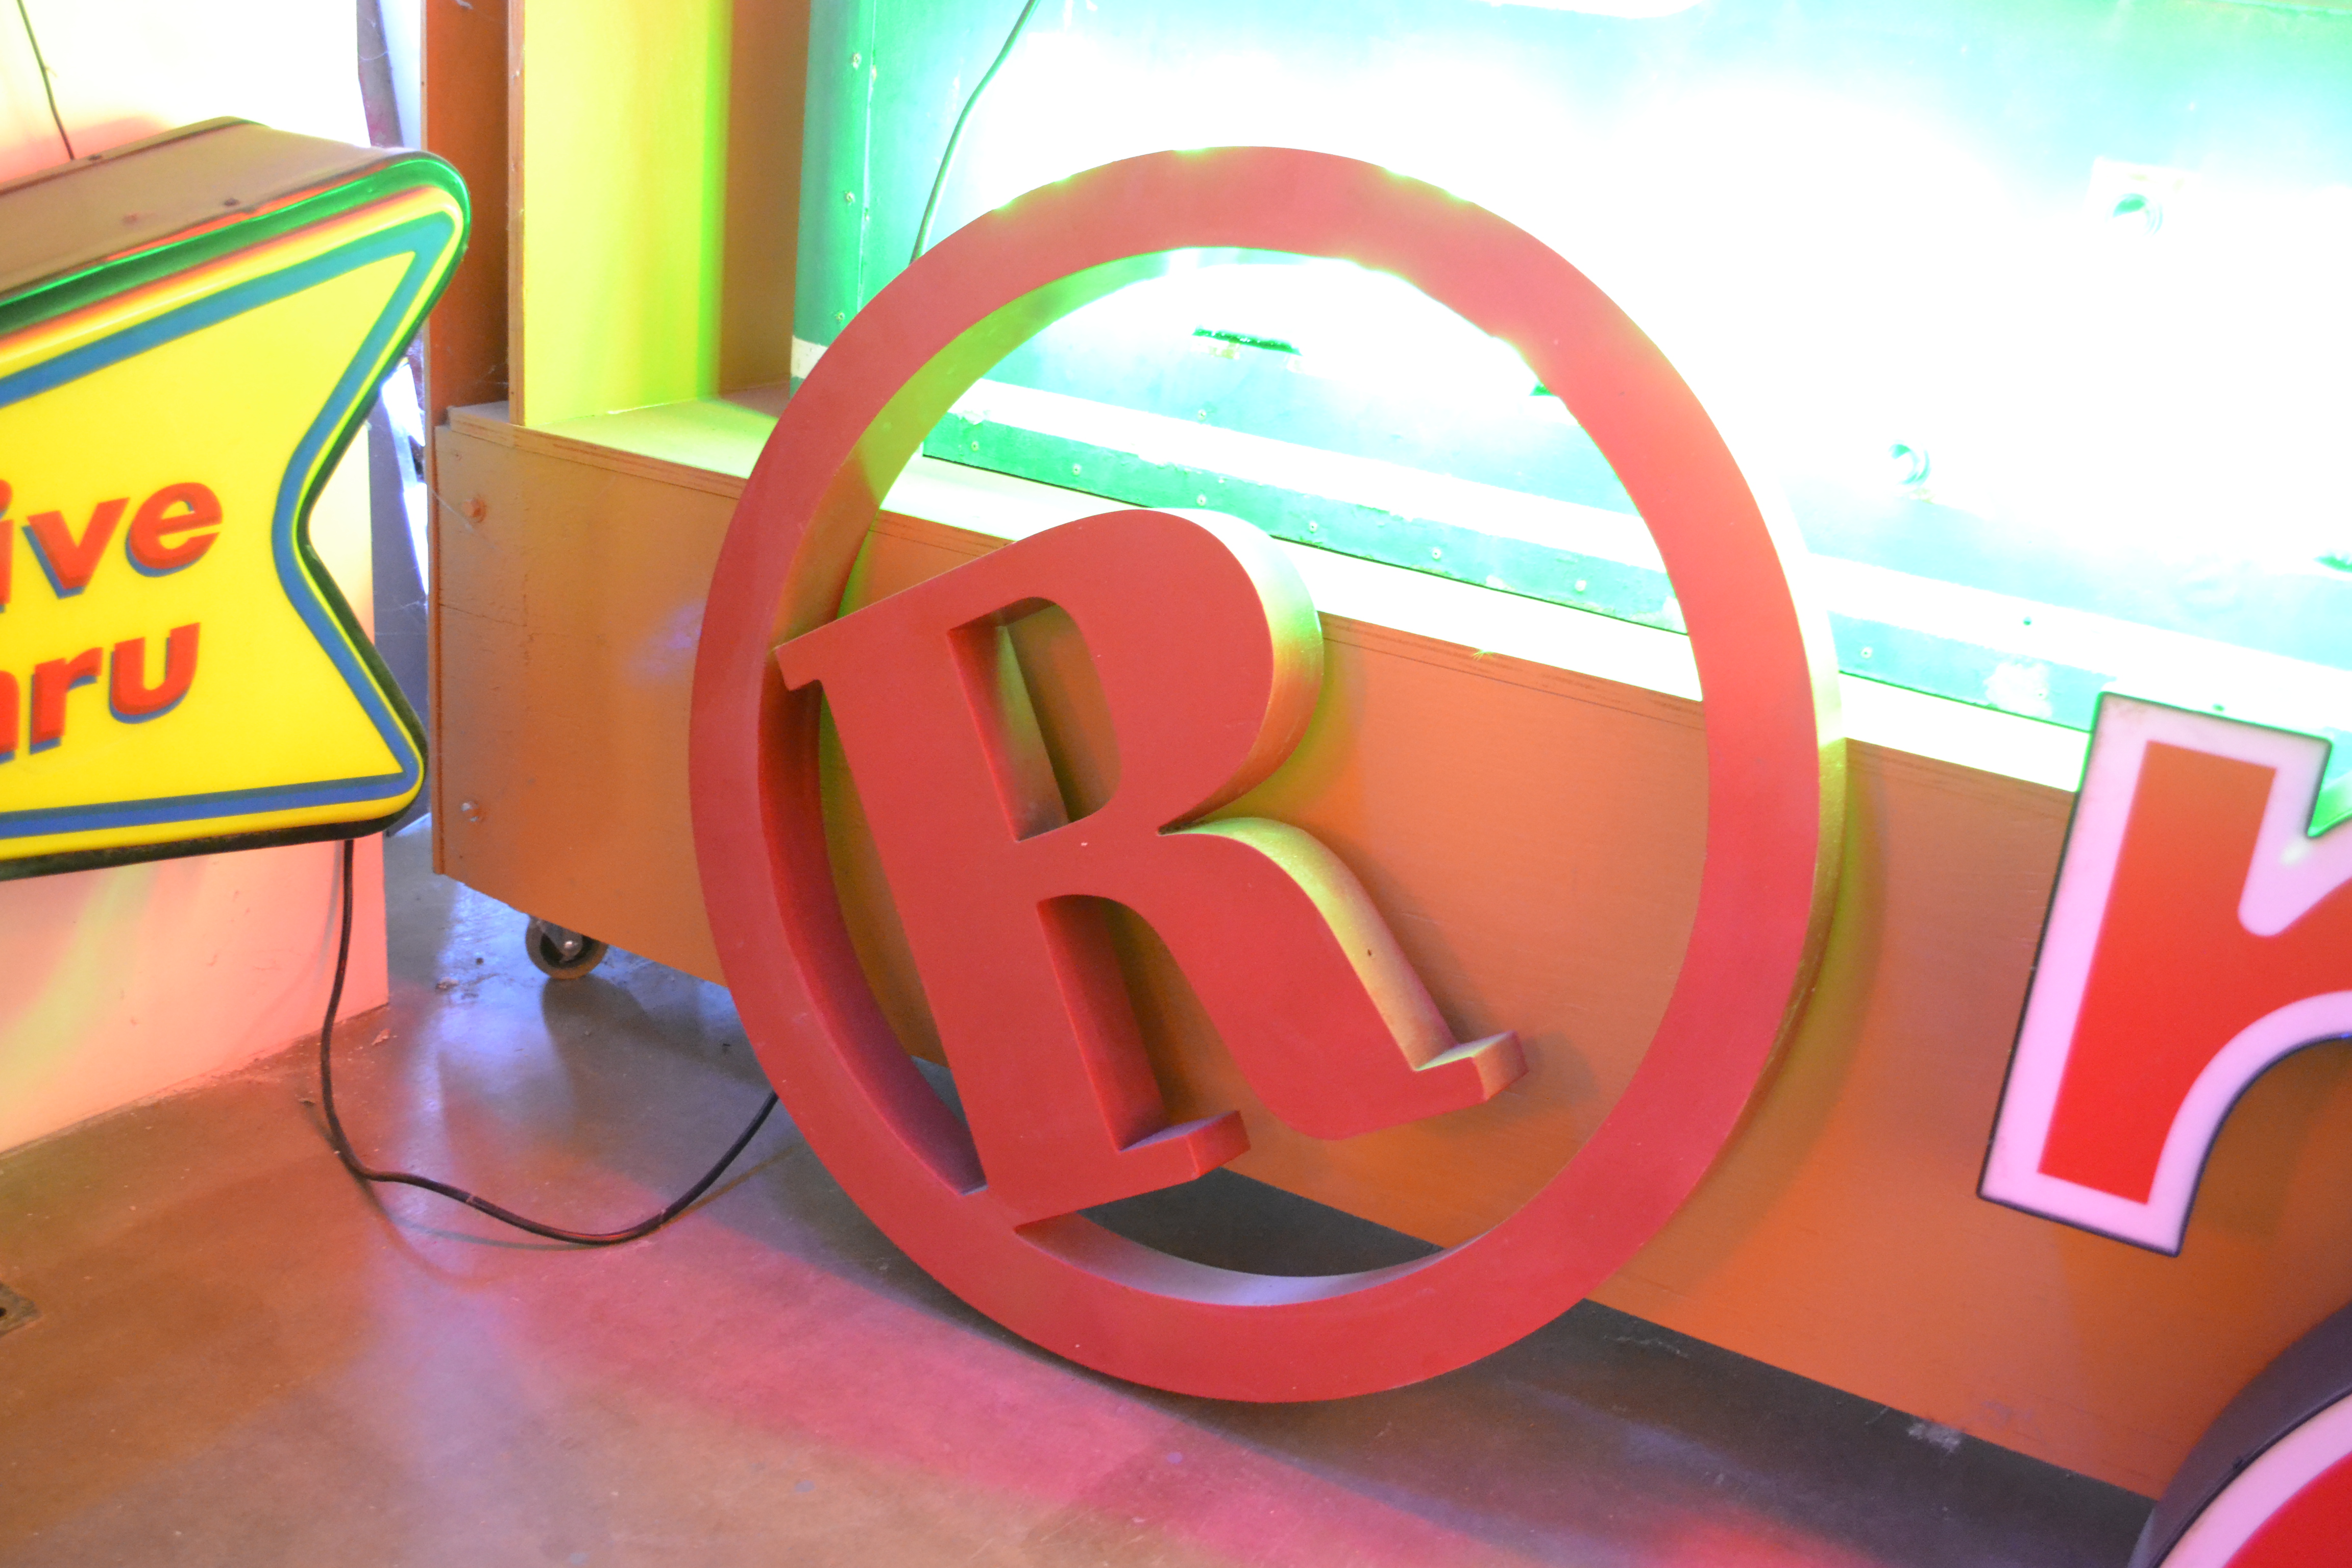
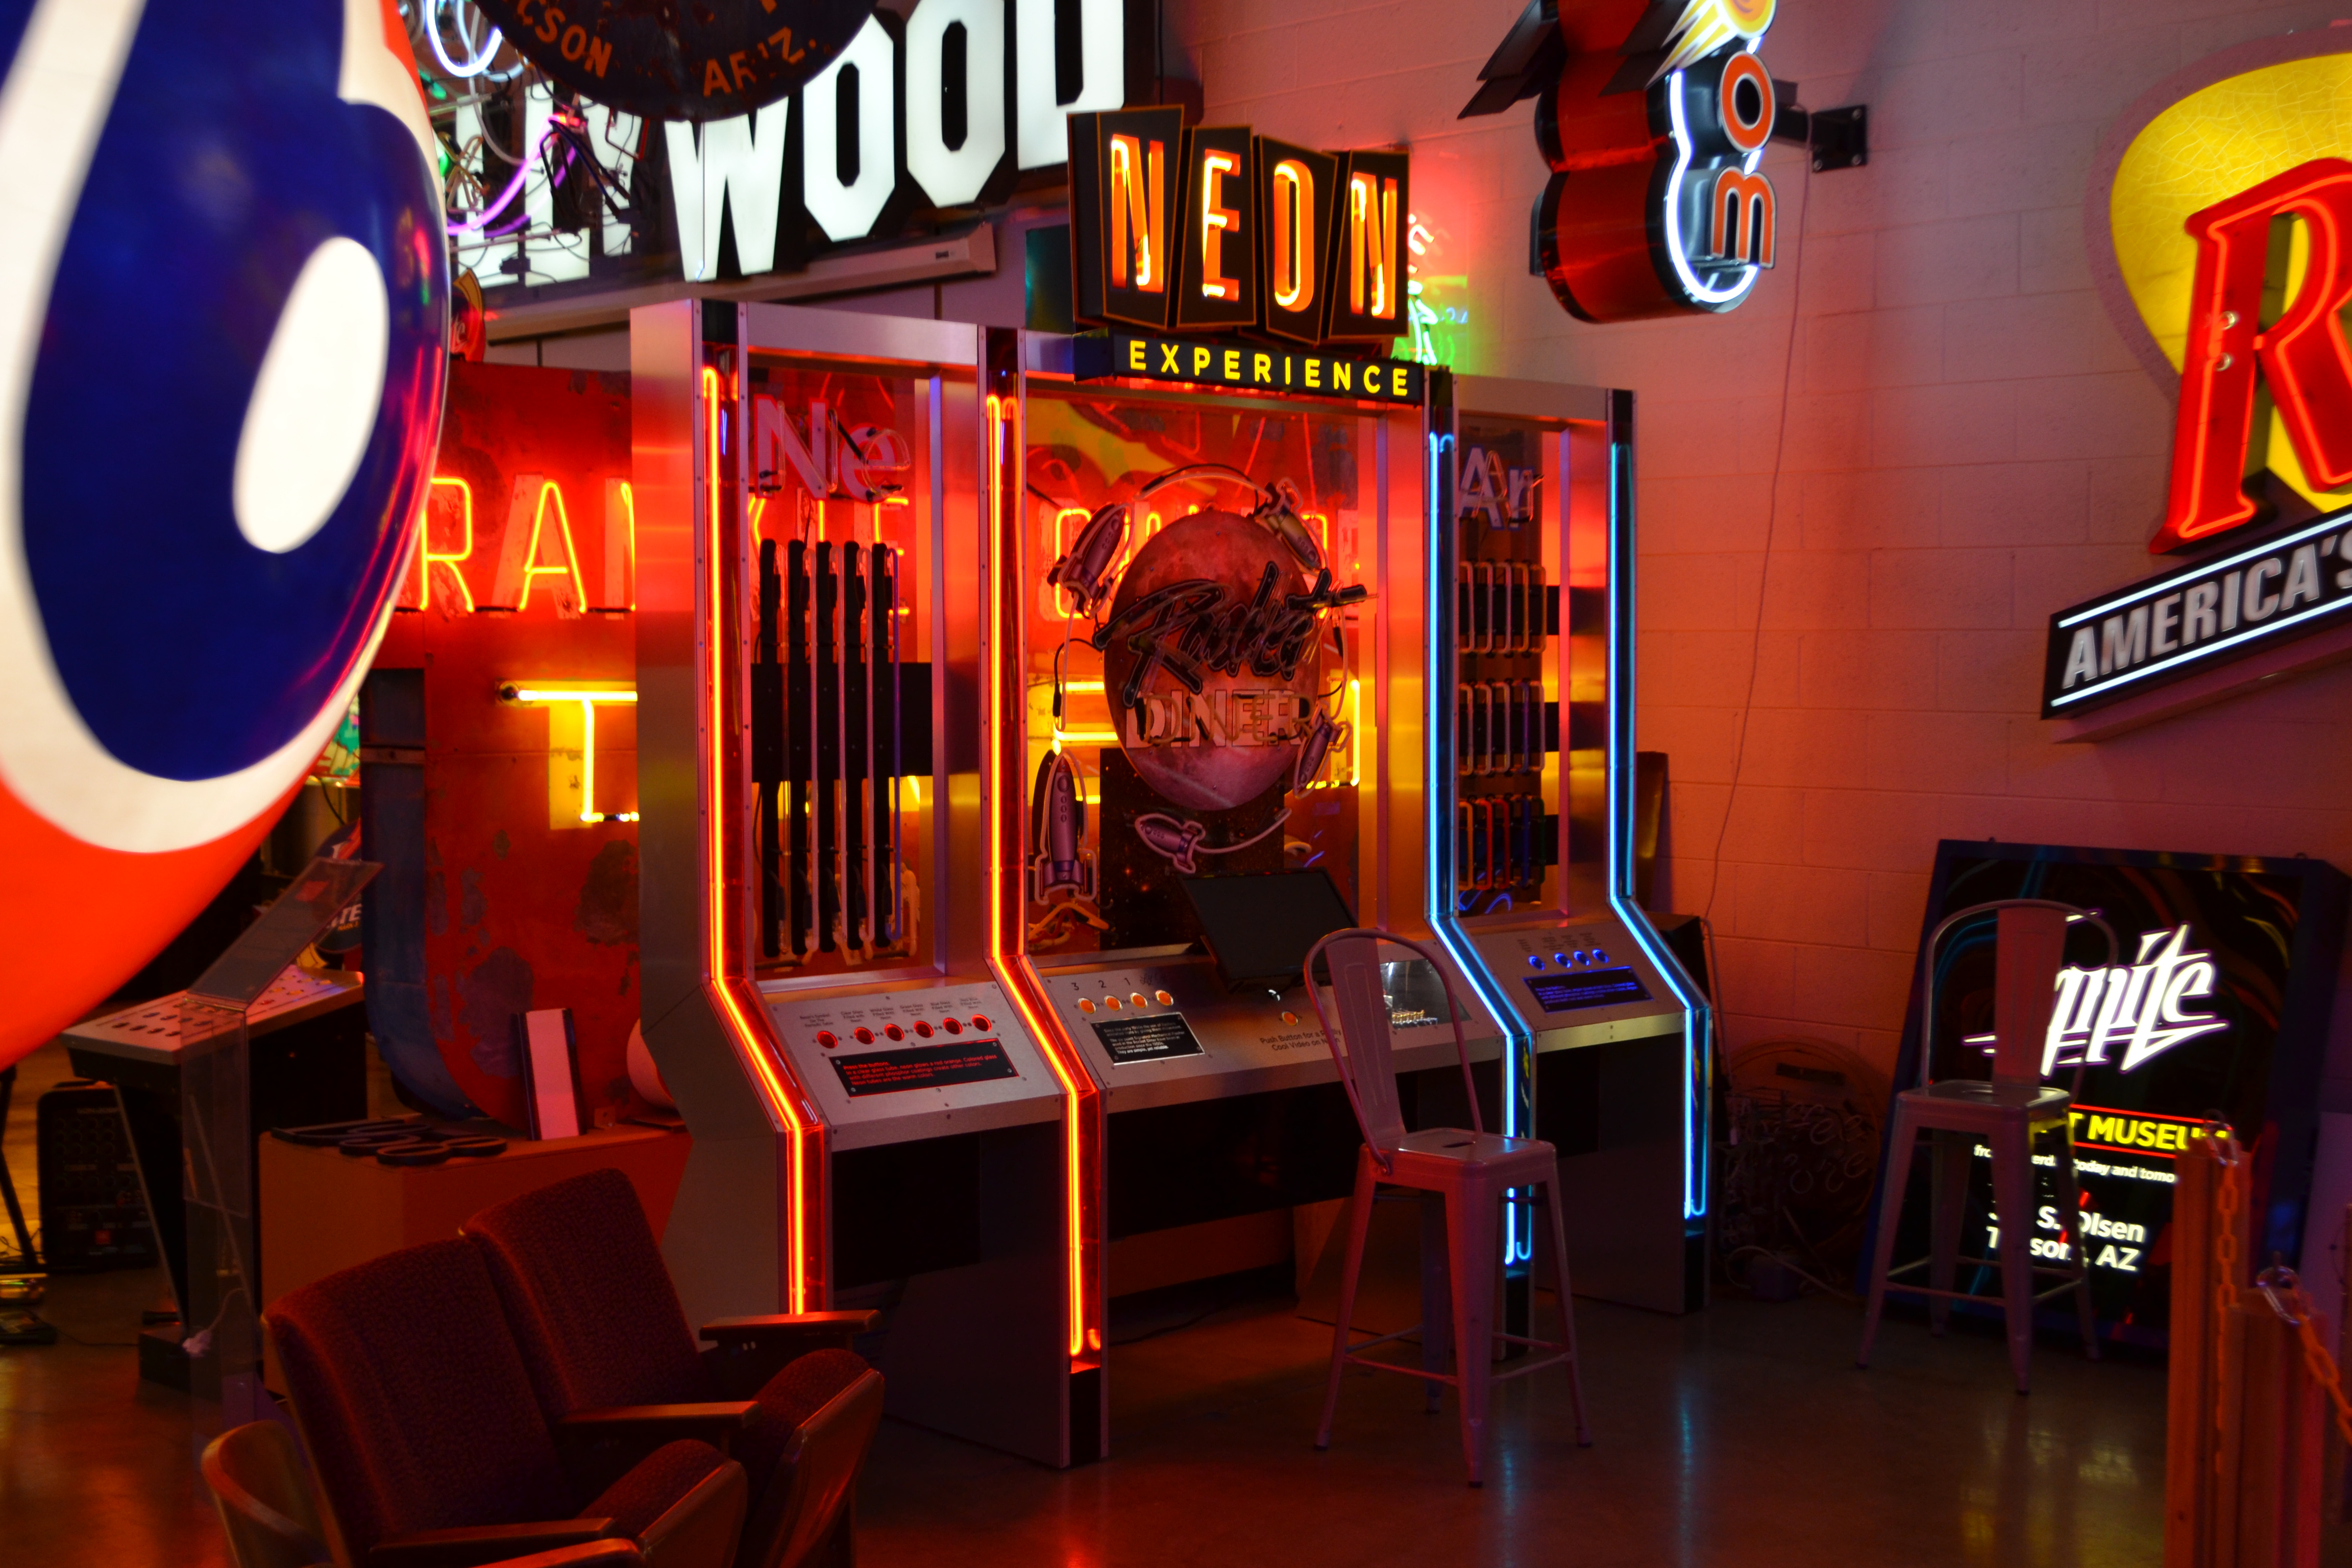
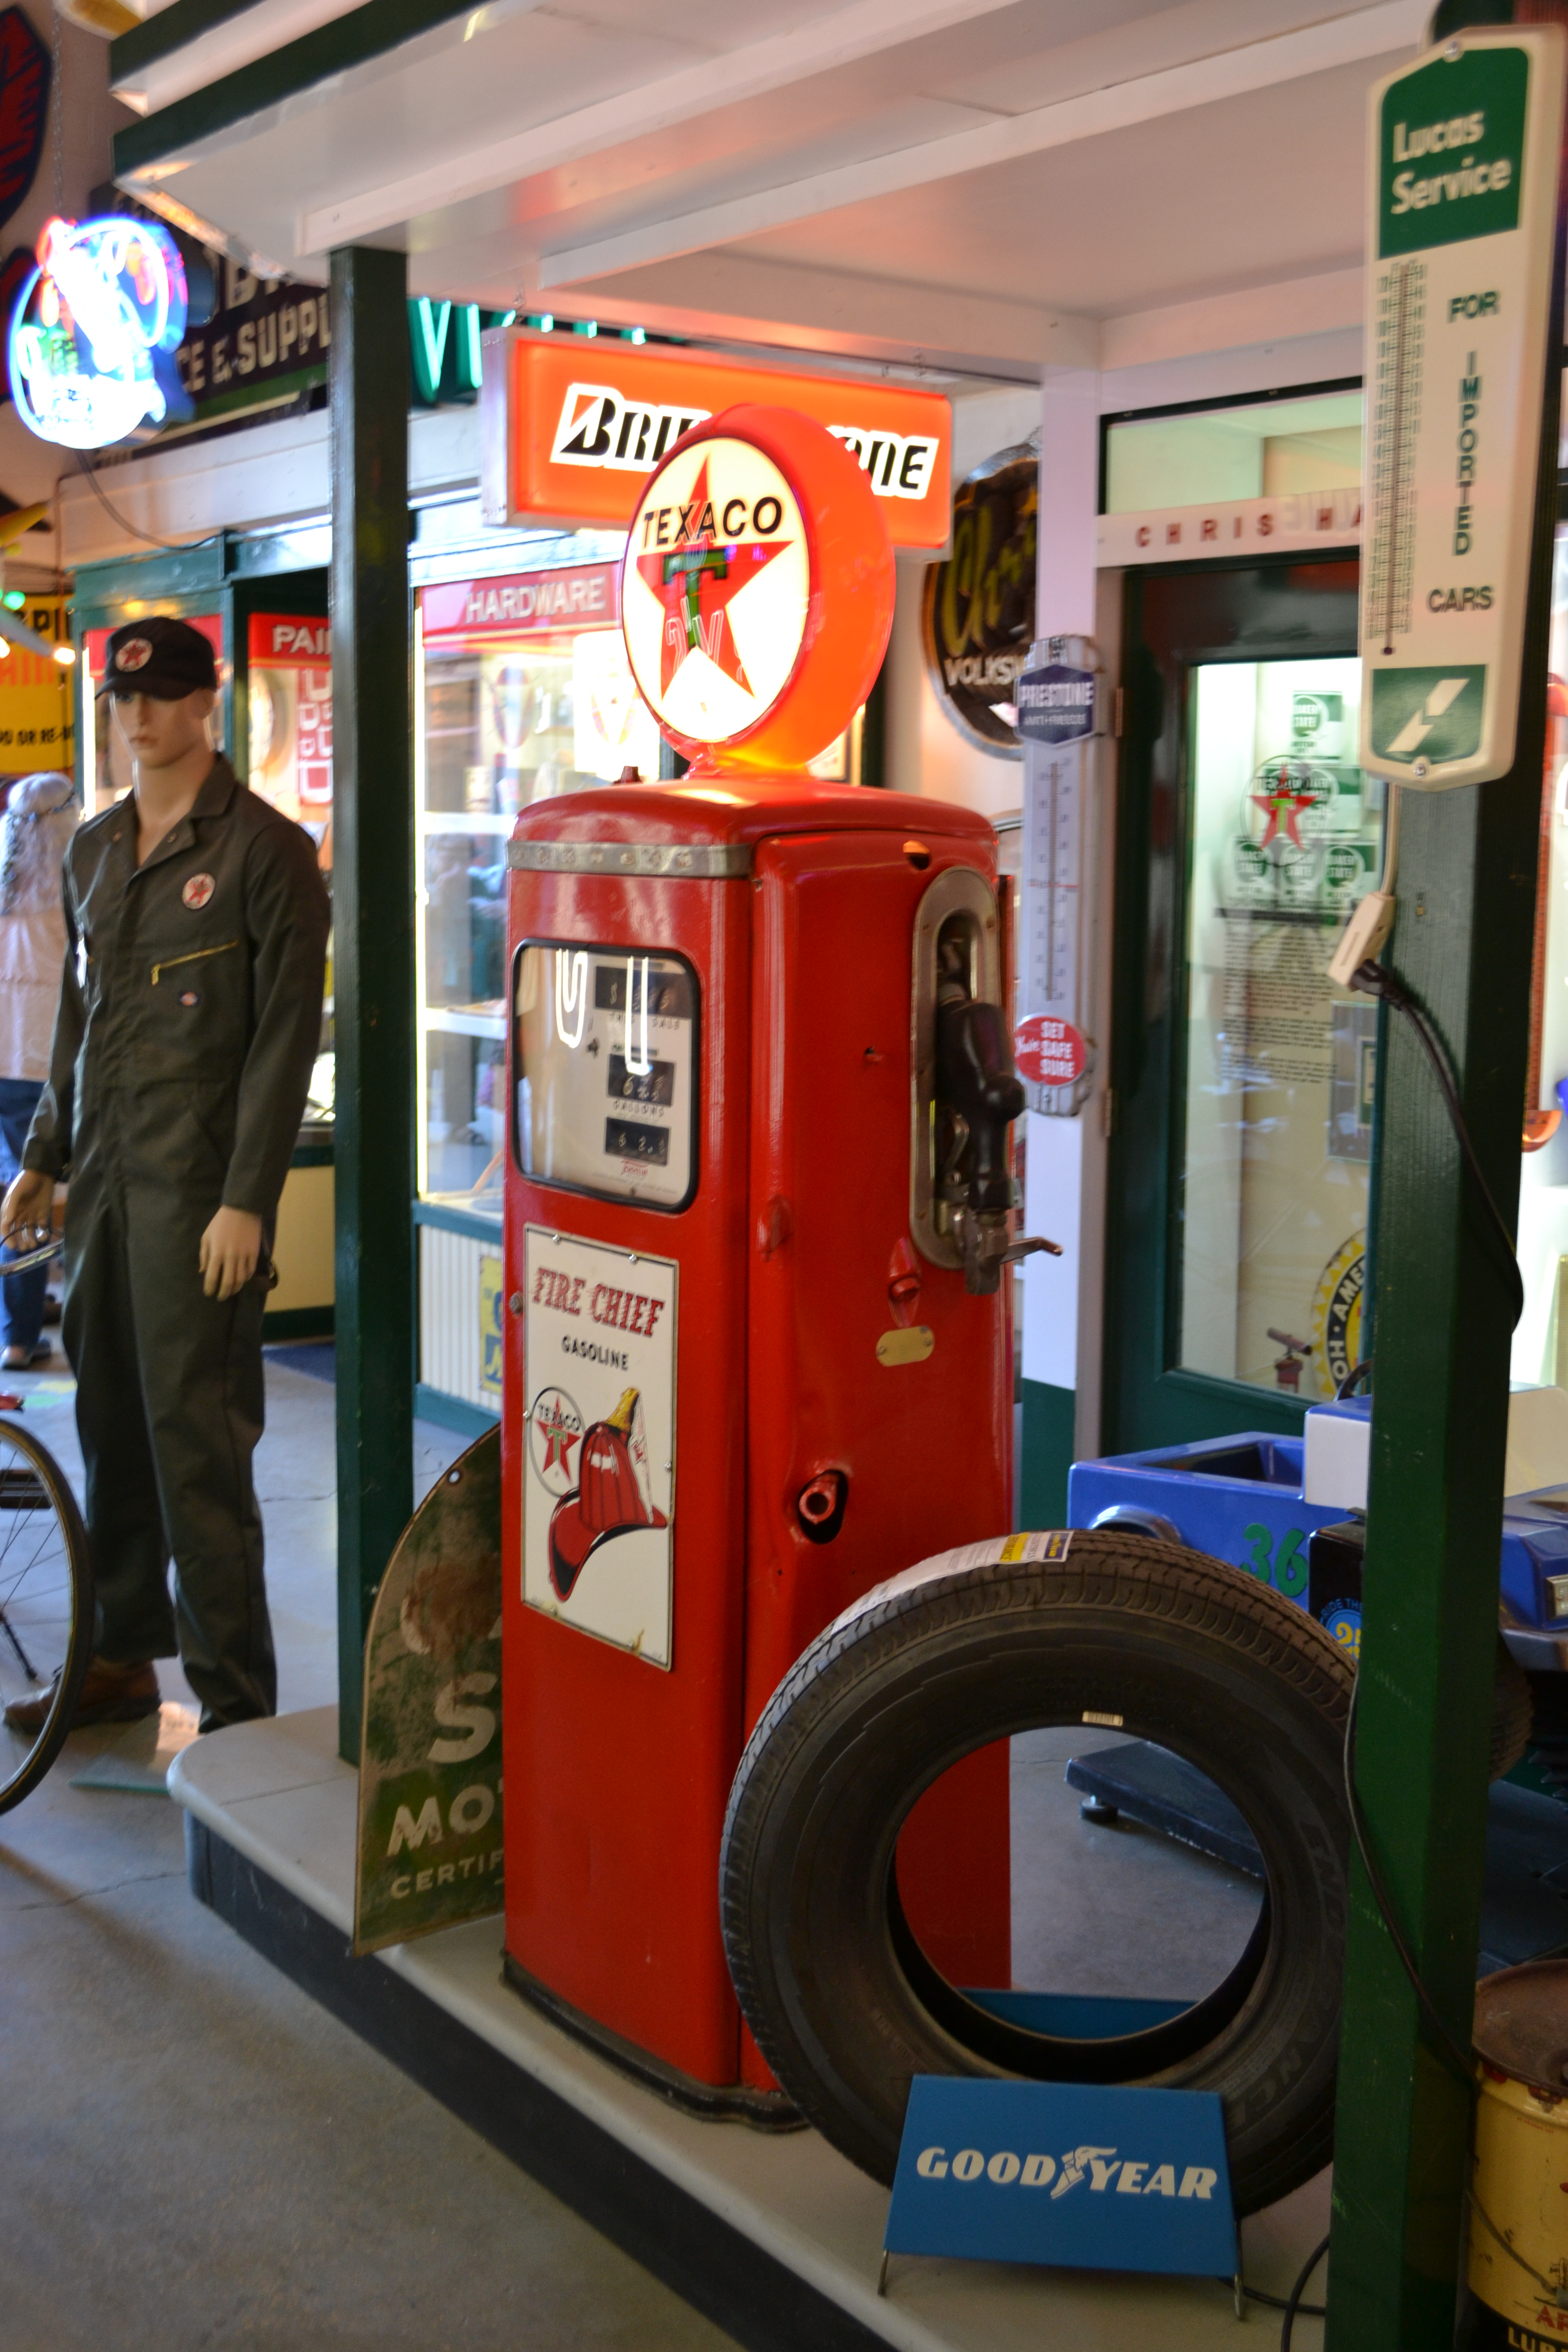
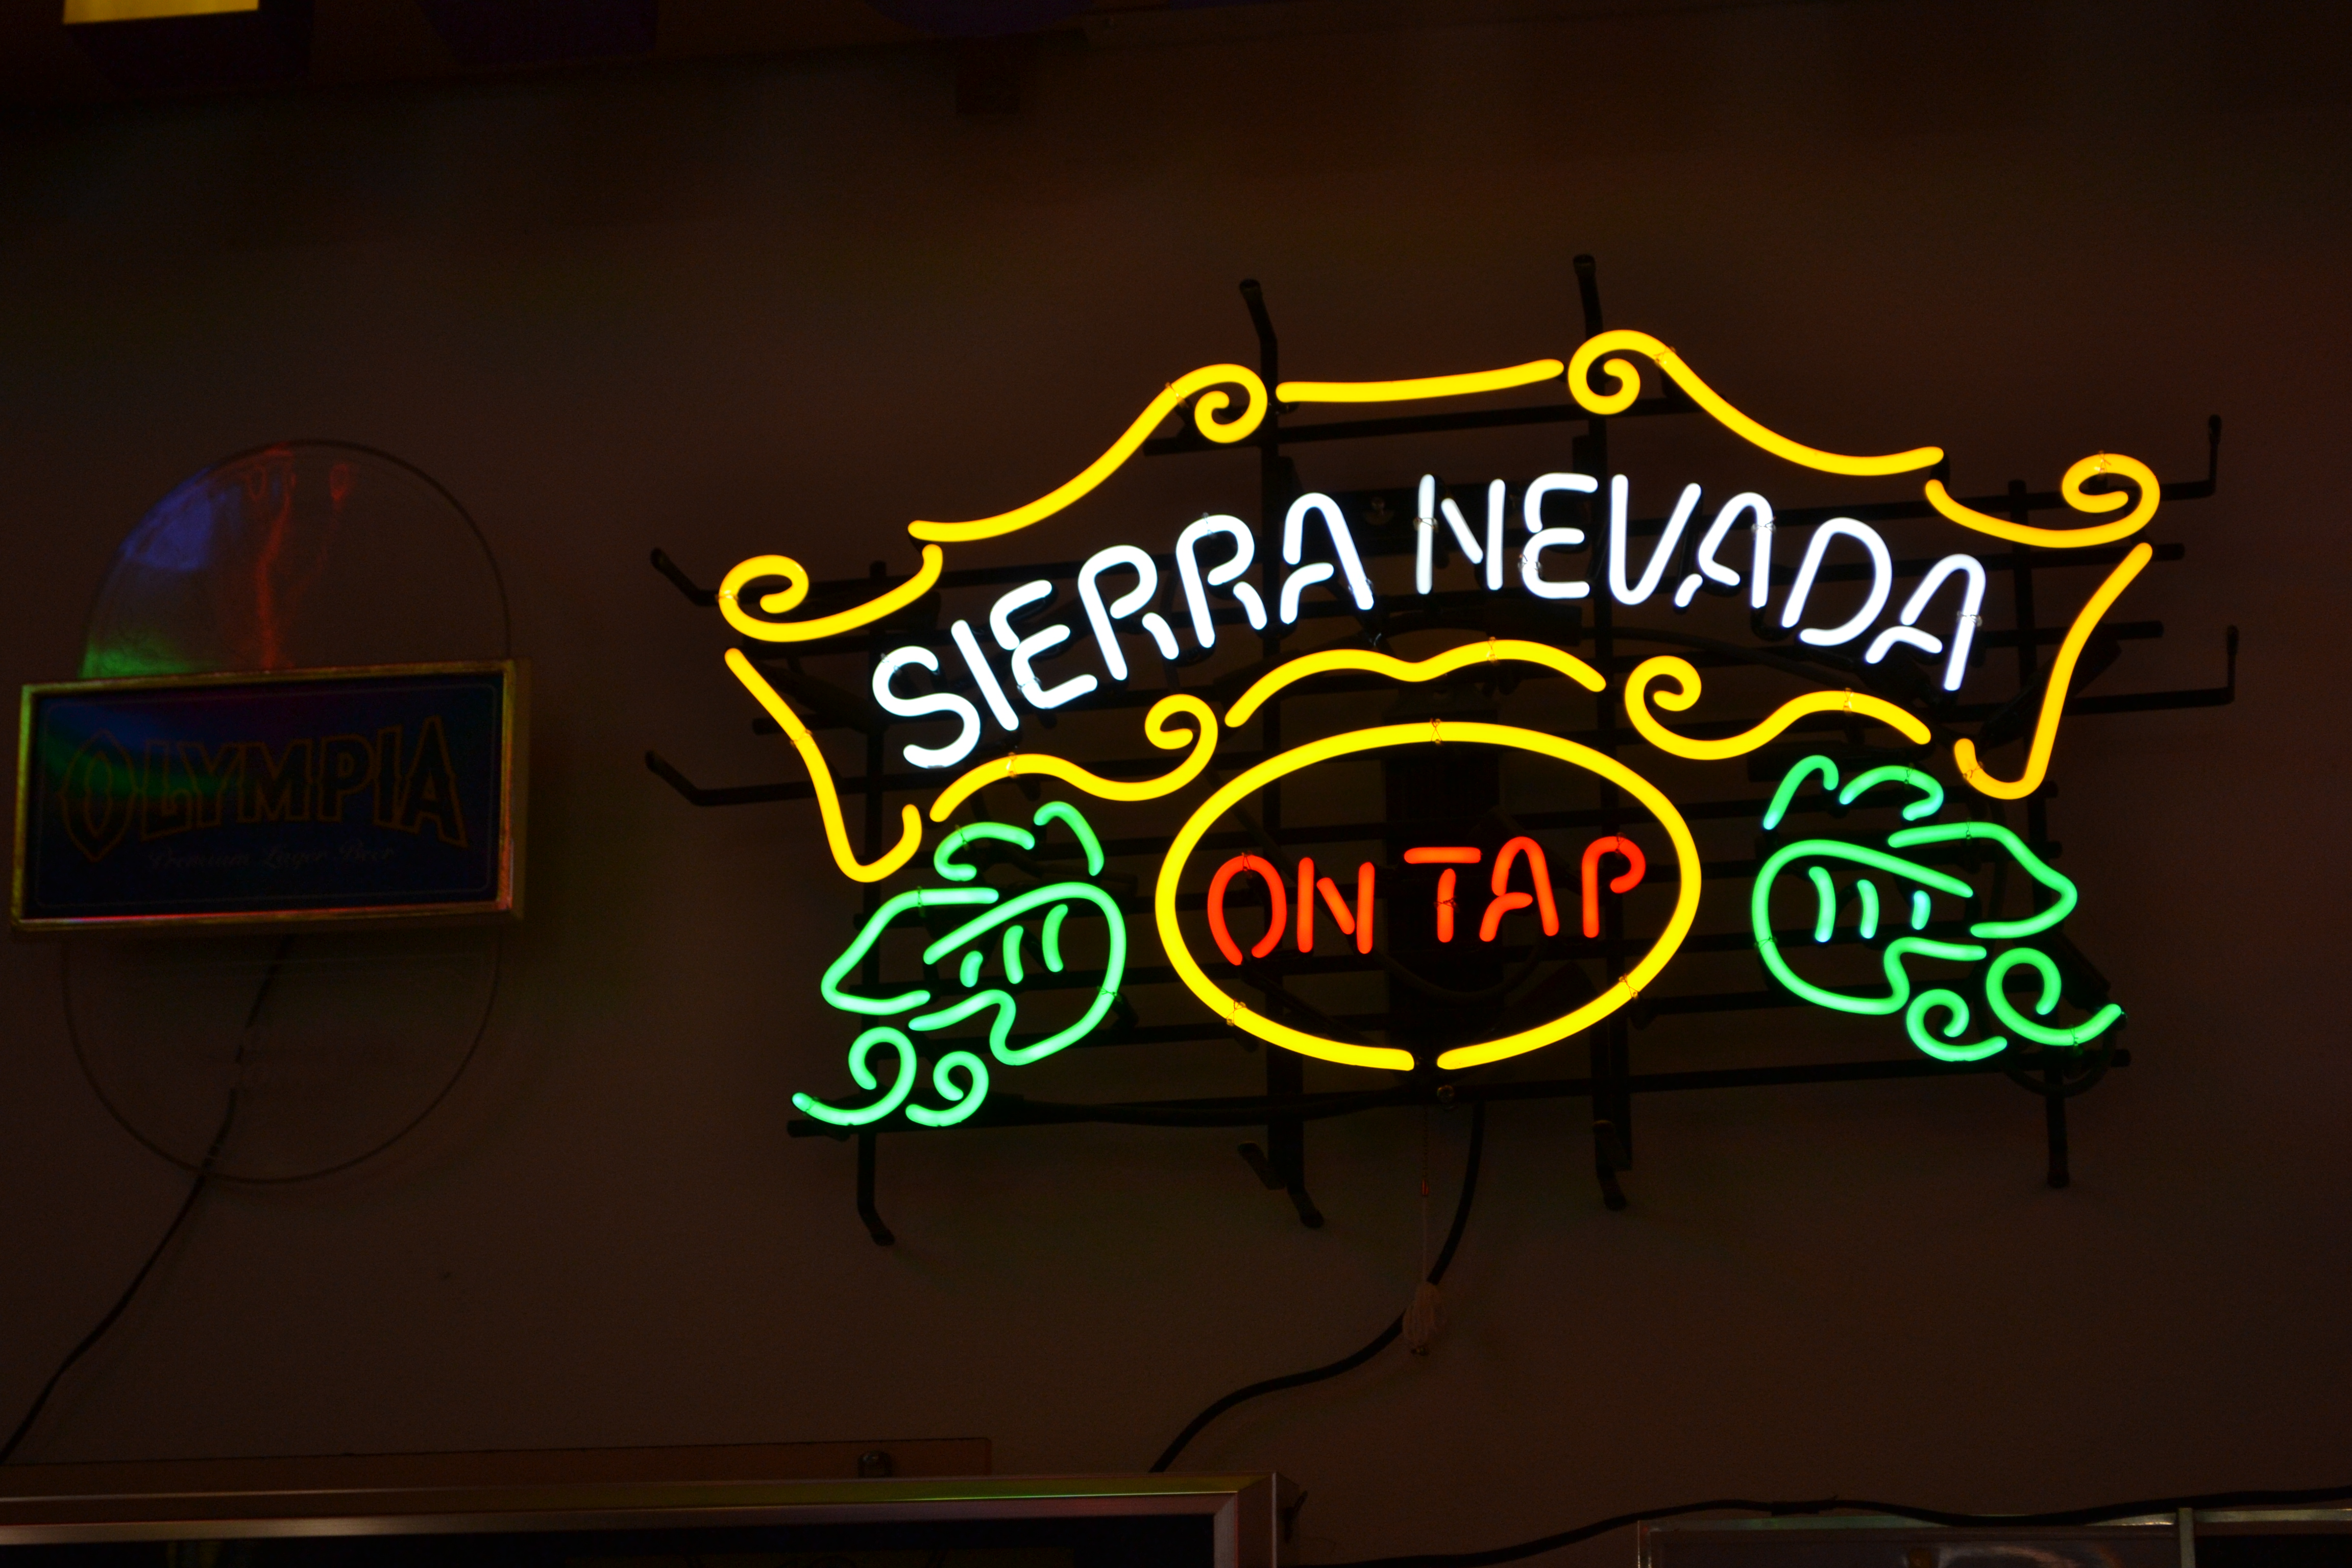
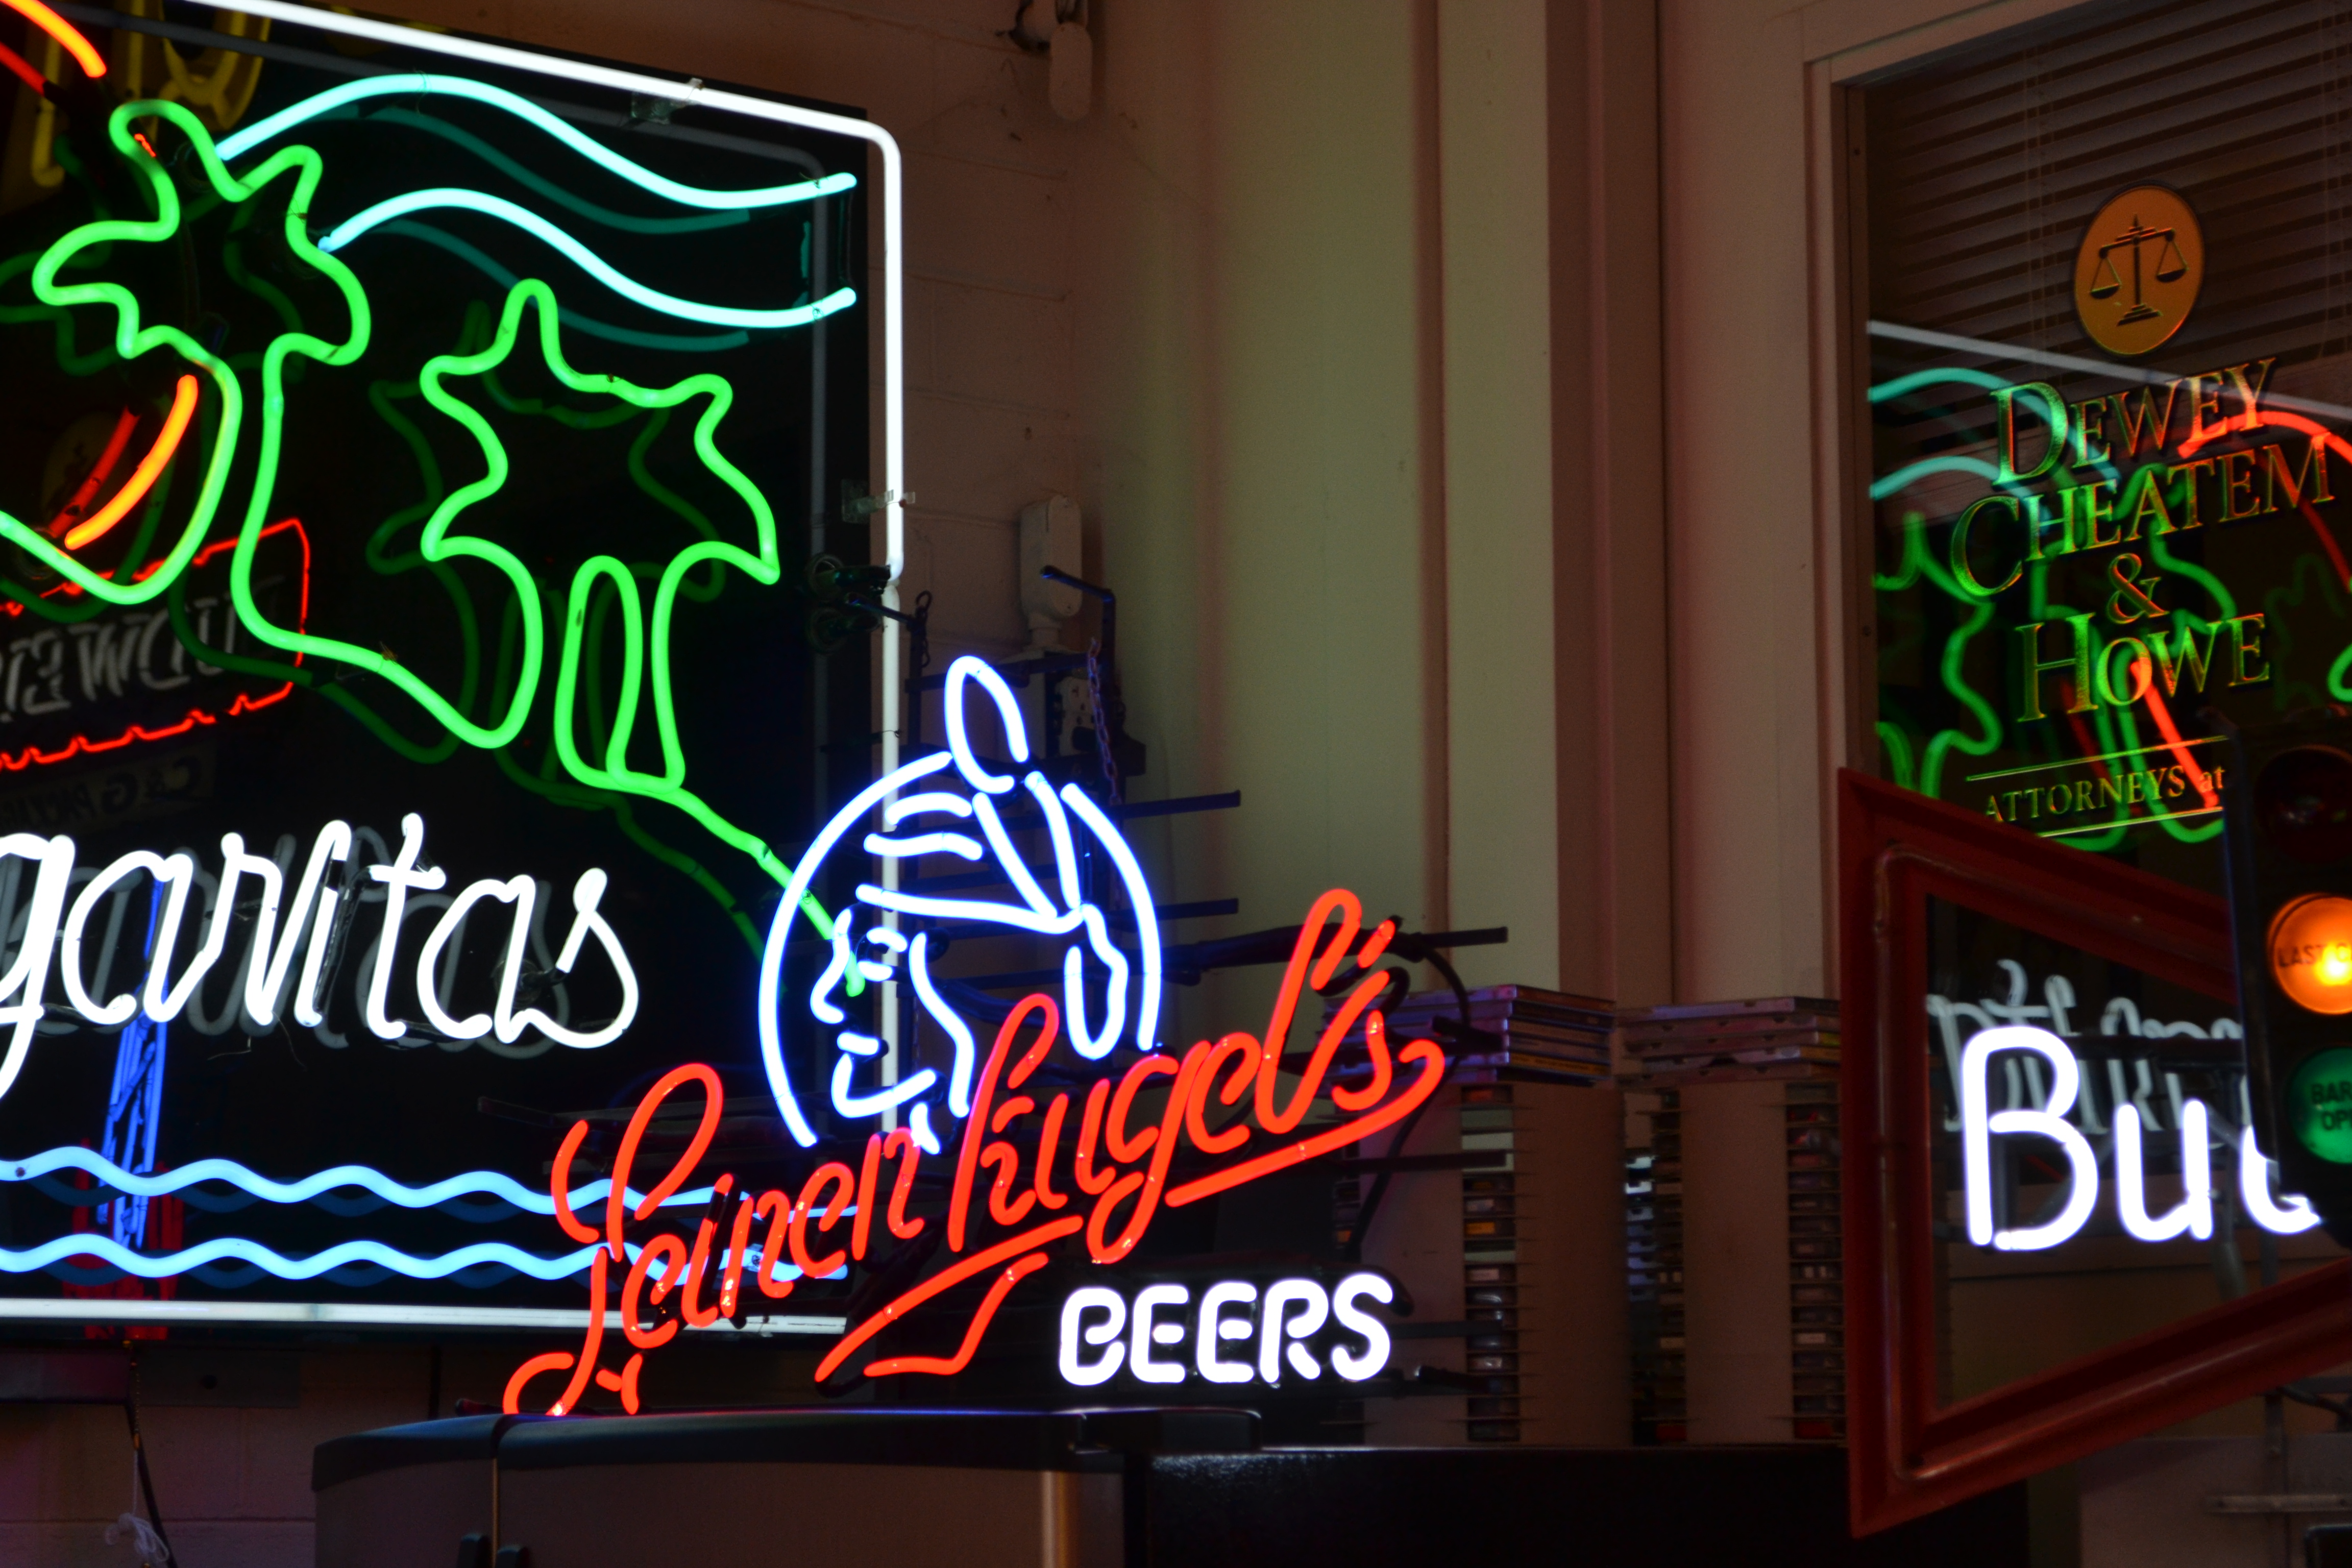
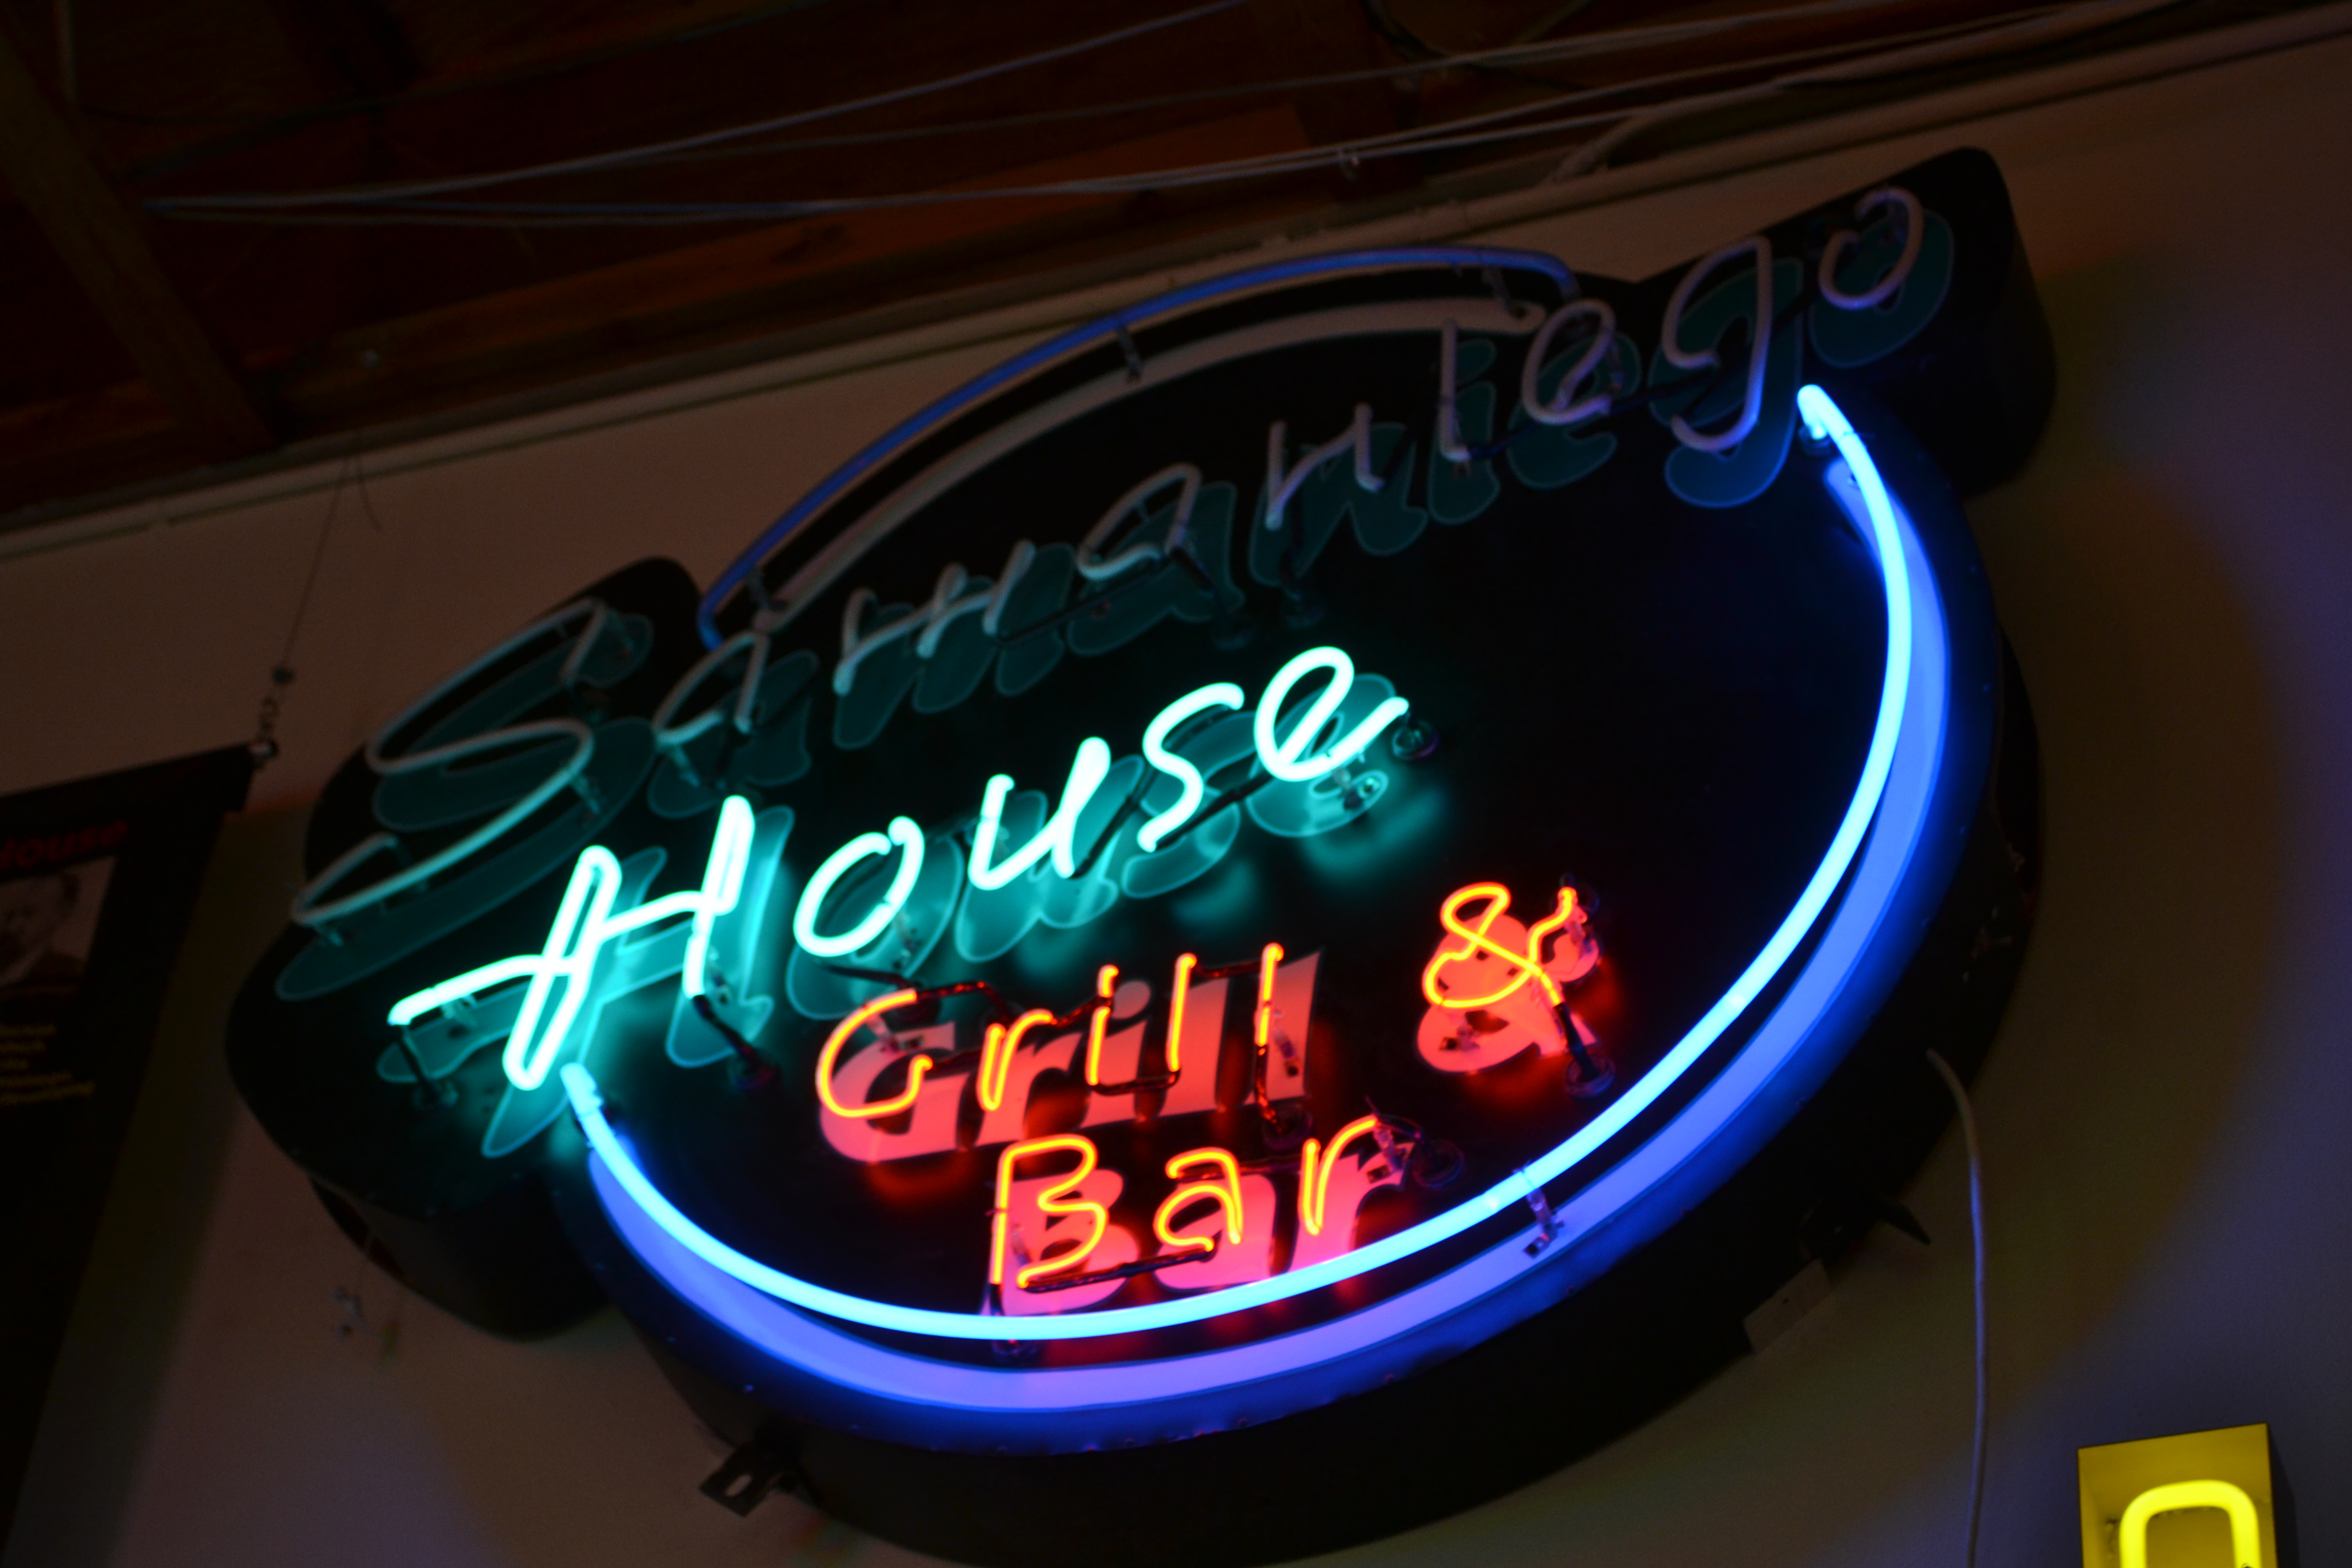
If you like neon signs and have an afternoon this place is a must see! With over 350 signs and a very cool display of some 50s, 60s and 70s memorabilia you can definitely spend hours looking at it all.
A Williams pinball machine, a Seeburg juke box, a sign printer, and just about every old neon sign that graced the skyline in Tucson.
I took a LOT of photos but will be sharing my favorites here… I hope you enjoy.
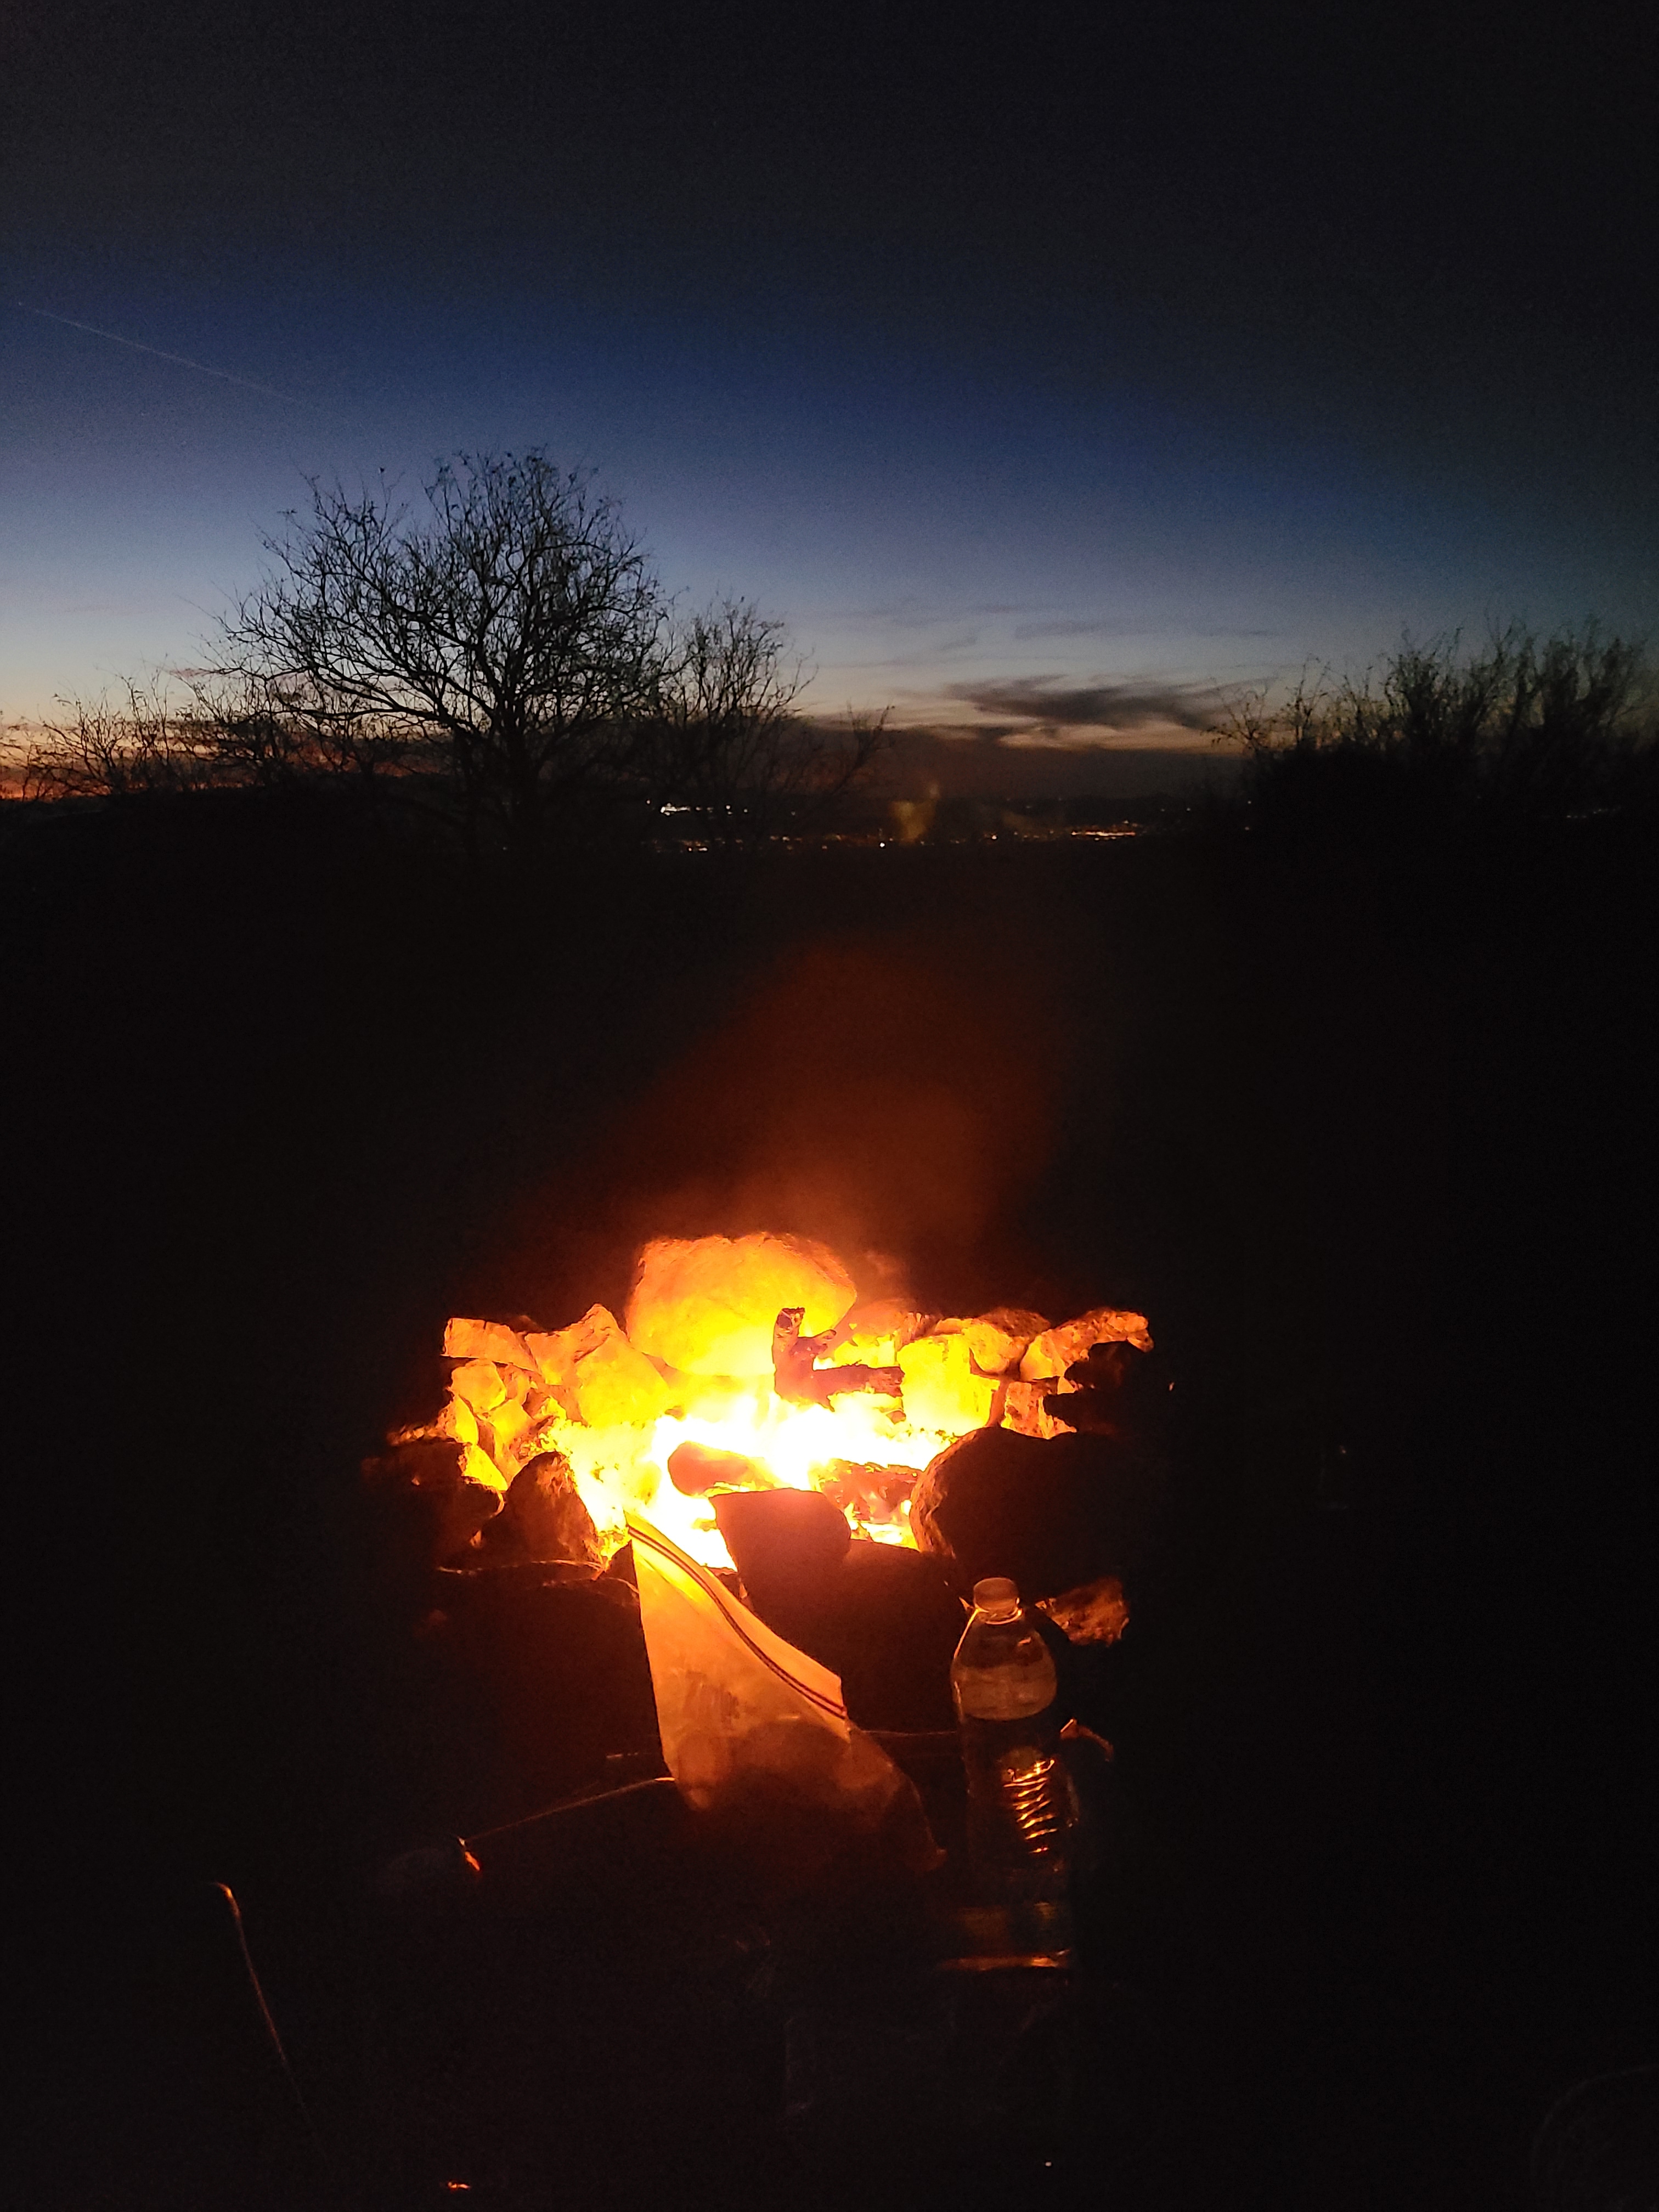
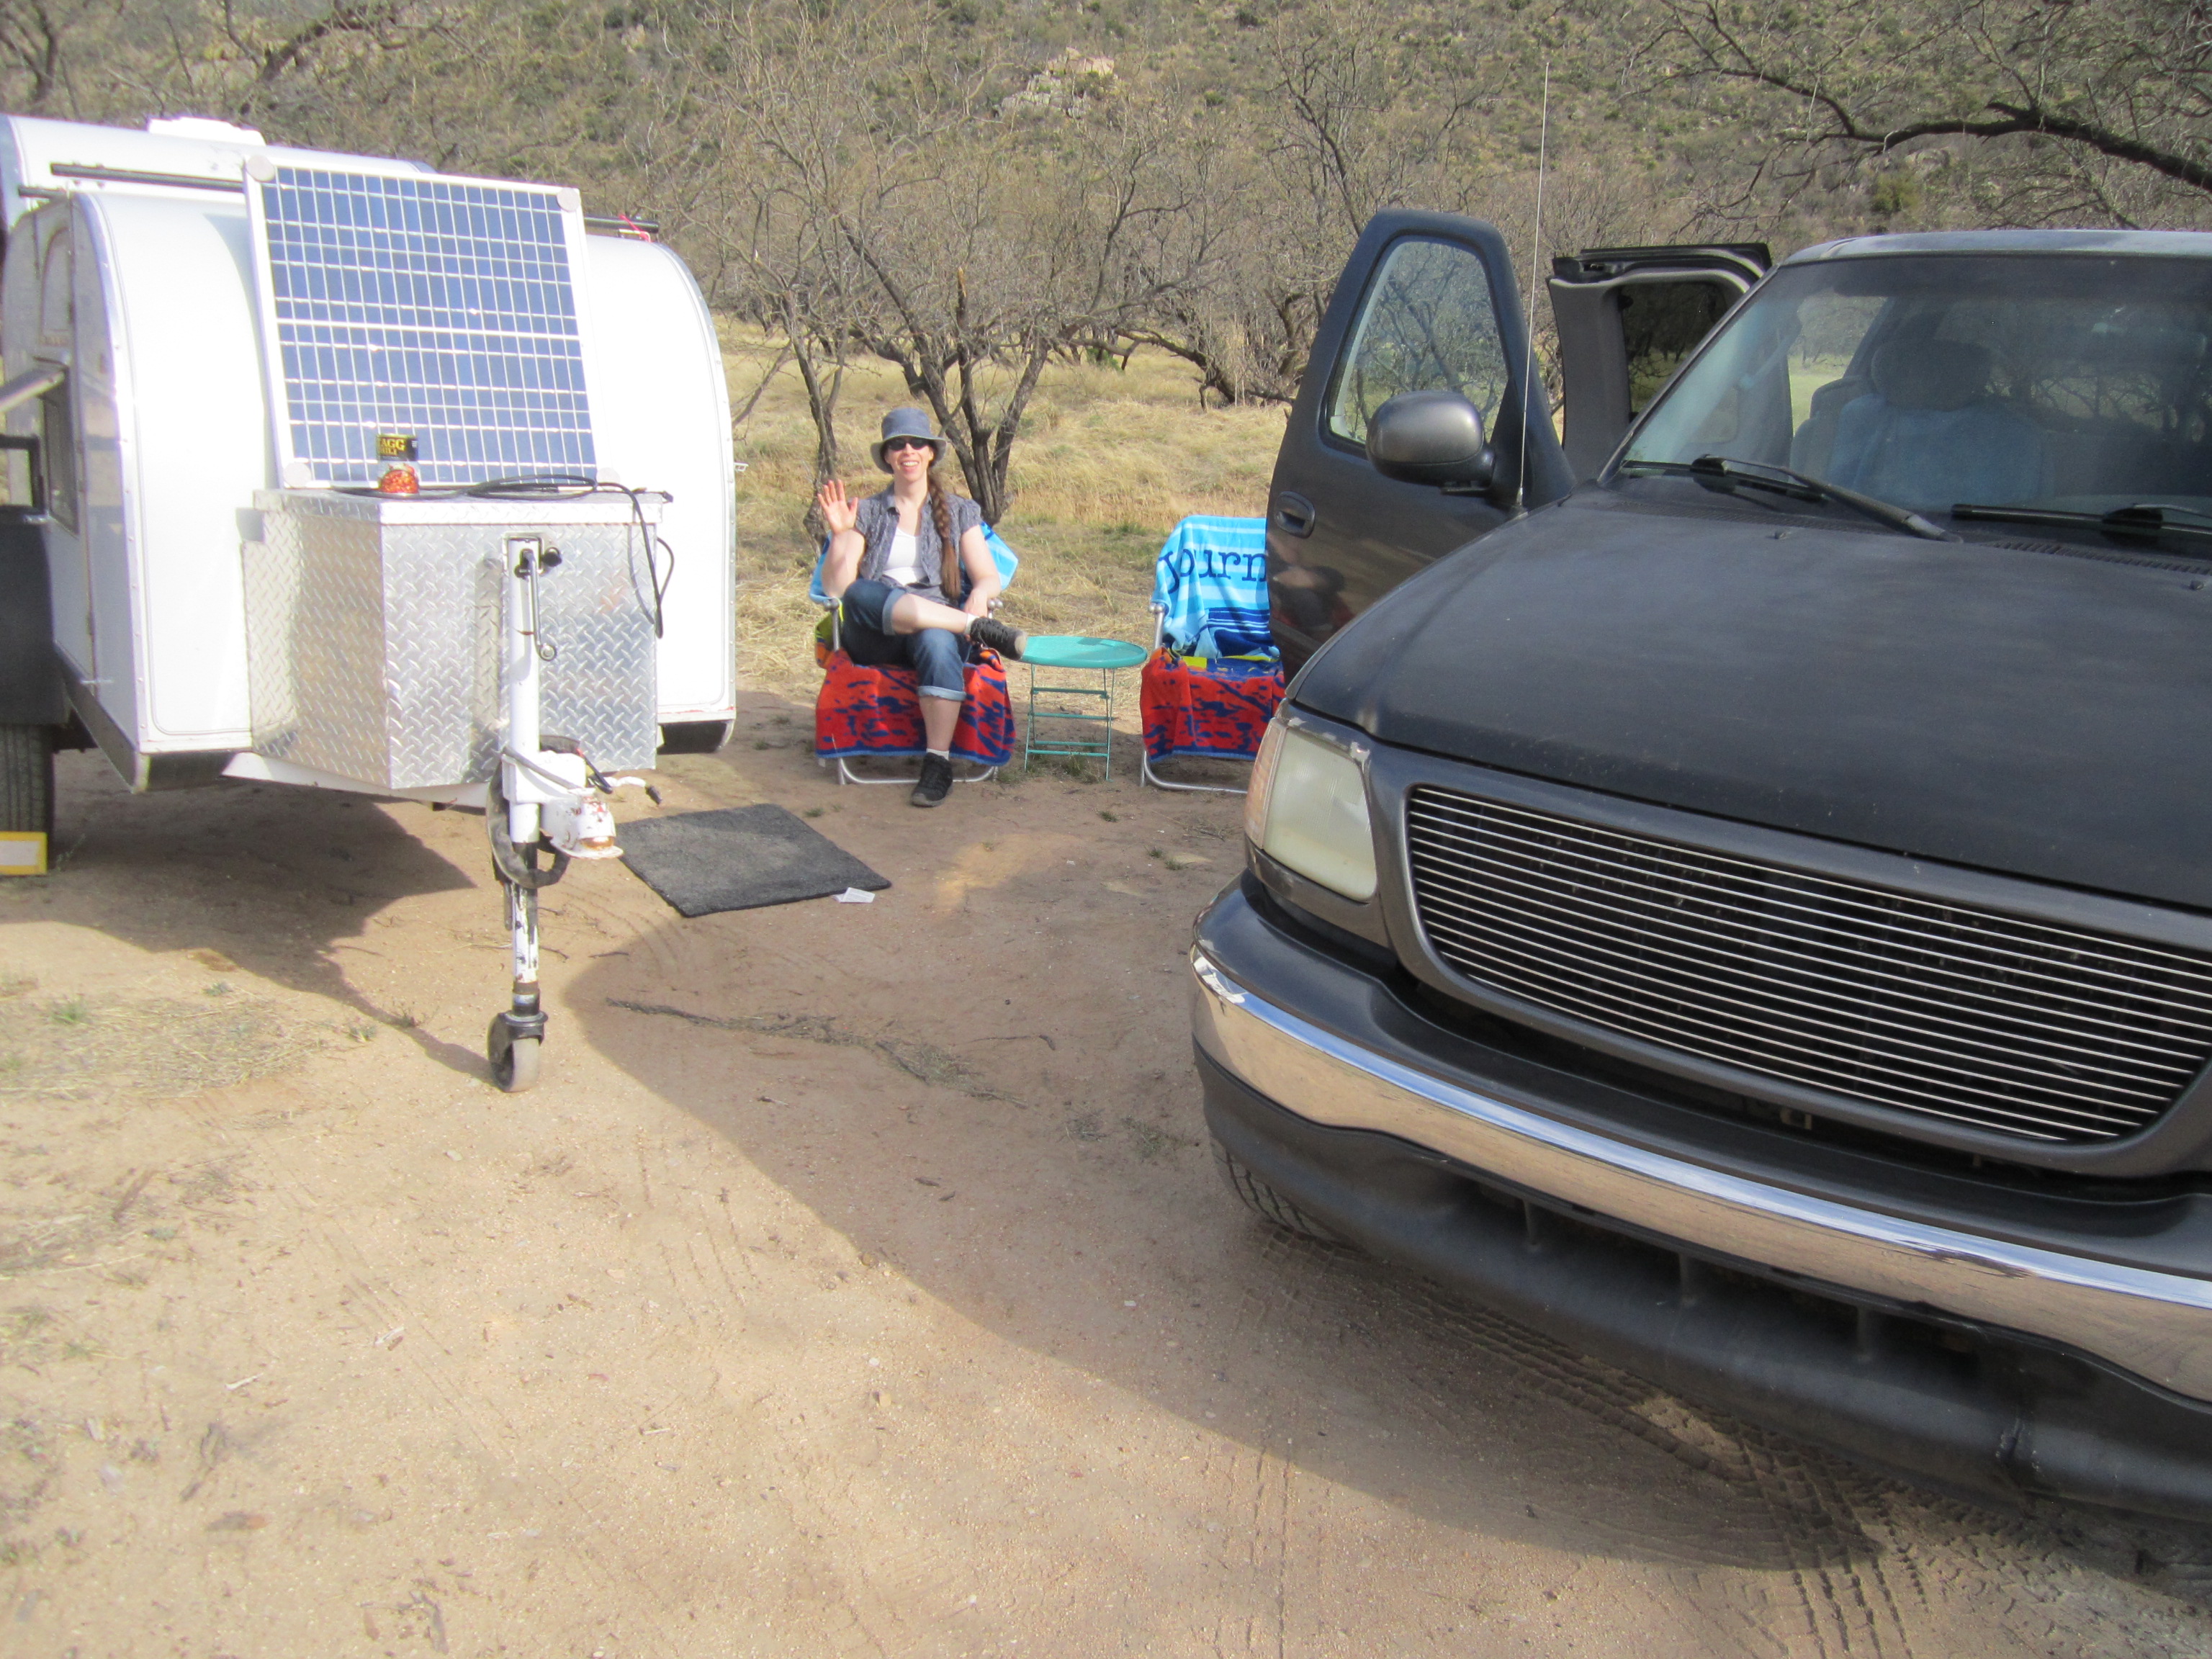
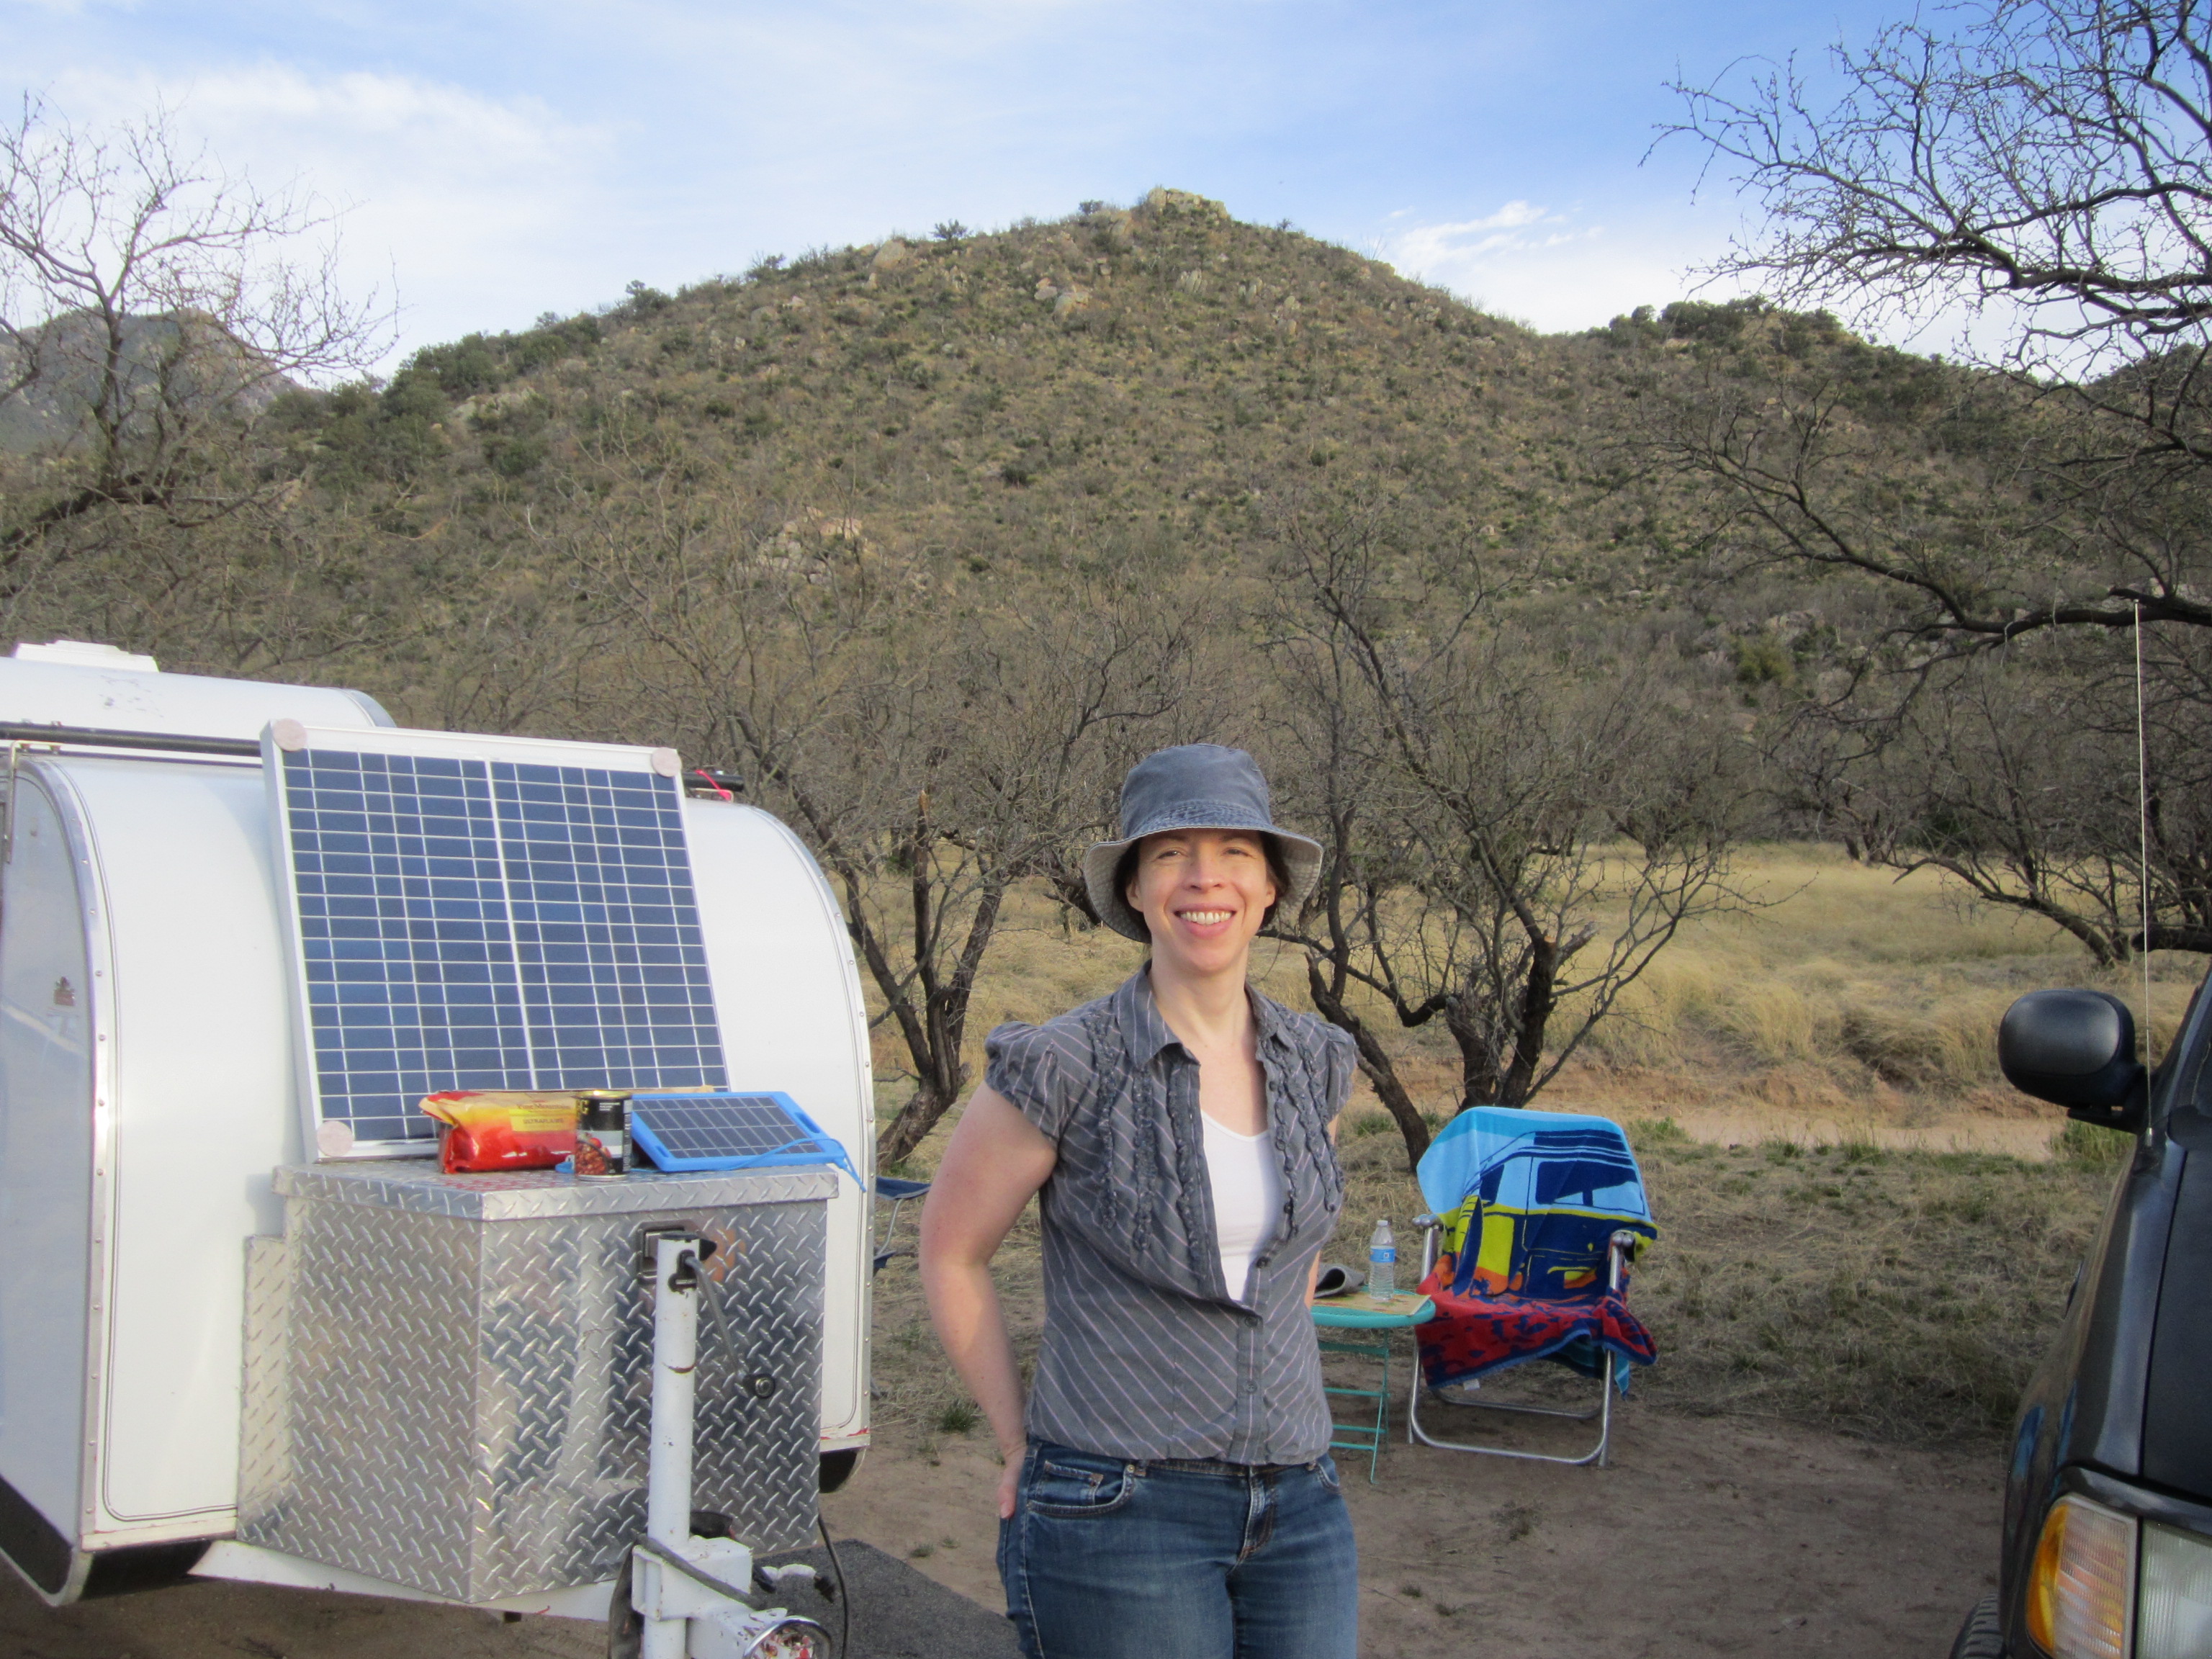
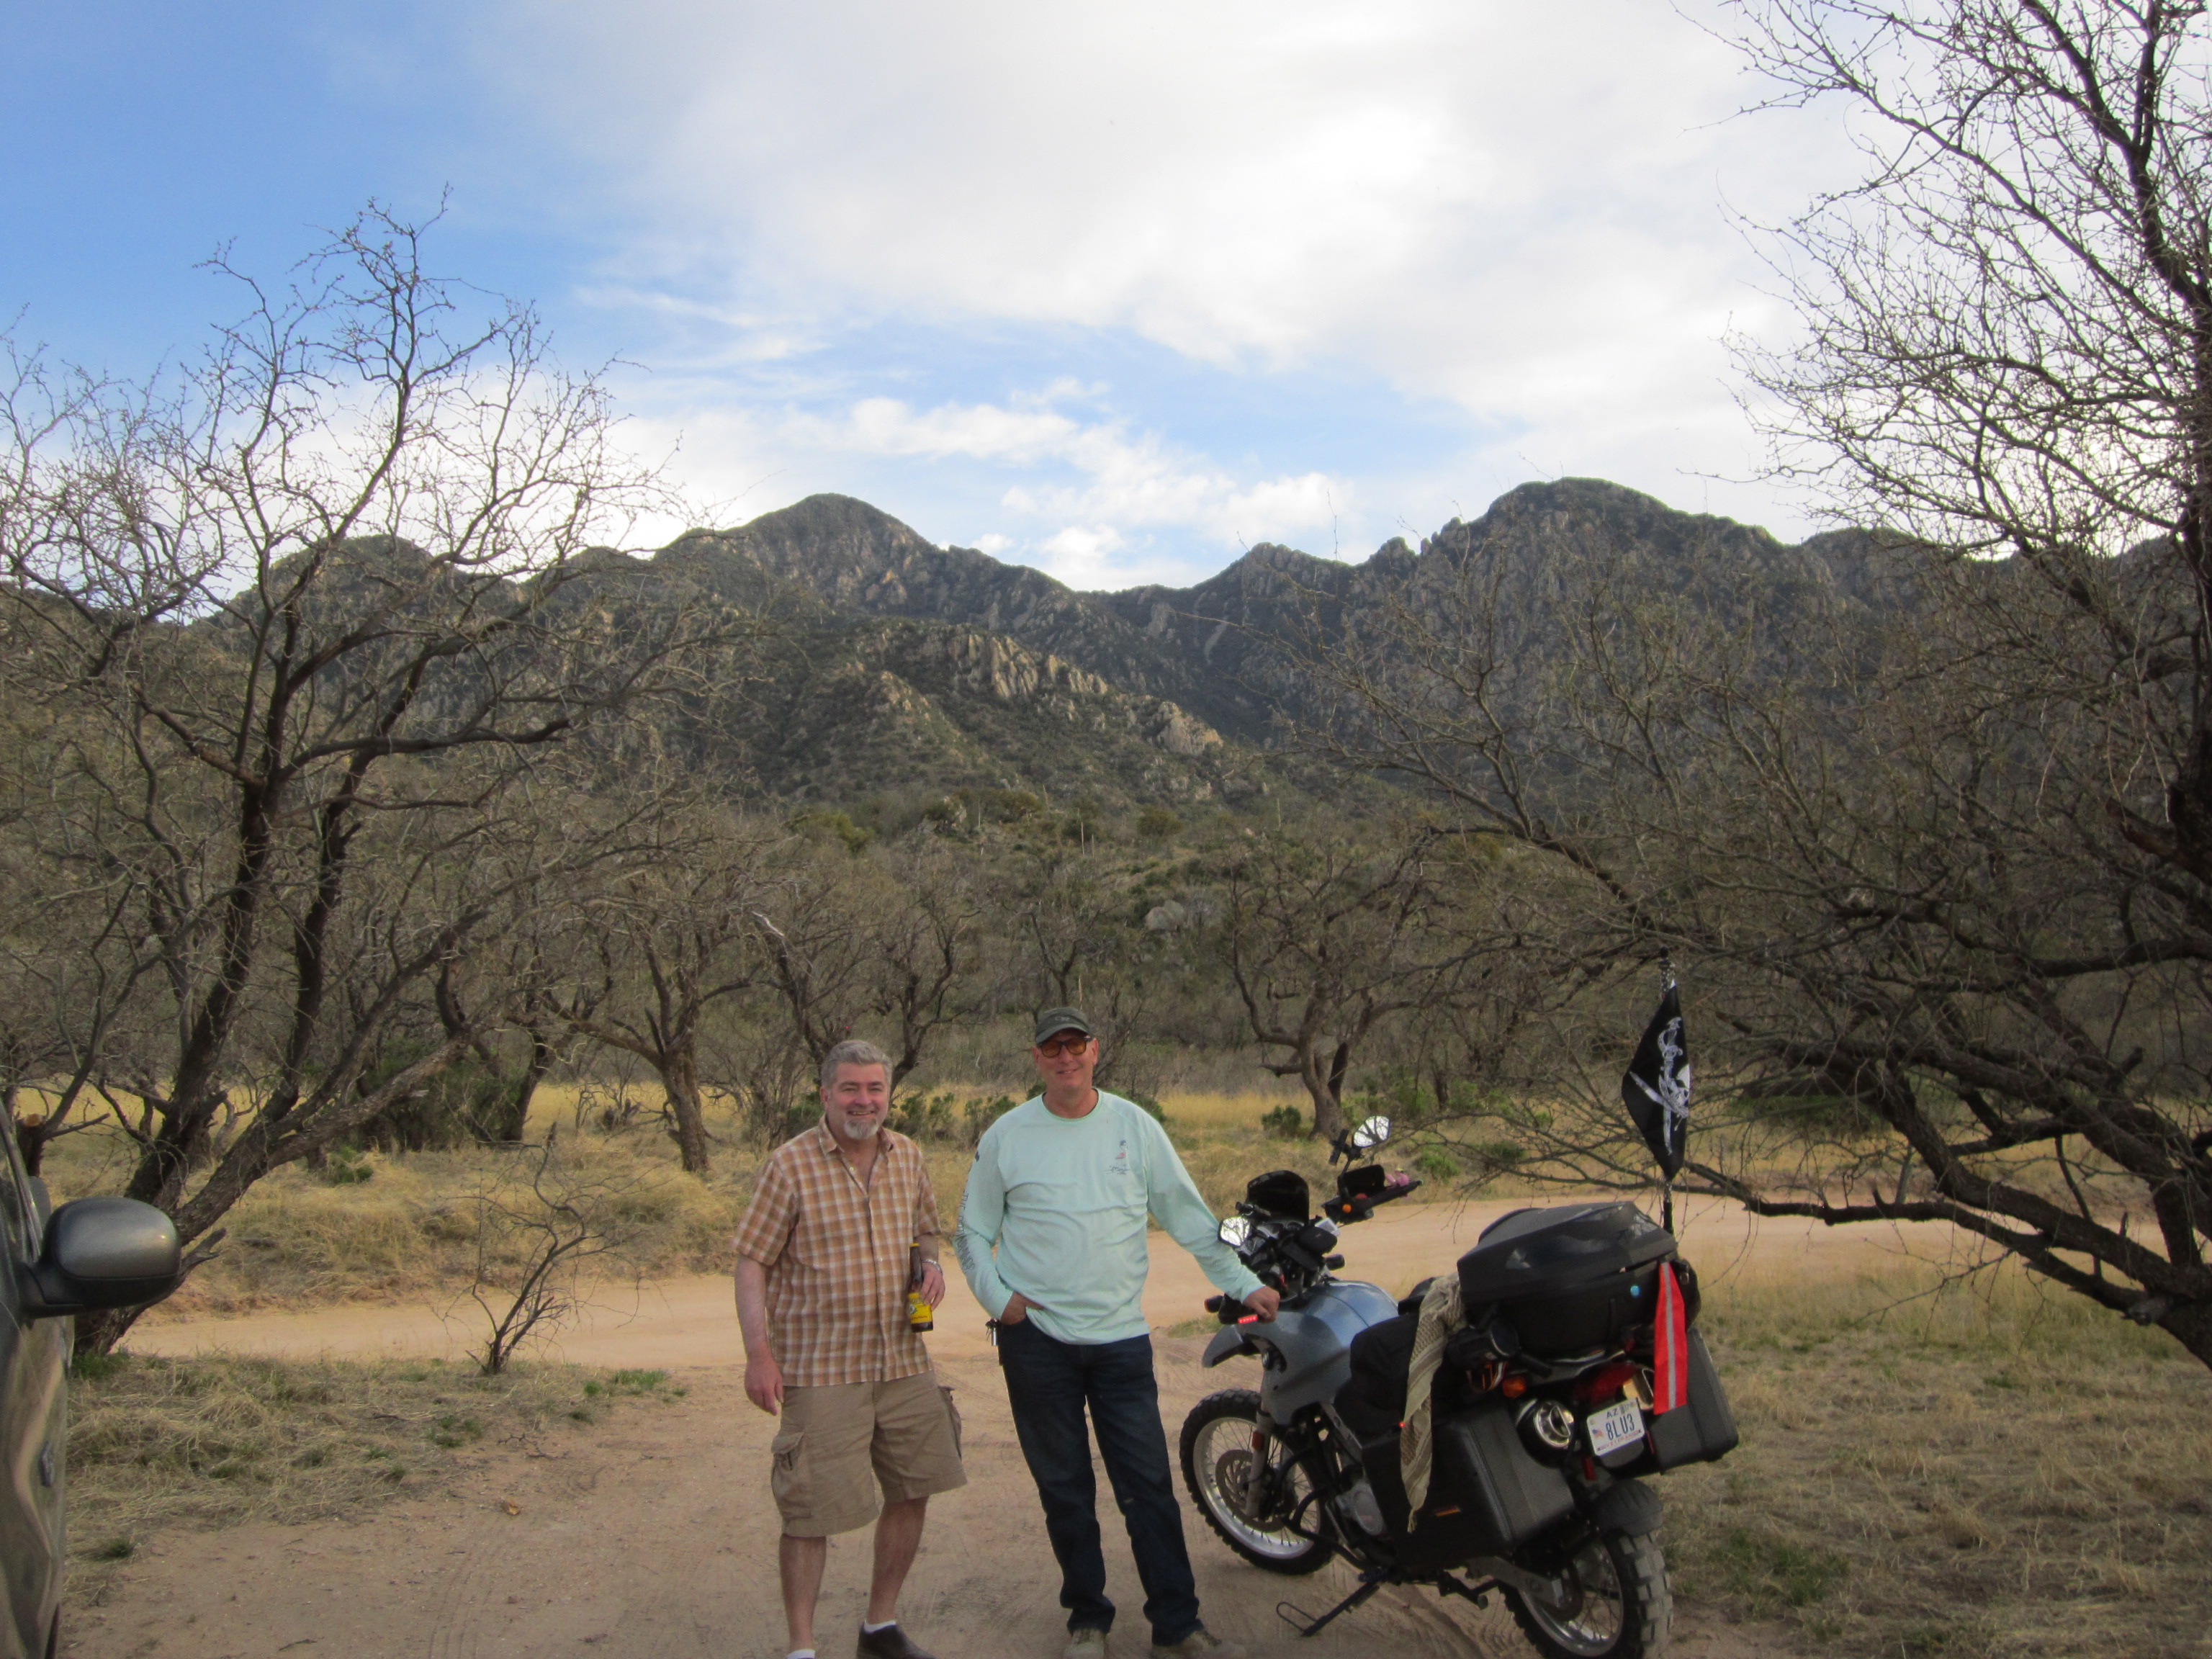
After several months of putting the galley back together, adding a few creature comforts and putting the solar system on the teardrop, we final got to go out for the weekend and go camping for the Easter weekend!
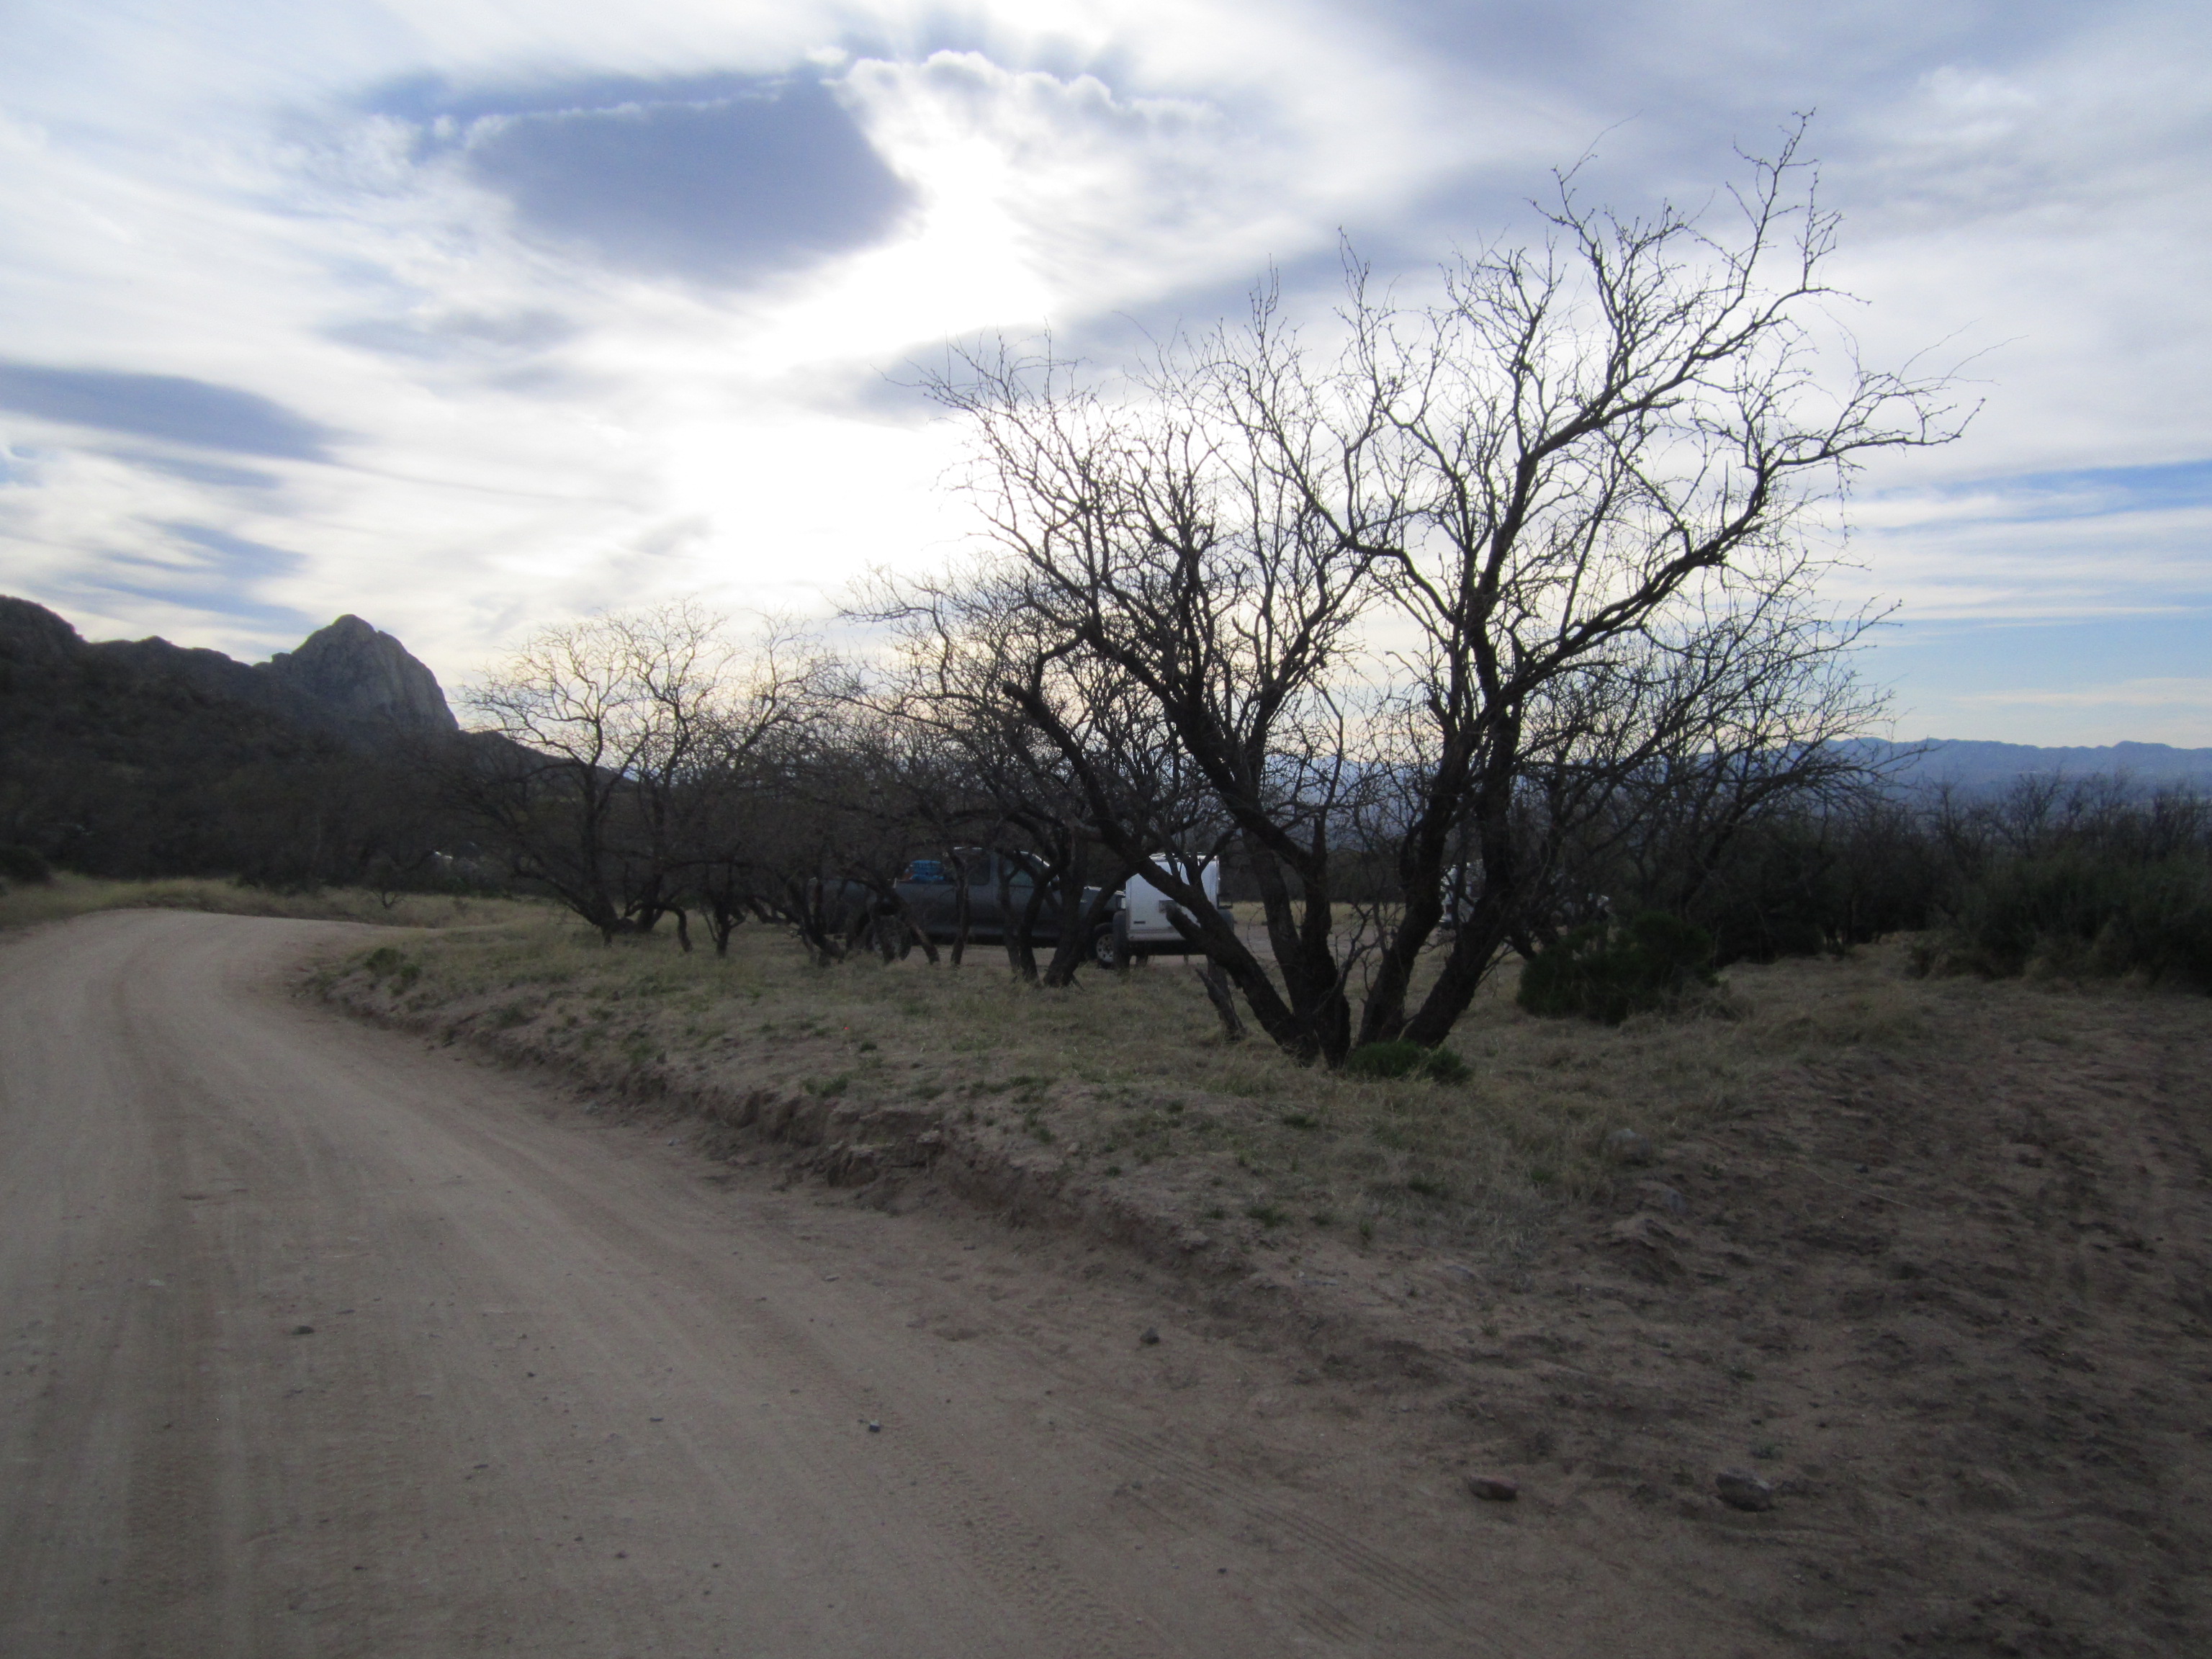
We stayed on camp site #2 off of the Madera Canyon near the small creek and waterfall. We saw cows on the open range, deer, small mice and tons of other humans as the campsites were completely full. I am glad we came out early on Saturday
Nice firepit with views of Green Valley at night. The temperature was nice and a bit of a breeze at night made the morning air a bit cold, but it was not bad at all.
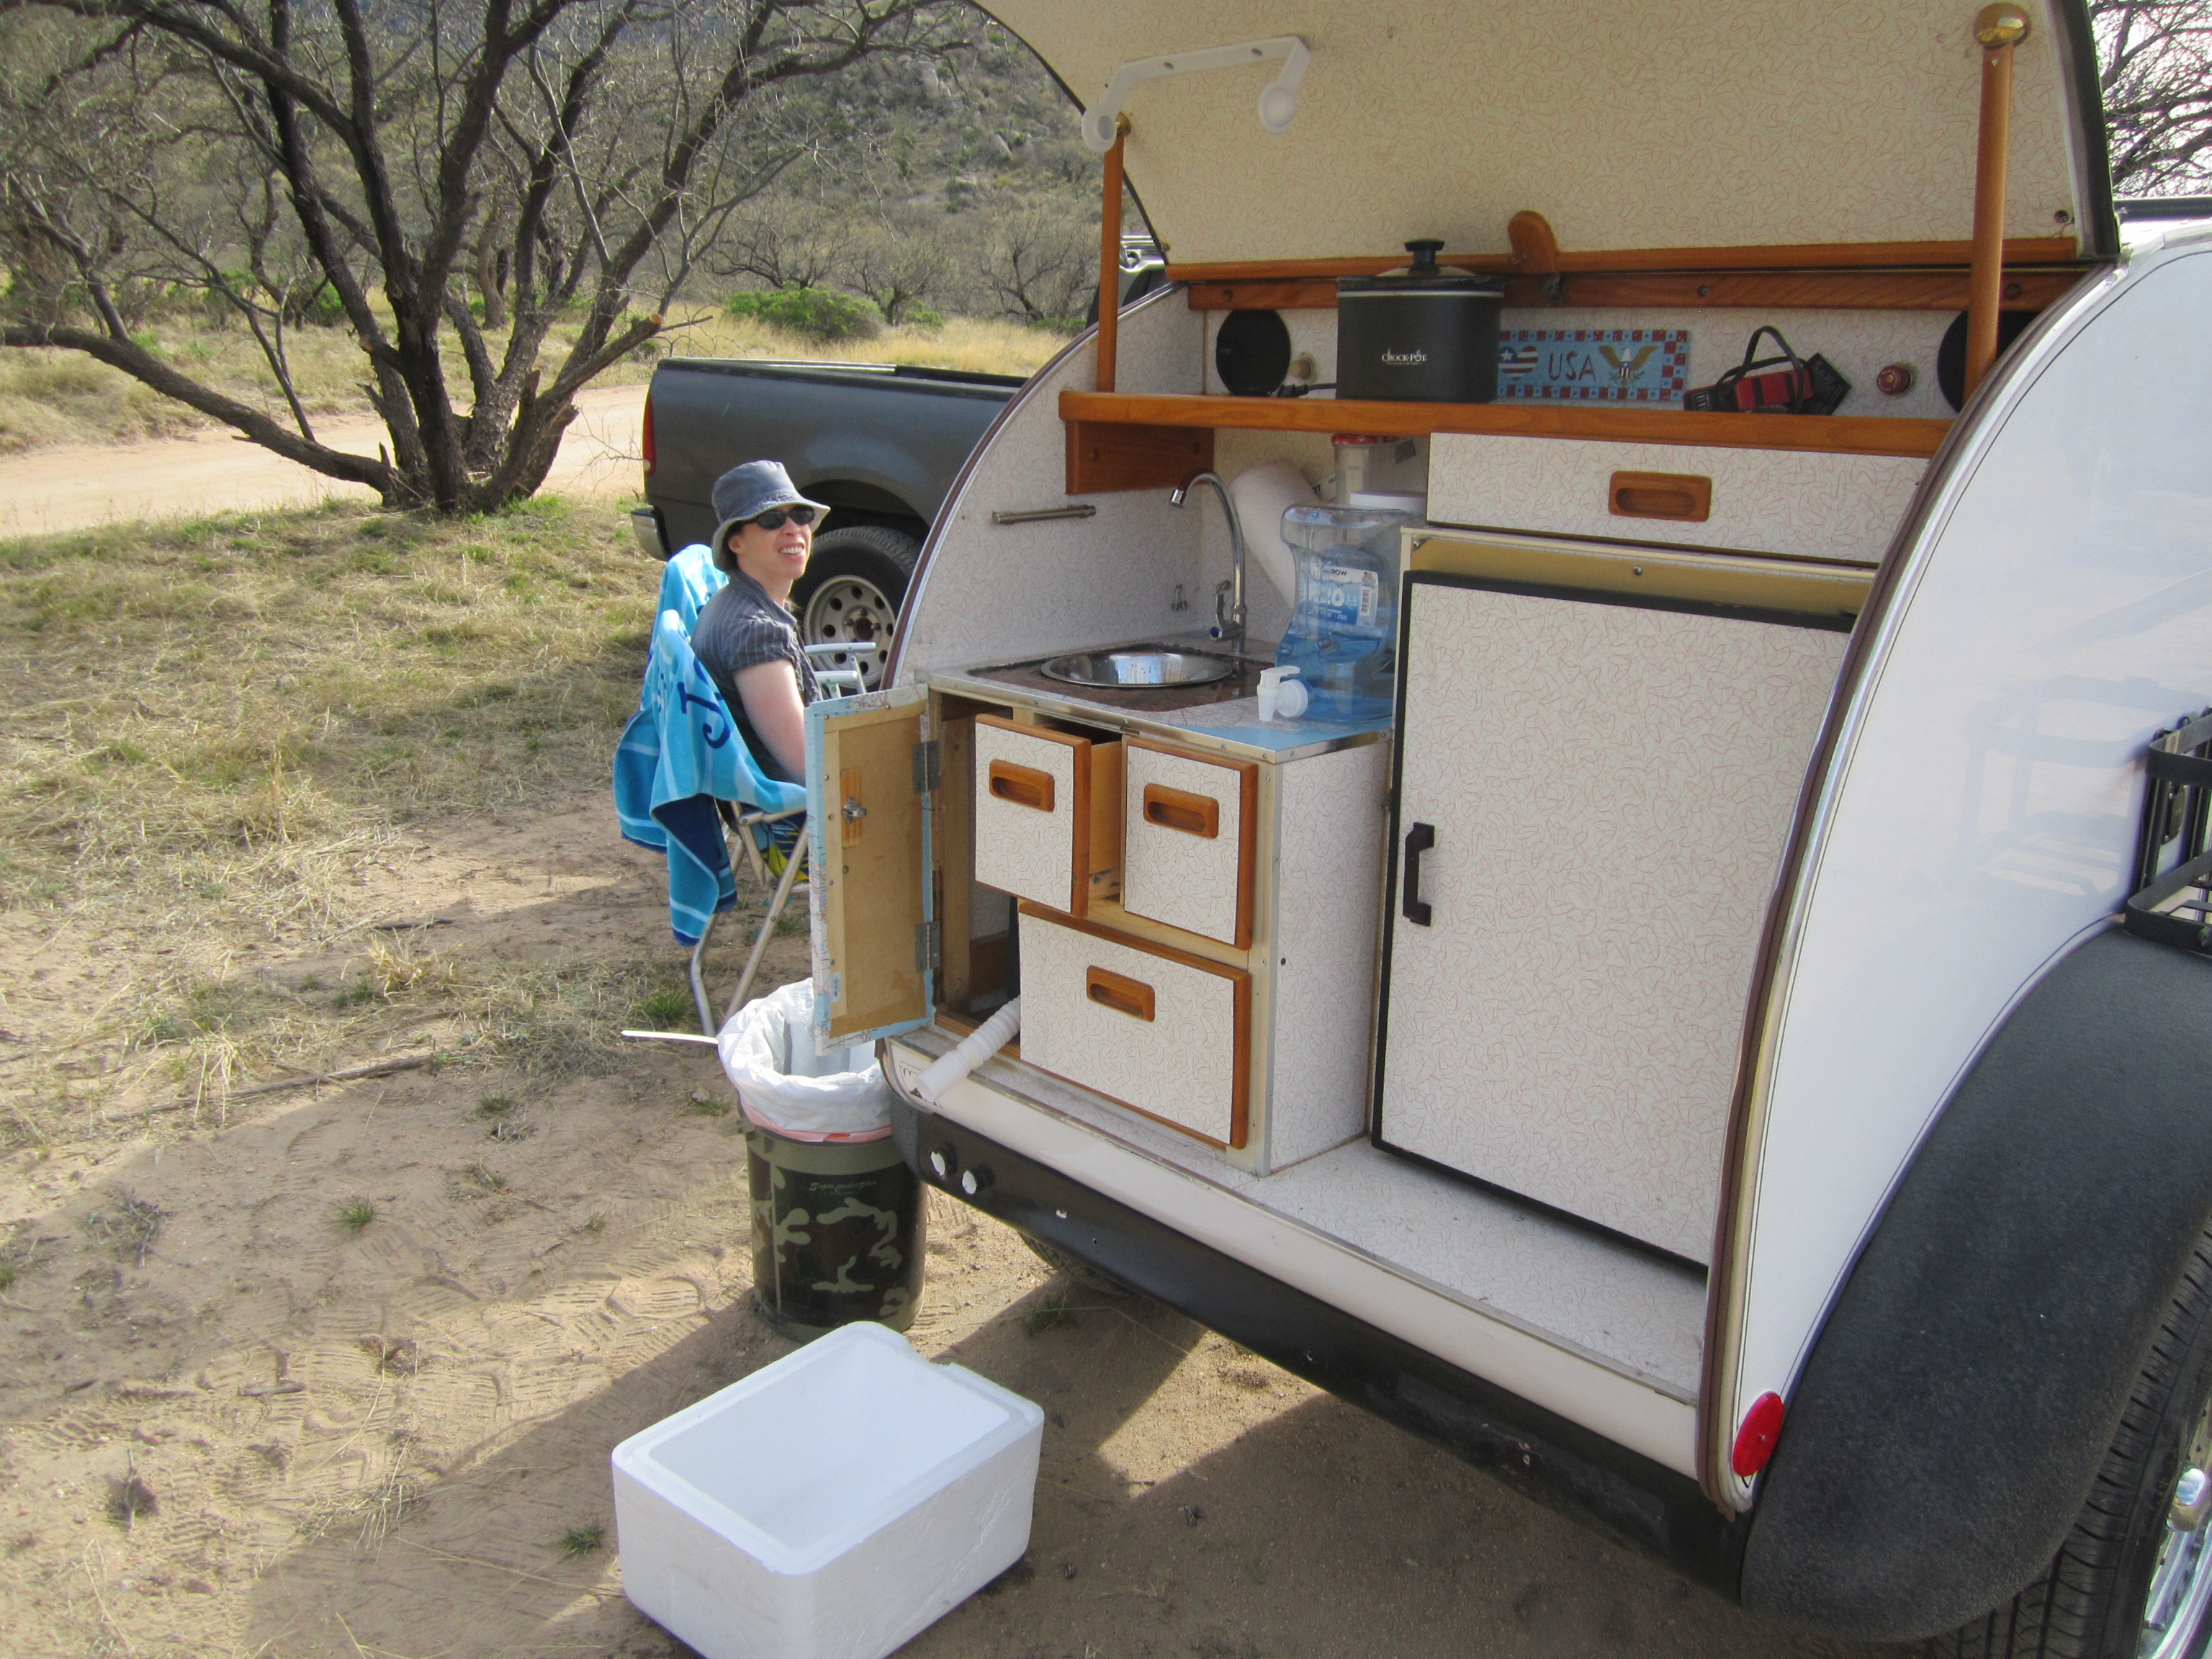
I tried out our crock pot to cook some chili, ran the water in the galley sink and made sure that the solar / electrical system was working well and charging.
Our friend came out to see our camp site on his motorcycle, there was two other campers in conversion vans near us and were nice to talk with about the area and other camp sites.
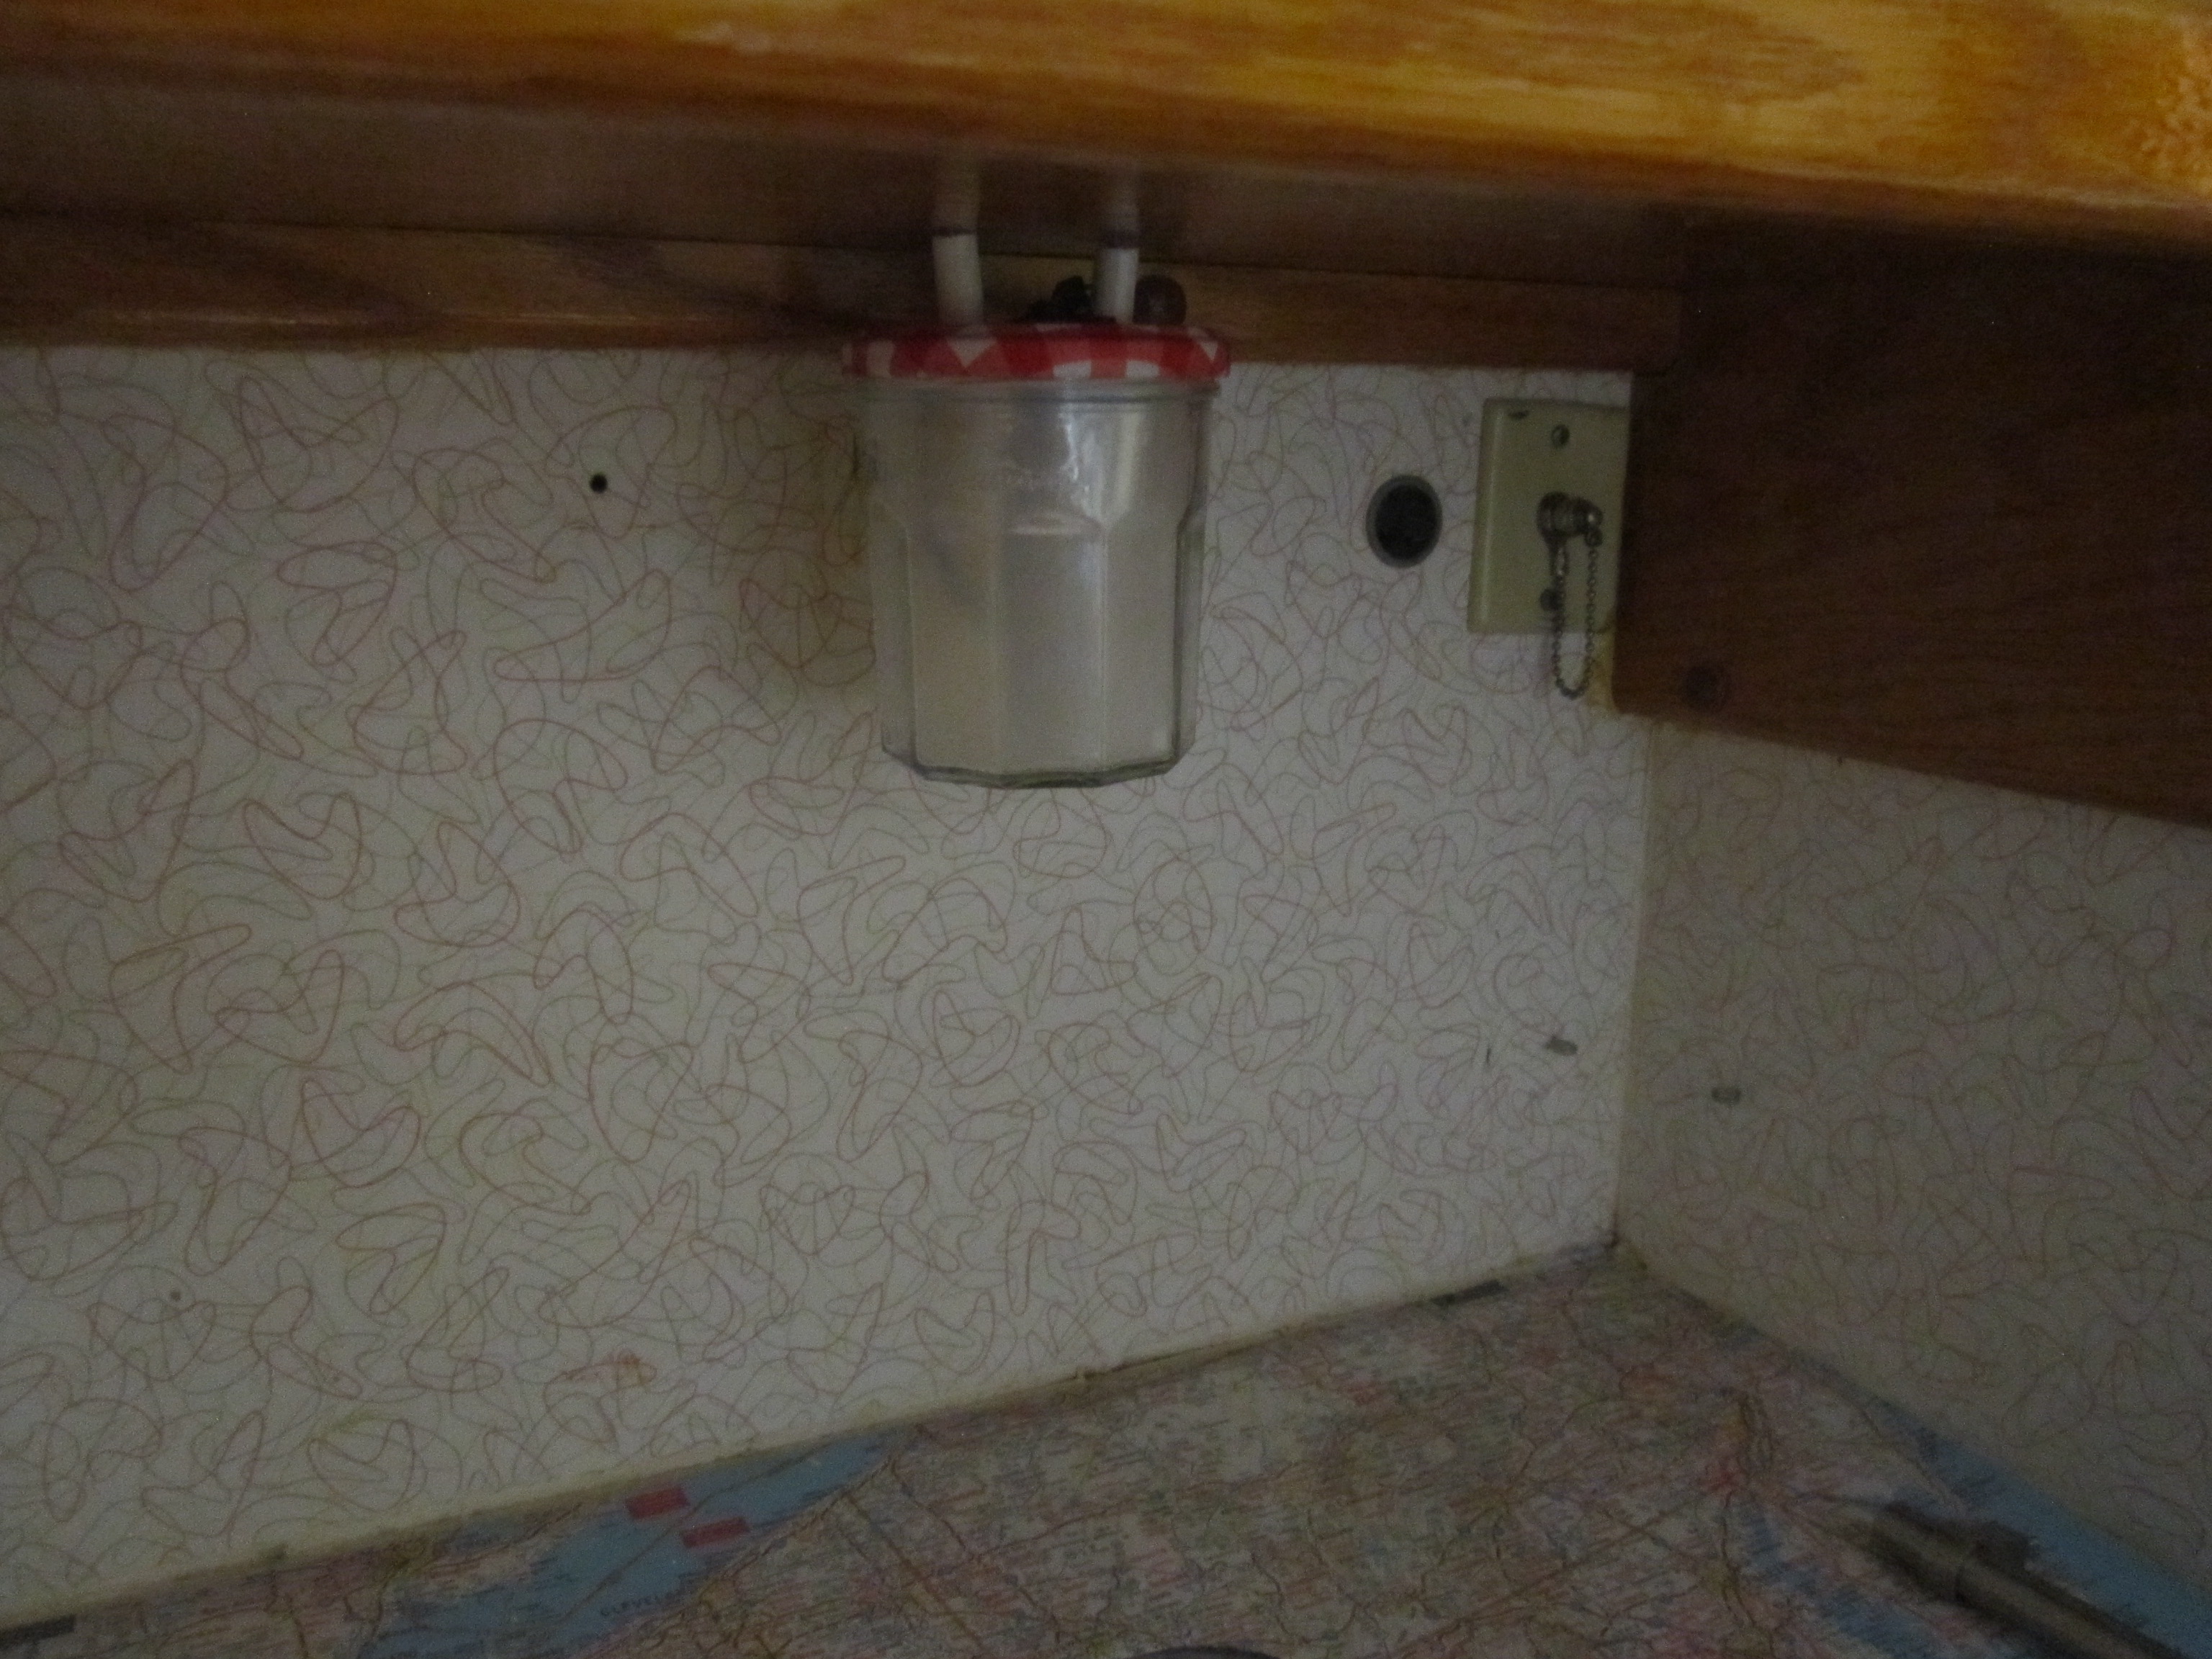
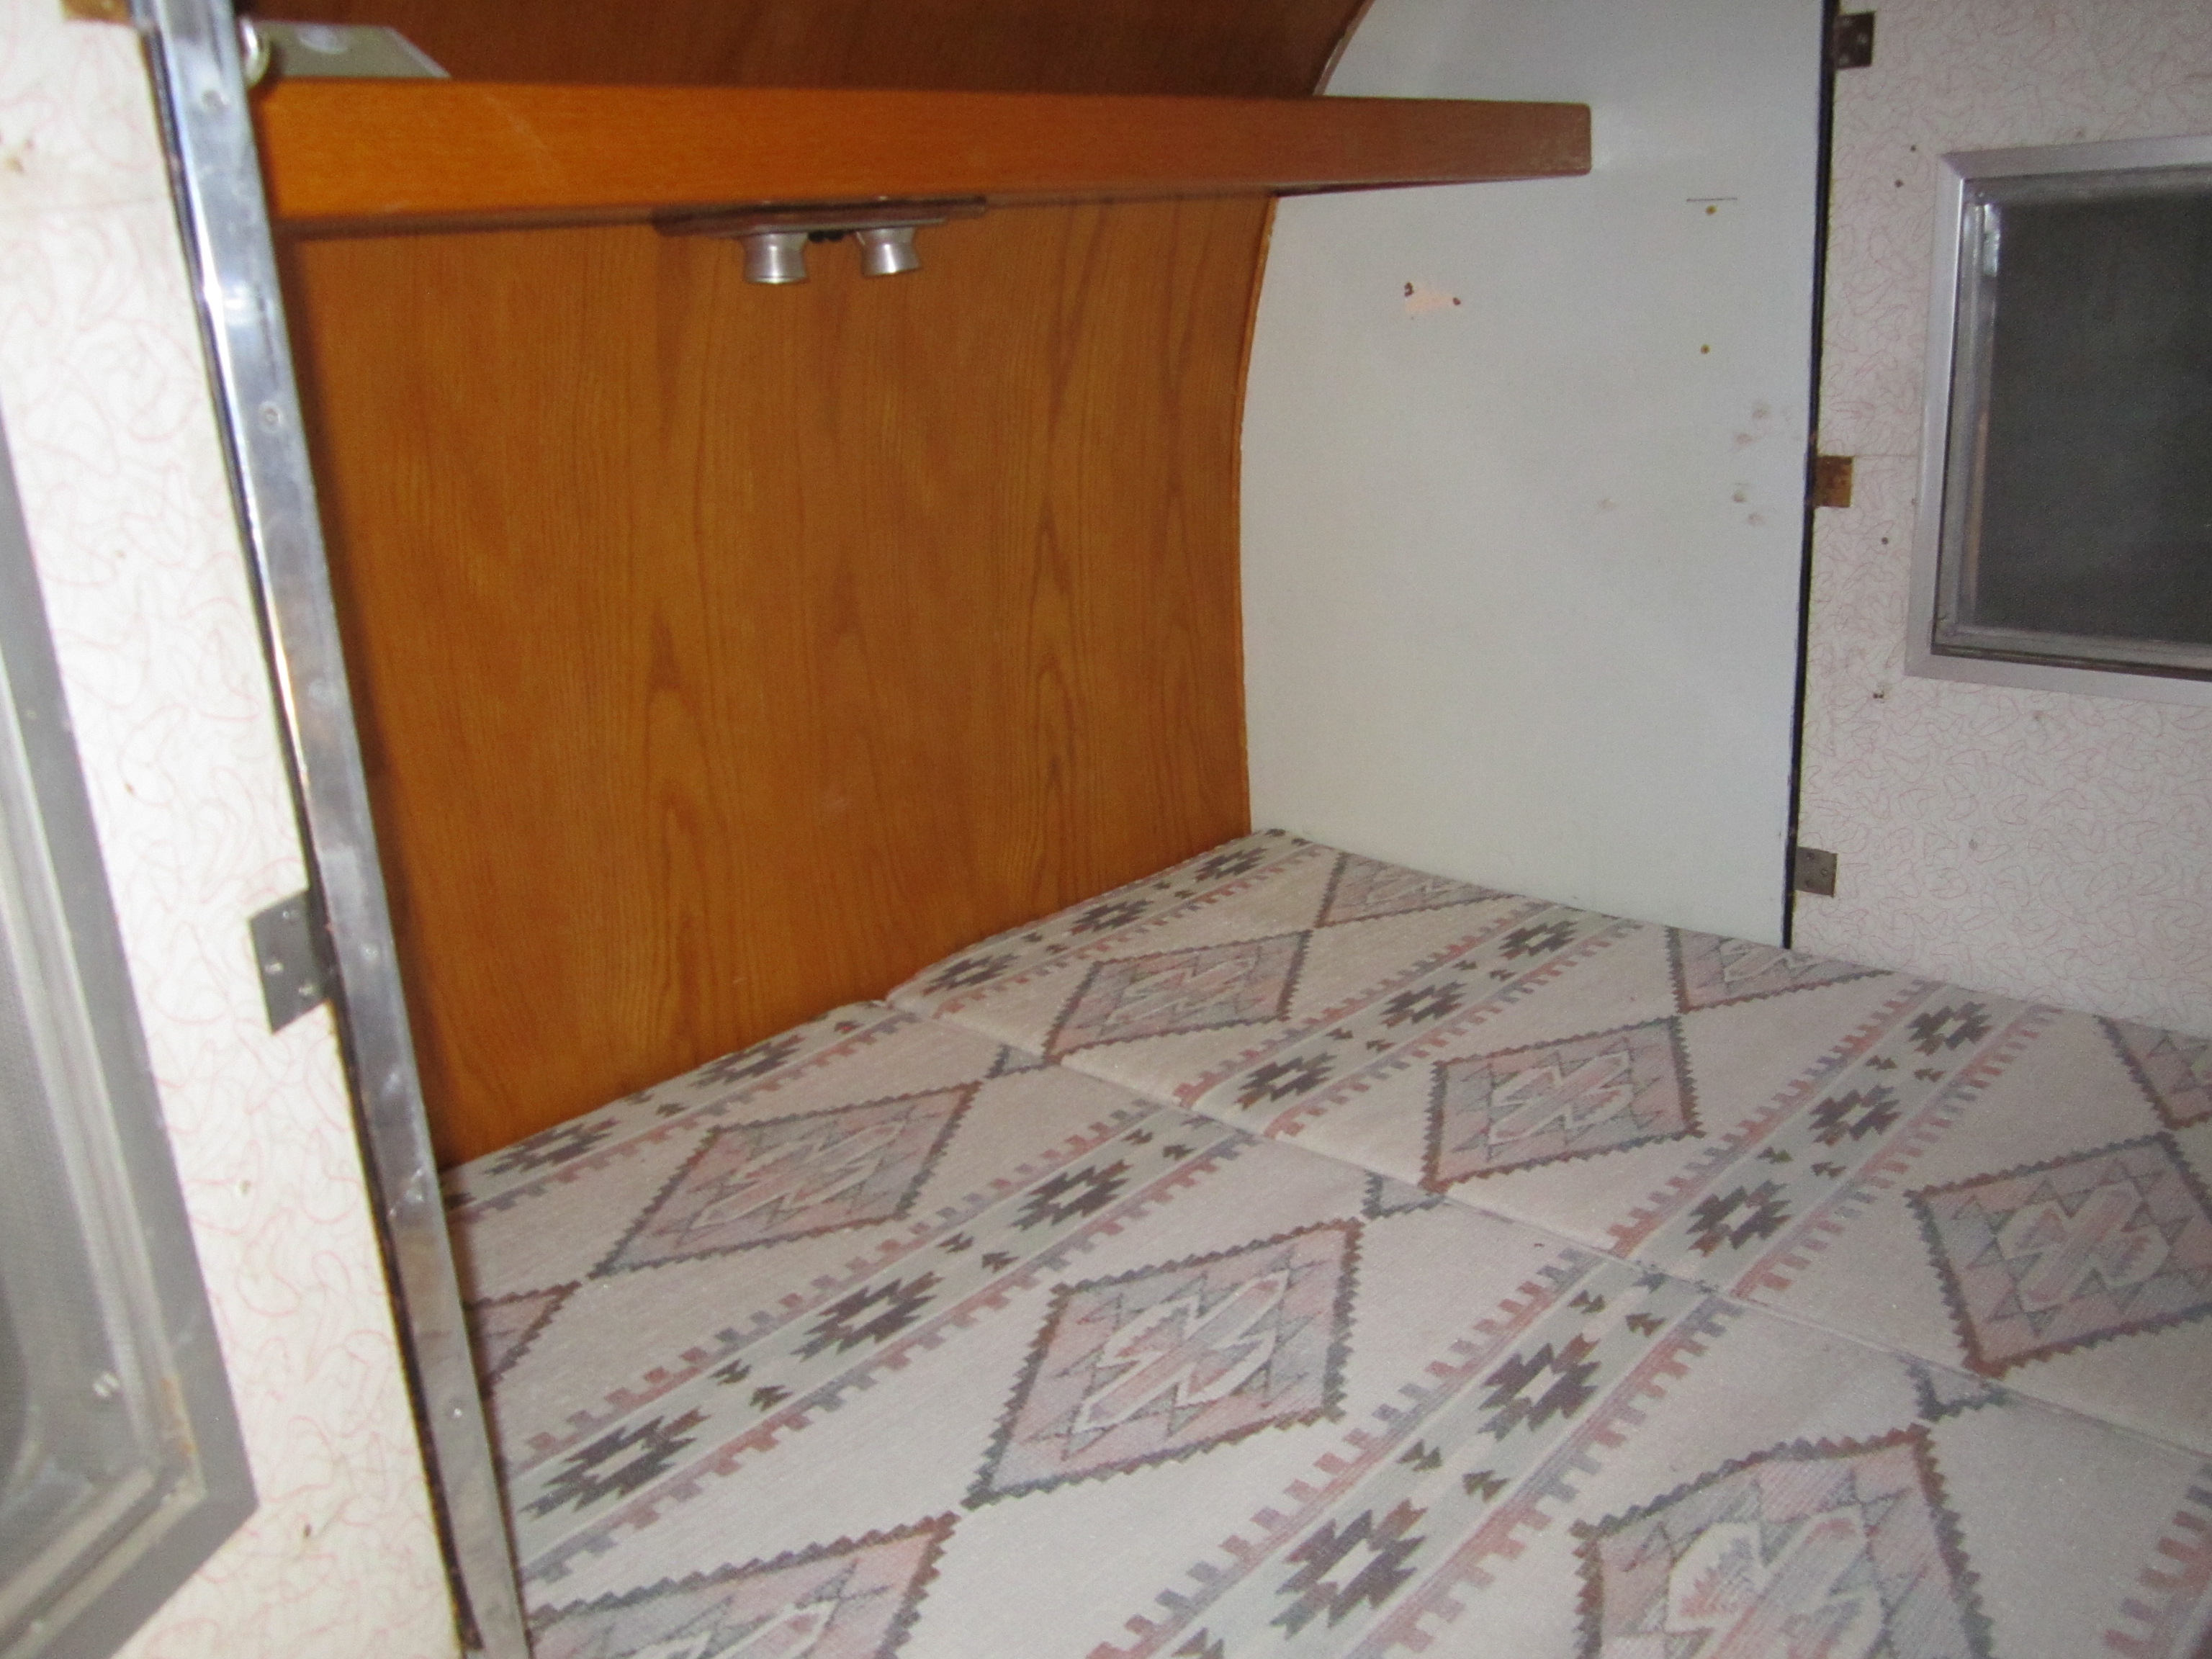
I used a glass jam jar and a strip of white LEDs that run off of 12V DC and wired it into the galley area… way brighter than the two small bulbs that where original.
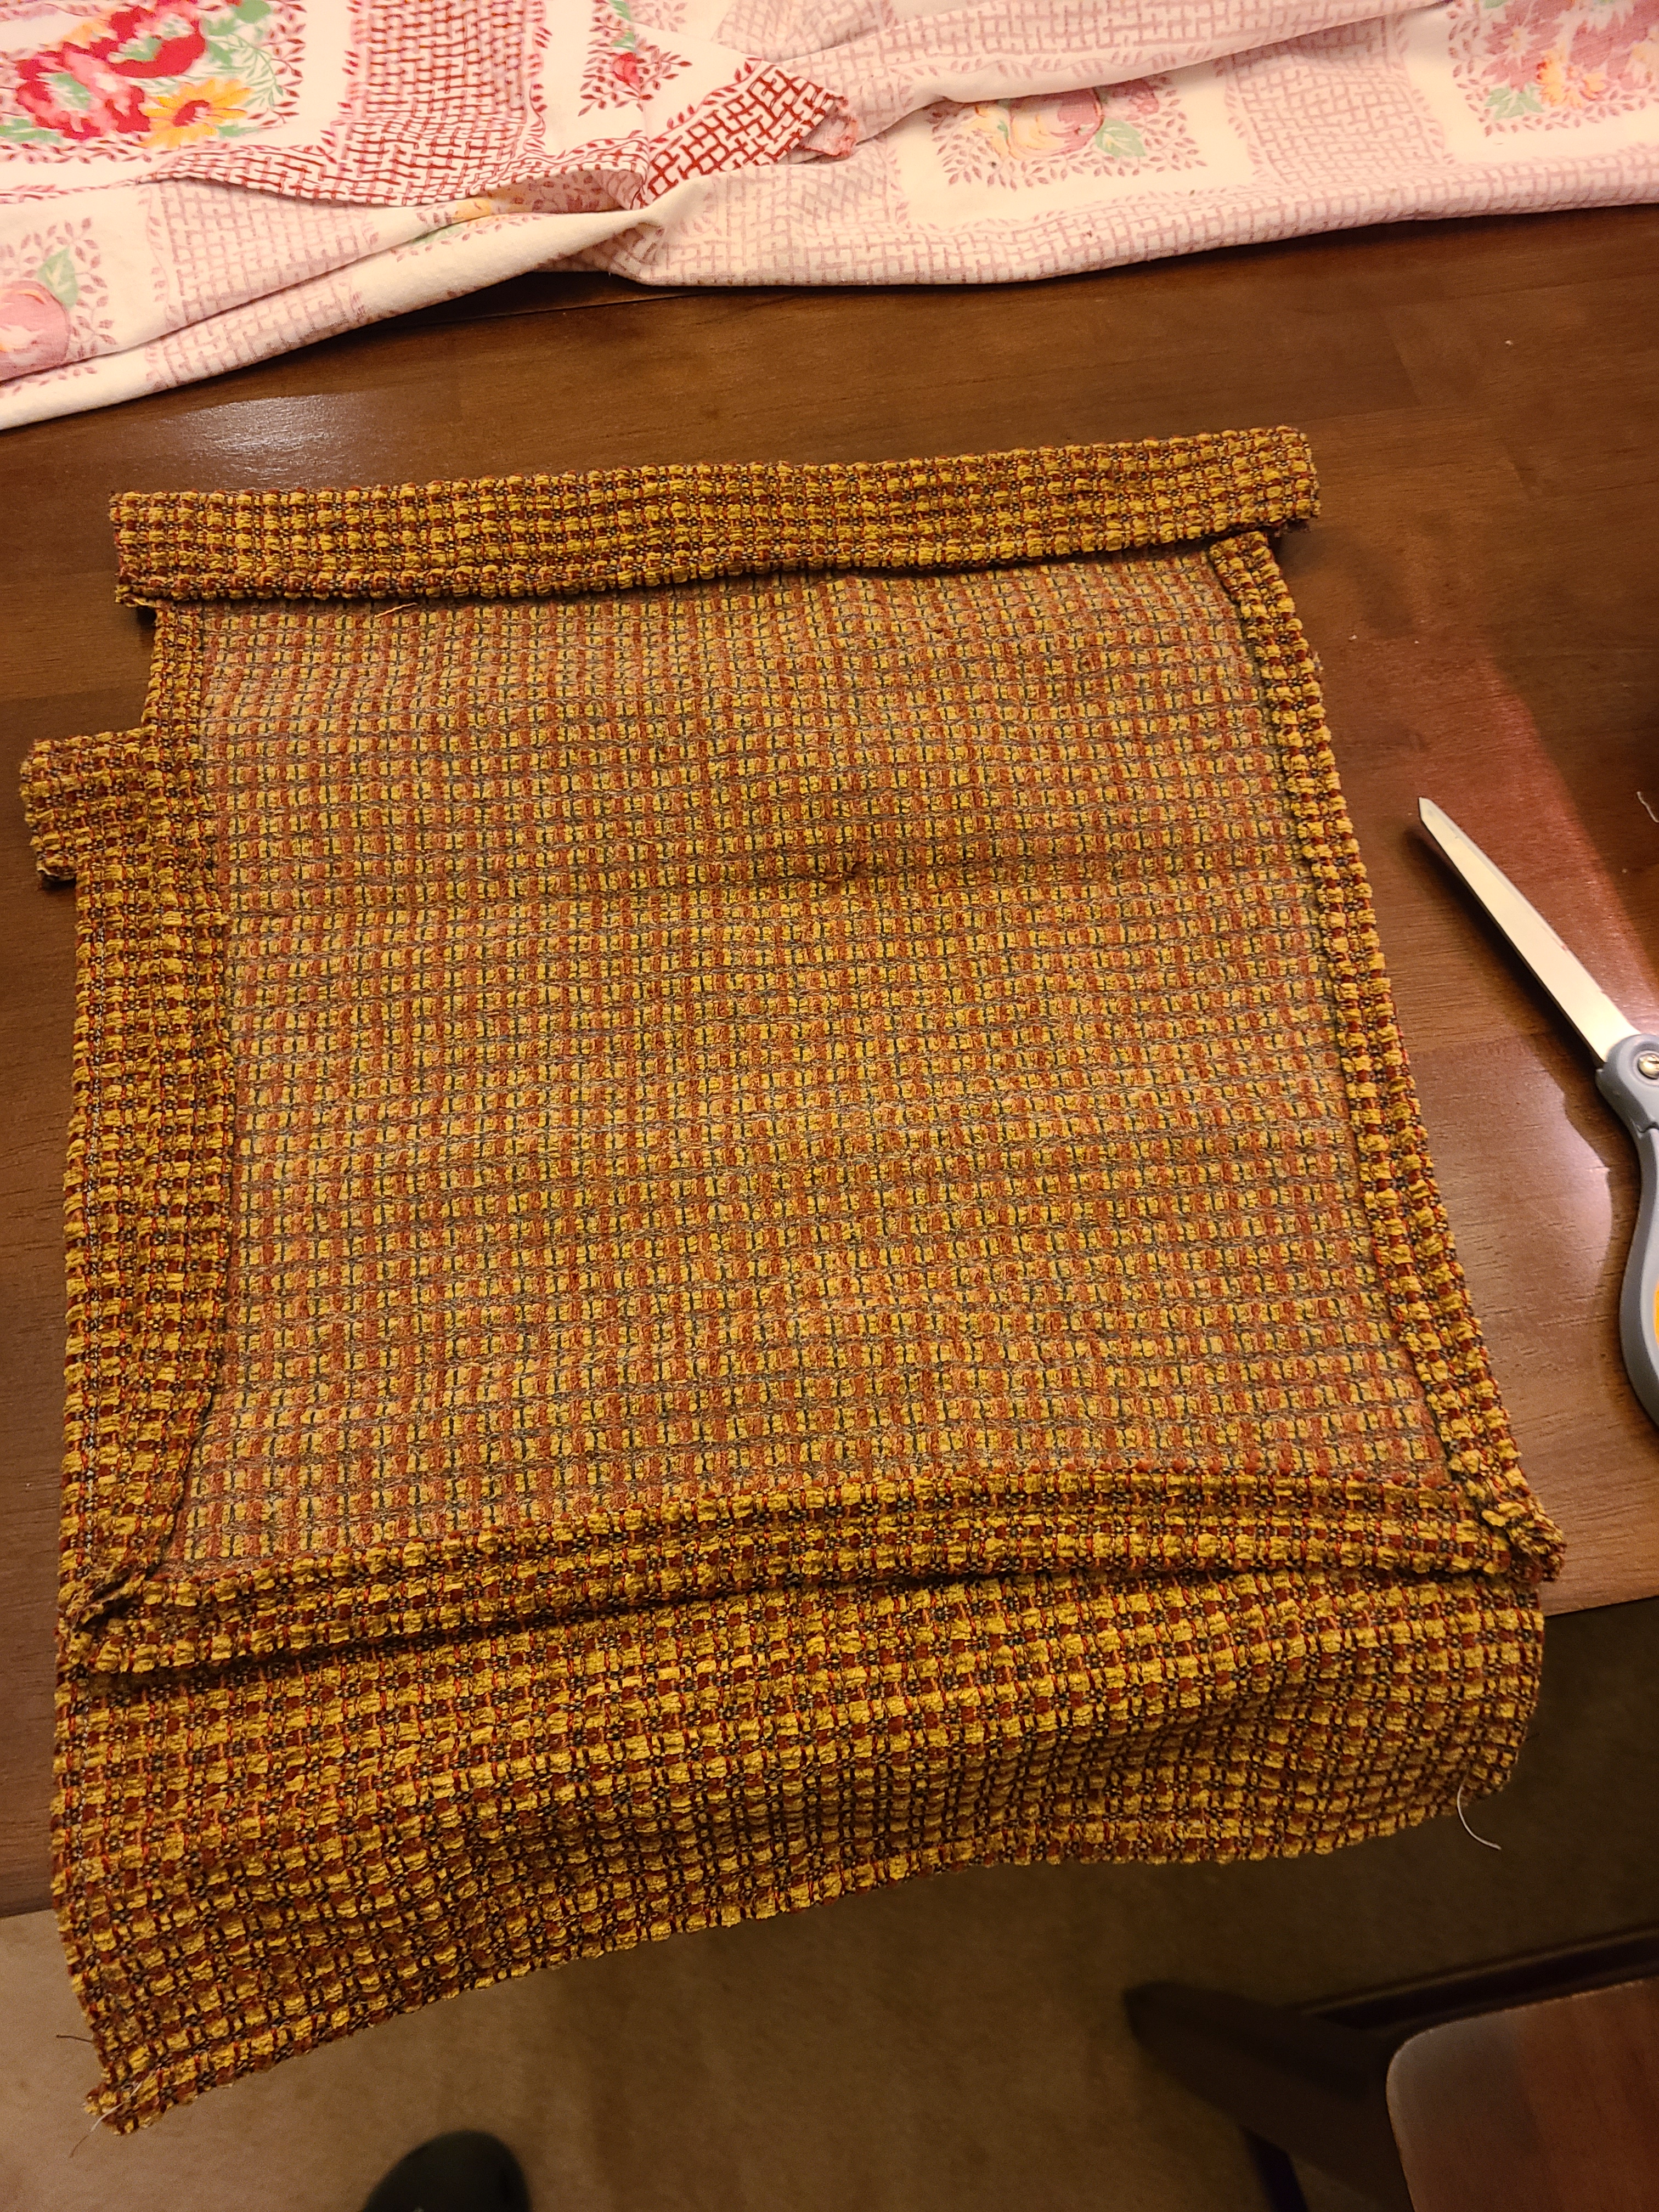
I finished up the curtains. It was an easy project, but to be able to keep the morning sun to a low roar in the spring will allow us that extra 1/2 hour we will need to sleep in.
The foldable shelves I saw on someone’s post on line and I thought … I can build those!
The most expensive thing was going to be the hinges, but I am a pack rat…. I got those in my extra junk box!
I think these photos came out better for the curtains and shelf.
New items I have been working on in the teardrop camper.
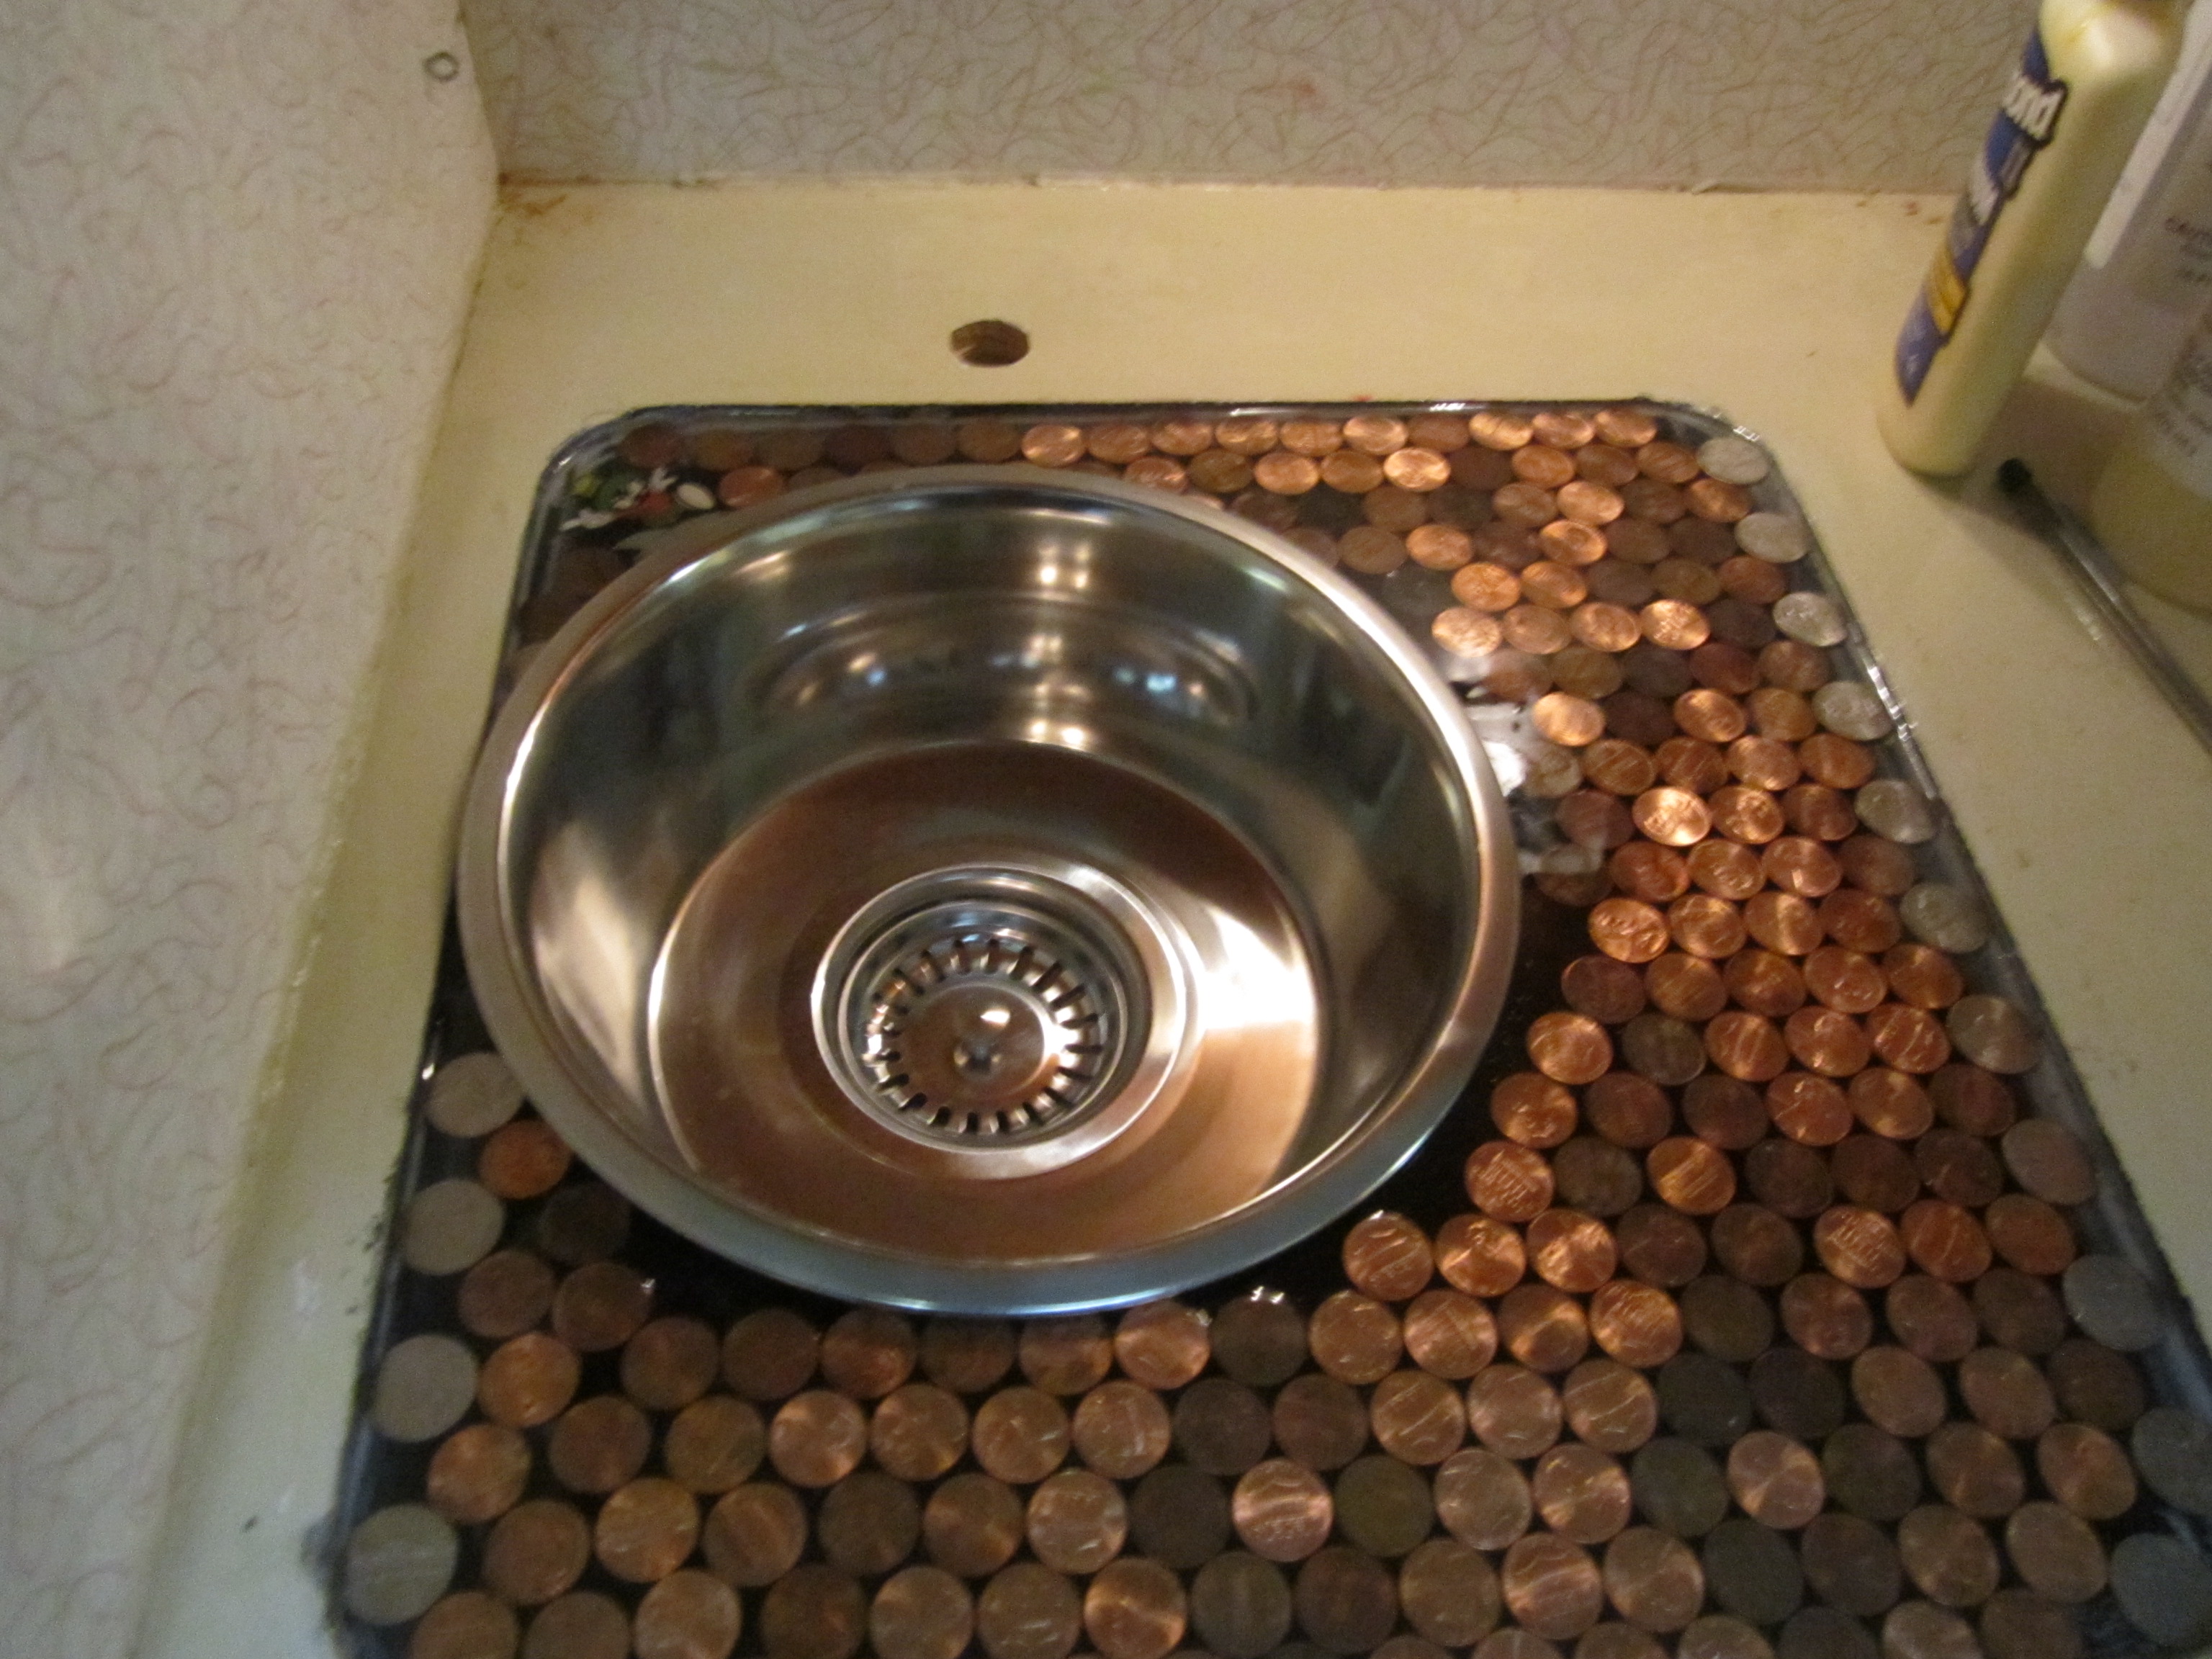
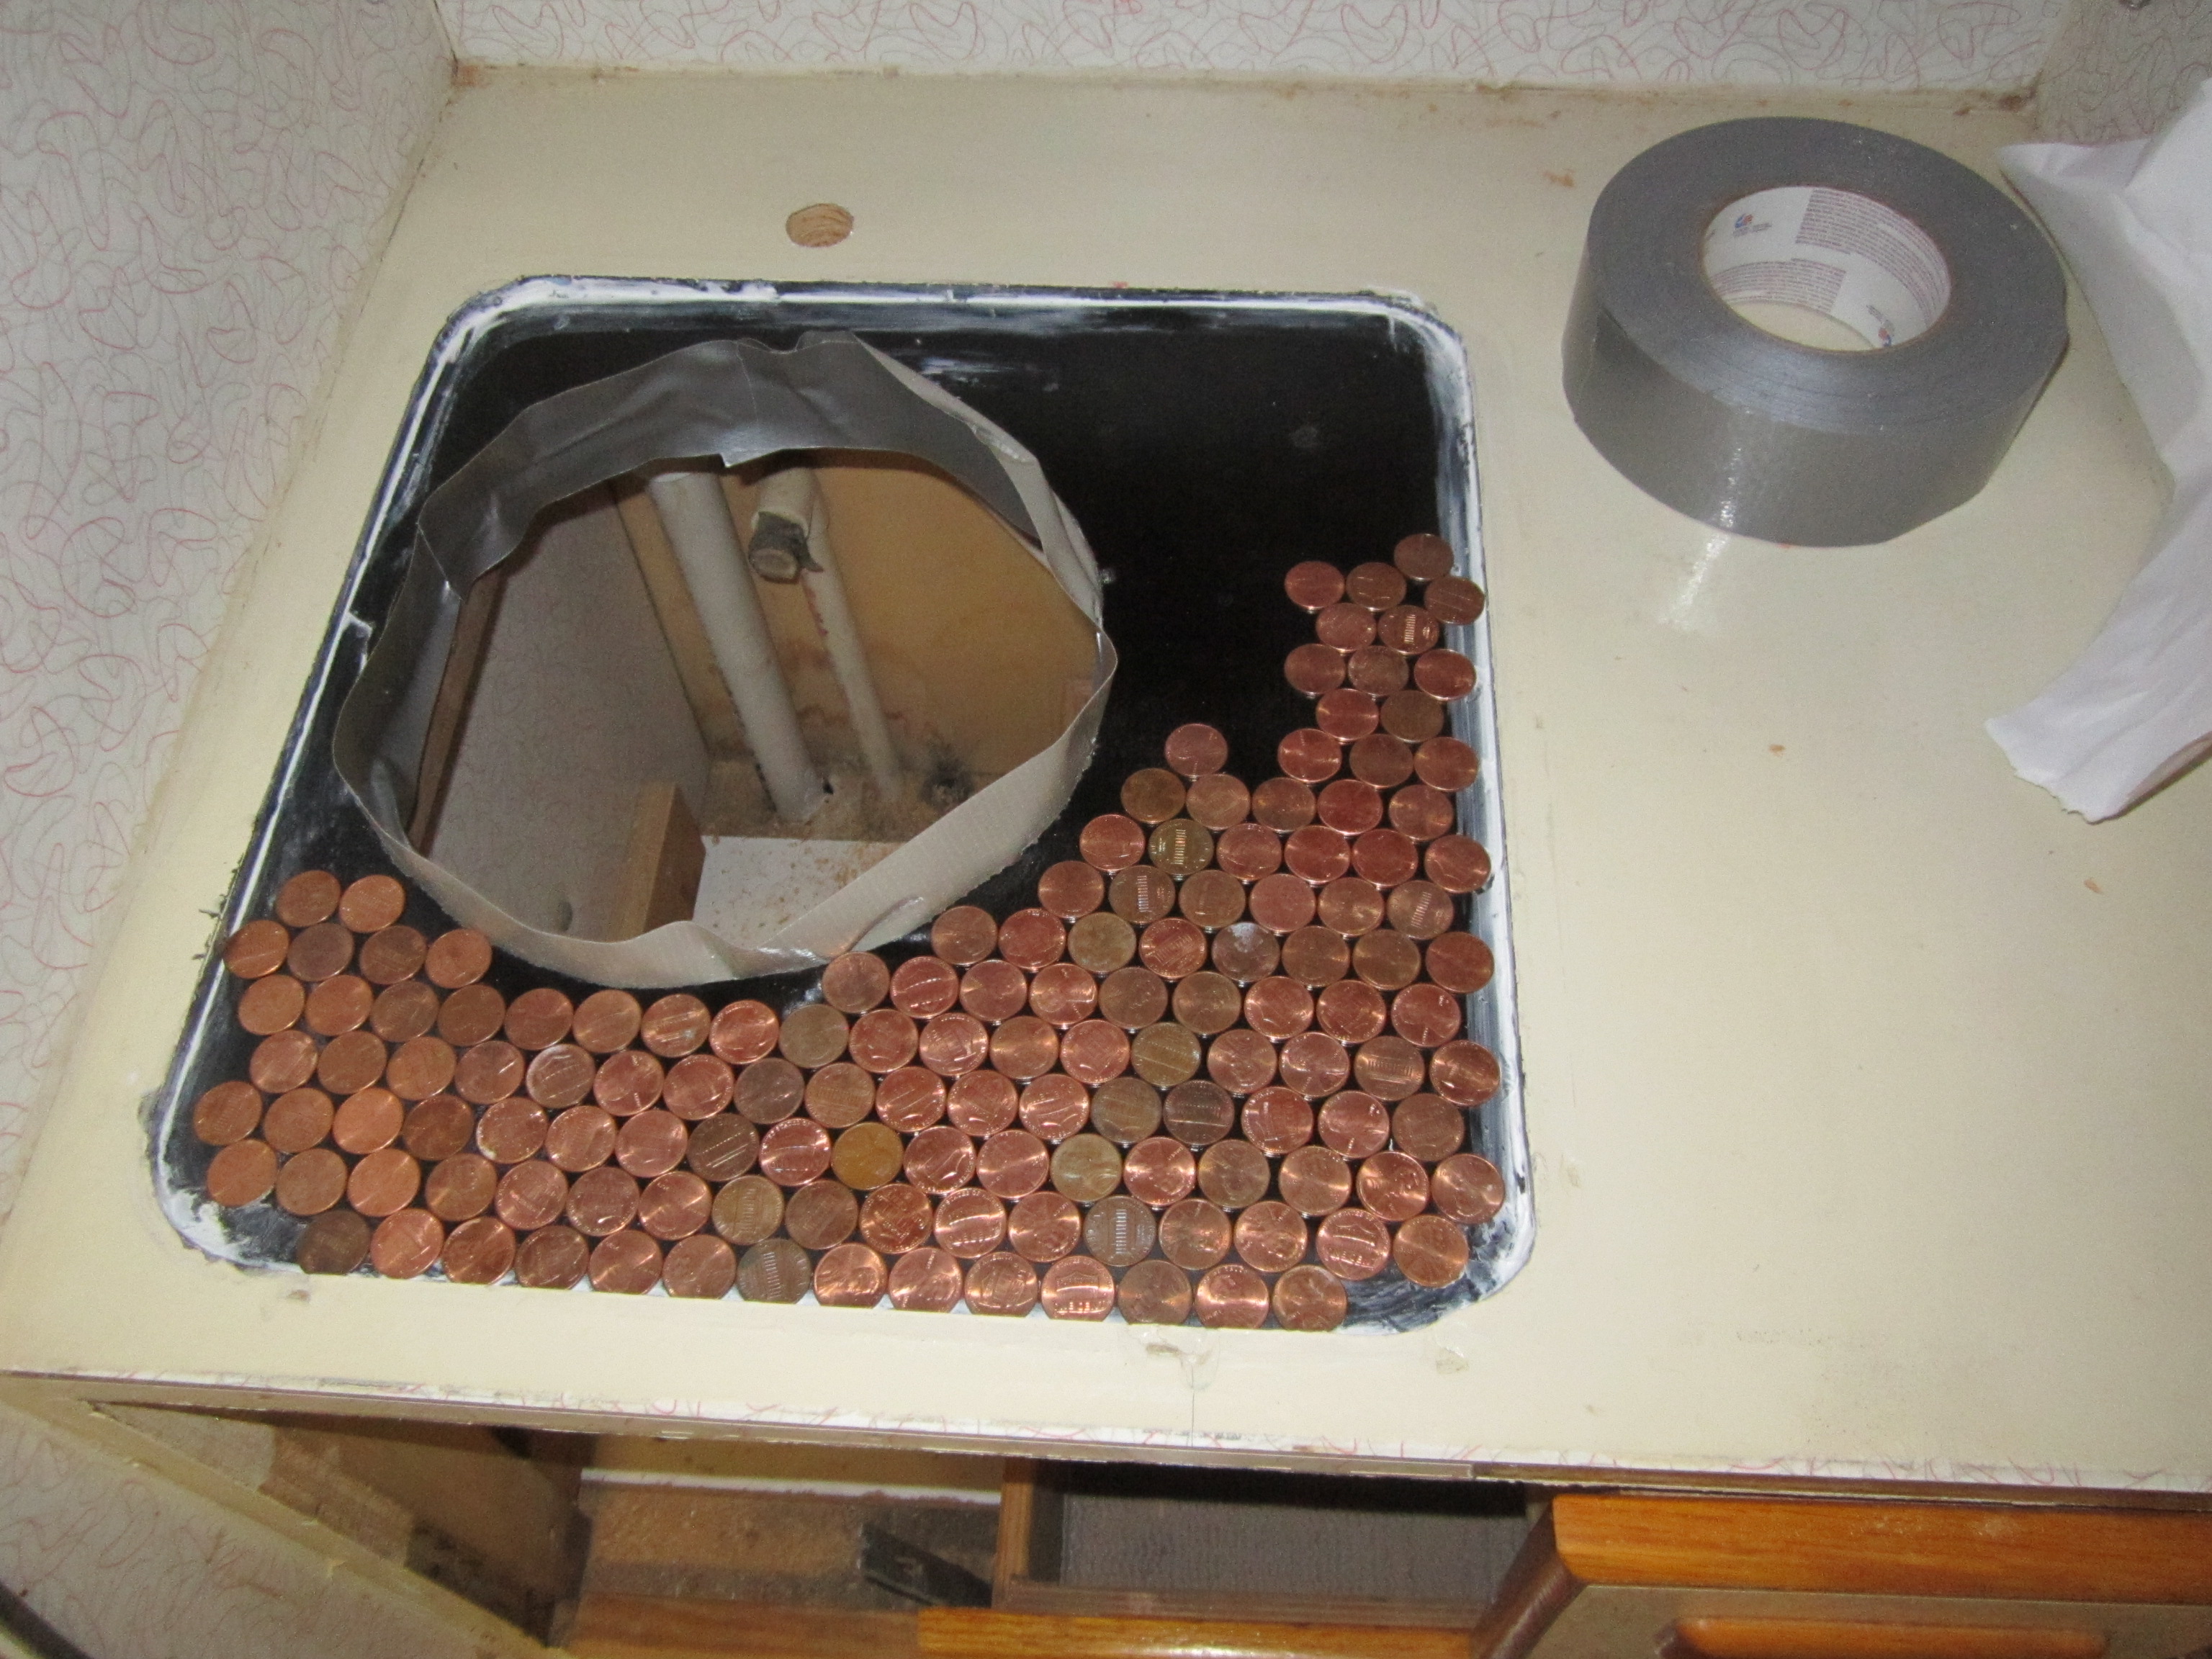
Penny Counter
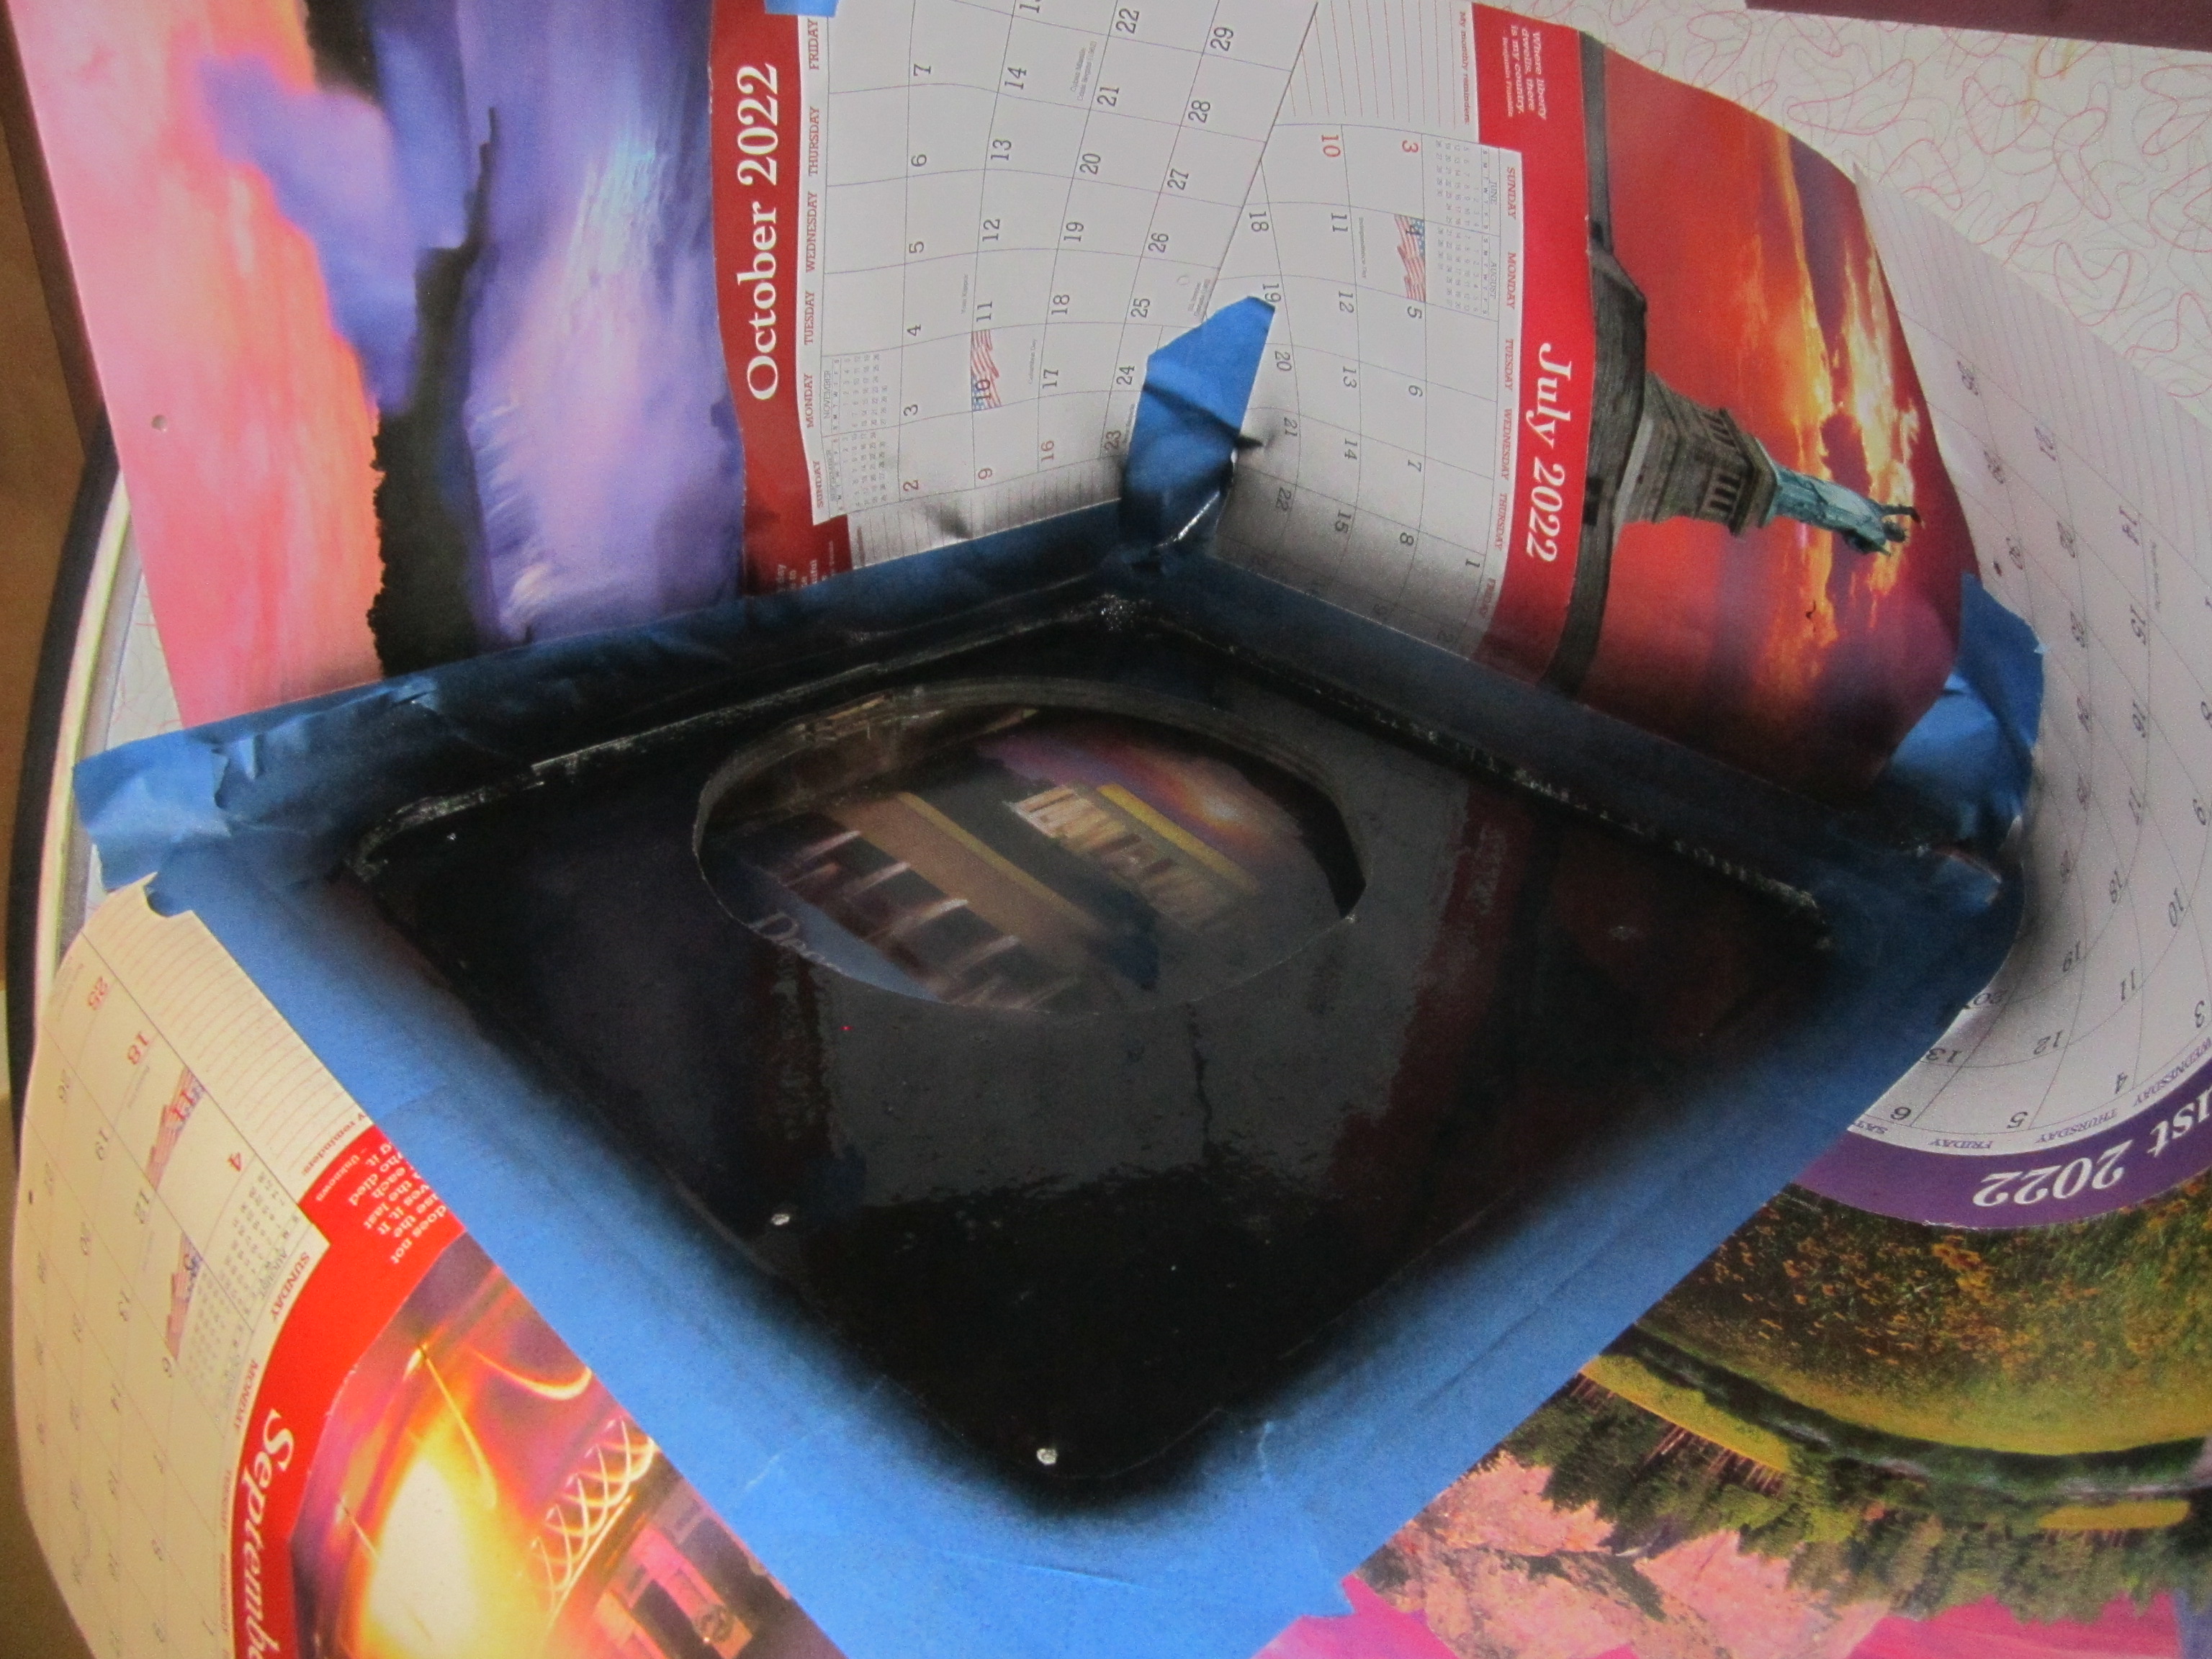
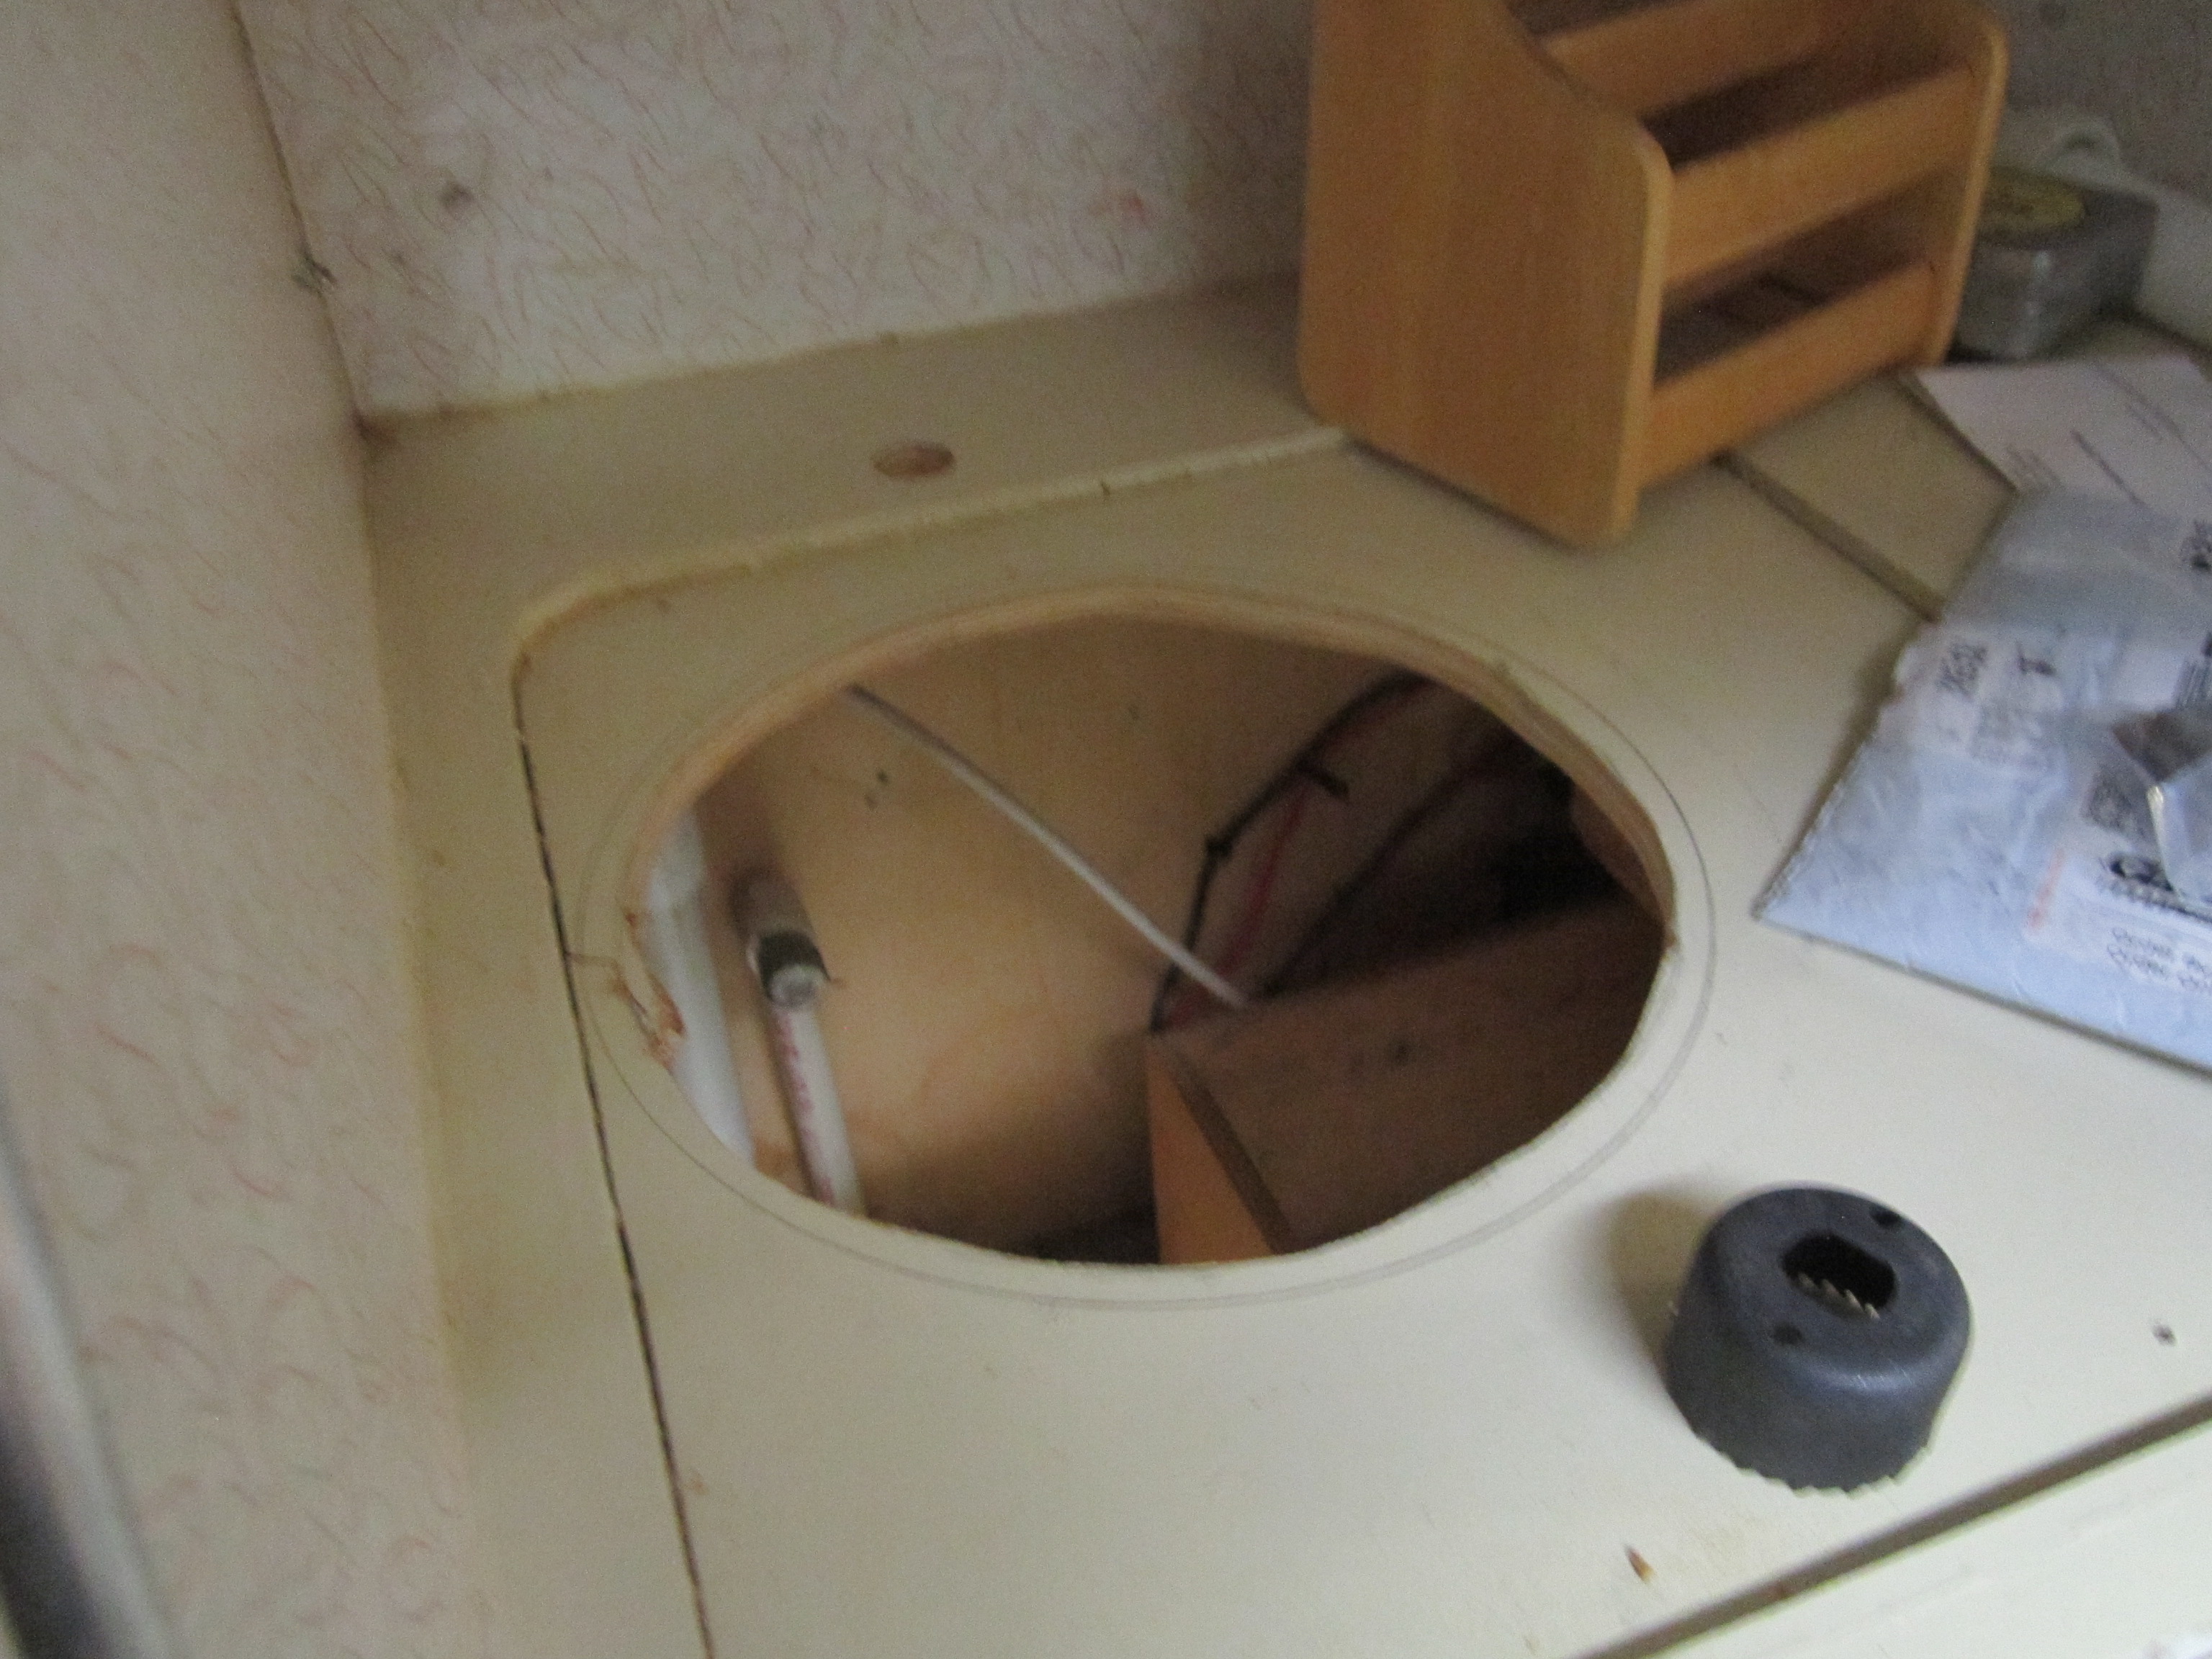
I have finished the epoxy pour and let it cure over night, this afternoon I cleaned it up and shaved the resin where it has dripped or pushed into the bowl area.
It is level and will be nice to clean quickly by the sink.
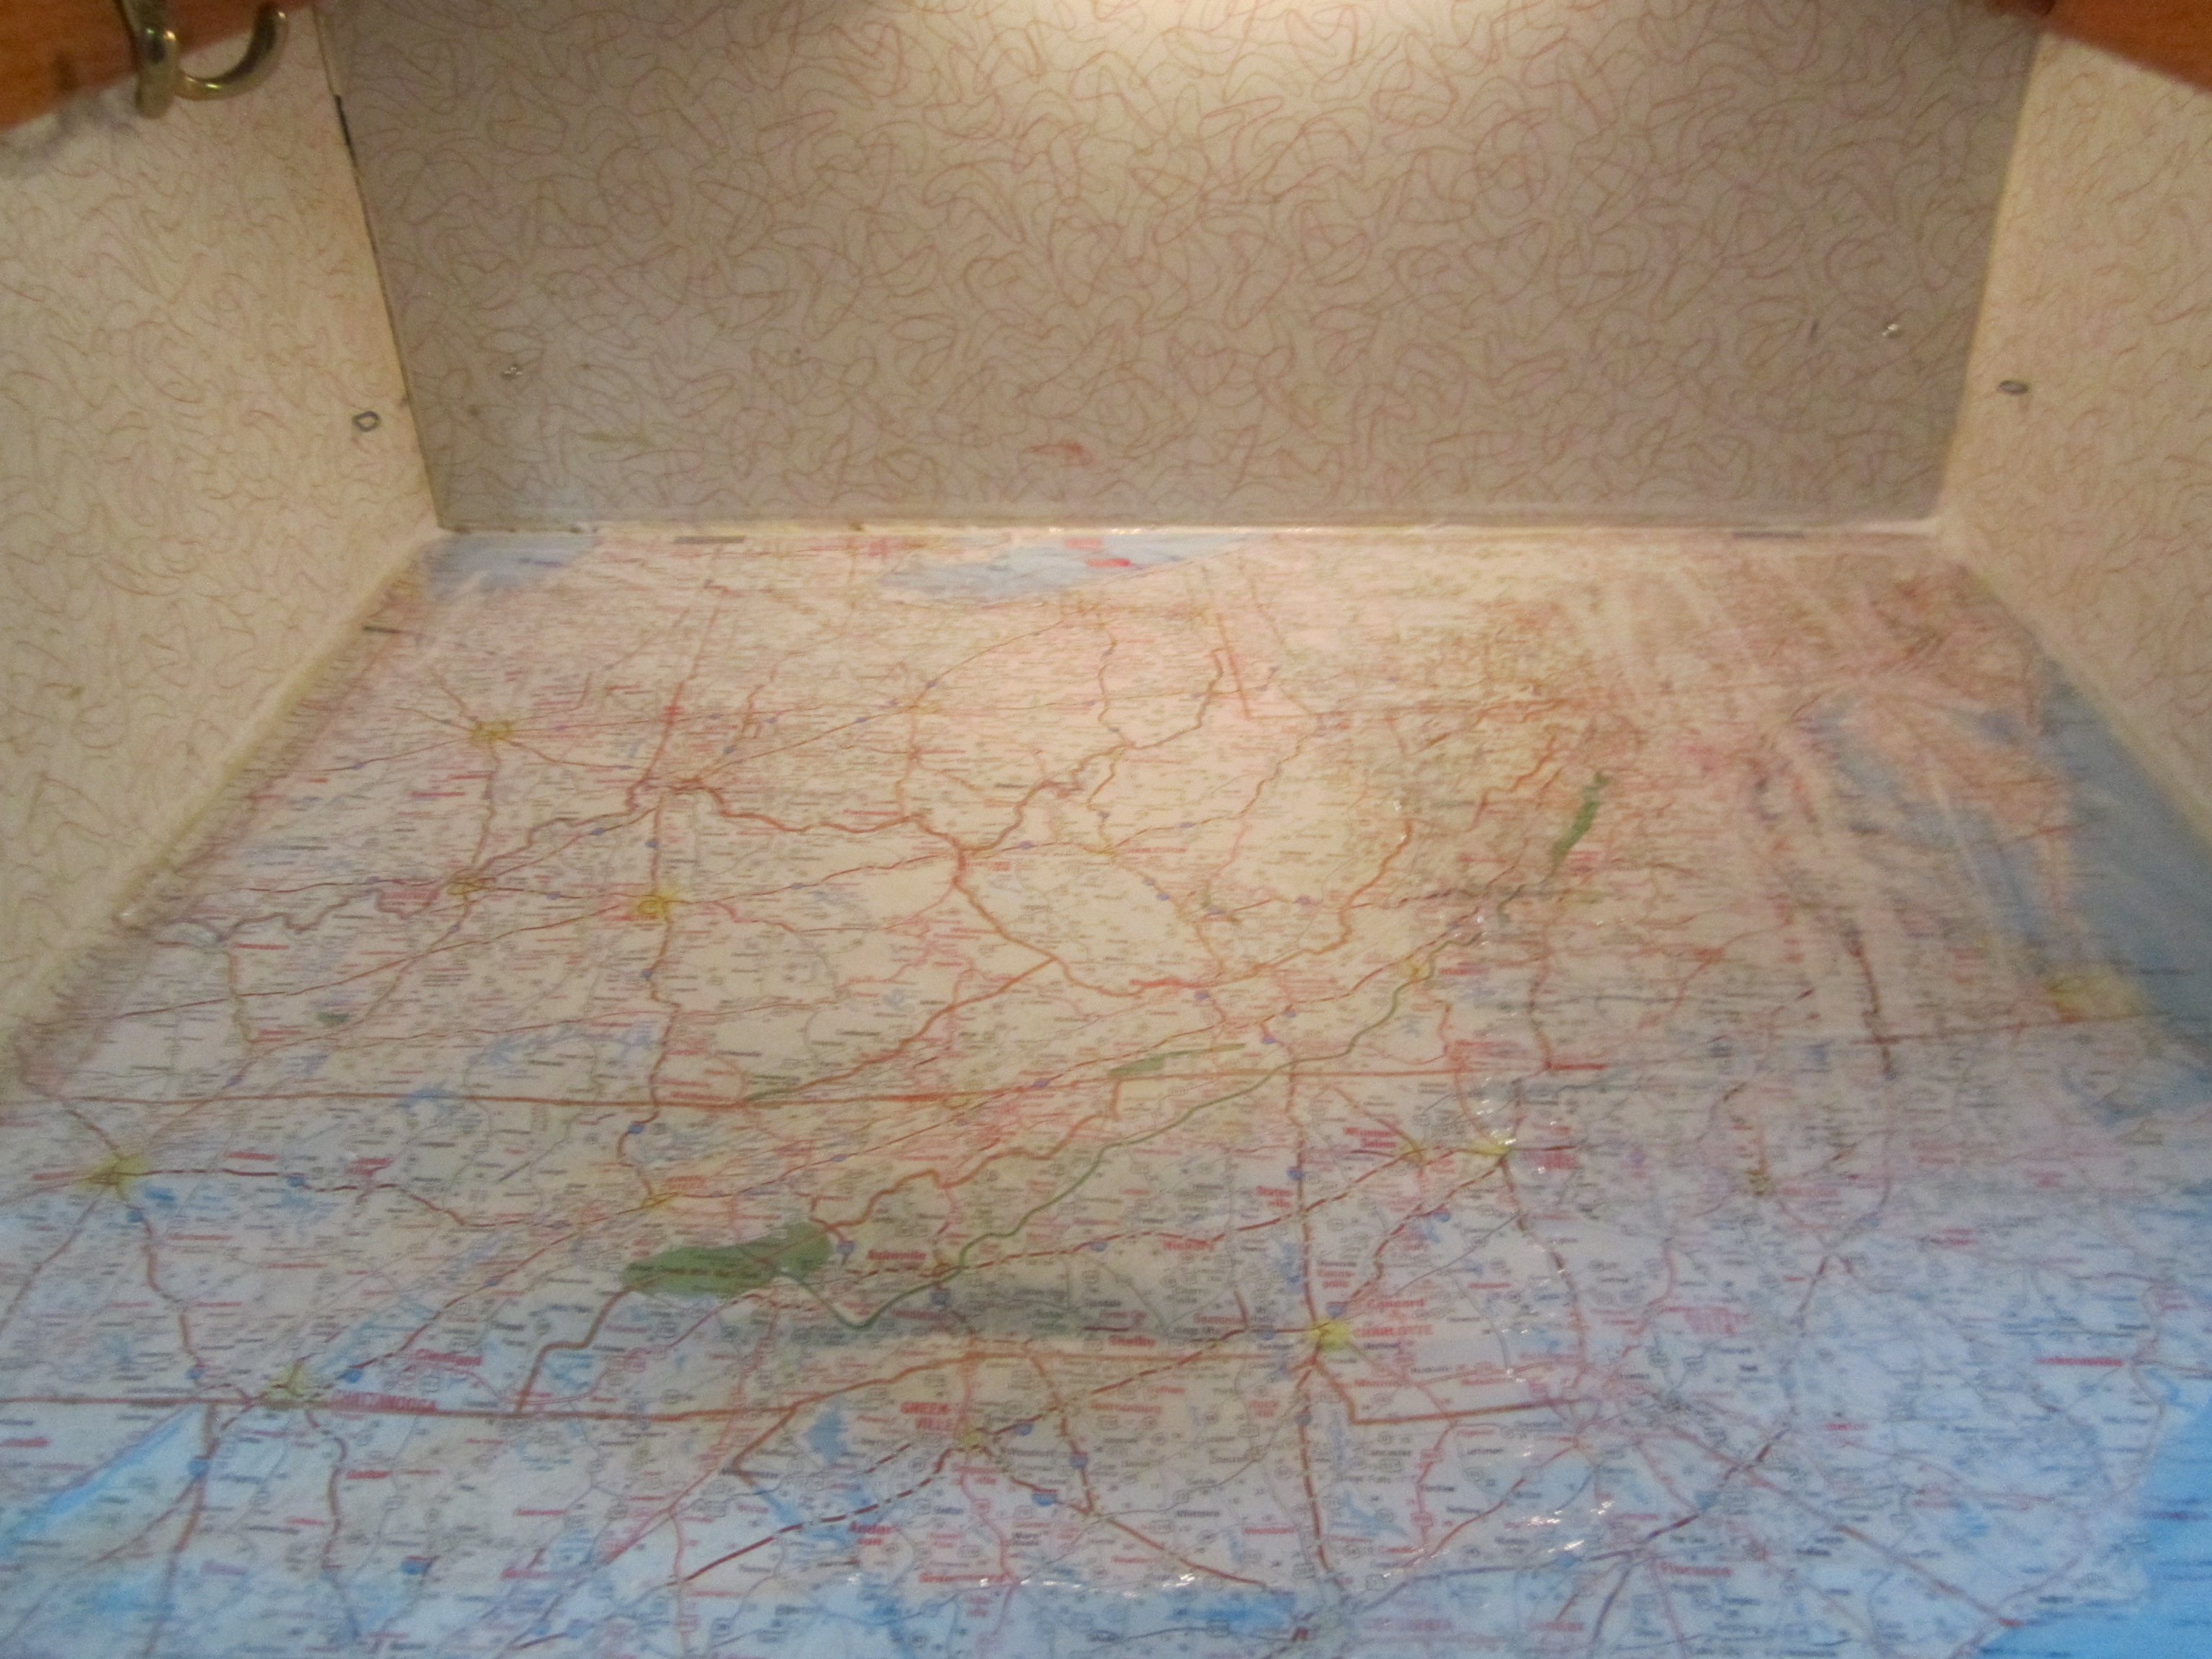
Other counter area
Mode Pog (Sealing glue) the map on the rest of the regular counter. It will dry by tomorrow I hope, as I want to get the faucet installed and run the hoses.
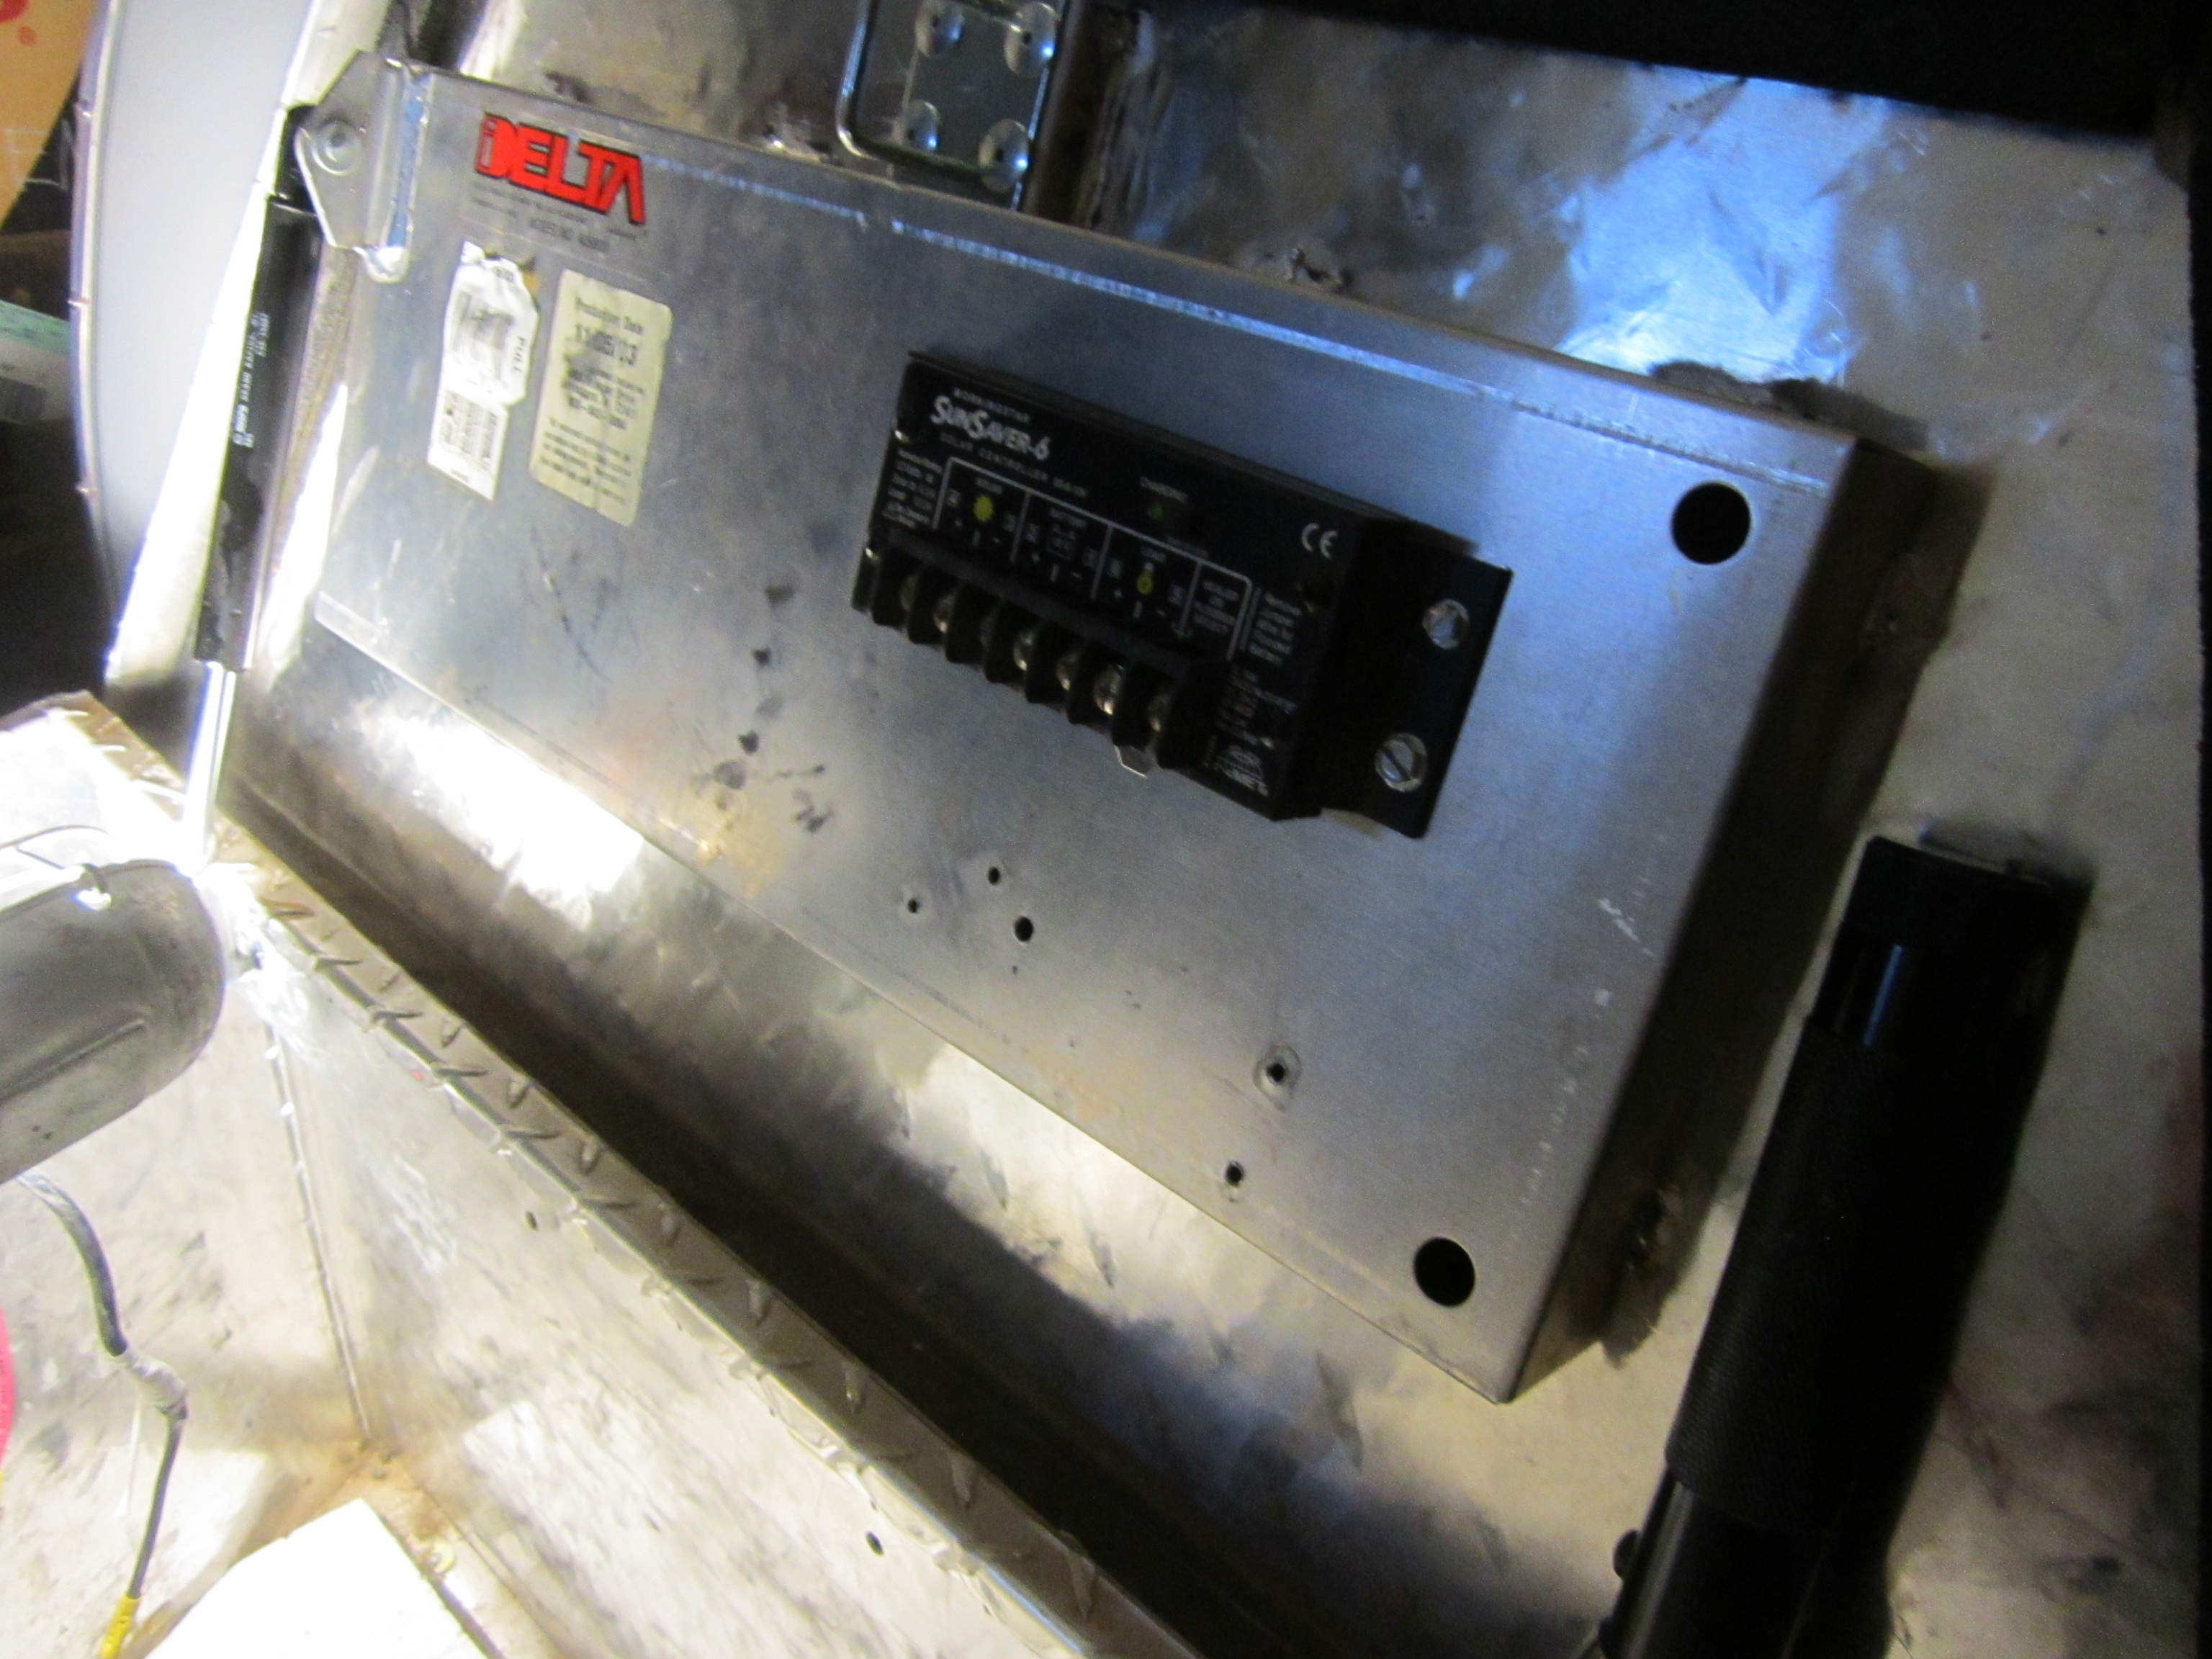
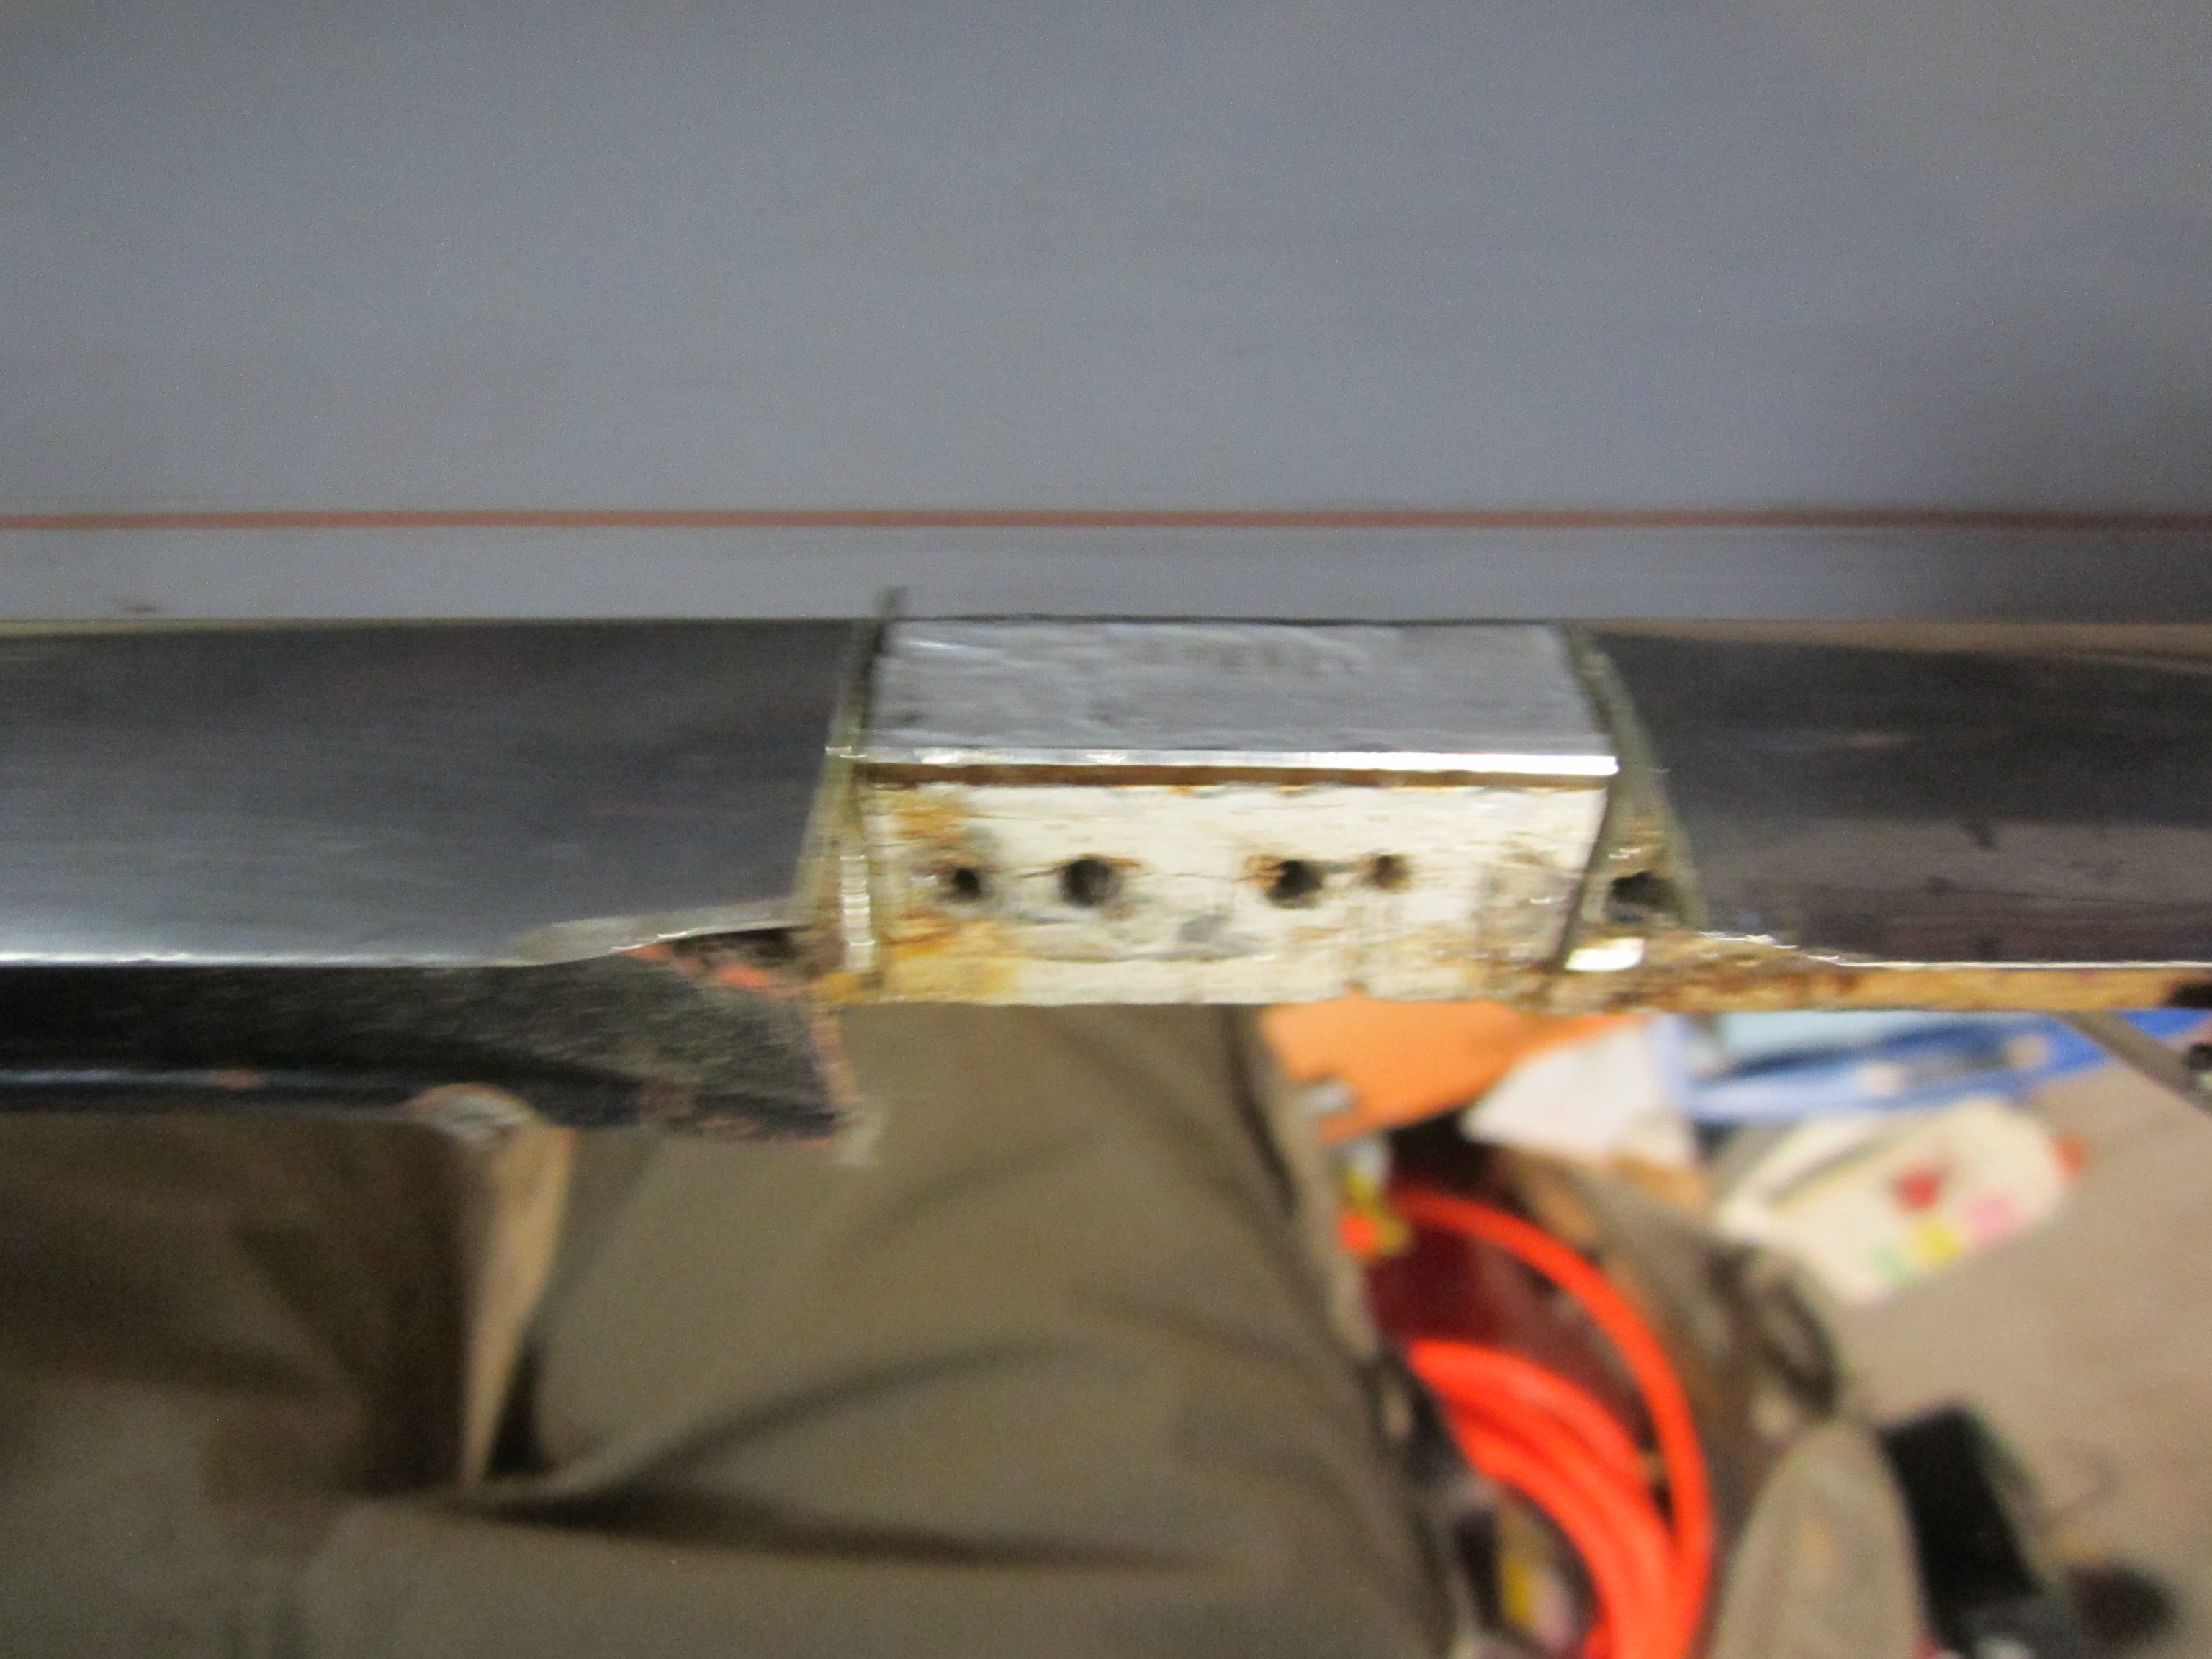
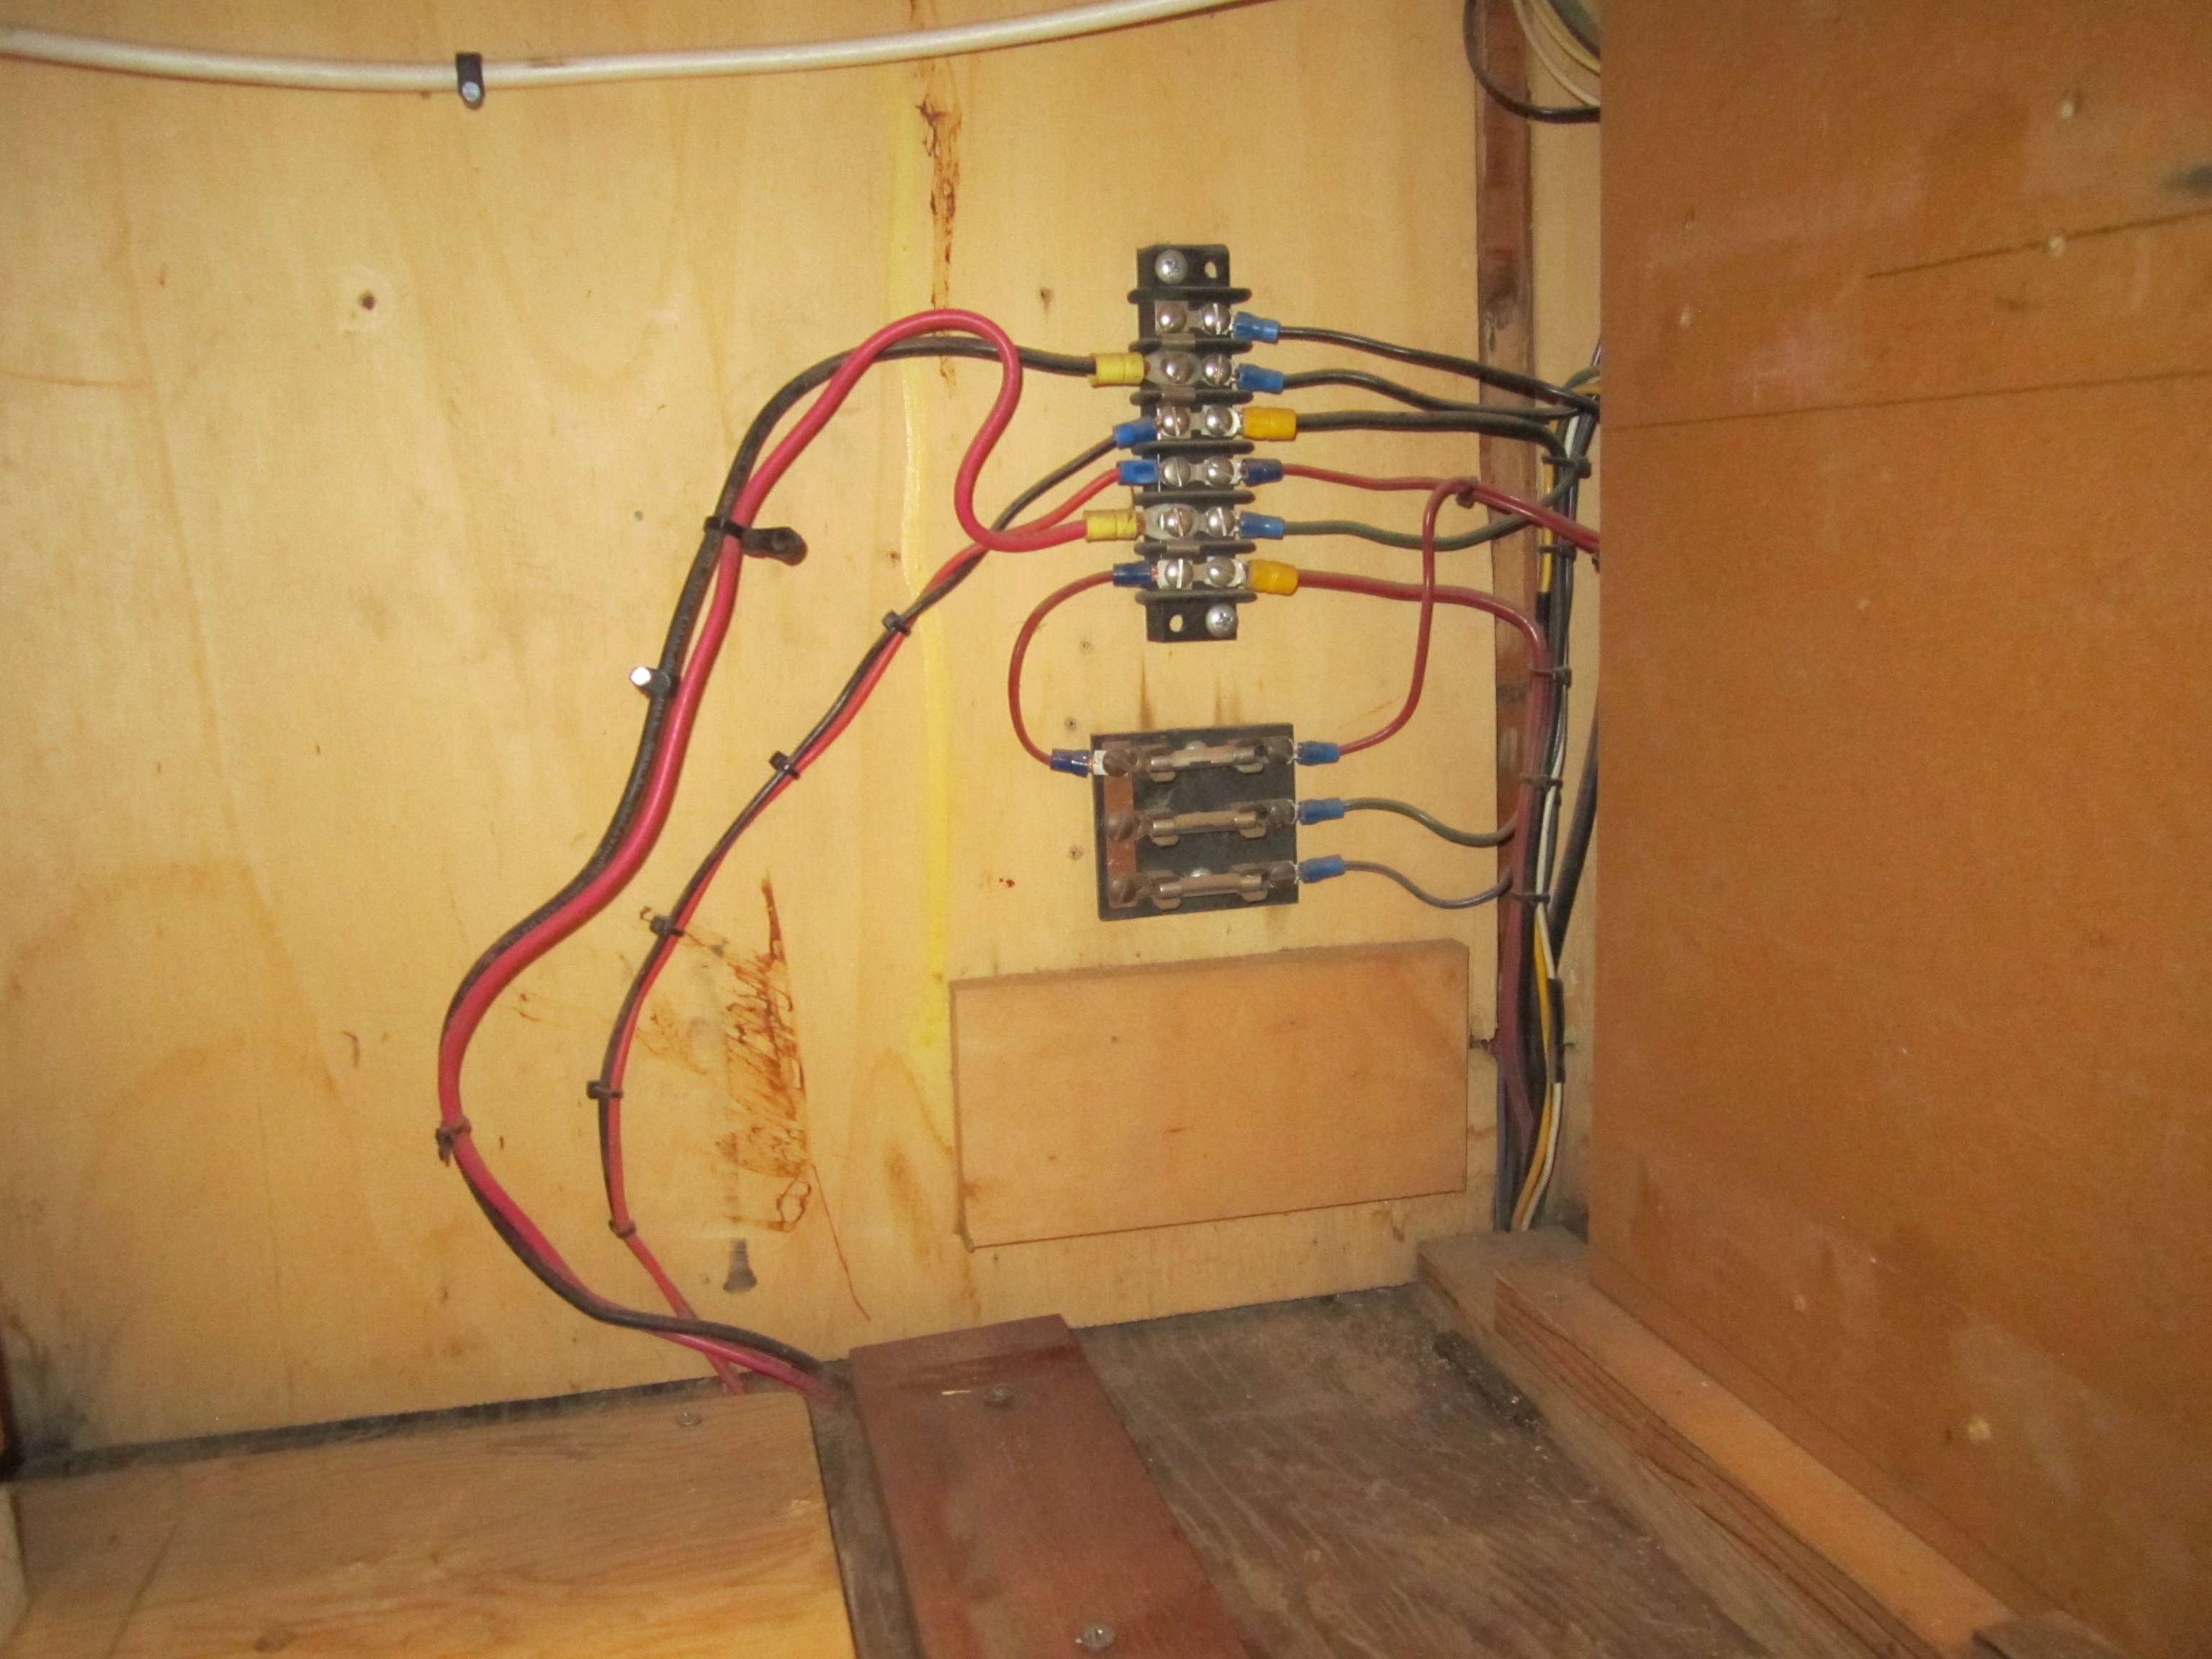
Solar Electronics
It is really nice to have the metal box for storage in the front of the trailer. i have found an access hole and a rubber grommet to run the solar array wires through and crewed in the solar controller box on the tom of the lid so no water can get to it.
I will run all the wires next time I work on the project and verify I can charge a battery with the panel mounted.
I am using a sun saver 6 morning star 6amp charge, 10 amp draw for loads and is 12 Volt battery charge algorithm. These are used in the oil and gas fields and are very easy to use and will be very reliable.
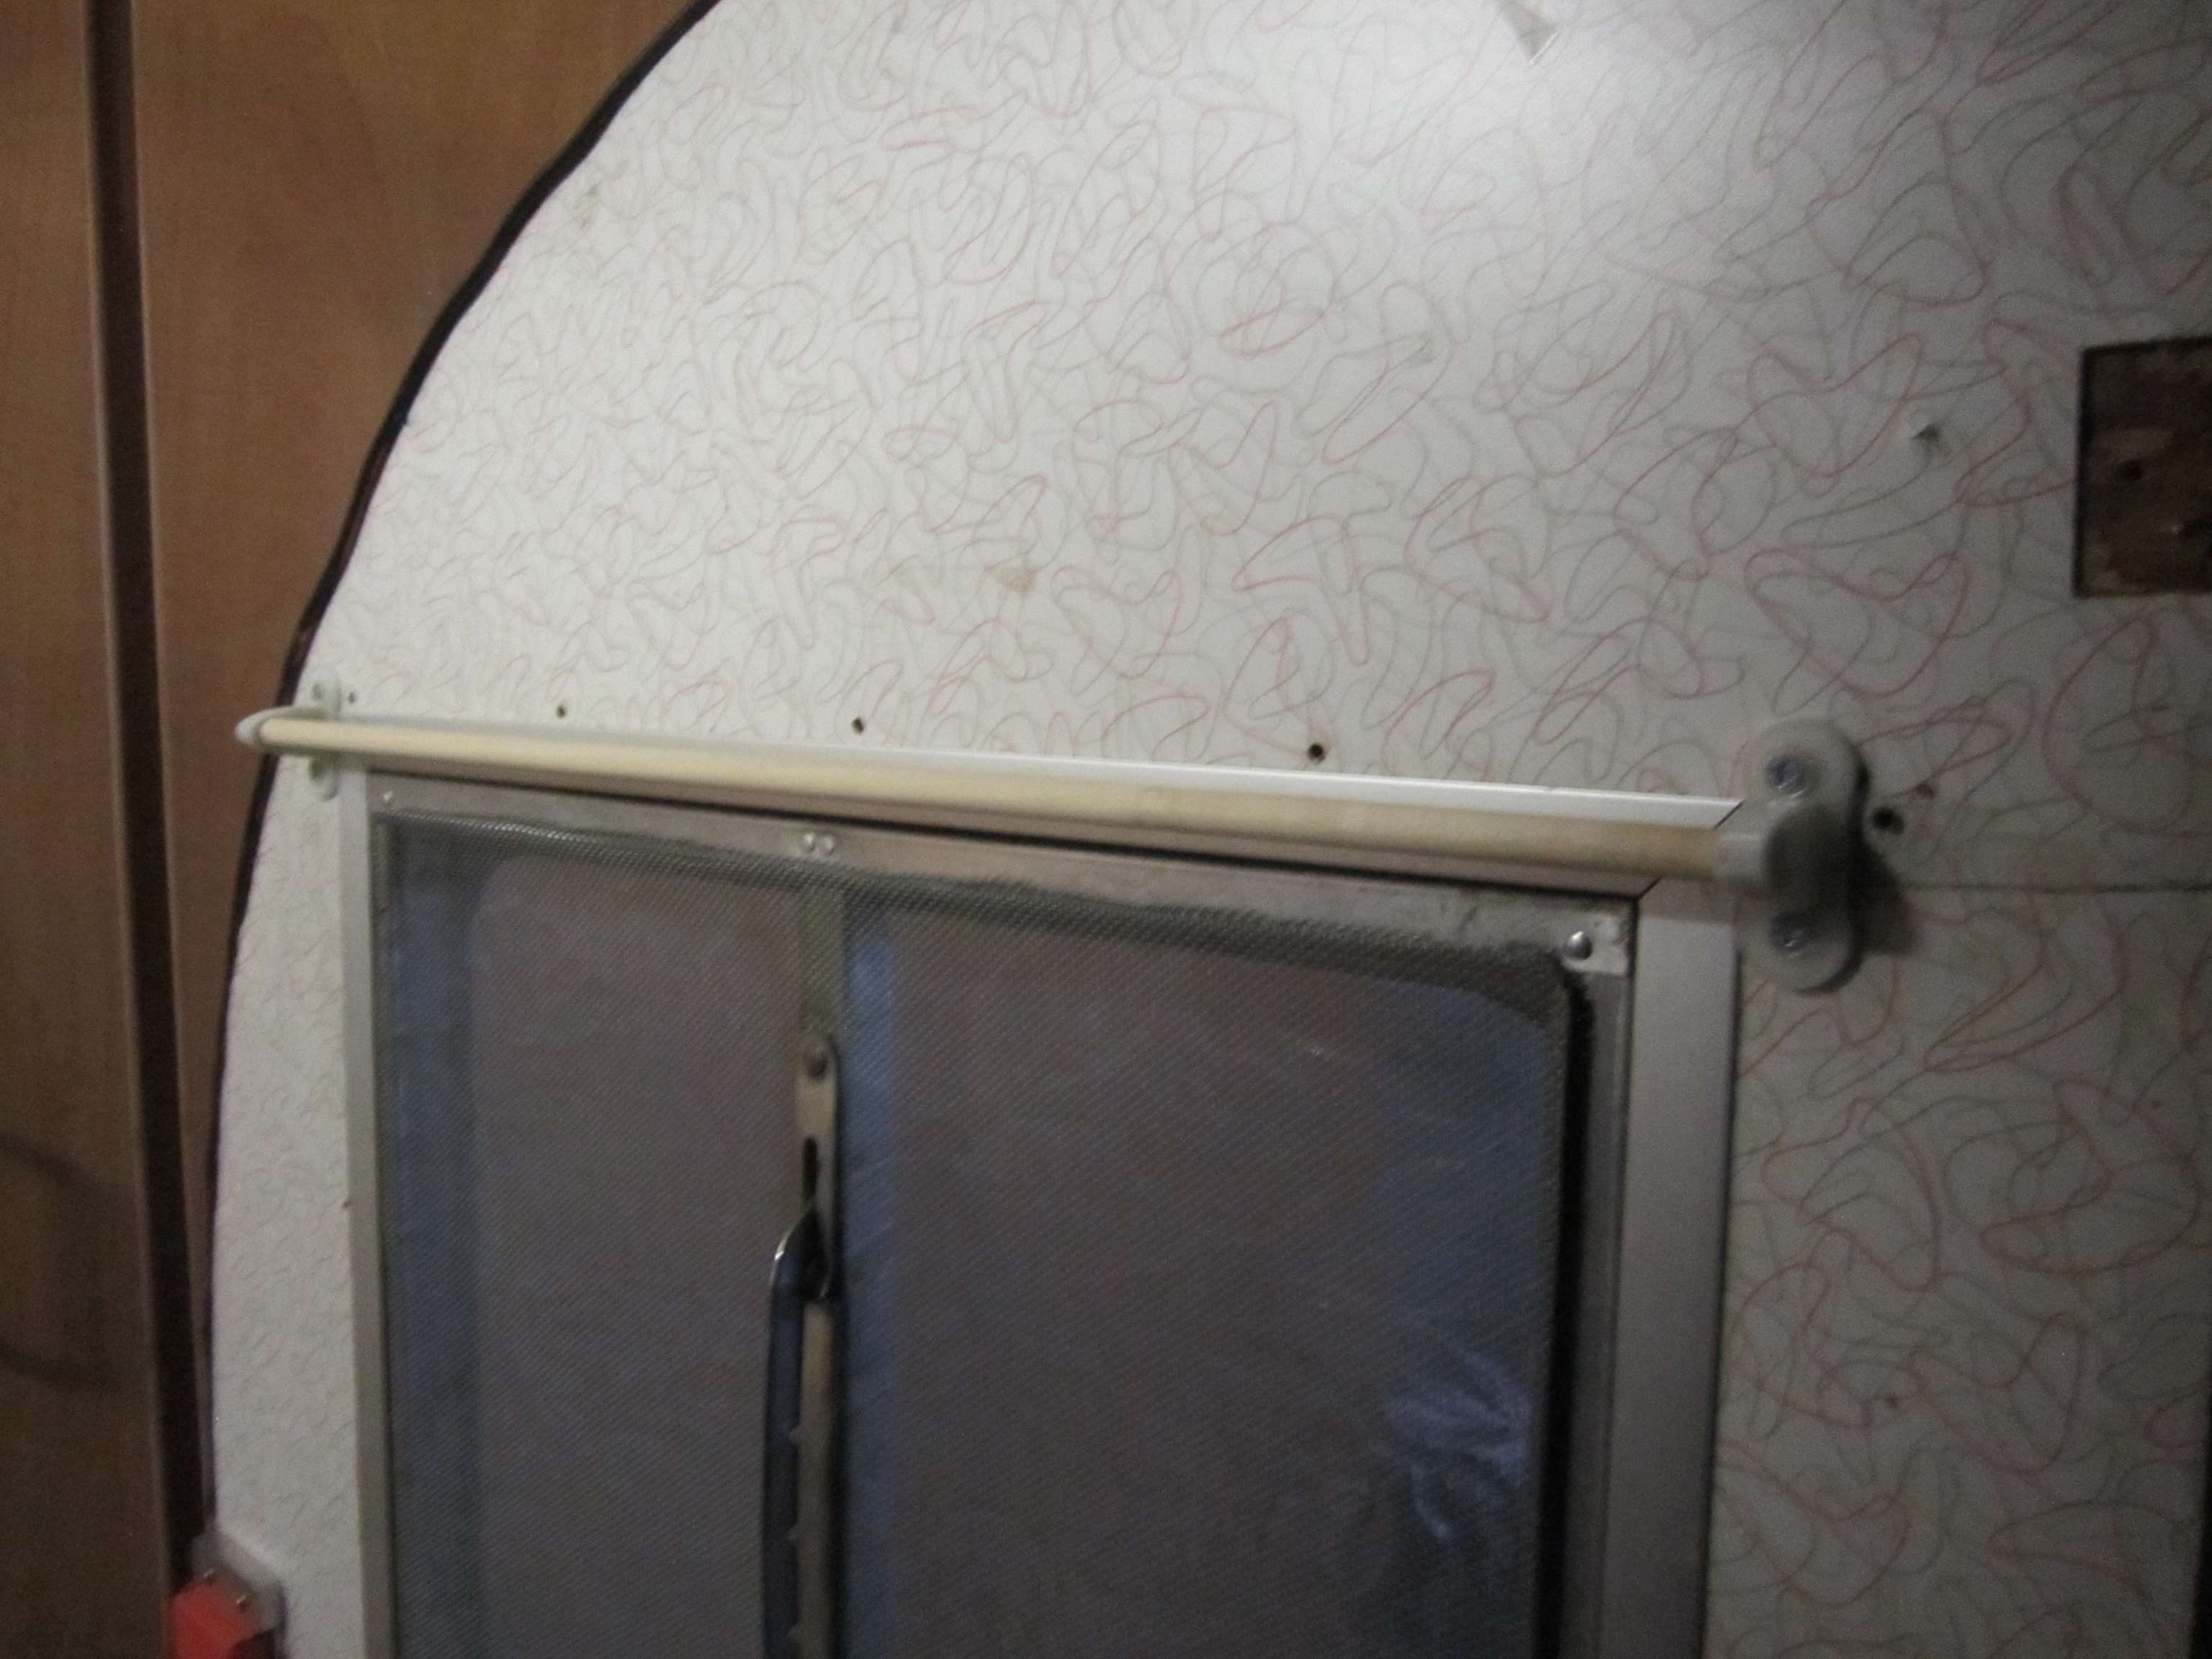
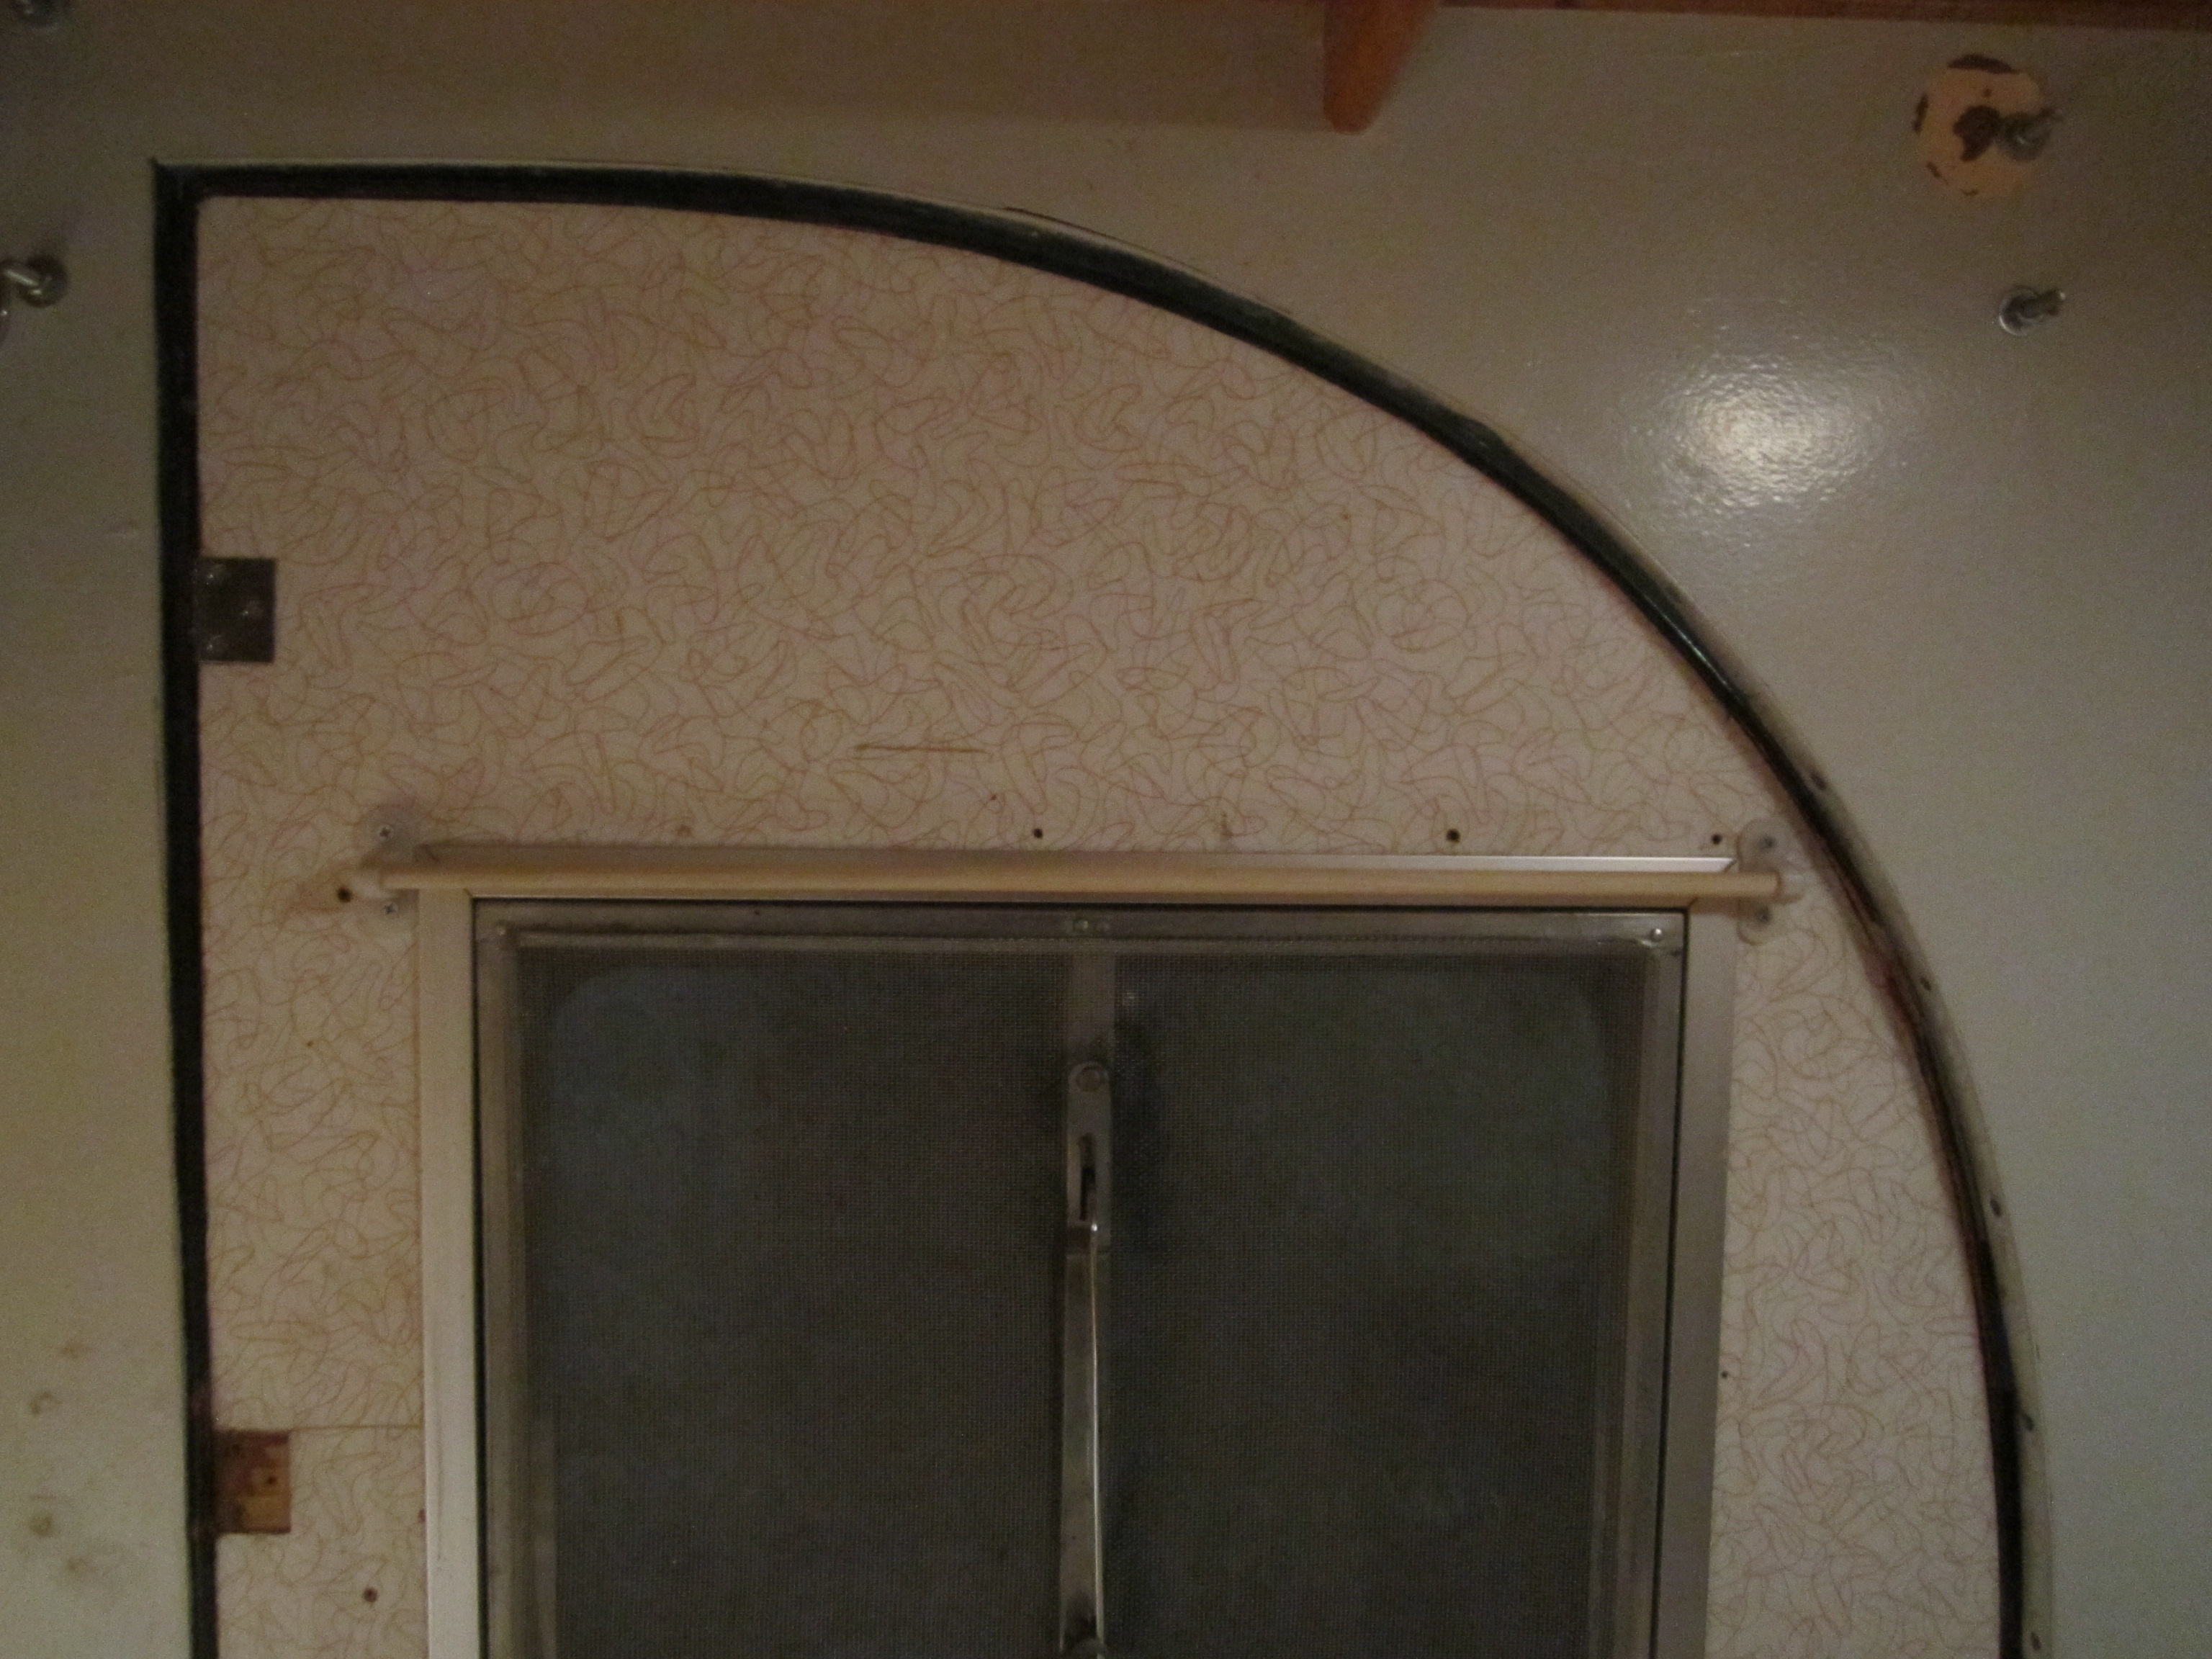
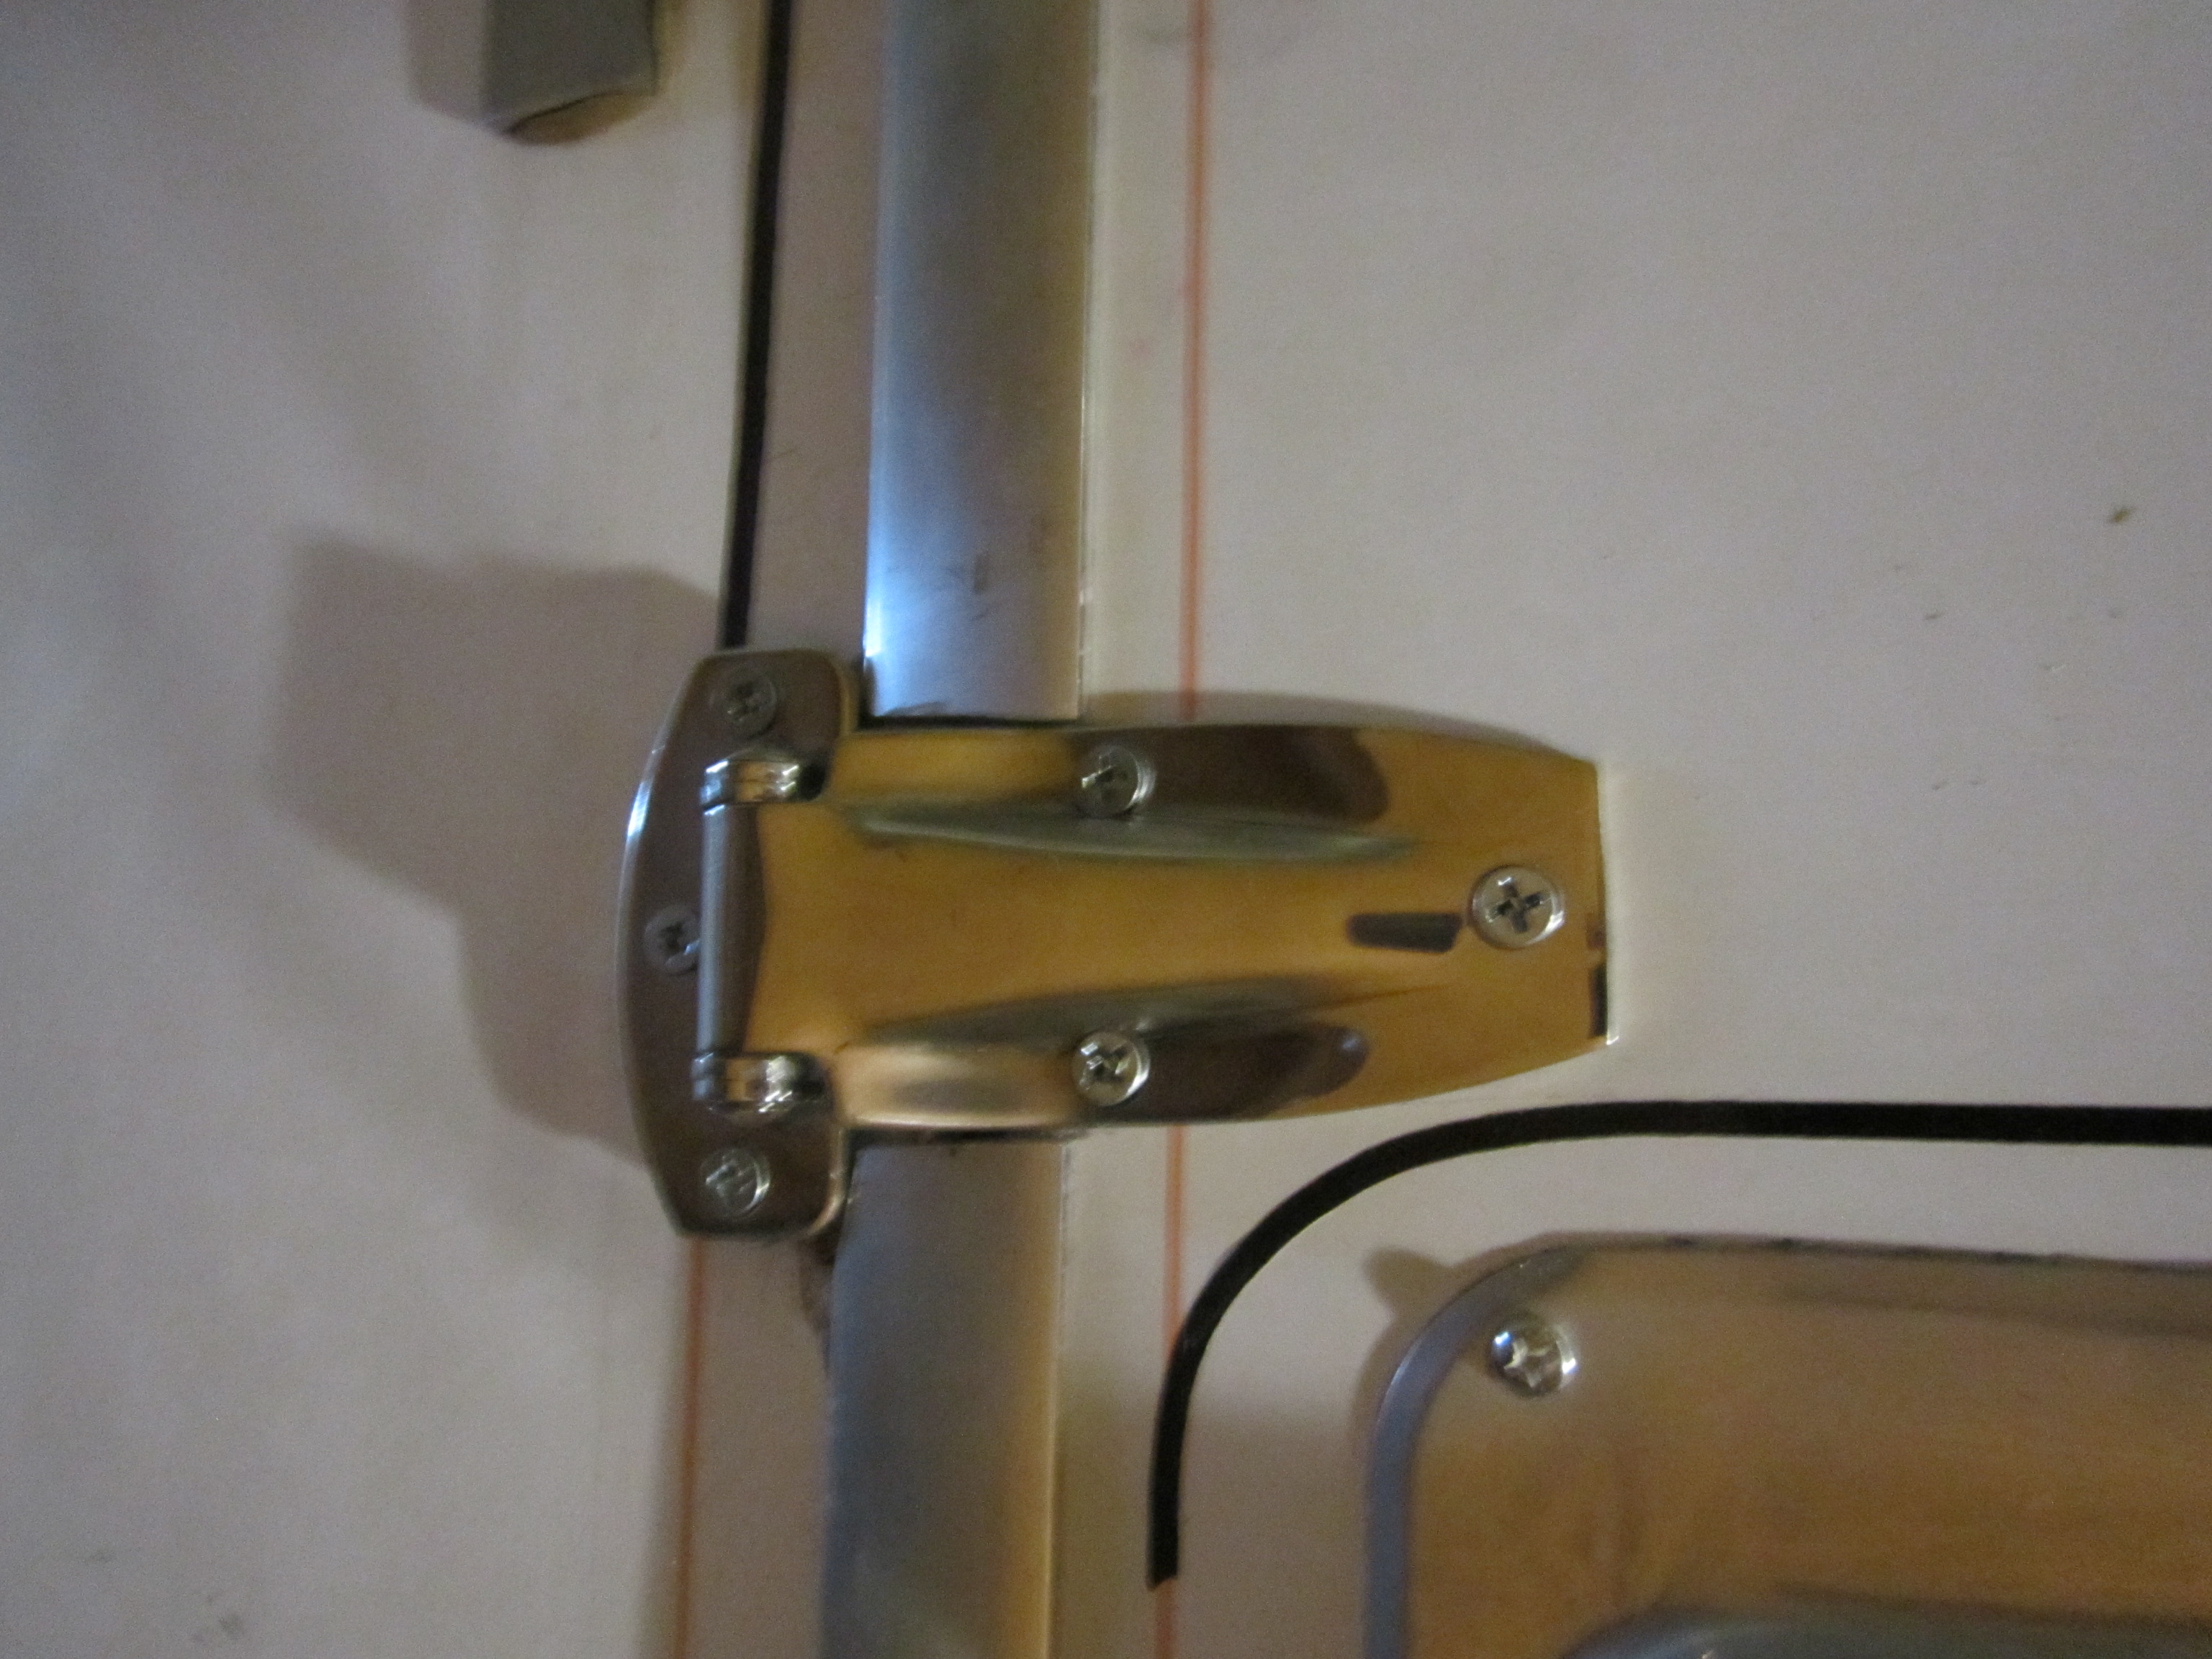
Curtain rods with holders
My glow in the dark curtain rod holders are put in. i need to finish sewing my curtains but wanted to make sure of the exact length before cutting them.
I put them on each door.
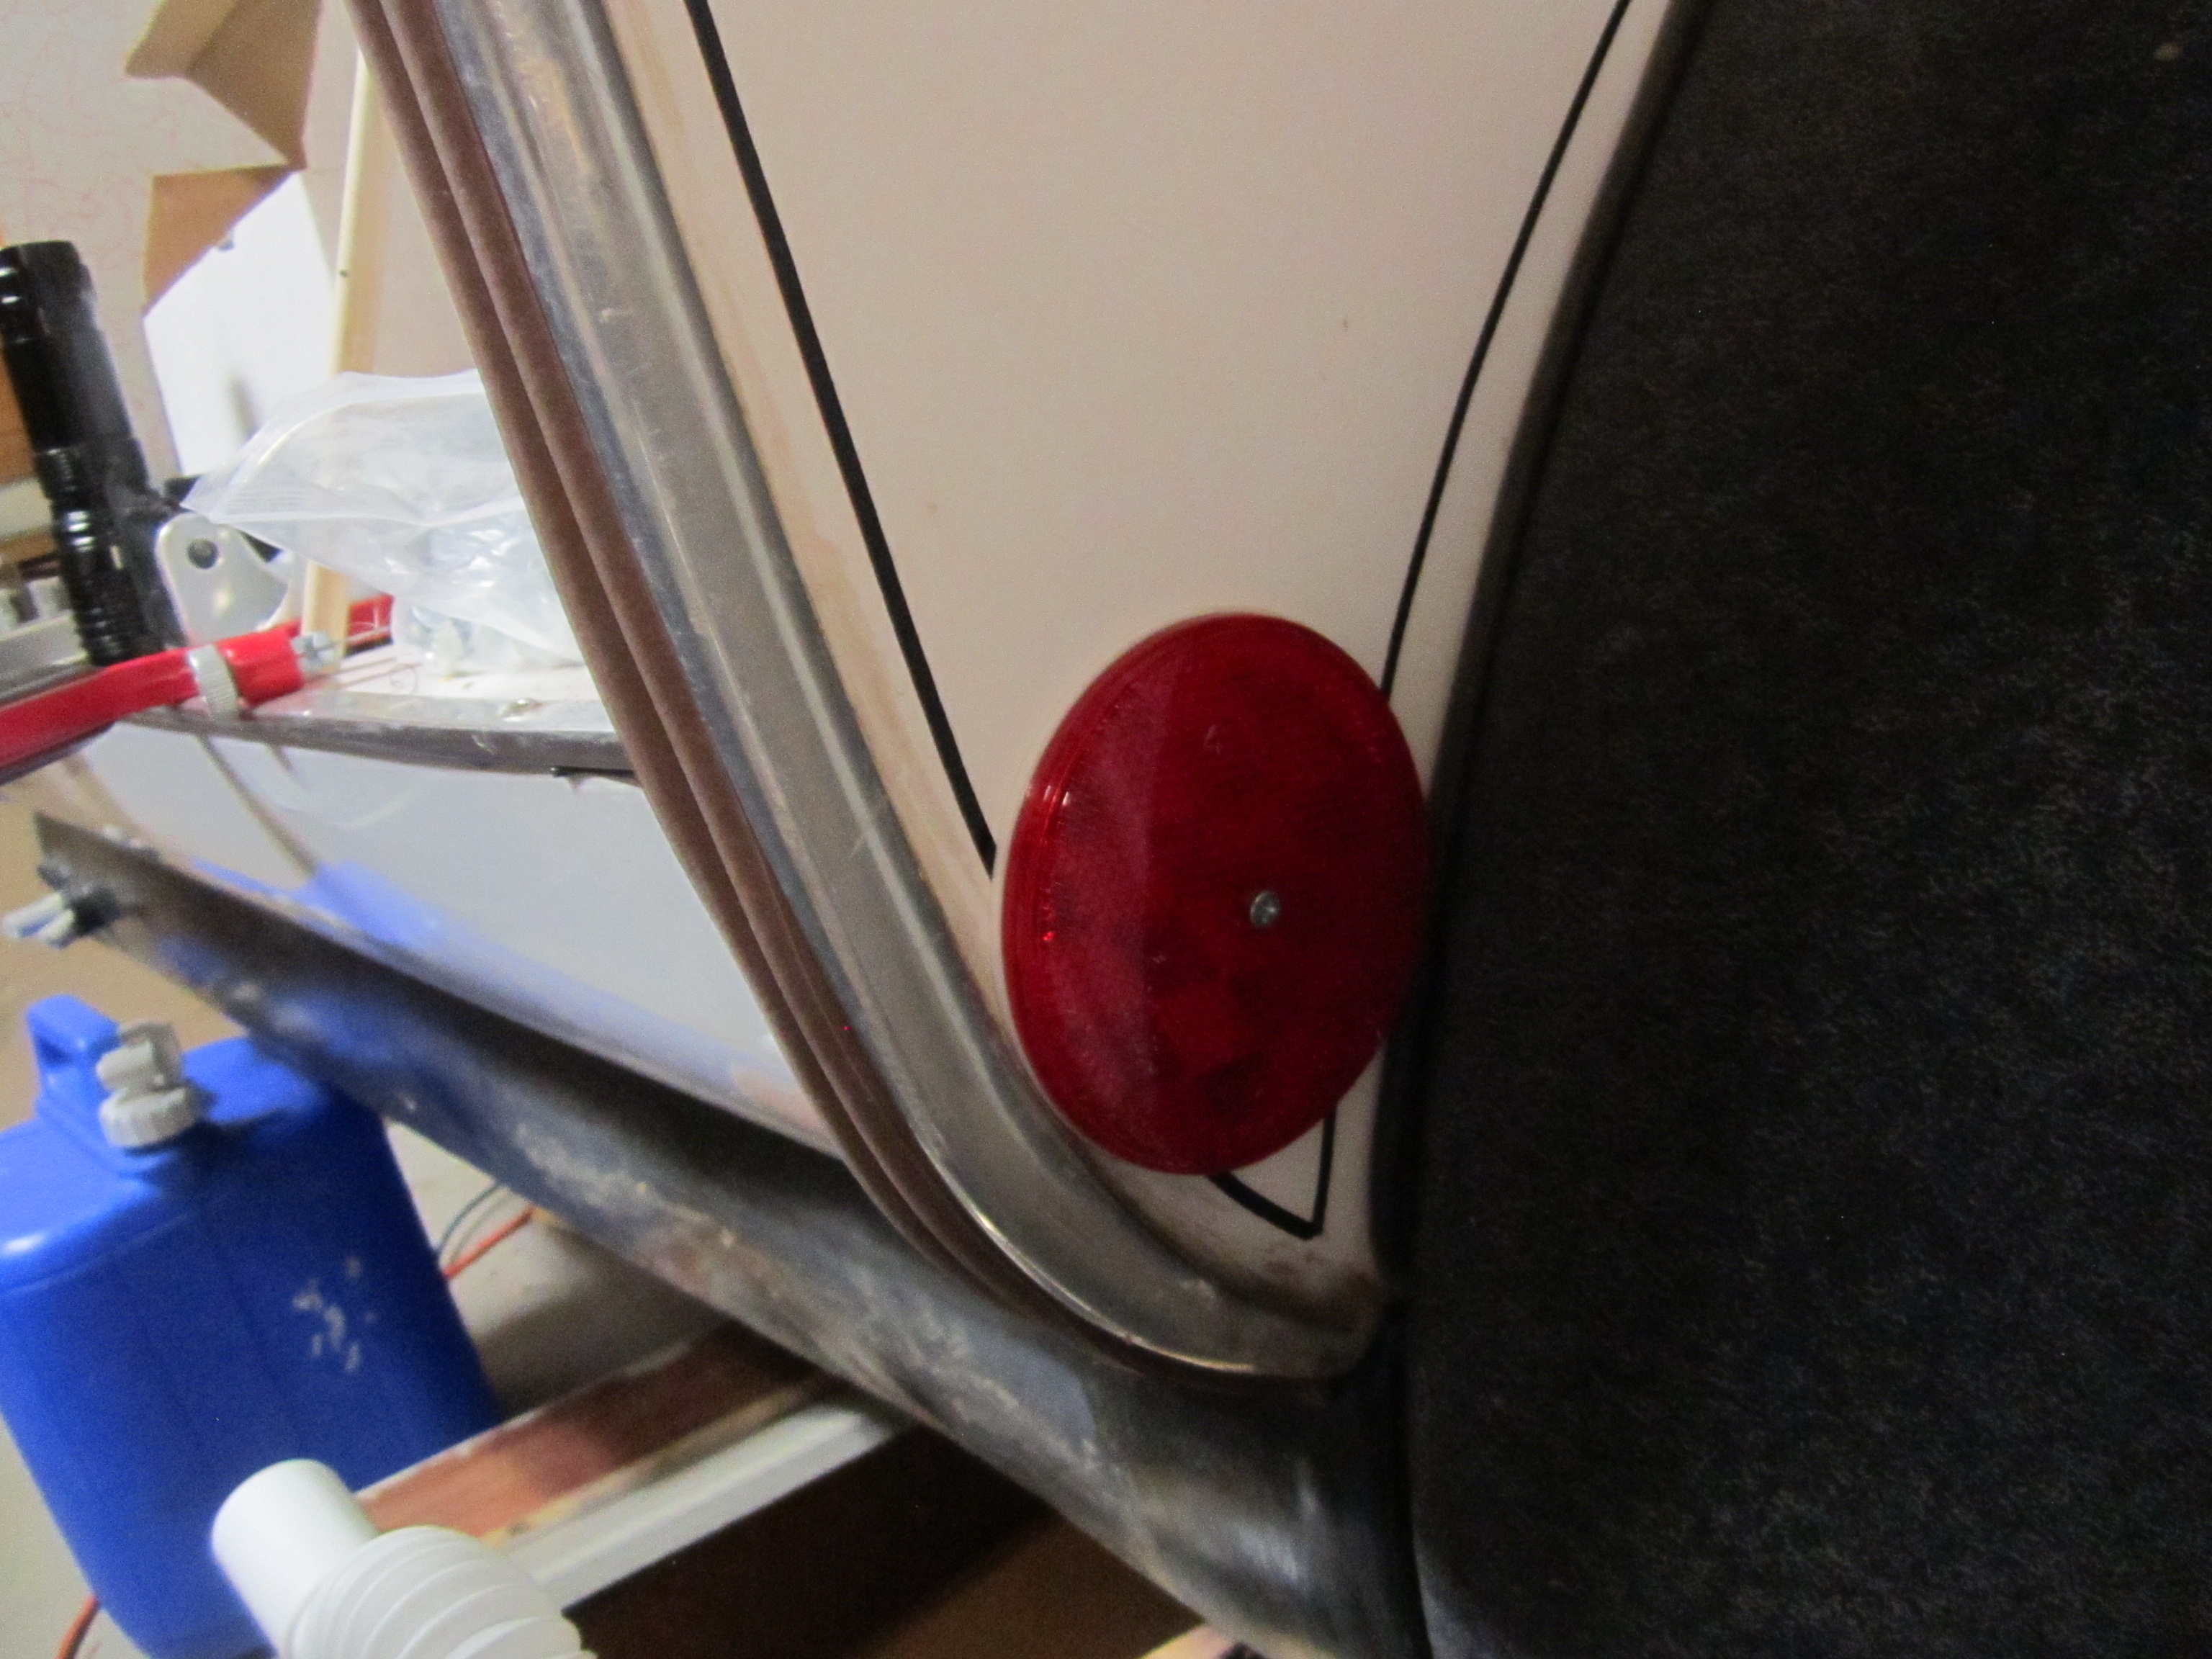
Reflectors
When I was visiting my mom, we went to True Valley hardware store and bought some reflectors. I know I could have bought them for cheap on line but I wanted to give them business while I was there and to my surprise they had the big red round ones I was looking for.
I drilled a very small screw and used the adhesive backing but wanted a screw to hold the on as well.
I will be adding a few more reflectors but need the others to be yellow.
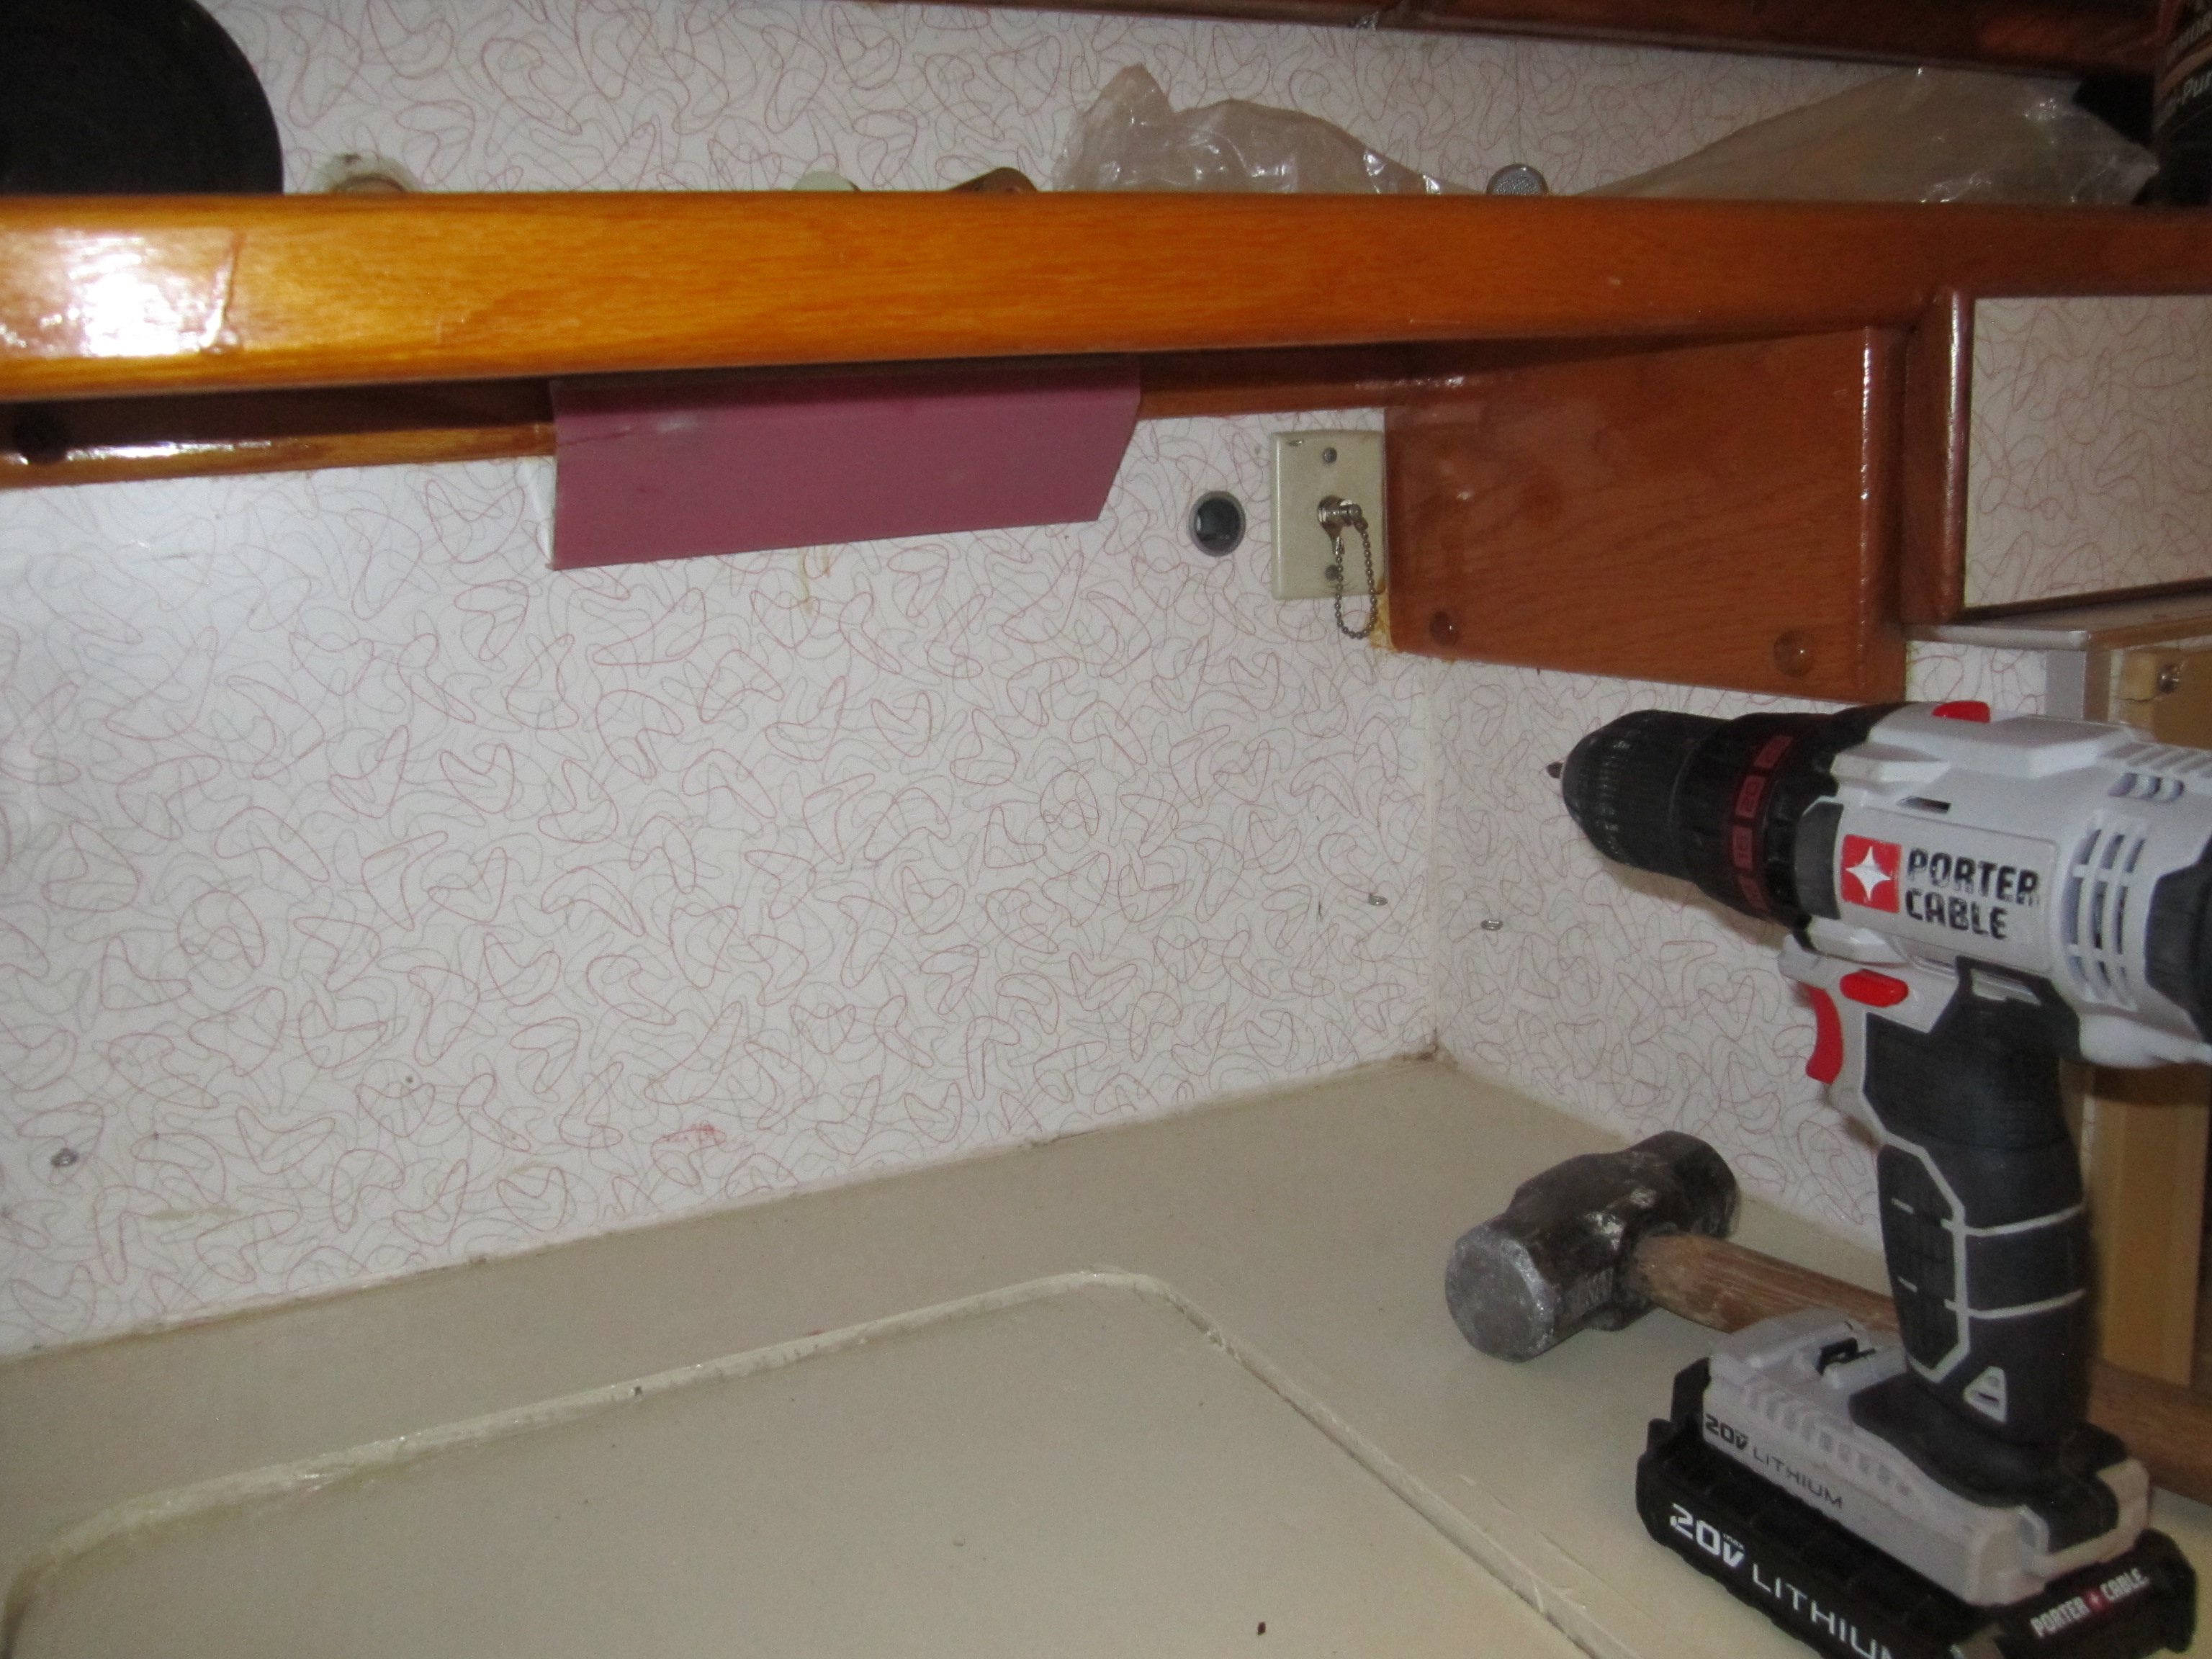
Reading Lamp fixed
It was interesting that the only lights that did not work were the reading lamps that are adjustable for each person under the shelf by the front of the camper.
Like the ones on airplanes they move around and will be nice when reading before bed.
The issue was that the power wire was not hooked up at all. So I wired a fuse in-line and will hook it directly to the battery so that will be the only light on the inside that can be turned all any time. As, I’m putting a kill switch on the battery, so when I am not using the camper it will turn off the power to everything.
More work on the Scad-A-Bout putting in a dog bowl sink that will be used to wash hands, silver ware, dishes, etc. Not for drinking water, but in an emergency you could because I plan on using clean drinking water for the supply.
I also replaced the hinges for the left door with some heavy duty chrome door hinges.
I also took some measurements on the inside window to make some curtains. I made the curtain rod holders for a 10mm wood rod , on my 3D printer (link here https://www.tinkercad.com/things/1kNPvbI5BZ5 ).
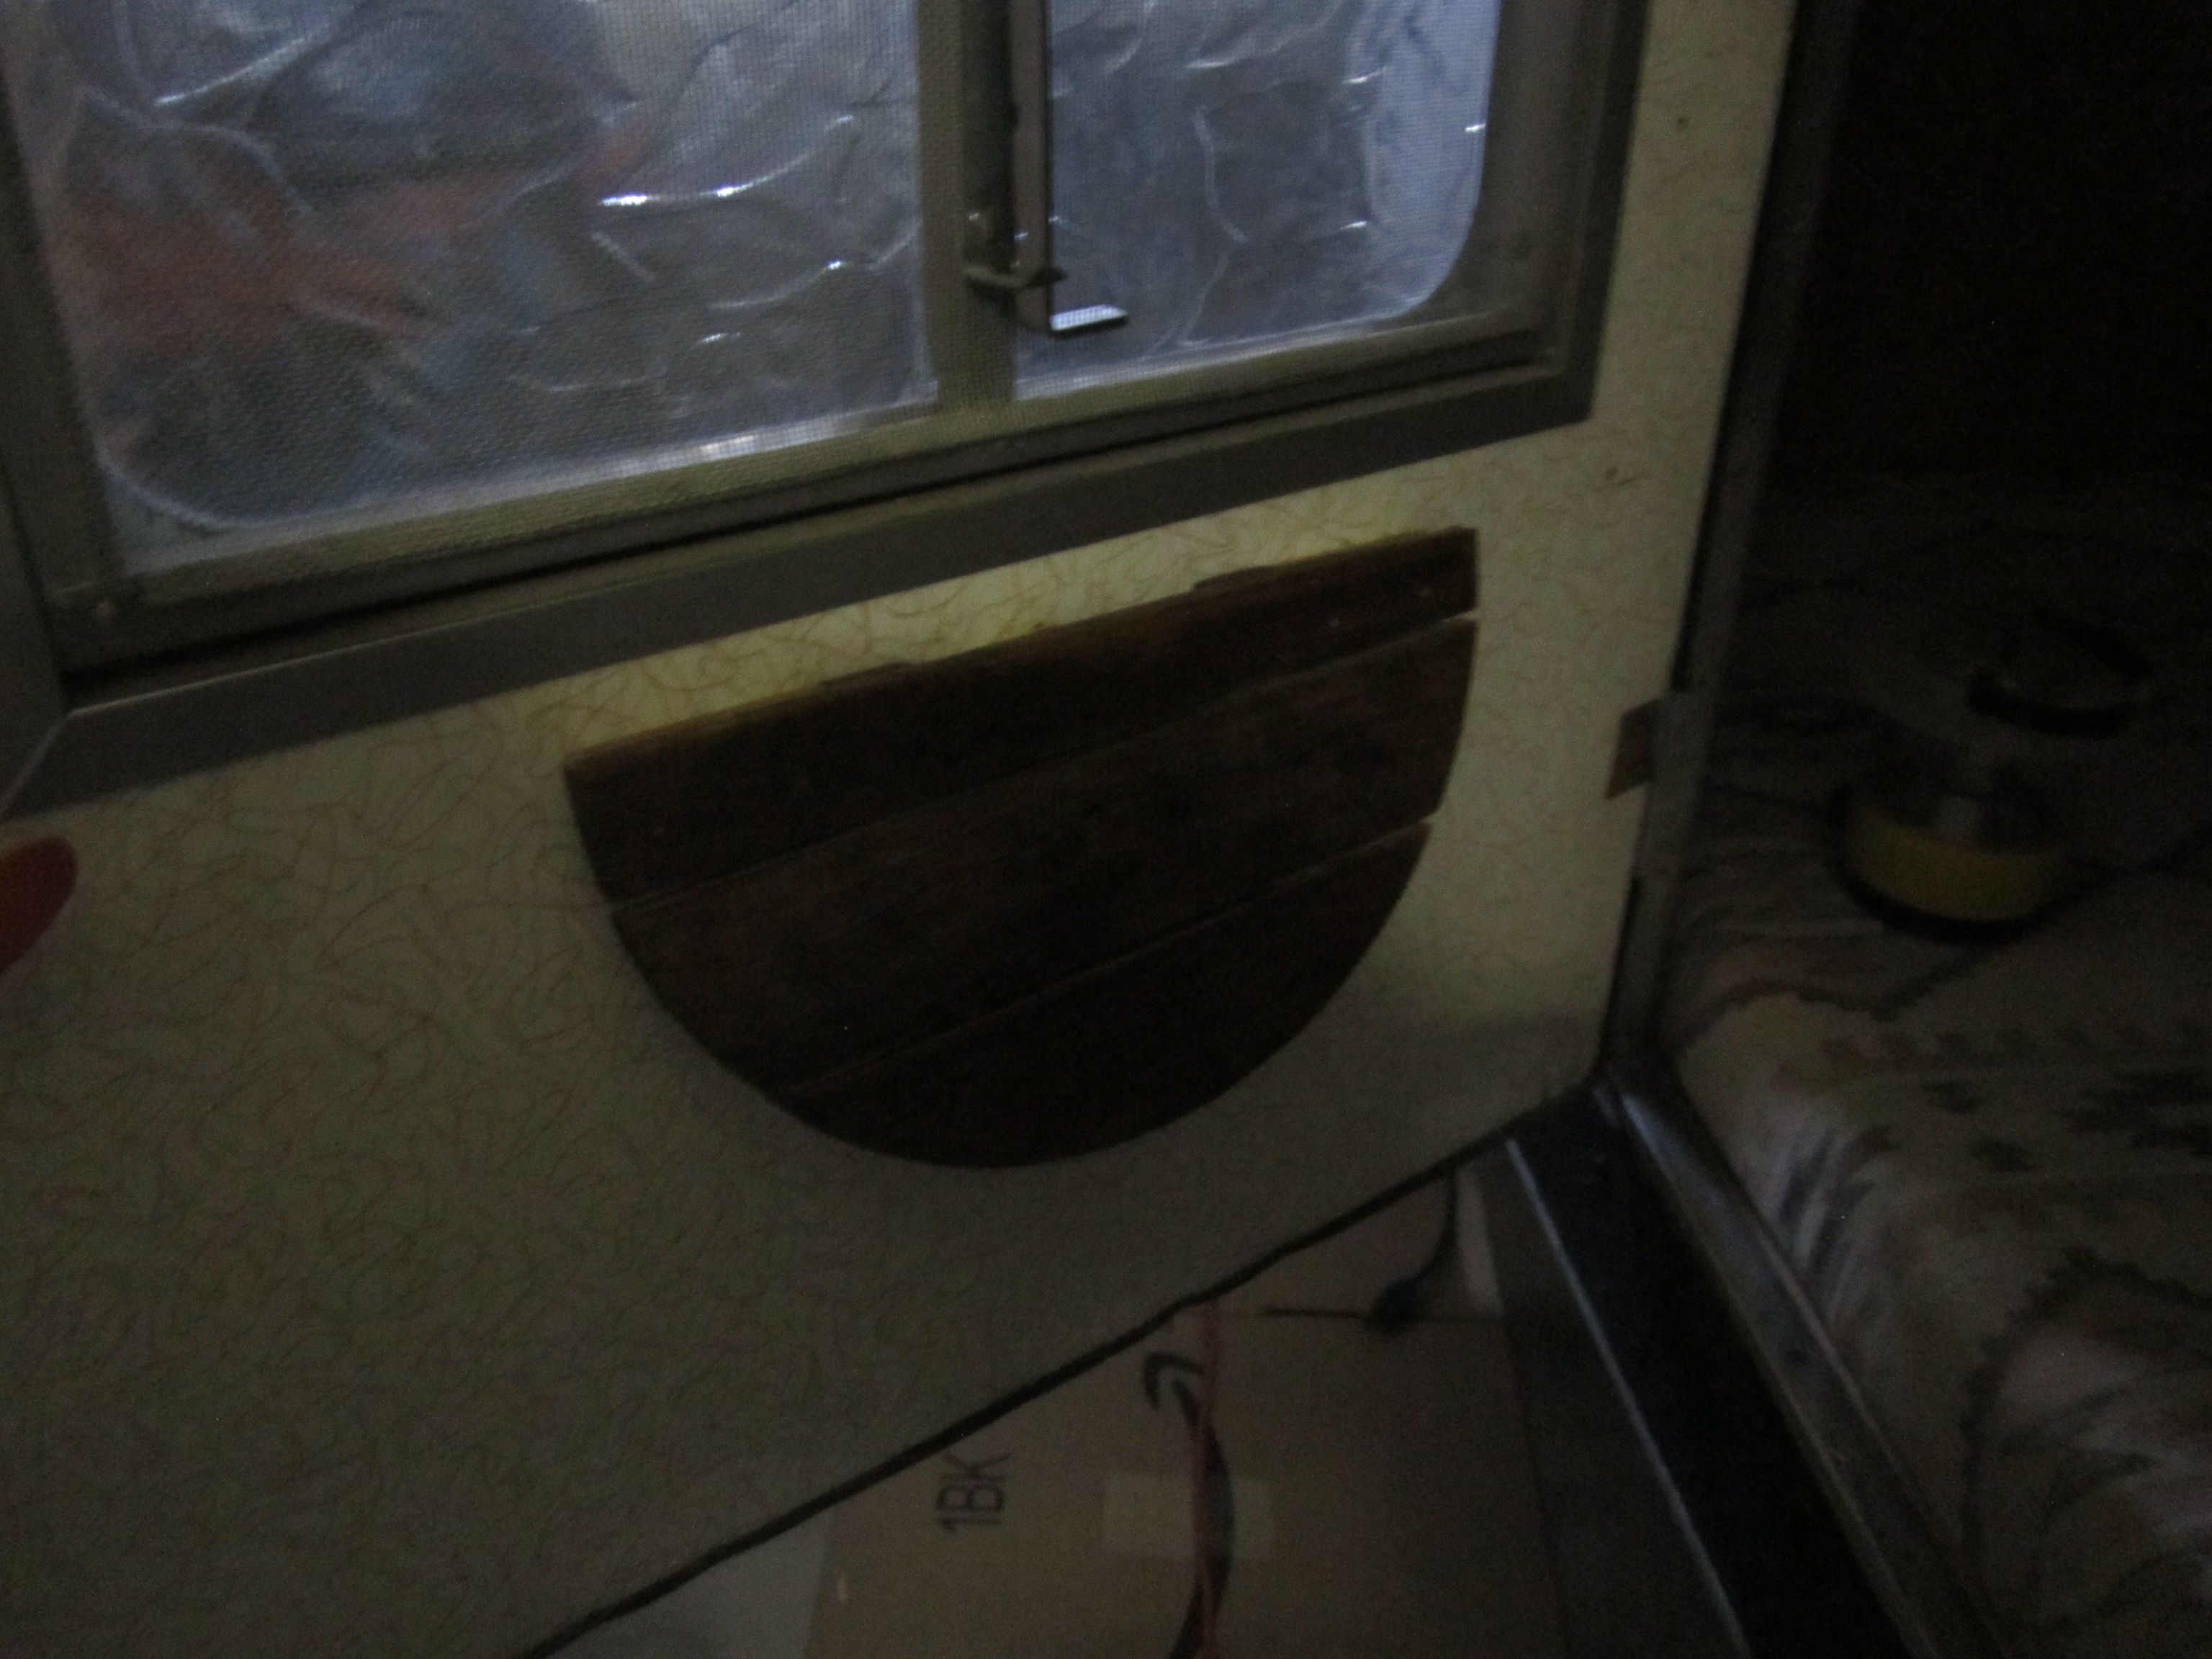
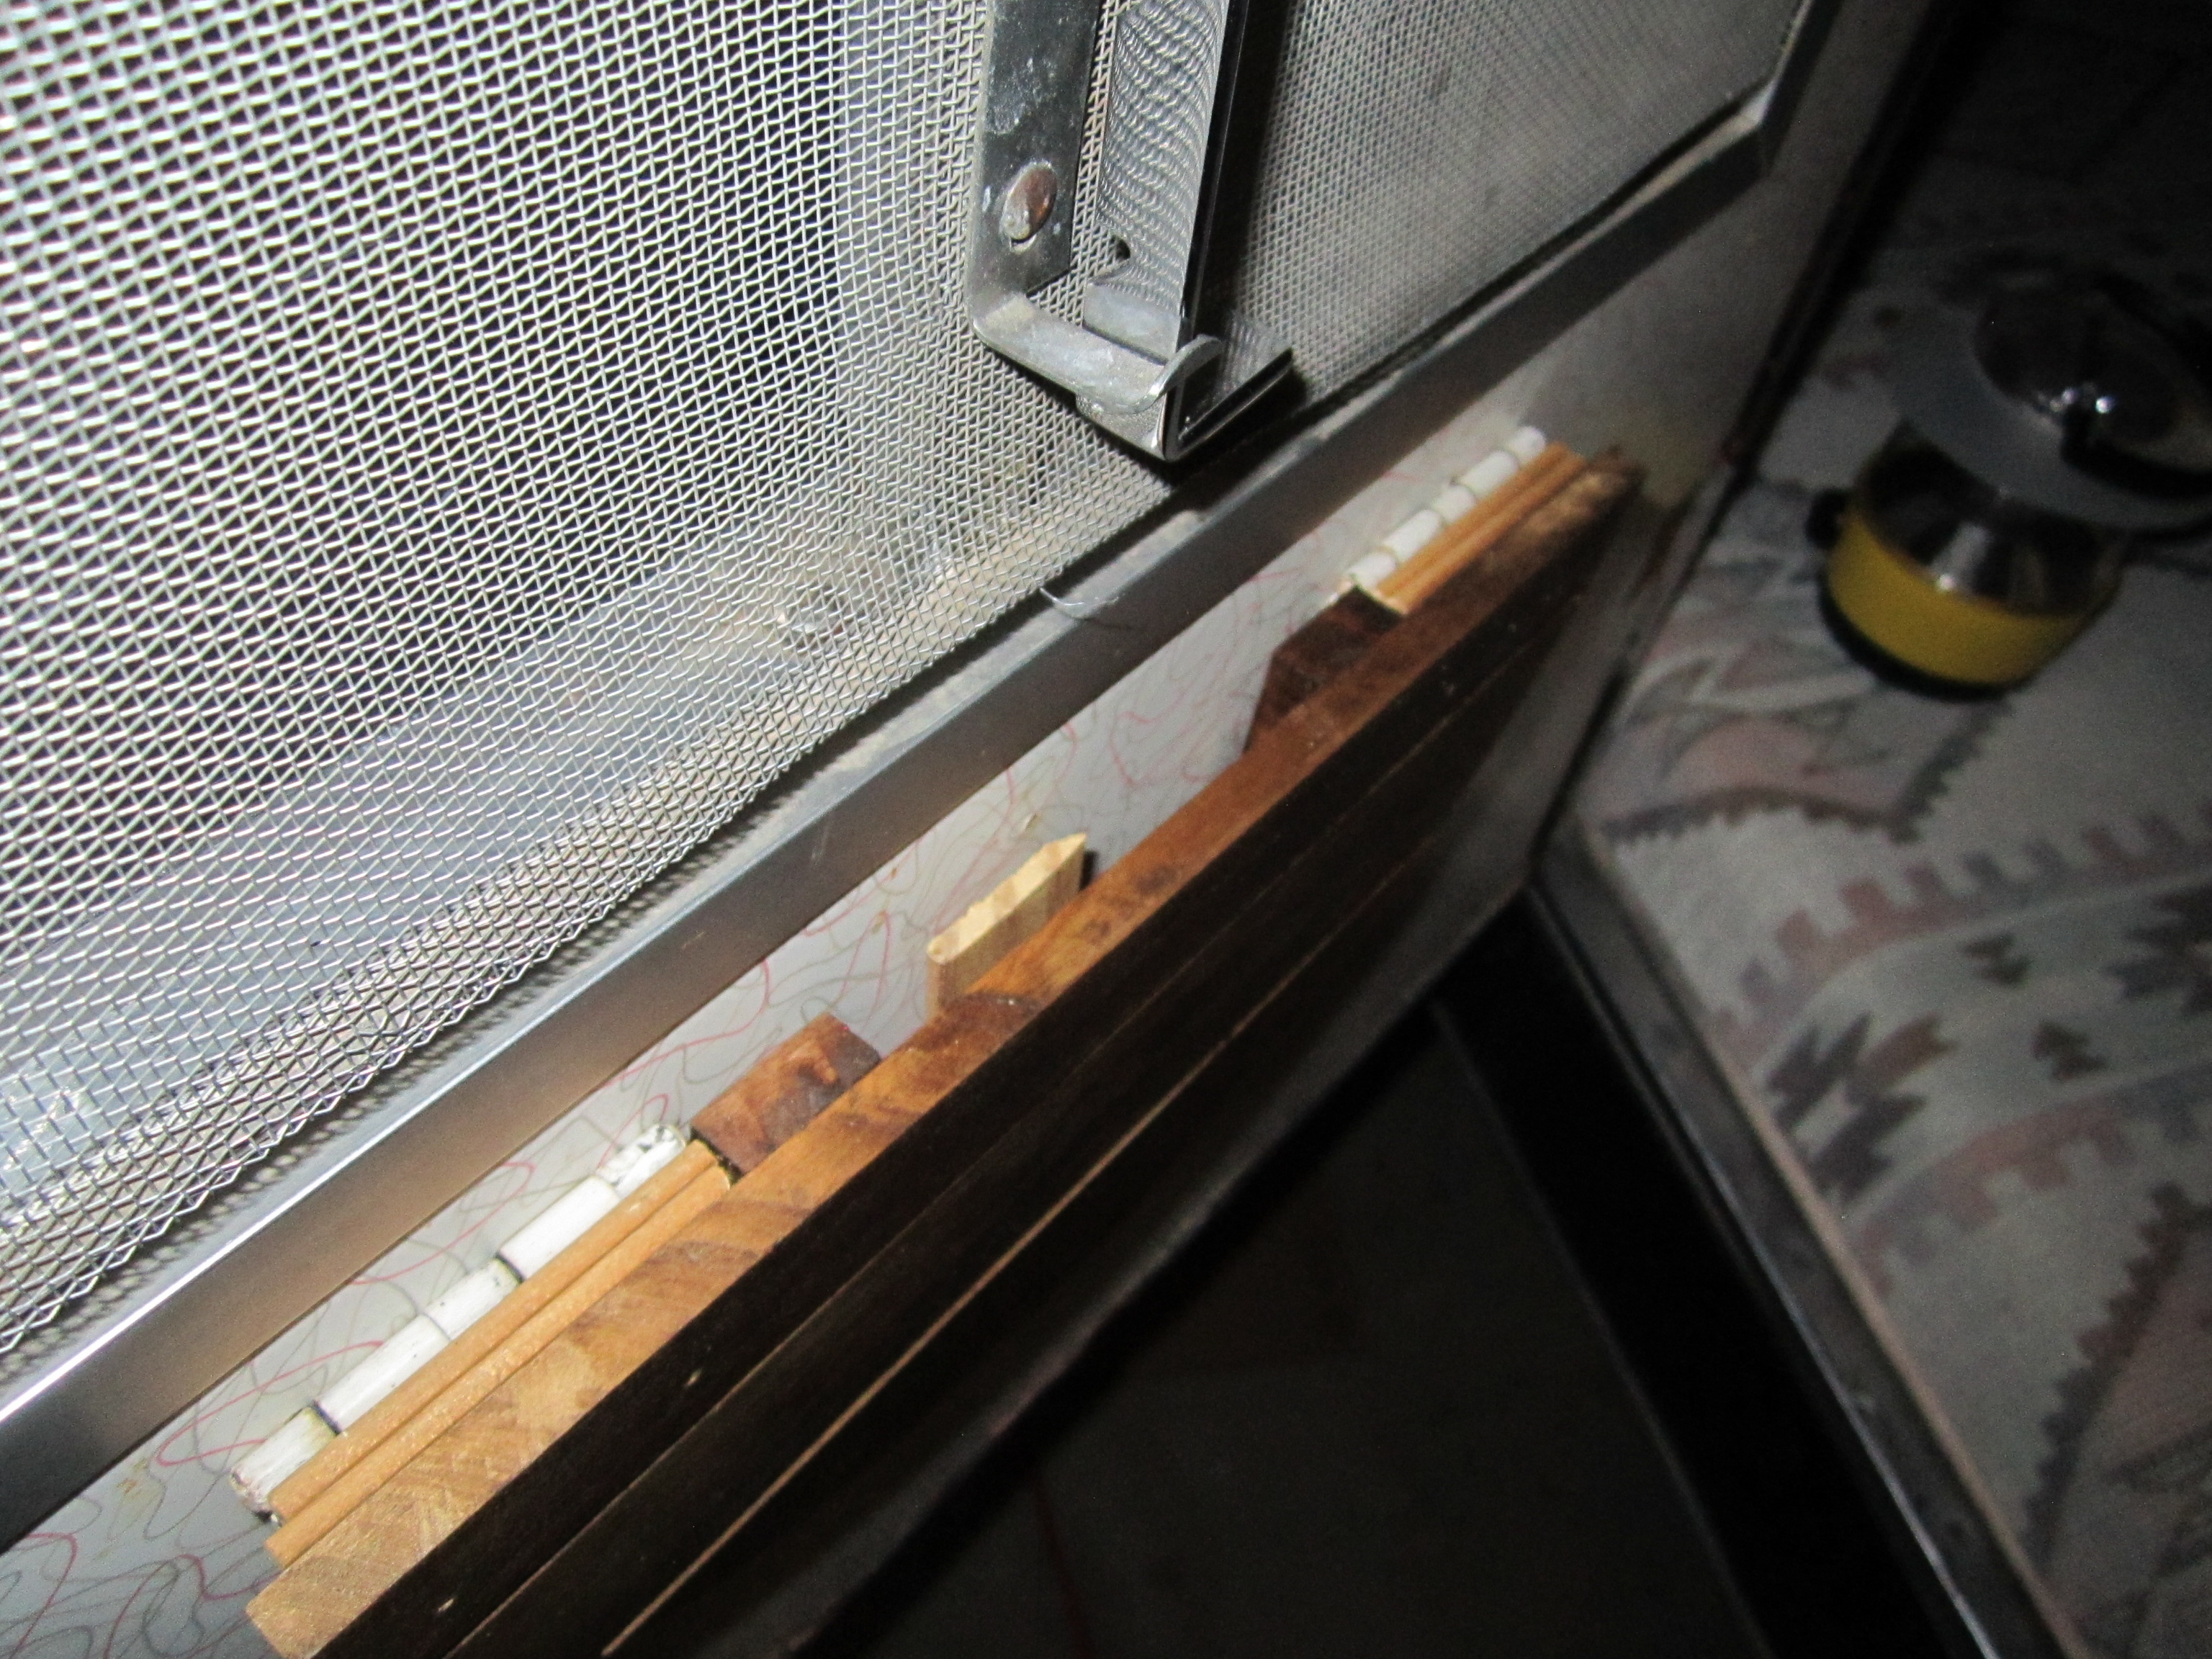
I also got my back hatch locking, but will need to strengthen the screw holes with toothpicks and wood glue. I am also going to put a pad lock on the hatch to prevent a break in using a pry bar. This is only if we need to leave it in a camp site for the day while we take the truck into town or site seeing it won’t be so tempting to pop the back hatch and grab my teardrop chow and hooch!
This makes it so the rods then turning the handle guide the ends into the side wall metal holes. The are 3D printed plastic, so not to be relied on for major security.
I started the penny top counter after painting the surface black and then sealing the wood so the epoxy doesn’t drain out of a small hole somewhere.
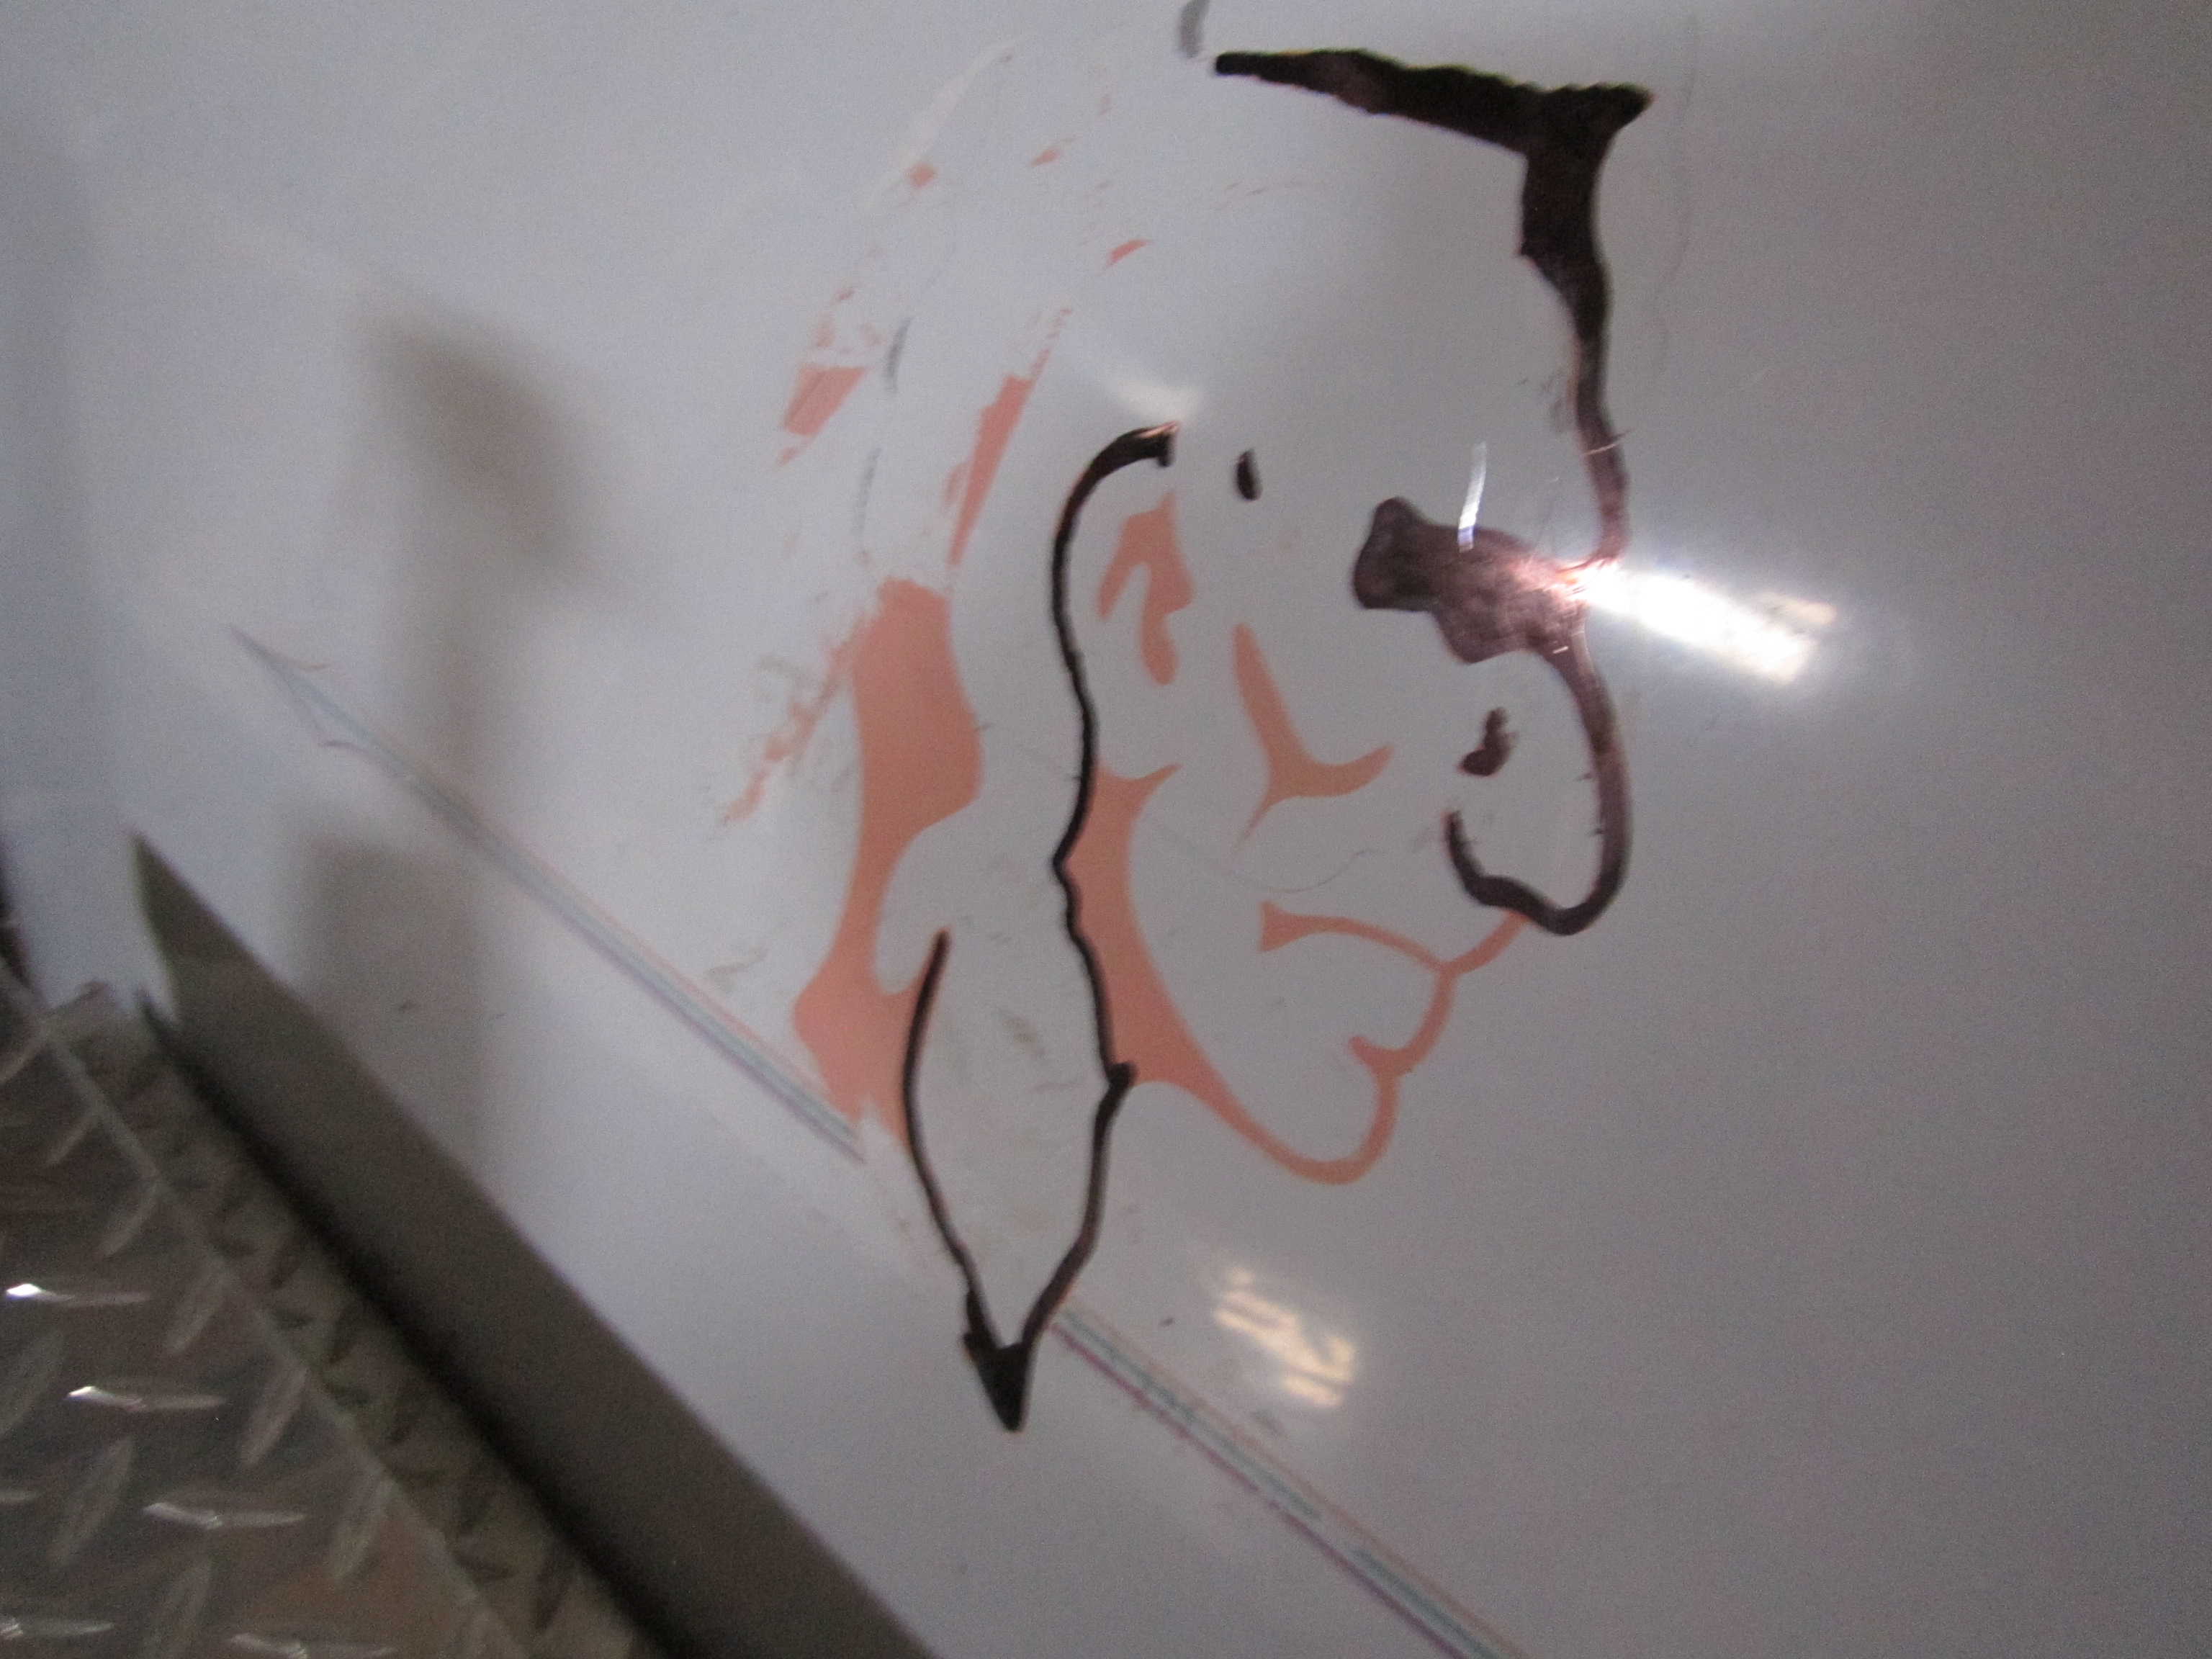
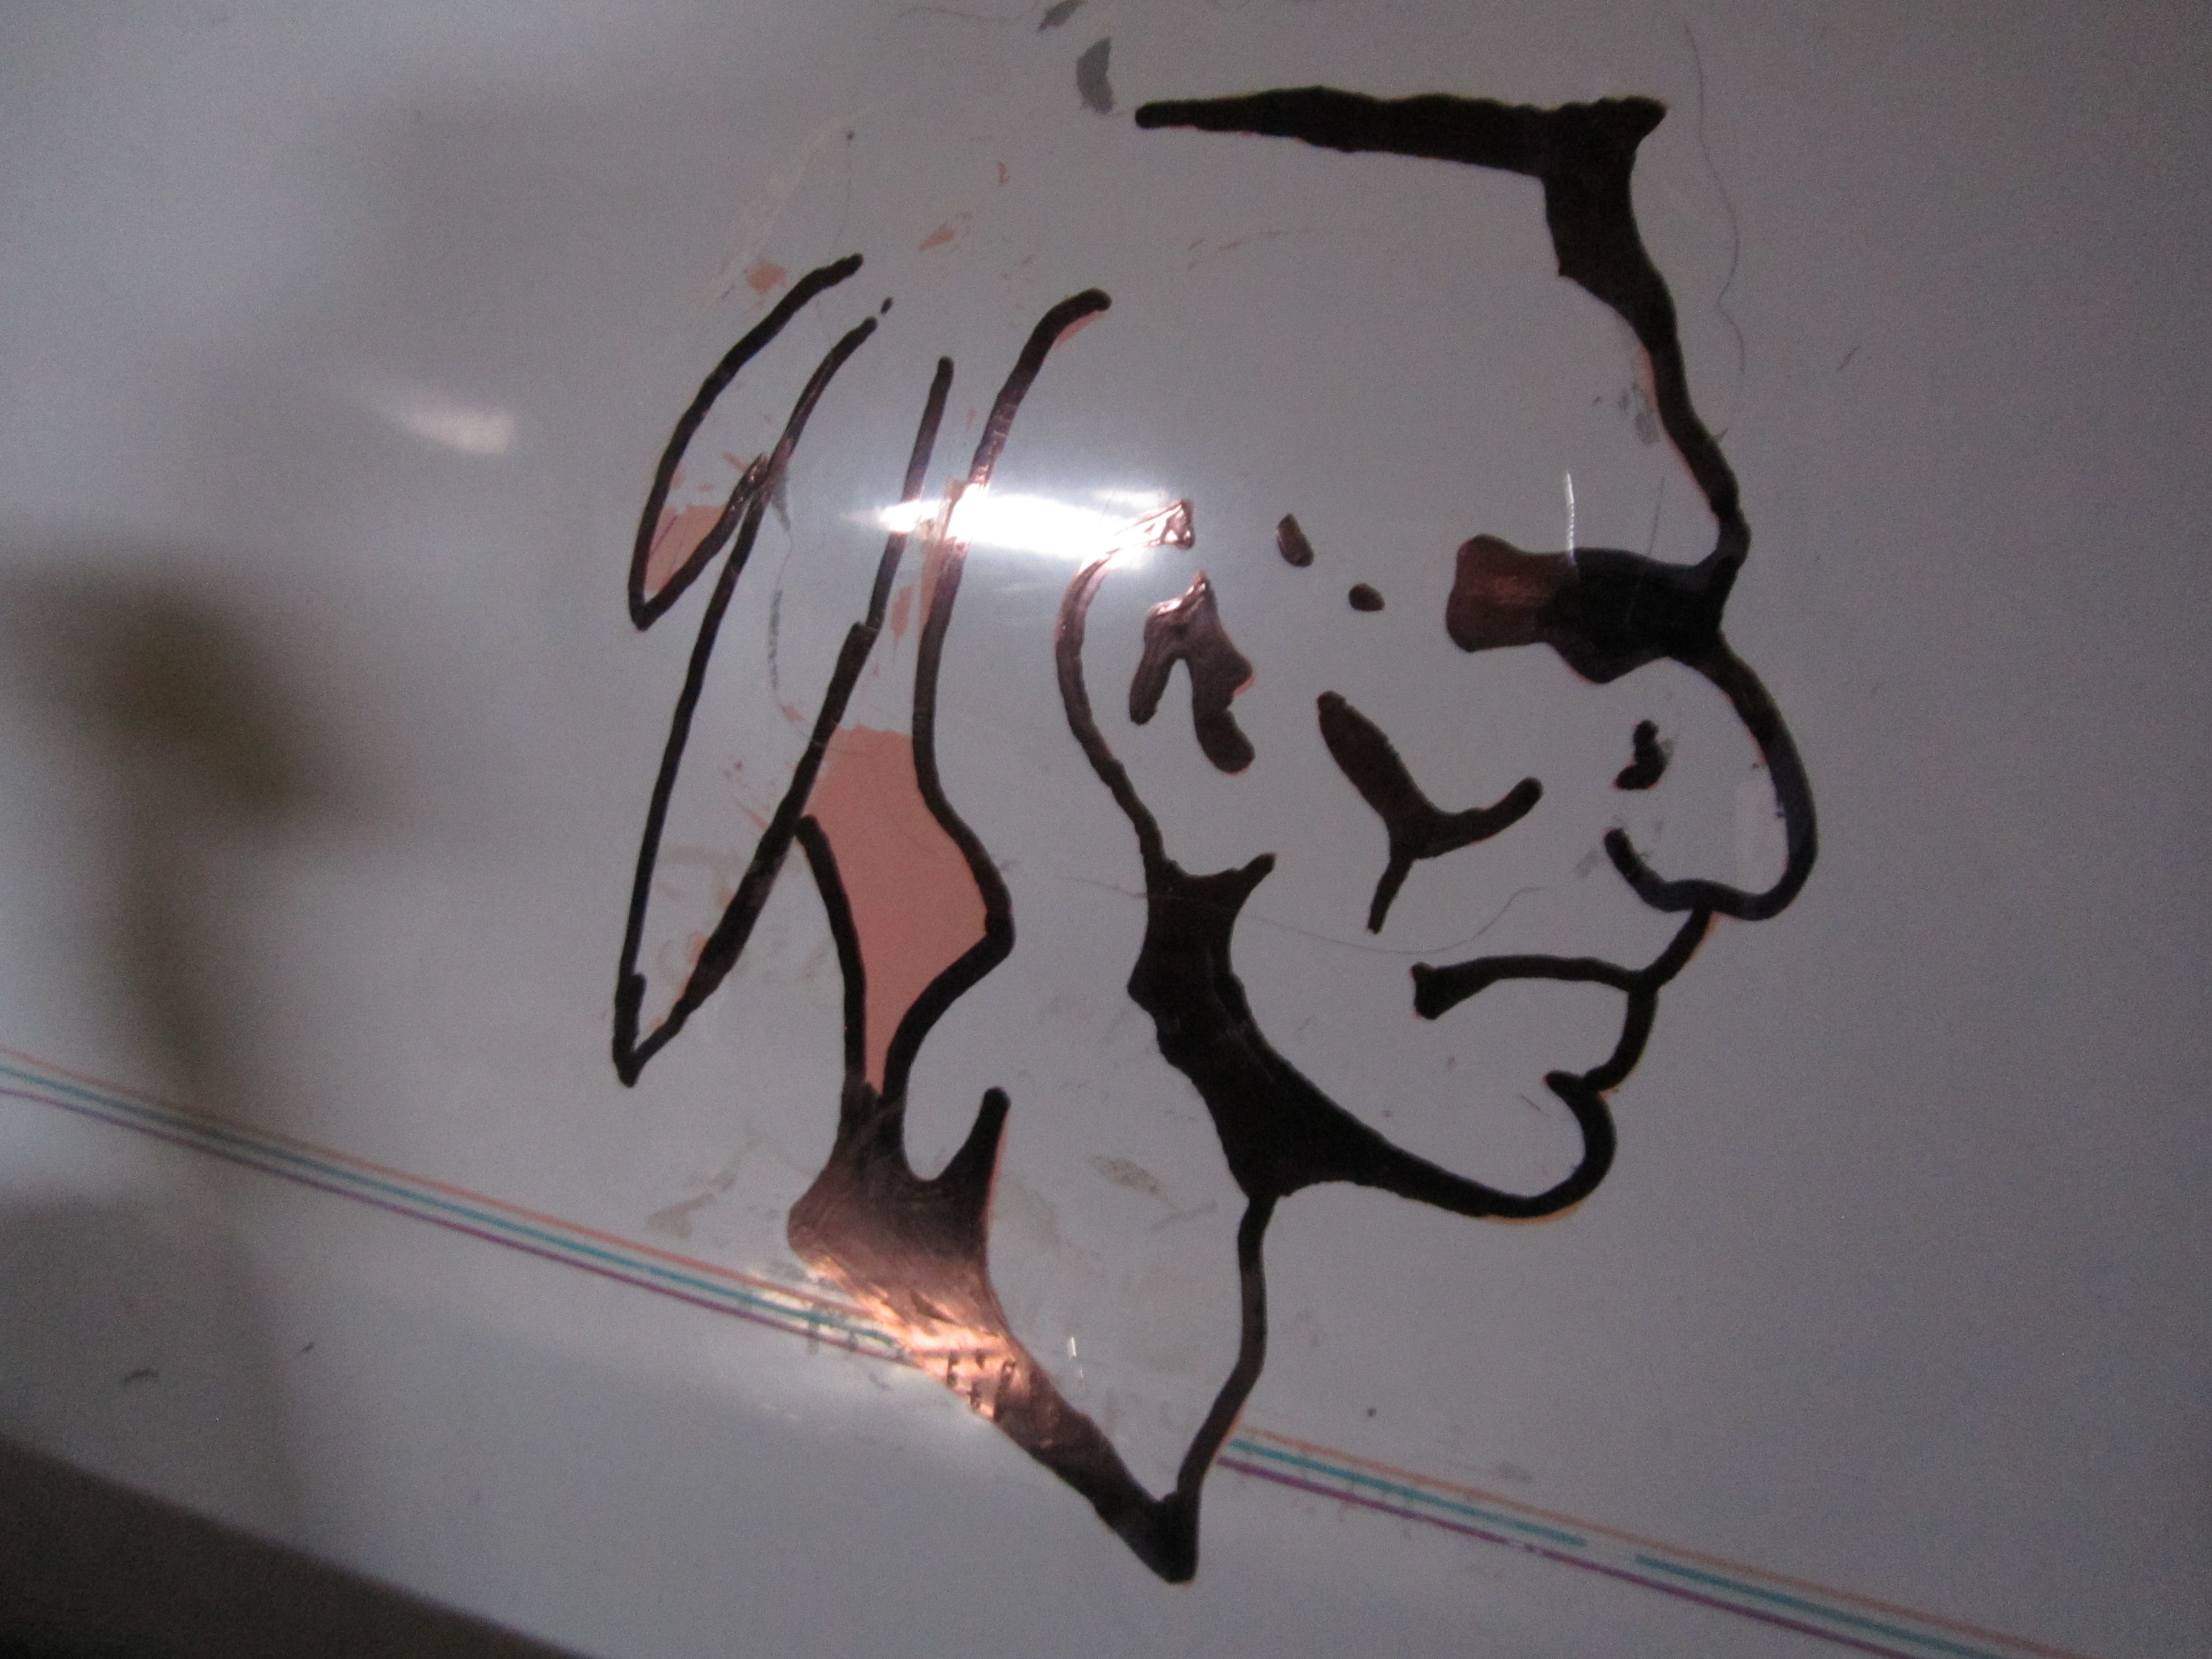
Today I started on my 1961 Tear Drop Trailer project. Below is the Original art and Emblem!
Since i just got the trailer I needed to do some major inspectiona nd verify that there wasn’t a fire hazard, as I am planning to add a solar panel and some other electronics. First was to I disconnected the battery and look for shorts. Next attached a 12 volt power supply and slowly started to turn things on… and to my surprise all my lights, water pump and CD Radio all worked! It was great, and after looking at all the connections, fuses and wiring, who ever did the work before did a great job on the rewire and really did take their time to add fuses and switches that are newer and still in really good working order/condition.
Above picture is of the Water pump under the galley.
Next I wanted to bring the original Native American Indian silhouette back to life, and used a black paint pin to trace over the original decal image. It turned out nice and some of it wasn’t remaining so I used my artist liberty and put what I thought would have been the feathers and back of the decal. It took a lot of cleaning as the old owner had placed about 50 stickers all over this poor tear drop. (all of them were removed the first day I brought it home.
Cleaning sticker residual
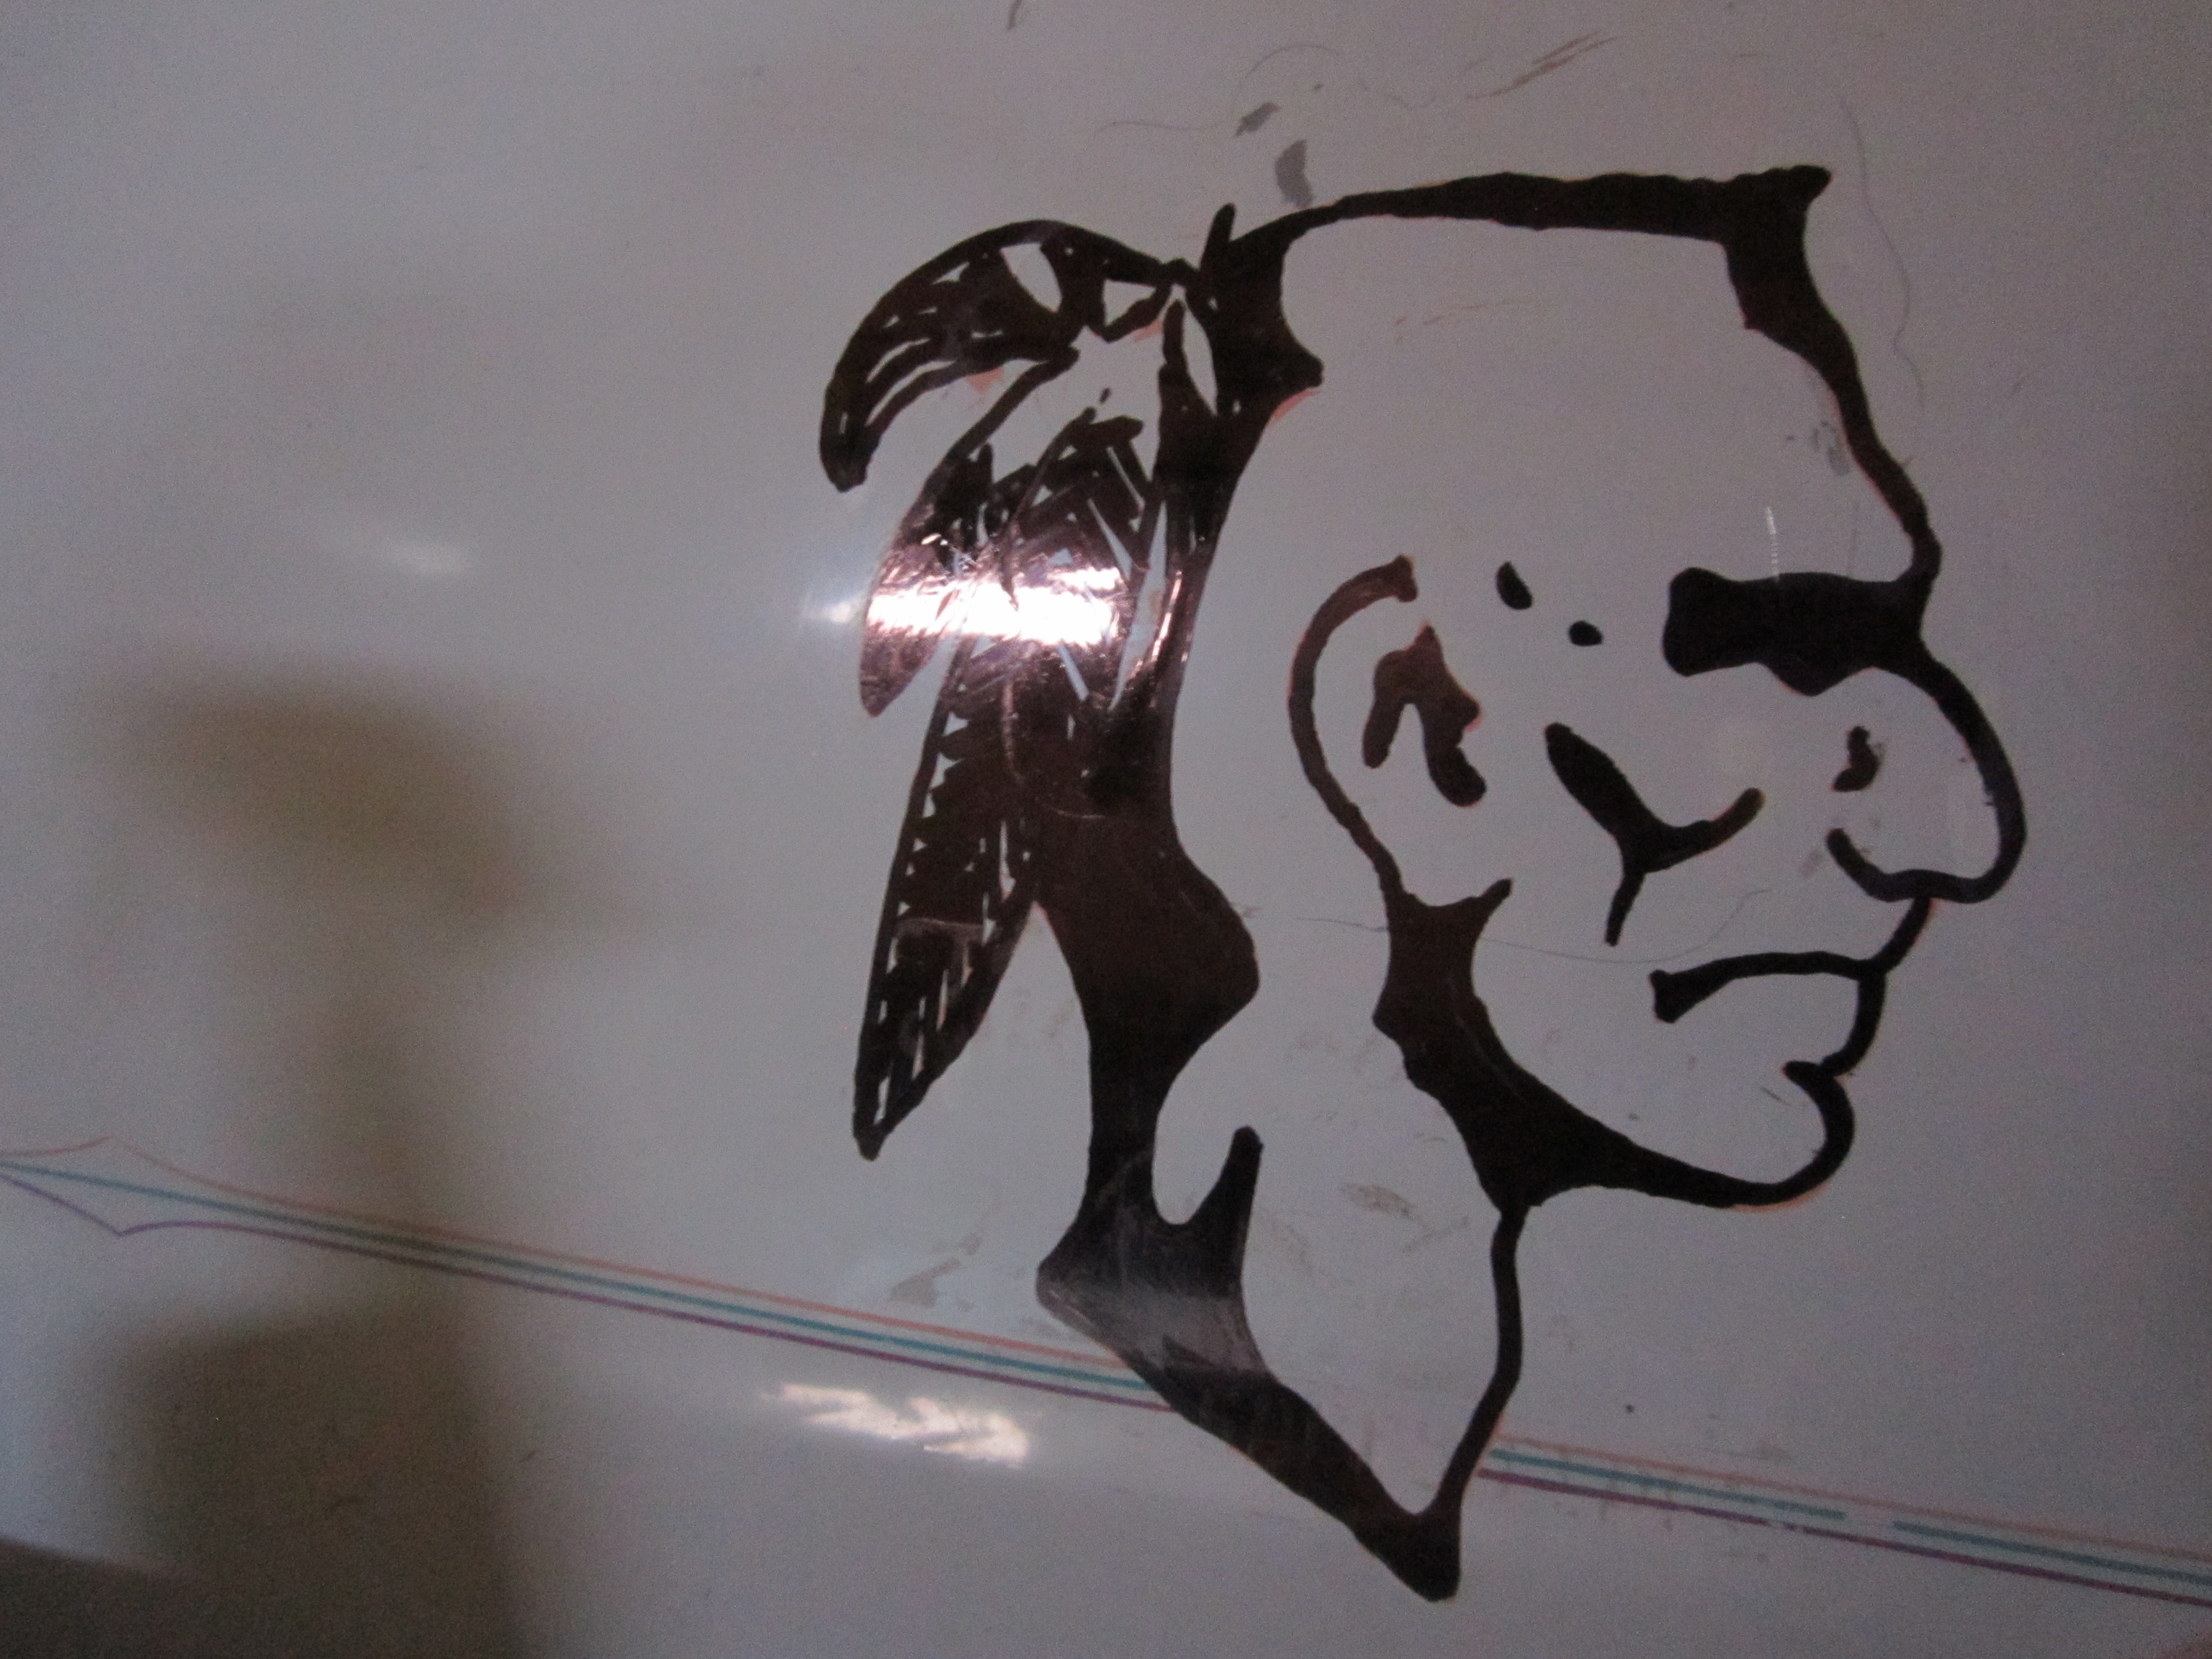
My final finished silhouette…
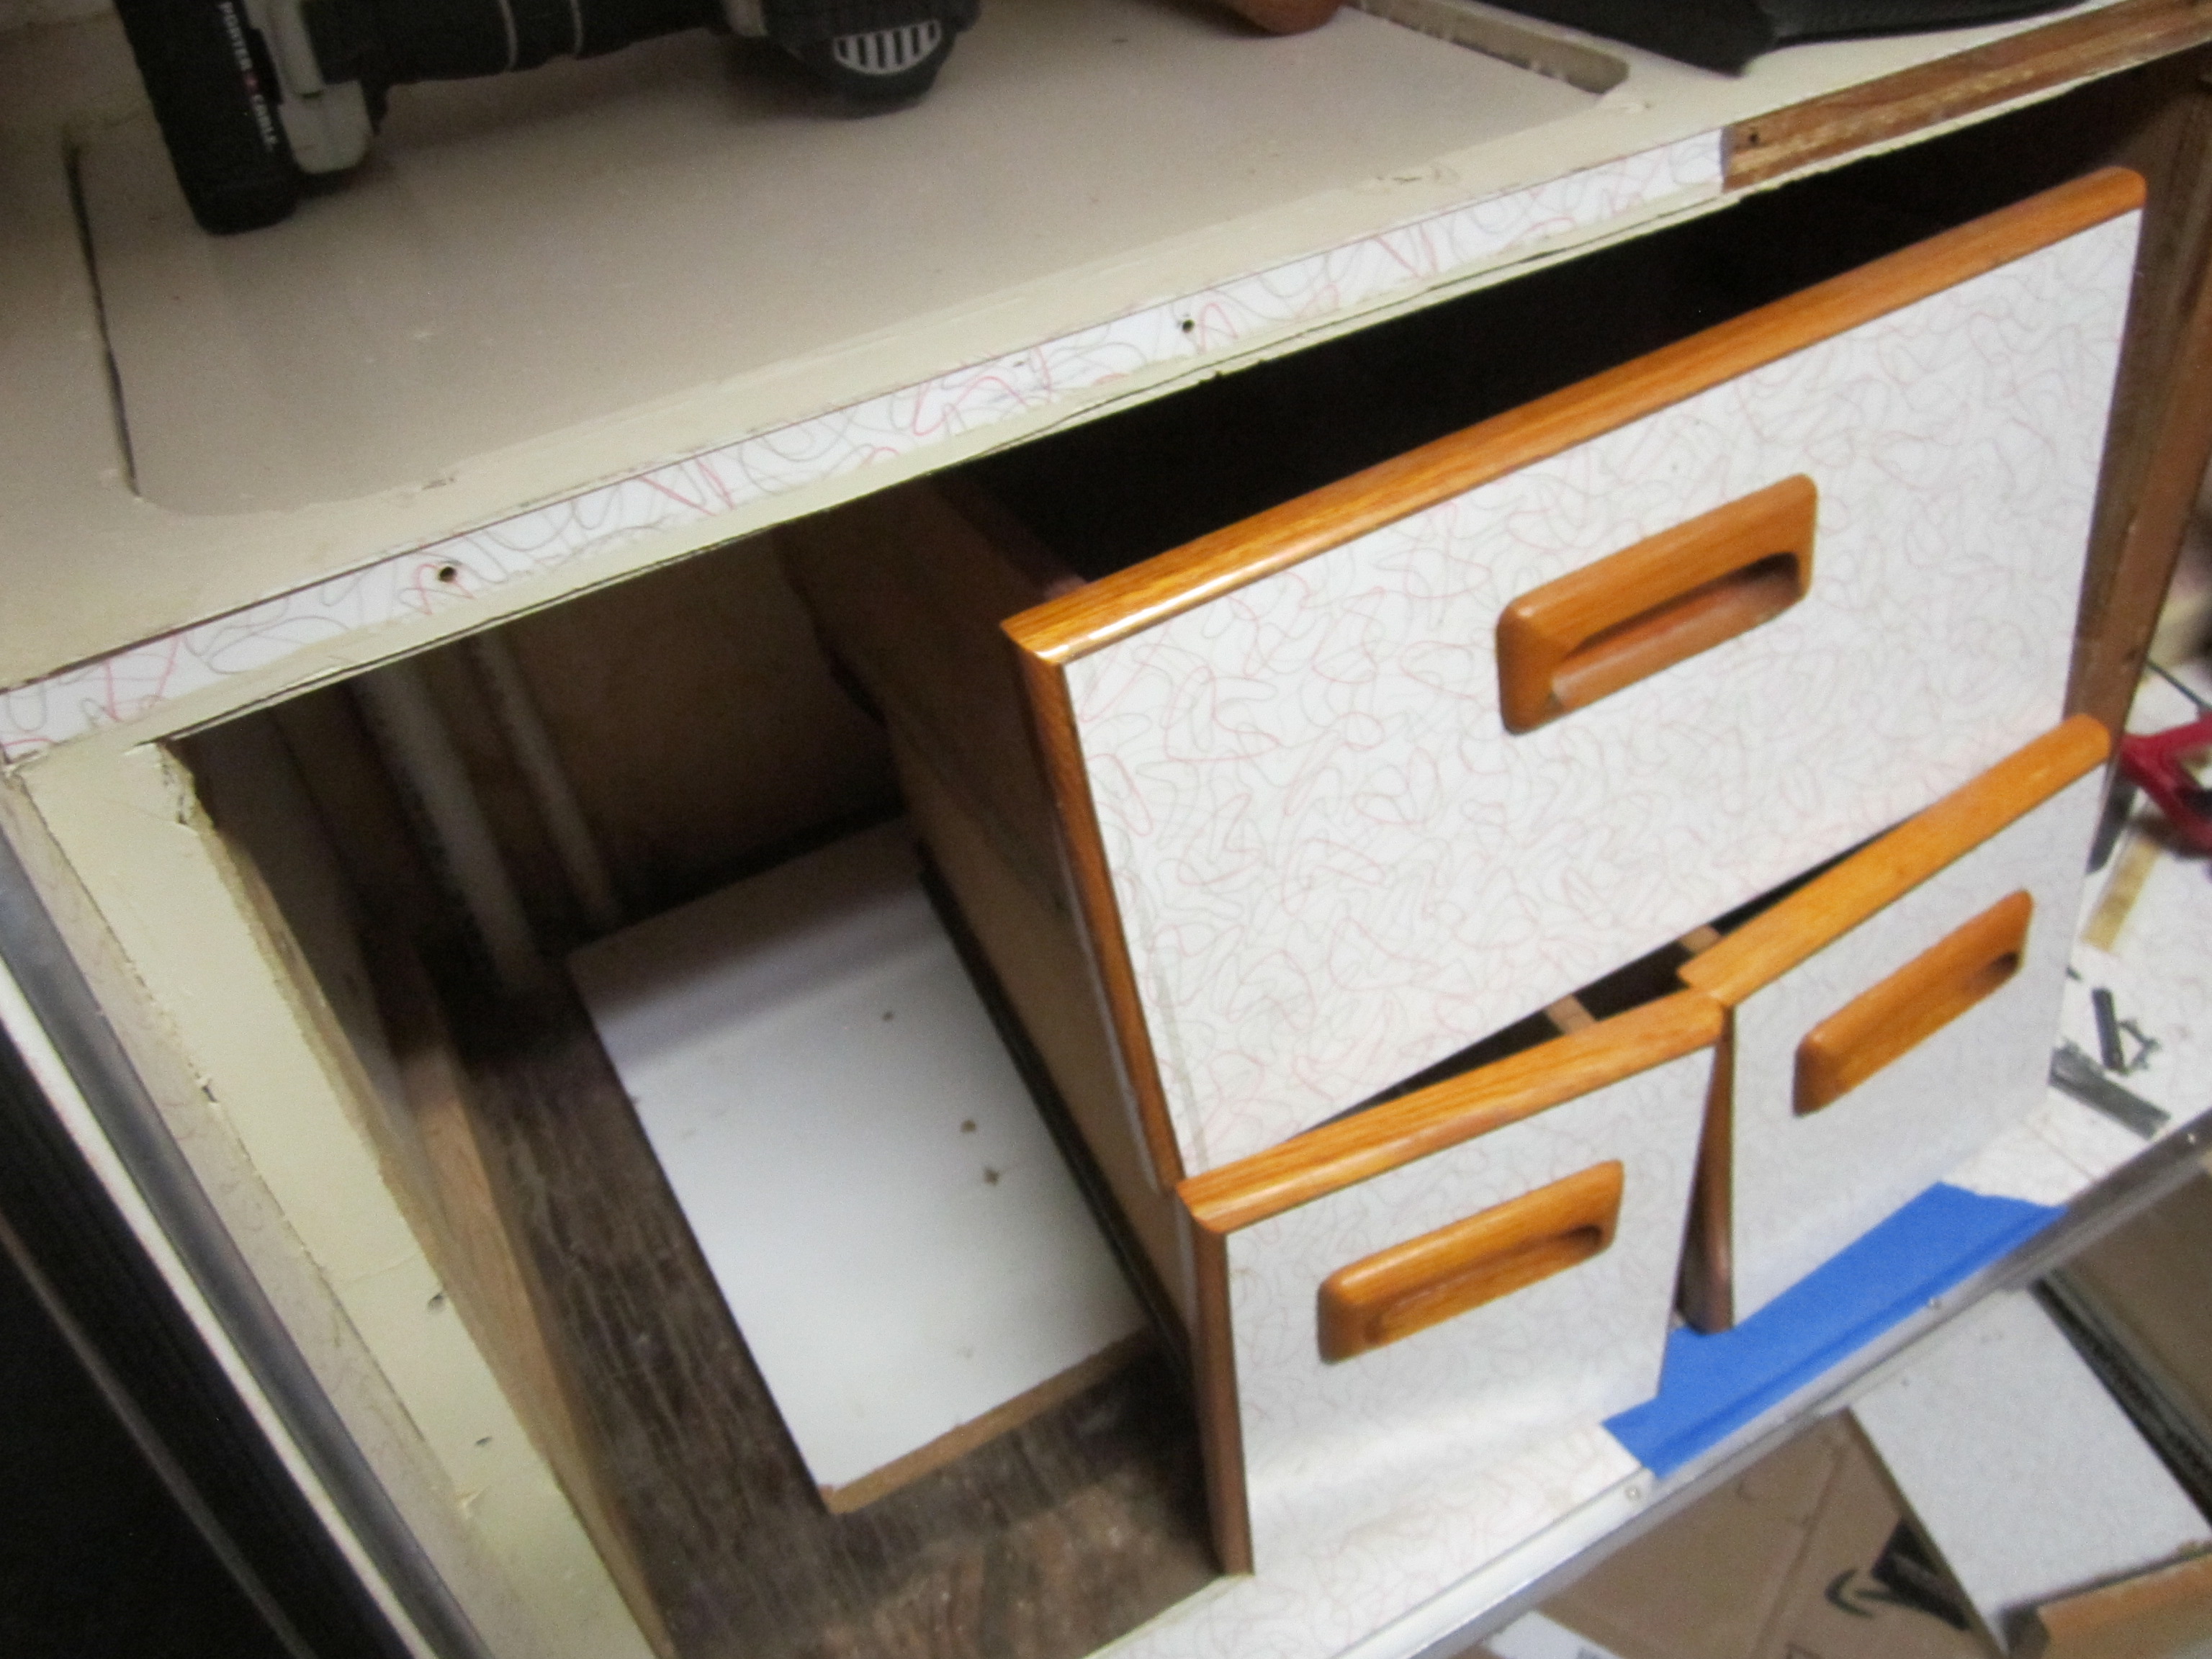
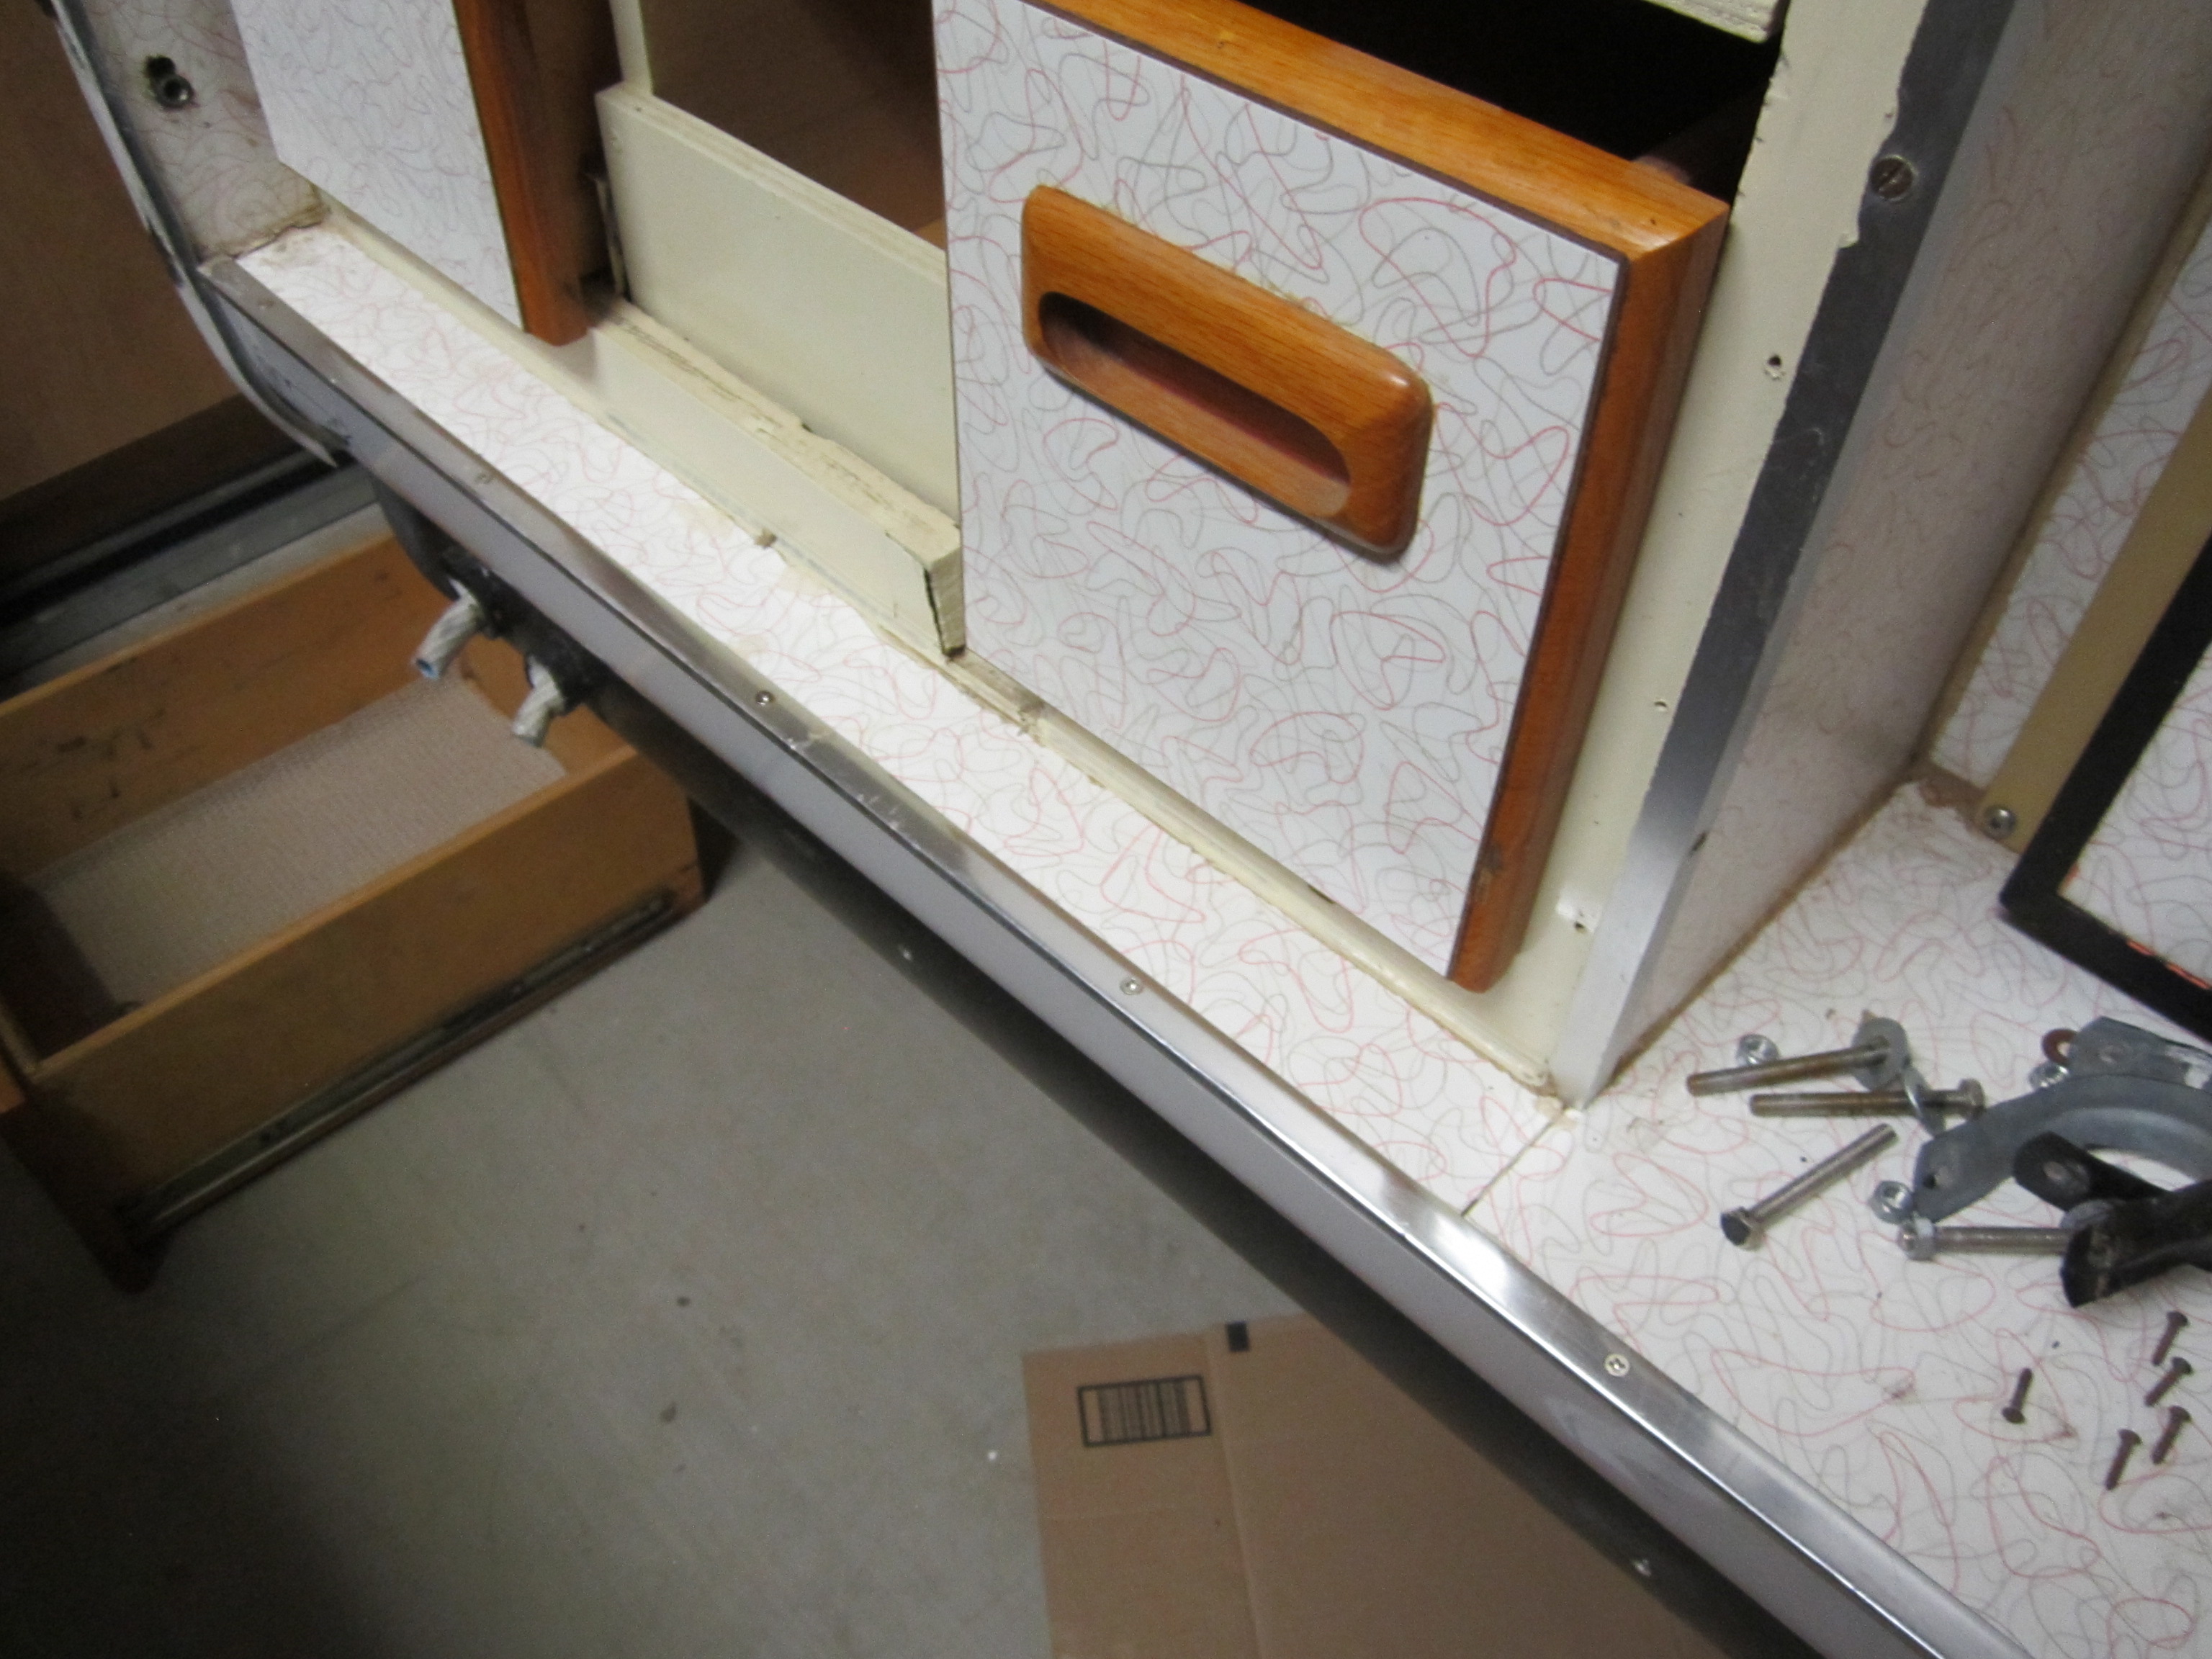
I then opened up the galley area and started to clean and remove items, drawers, trim to see if there was any hidden concerns… a few rusty screws near the trim, and so I replaced the screws after removing the trim, cleaning and filling each hole with wood glue and a tooth pick. the new screws sunk in nice and firm and I used a strong tap under the trim to seal the metal outside to the wood inside thus trying to reduce/mitigate water from entering that area again in the future and causing more rot and rust.
I measured the cabinets, and so other items so I can stew on what I would like to do in the galley working area.
I will continue to add more photos as I go and do more work. Next time I will also add more photos of the inside cabin area… right now i put a bowl full of baking soda to try and absorb the old smells … I might even get a spray bottle of frebreeze to see if that might help the inside.
Gathering again for our Halloween party, we played a new game, Adrienne did a new trivia question list, 13 Halloween themed questions and of course at the end of the night we did Halloween Pictionary!
Of course the Girls team won and the Boys team tried to get a rematch, but the night was getting late.
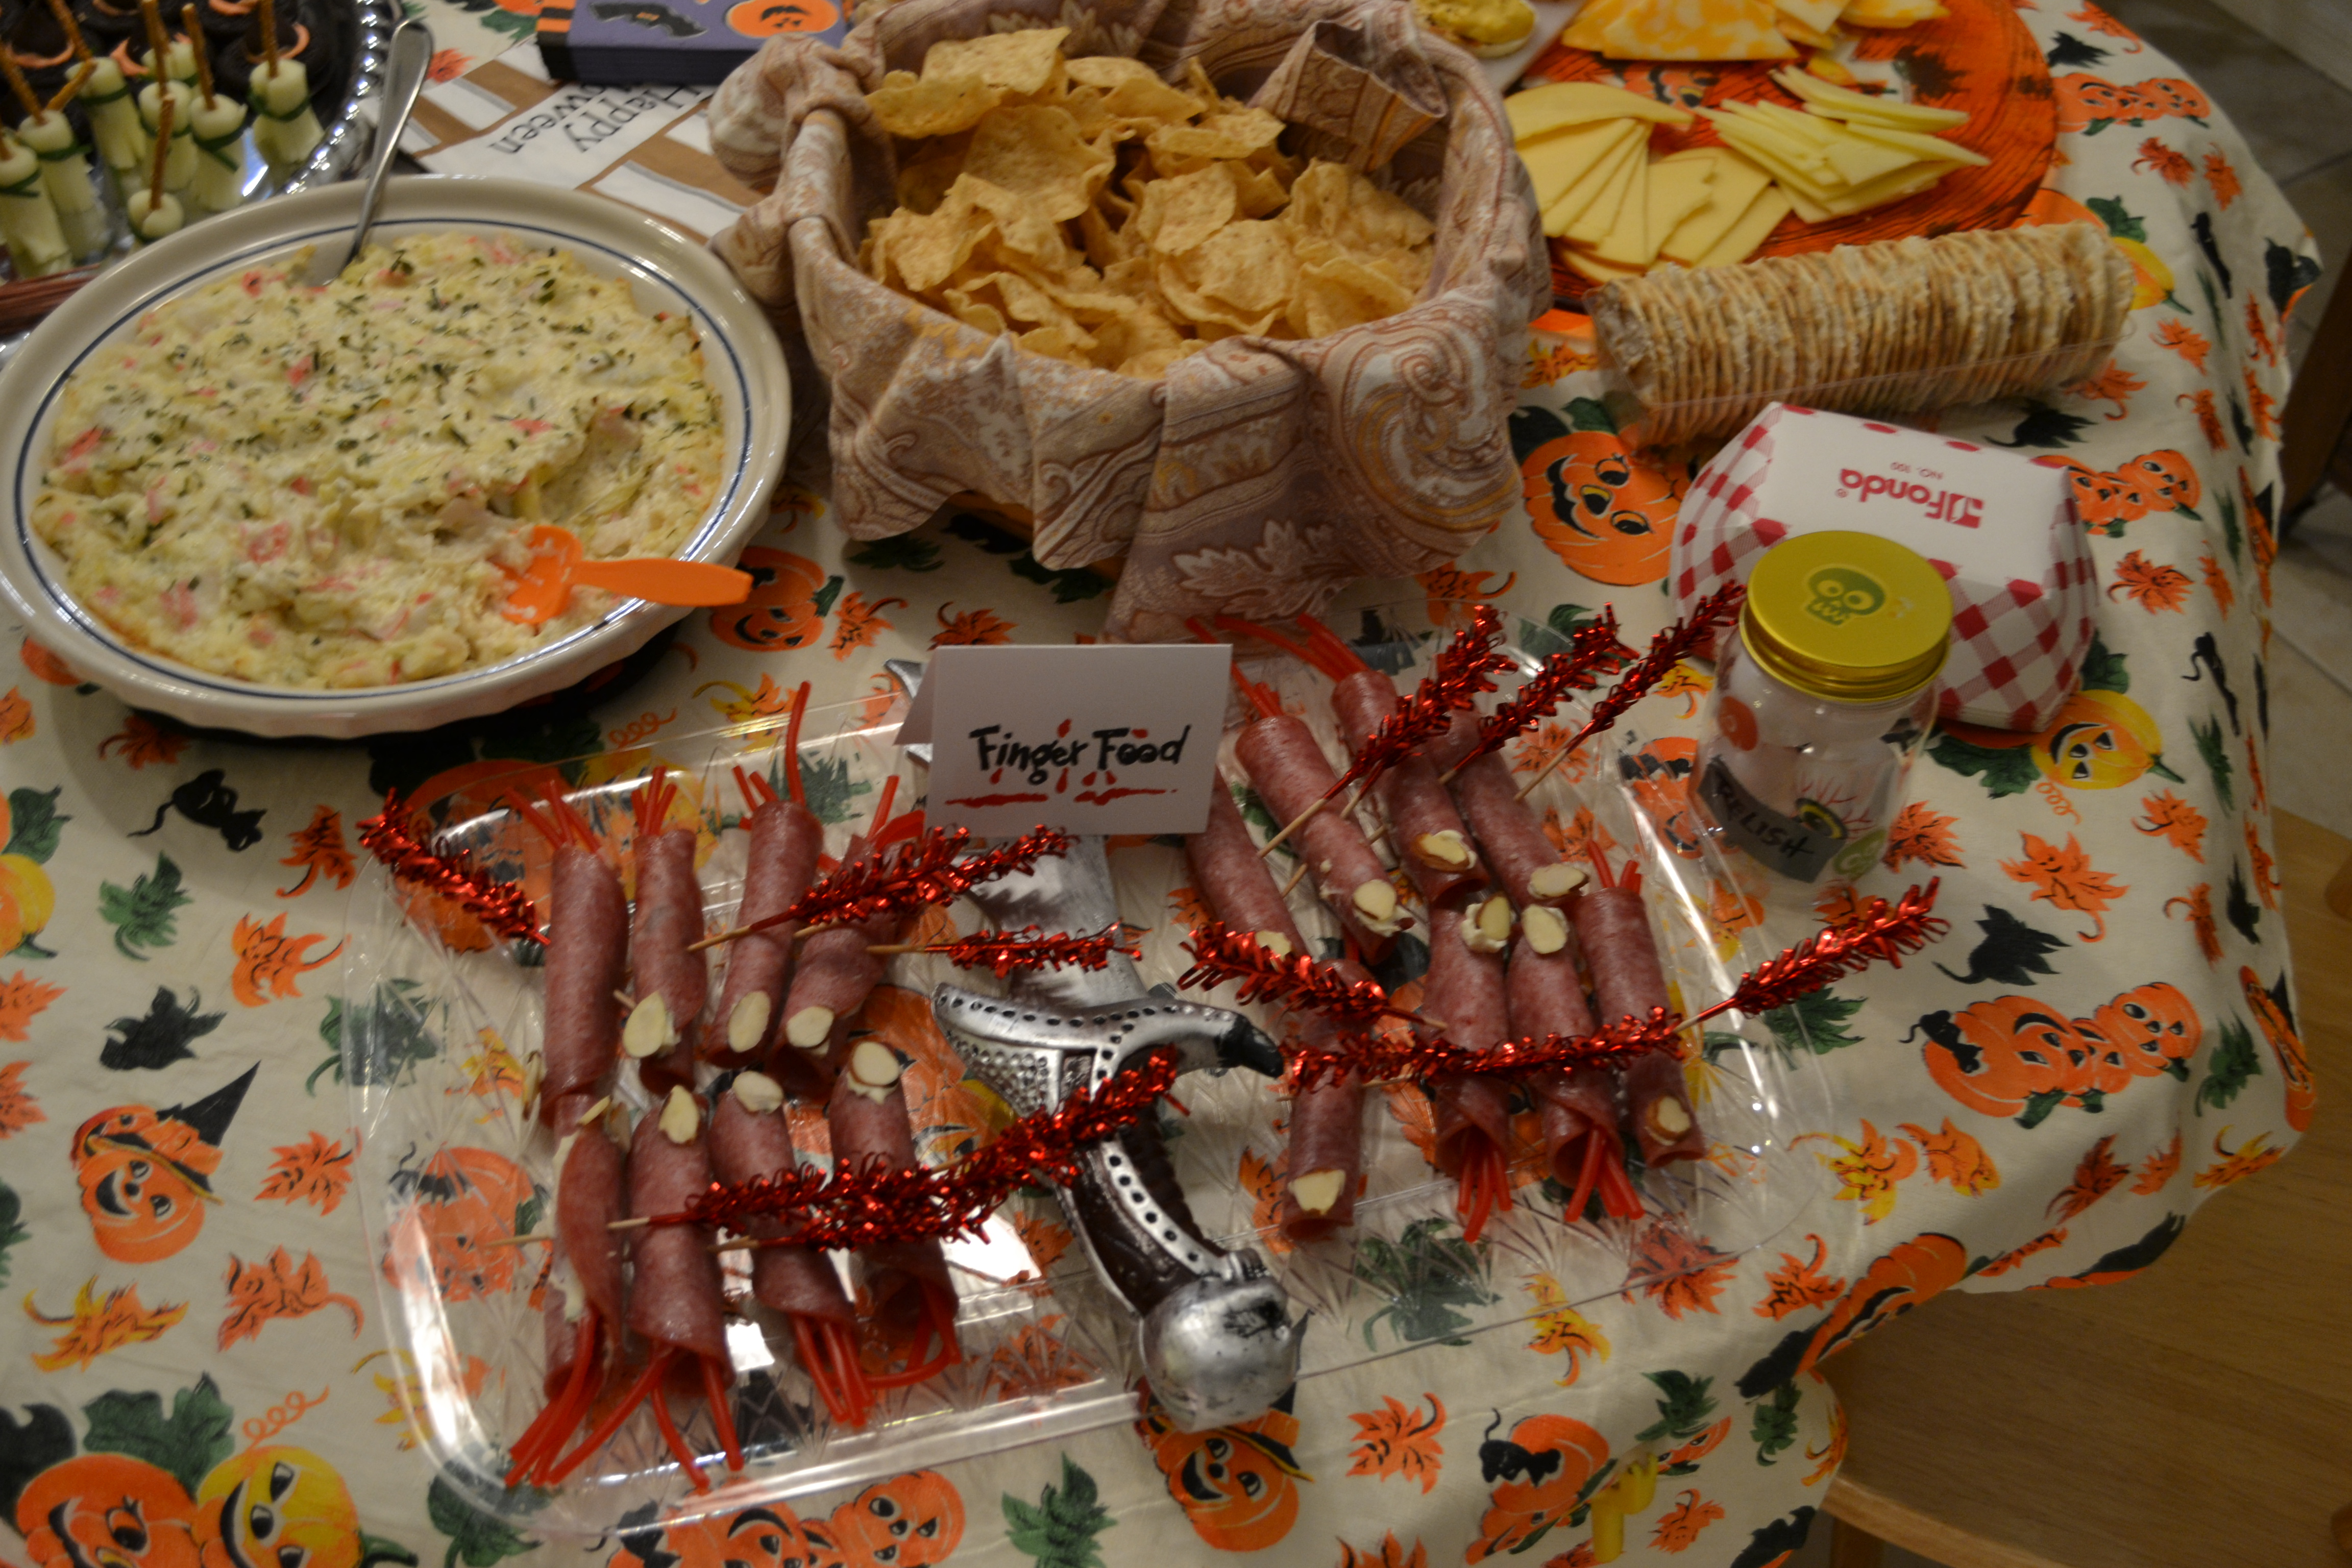
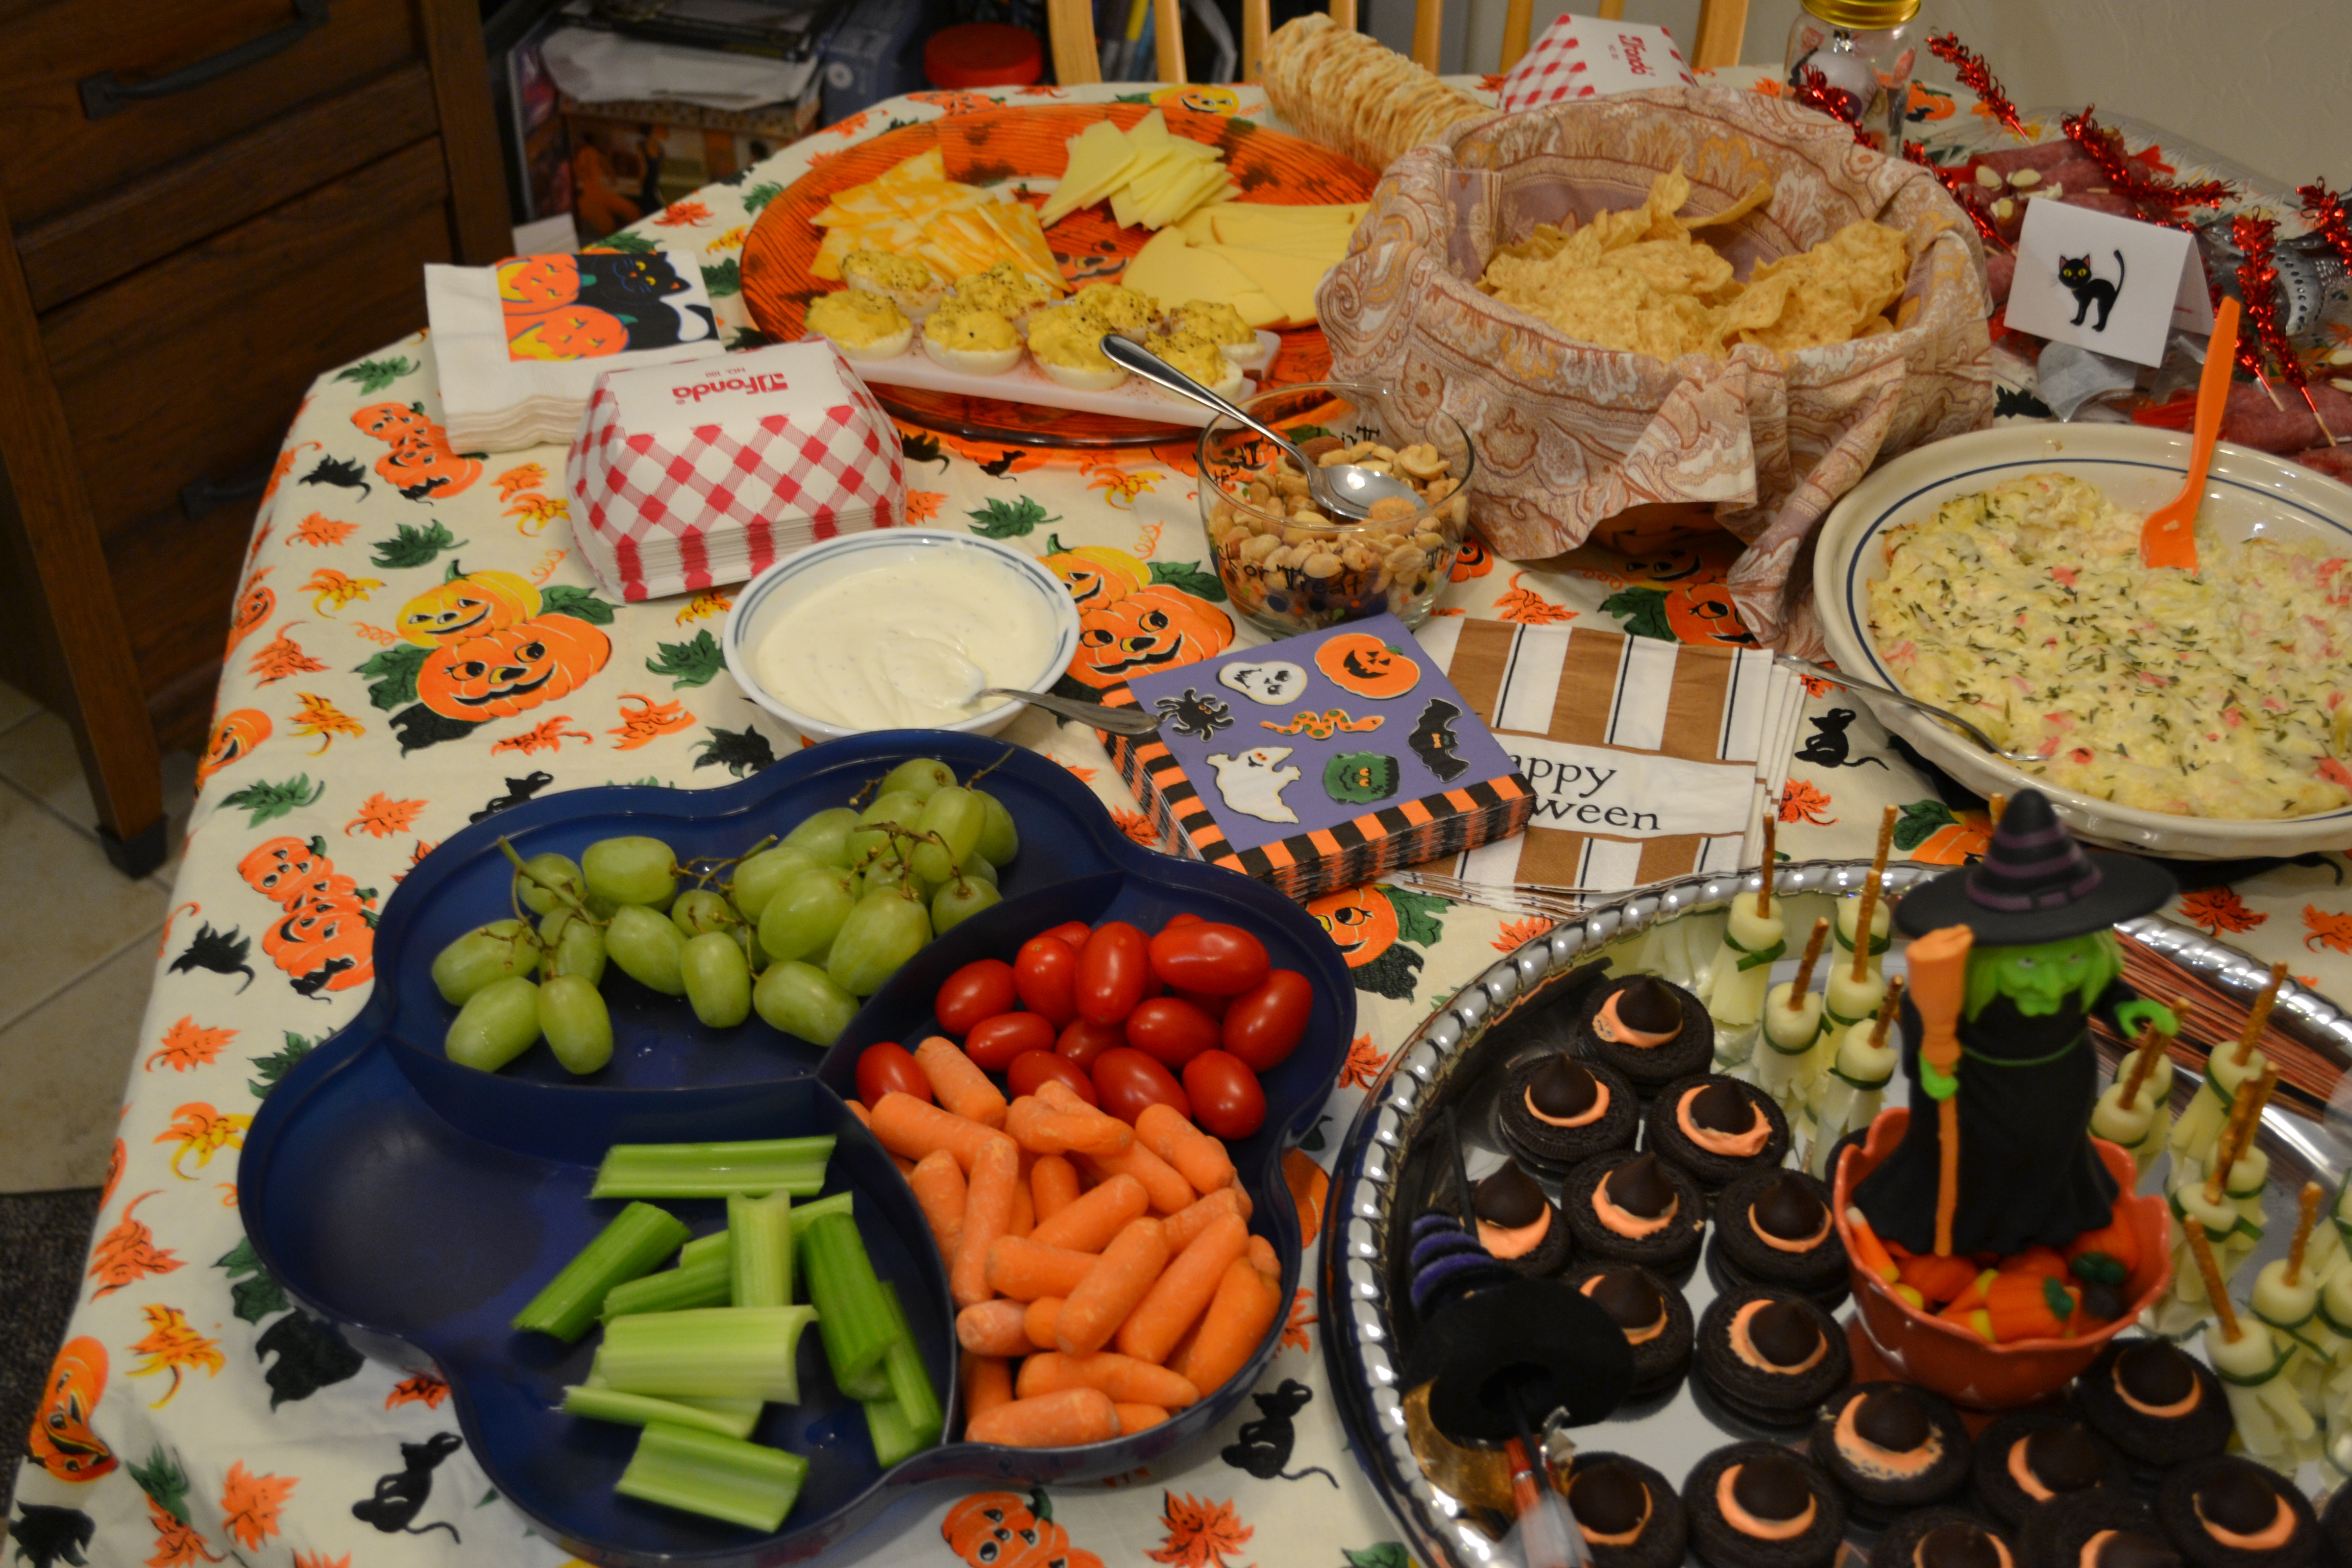
Our friend Jan brought crab dip, Diane brought goolish severed fingers (rolled meat with red liquorish veins), string cheese broom sticks and an almond finger nail and a sweet treat of Oreo cookies made into eyes with a kiss on top.
I made some deviled eggs, my dad’s famous chili and a plate of cheese and veggies.
As for costumes, Adrienne did a great job as Wednesday from the Adams family, Jan was a Cat and Diane did a fun Steam punk themed attire. I wore my new Halloween shirt!
Fun was had by all, the newish game this year was we teamed up in teams of two, one had to draw and the other had to go into the room and pick a pumpkin, memorize what it looked like and describe it to the drawer! Whoever was the closest to the real pumpkin in their drawing won a prize!
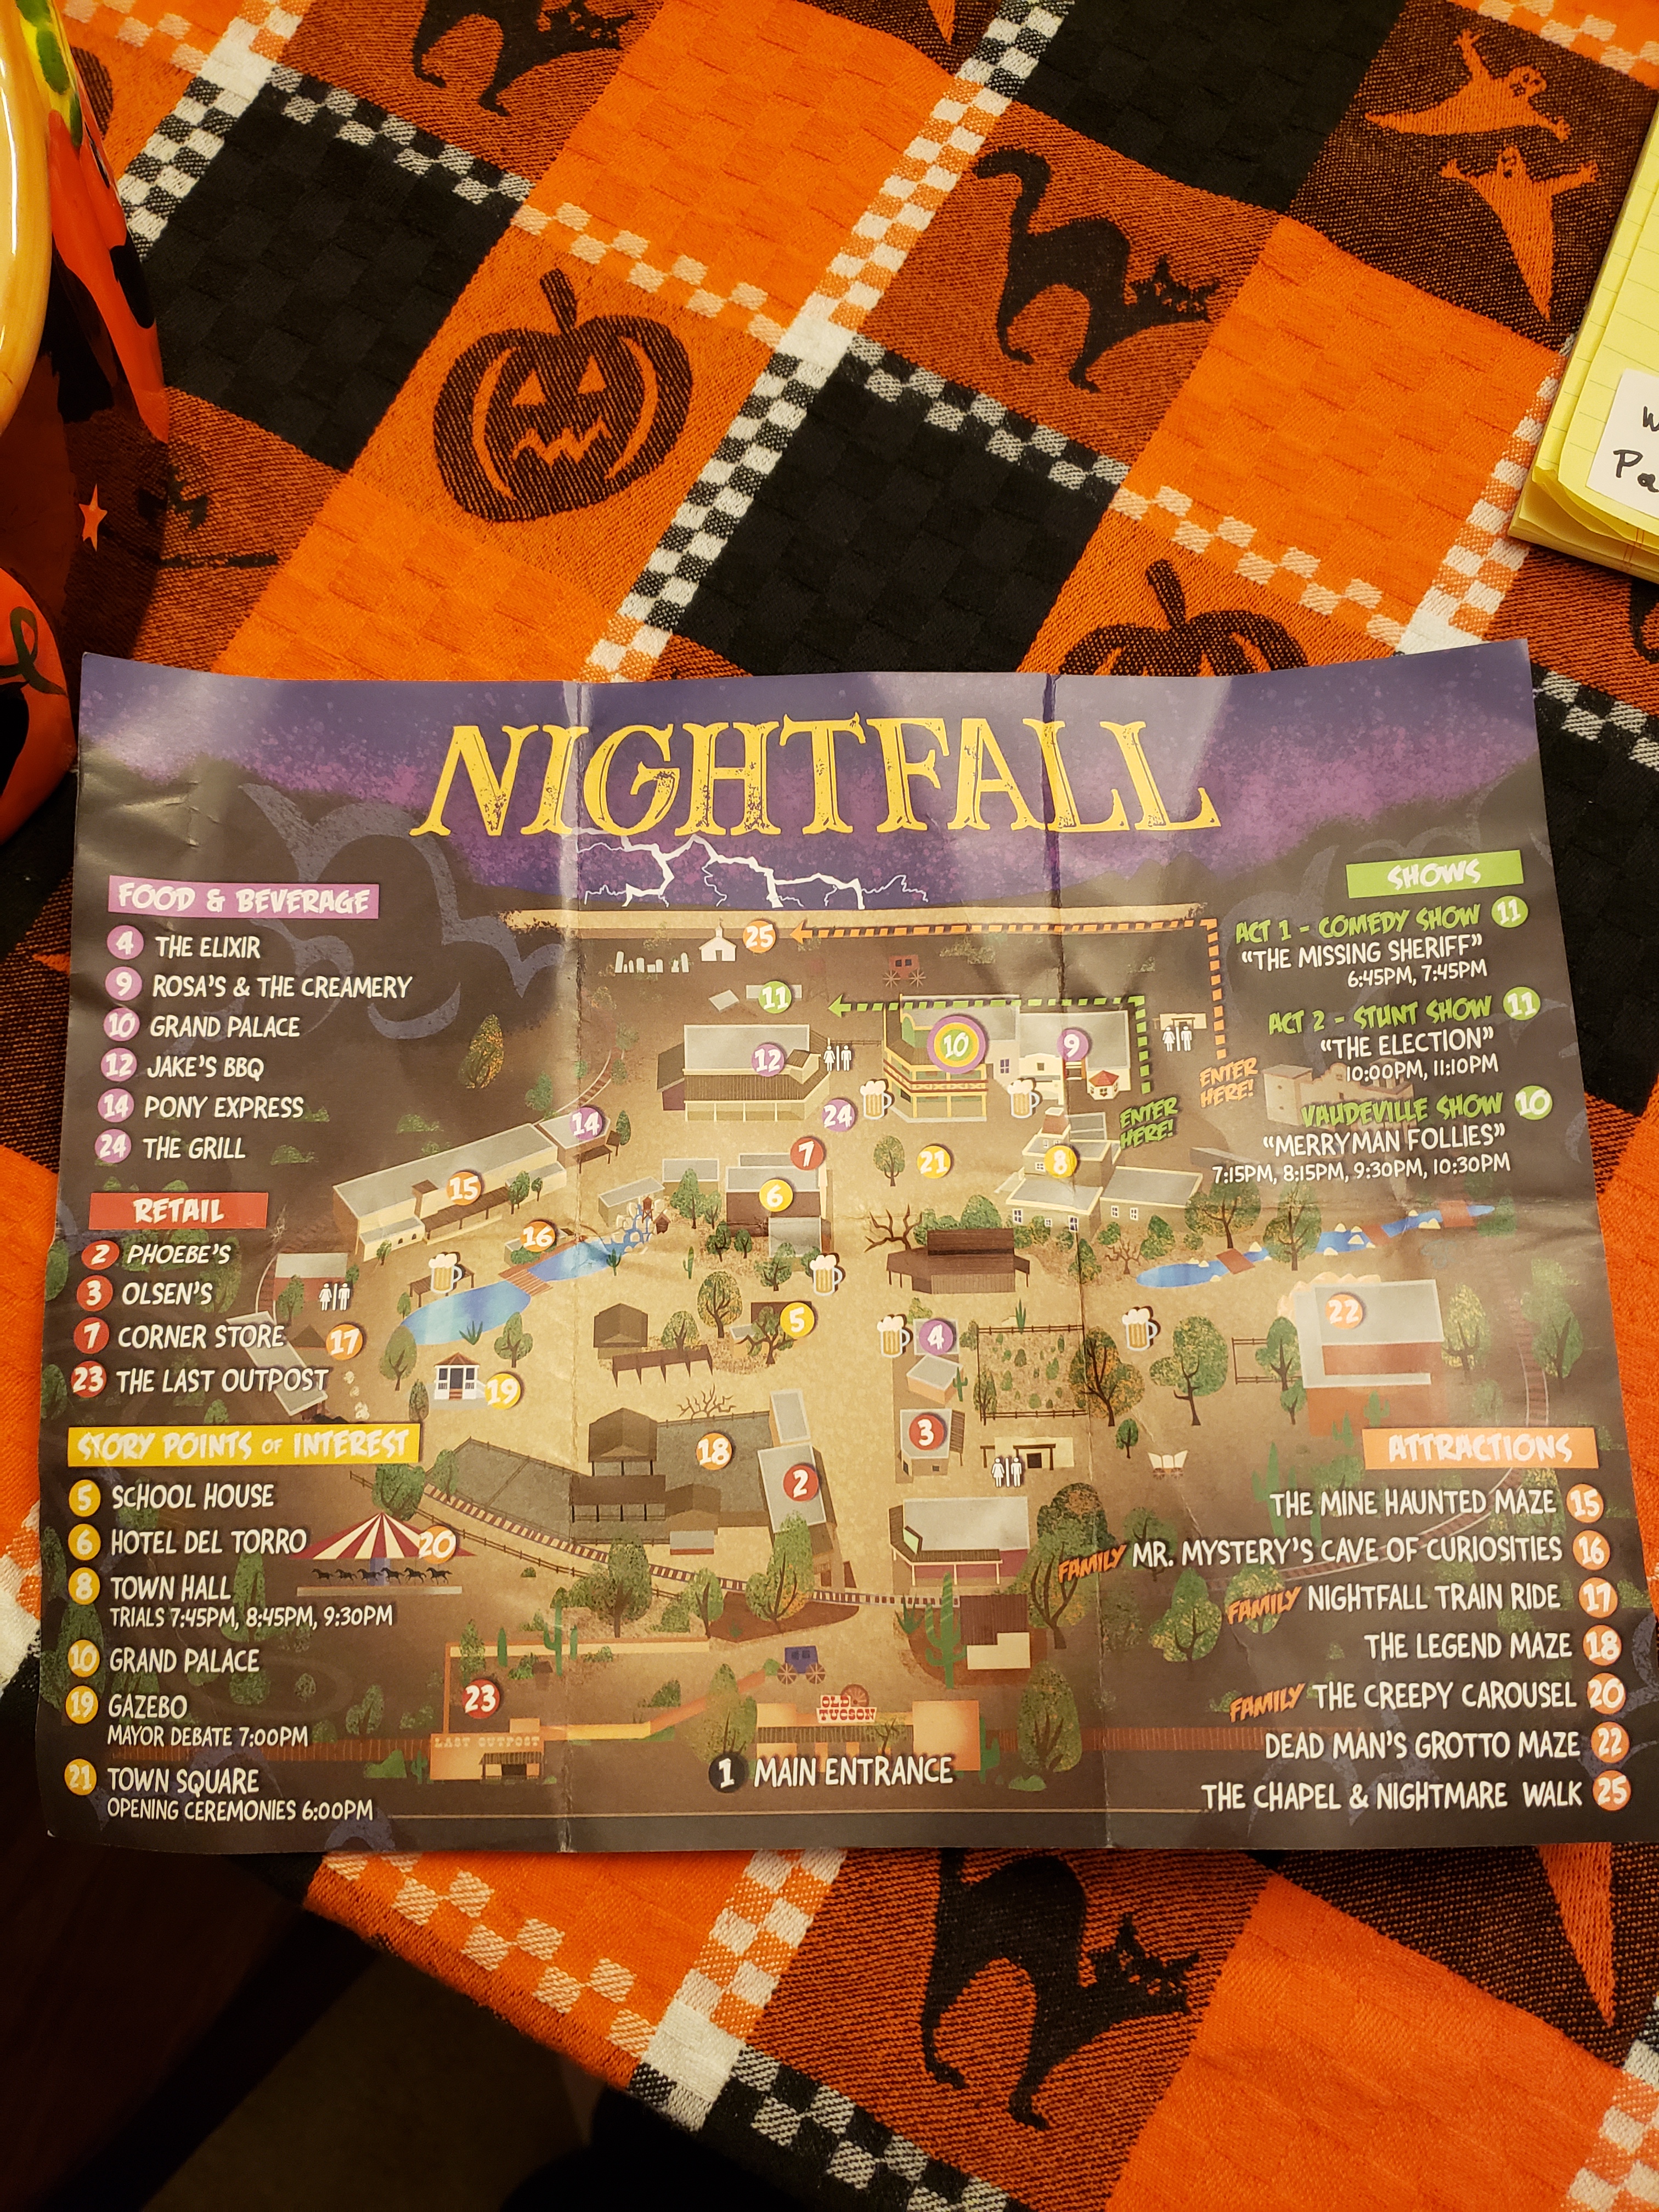
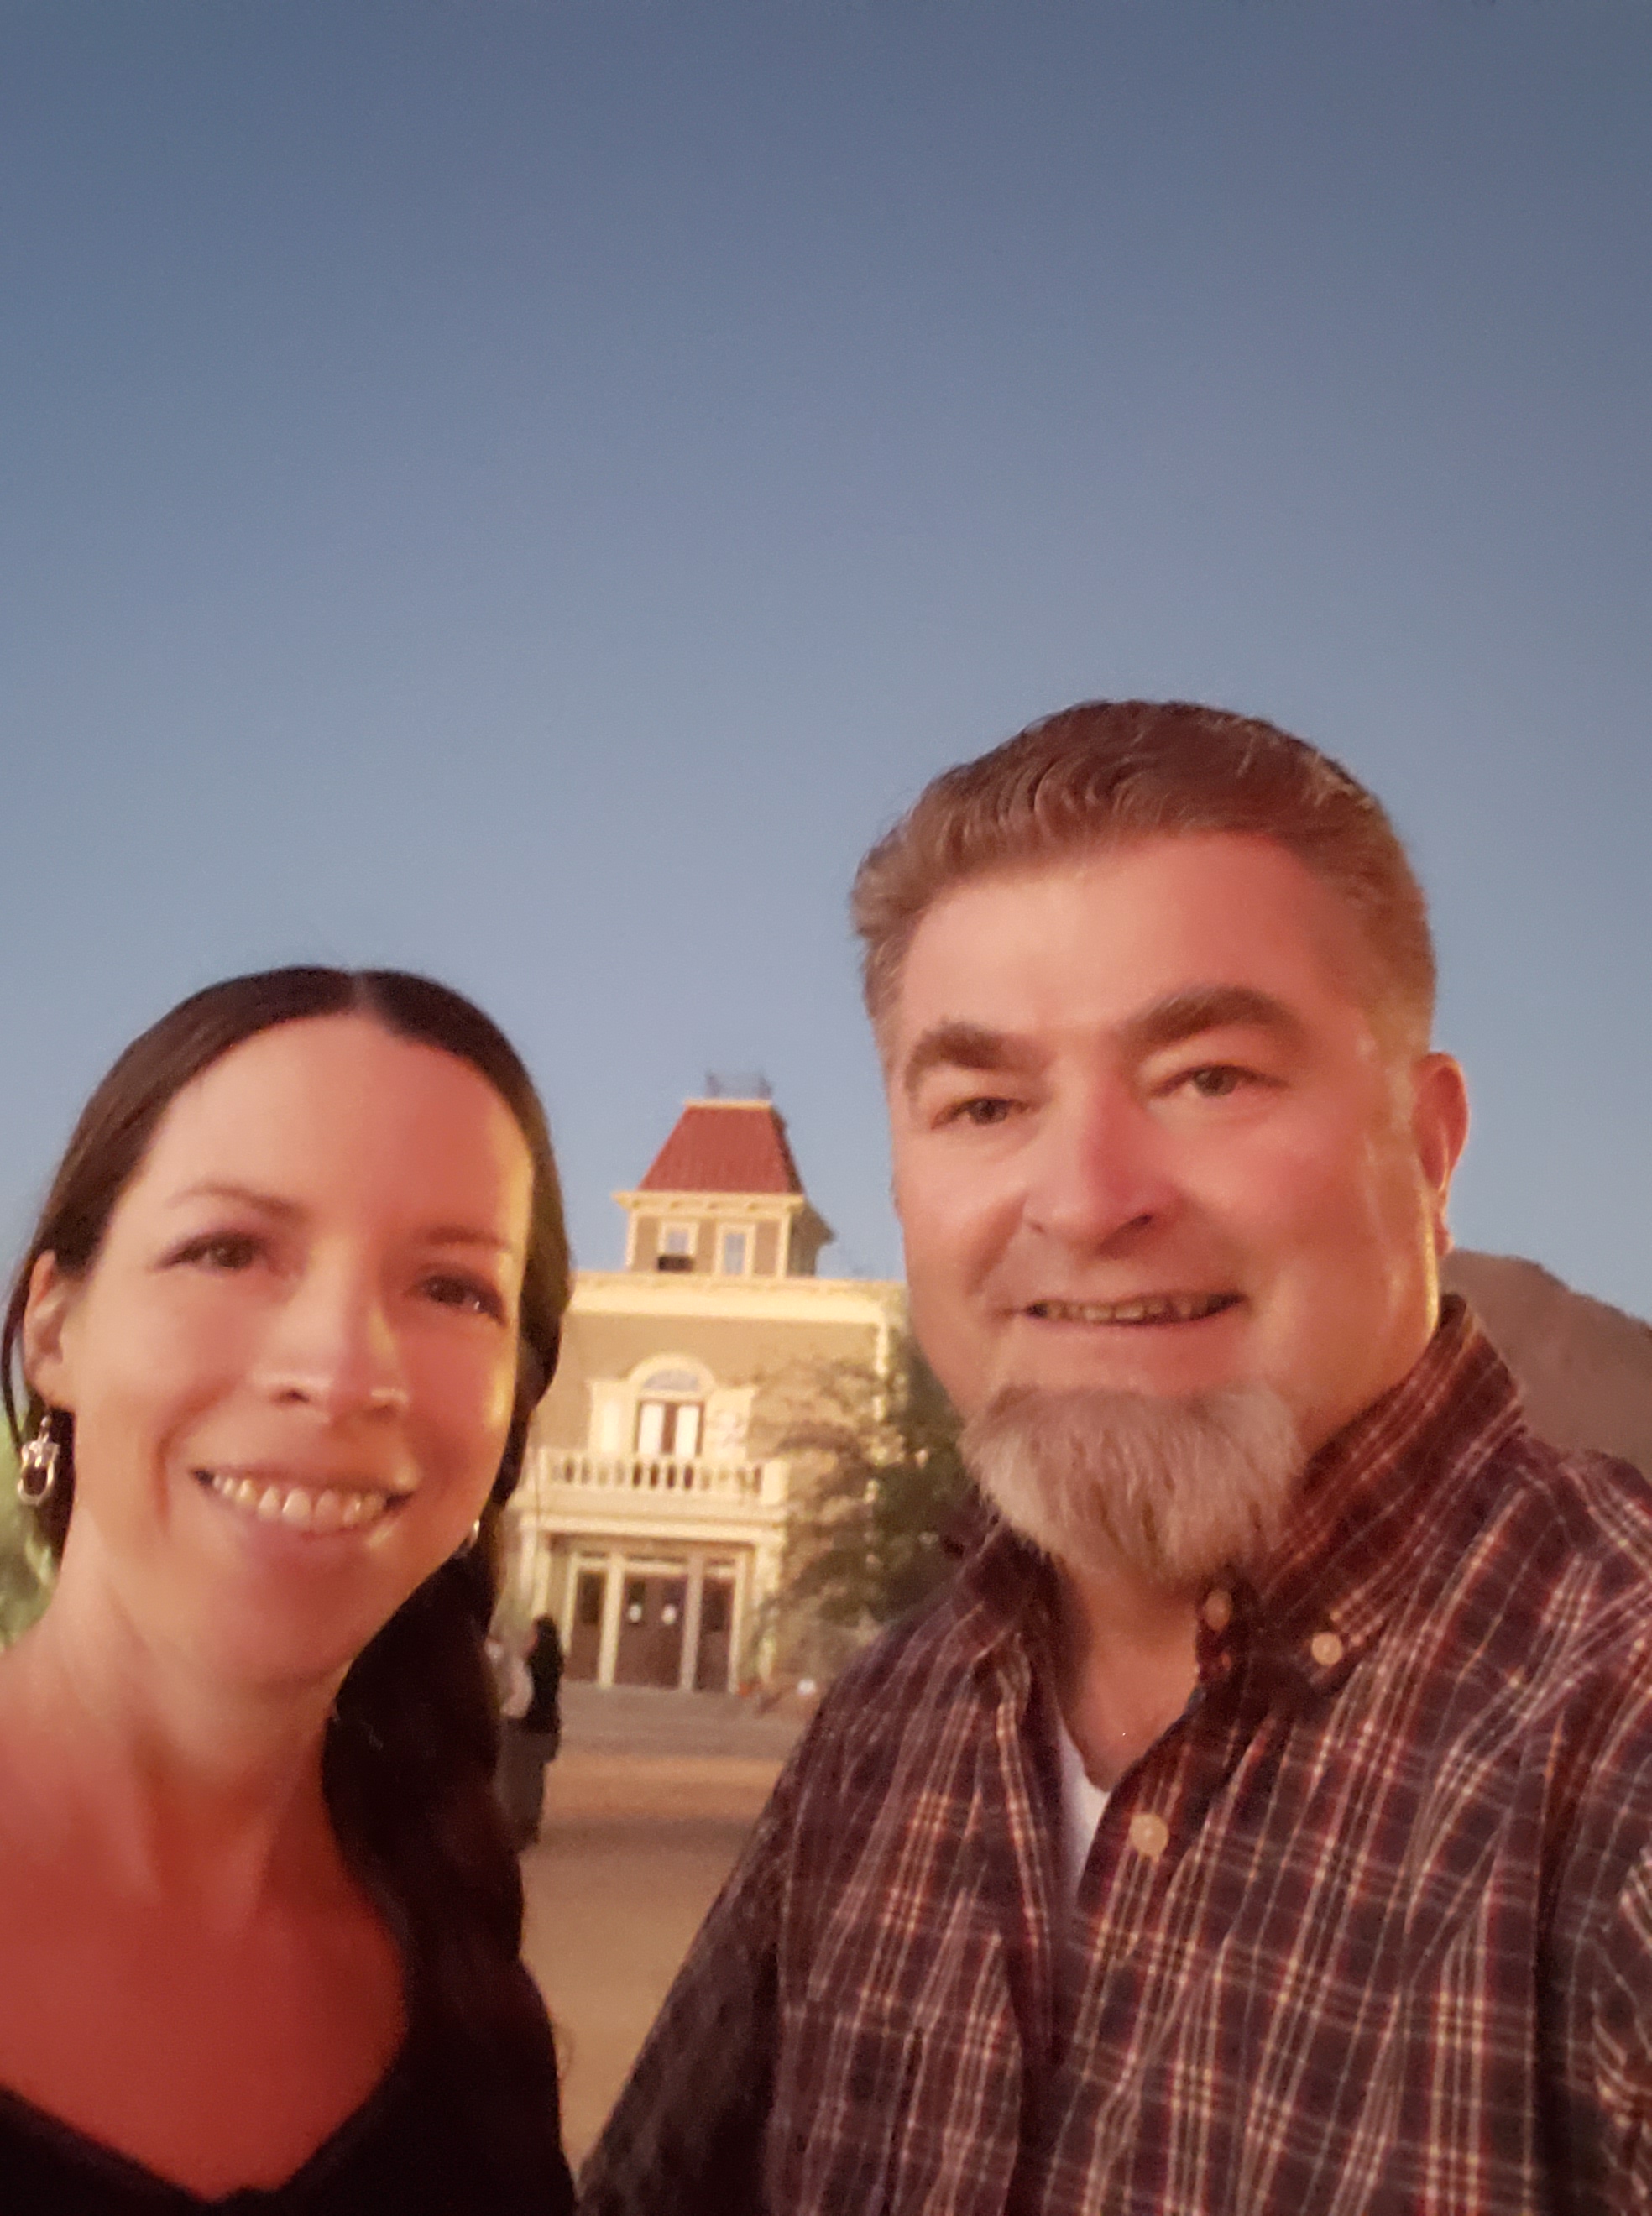
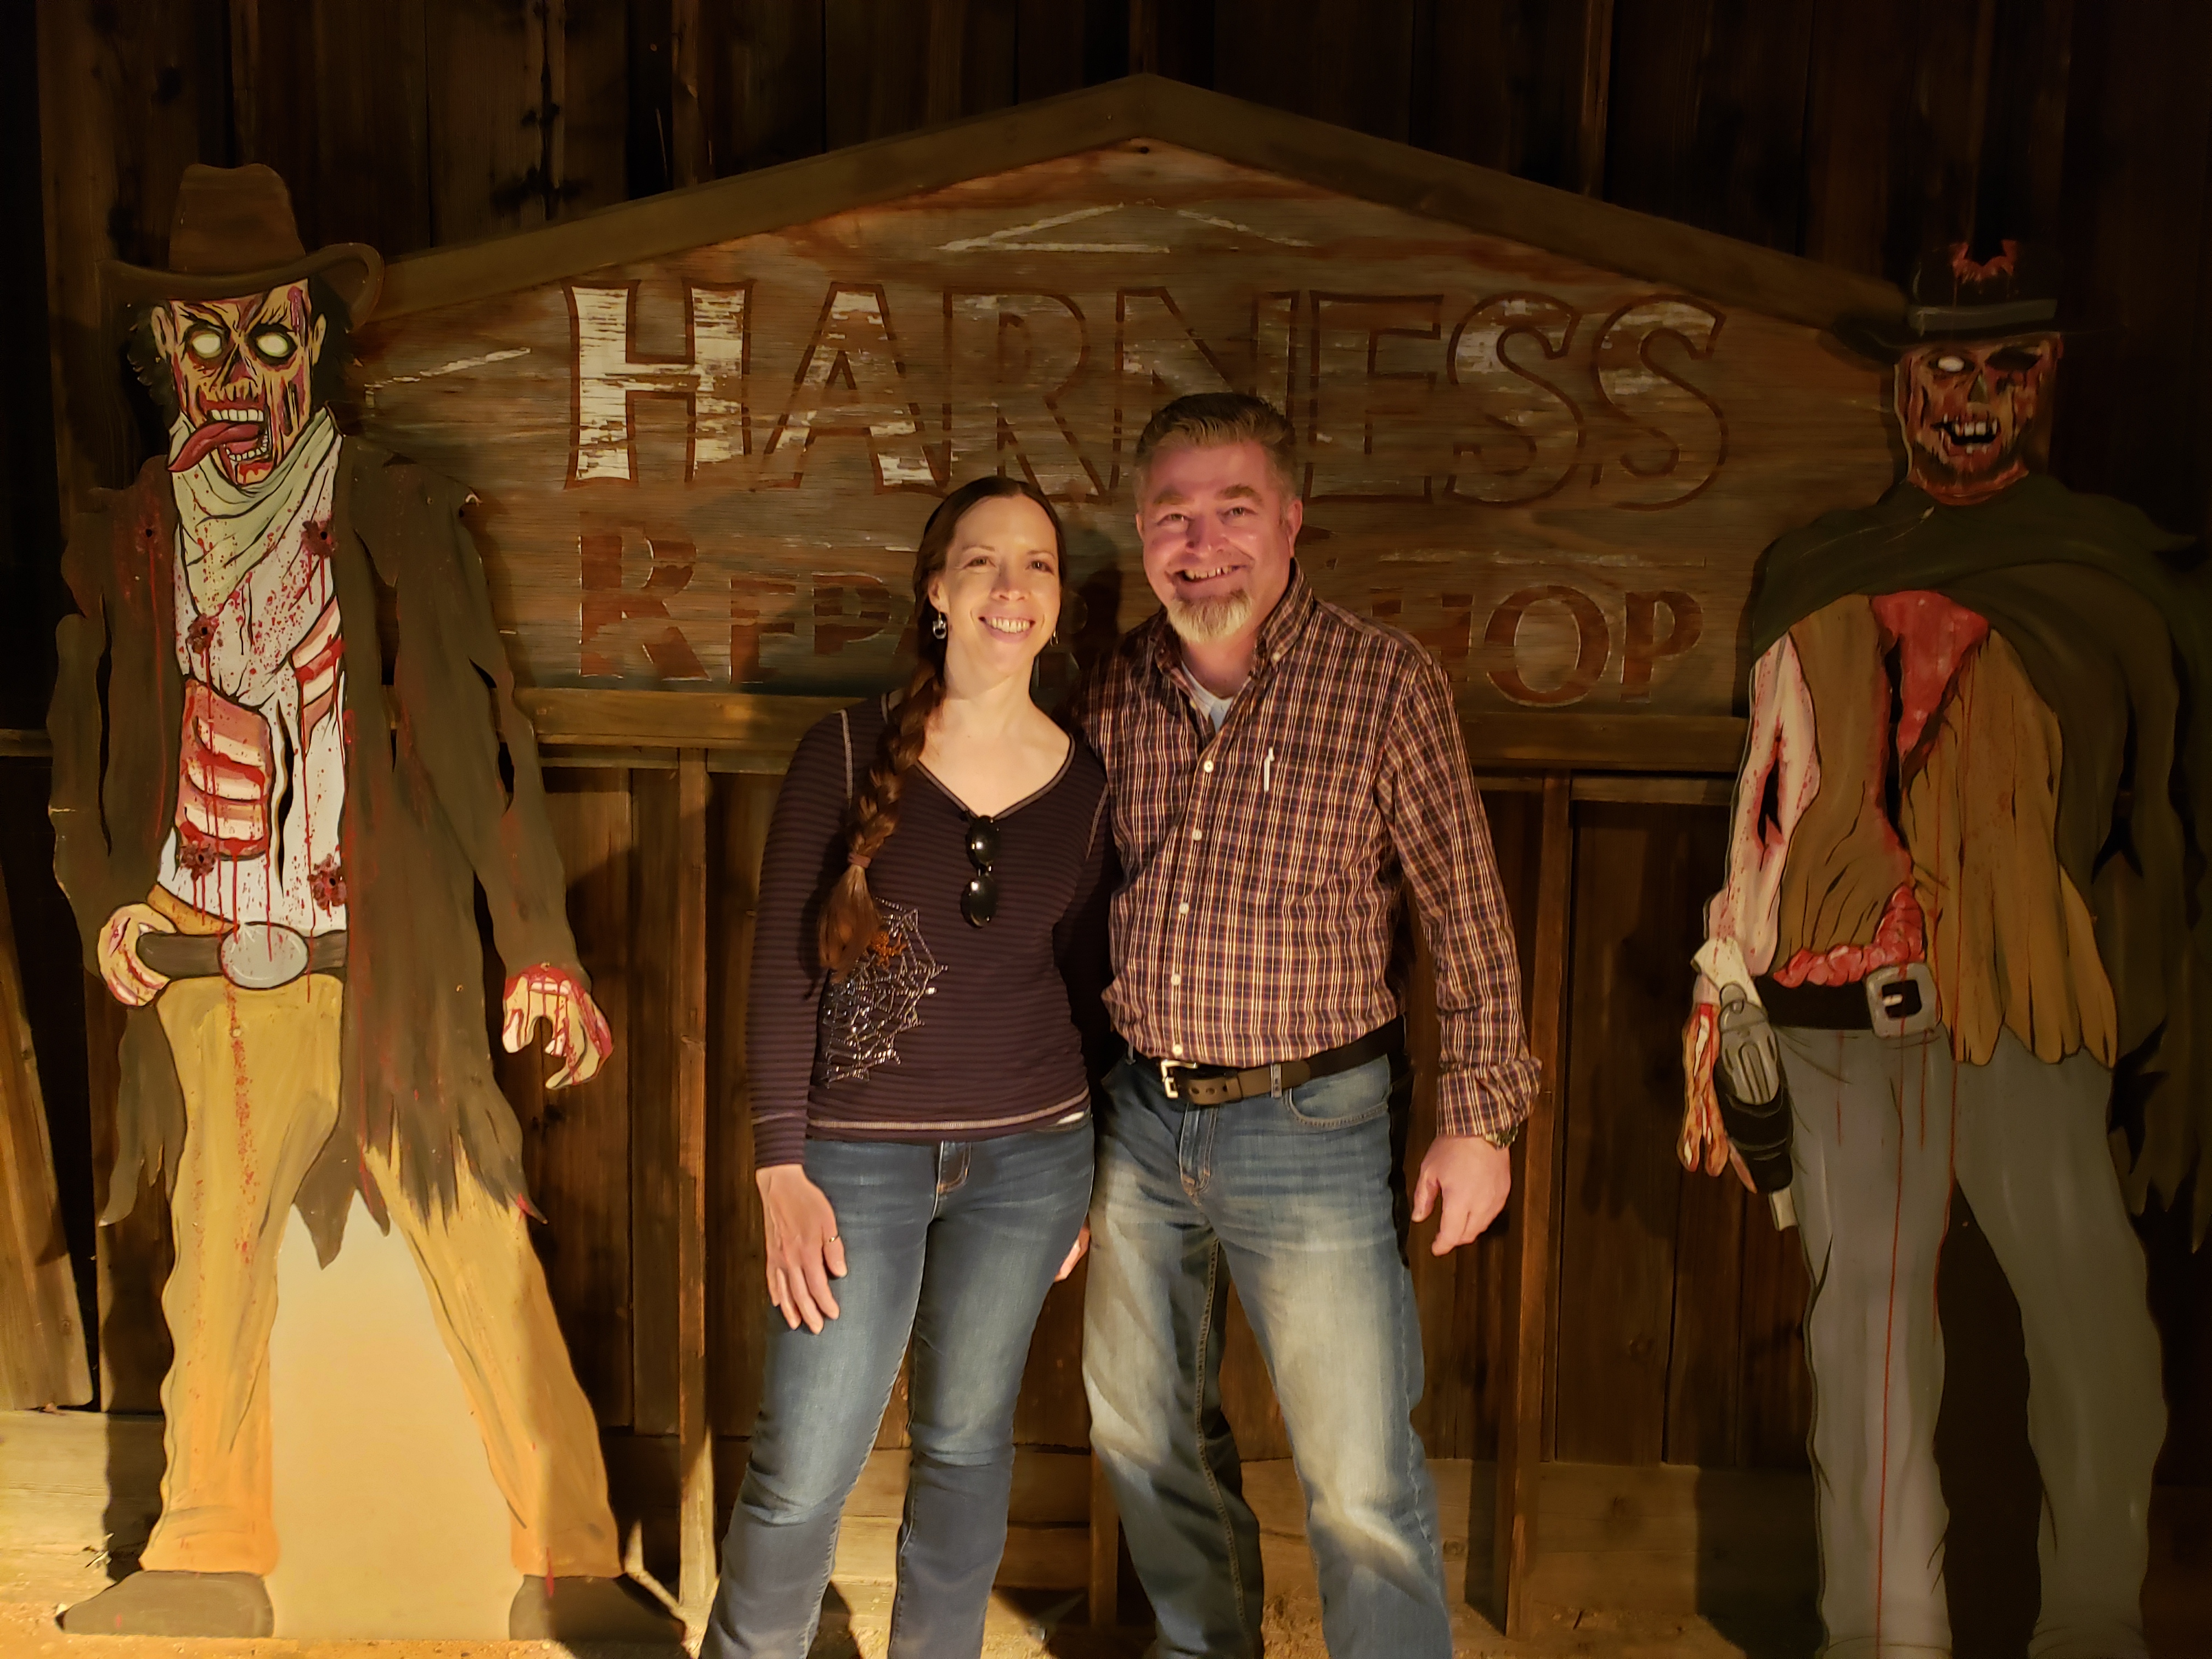
Adrienne and I were very happy to hear that Old Tucson would bring back the 30 year running Nightfall halloween event. But this year was a nice twist… the actors were now apart of an interactive show. The outer areas of the town were the haunted scary mazes and the town square was a small town people worried about the new mayor elect taking over the 1872 mining town with the prospect of water and electricity being brought into their homes and businesses.
Every interaction with the actors could bring more clues to the missing folks of the small town. Going into each building, saloon, school house, town hall, you can find clues and try to solve little puzzles to direct you to who might be behind the missing people. I was very happy to see how well all of the interactive stuff, actors and event shows, turned the night into a very fun and scary event.
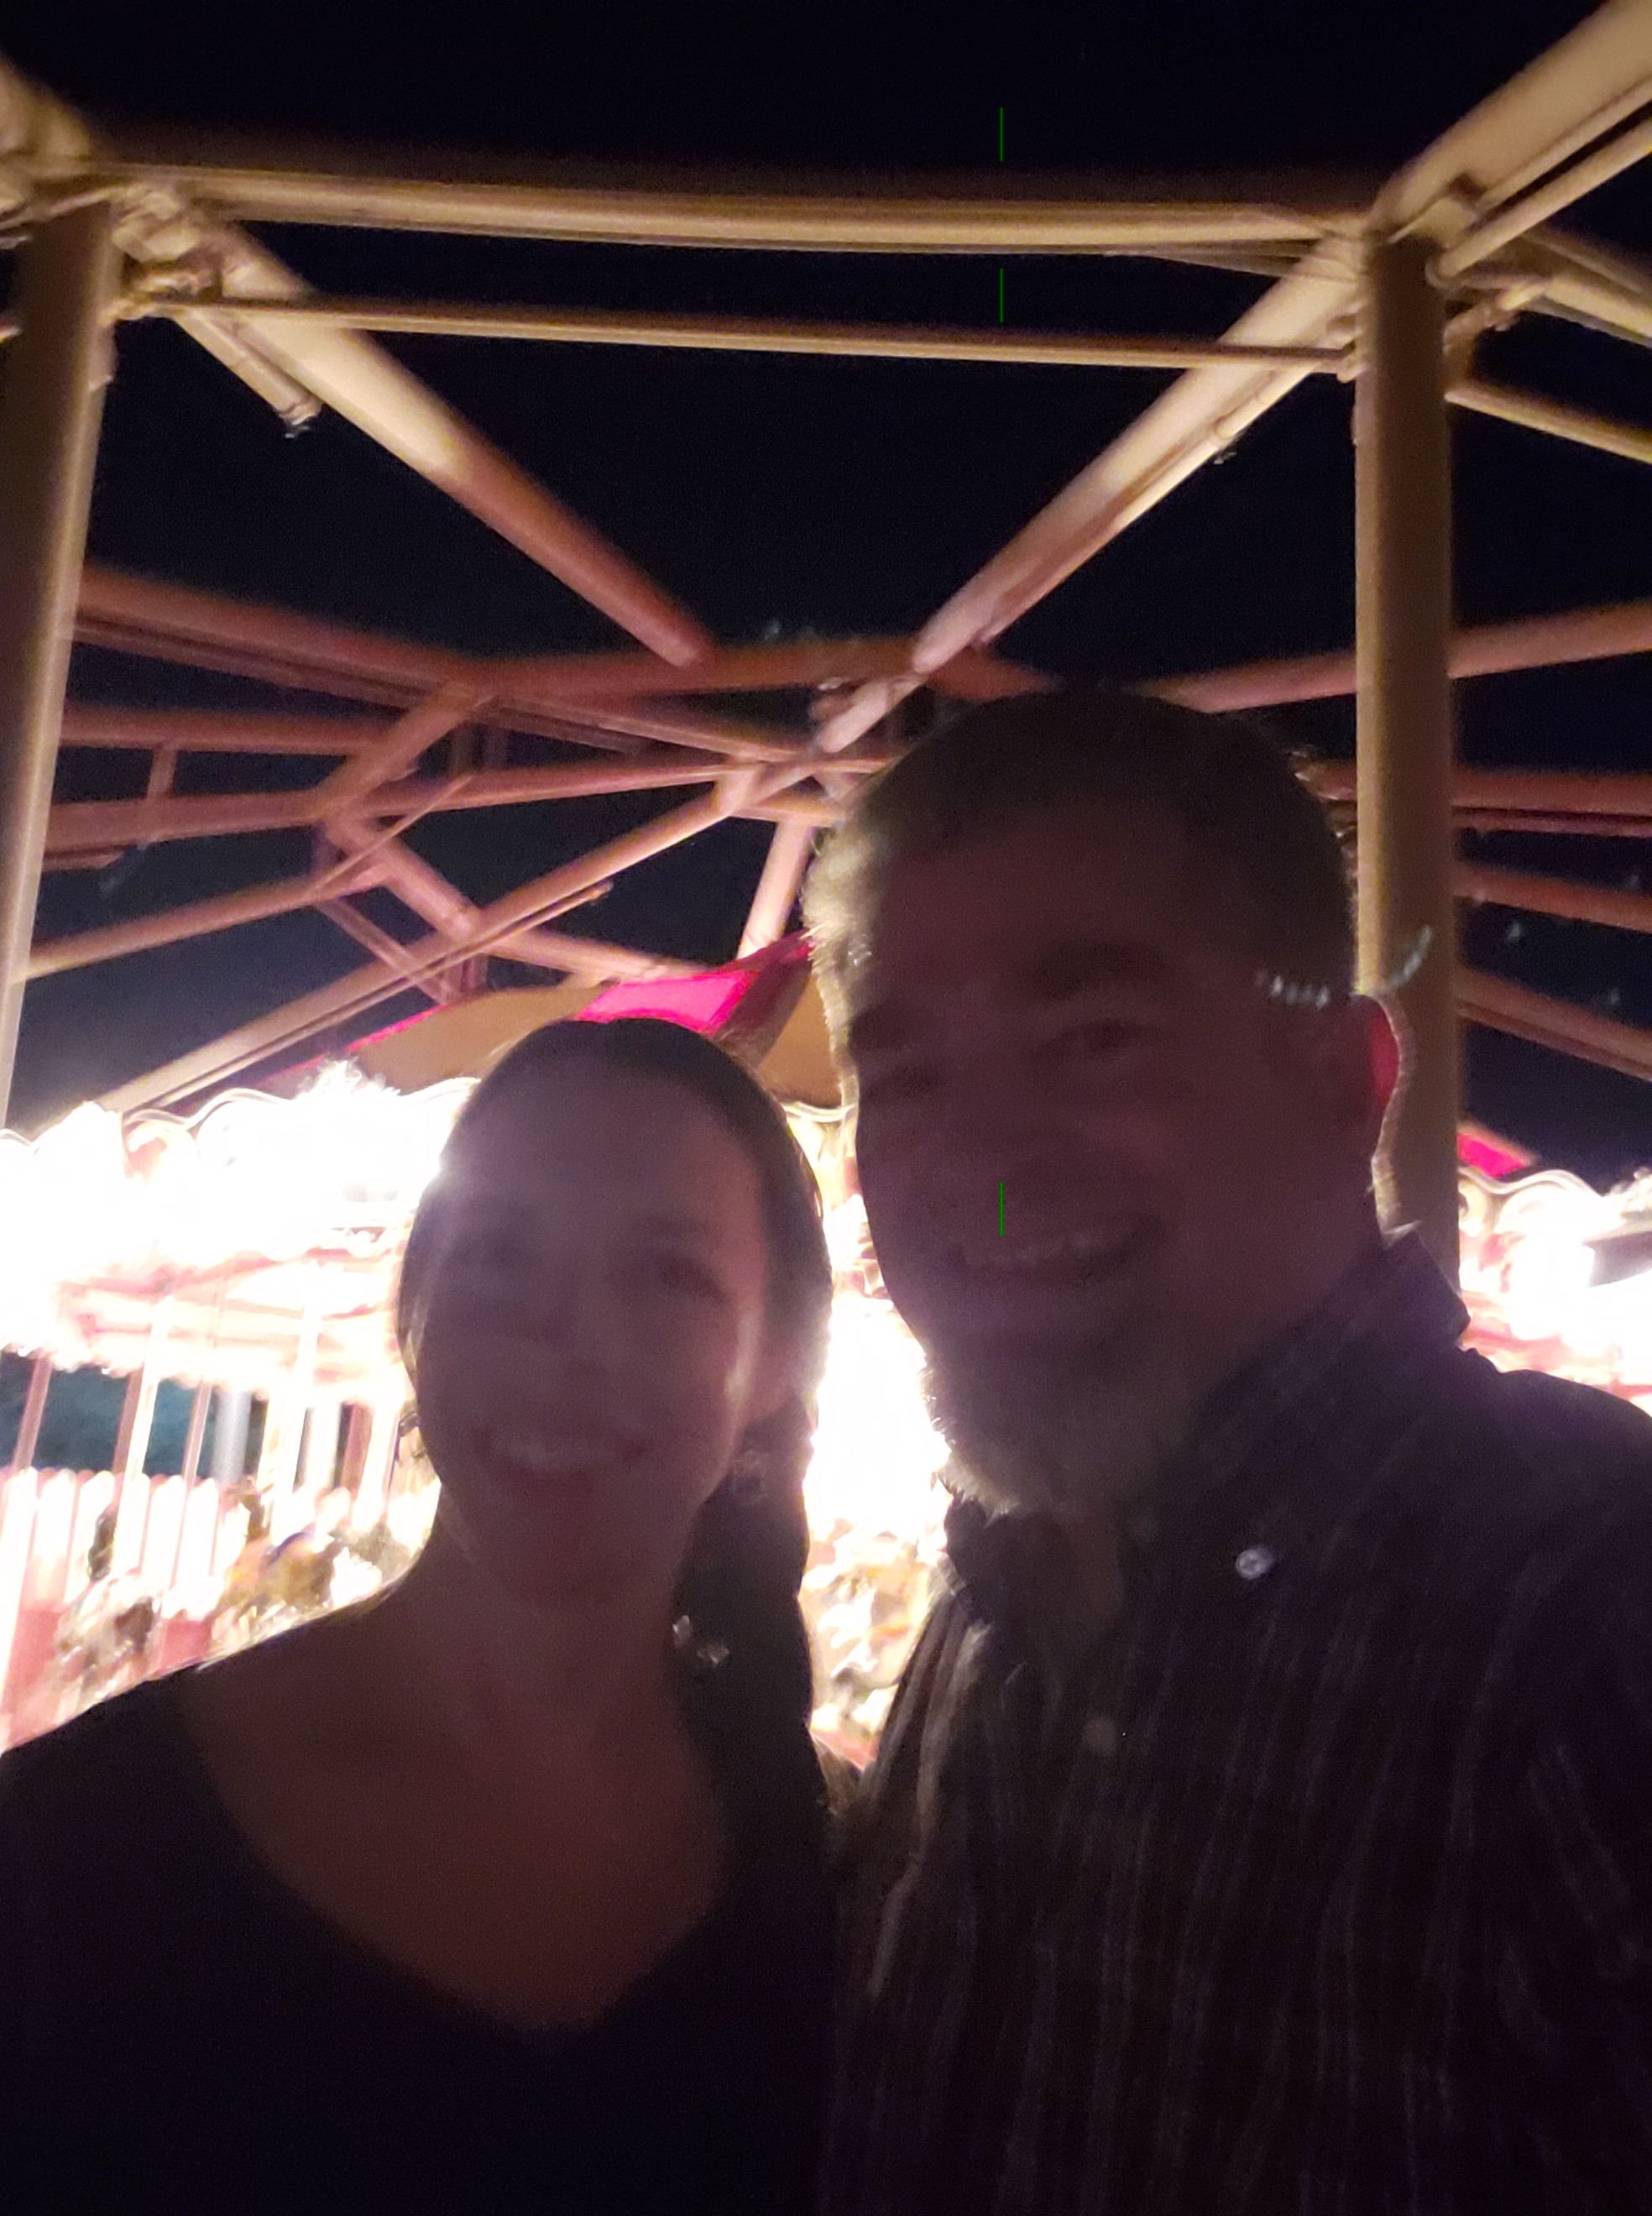
We rode the carousel, the train, we made it too all of the haunted buildings except for the chapel which first required you to go on a very long line ride, then to a very long nightmare walk (because it is soo long of a walk in the dirt, at night, with a guide, so you don’t get lost, turning it into a real nightmare), to get to the chapel… to hear a sermon about an evil spirit taking over the town of Nightfall.
I did however become one of the few who talked with the talented Less Blue, she asked if I was any good at poker after our conversation switched to the deck of playing cards in her hand. She took me to a private room for a hand of poker… which was surely stacked in her favor, as she told us… “I have nver lossed a hand”, only to give me the side eye after i turned in only 1 card as I kept an Ace, two 3’s and a 5 which looked very close to a 3 card, in the dimly lit poker room… a cheat catching me cheating.
As we bet, the cards were turned over… I proudly stated 3, threes with an ace high… Adrienne had two 6 cards and an Ace, our friend had two 8 cars and an Ace and of course our dealer the famous Less Blue had two 10s with an Ace… surely she had to inspect my cards closure… only to find I had tried to pass a 5 as a three… she forgave me quickly as she raked in the chips she had so cleverly won. Upon leaving the the room, she handed me a chip as a souvenir, but i thought to myself, there might be more to this chip. Could I trade or buy something to help in our search for information to help find and solve the matters that were afoot in this small desert town.
I must have had my intuition in high gear because I thought one of the shows was an “electrocution” but i had misread in the dark night “election” as the two main characters, the current major and major elect were battling it out to see who would become the next major of Nightfall… the evil major did in fact get Electrocuted! Only to find out that the evil powers he possessed he was able to turn back time and bring us back to the start of the election … with the curtain closed we all knew leaving this small town of Nightfall that no one was safe anymore, and that nothing could be done to save IT or the unaware kind people of this town.
A few fun photos of our night.
Above is the map of the event locations and attractions.
Uncover the truth!My poker chipTown hall, we are standing in the center of townThe spooky carouselAdrienne took this spooky photo!
We will go to nightfall again next year and the year after for as long as they keep this event going. They did a great job changing up the interactive level and really they did an excellent job. The shoot outs, the fighting scenes, the scary haunts and the plot twist made for a very enjoyable evening. Thanks Old Tucson and if you are ever in Tucson during October, you should mosey on over to the little town of Nightfall.