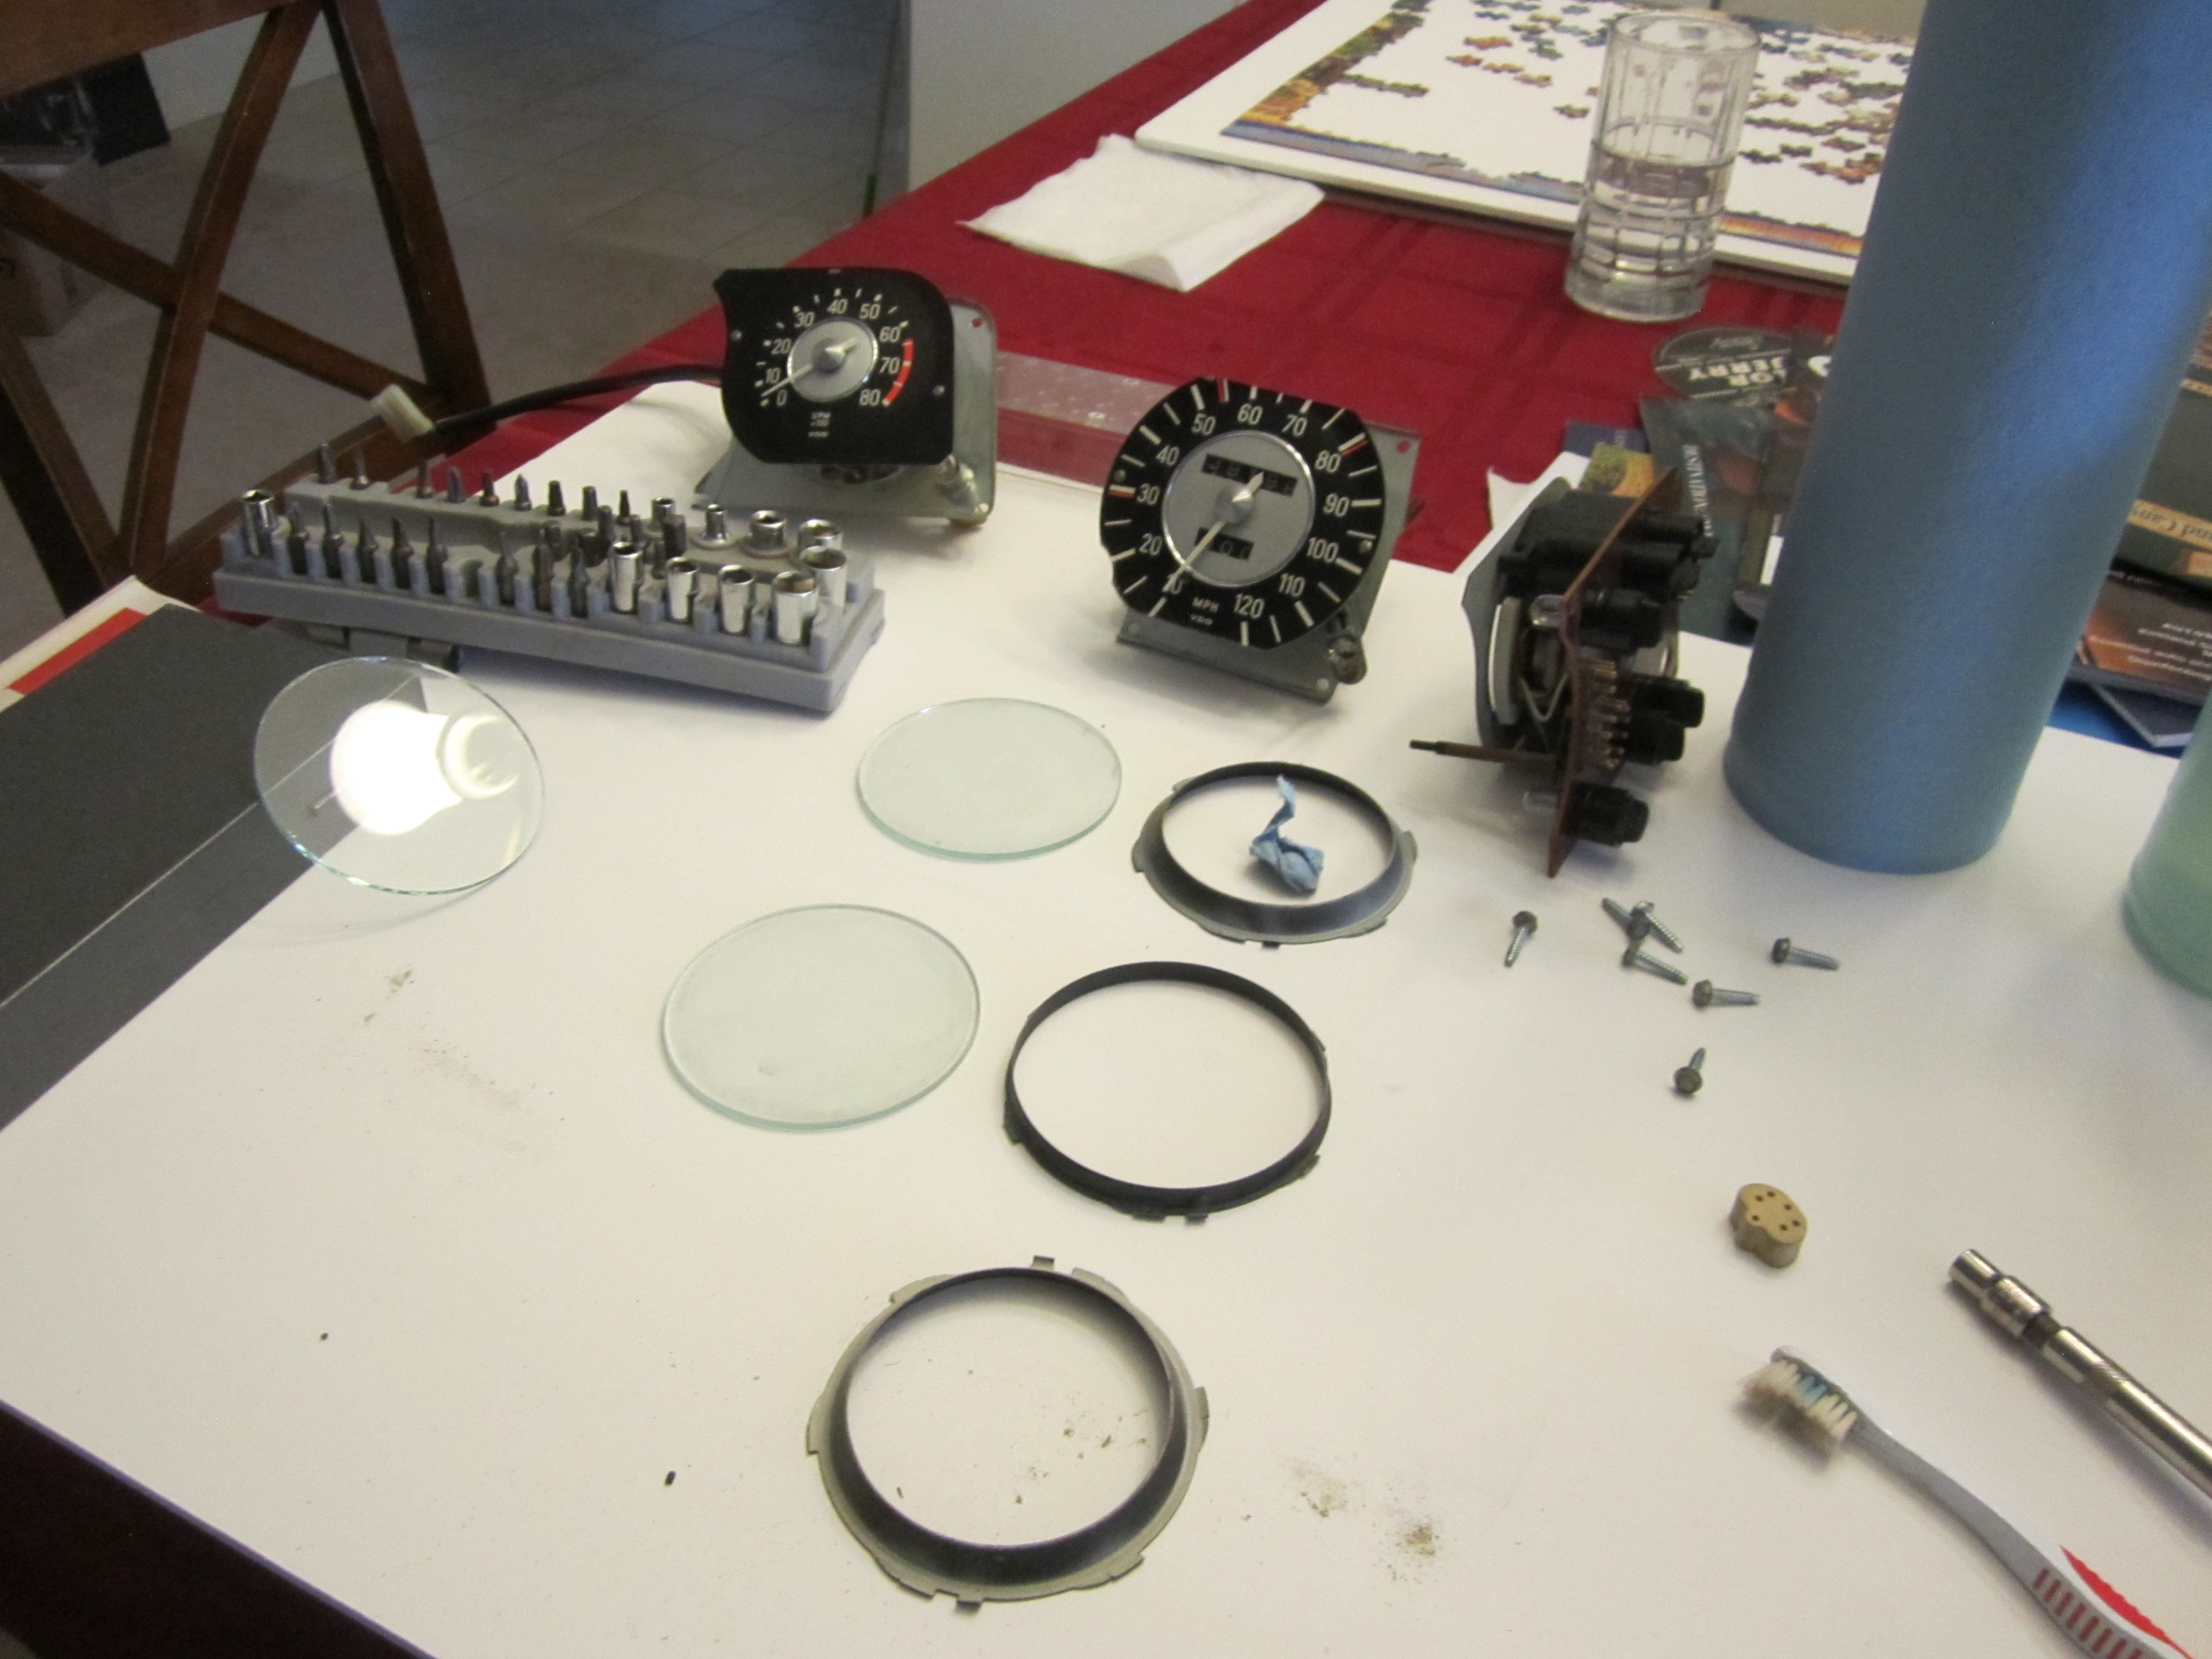
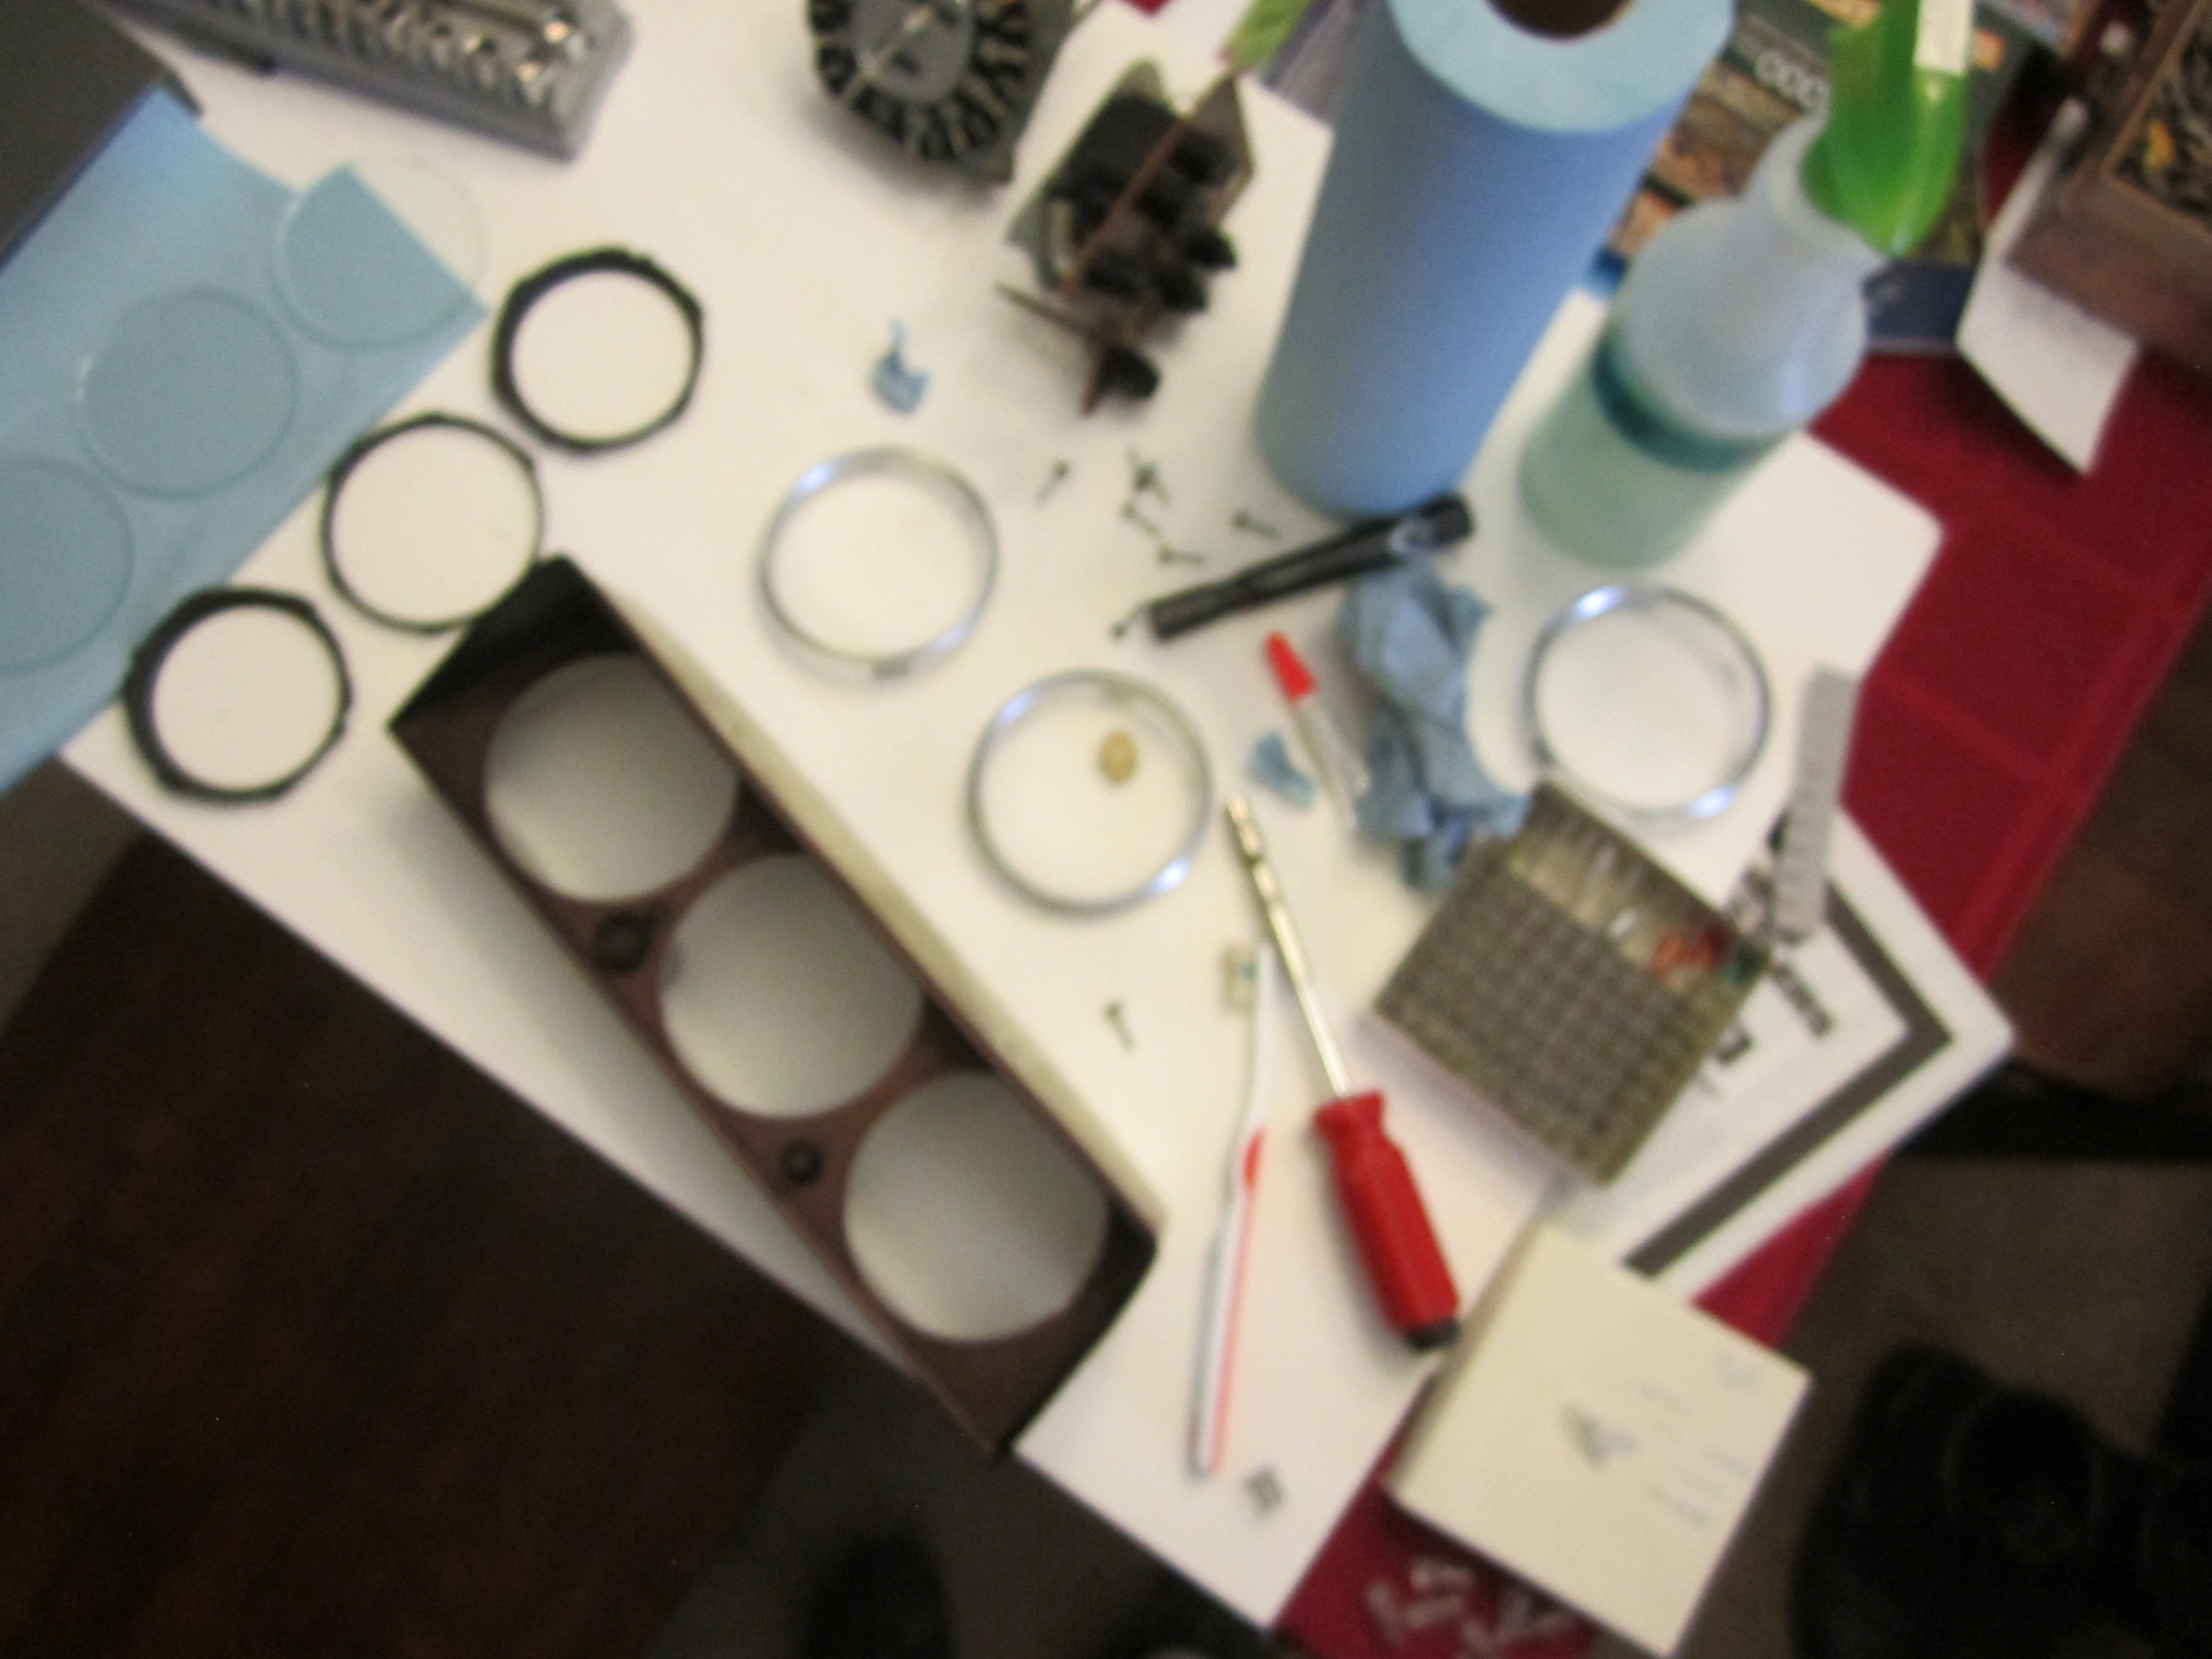
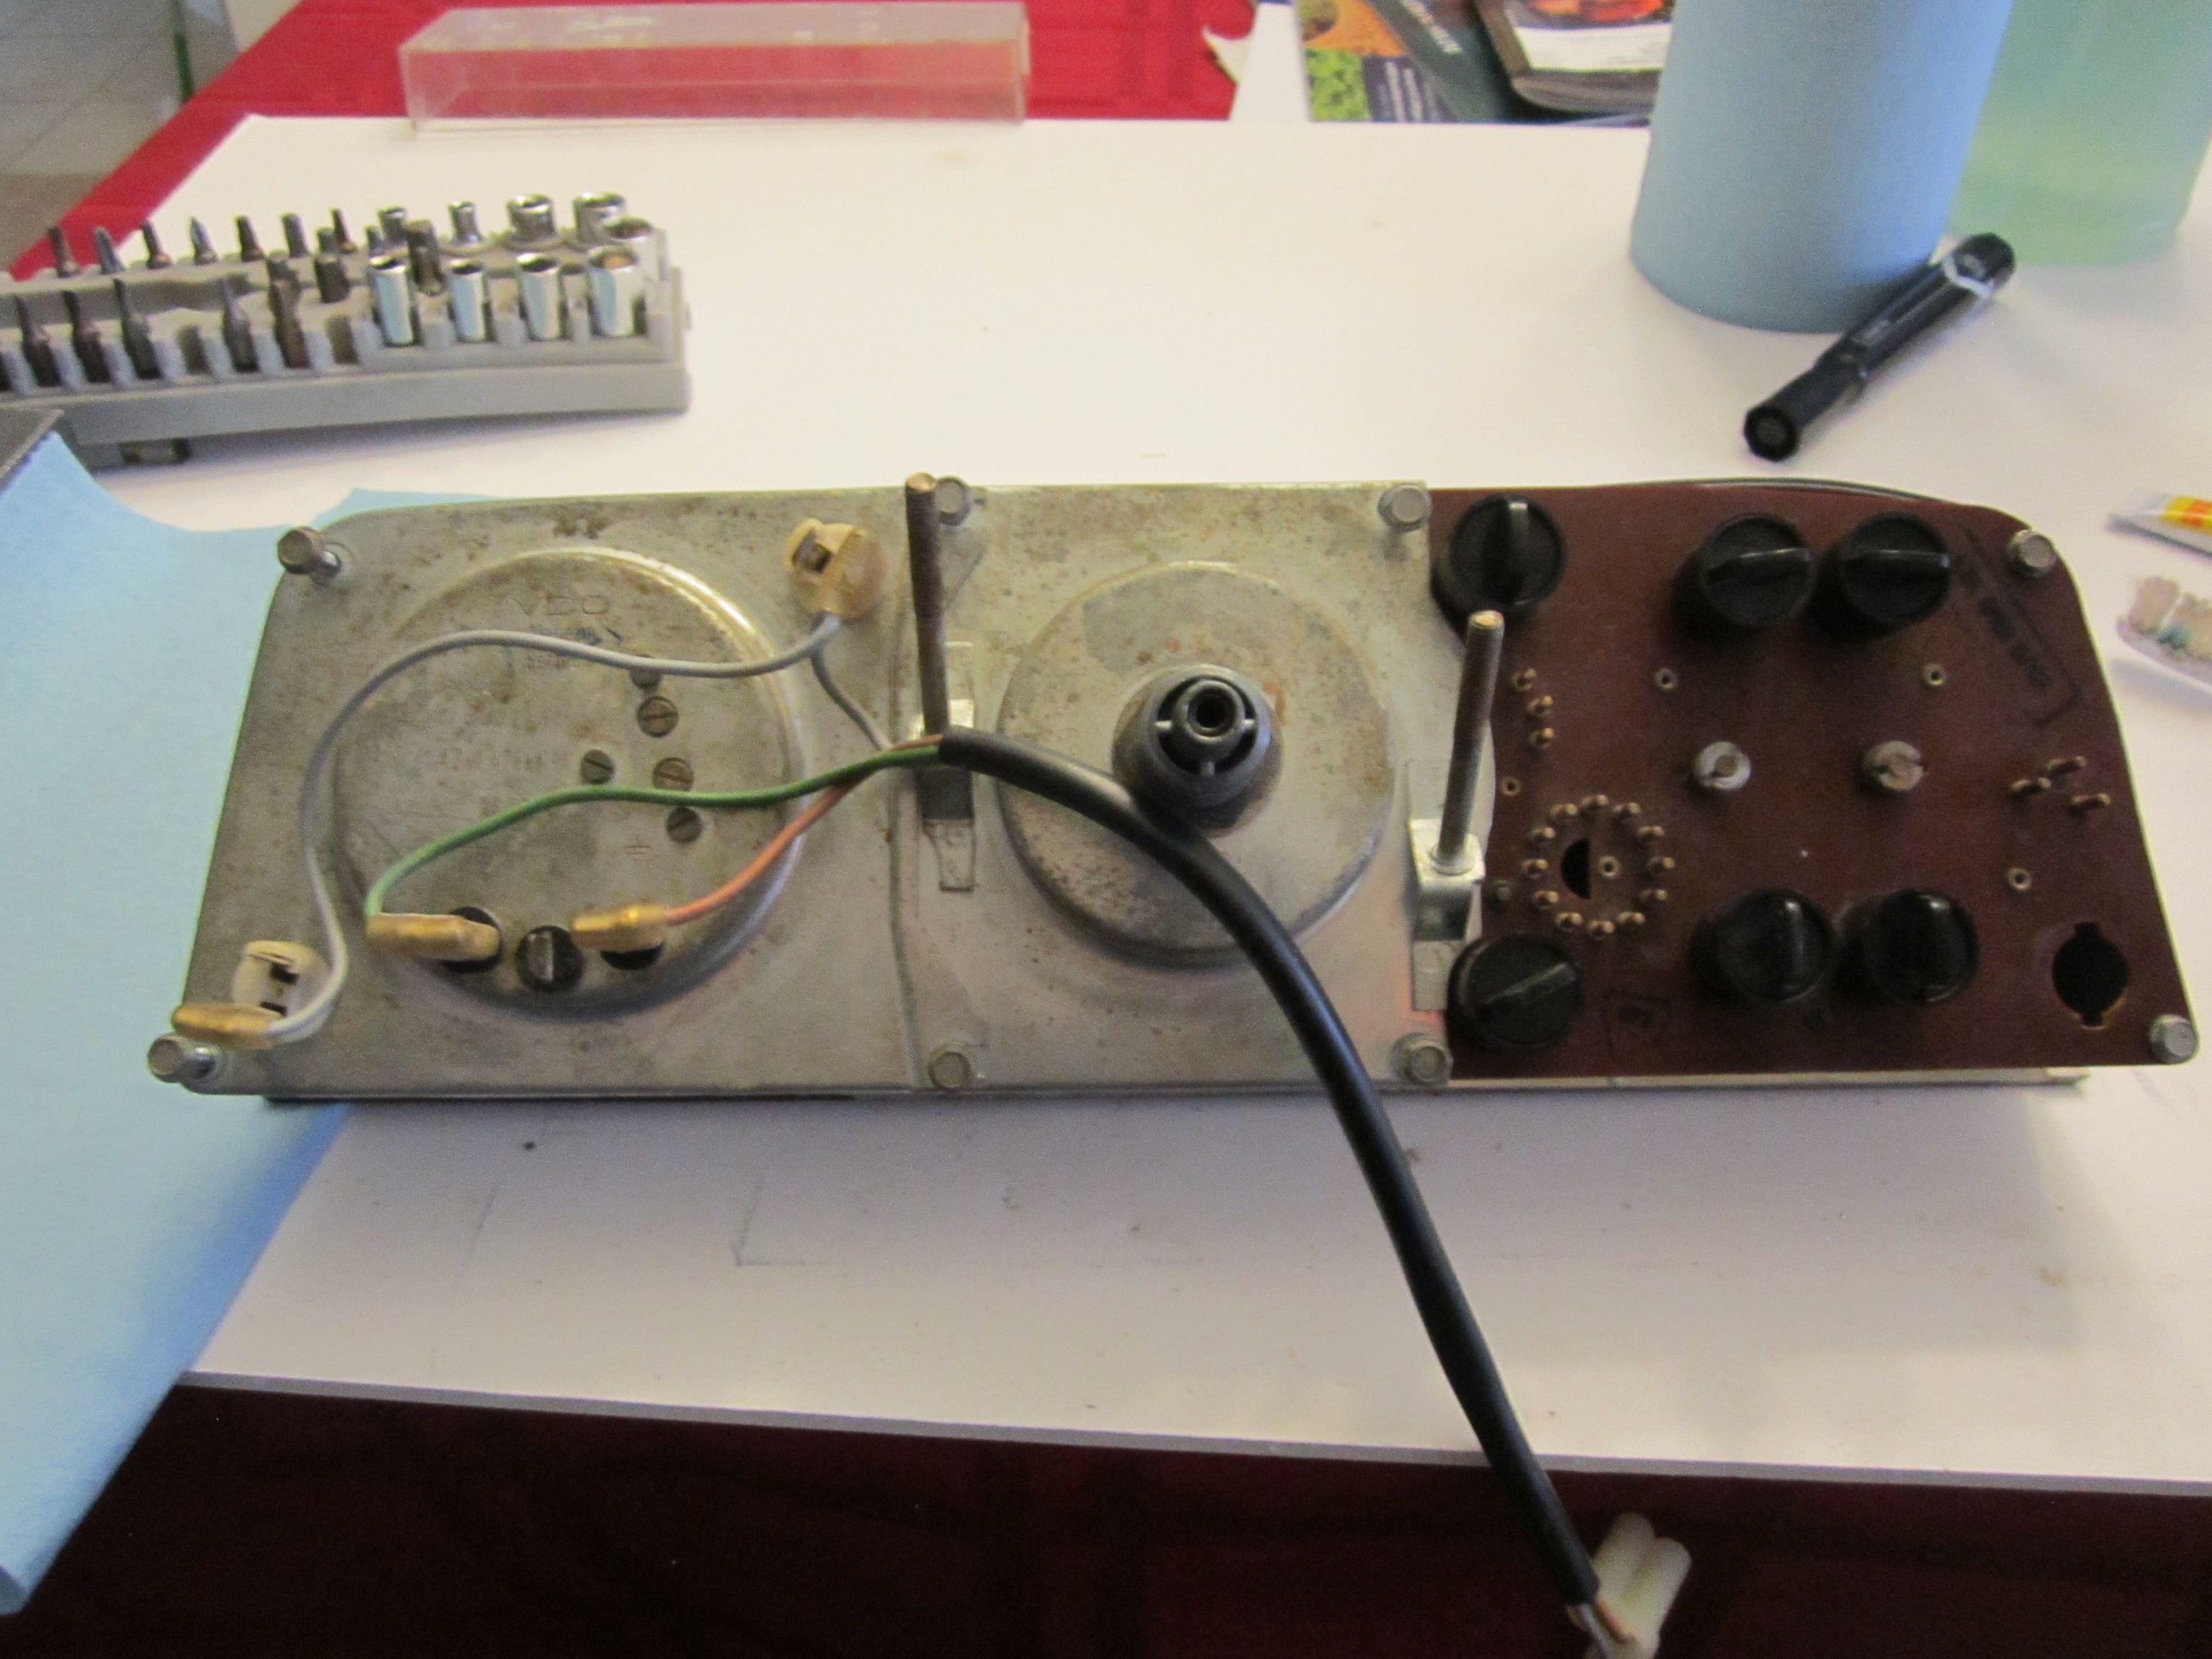
As the dashboard gets closer to being installed I went a head and cleaned the instrument cluster from all the dust sanding paint and dirt… touched up the silver rings and cleaned inside gauges. What was really cool was I had picked up a box of 100 spade bulbs 14 volt, 24 watt lights. They are the same bulbs that are in my 1968 BMW, so all the cluster bulbs were replaced with new and I even fixed to of the holders so now all bulbs are back into the Gauge cluster.
Category Archives: Uncategorized


Space Camp Photos: August 1987
Huntsville, Alabama in the summer is hot and humid, but i can remember the excitement driving on the bus from the airport in the small town of Huntsville… I was on my way to Space Camp! I had been wanting to go to Space Camp ever since i saw the NASA space shuttle take off and set the US into a space exploration frenzy, and I thought I too one day would be an astronaut! These 7 days at camp were filled with so much stuff that I could barely sleep at night because of the following days agenda… mostly IMAX movies, mission specialist training, rocket model building, fun space fact finding, and all out NASA geeking! I ran across my negatives from the over four rolls of photos I brought back… my mom asked why there was none of me in any of the pictures because mostly I was taking cool photos of rockets, space suits or the sort of engineering thing I would learn about later in life… but i did find a few that made the cut and wanted to share them again…

Now some of those kids in the foreground were part of my group and I had become friends with most of them… thus never having the photo, because i am sure i sent them the developed photo so they could remember their time at space camp…. as not a lot of kids had a camera… I was very lucky I guess.


My mom allowed me to take for ‘show and tell’… I was showing and telling even if they didn’t have that as part of space camp, my LEGO Brick Space shuttle to share with my fellow Young Astronauts… it was something I really felt a great deal of pride knowing I had the opportunity to be apart of this camp and the kids I was learning what we all thought would be our job one day… but of course most of us would never become astronauts, it was still nice to dream for those 7 days.

I even show and telled the LEGO space shuttle with my class at Lena Juniper
Here is to dreaming like a kid again… you can do whatever you put your mind to, so dream big!

Pretty official certificate, but it is still one of my favorite memories from when I was still a boy able to dream big and have fun telling people… ” Hi my name is William, and I am going to be a future astronaut!”.
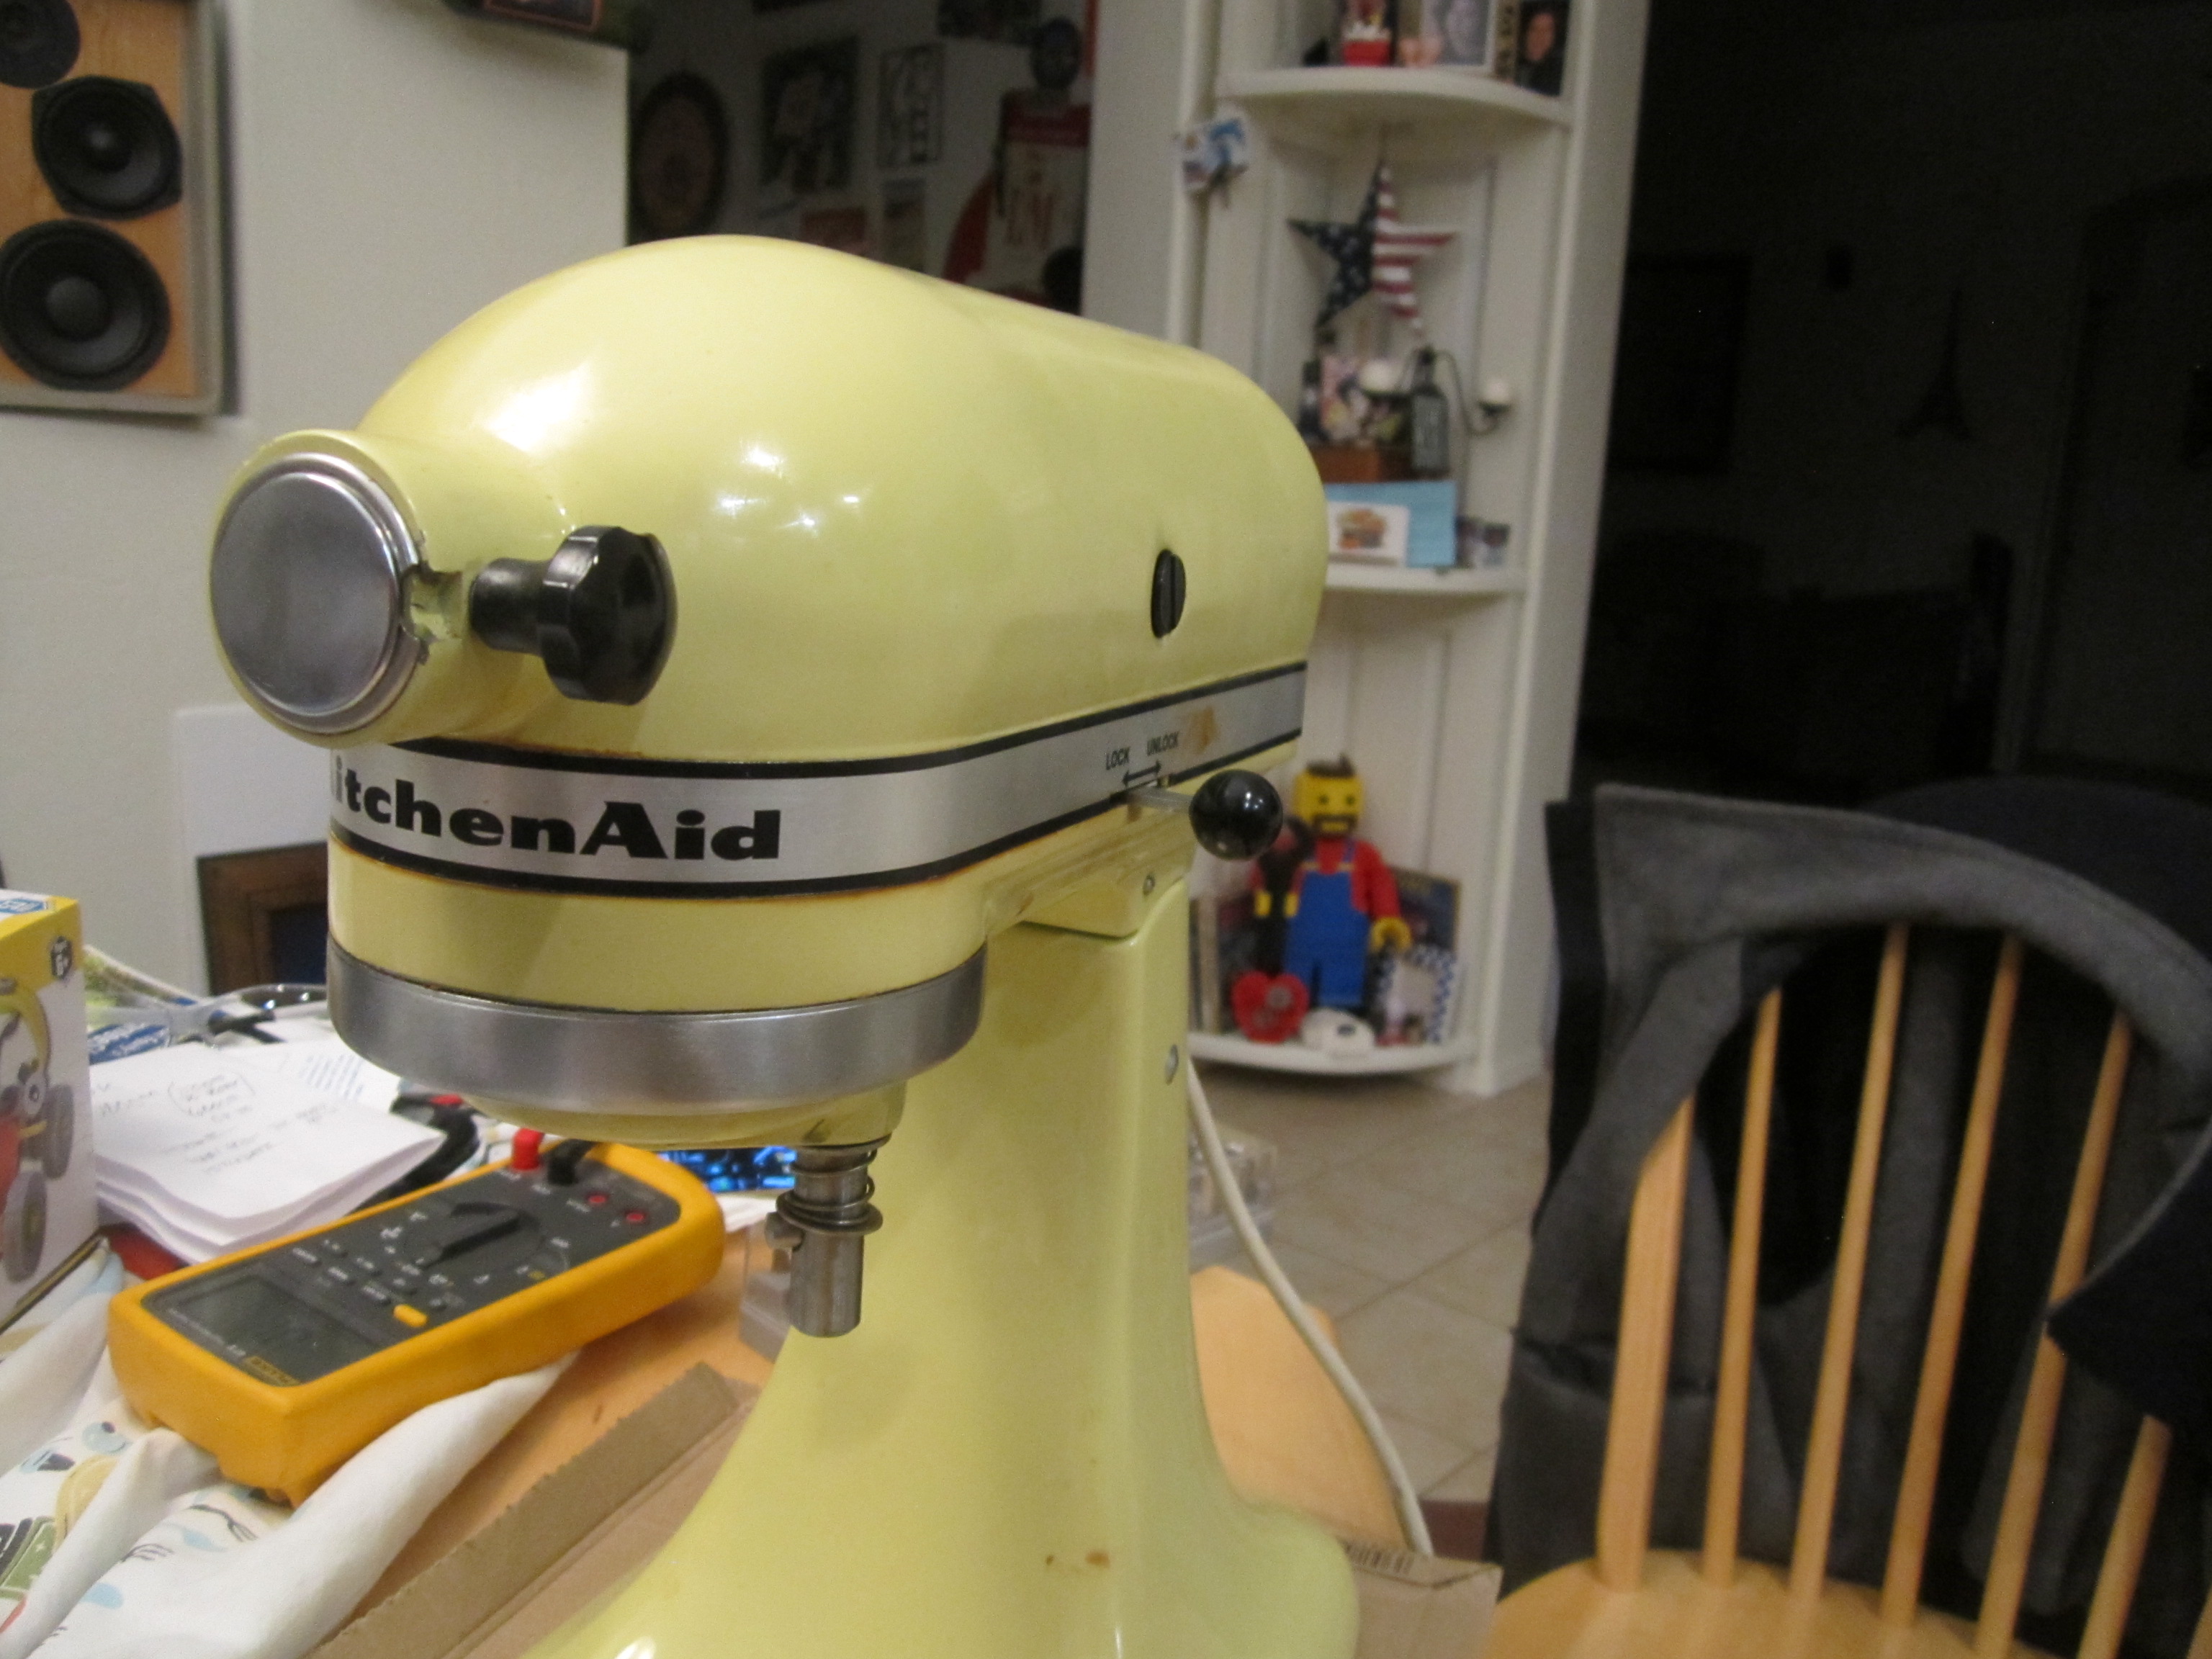
Bringing Life back to A 1970s Kitchen Aid Mixer
One of my friends had a mixer his mother used for many years and he wanted to get it running again after it stopped working. Knowing I like a challenge and like to fix things he asked me if I could look at it and get it running again.
Tearing it down since I had no idea if it had been taken apart or if it was all there I discover a really well built mixer…
Electrical had a wire that had fallen out of the wire nut… I soldered the connections and taped them off, not the cleanest, but it made sure they won’t come apart.

Old grease and clean up of the old grease will definitely reduce the load on the motor.

So after cleaning, fixing the stator brush: ‘A carbon brush, also known as a motor brush, is the small part of the motor that conducts electrical current between the stationary wires (stator) and the rotating wires (rotor) of a motor or generator. ‘
And of course making sure all the wires were soldered together, a quick plug into the GFI outlet, a flick of the power lever, a soft smell of ozone after arcing the motor…. the mixer came alive!
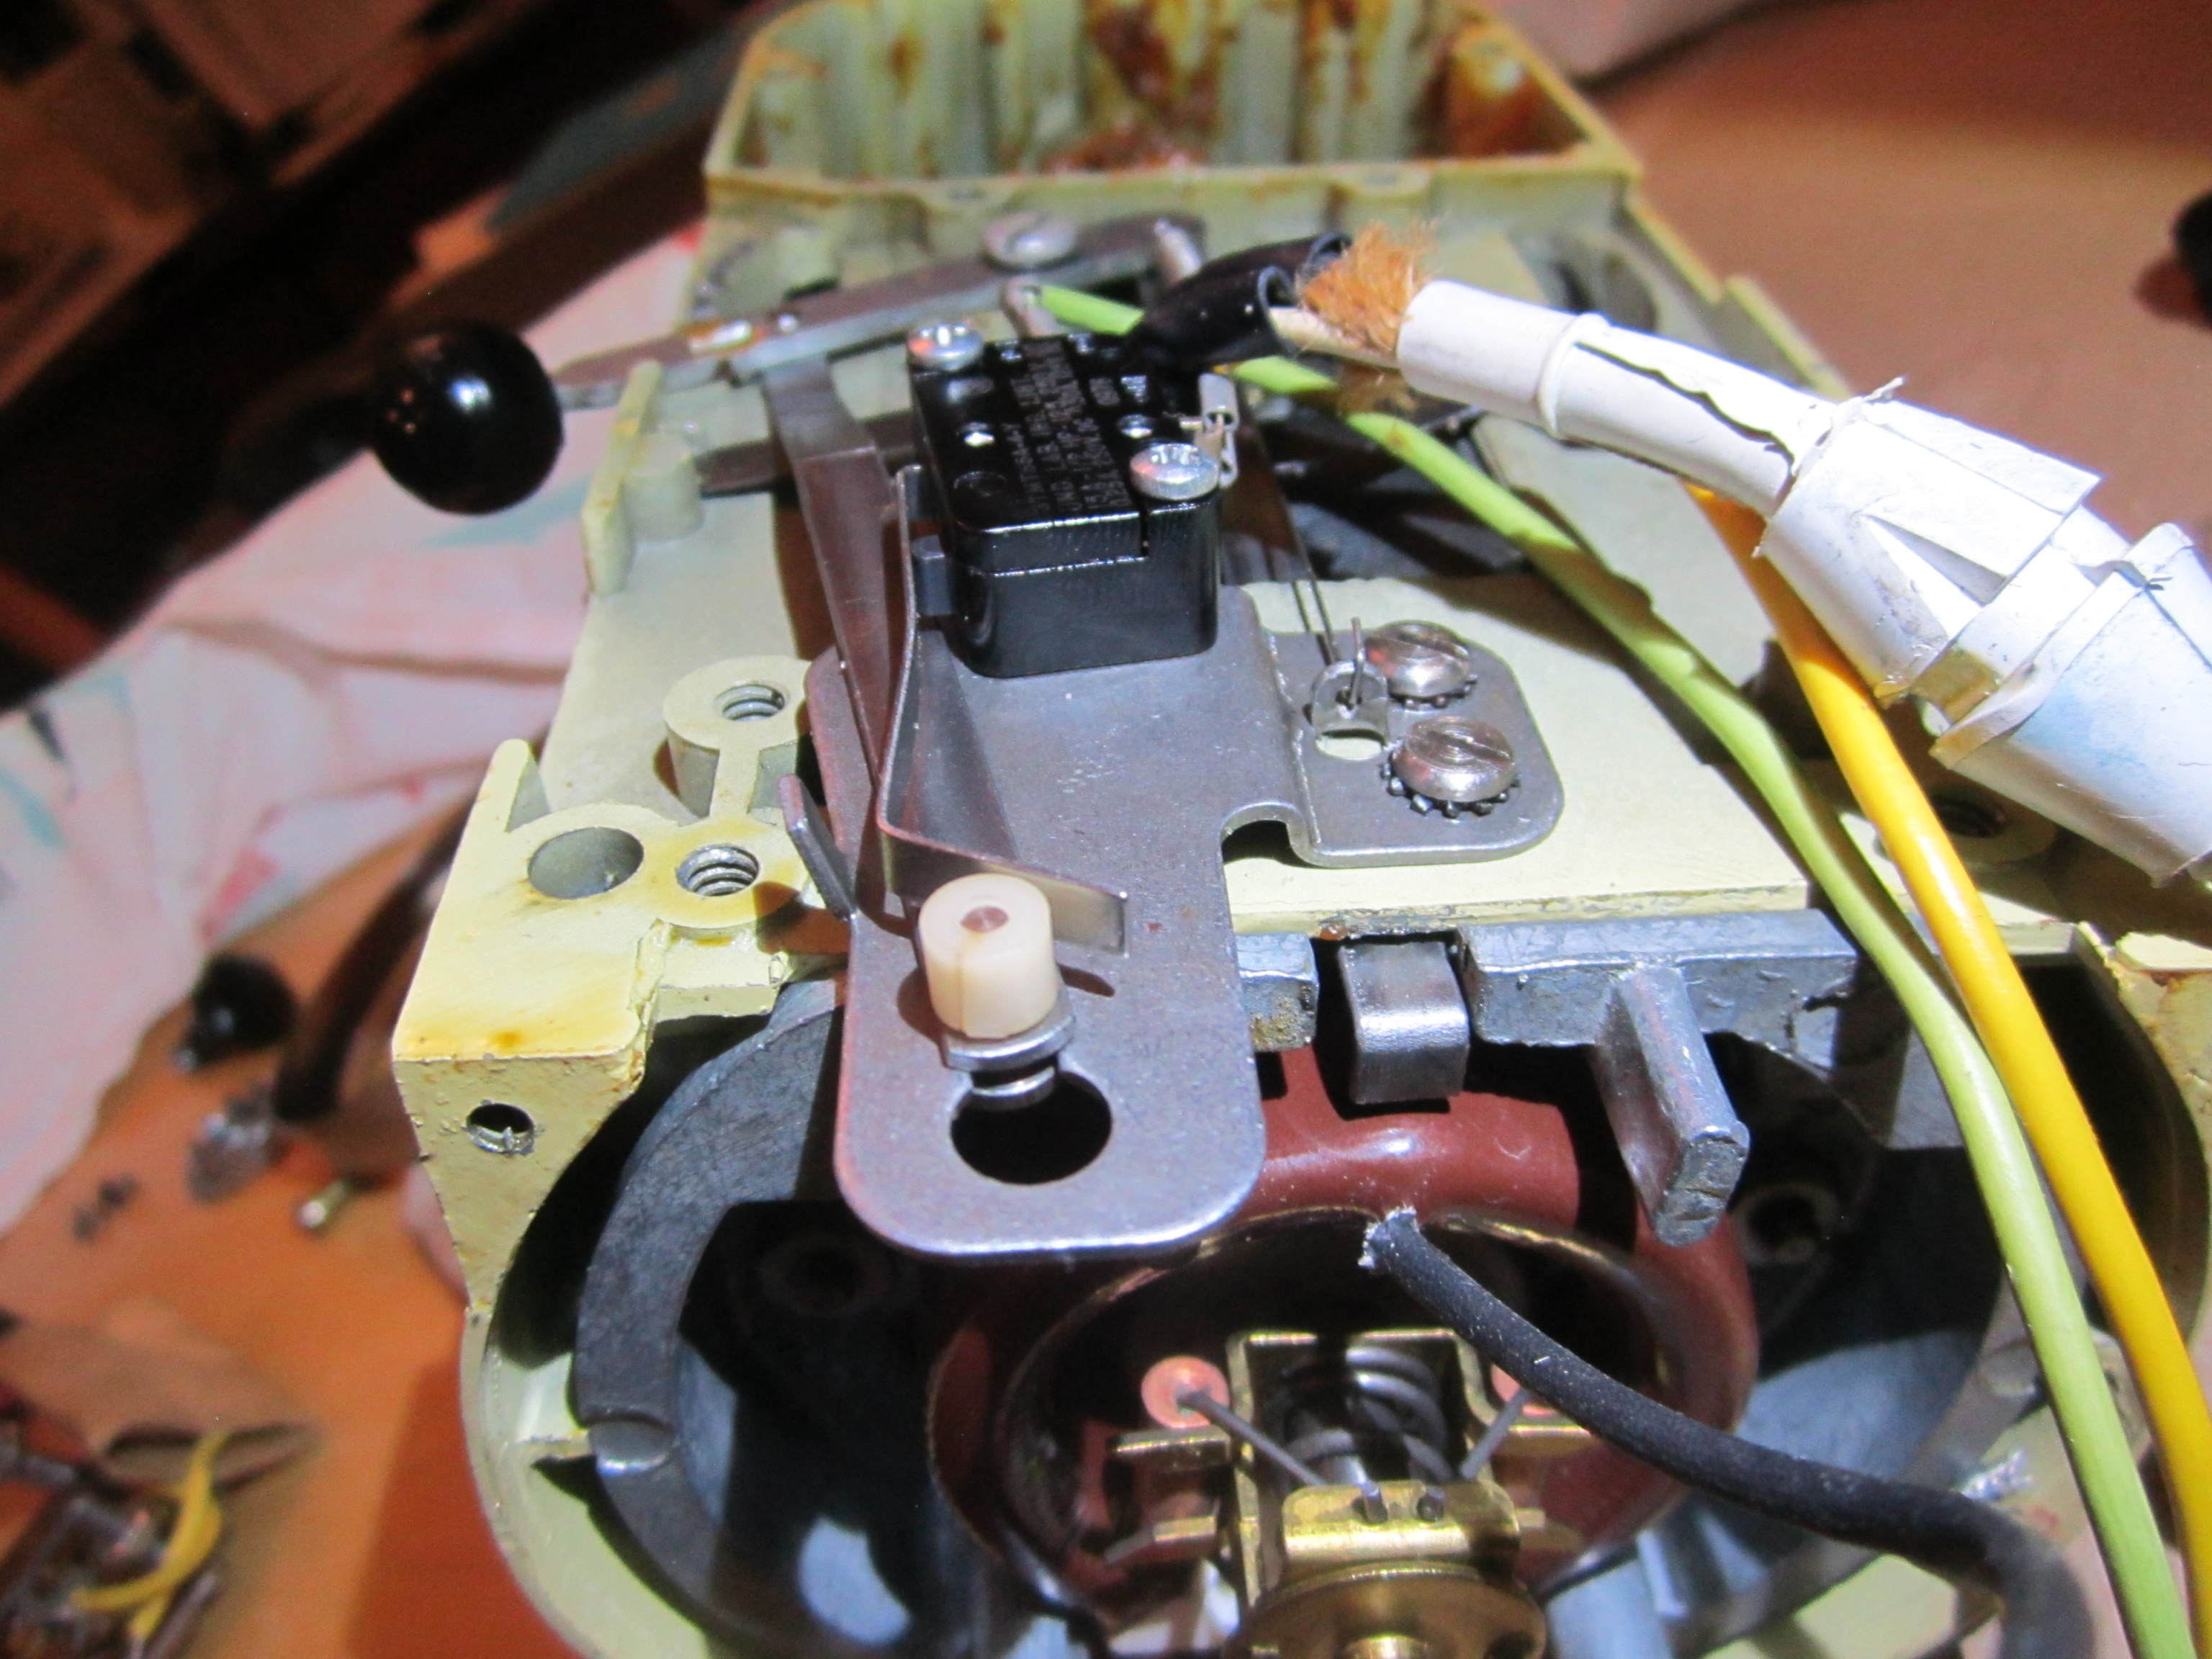
This was one of the first things I look for when repairing old electronics is the power switch and the contacts… some get worn out, due to arcing and a build up of carbon deposits, if you can see the pads, you can clean them, but in this case it is a sealed switch. Sometime there is a mechanical interface issue, (which was in this case) or sometimes the switch is just broken.
A $60 Box
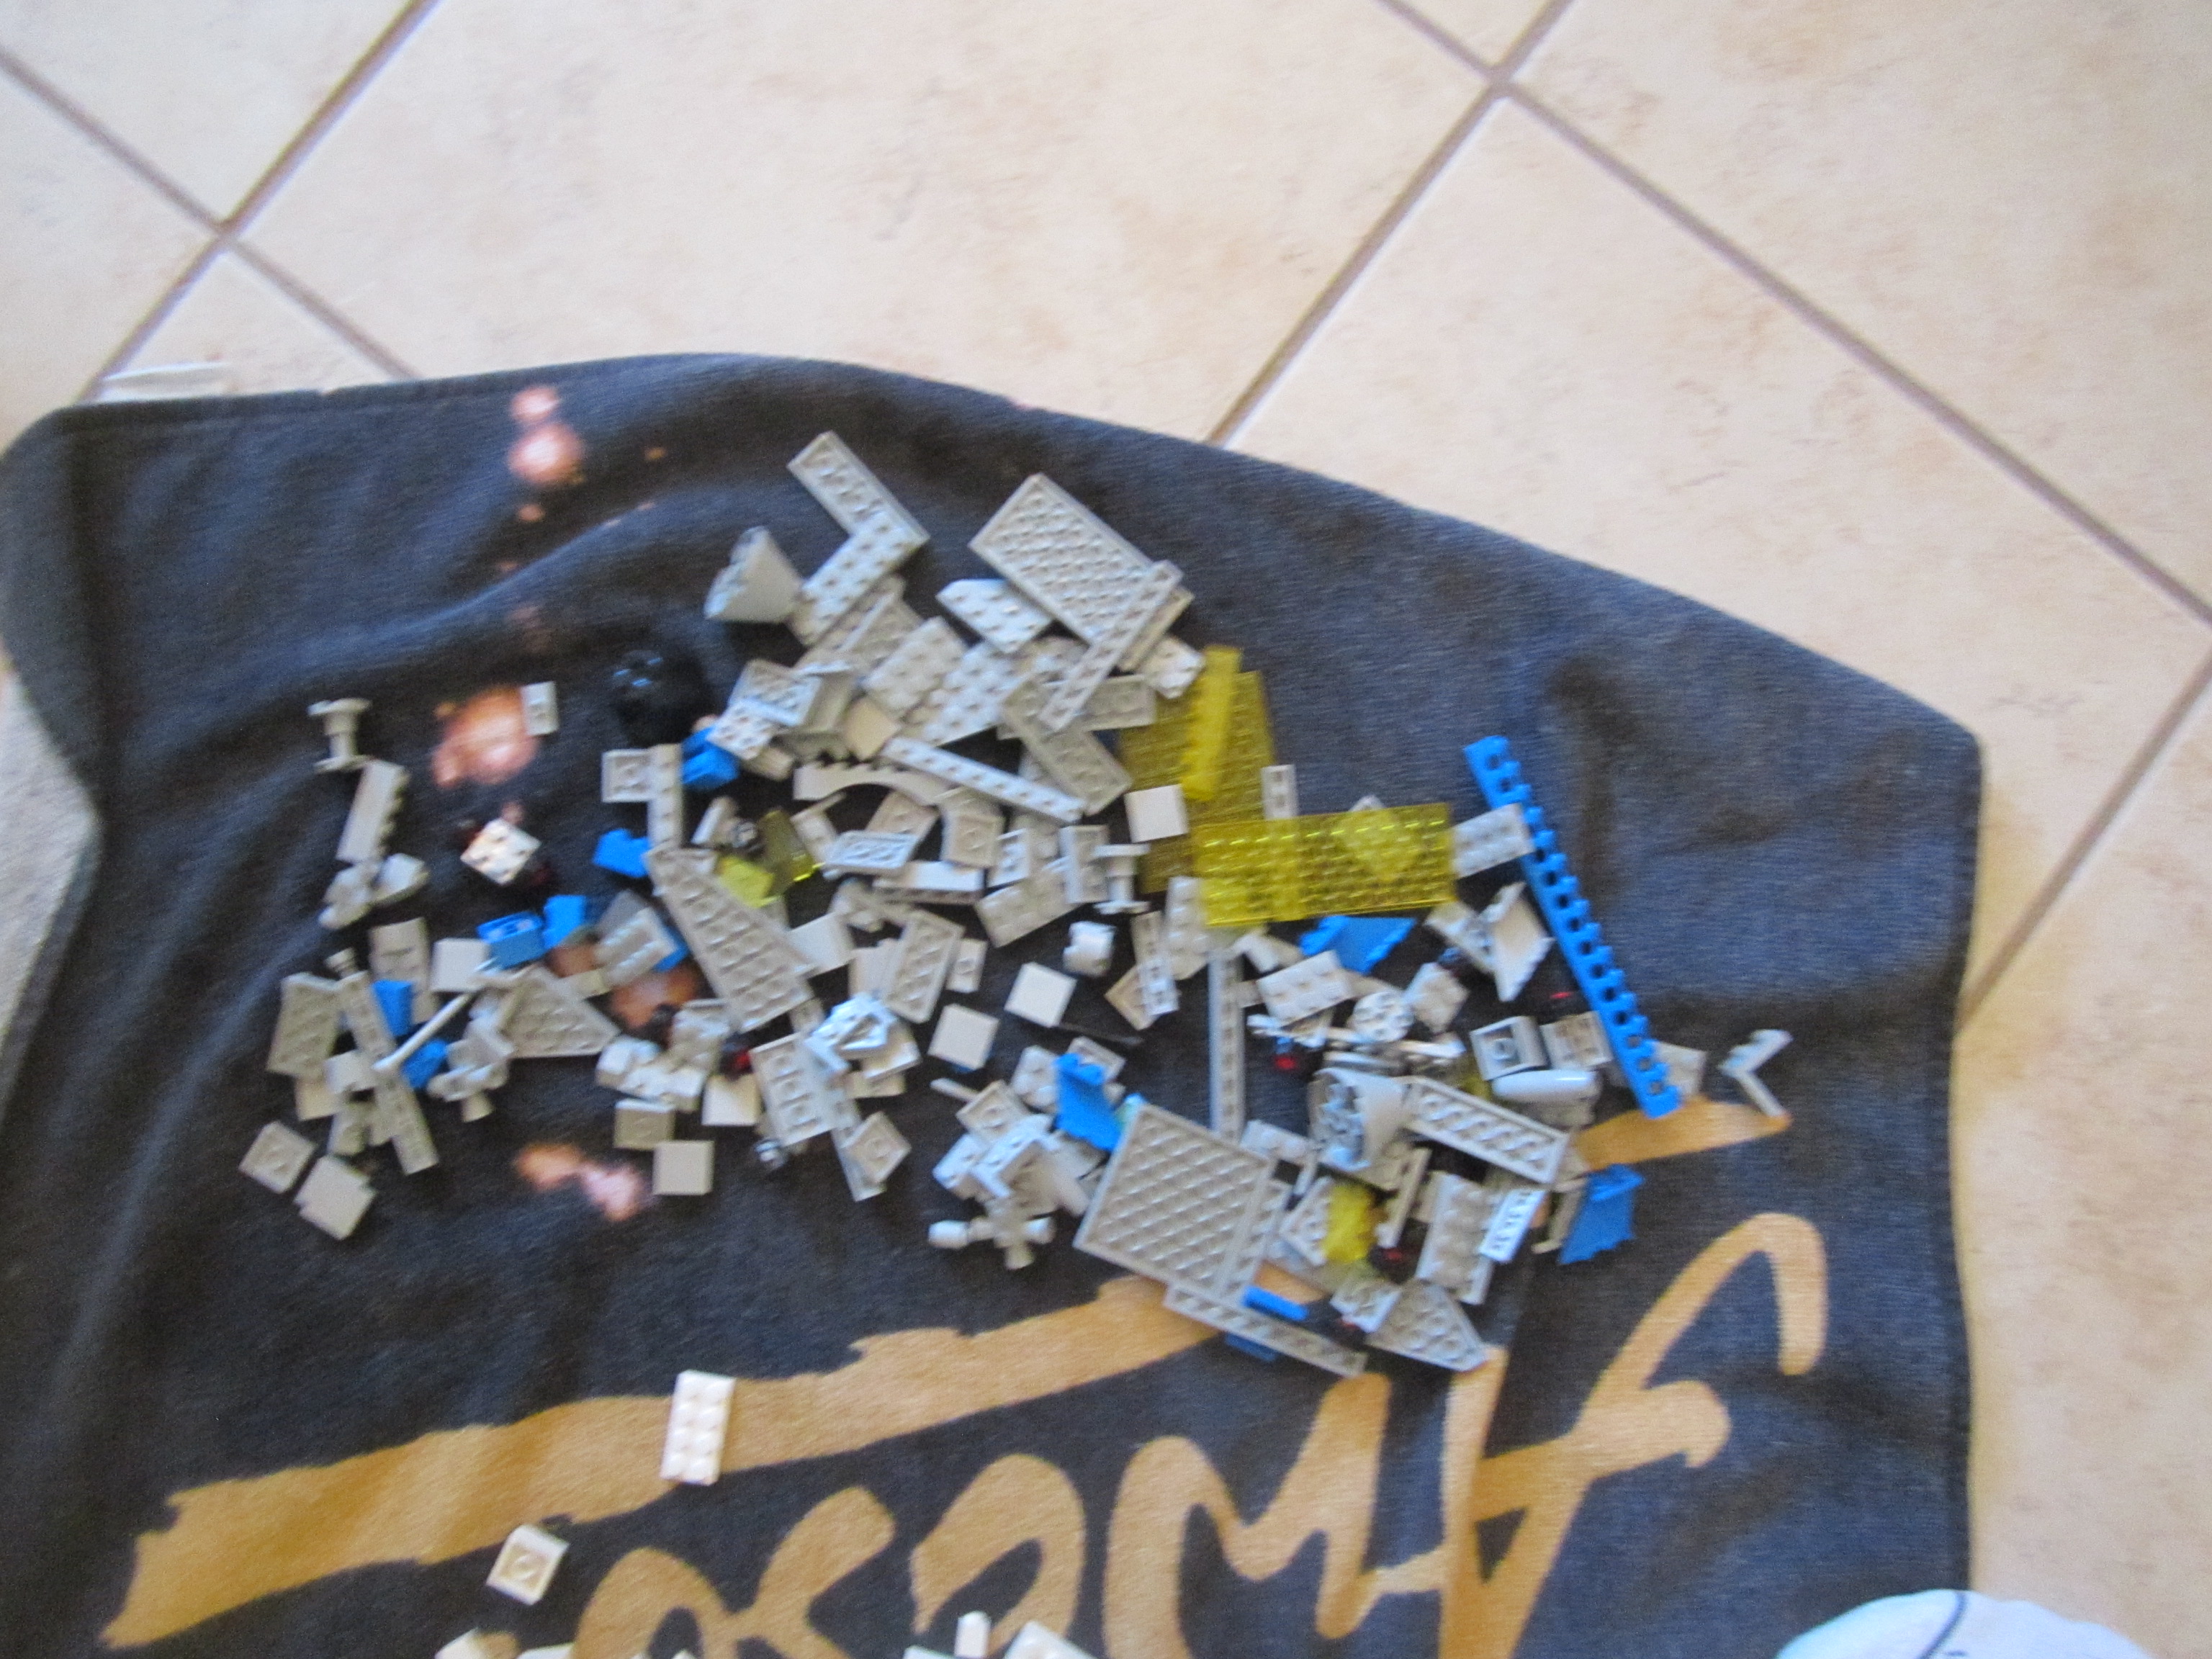
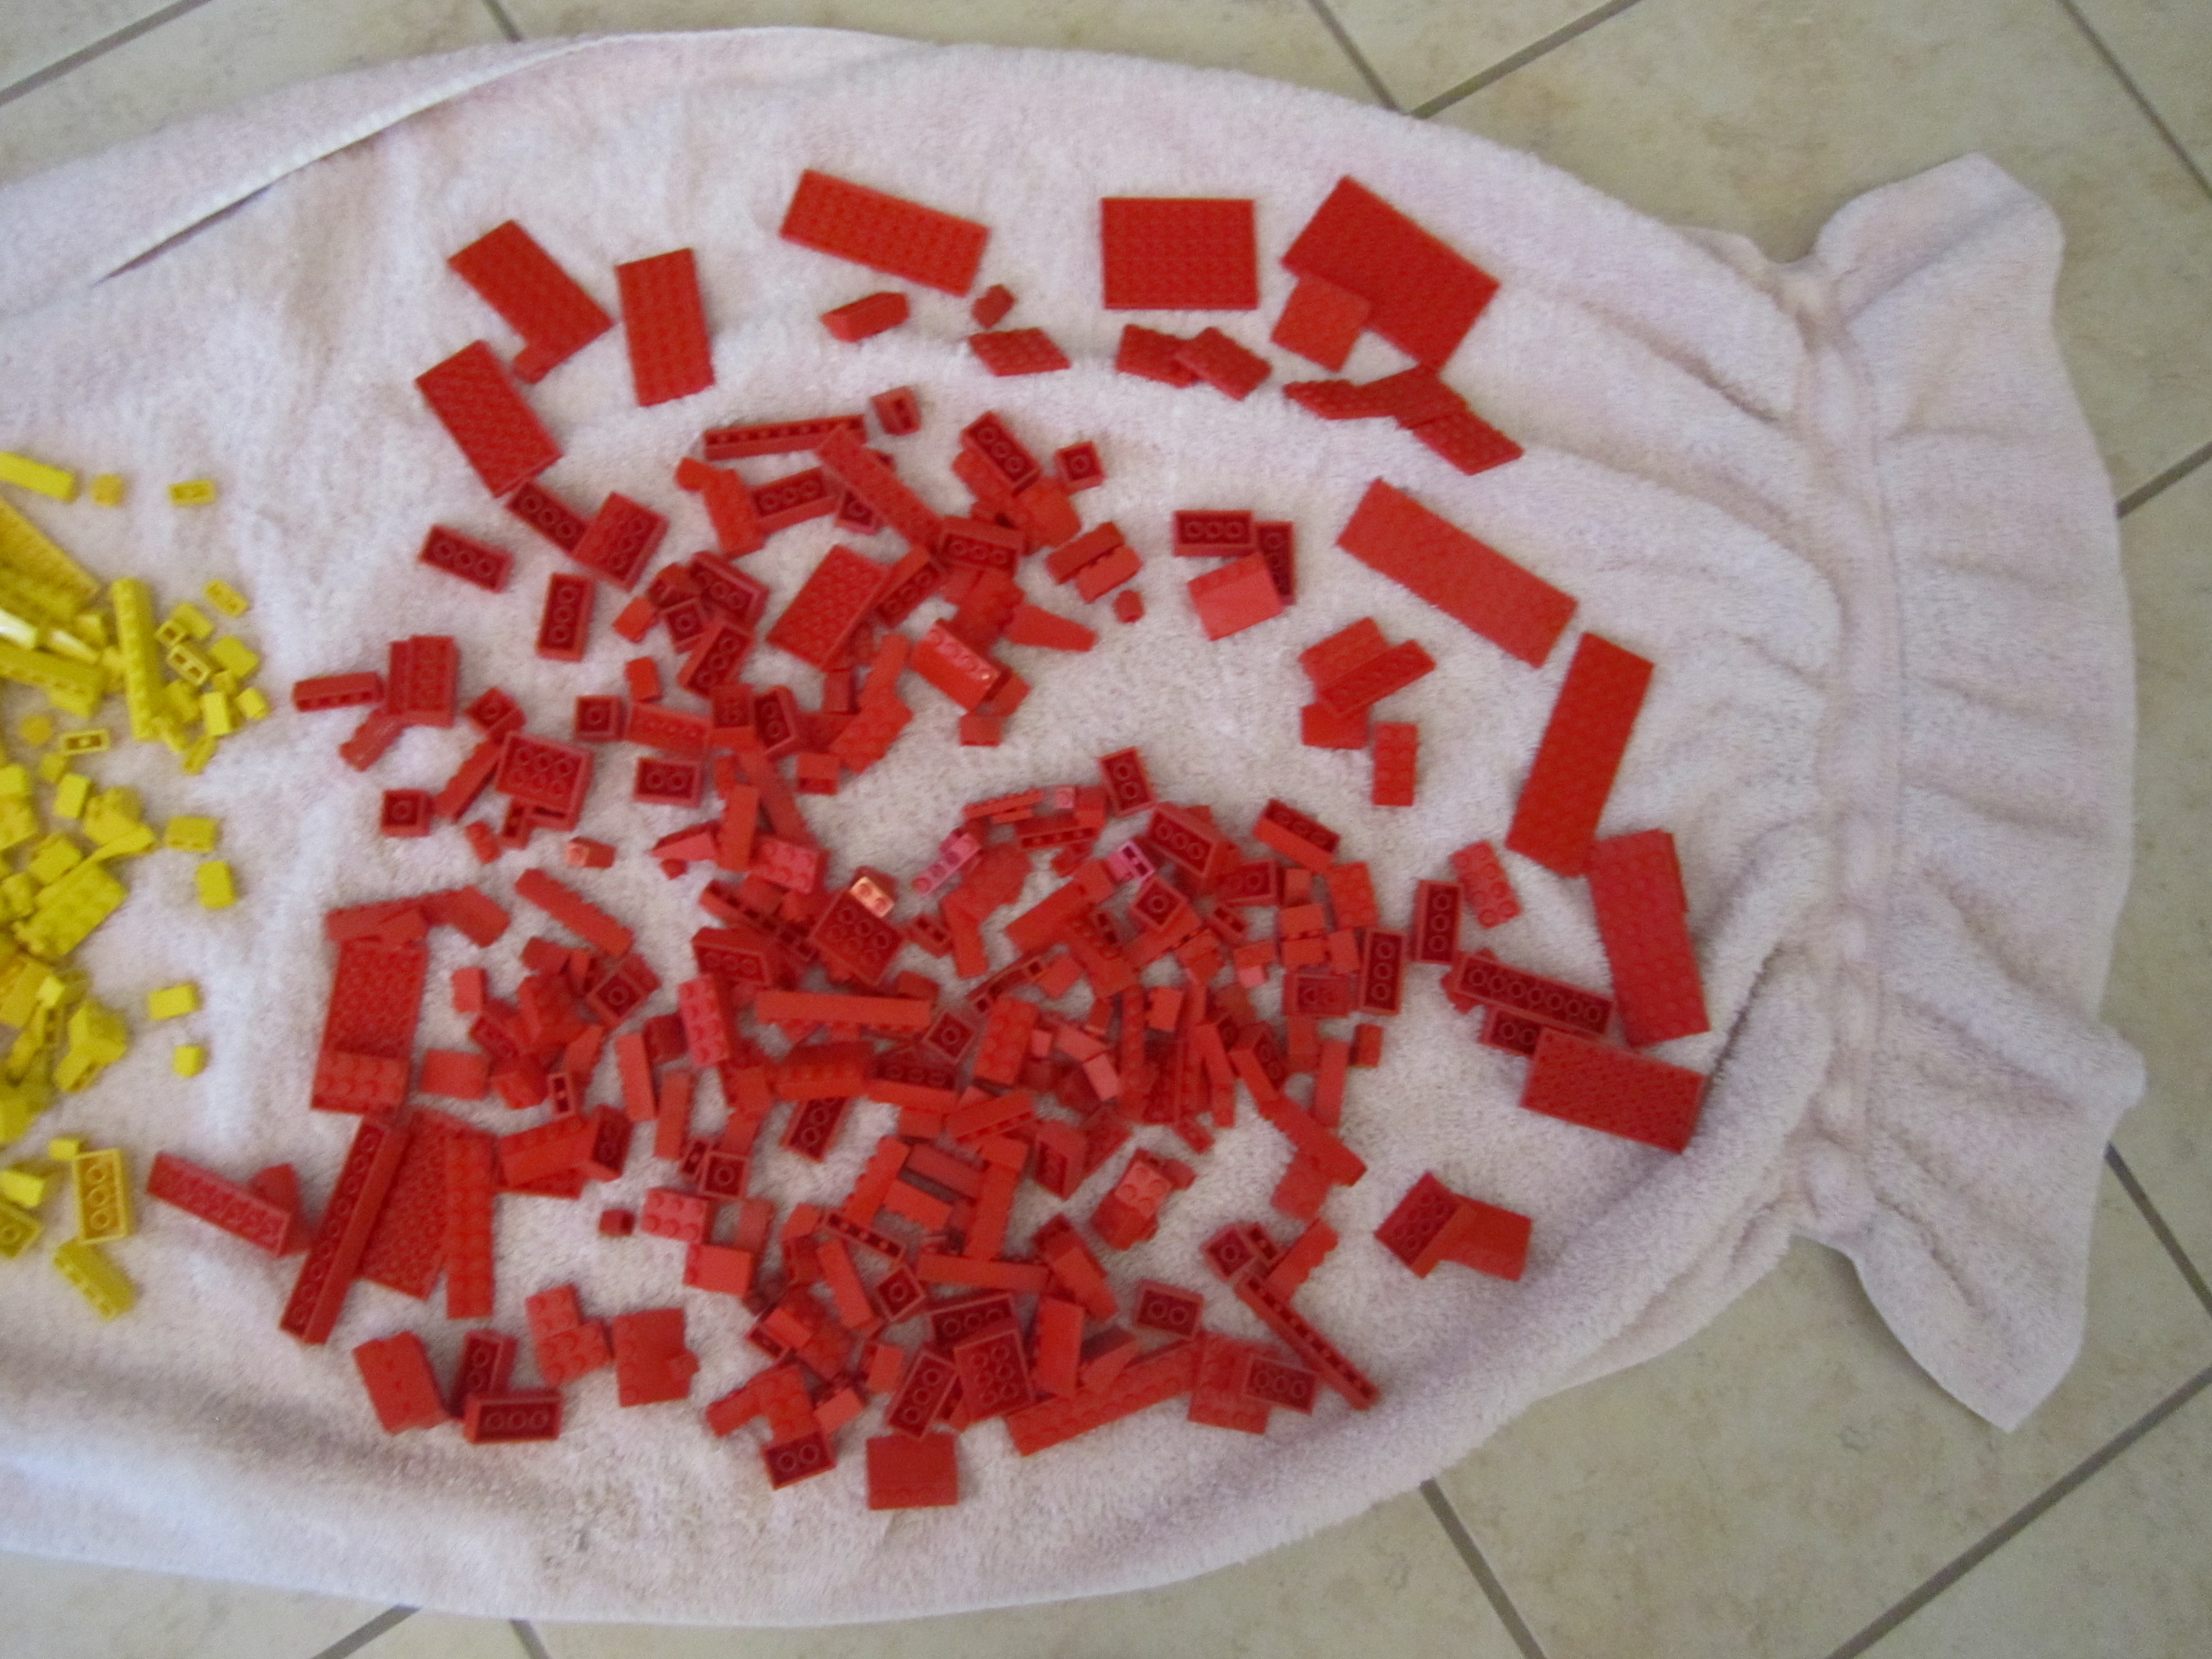
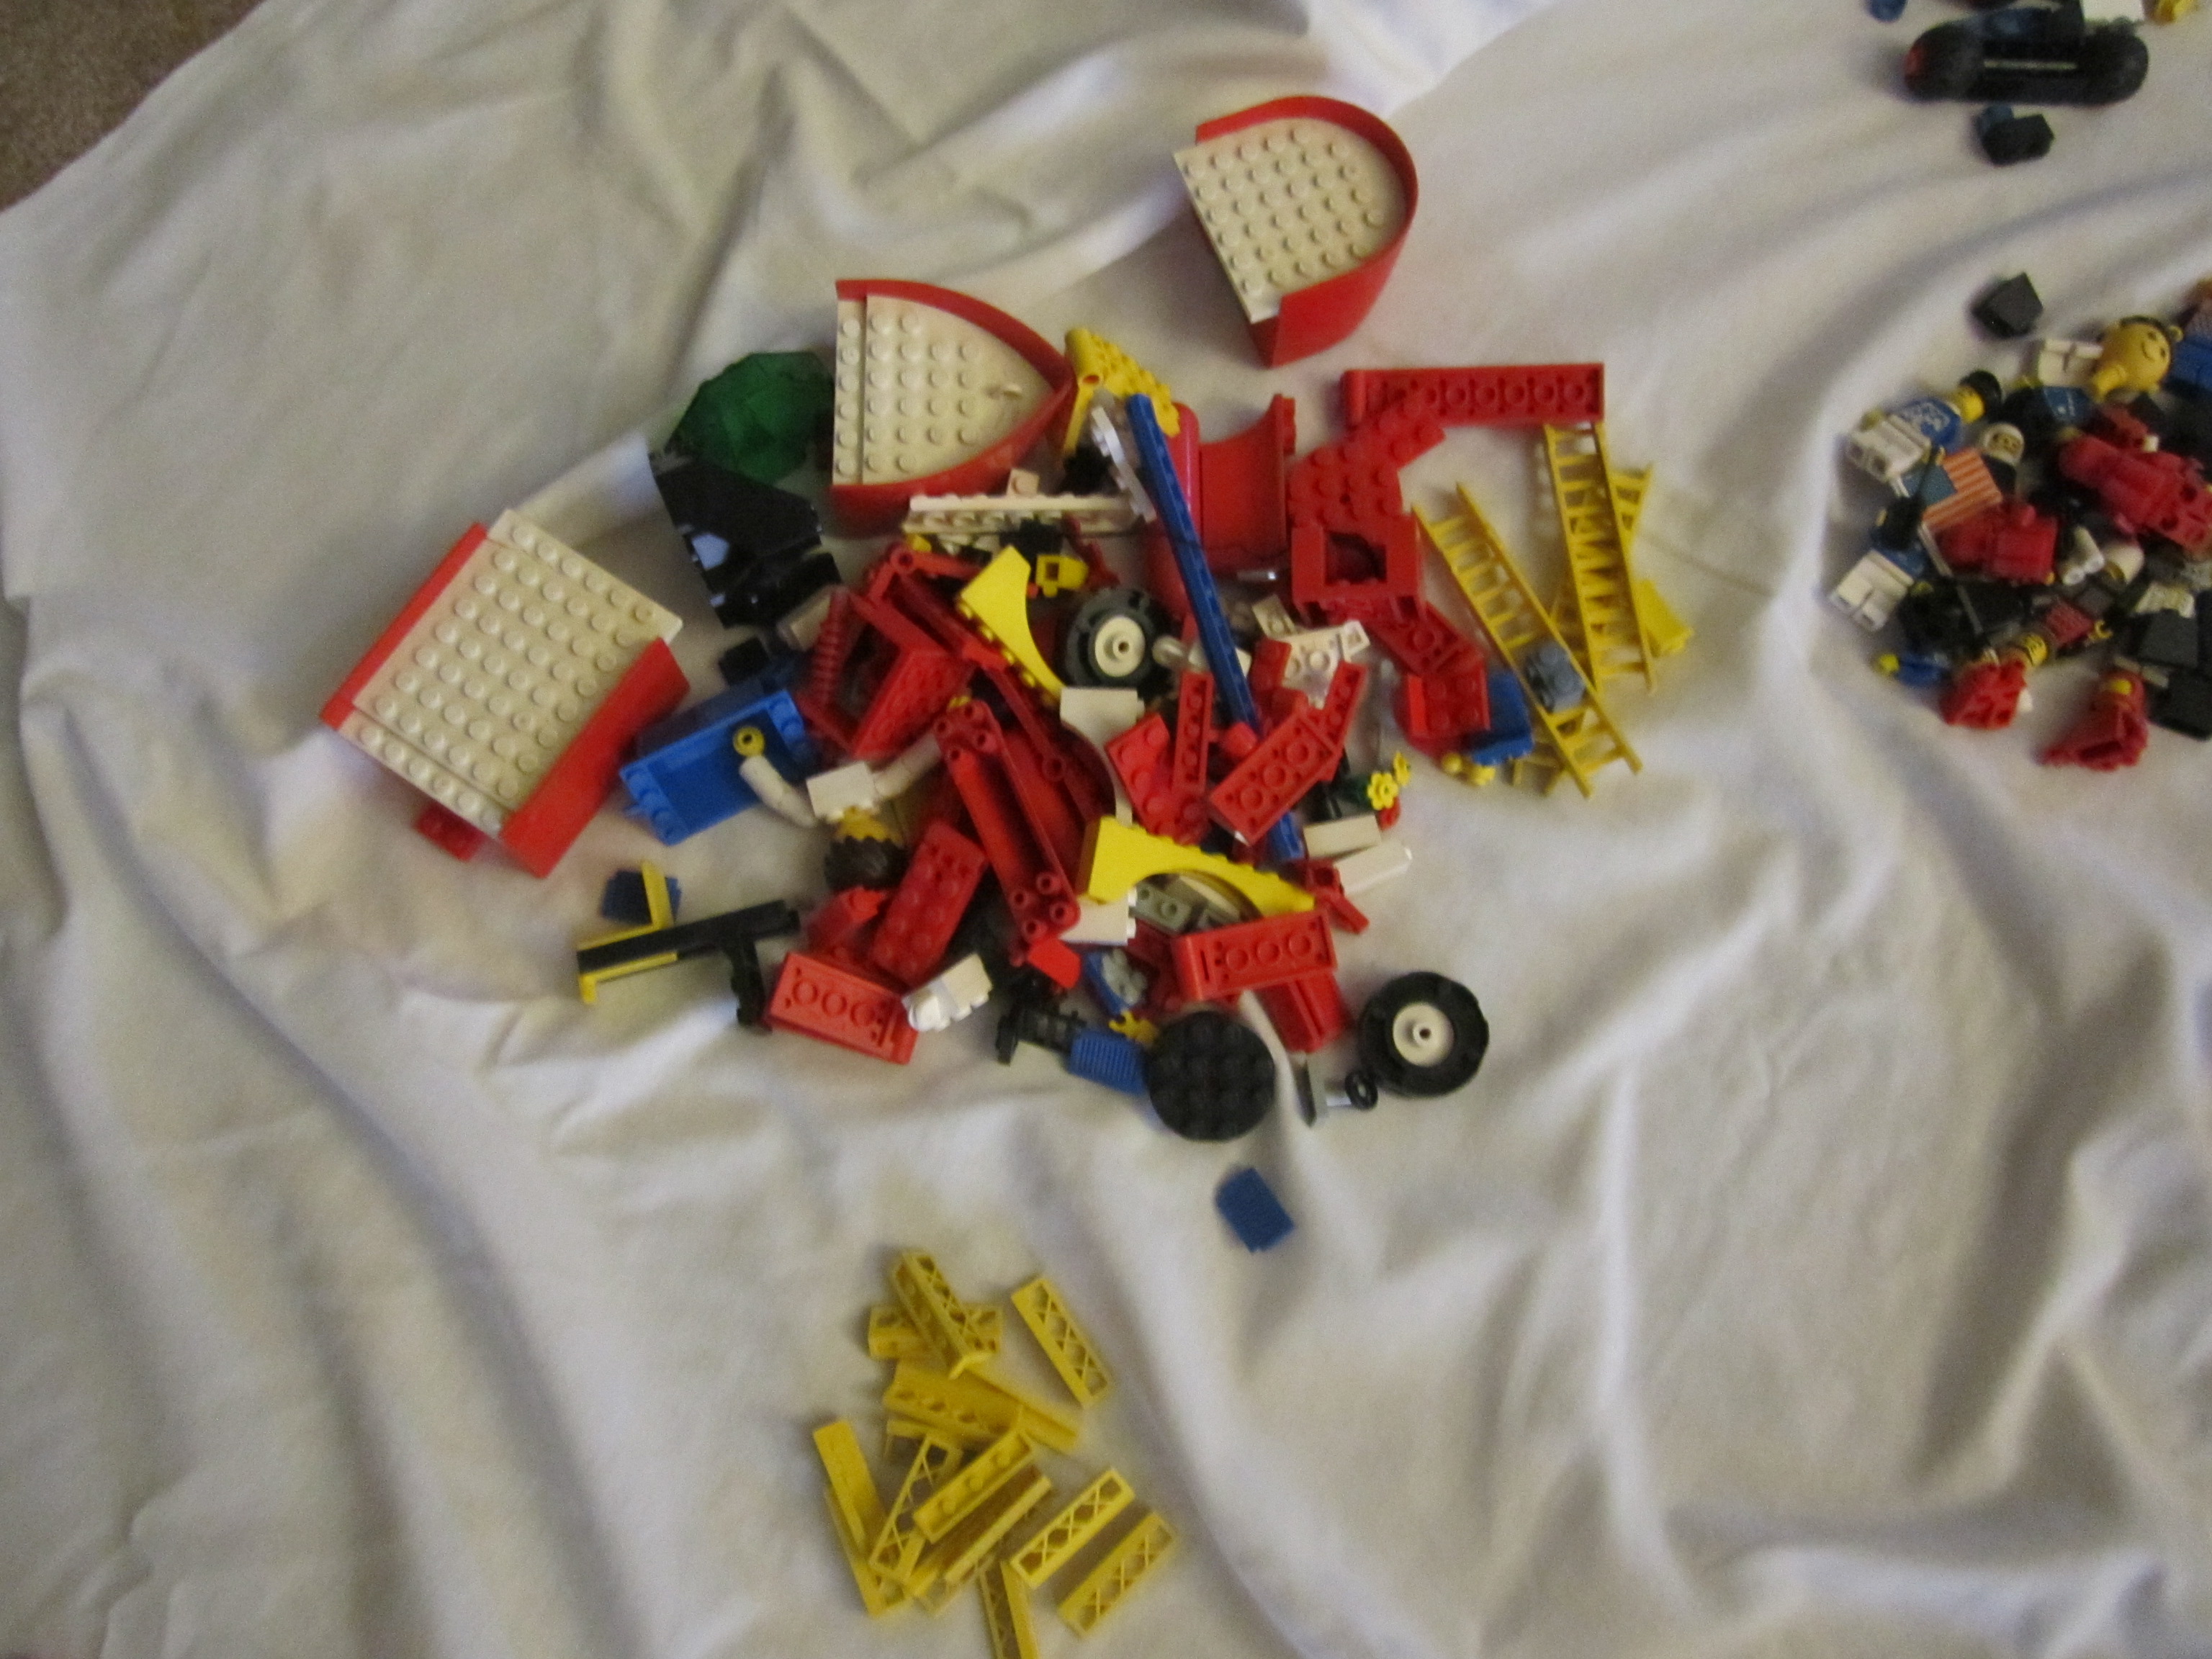
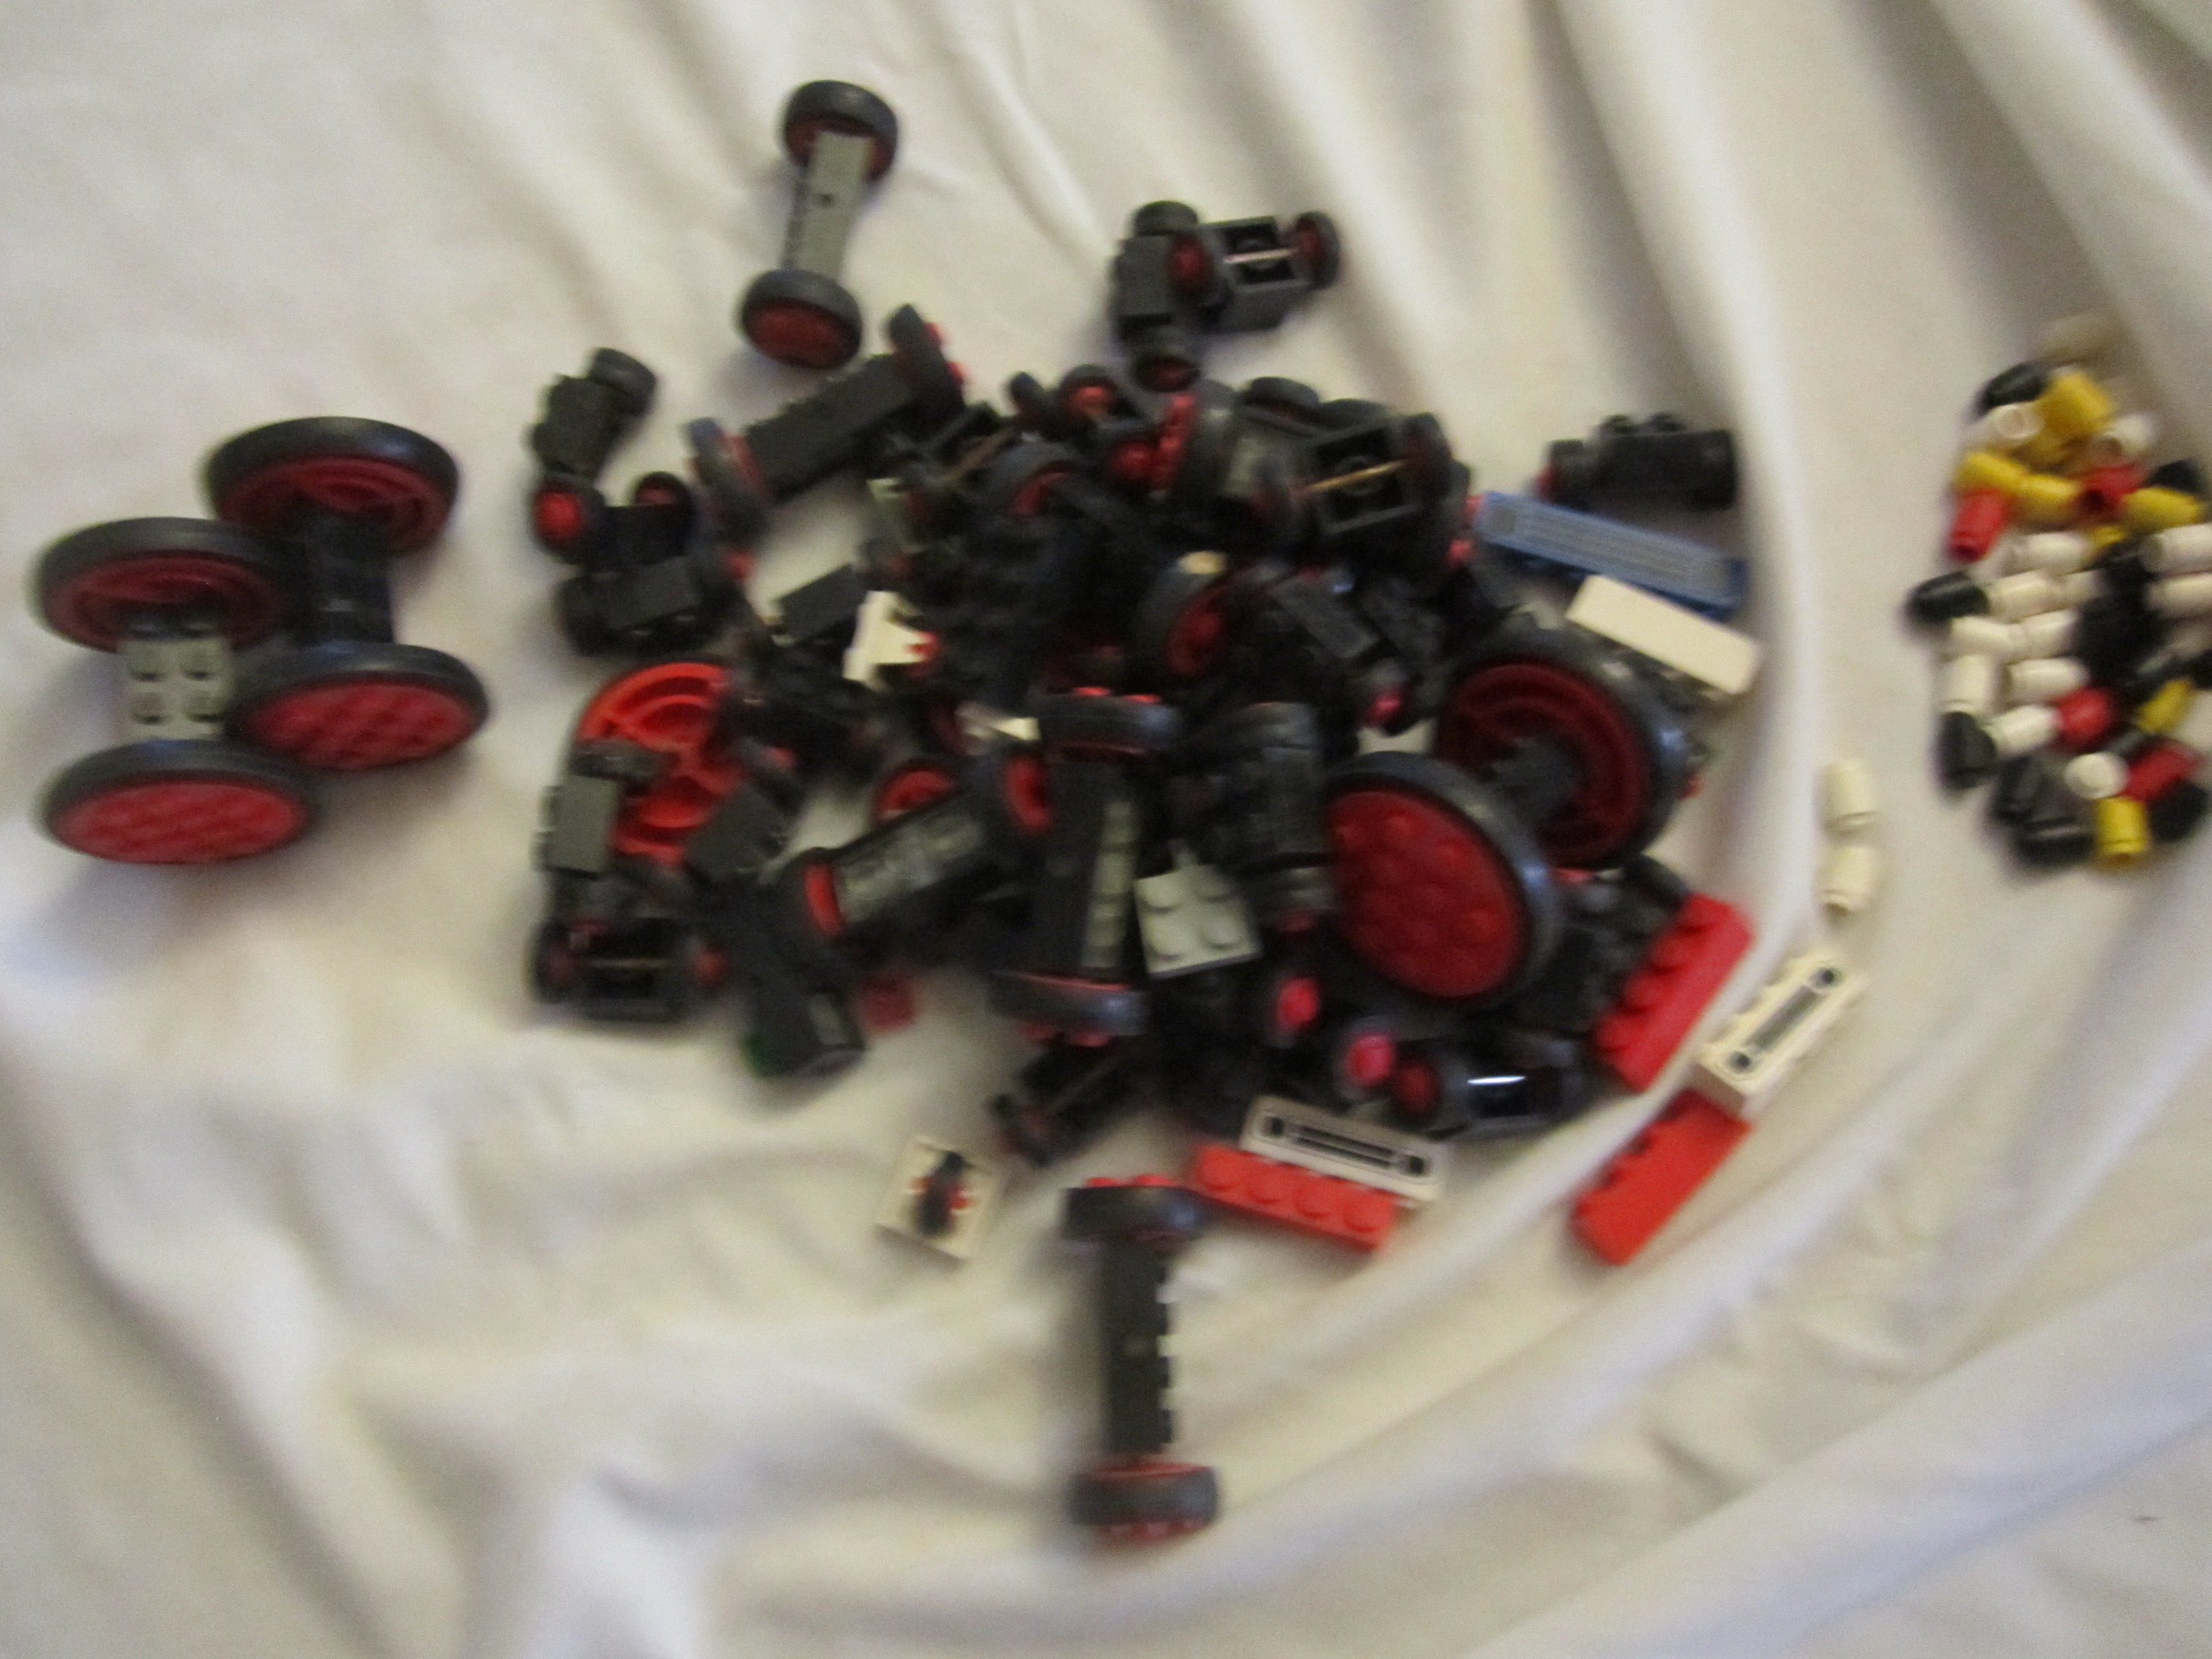
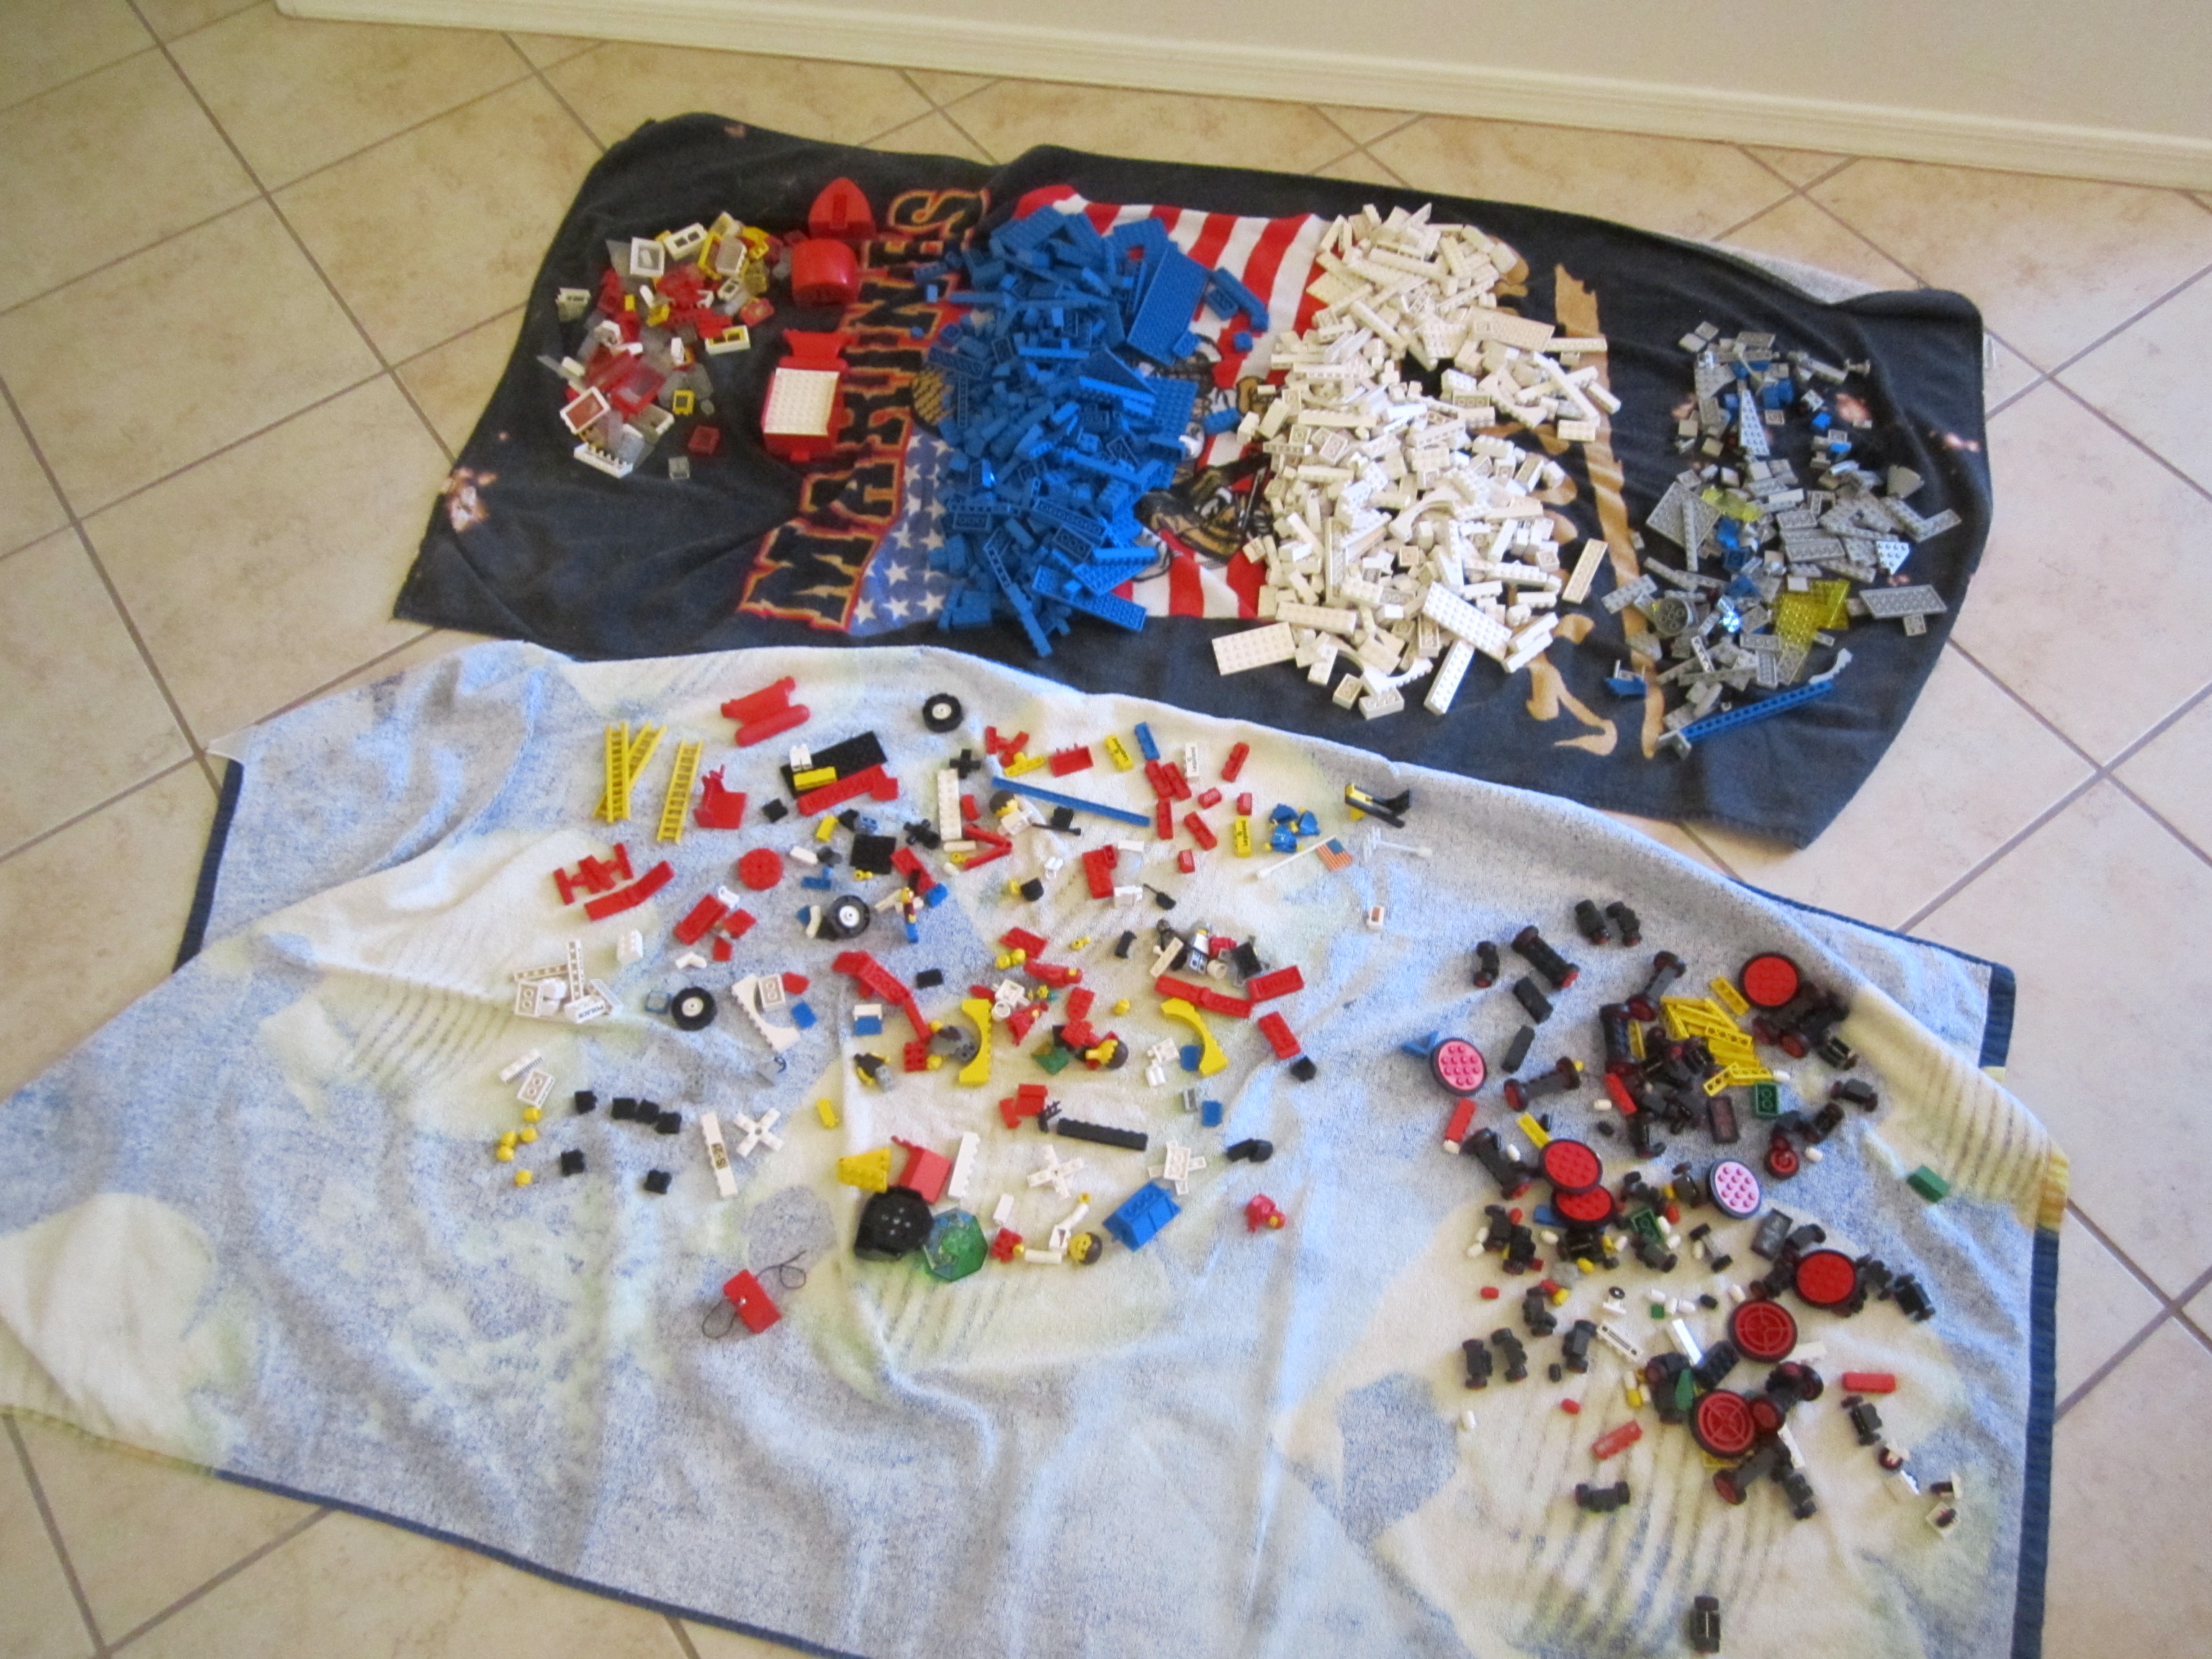
So taking a chance on ebay, I bought a $60 box full of vintage LEGO bricks… what I got was a gold mine. I had a break on Friday from working on the car and spent the day researching and then building 6 Vintage LEGO kits!
The day before I bleached and cleaned every part after sorting by color and they all seemed in really good condition and not much wear on any of the peices, so i was very happy with the purchase.

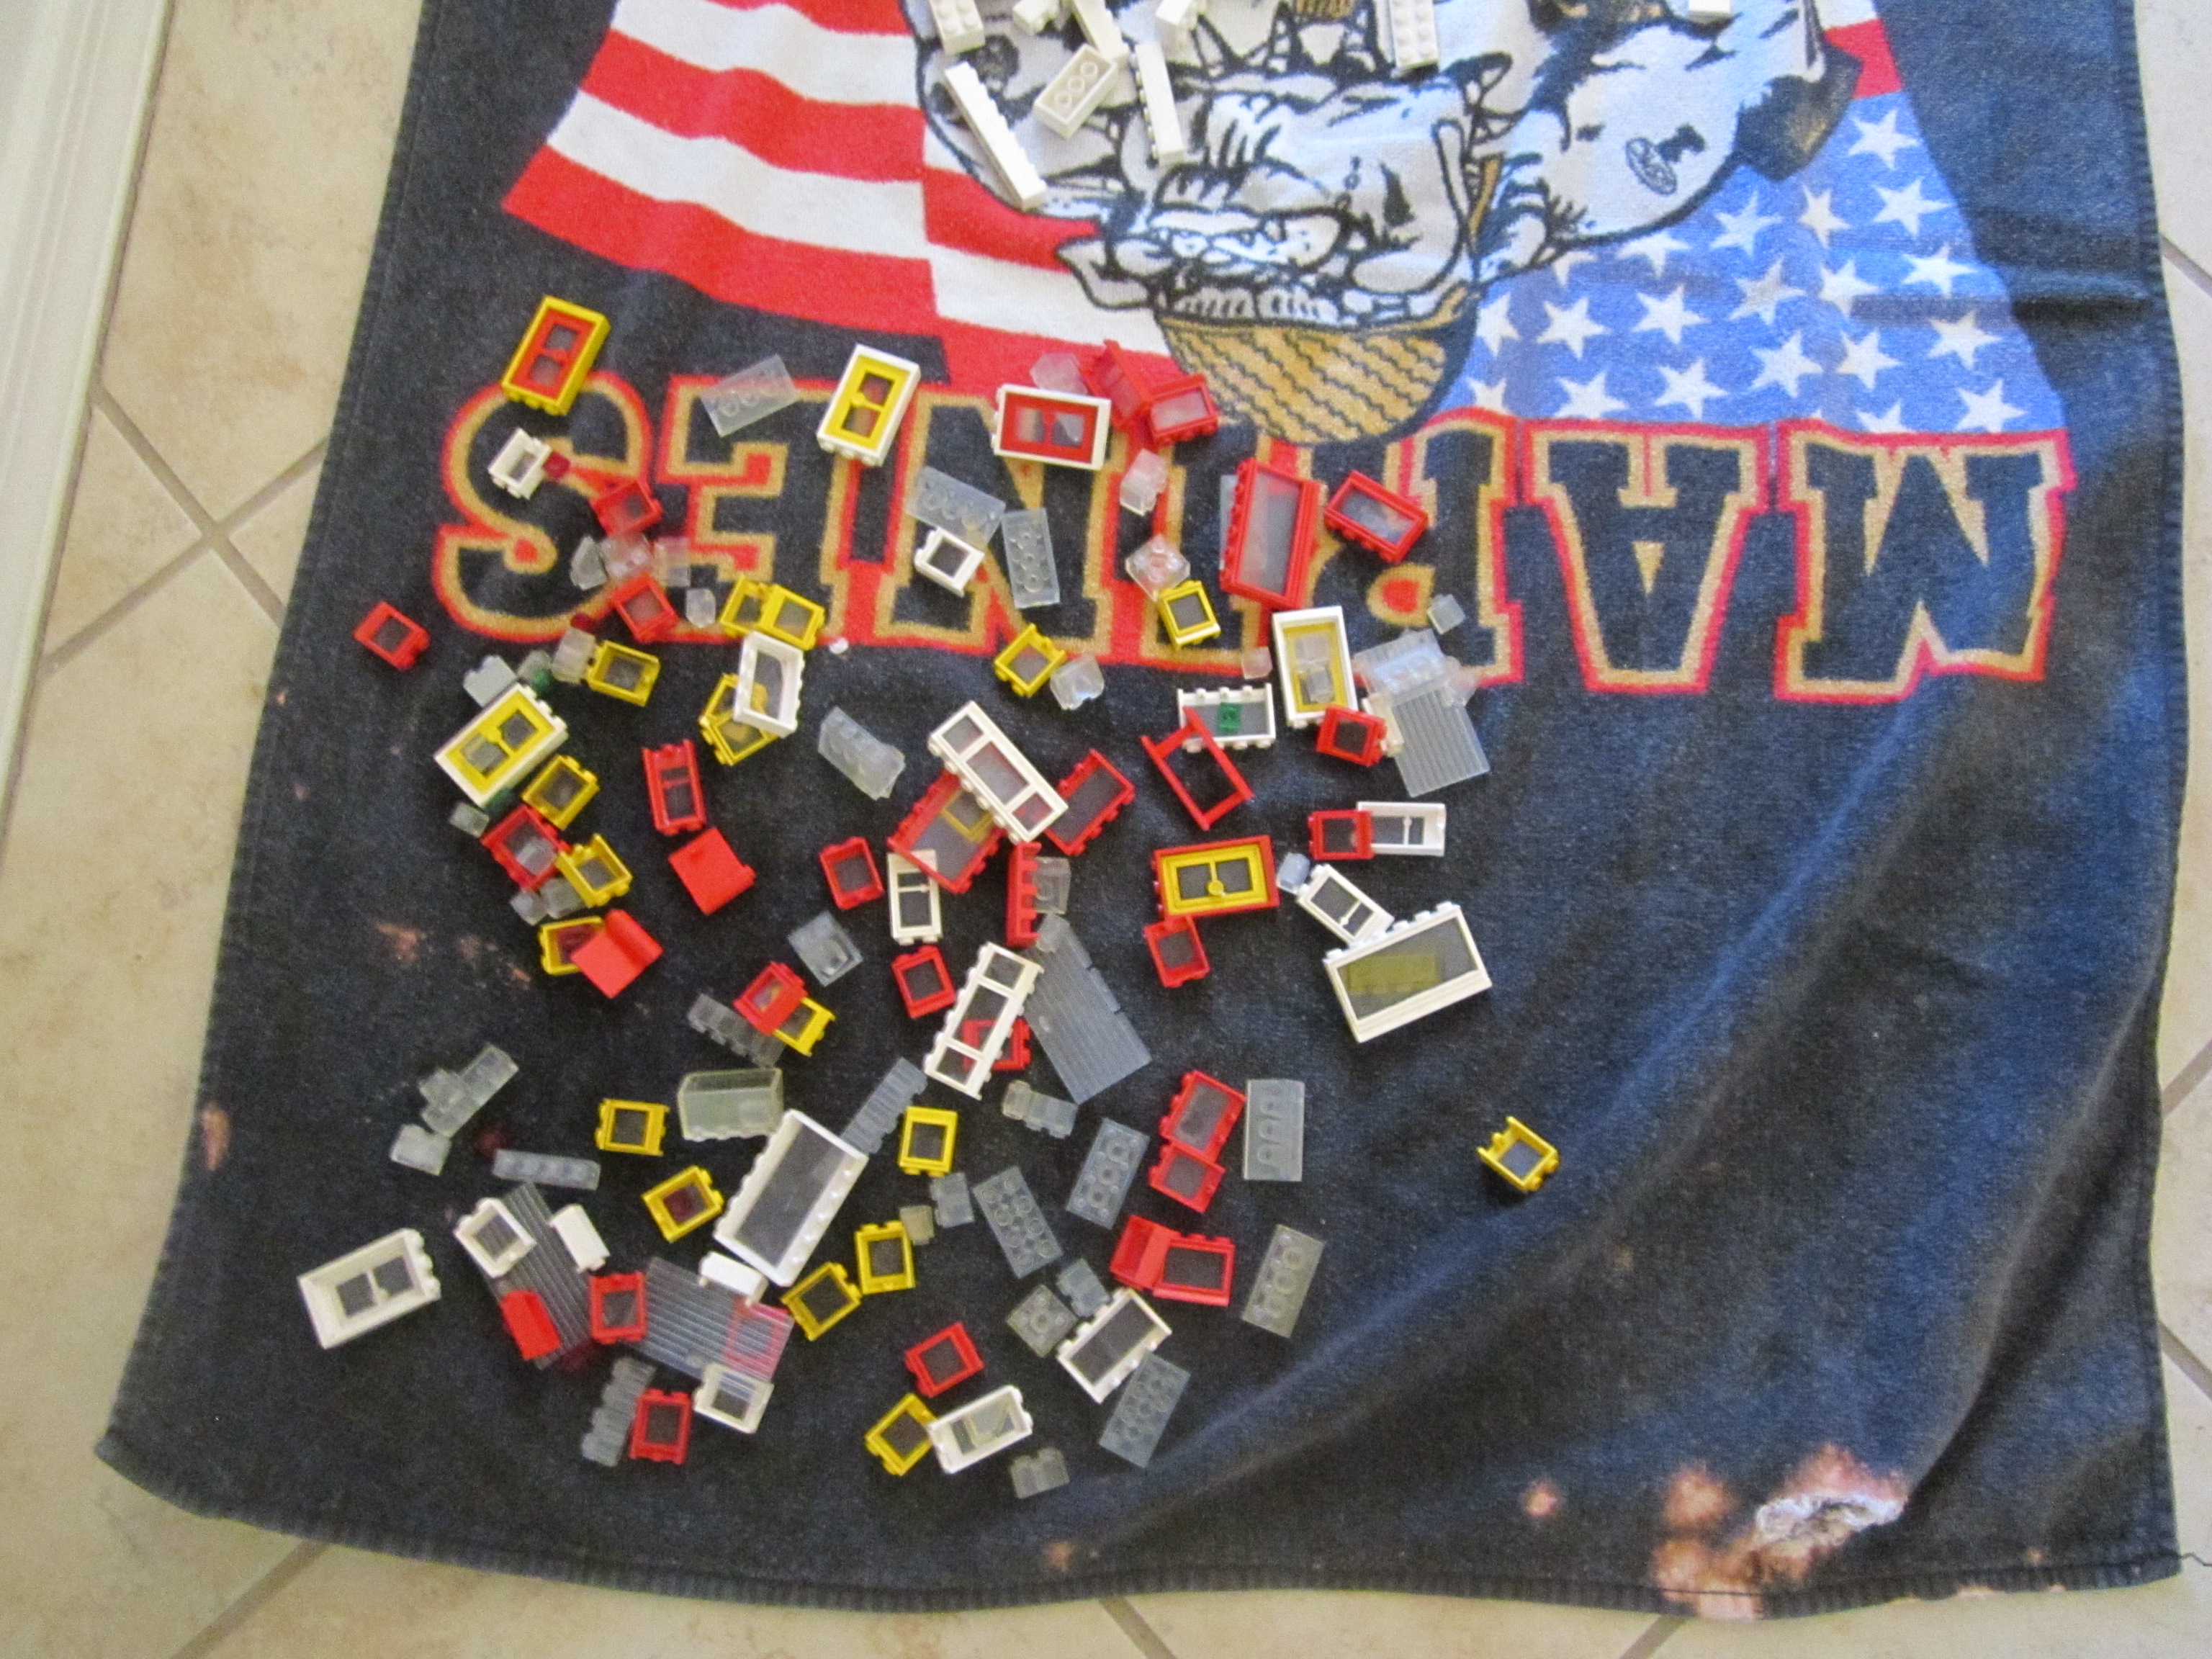


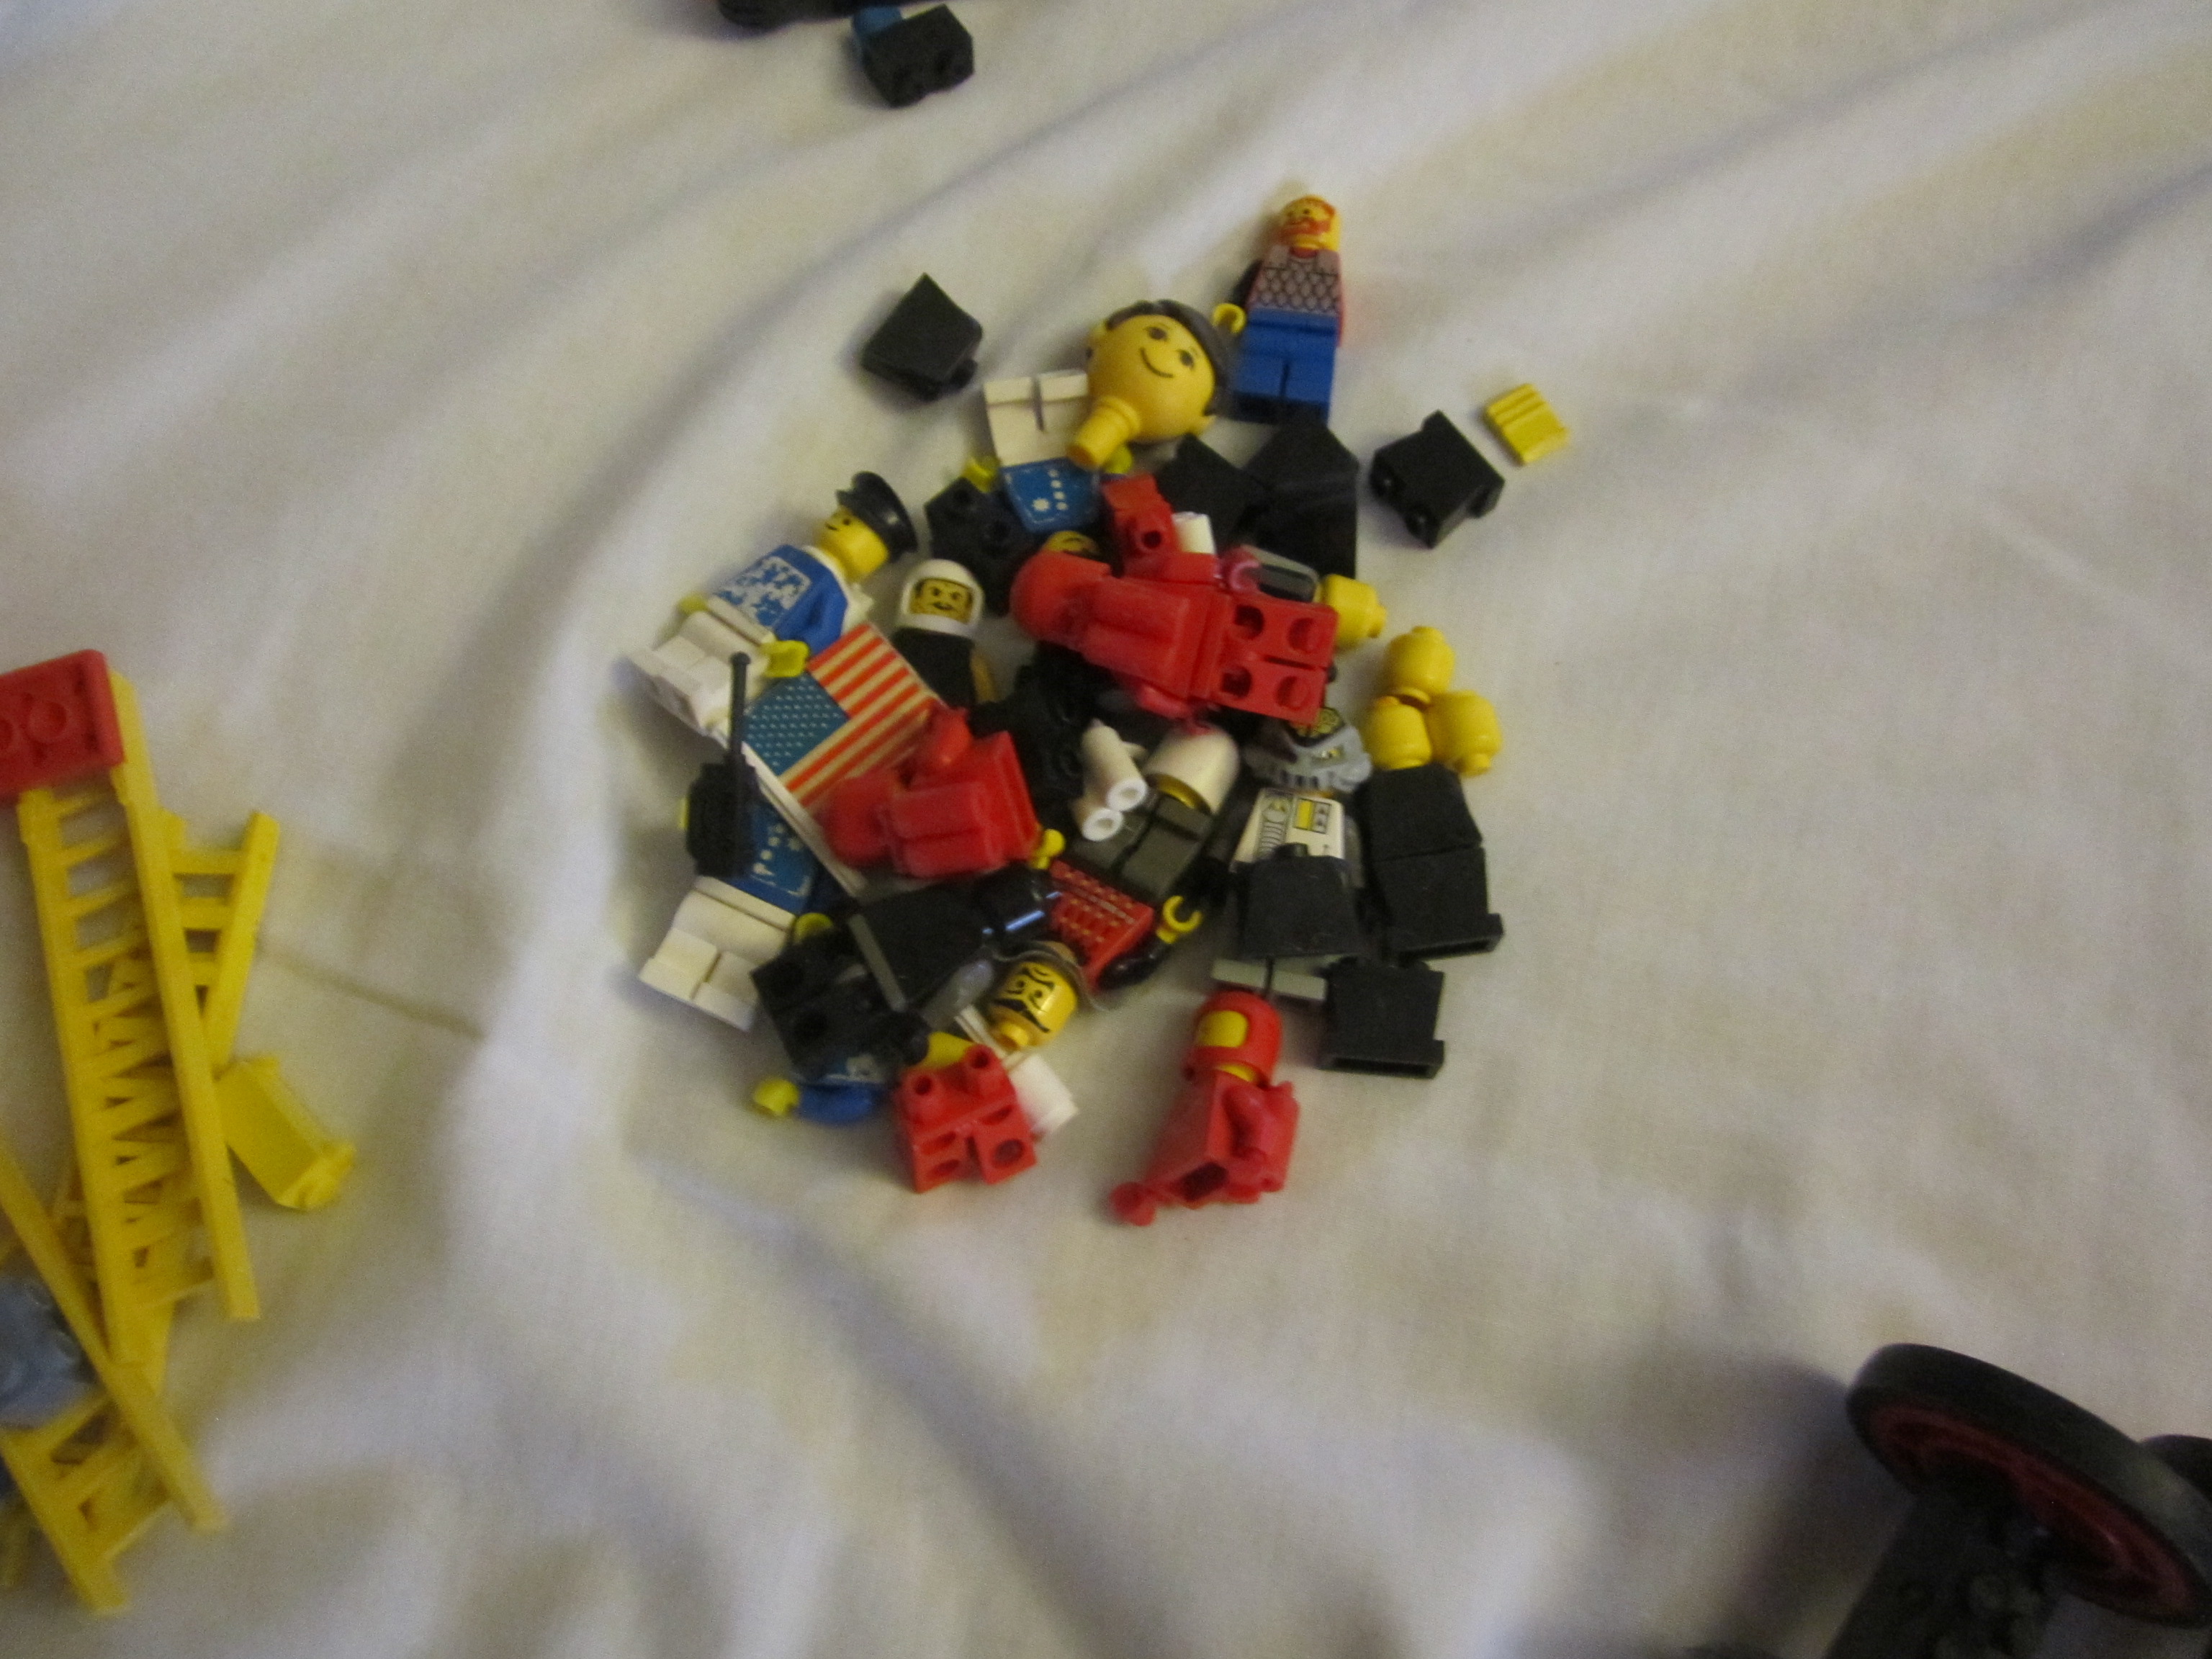


The Police station, of course these hits were all before the mini figures got movable arms and hands and legs that moved.

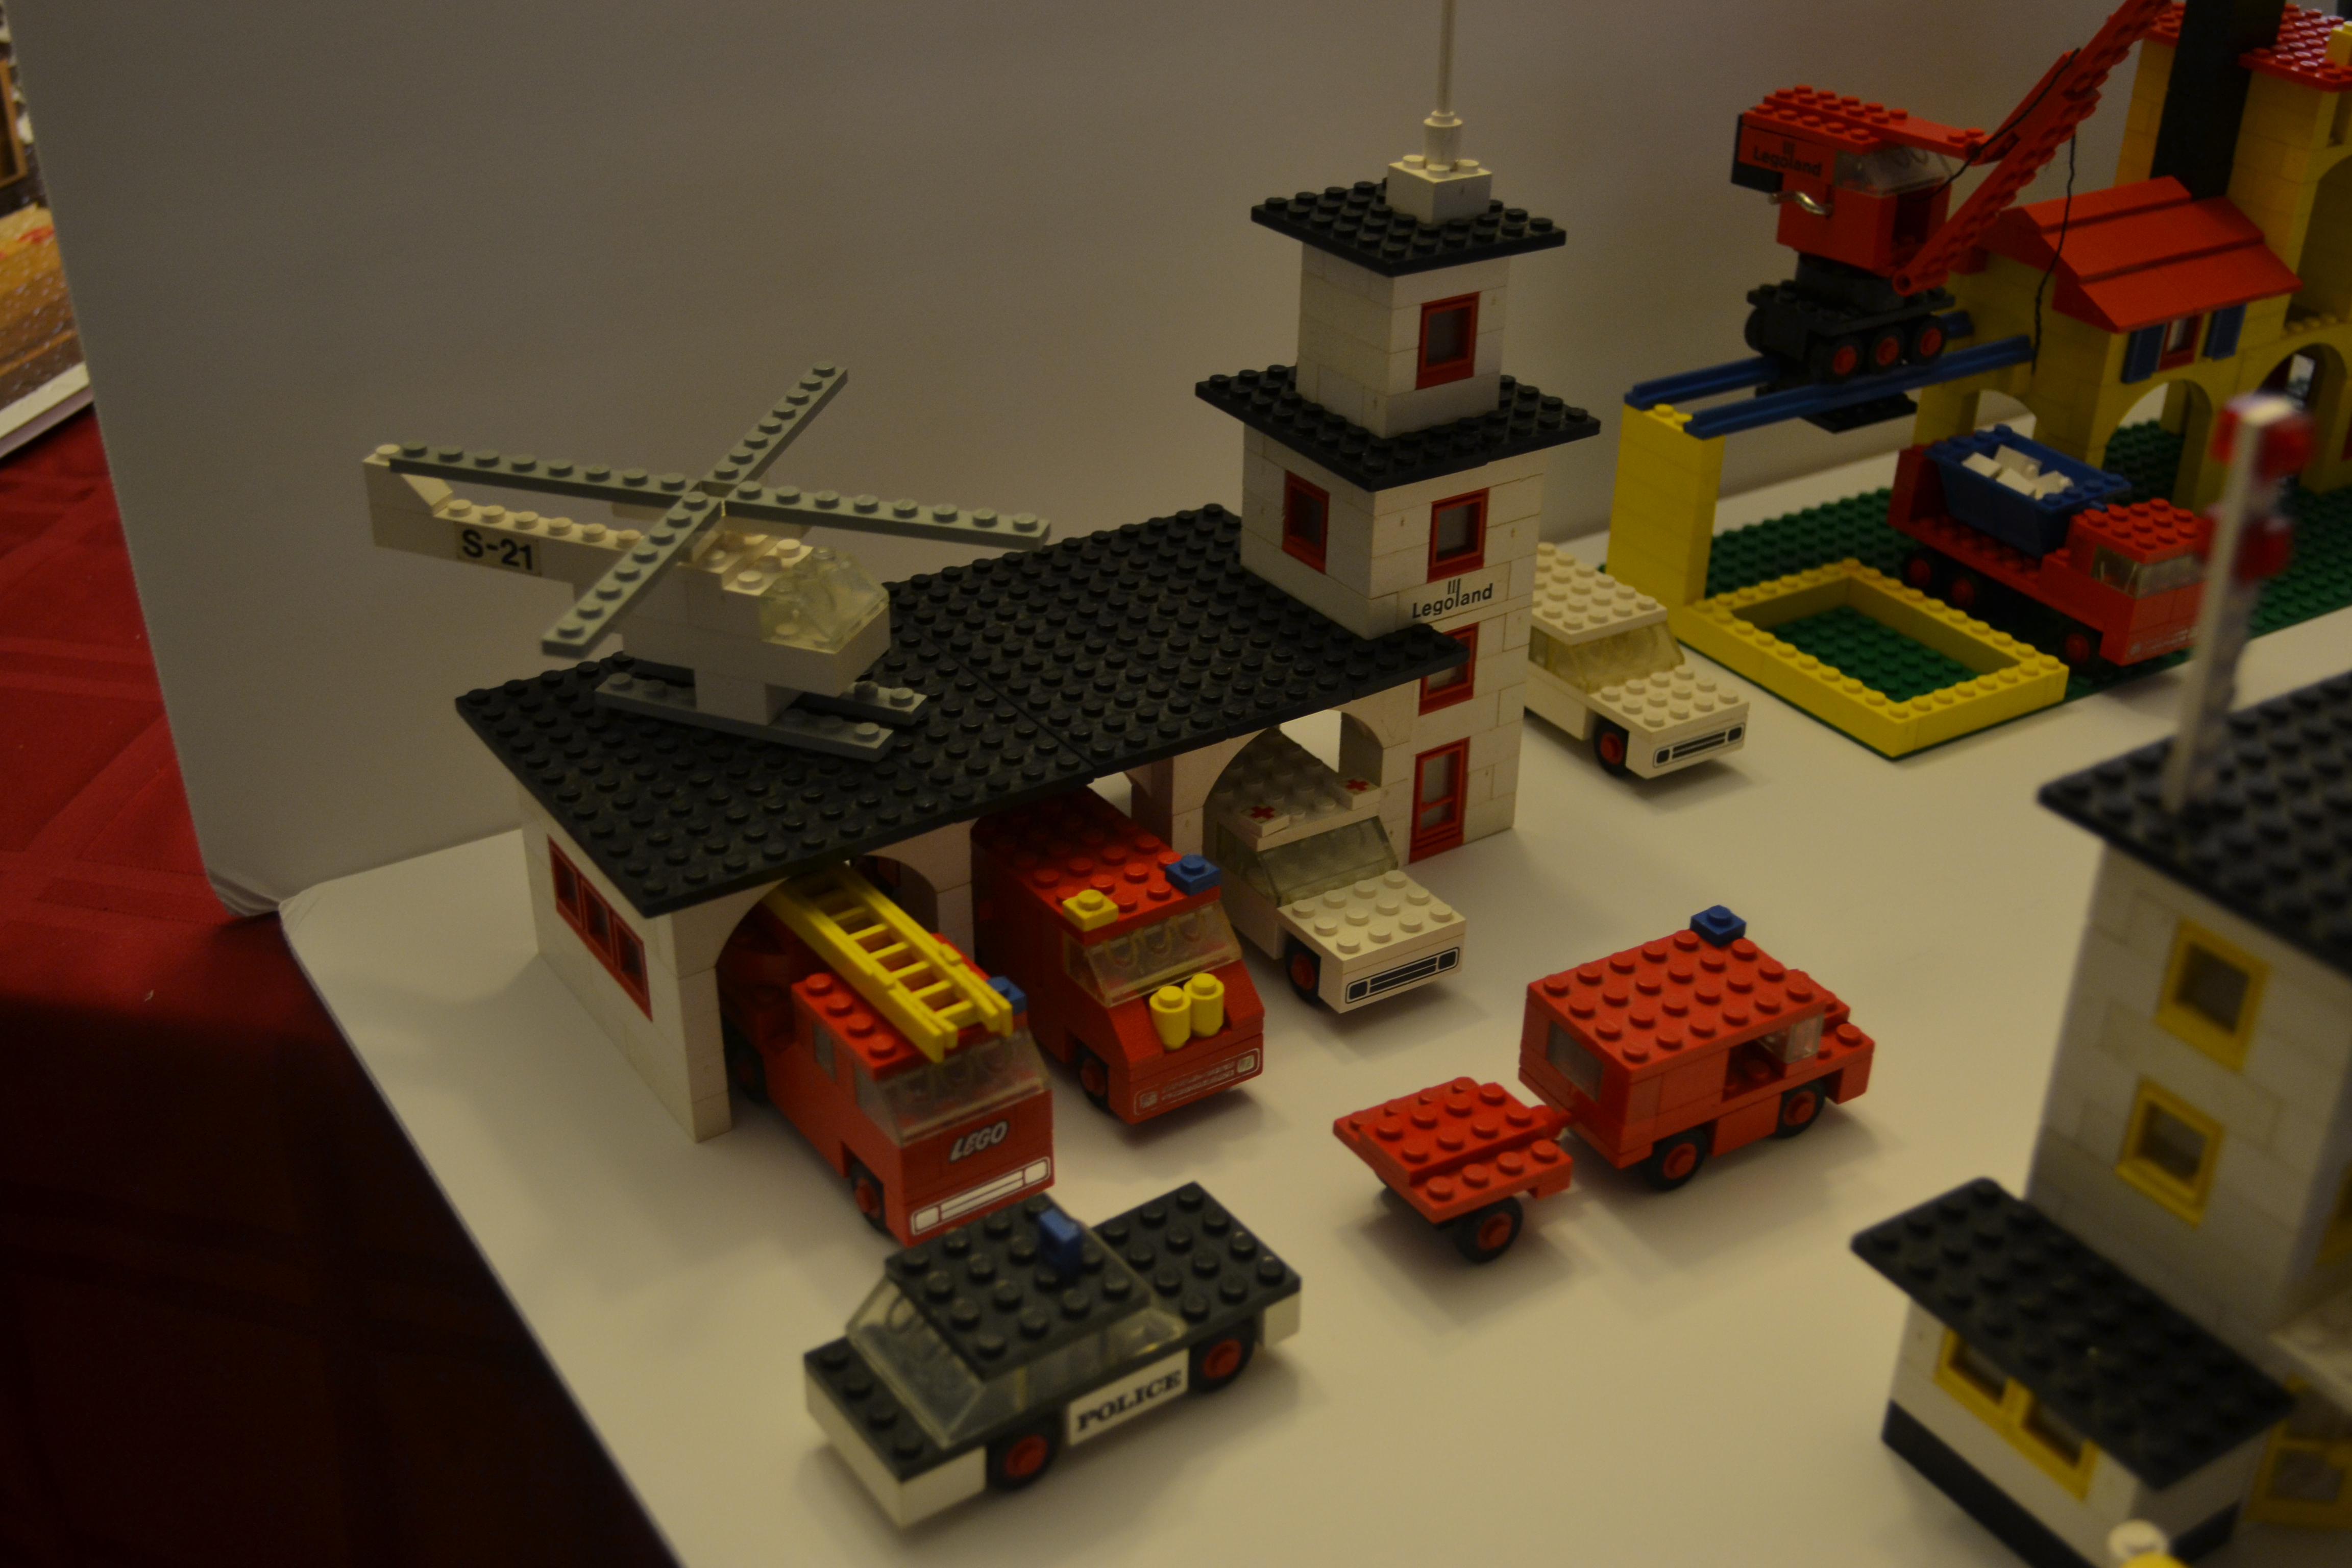
The fire house.
The rock quary
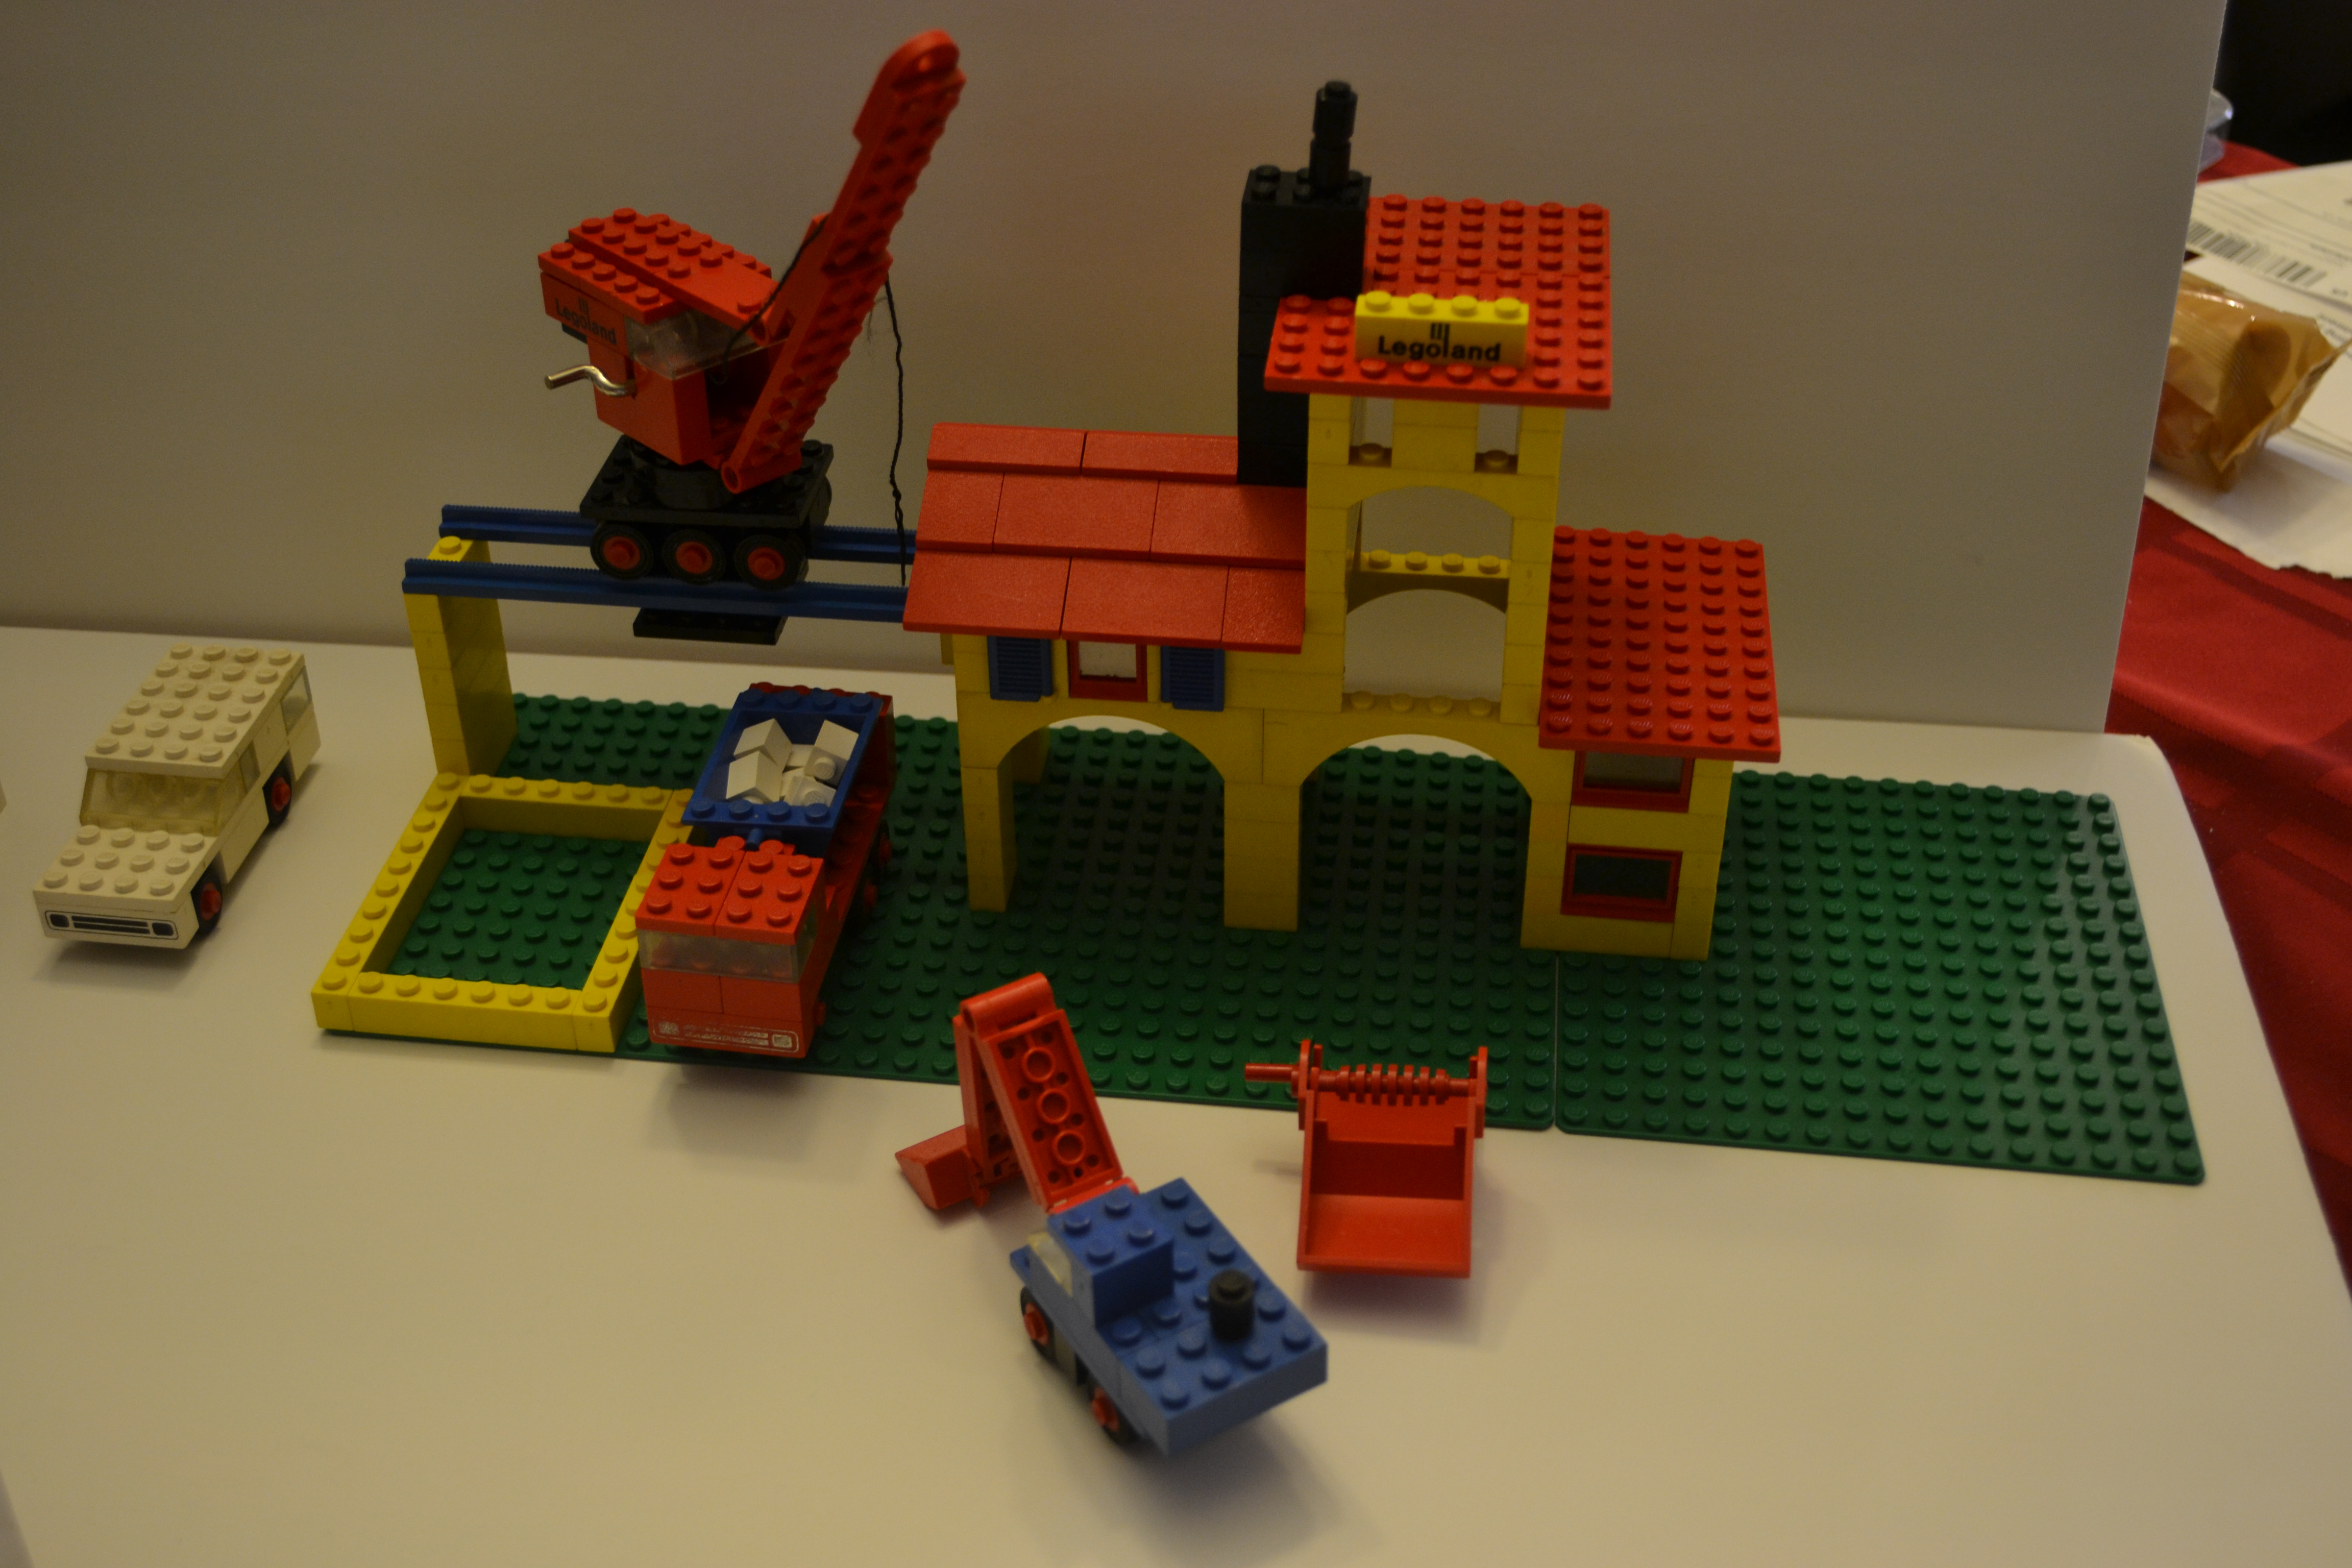
From my own collection the windmill which would have been in the same time frame from the ones I built out of this ebay purchase.

And the last one is an even older police station with Helicopter.
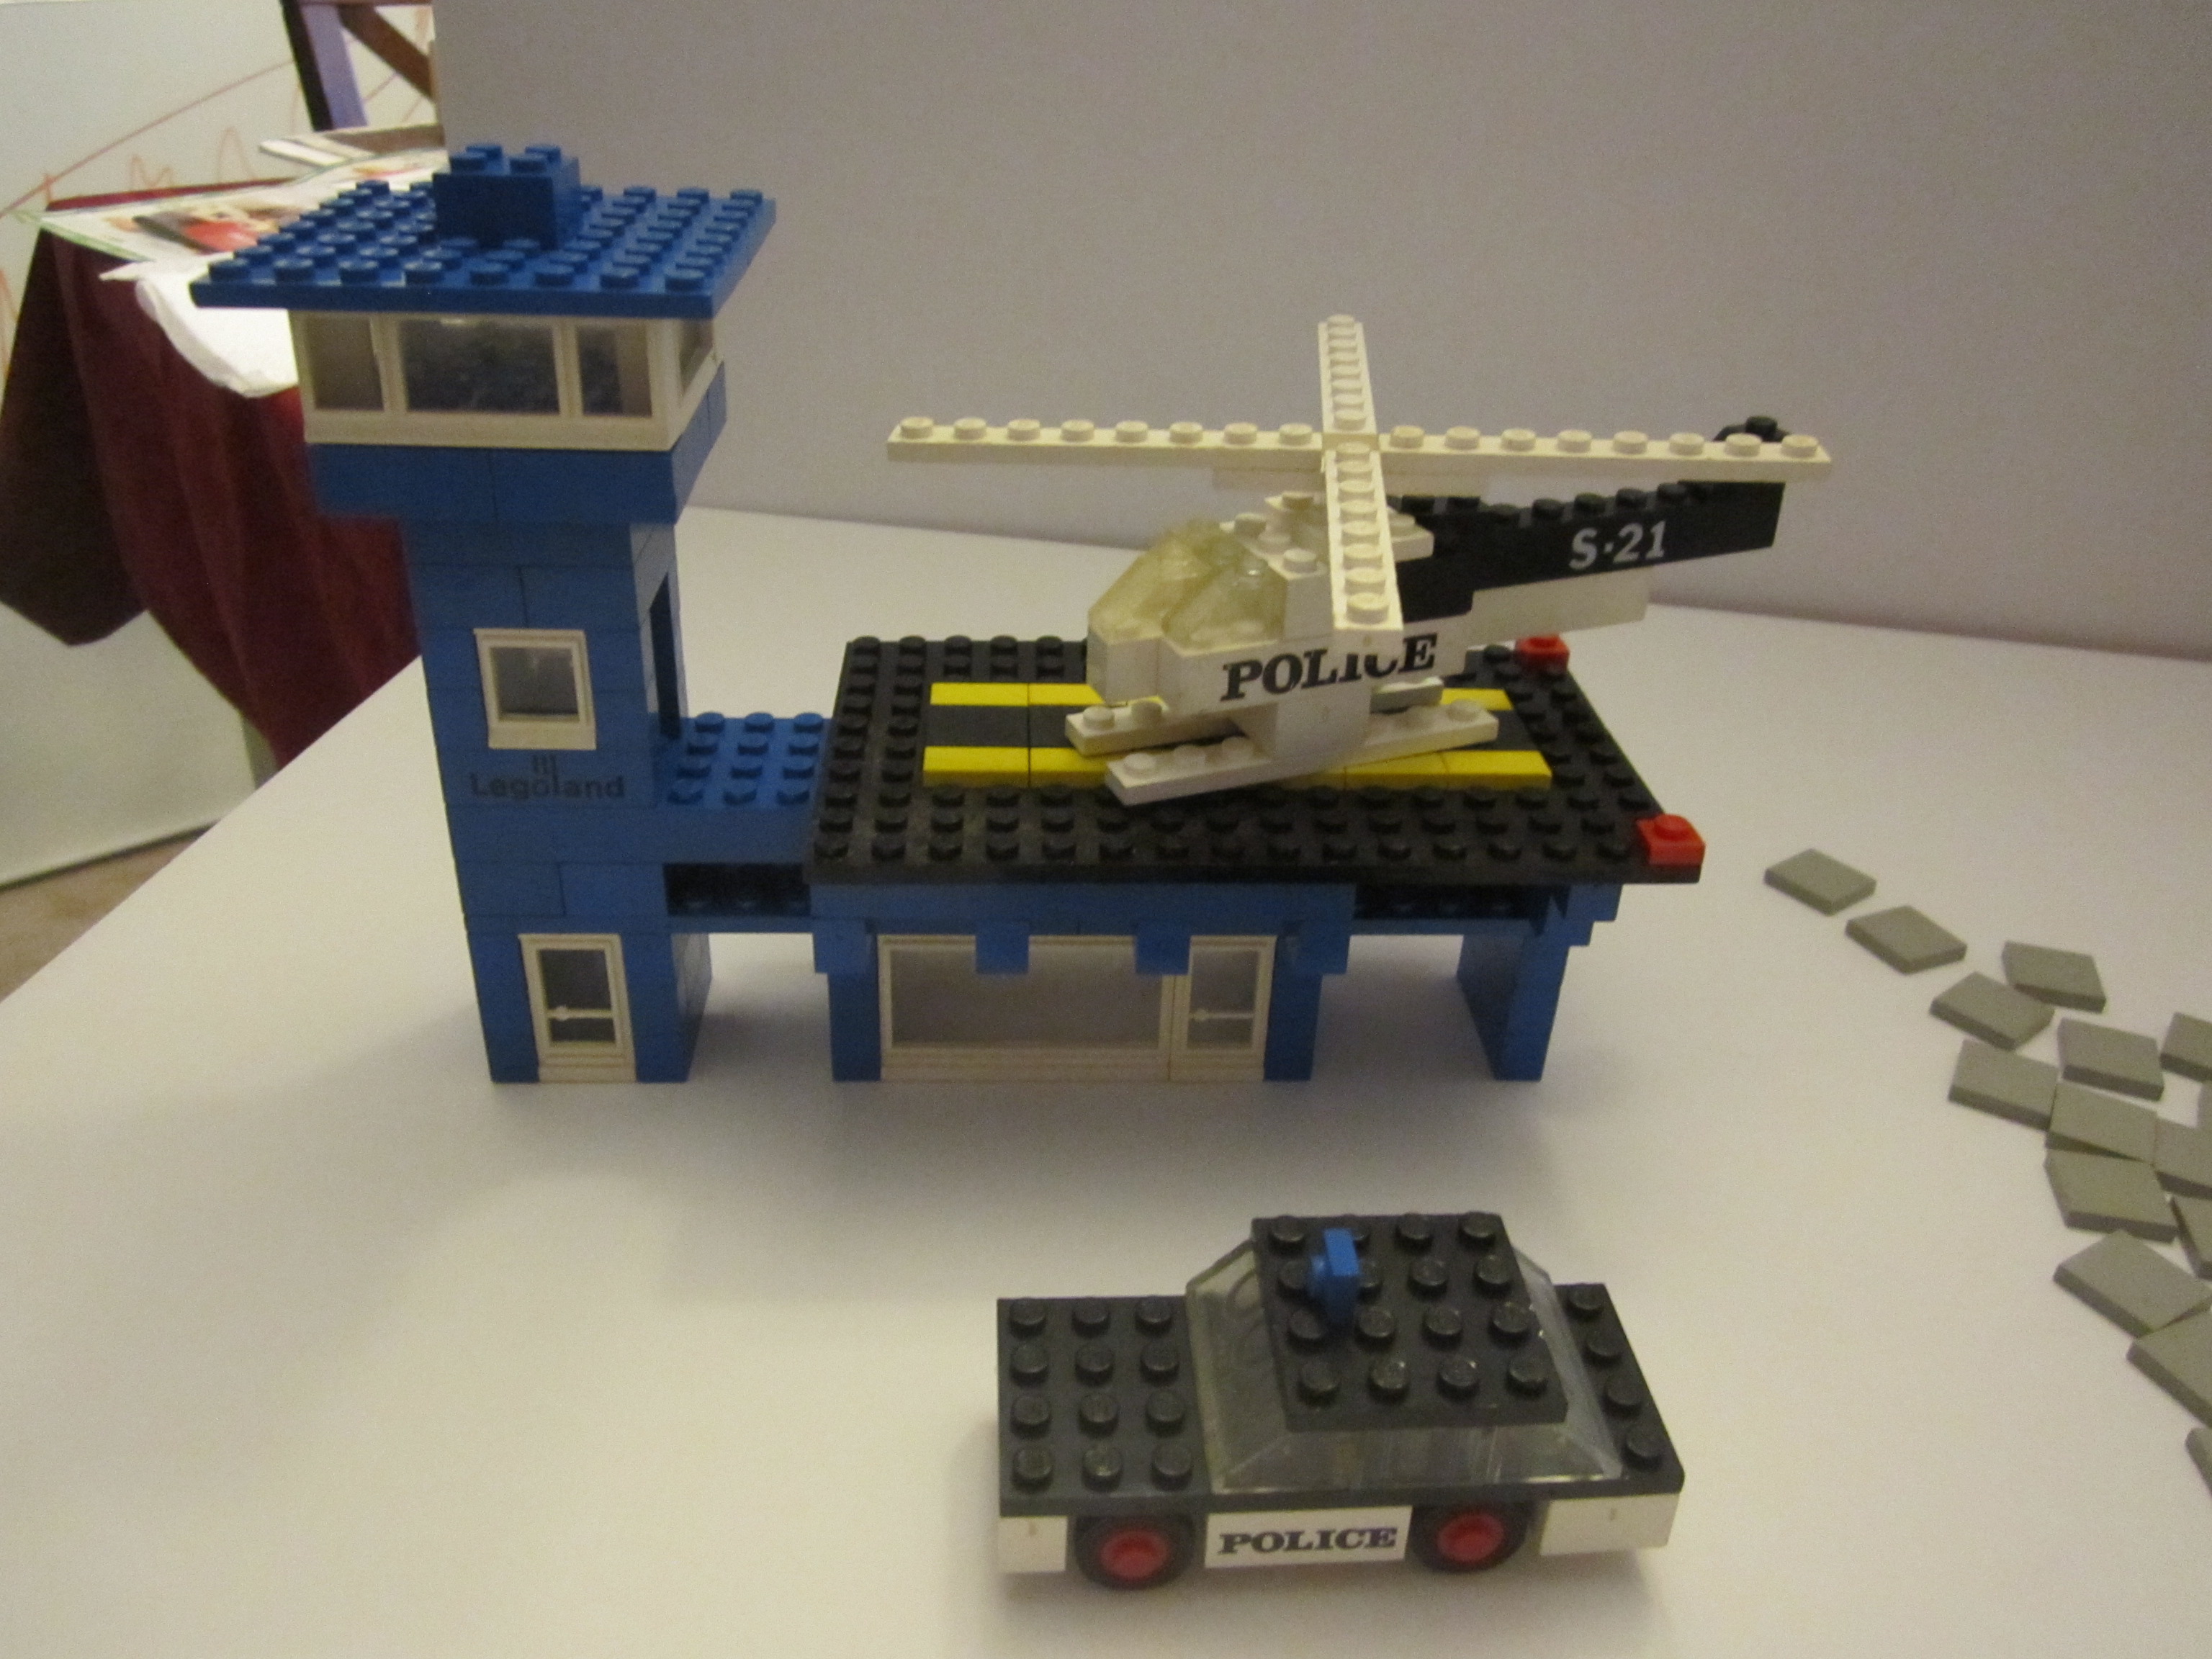
354: Police Heliport (1972)168 pieces.
Police car, helicopter, and a police station.
Closer in scale to the Town Plan sets than modern minifig scale builds.
I think I have one more kit to build out of this ebay score and i think it is the Lunar landing!
I will write more about that one once I get it built.
Progress is a slow process but it is still progress!
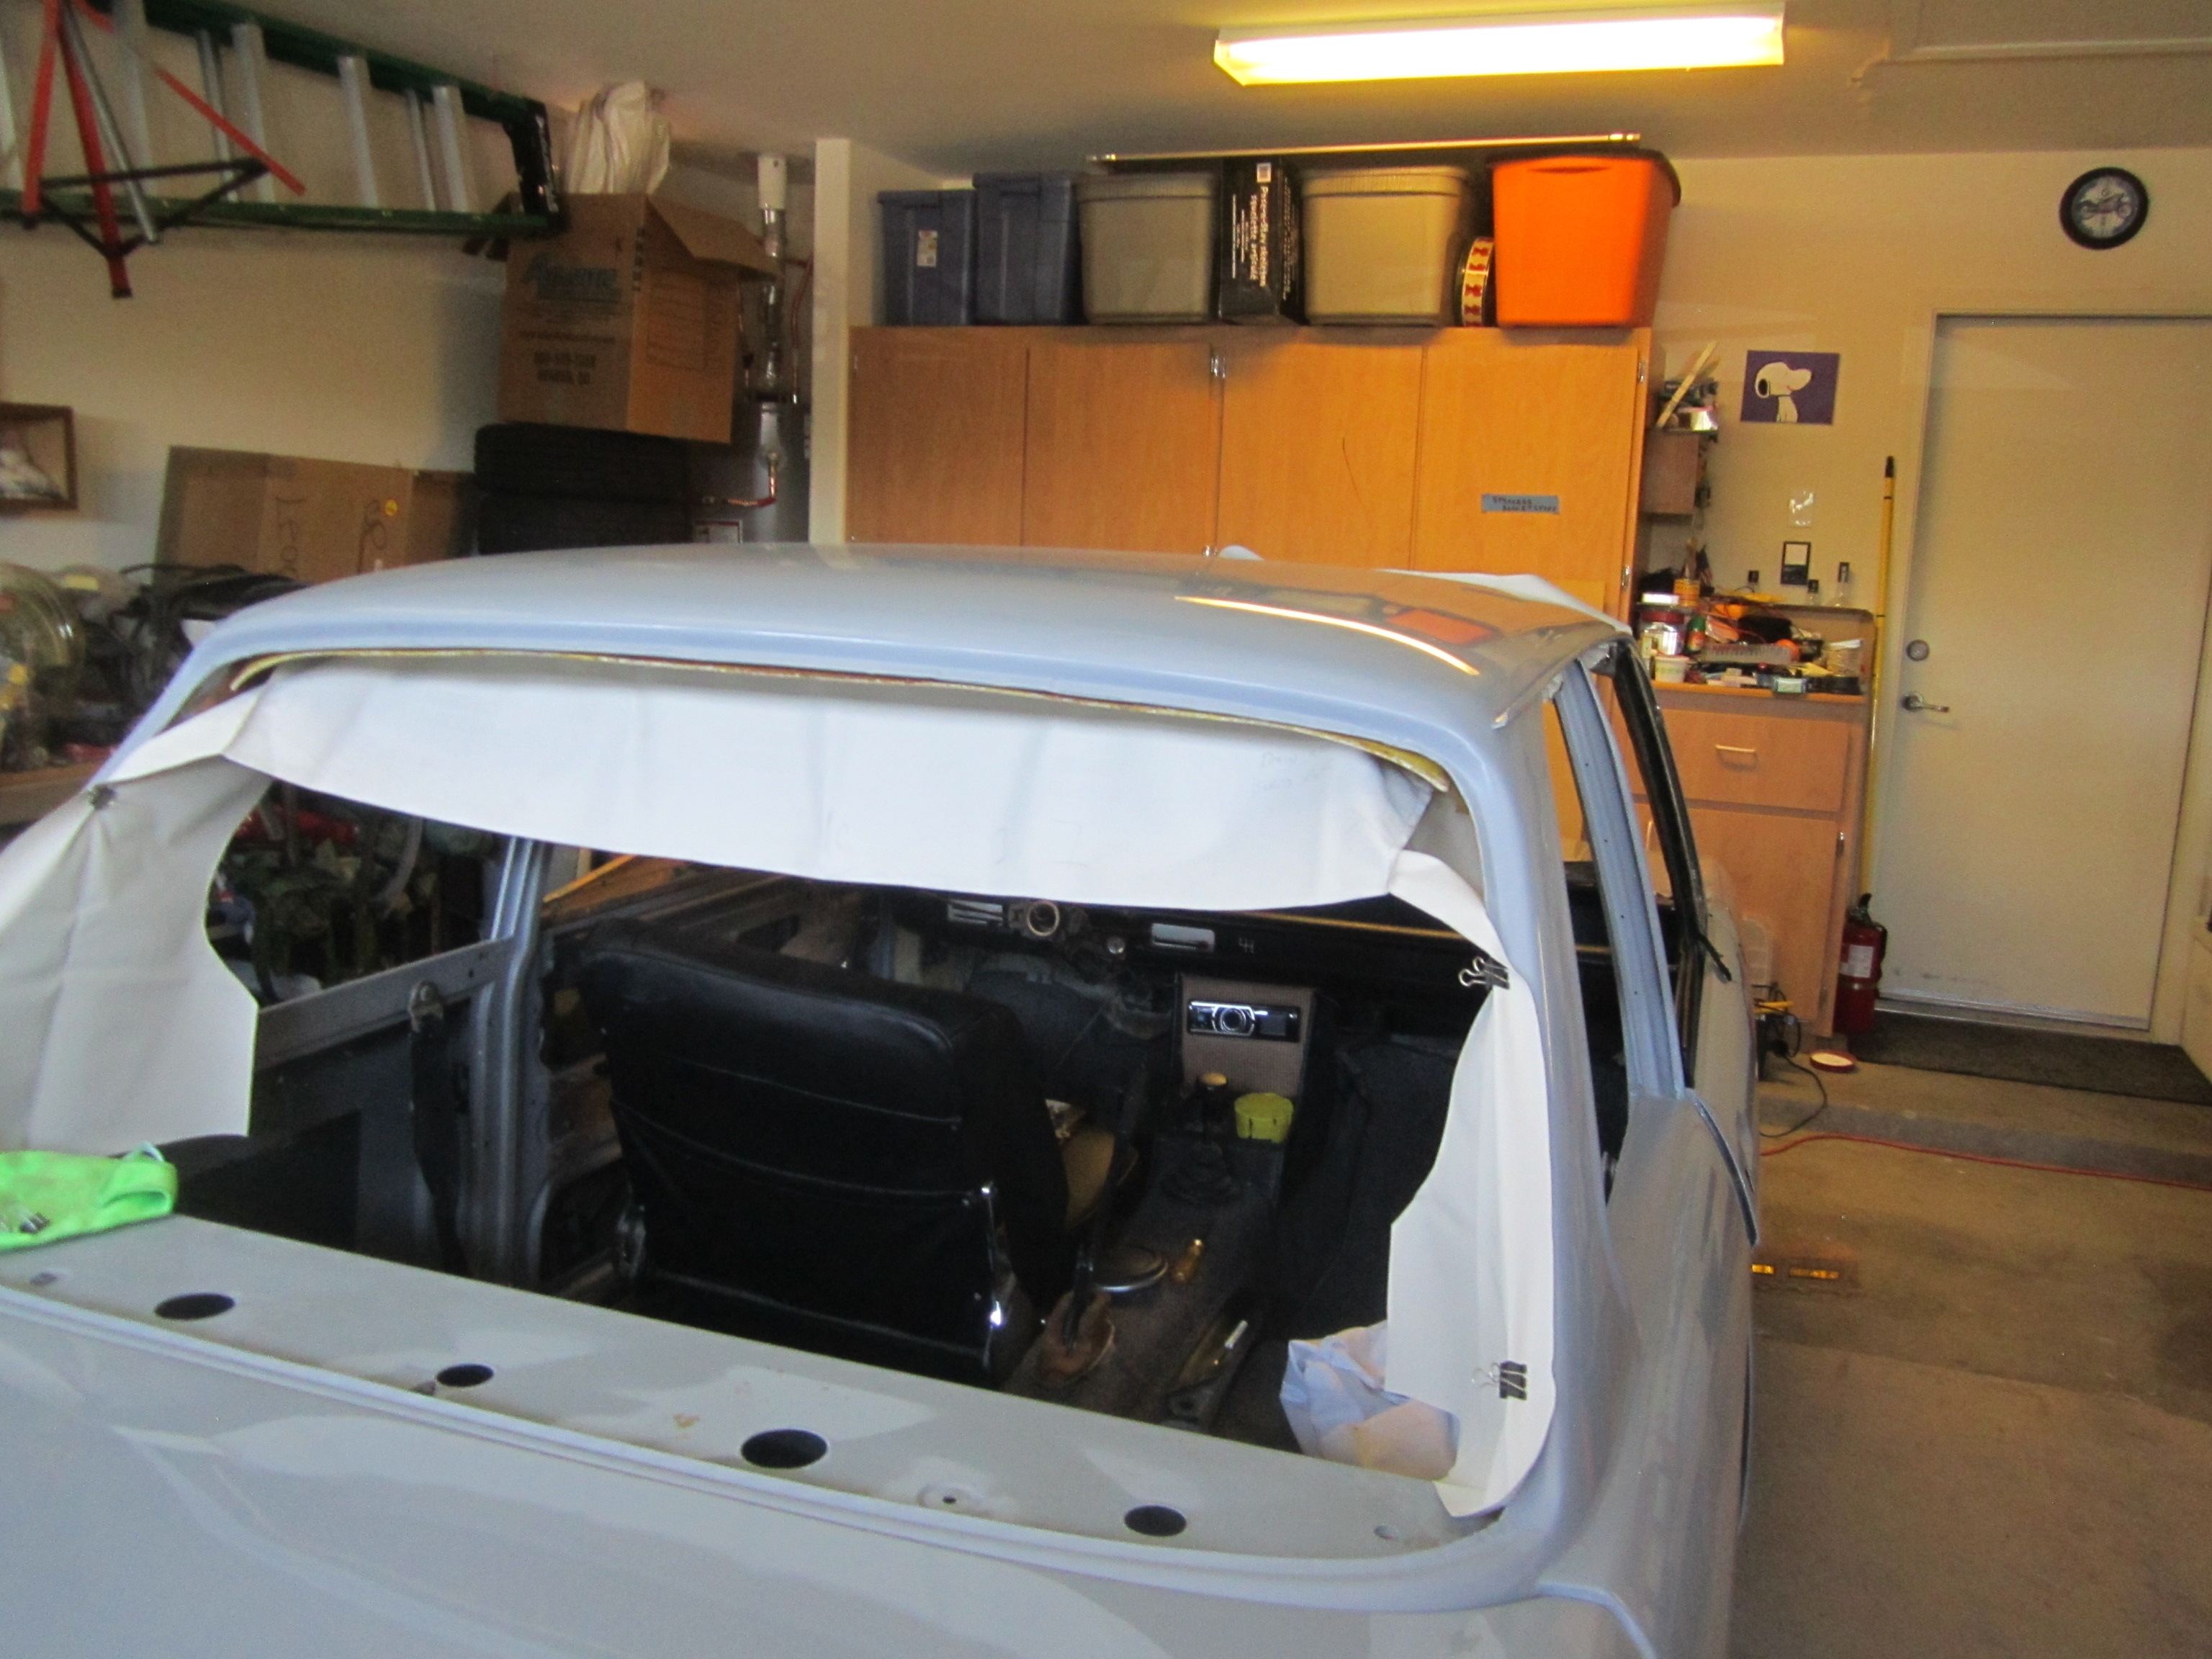
With a long weekend and time at home I was able to get much more accomplished on the Stuka… headliner, pillar vinyl and seals. I have parts come in weekly as I can find them and have been cleaning and polishing as I go.
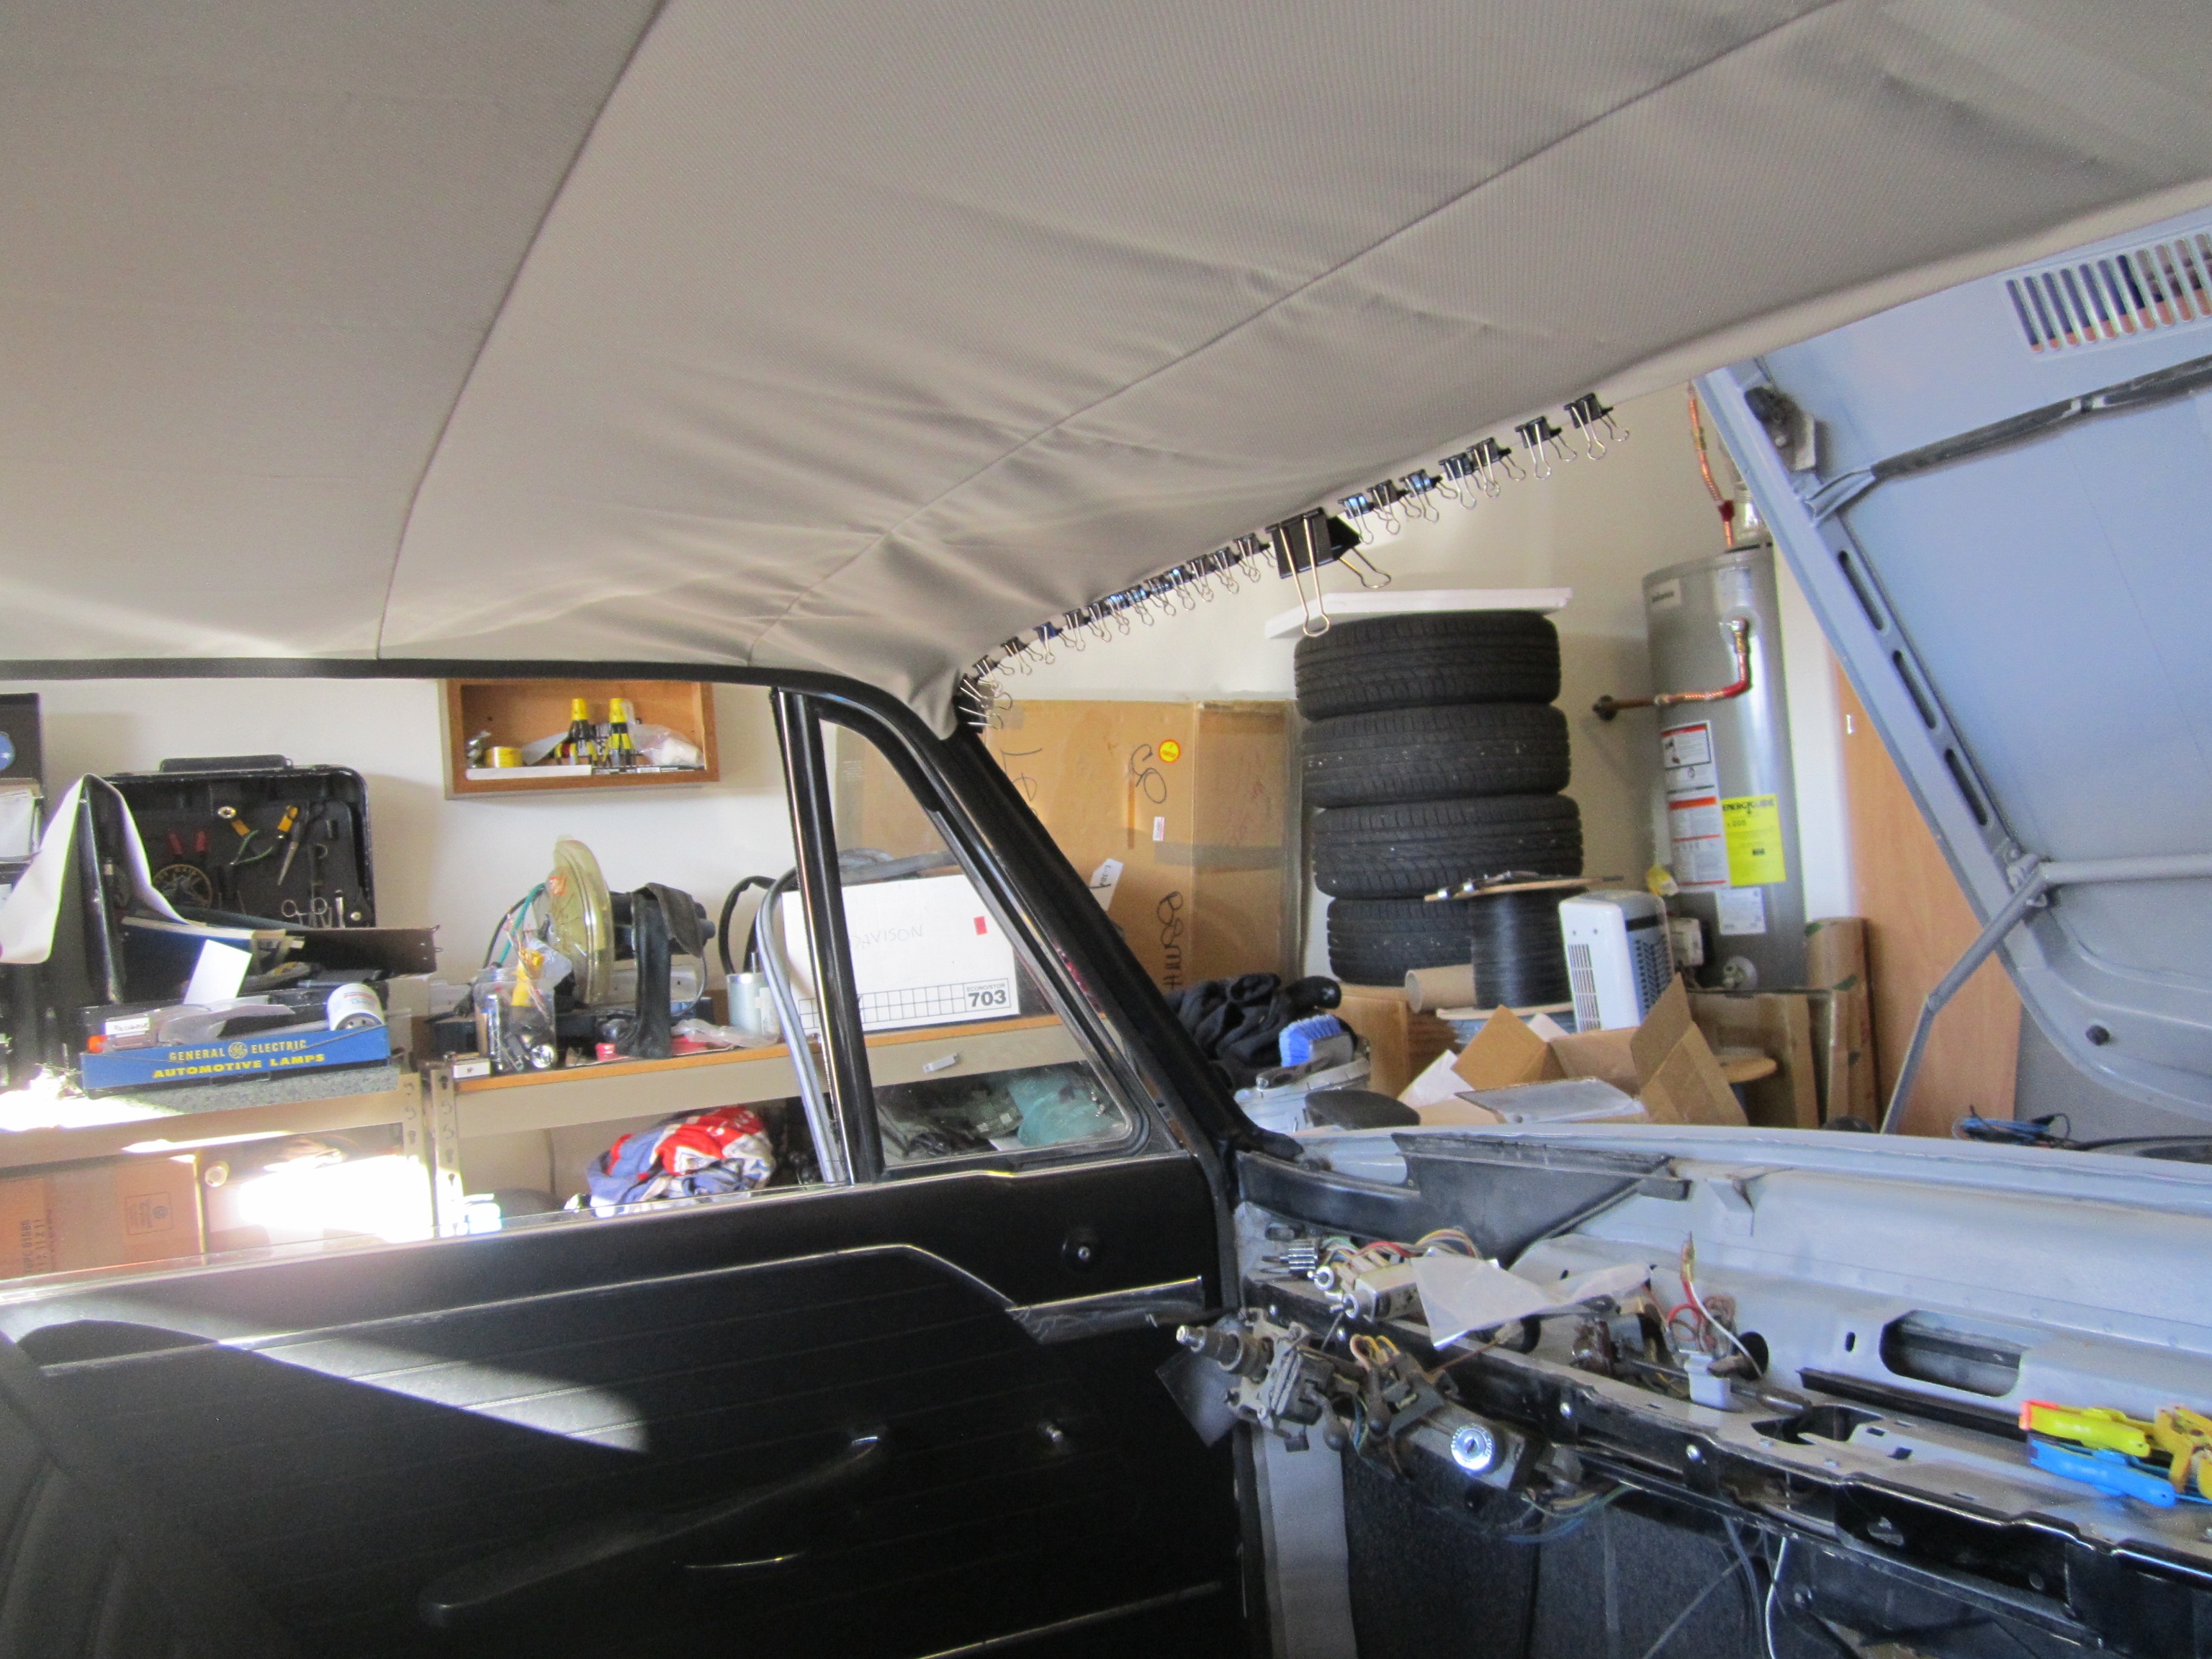
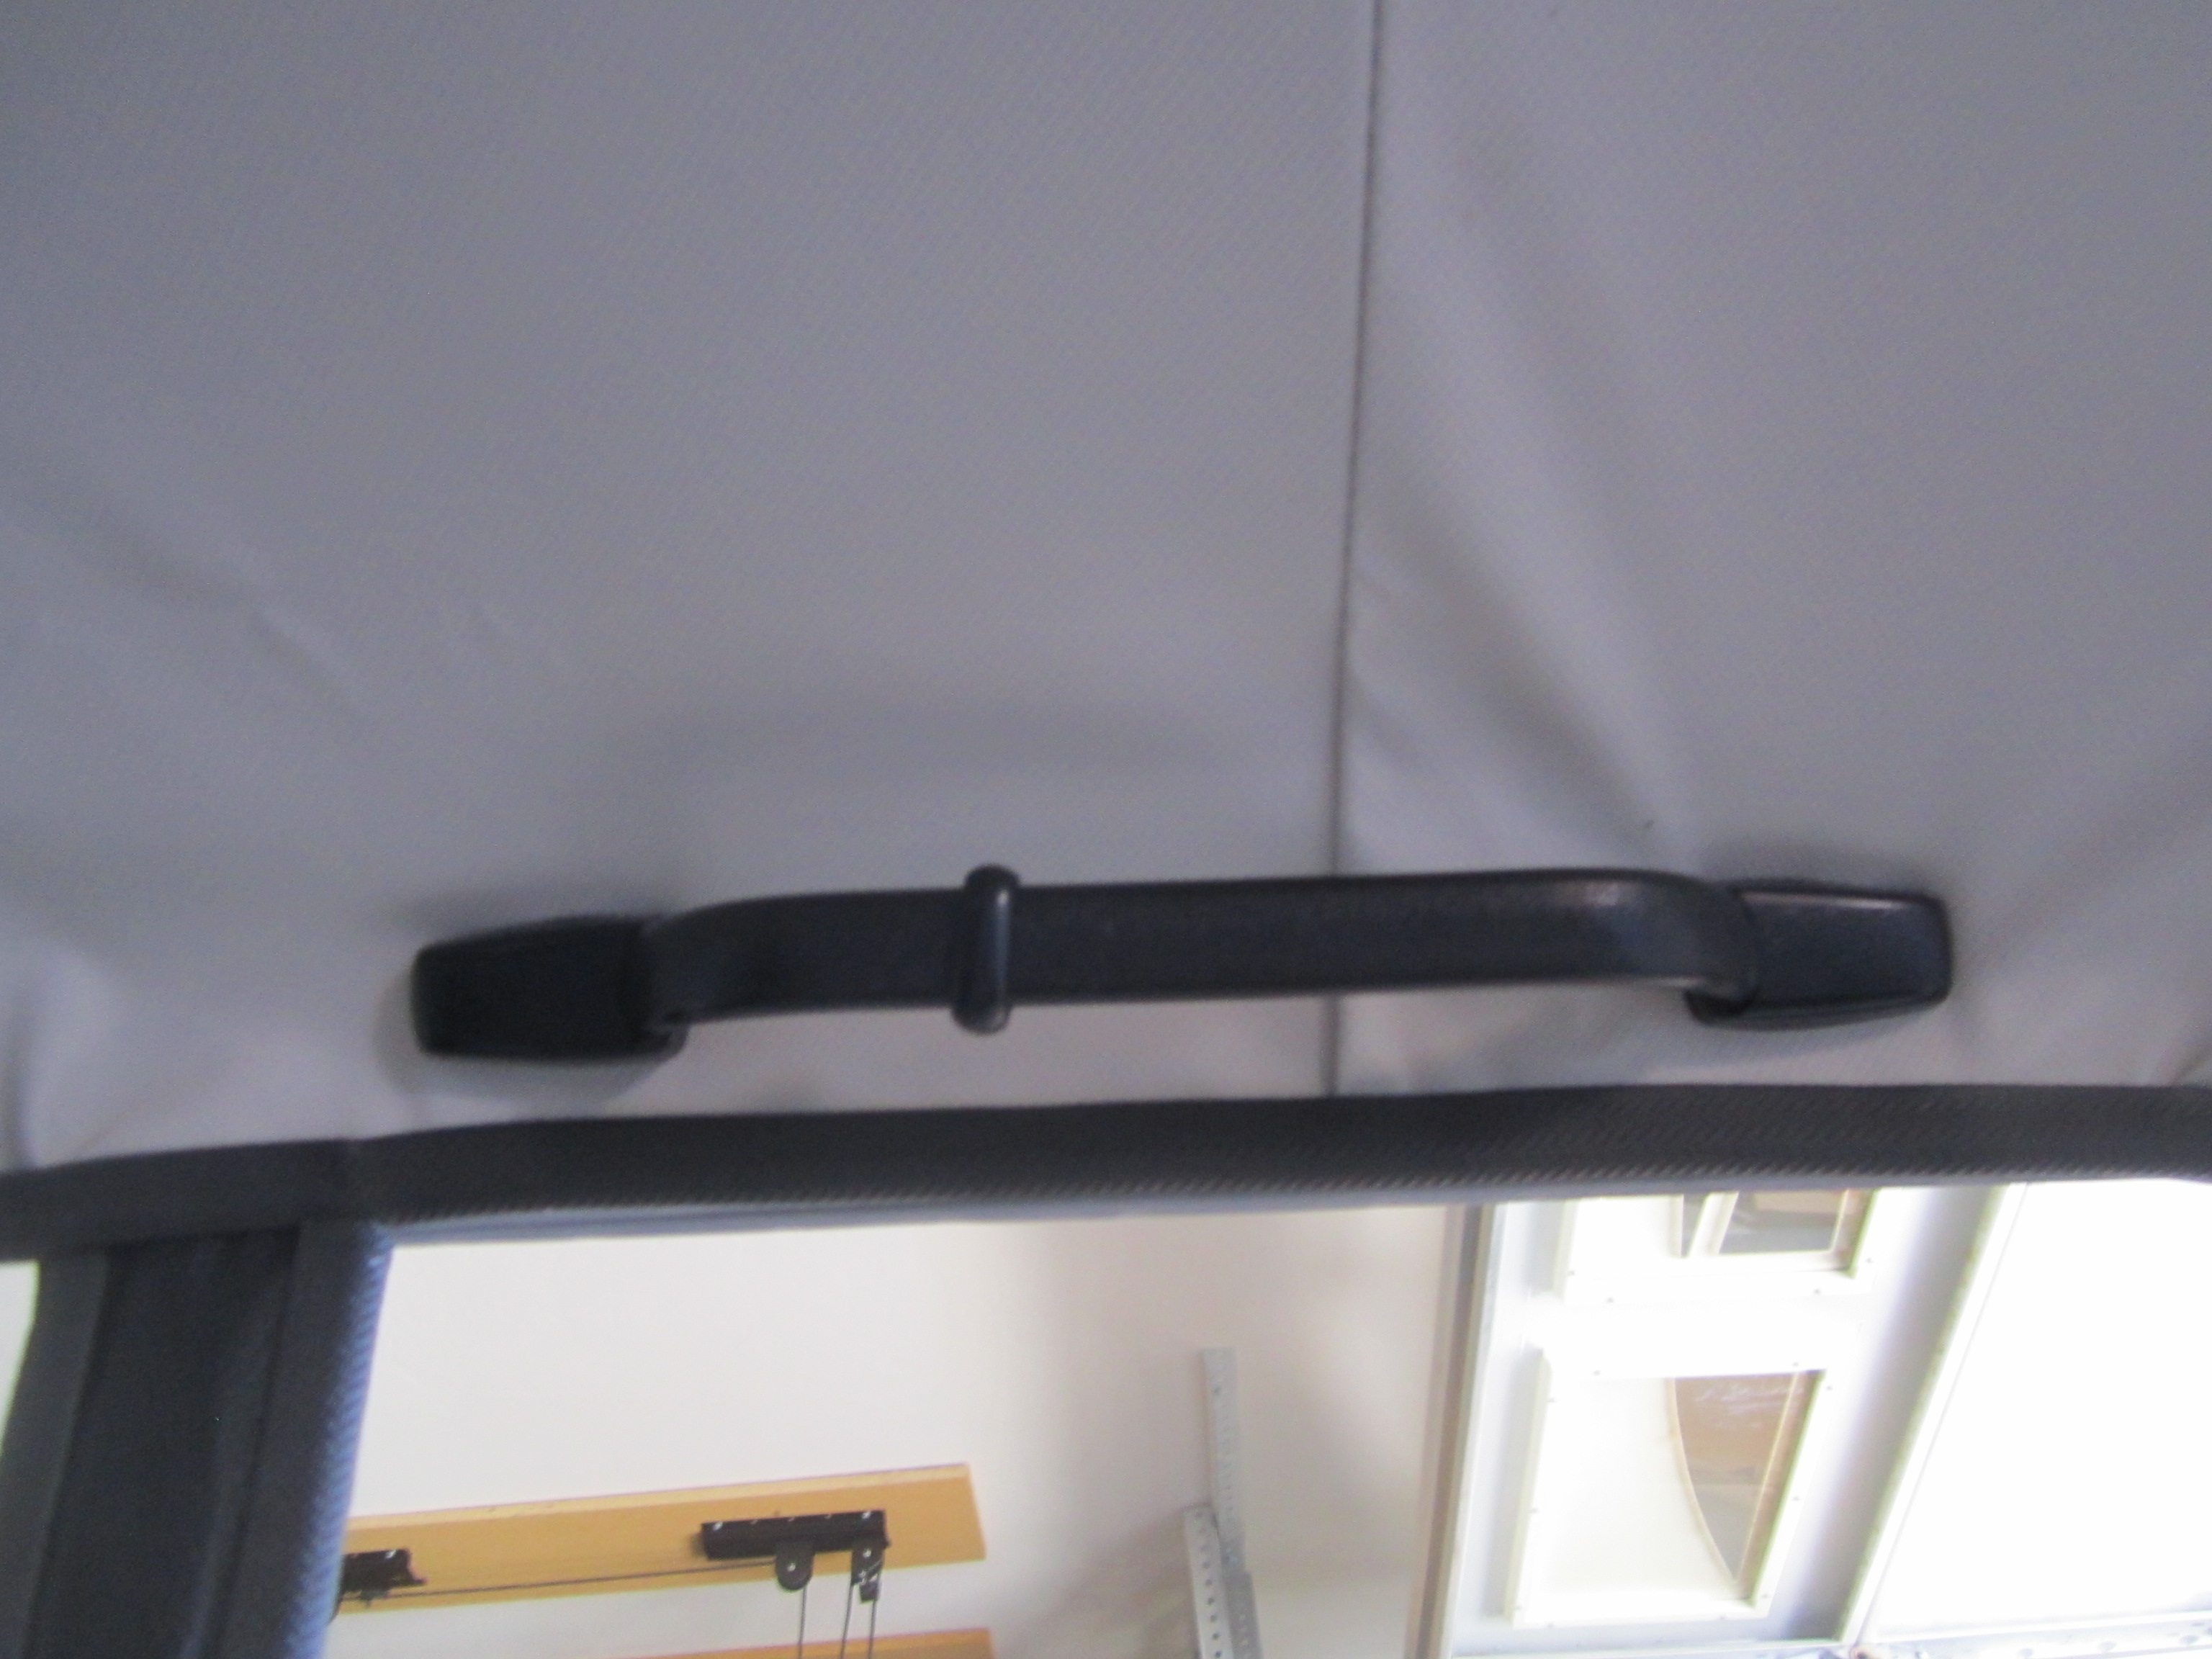
The wrinkles will be easy to push out once I have cut the hole for mounting the rear view Mirror, but the headliner is done!
The trick is to use a heat gun after everything has had a chance to settle and the windows, seals and everything in place. I will then go in and heat up the areas with small wriinkles and help tighten the headliner.
The interior panels are in and making the car look much ,ore like a car!
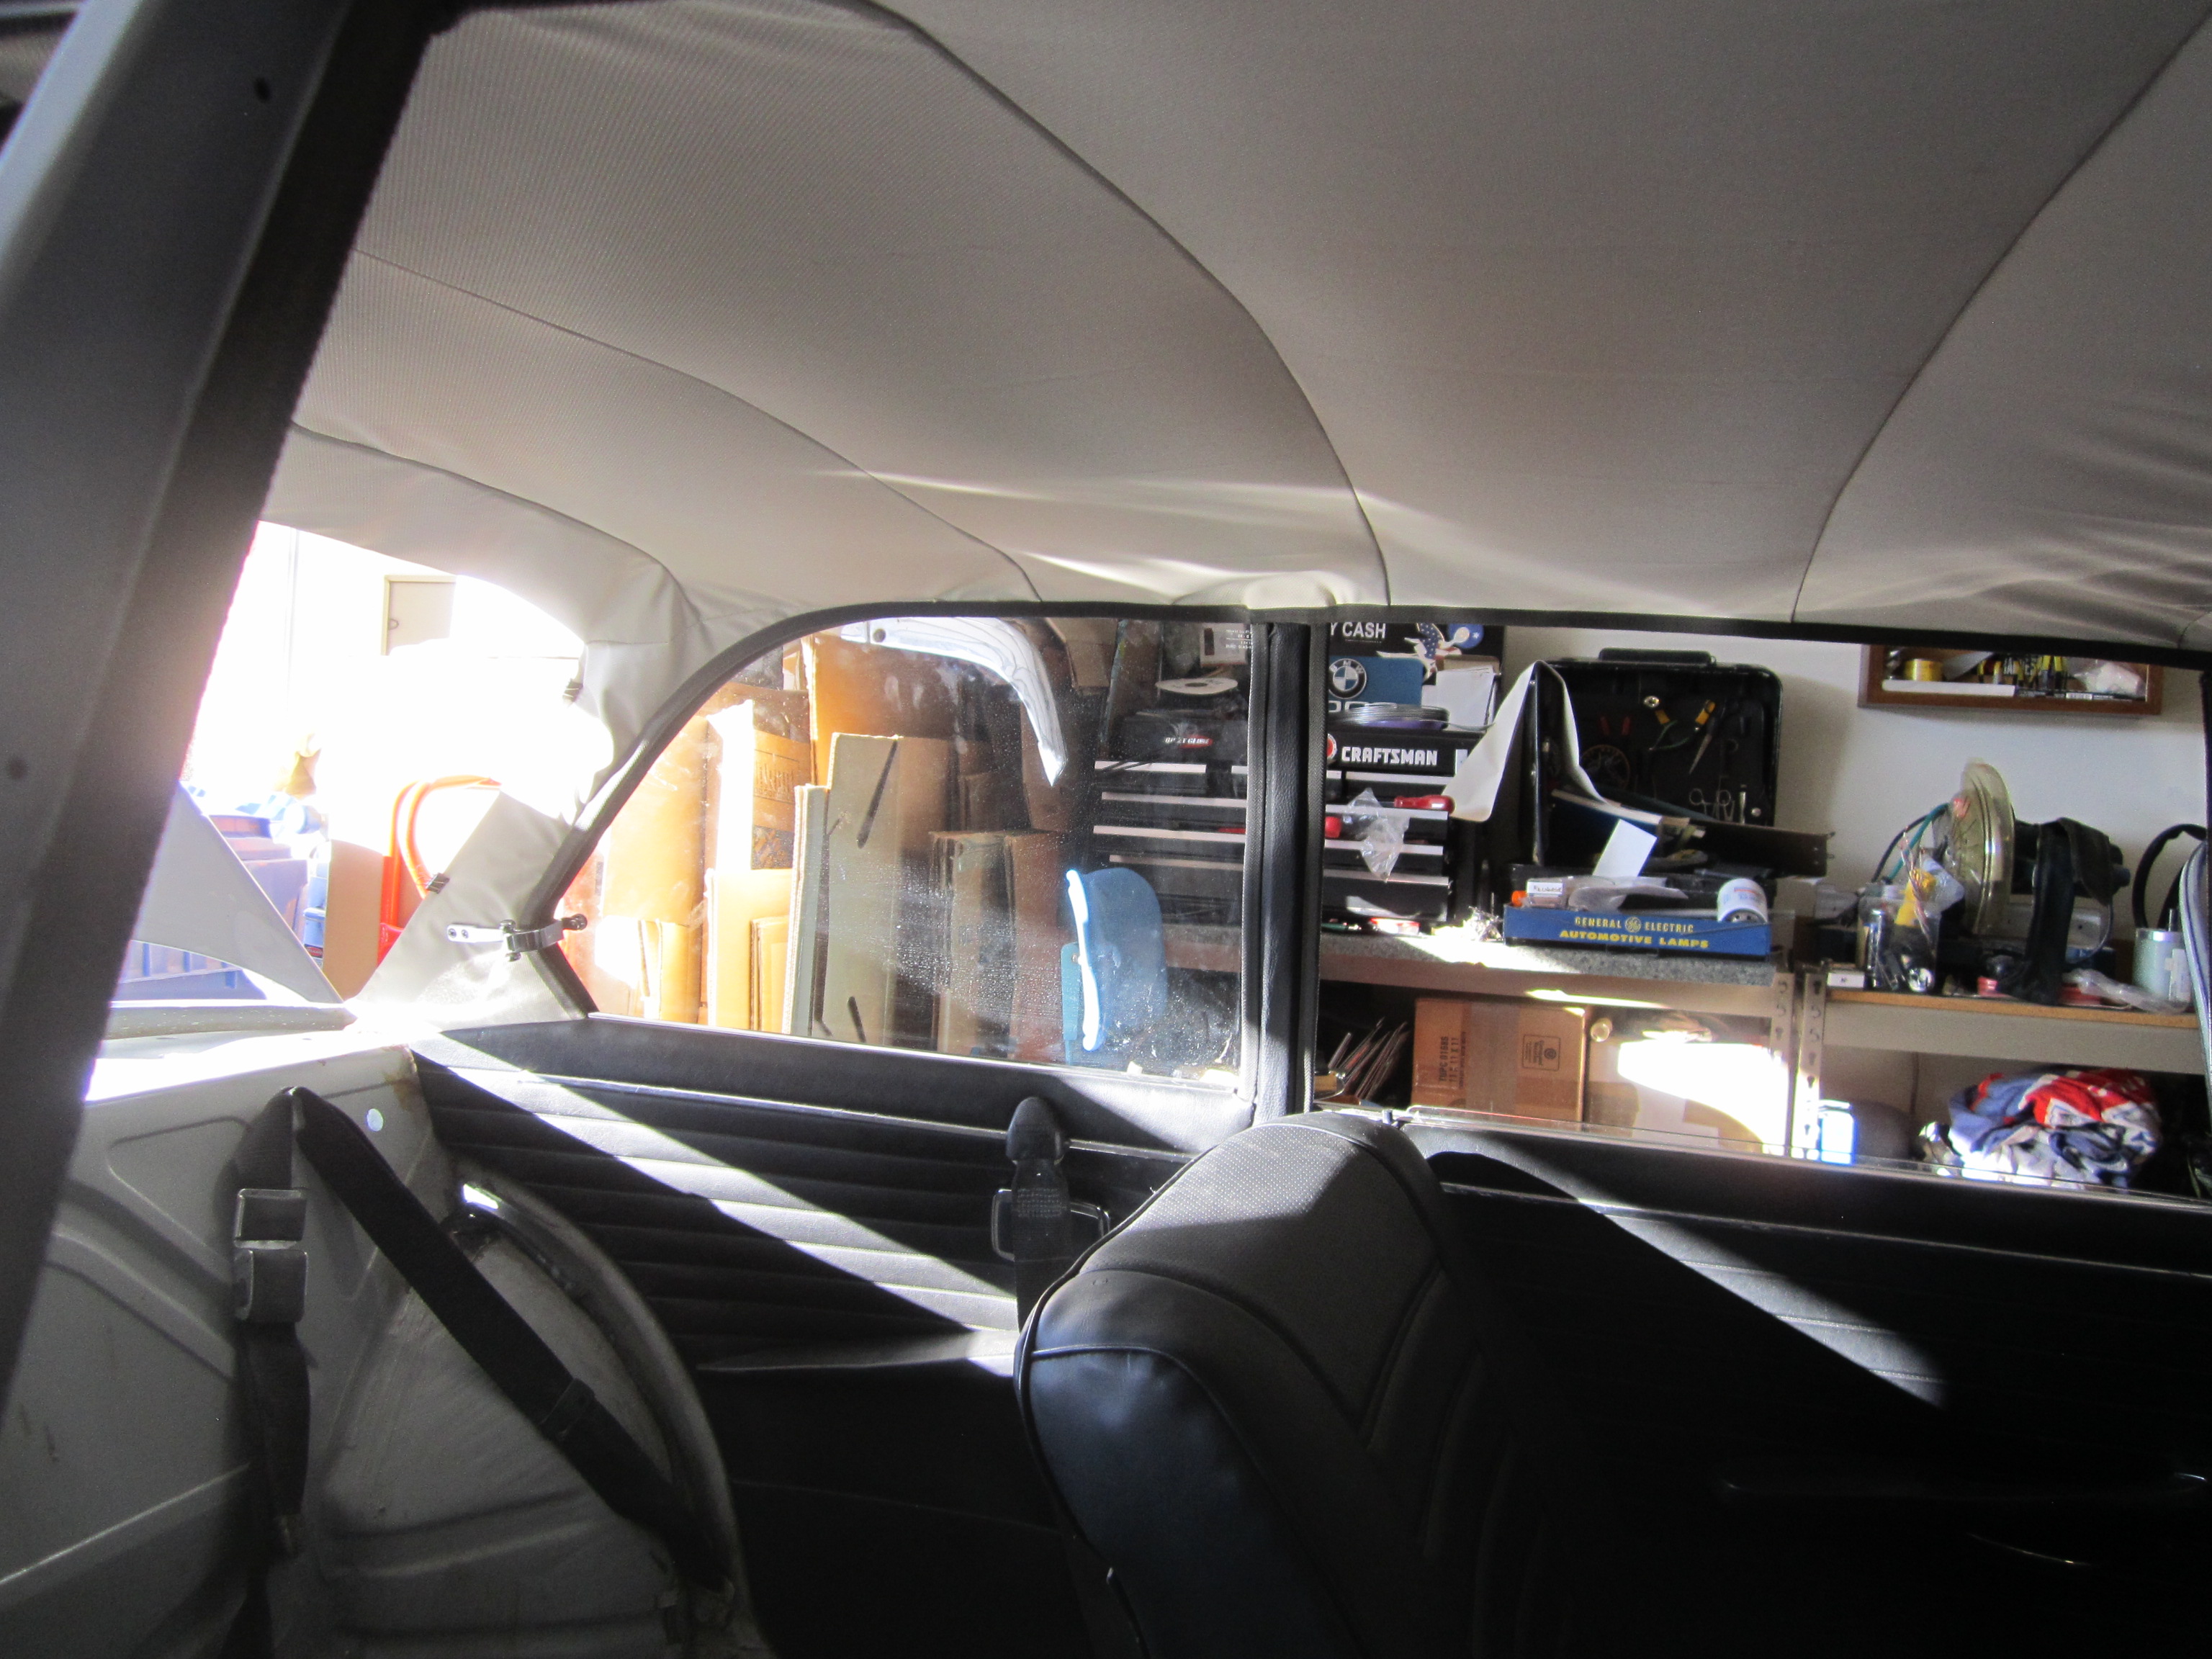
More work, but I feel like it has been a good weekend getting the stuff done at a good pace.
More photos of the same stuff:

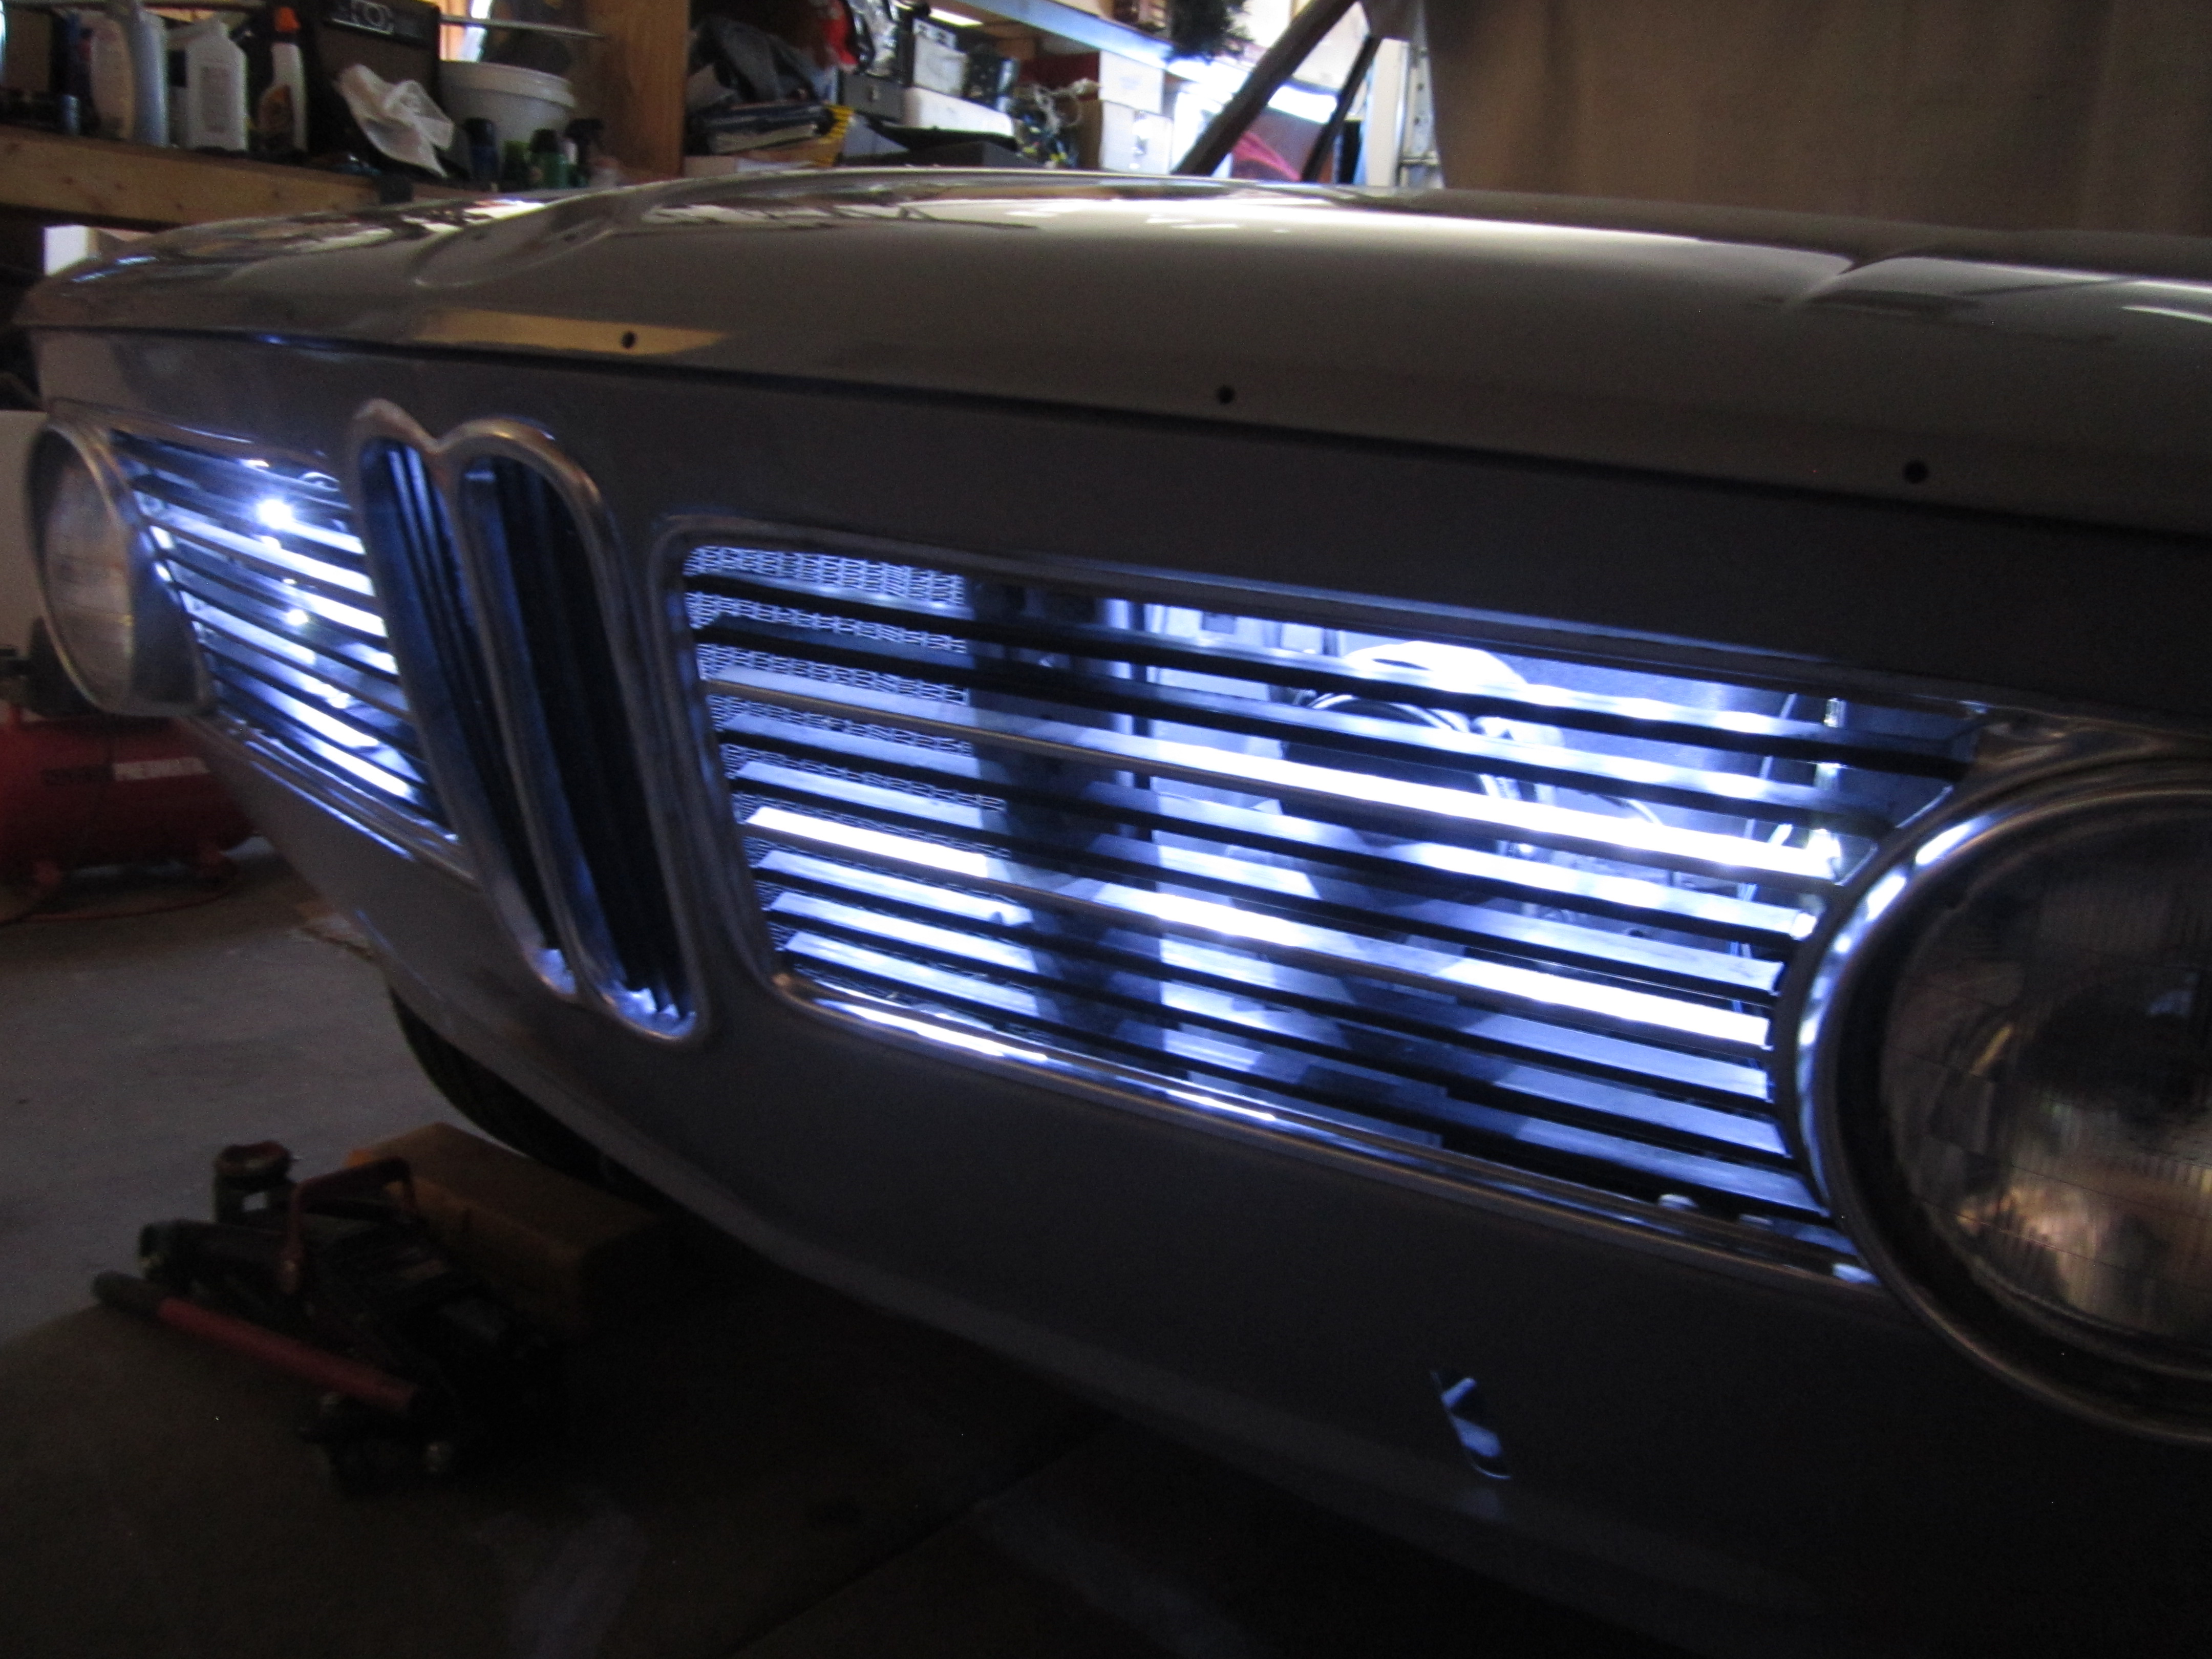
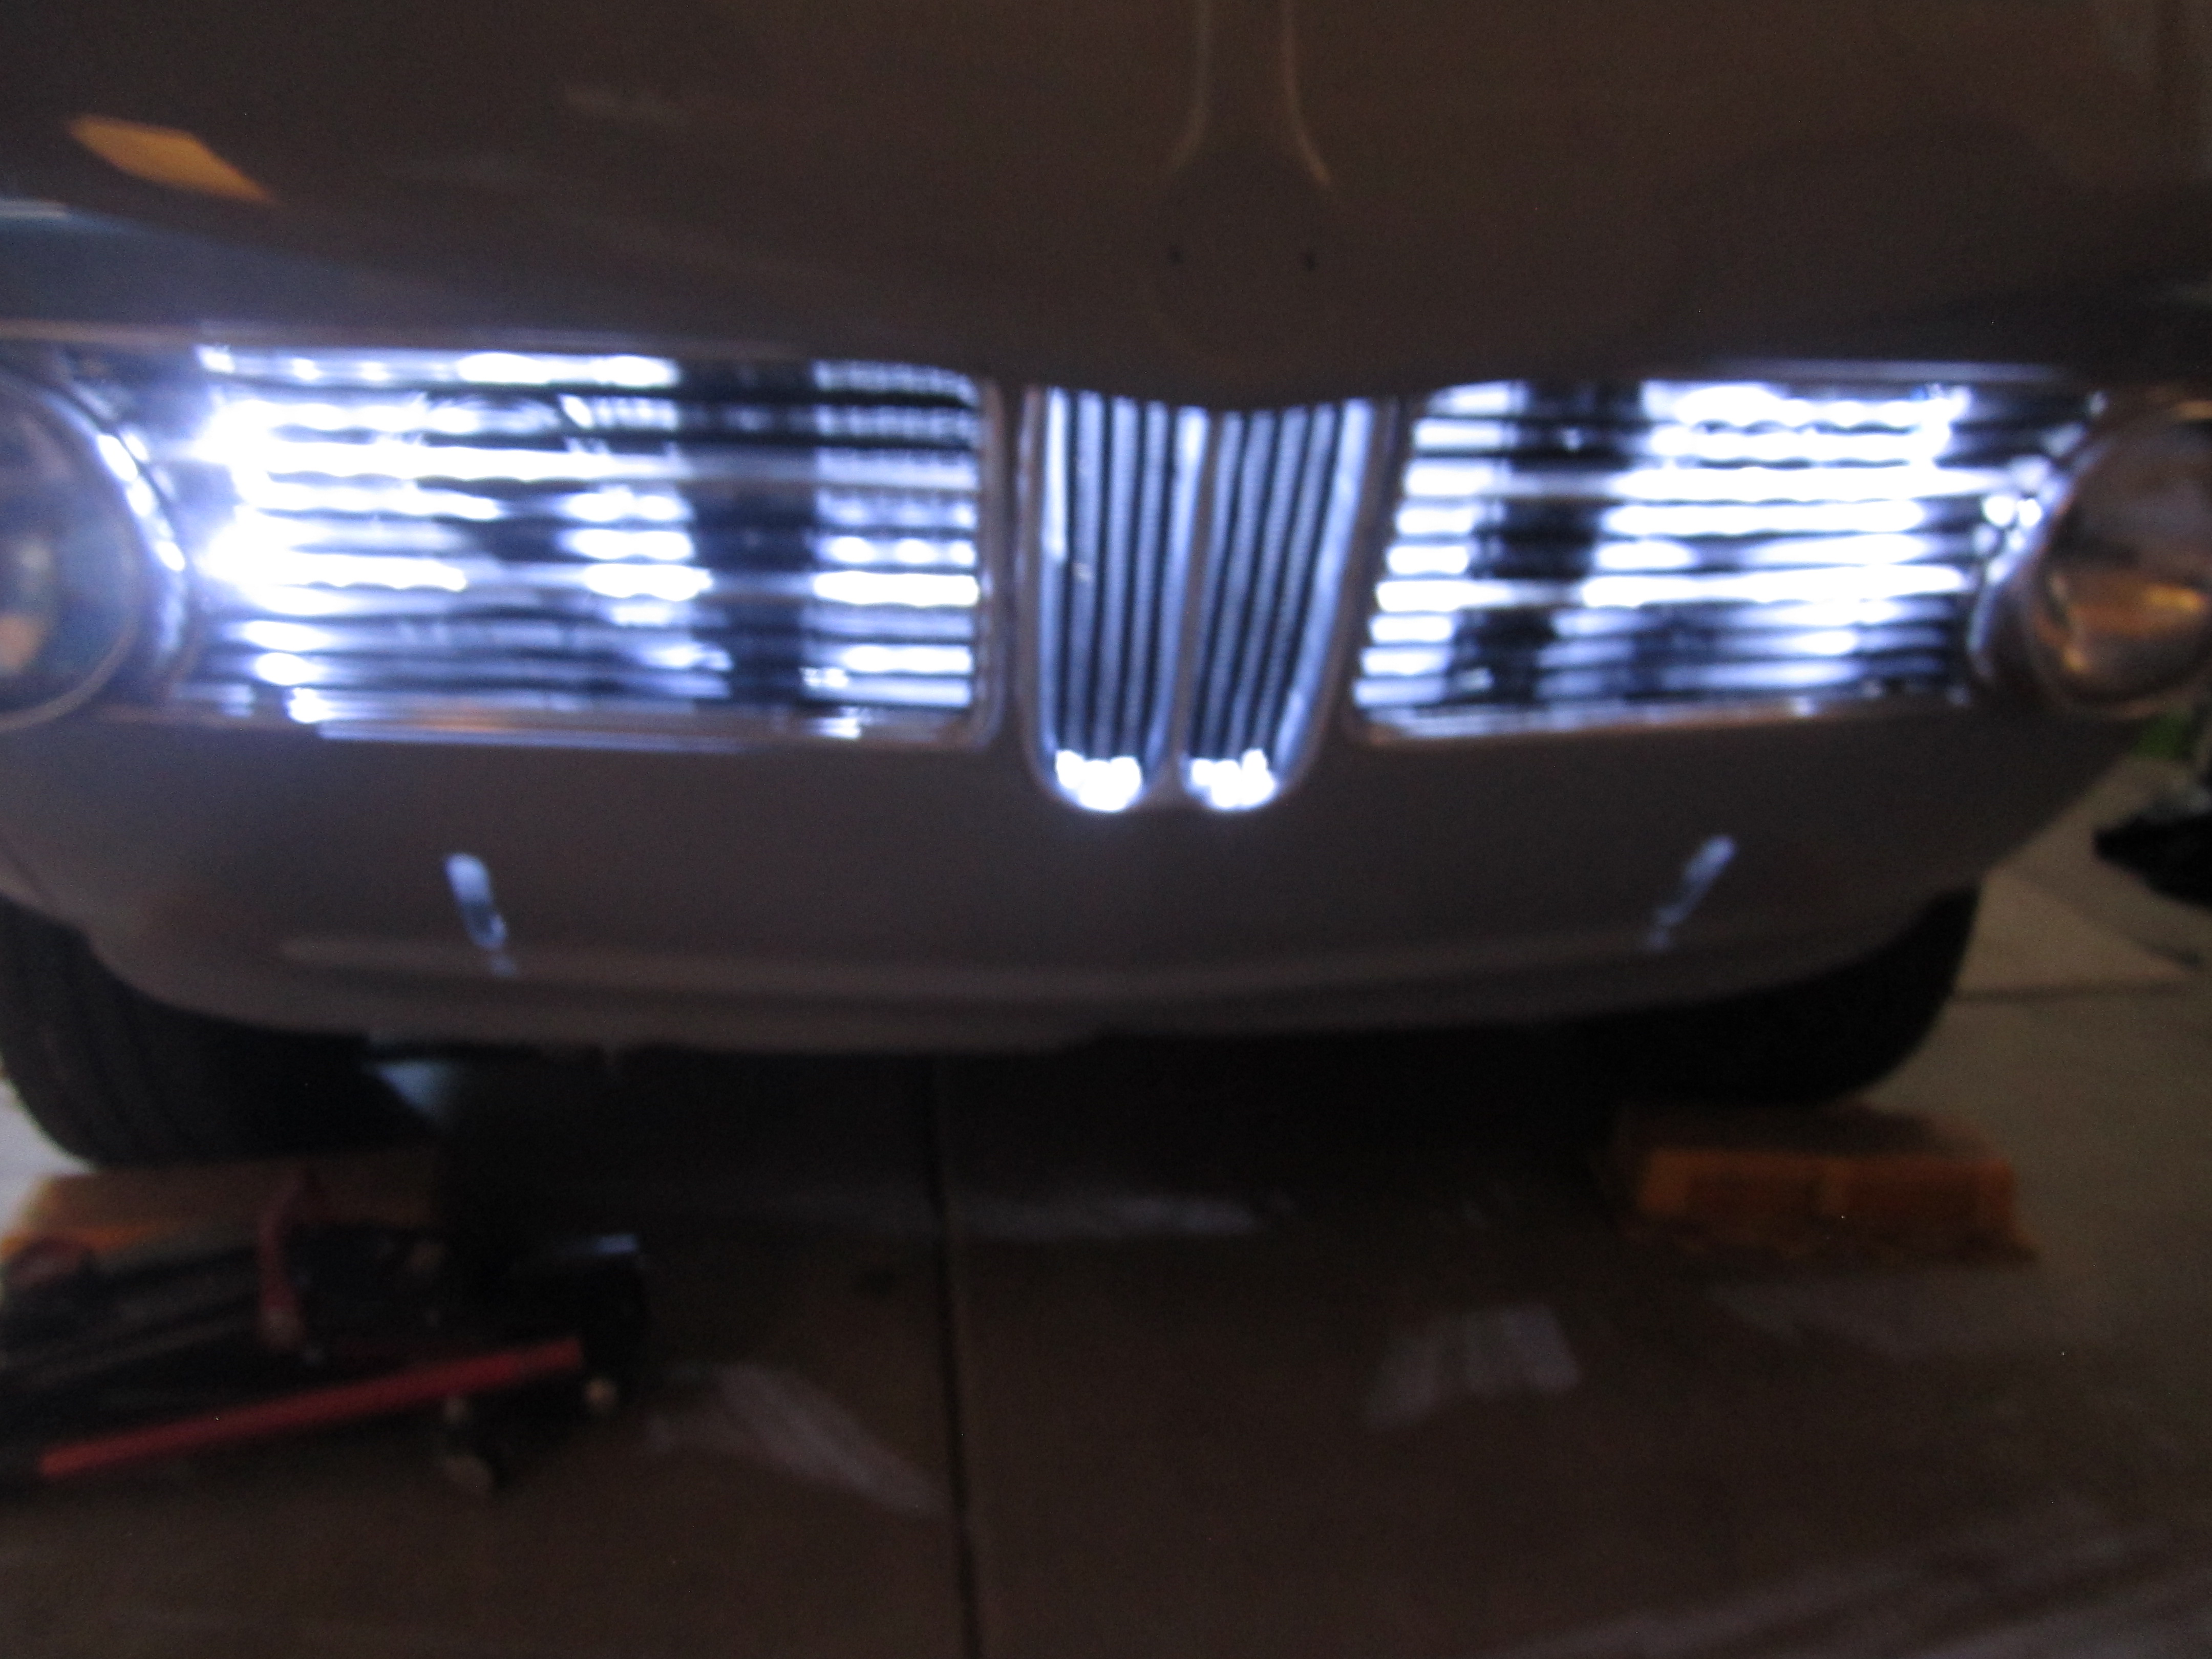
Grills, lights and Kidneys!
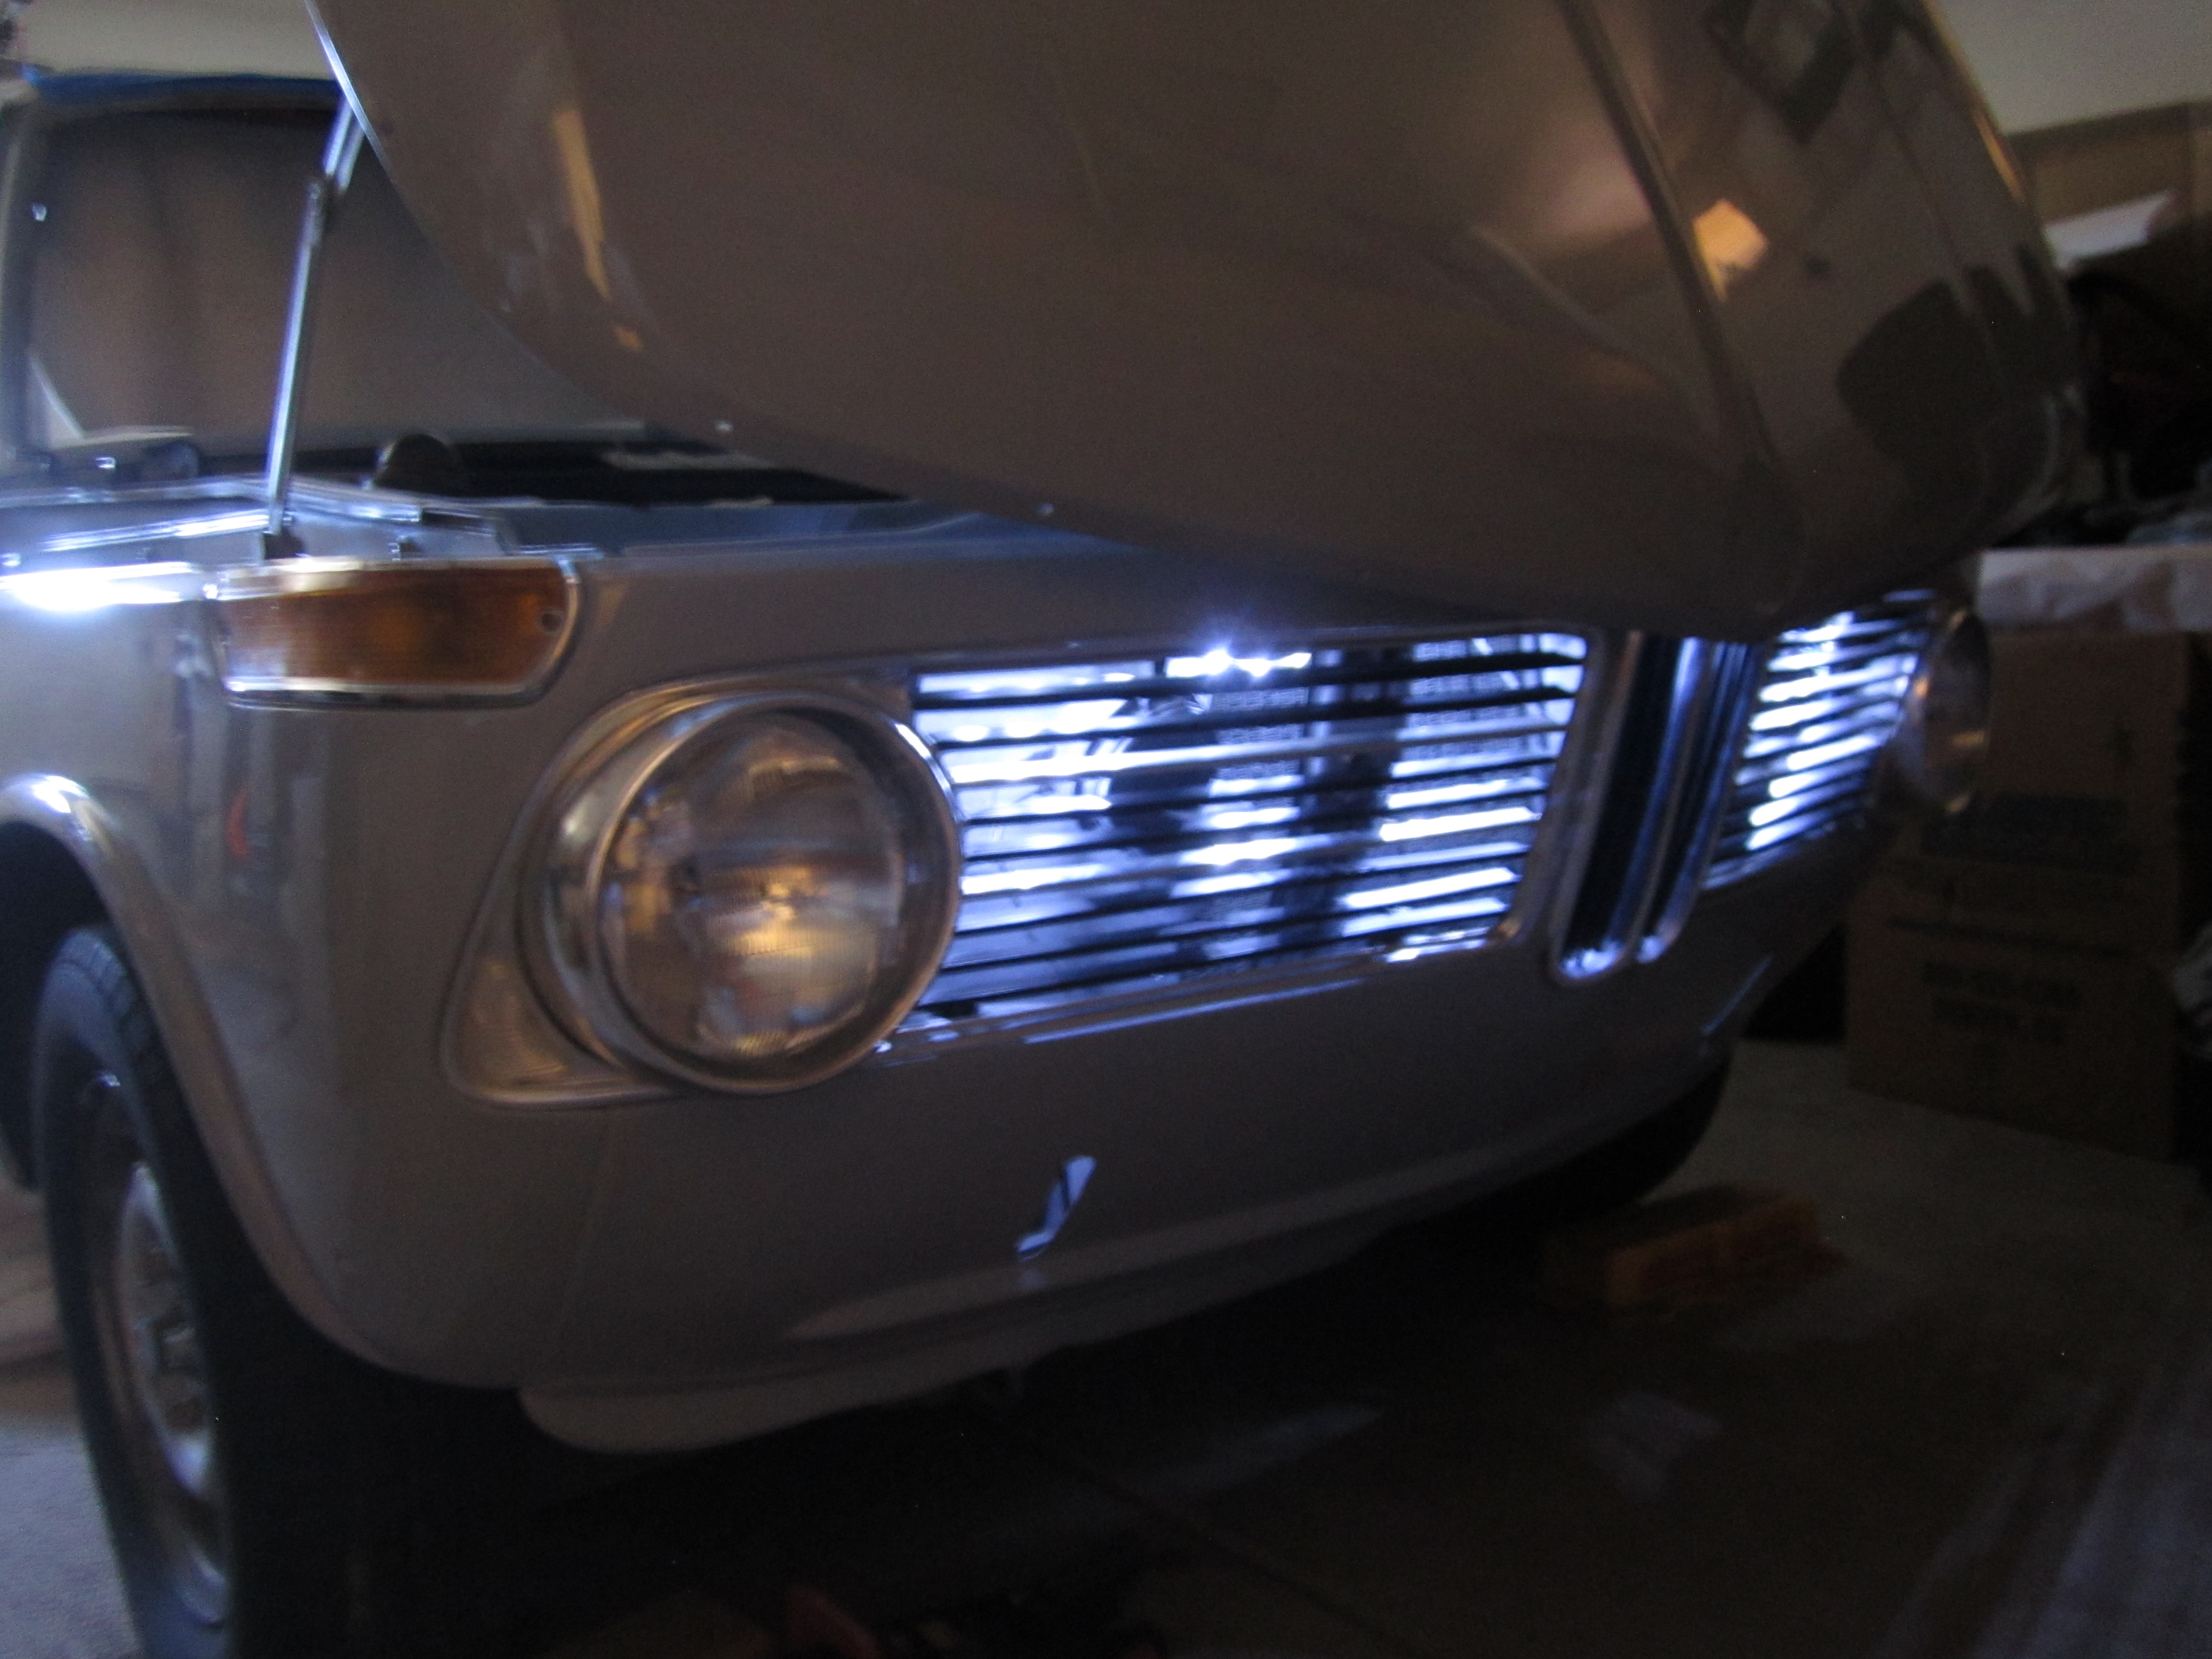
This weekend I got a few more items done on the stuka. I had worked the head lights a while back but wanted to add a cool feature tot he front of the car that required I keep the grills off until I got the strip of LED lights mounted in the front top of the engine bay.
It will be hooked up to the head light switch so they will only power on if I have the head lights on. The center kidney grill looks good with a bit of light to highlight the over 50 years of the signature double ovals!
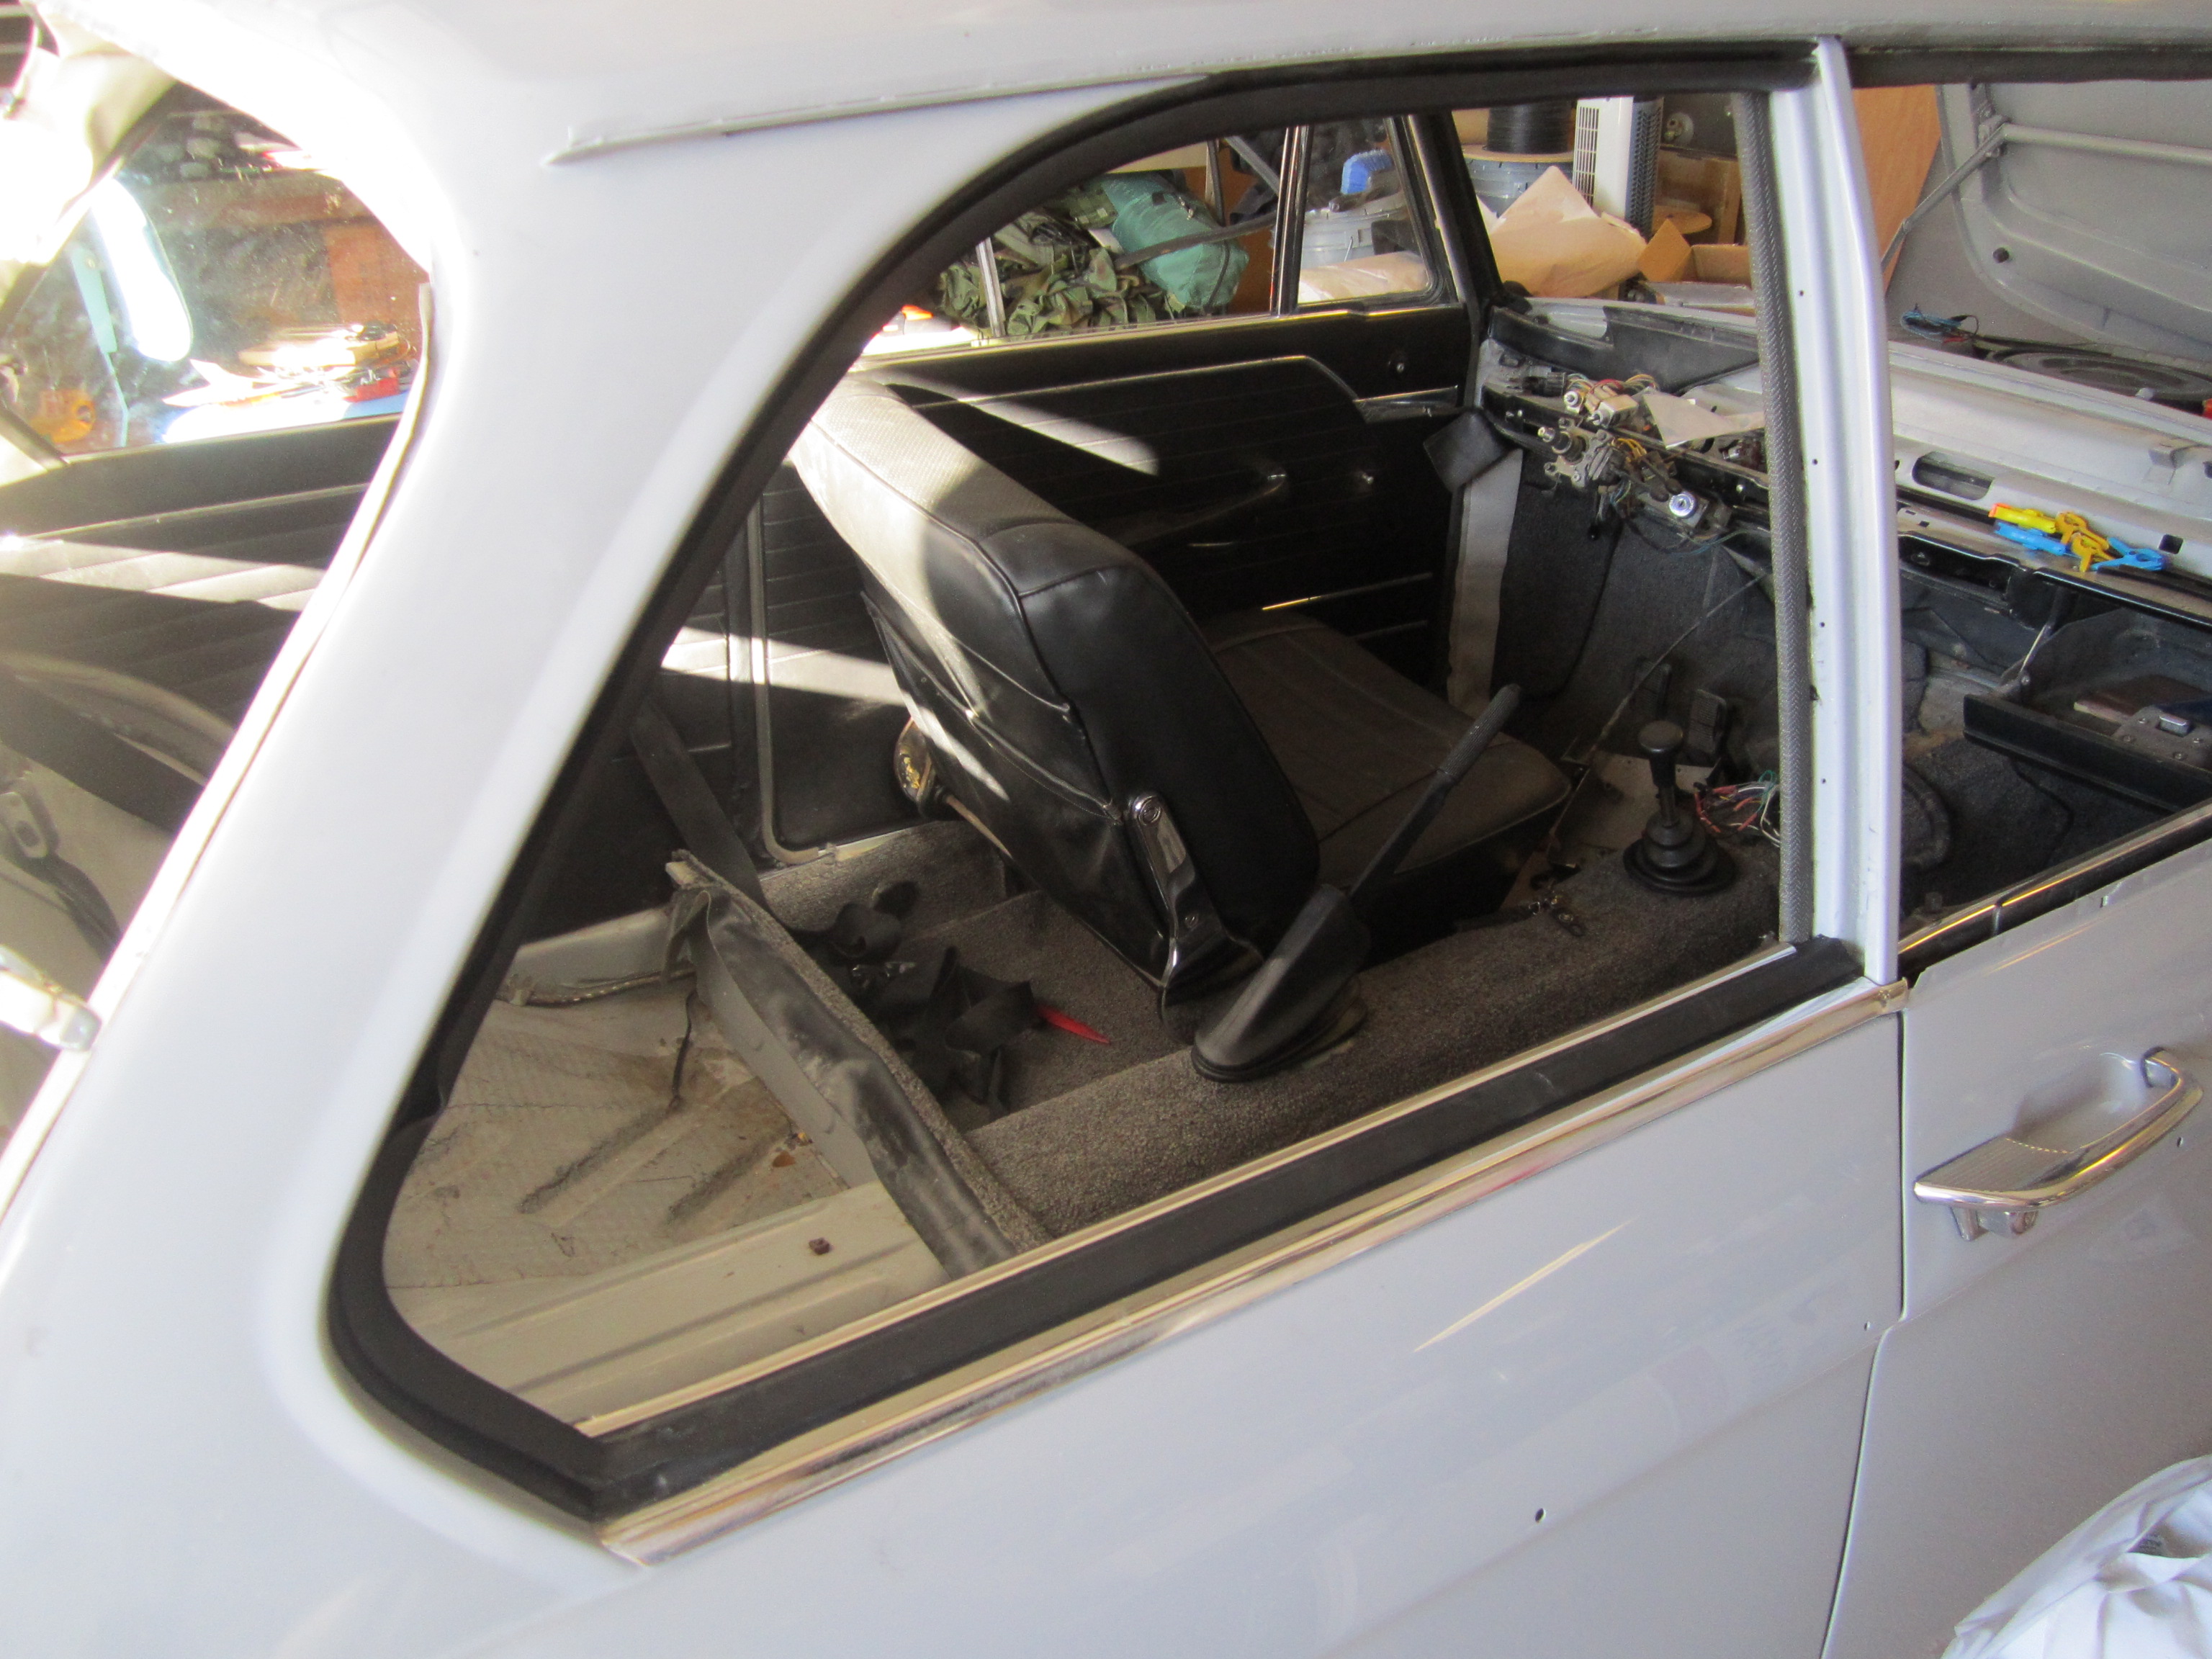
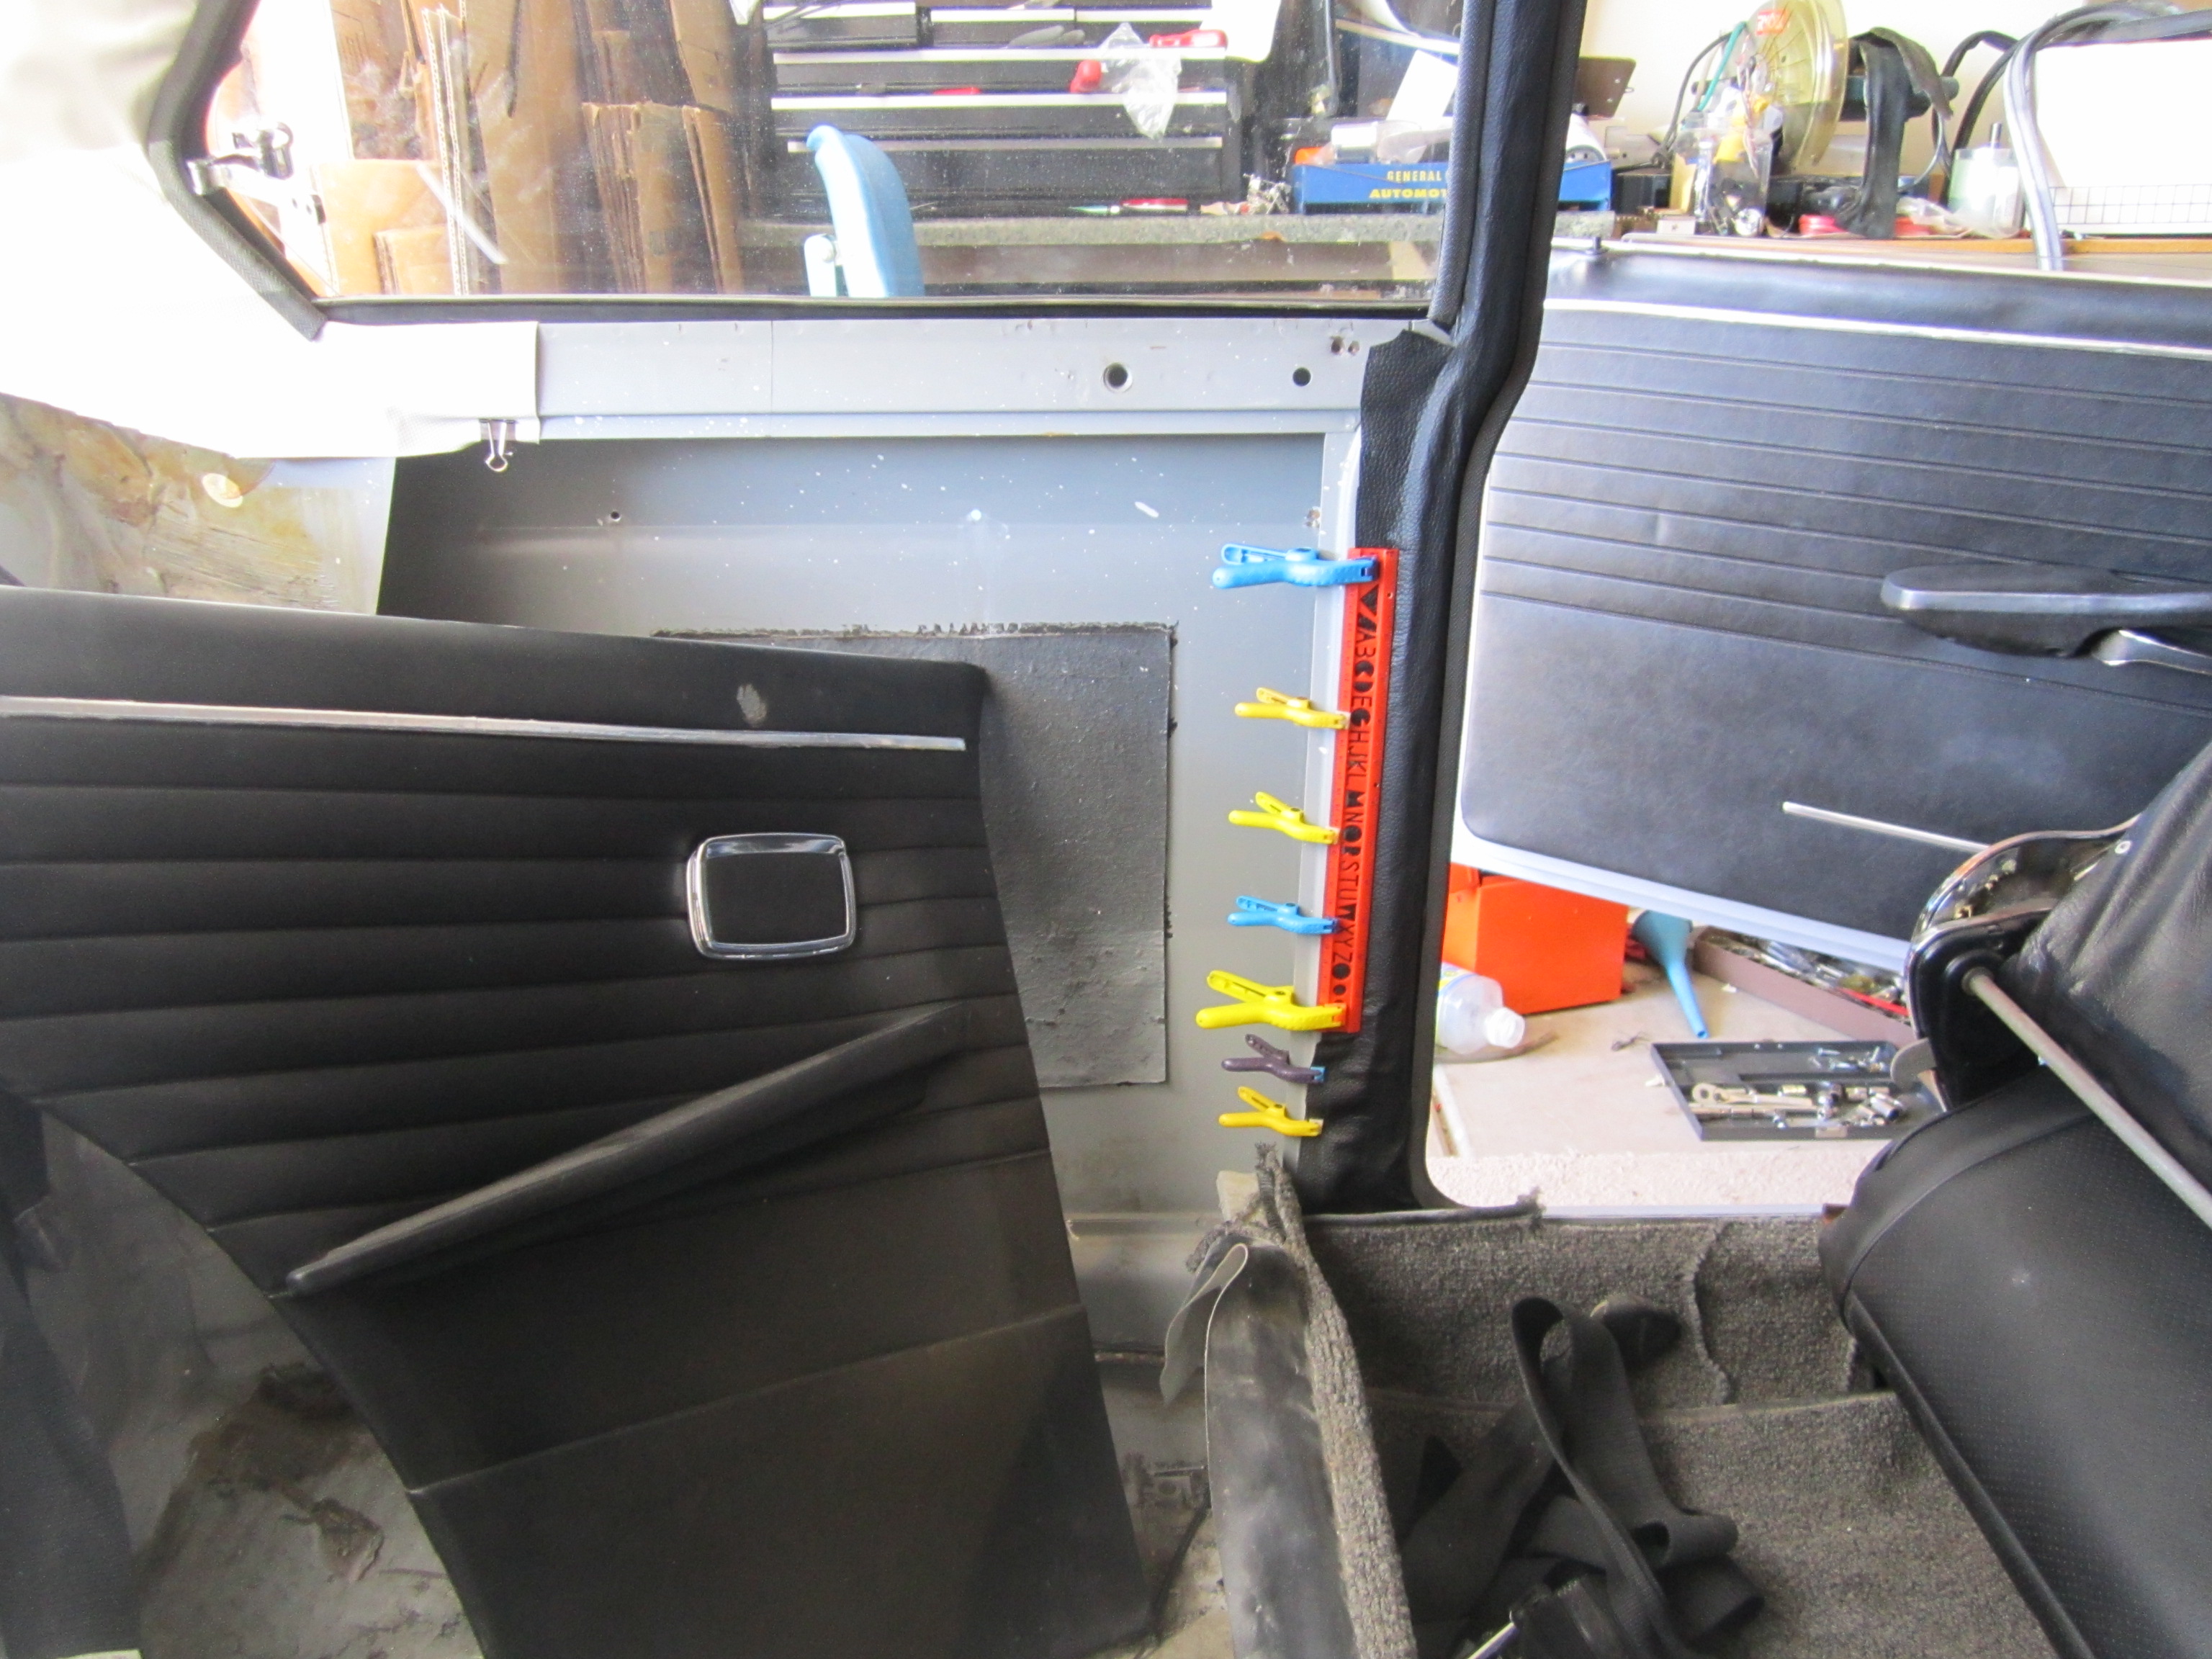
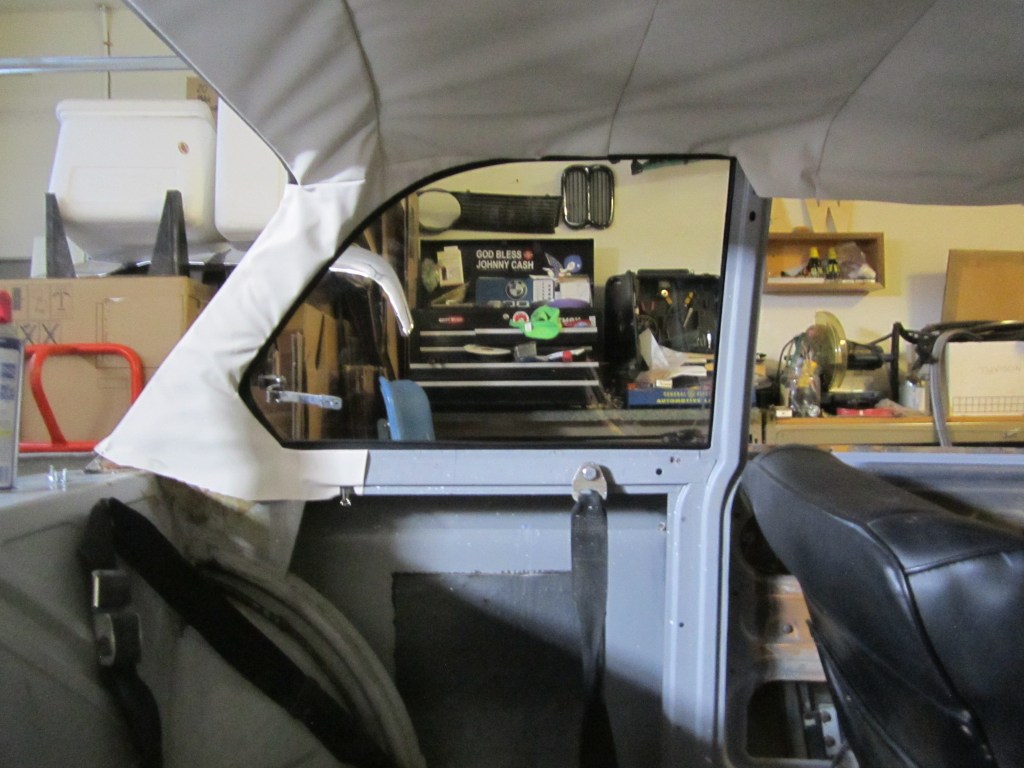
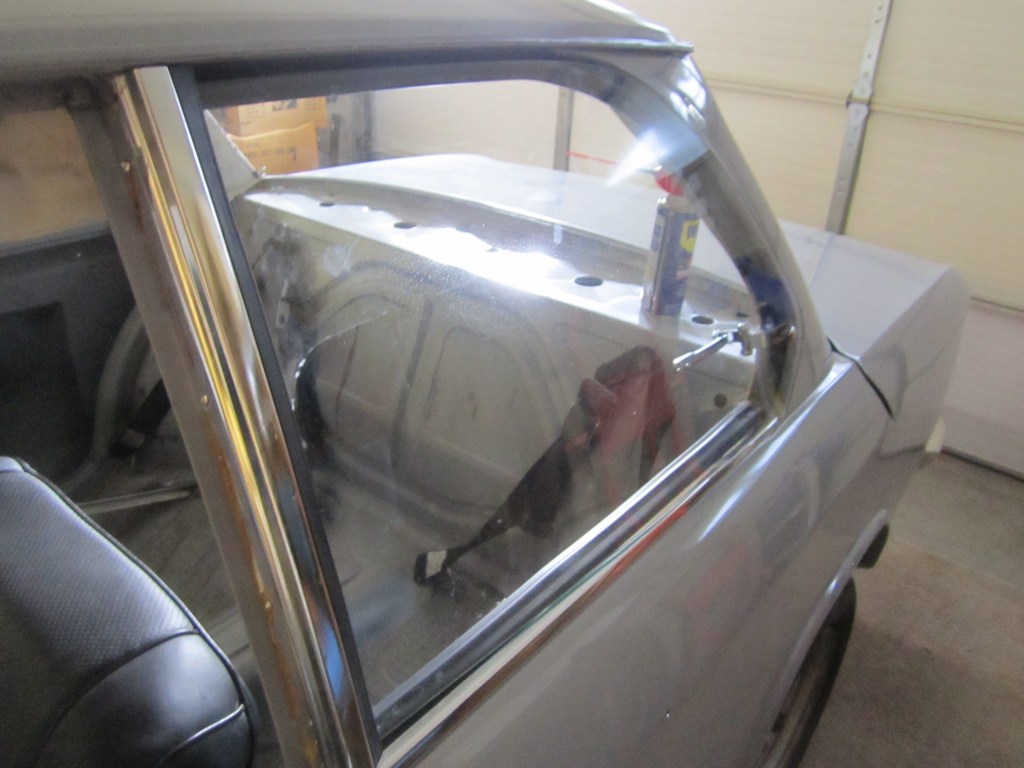
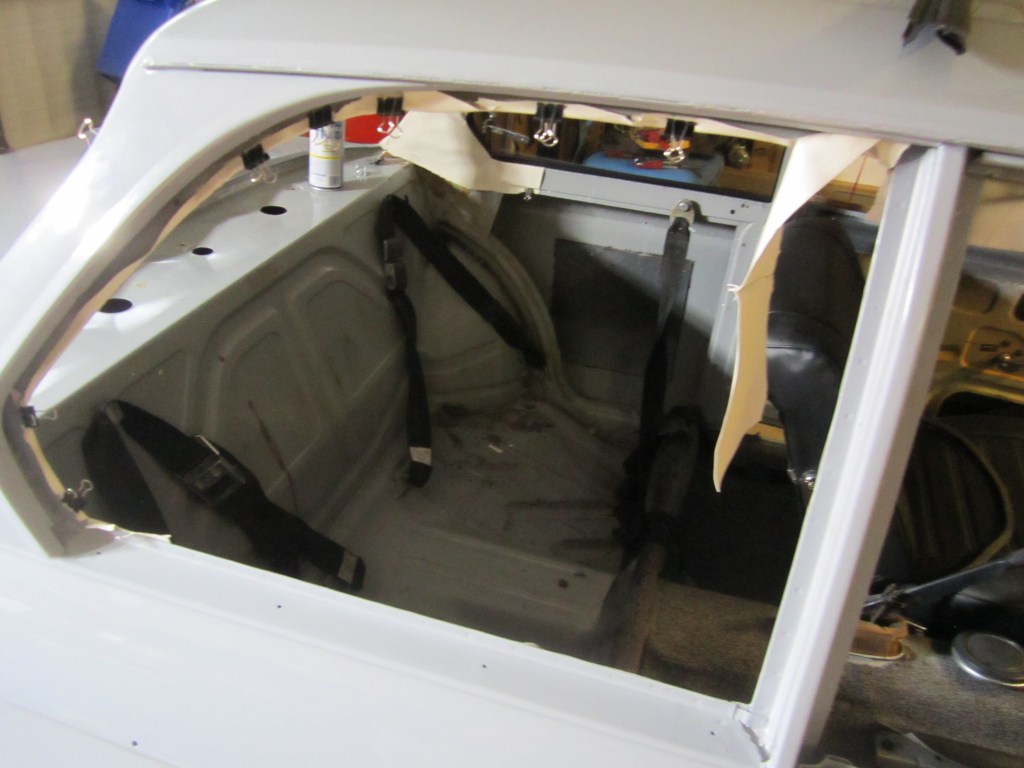
Quarter window BMW E10
This was one of the hardest seals to get into the car so far… I had no problem putting the chrome on with the rivets… or the window seal with the four screws in the bracket holding the window… it was the seal… it just would not sit in the channel nor could i just push it in… might have to research some tips or tricks for all the seals.
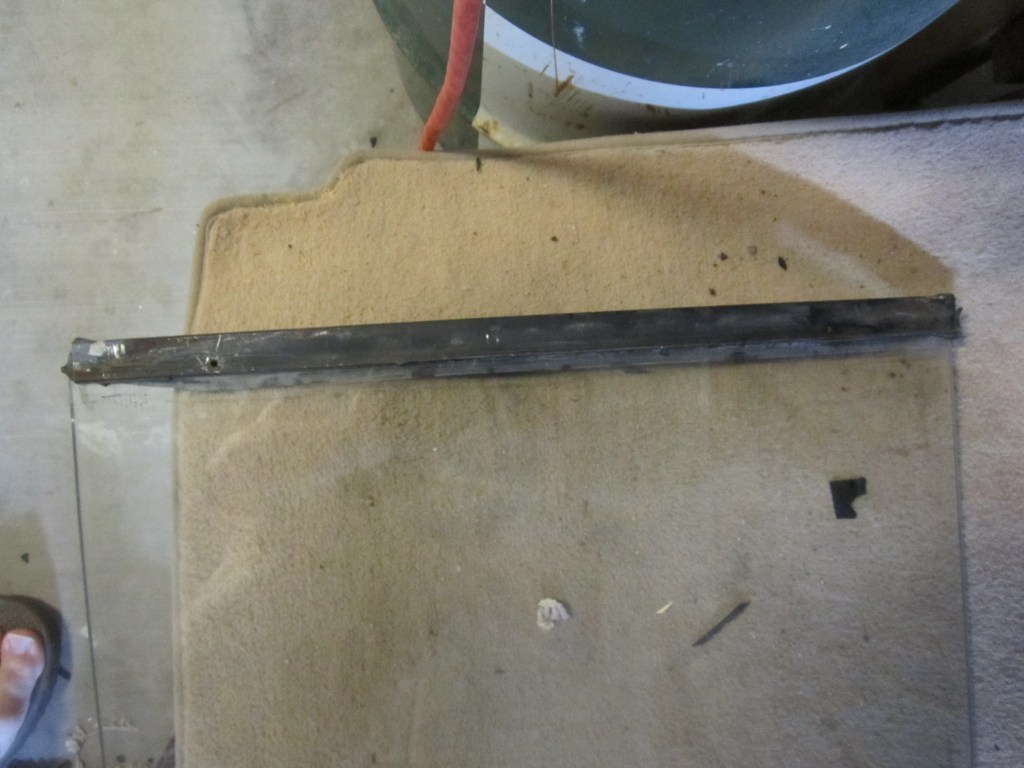

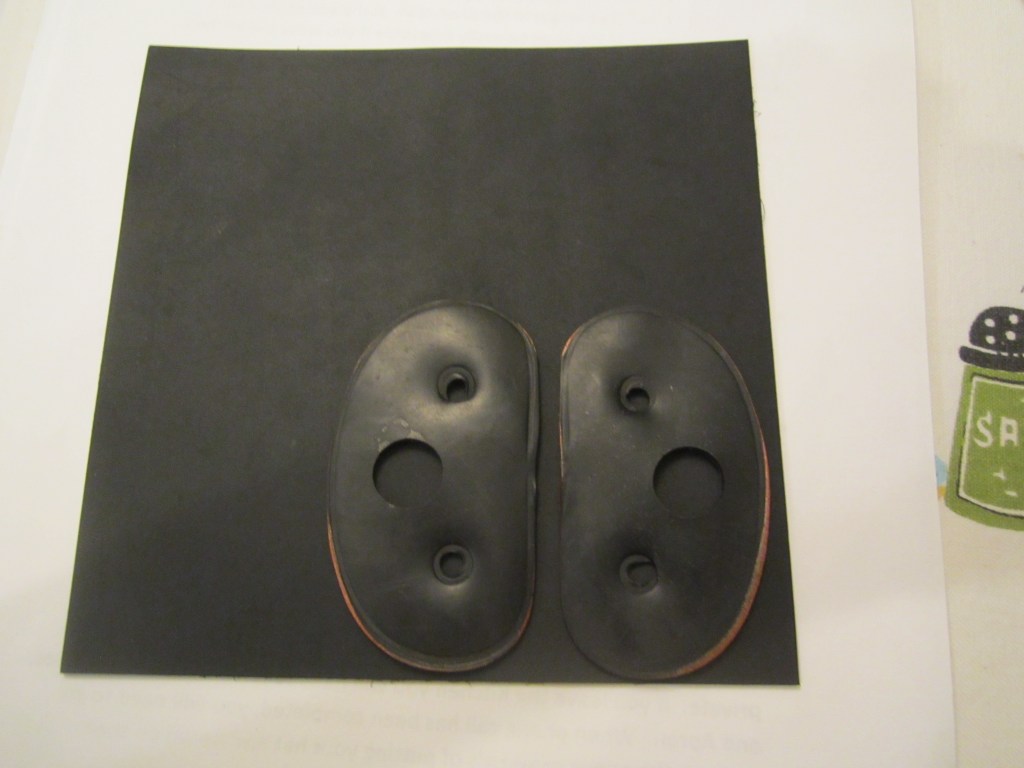
New Rubber Gaskets

This was an easy fix to all old rubber seals that needed to be replaced, I bought a dozen packages of the rubber sheets, mark them out and trace, then I use an a razor blade to cut them out. Once on the car with a thin plastic backing to protect the paint, (this plastic will be removed after I cut to the correct size) behind the rubber, I then trim to exact fit!


Progress! Lights… camera… Dash!
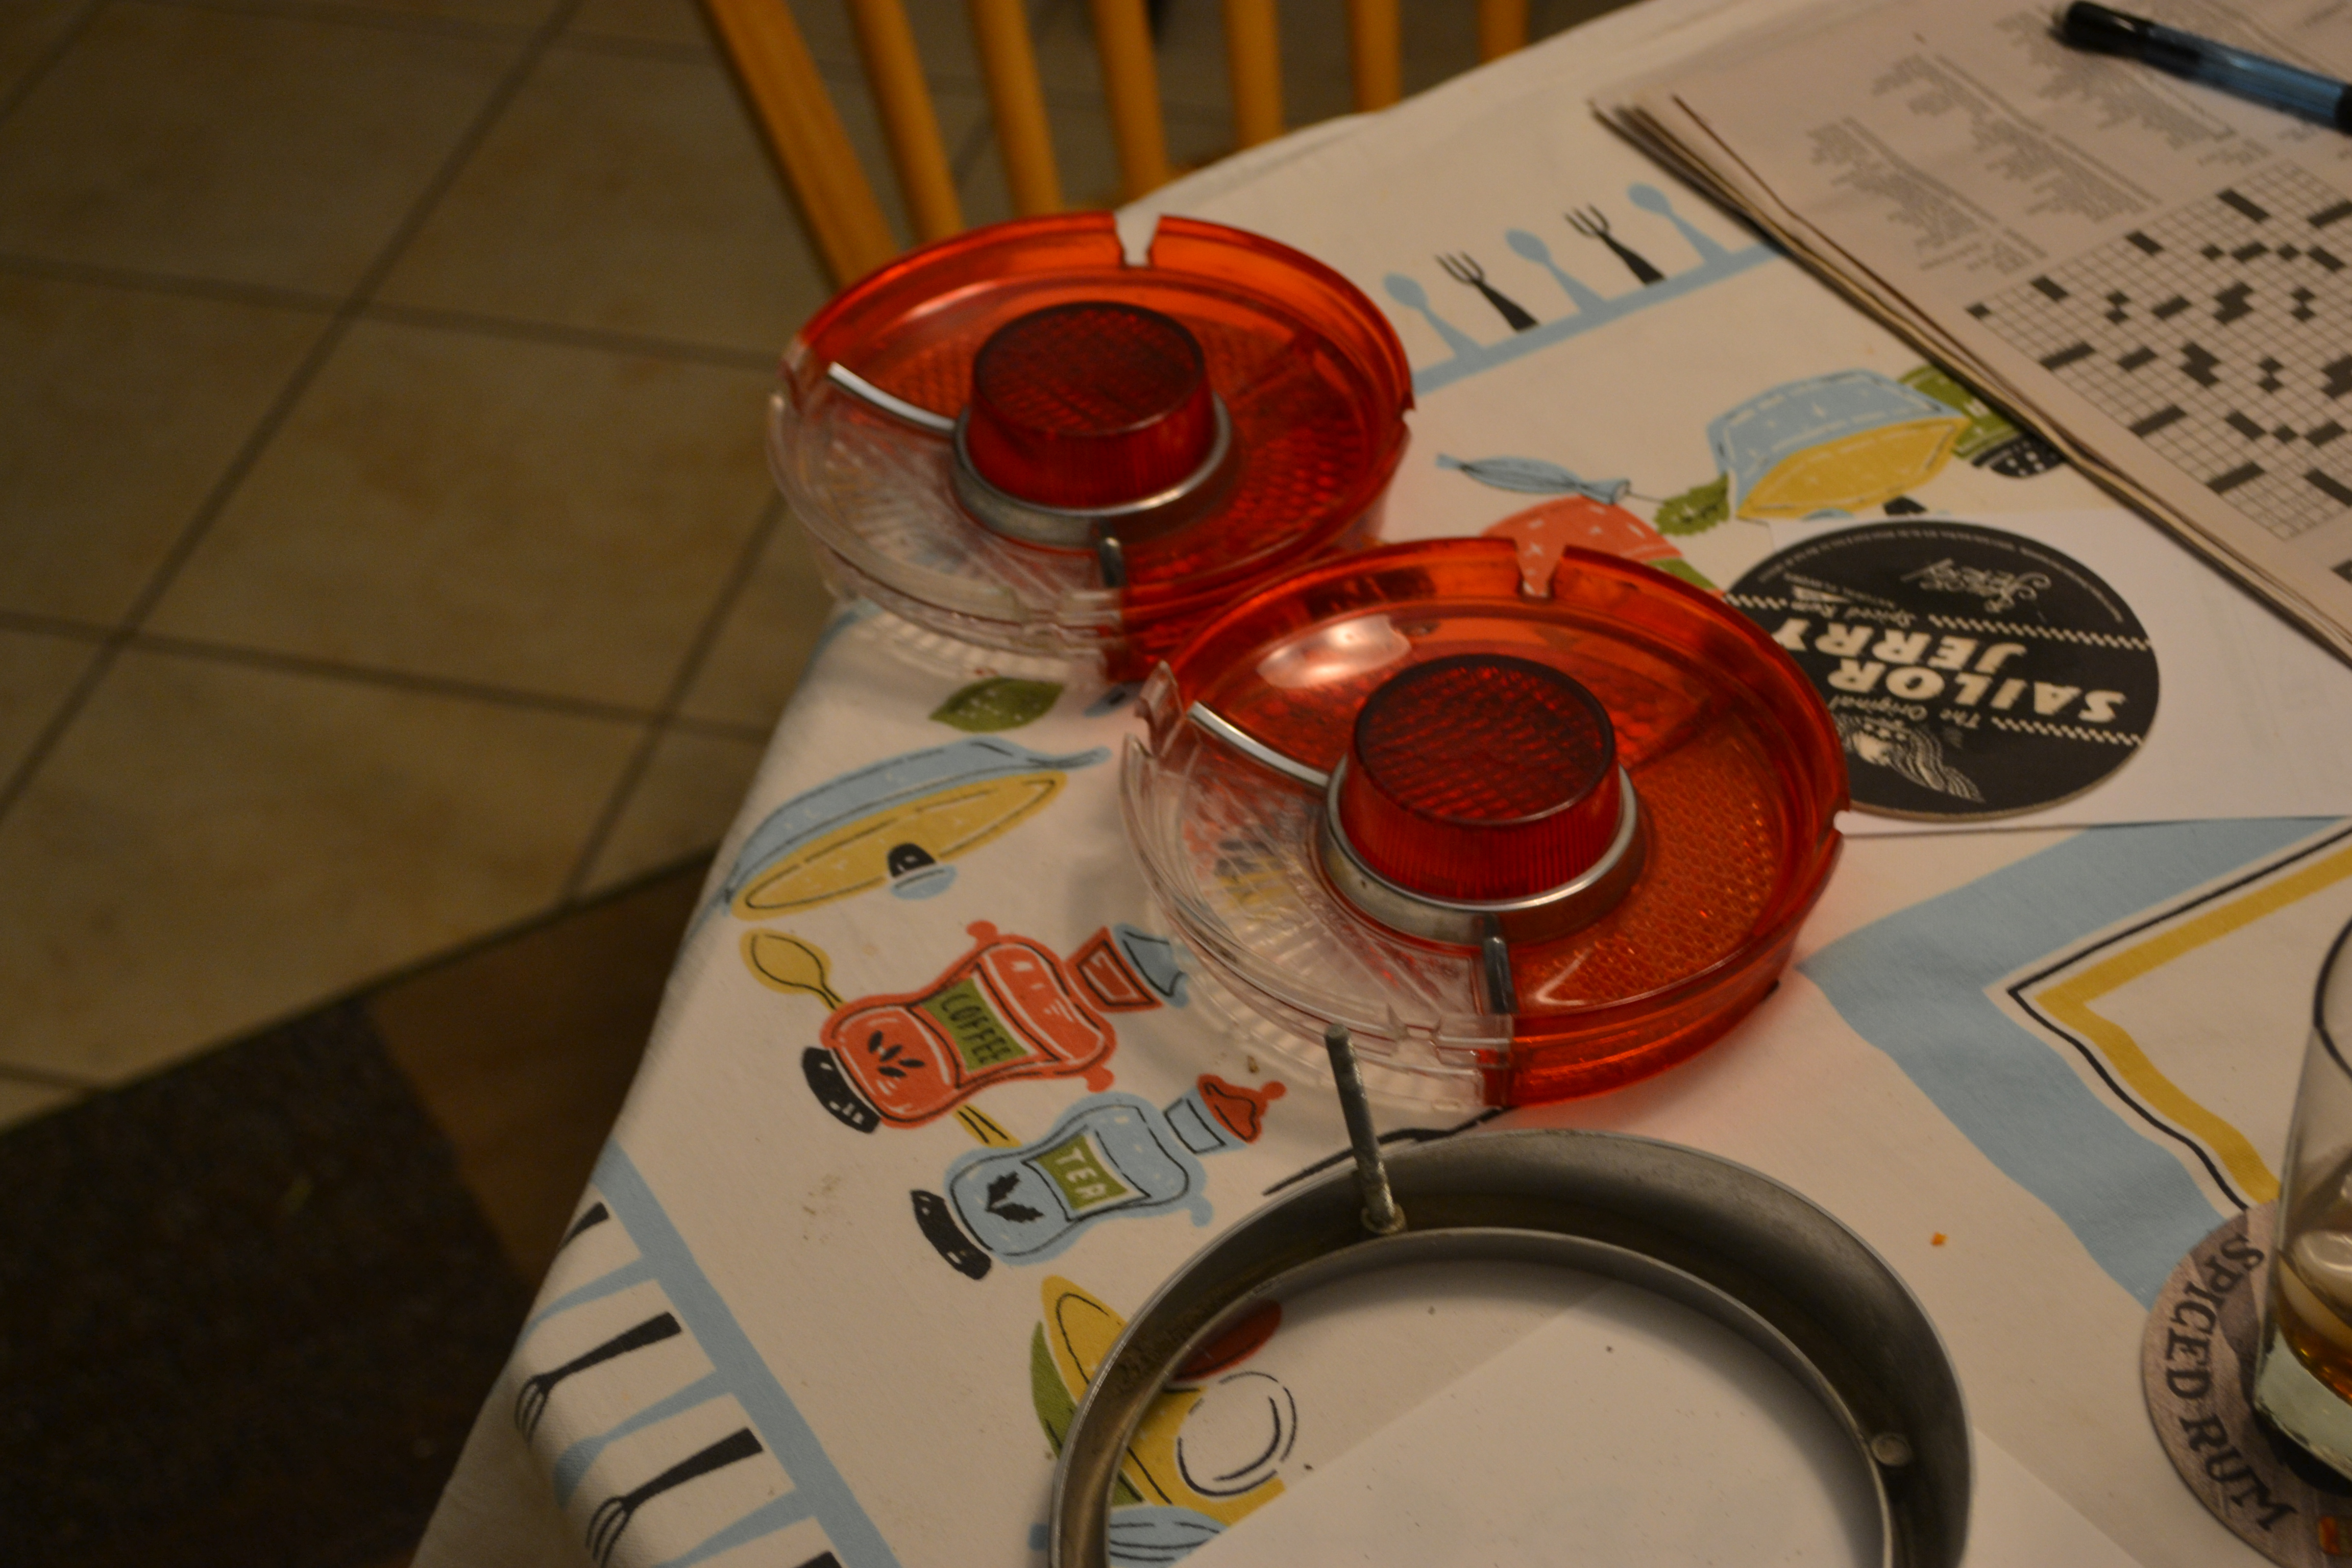
I brought in the tail light assemblies last night to clean. All torn apart, ready for new gaskets and cleaned…
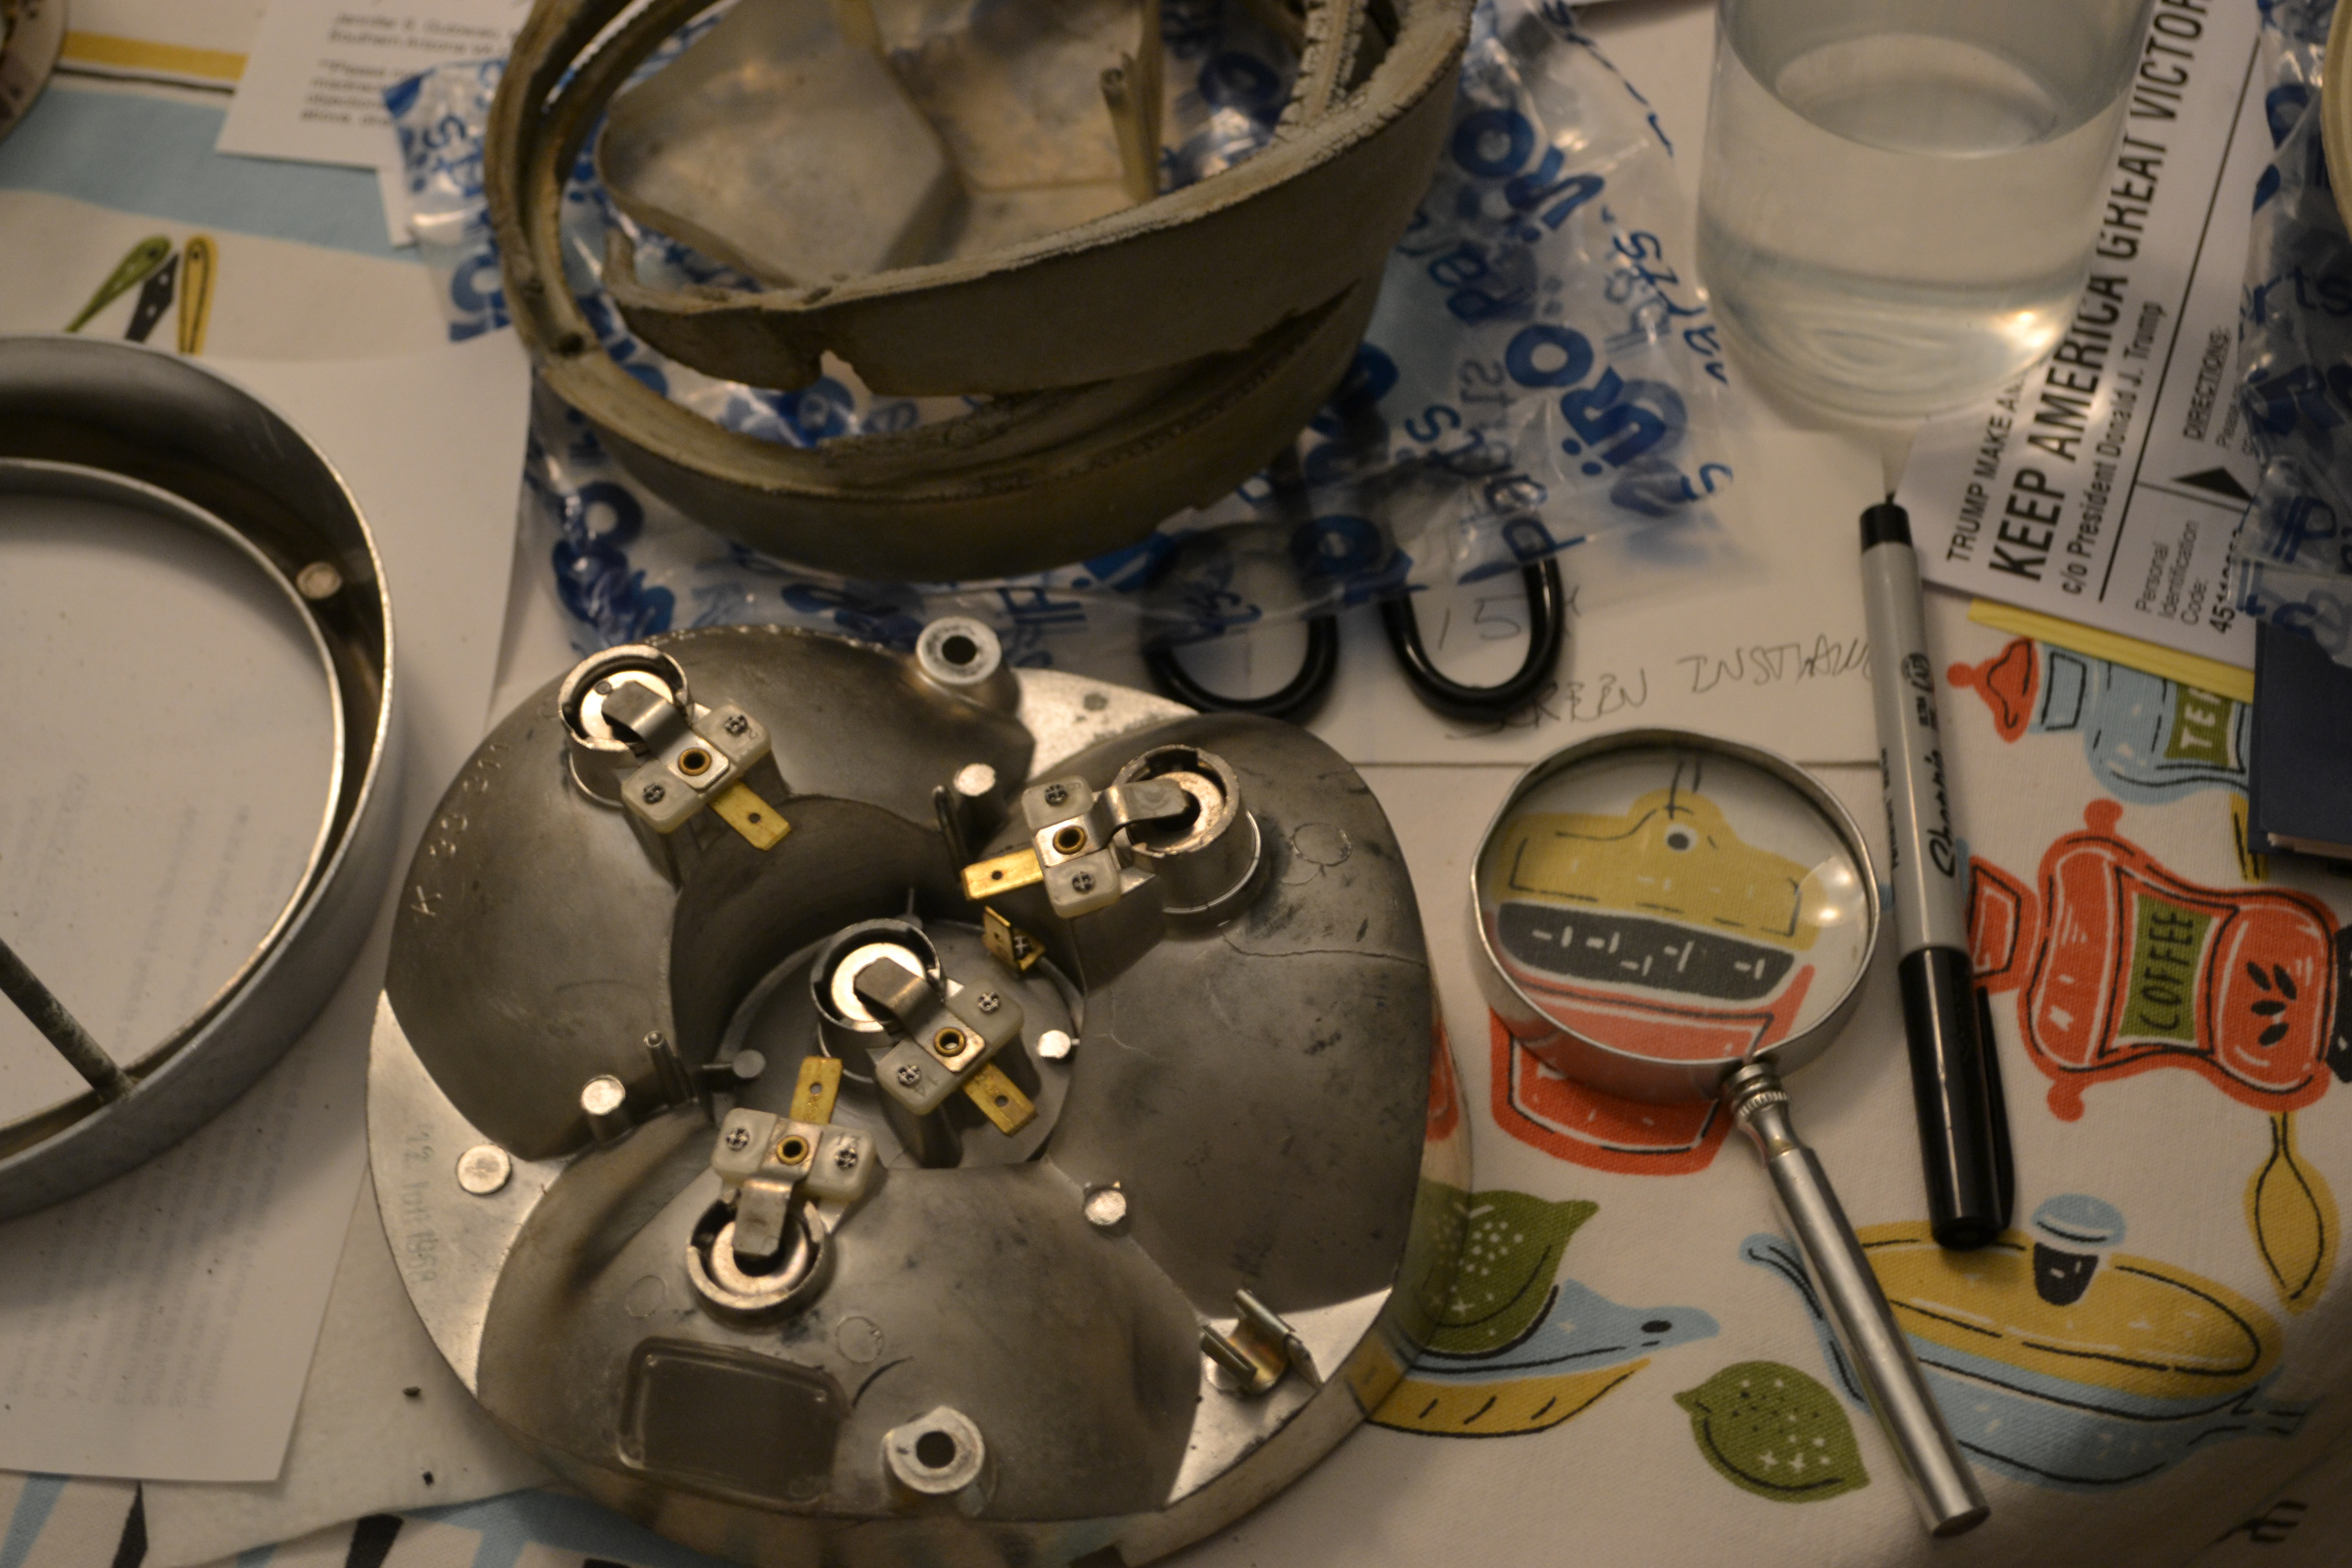


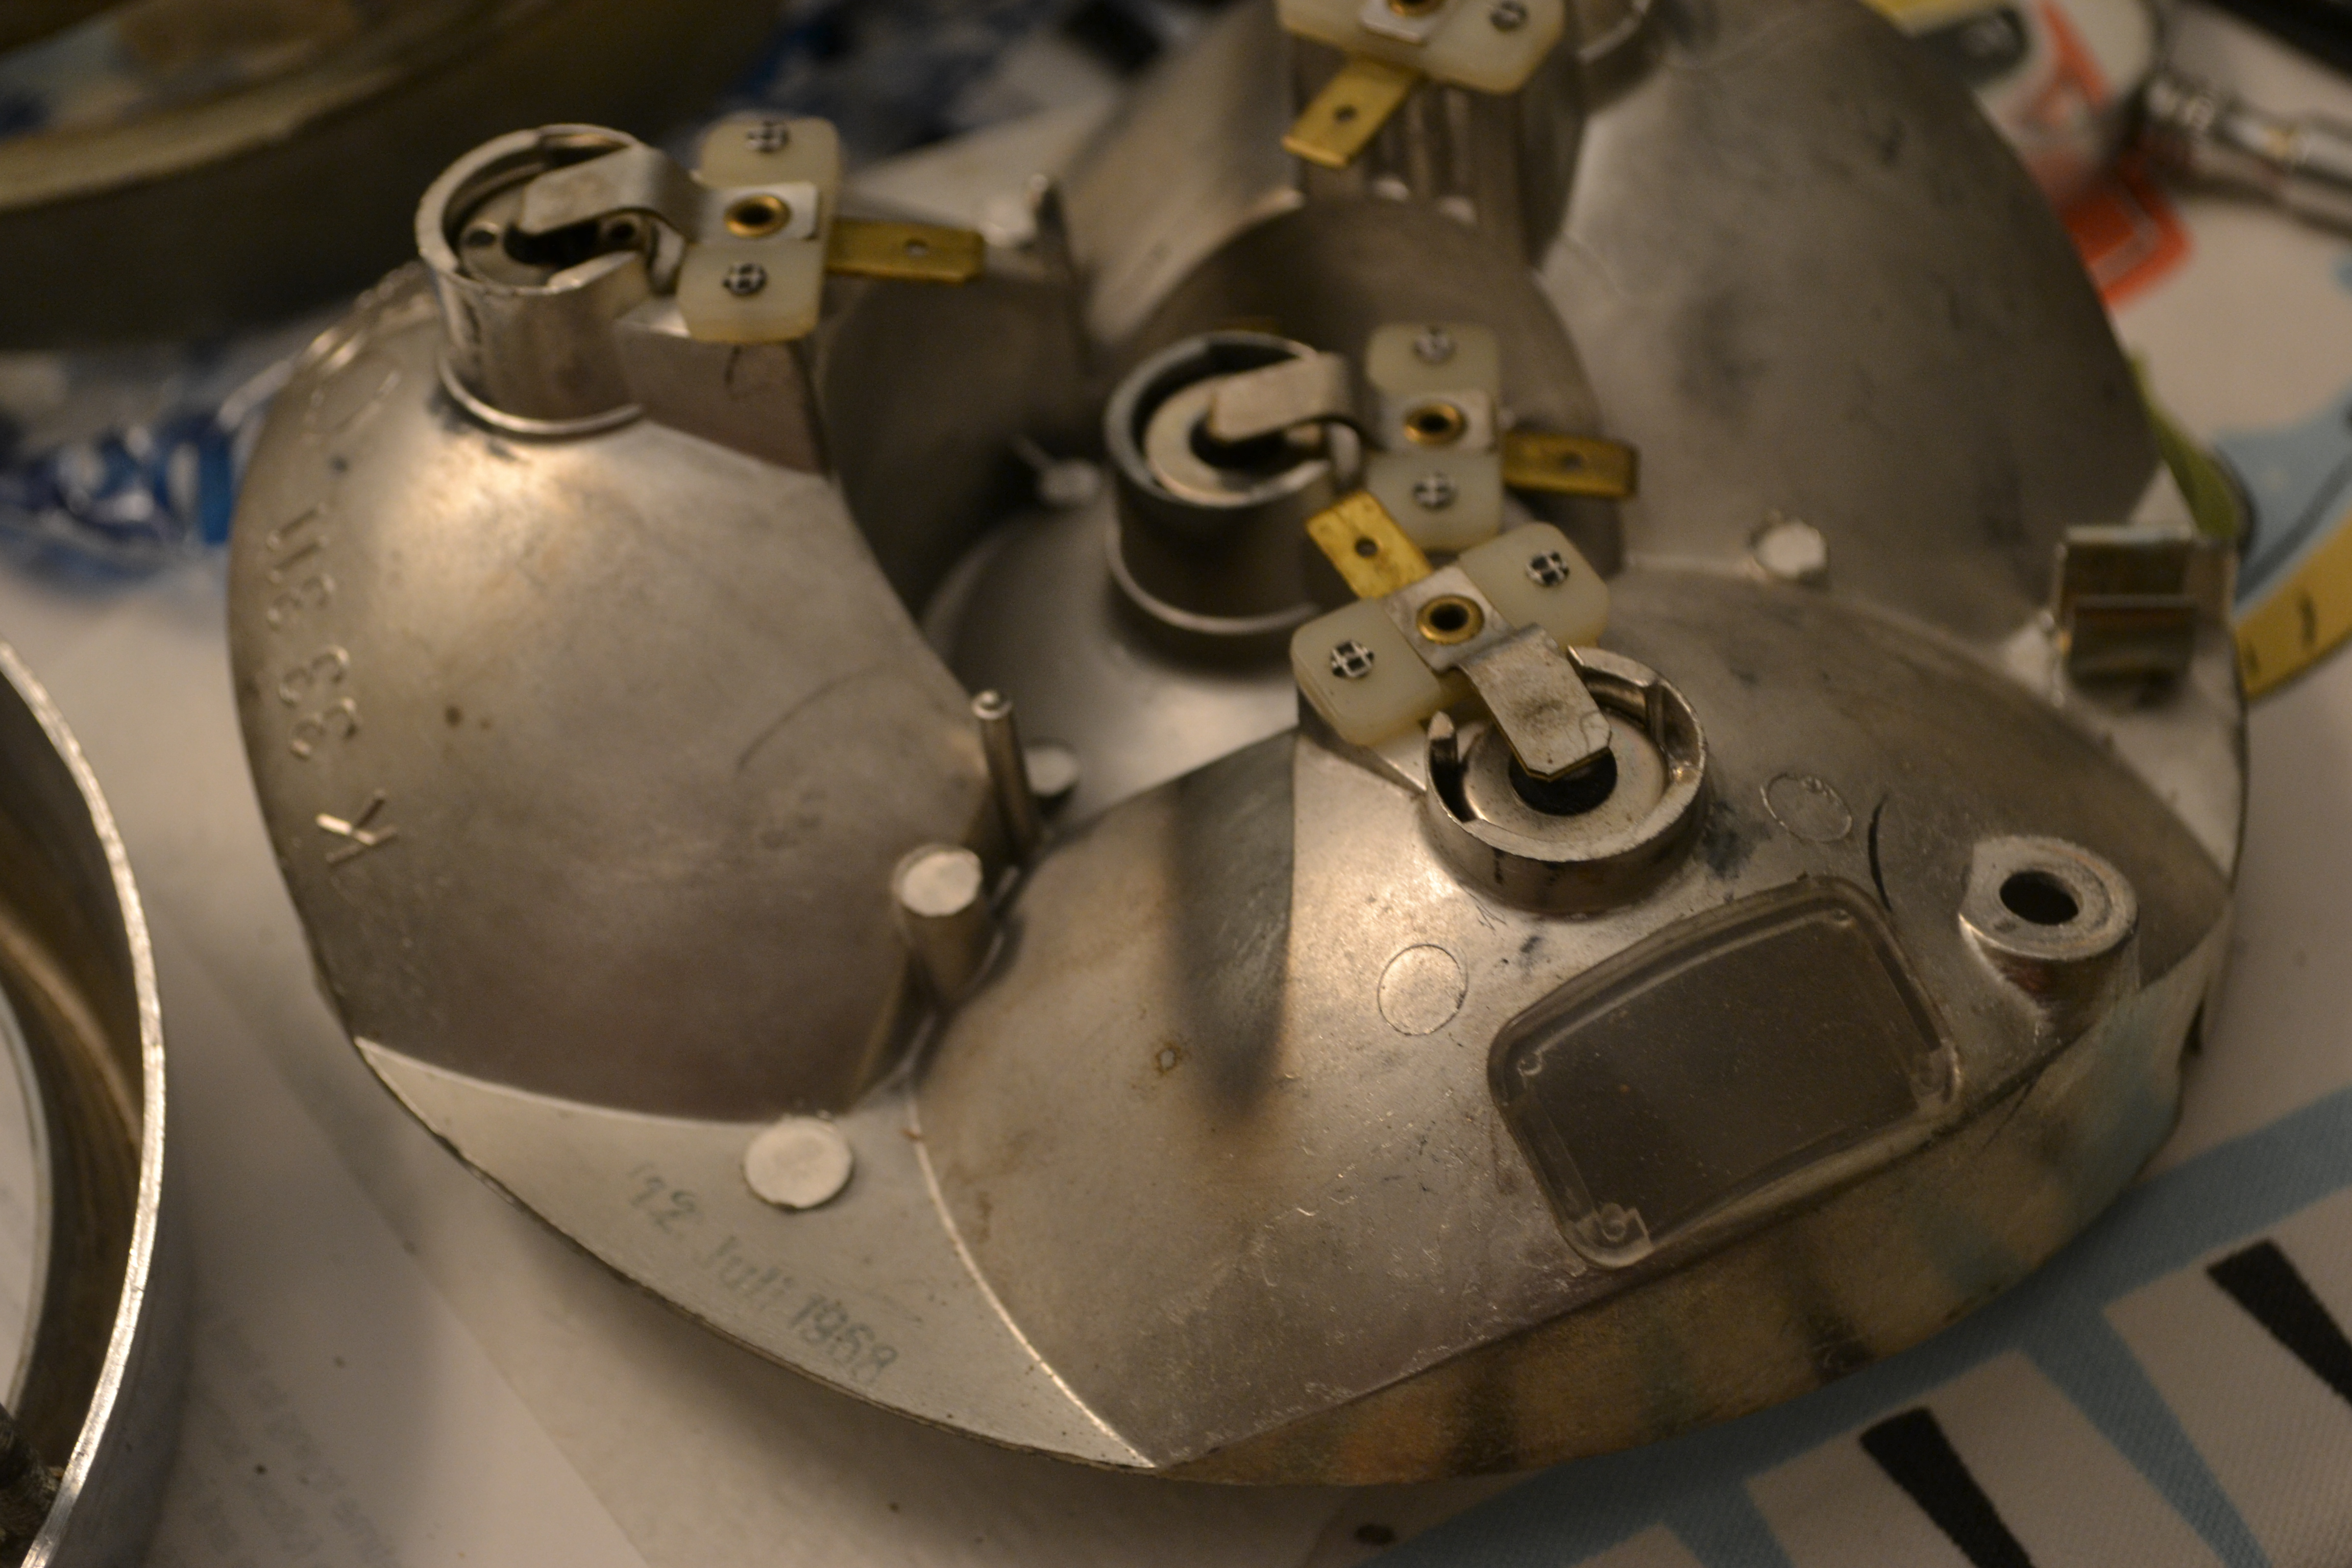
Cleaning the tail assemblies

New tail assembly seals….

Trunk seal done… Chrome and tail lights… everything fits perfect!
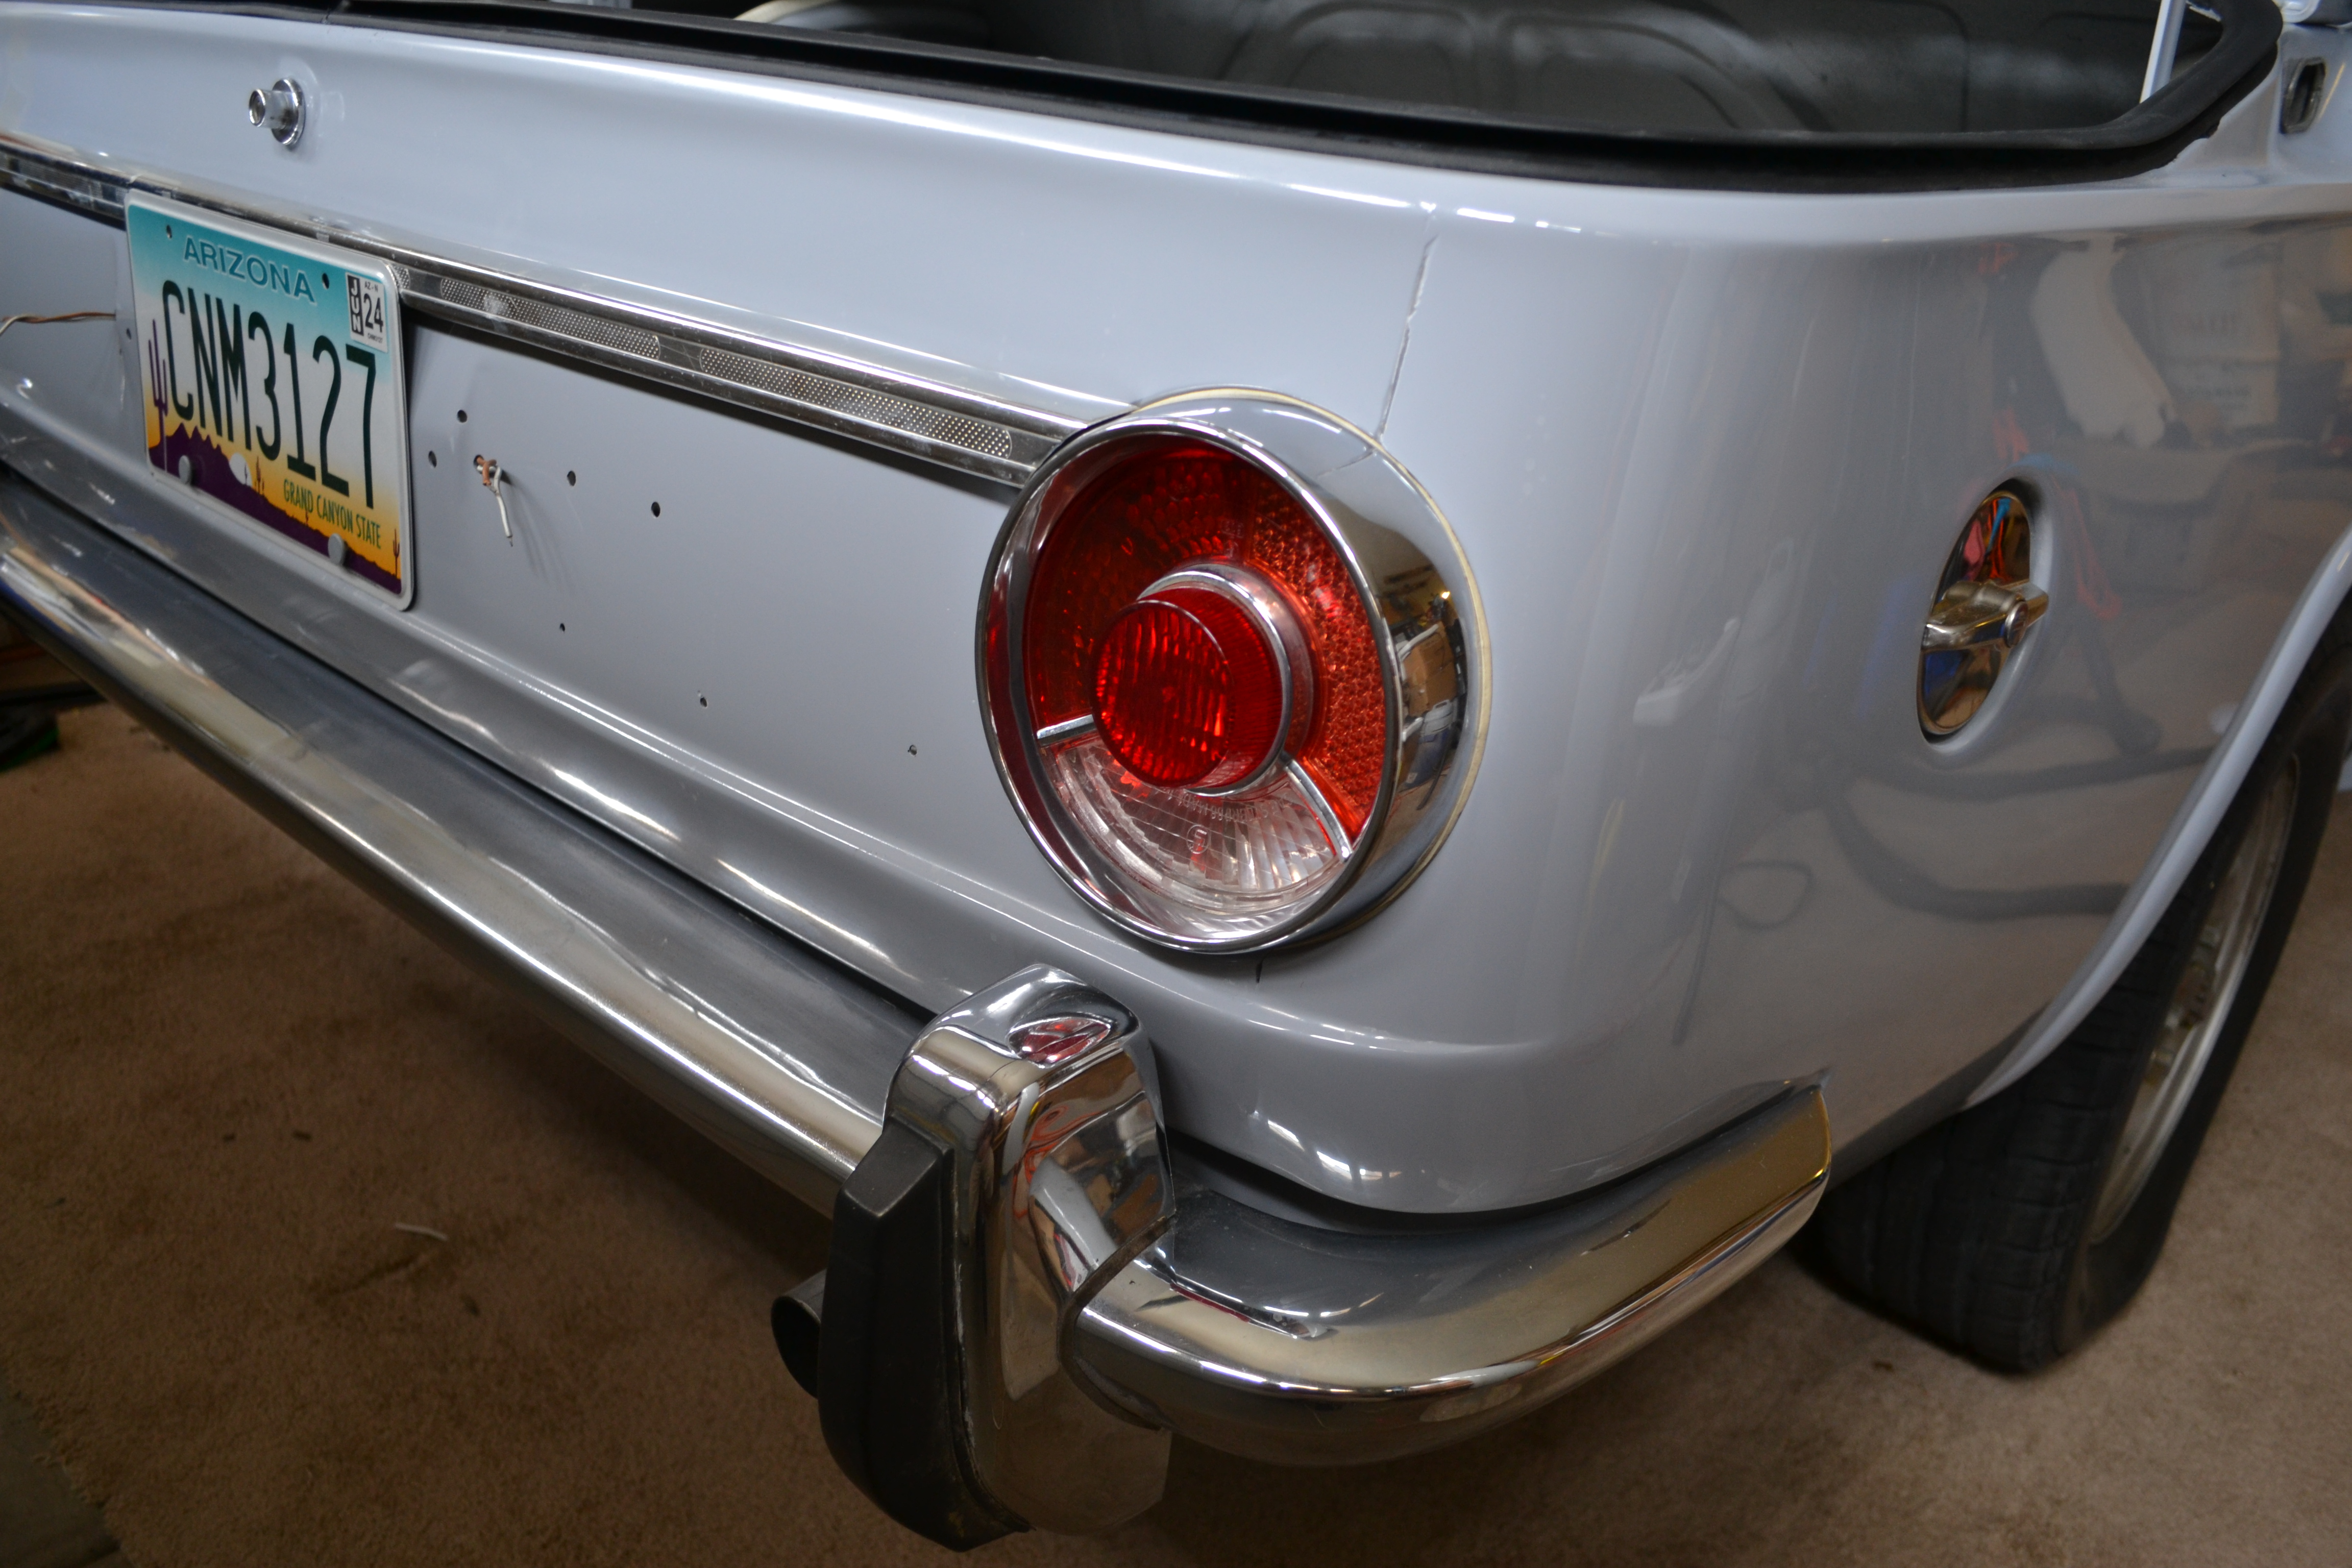
Checked all the lights in the tail….turn lights and brake where swapped… easy fix, just swap the spade connection.

Found my AZ plate… was put in a box and then moved…

Dash is removed… cleaning as I go

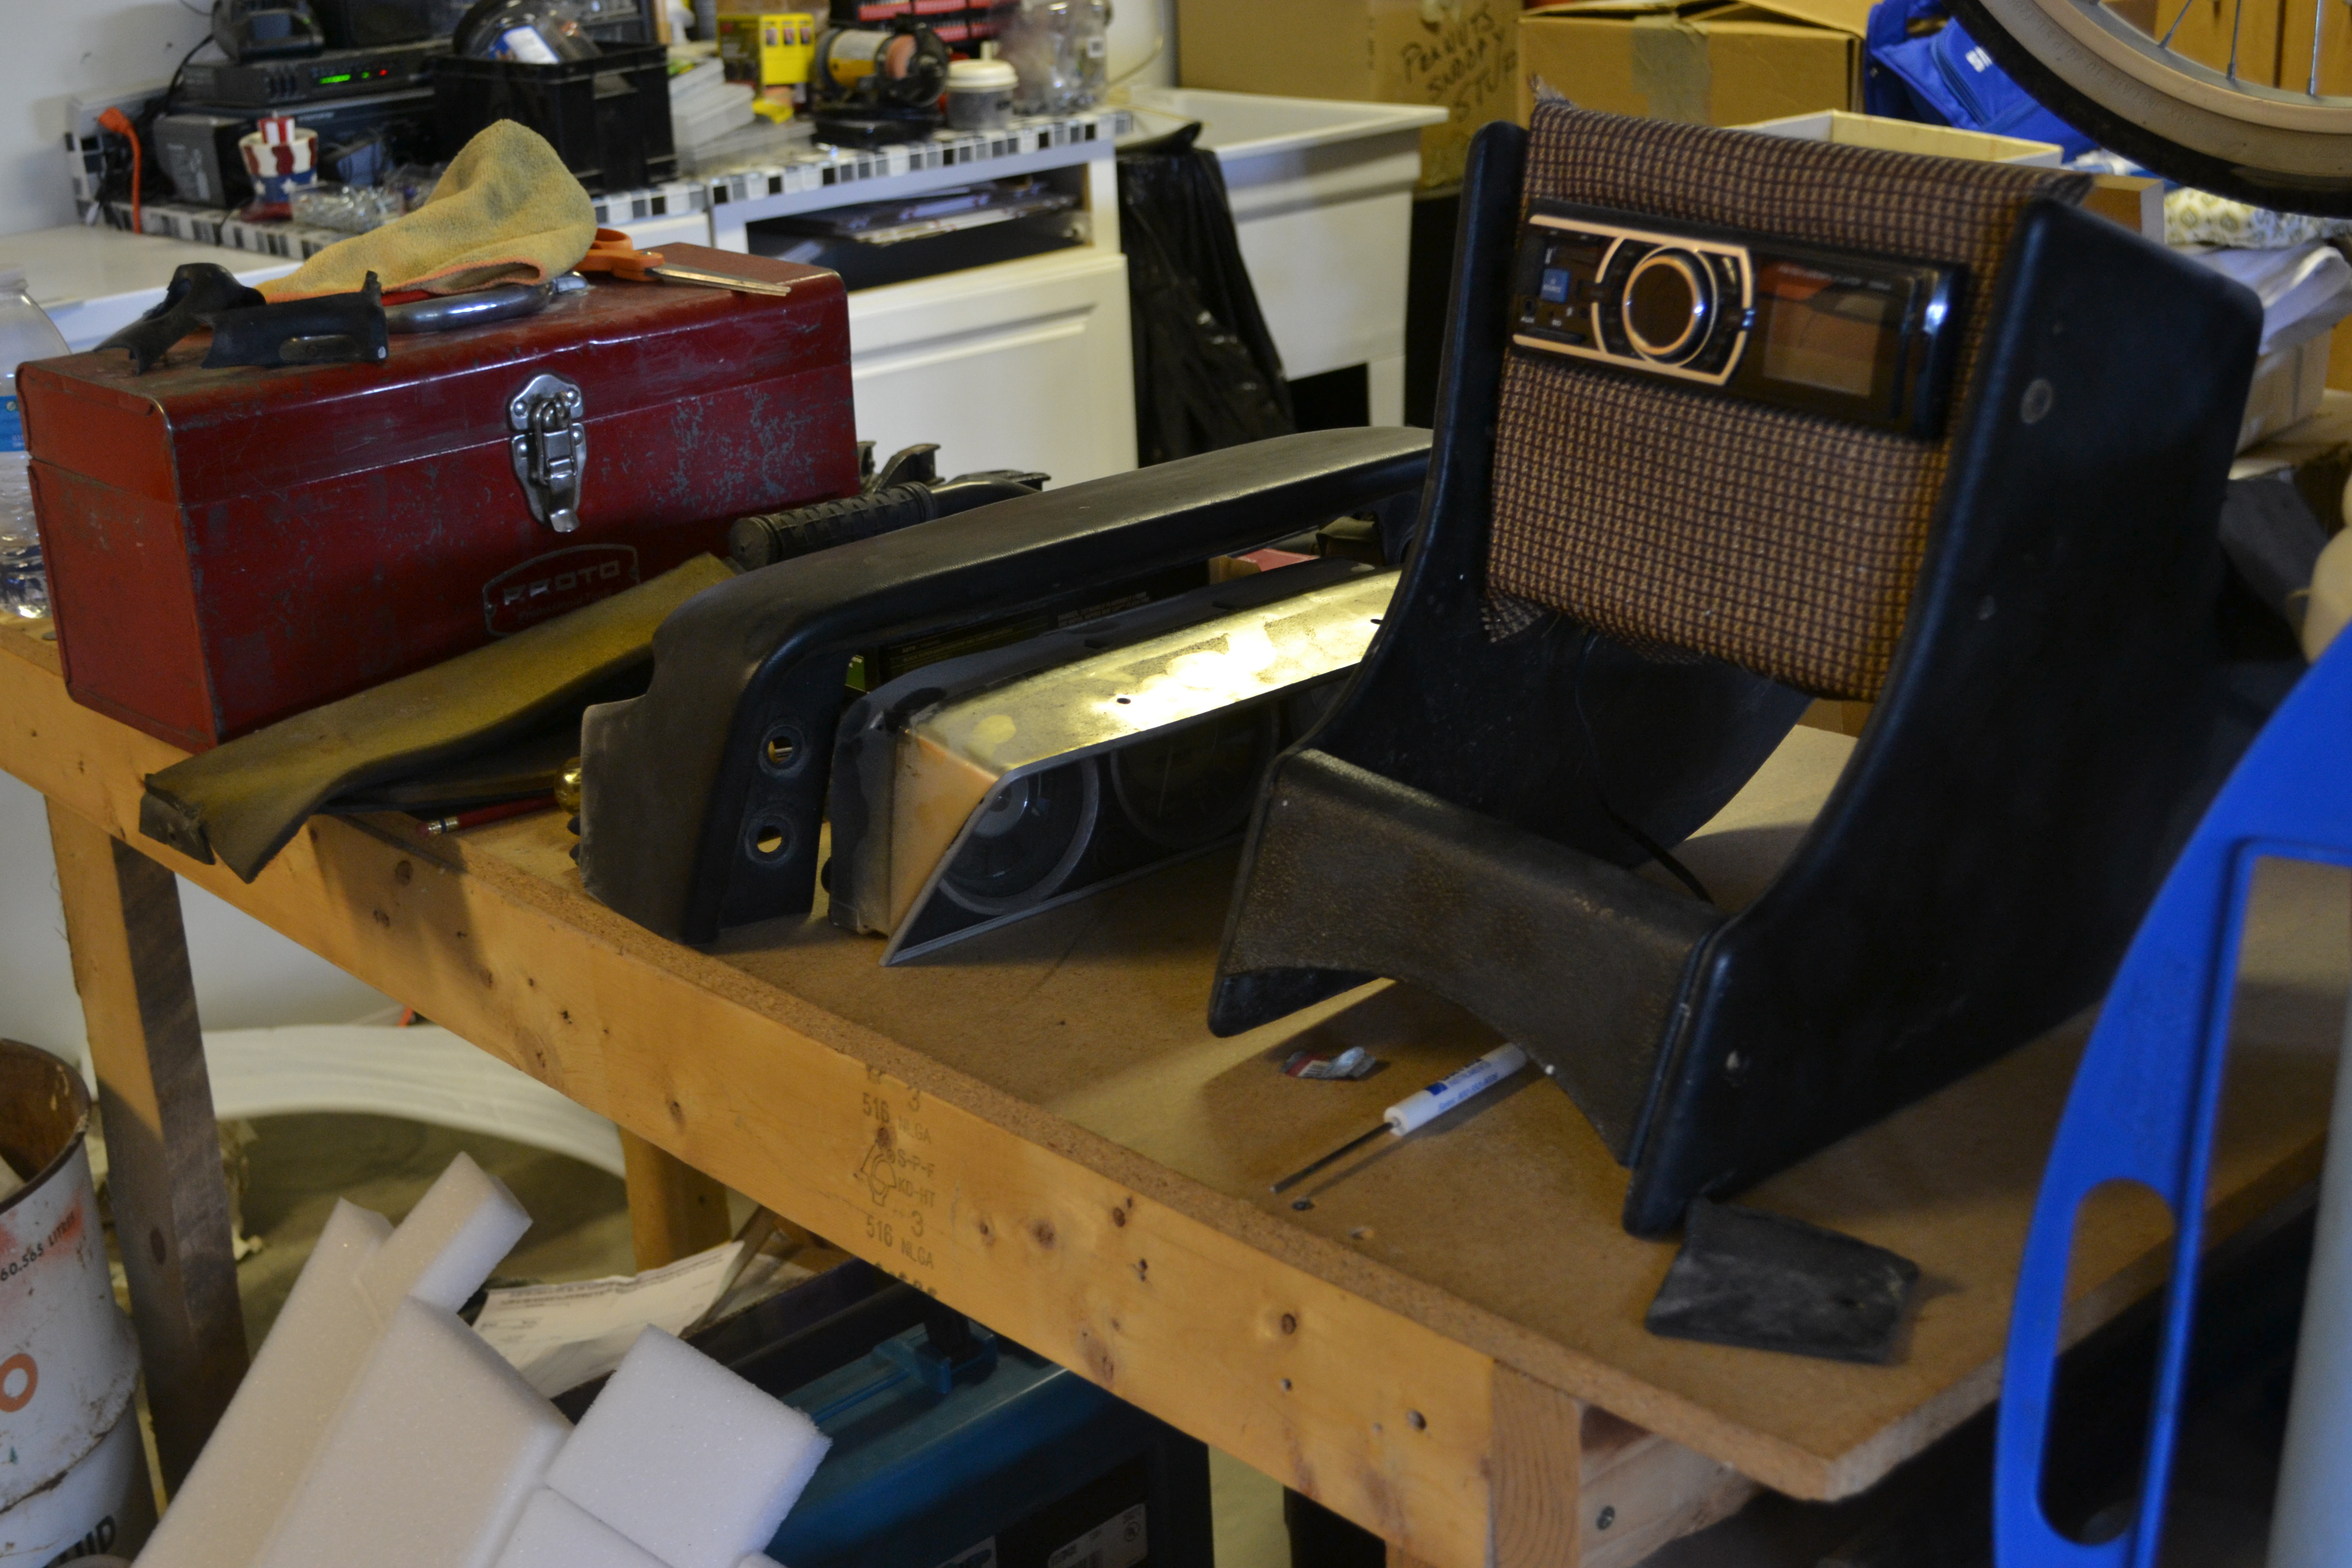
Gonna make a new center console… will look similar but will have new center cover.
This heater vent will be replaced by one from the other donor car.
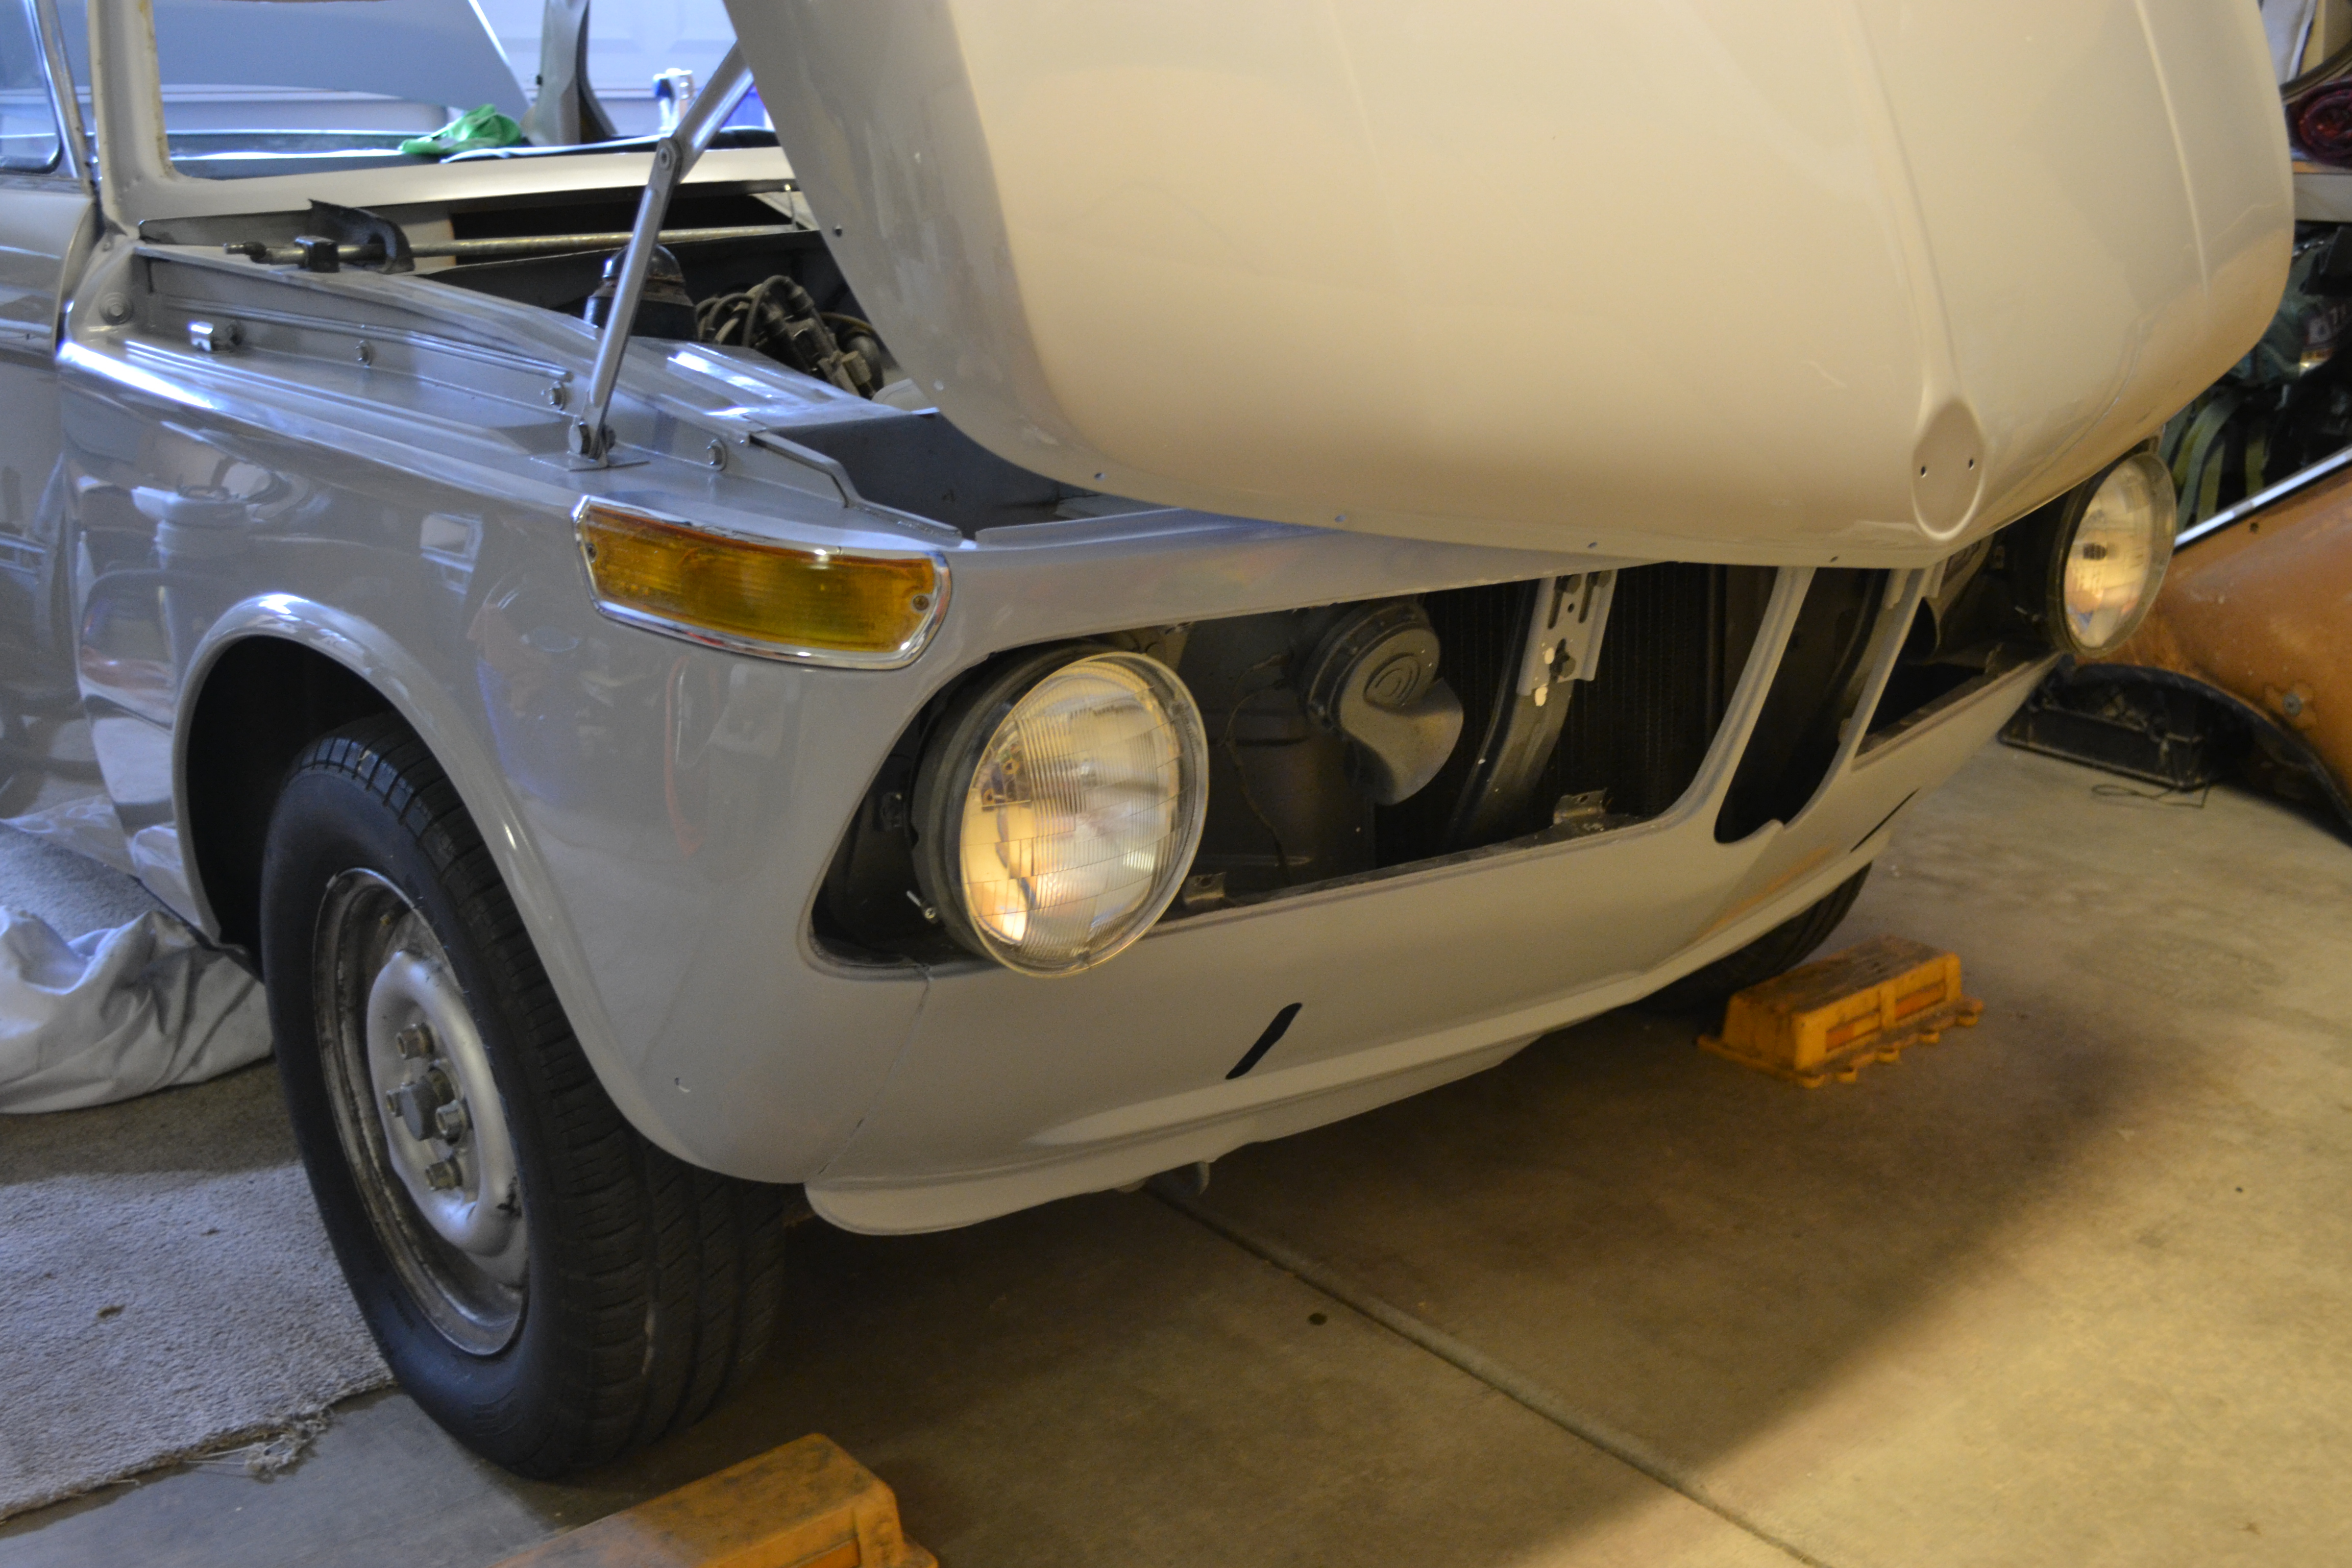
Head lights in and working
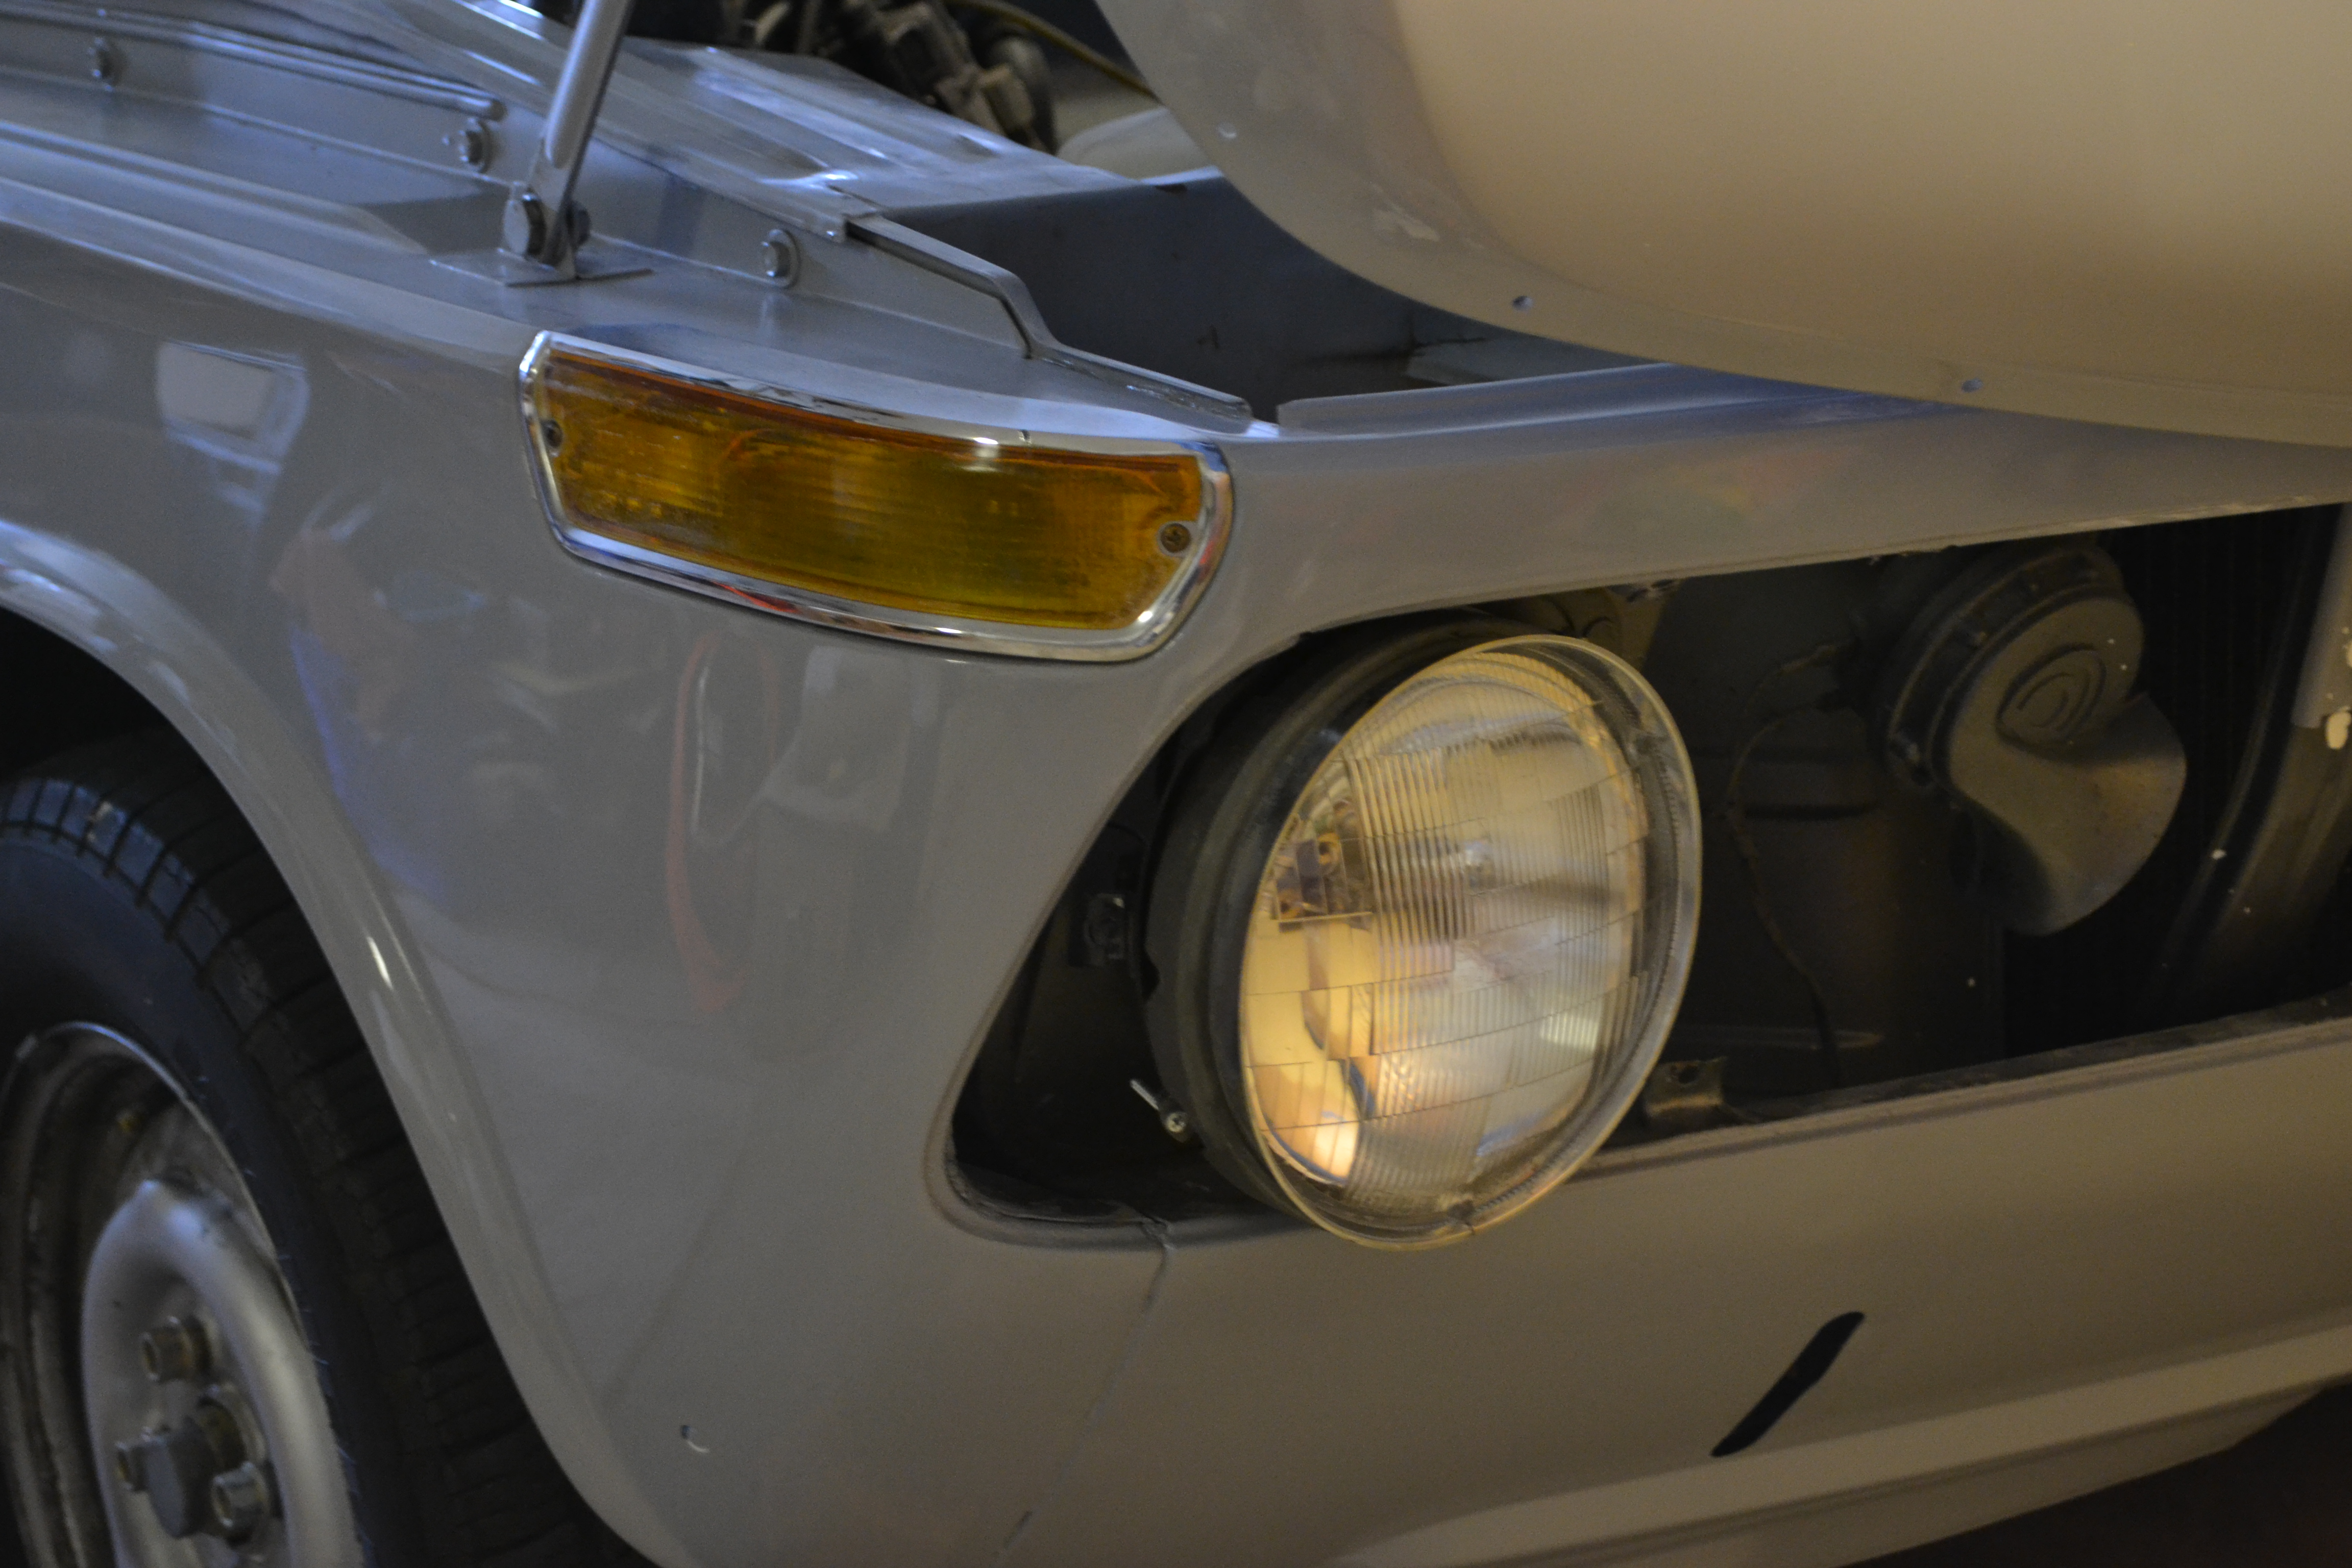
Turn signals installed… and working


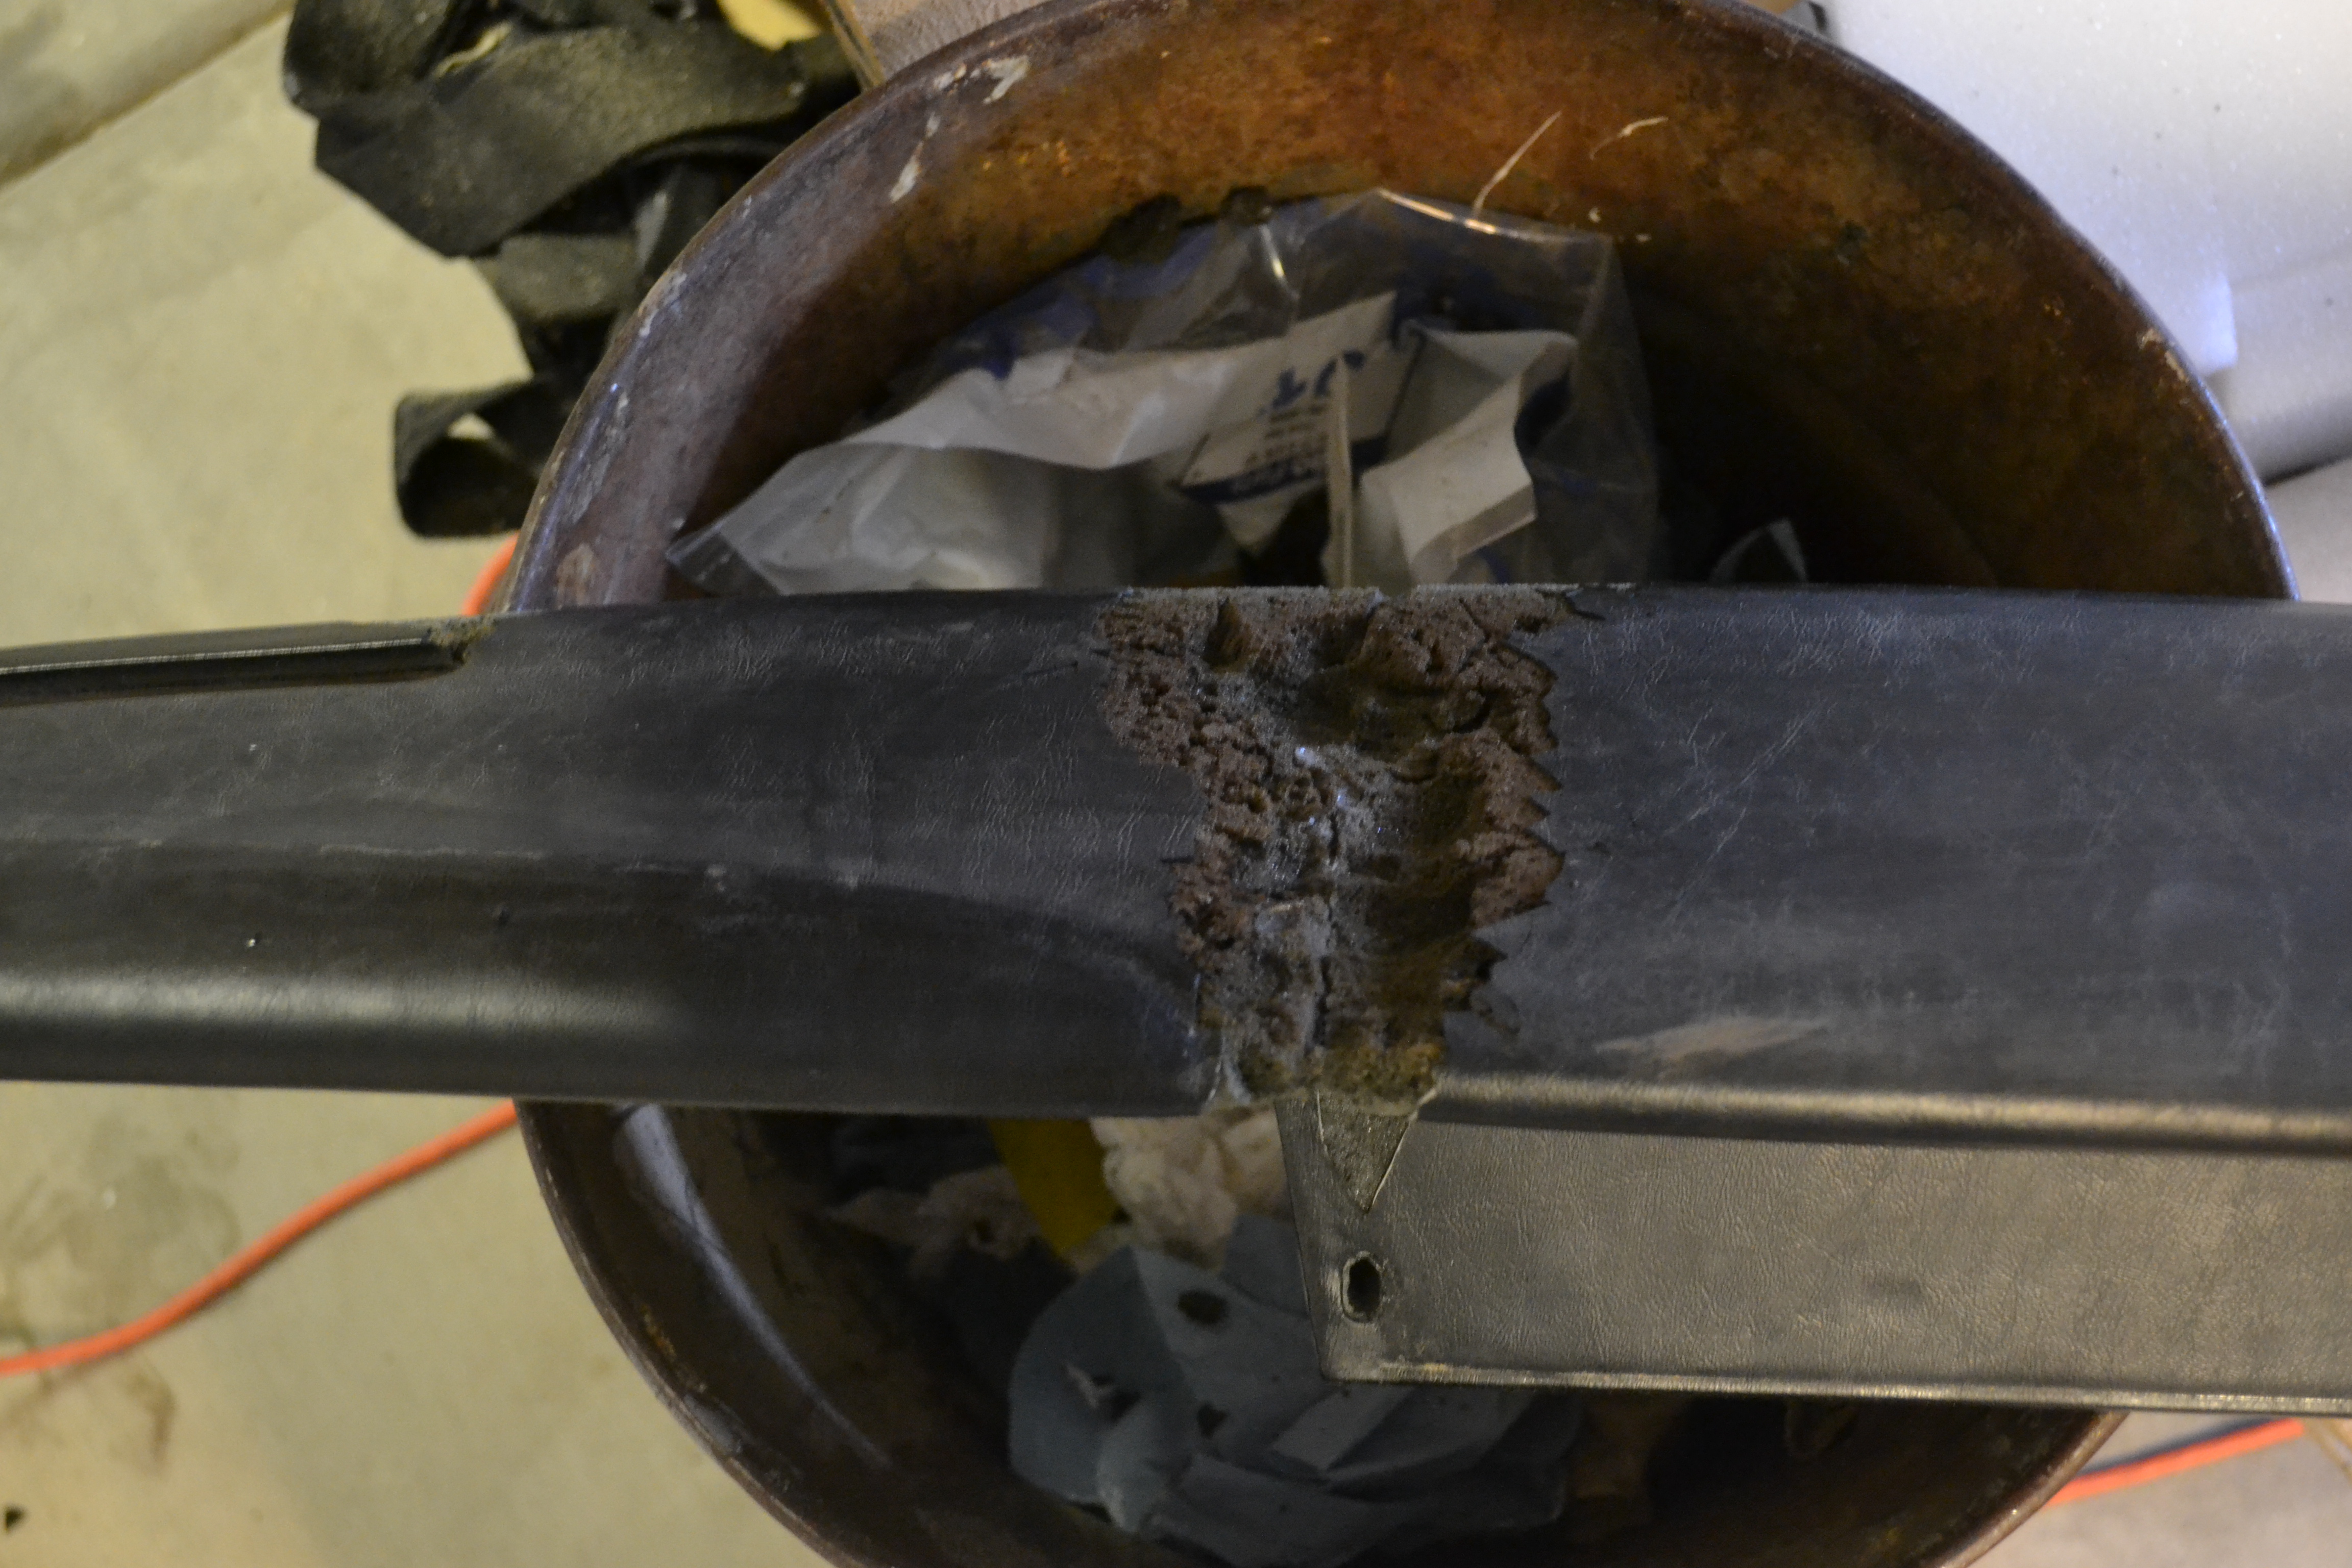
Dash crack and rot scrapped out and will fill and sand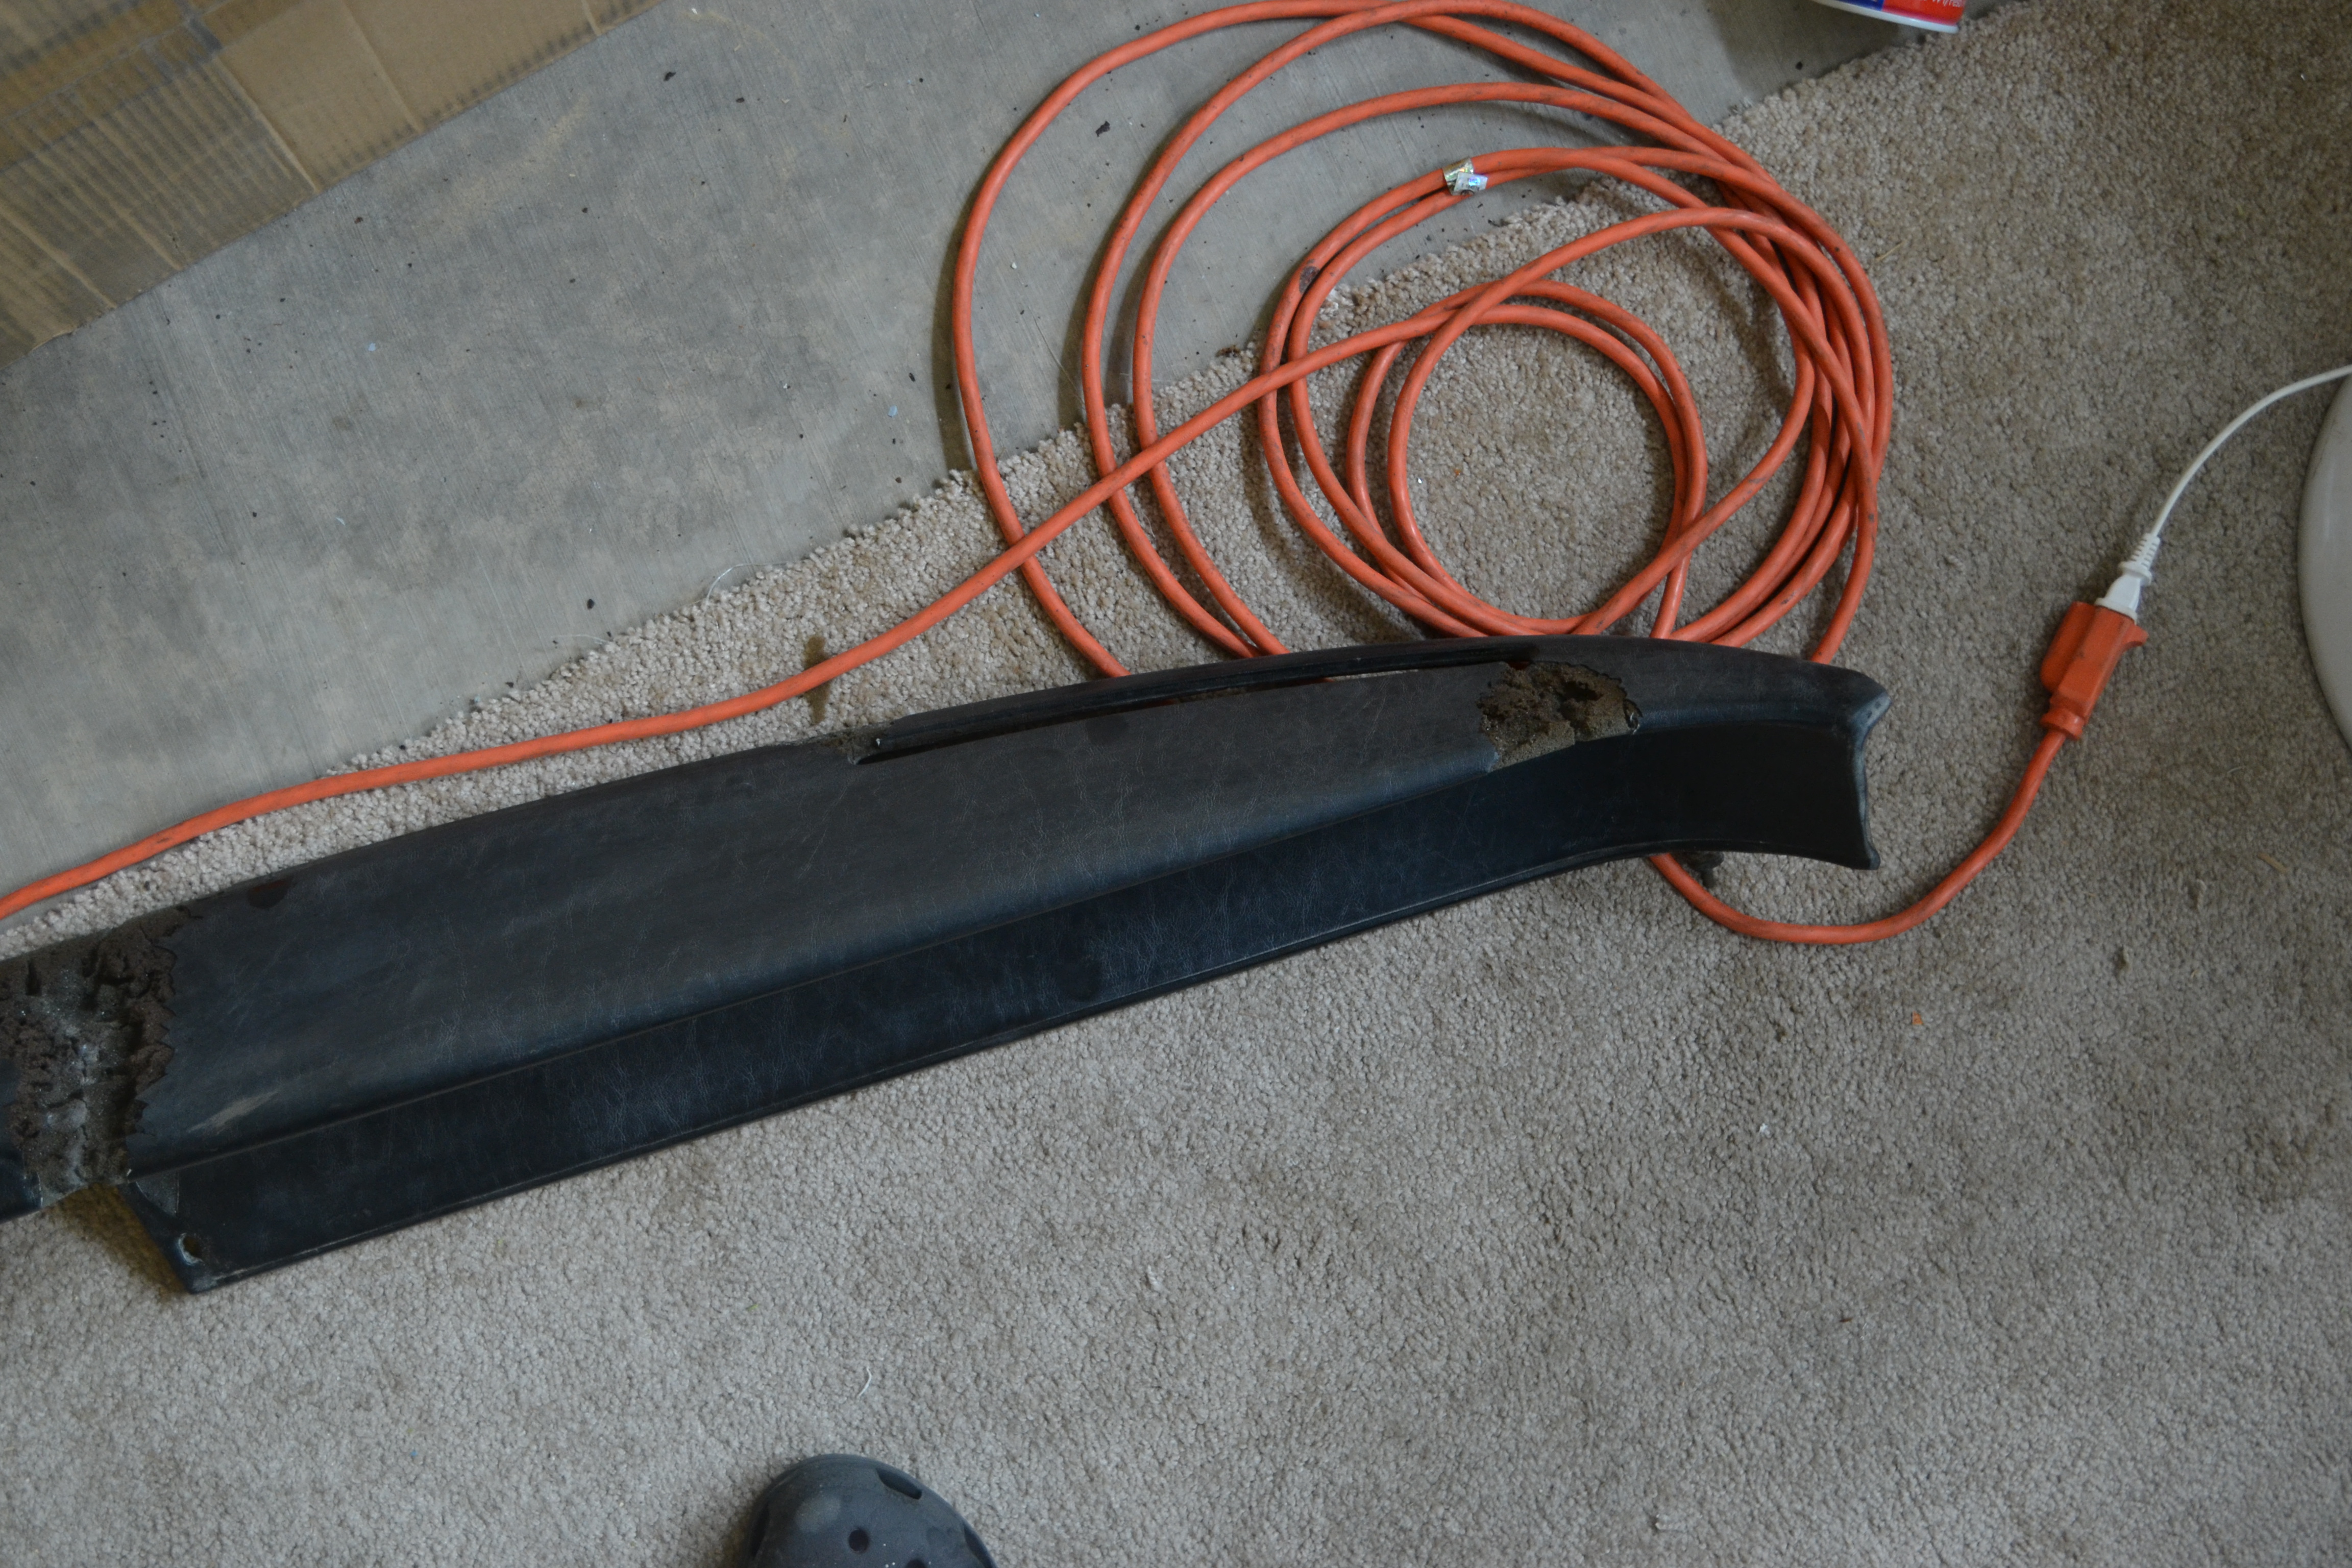
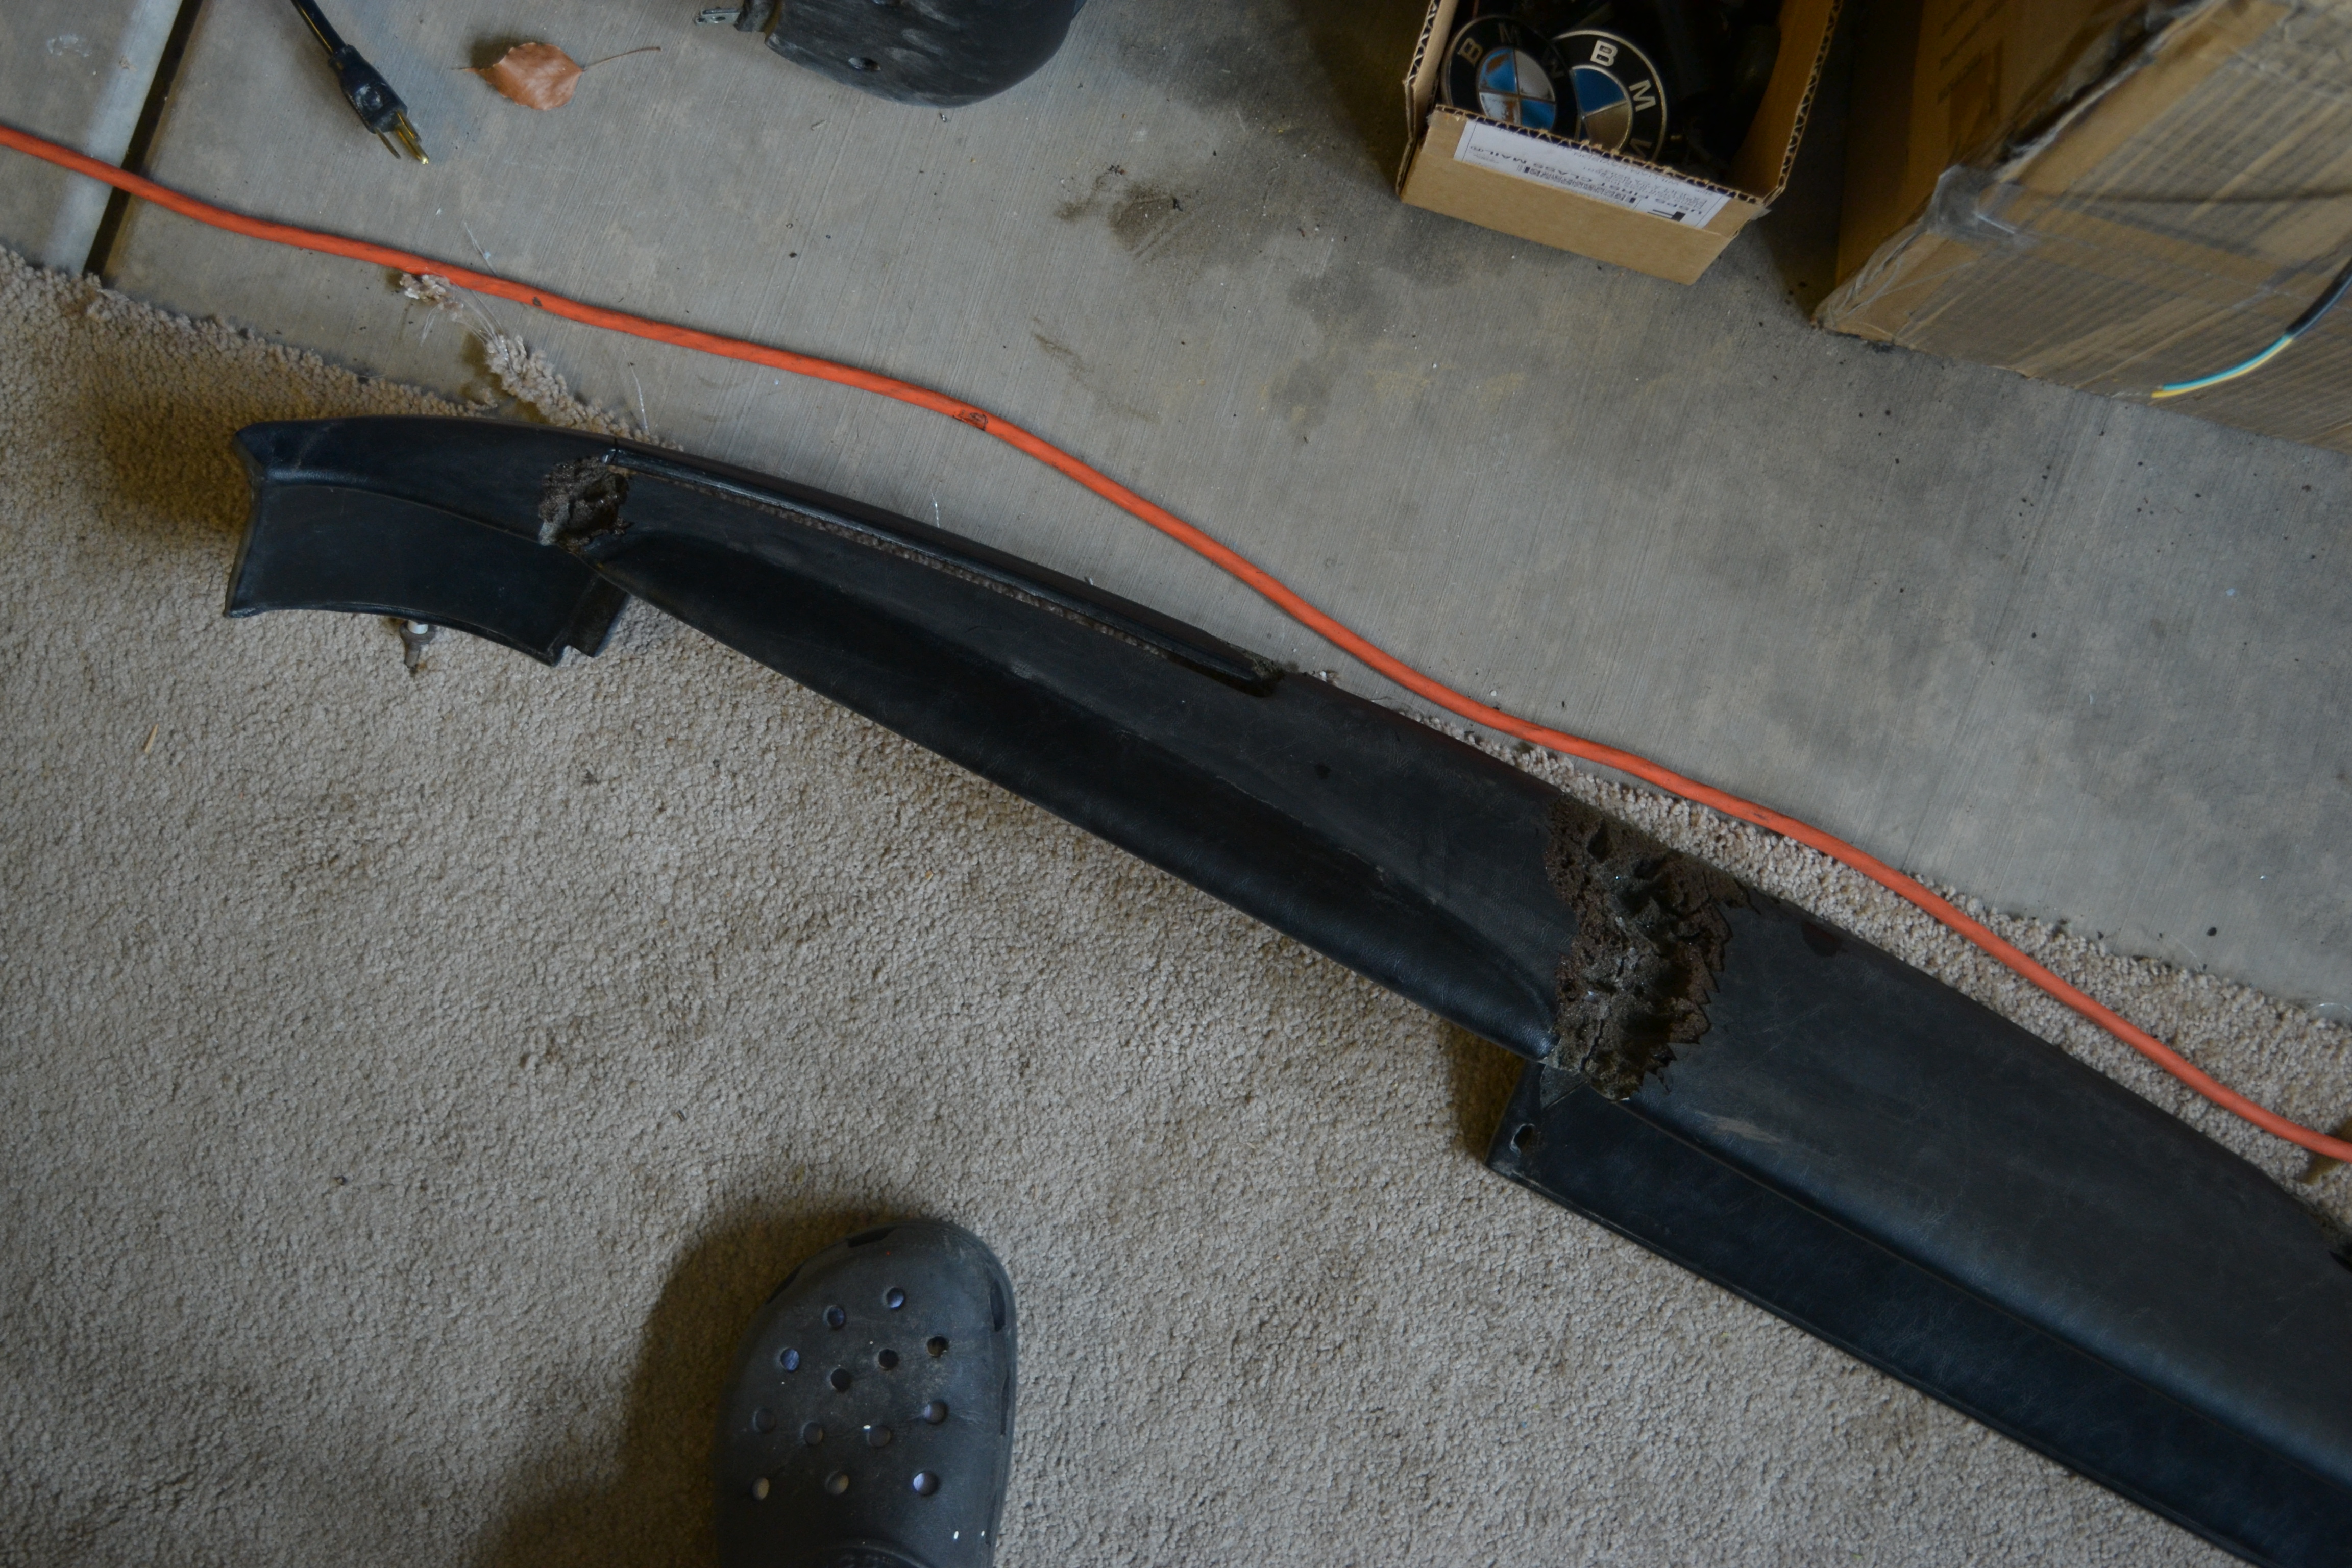
More rot and cracks taken out and will fill with a glue saw dust mixture before sanding out all bumps.

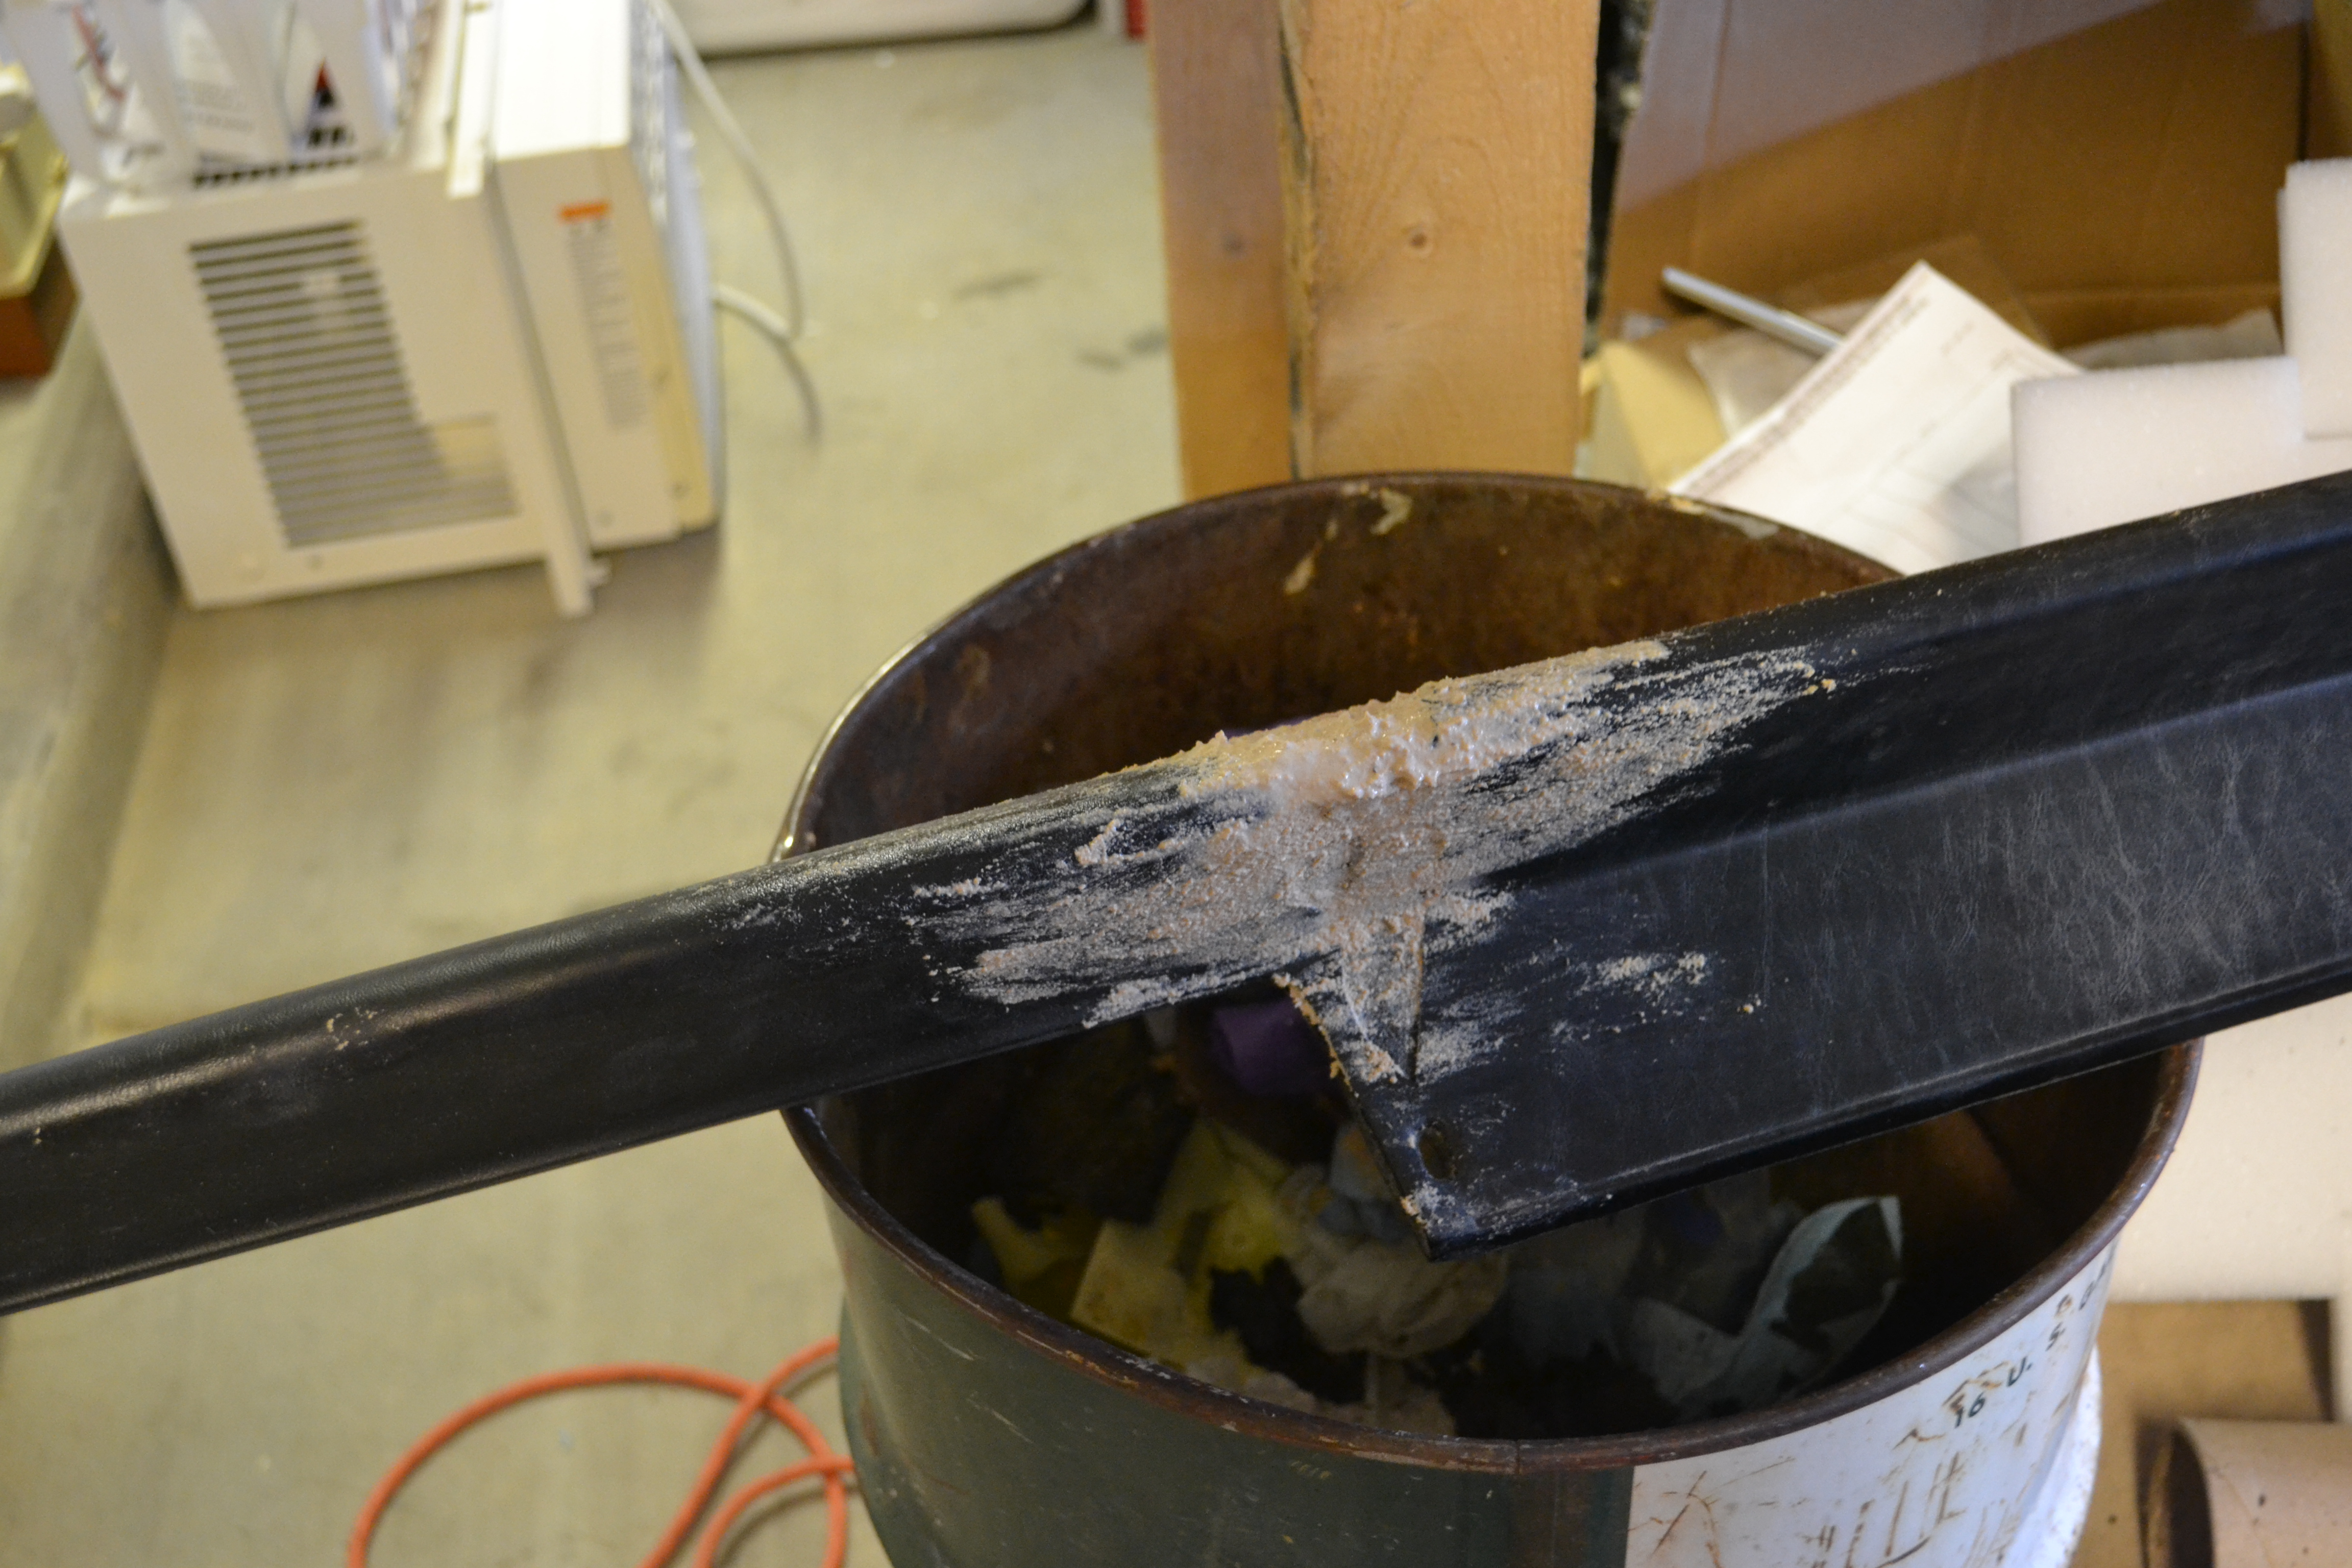

More later…. gonna cover the dash with all new vinyl to cover both dash pieces.
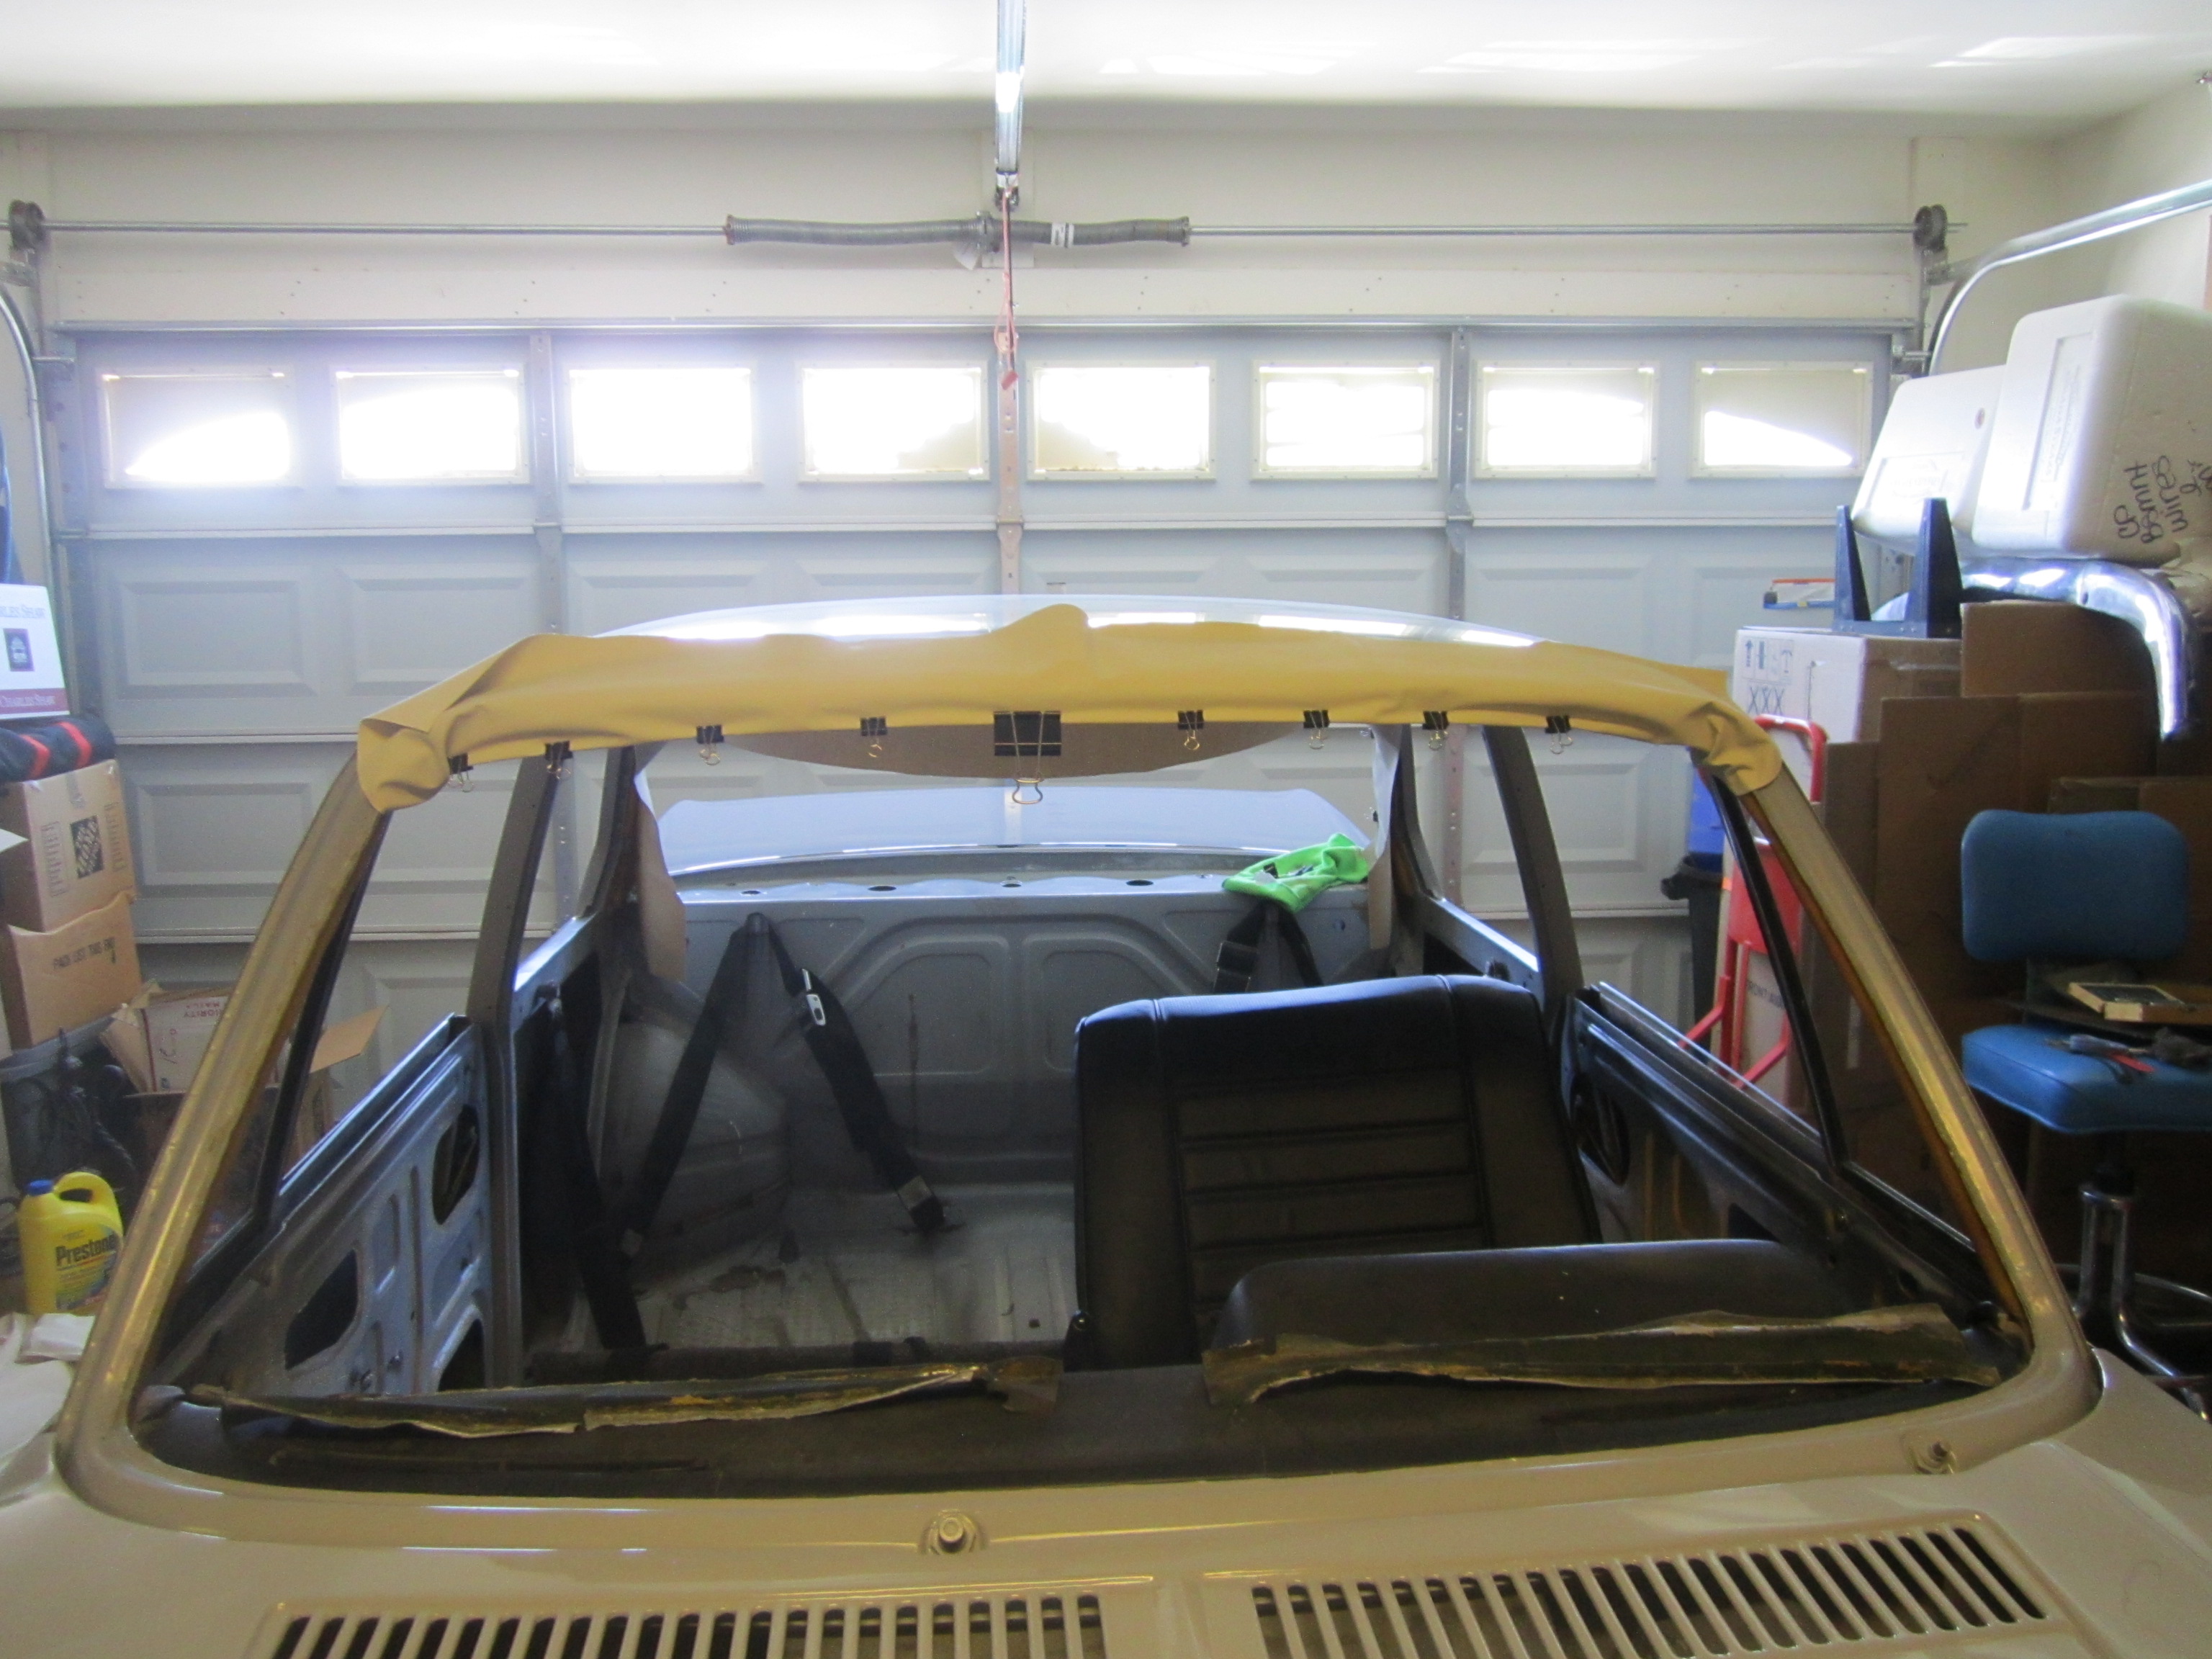
Headliner replacement
Tore out the old one marking each rib for placement into the new liner.
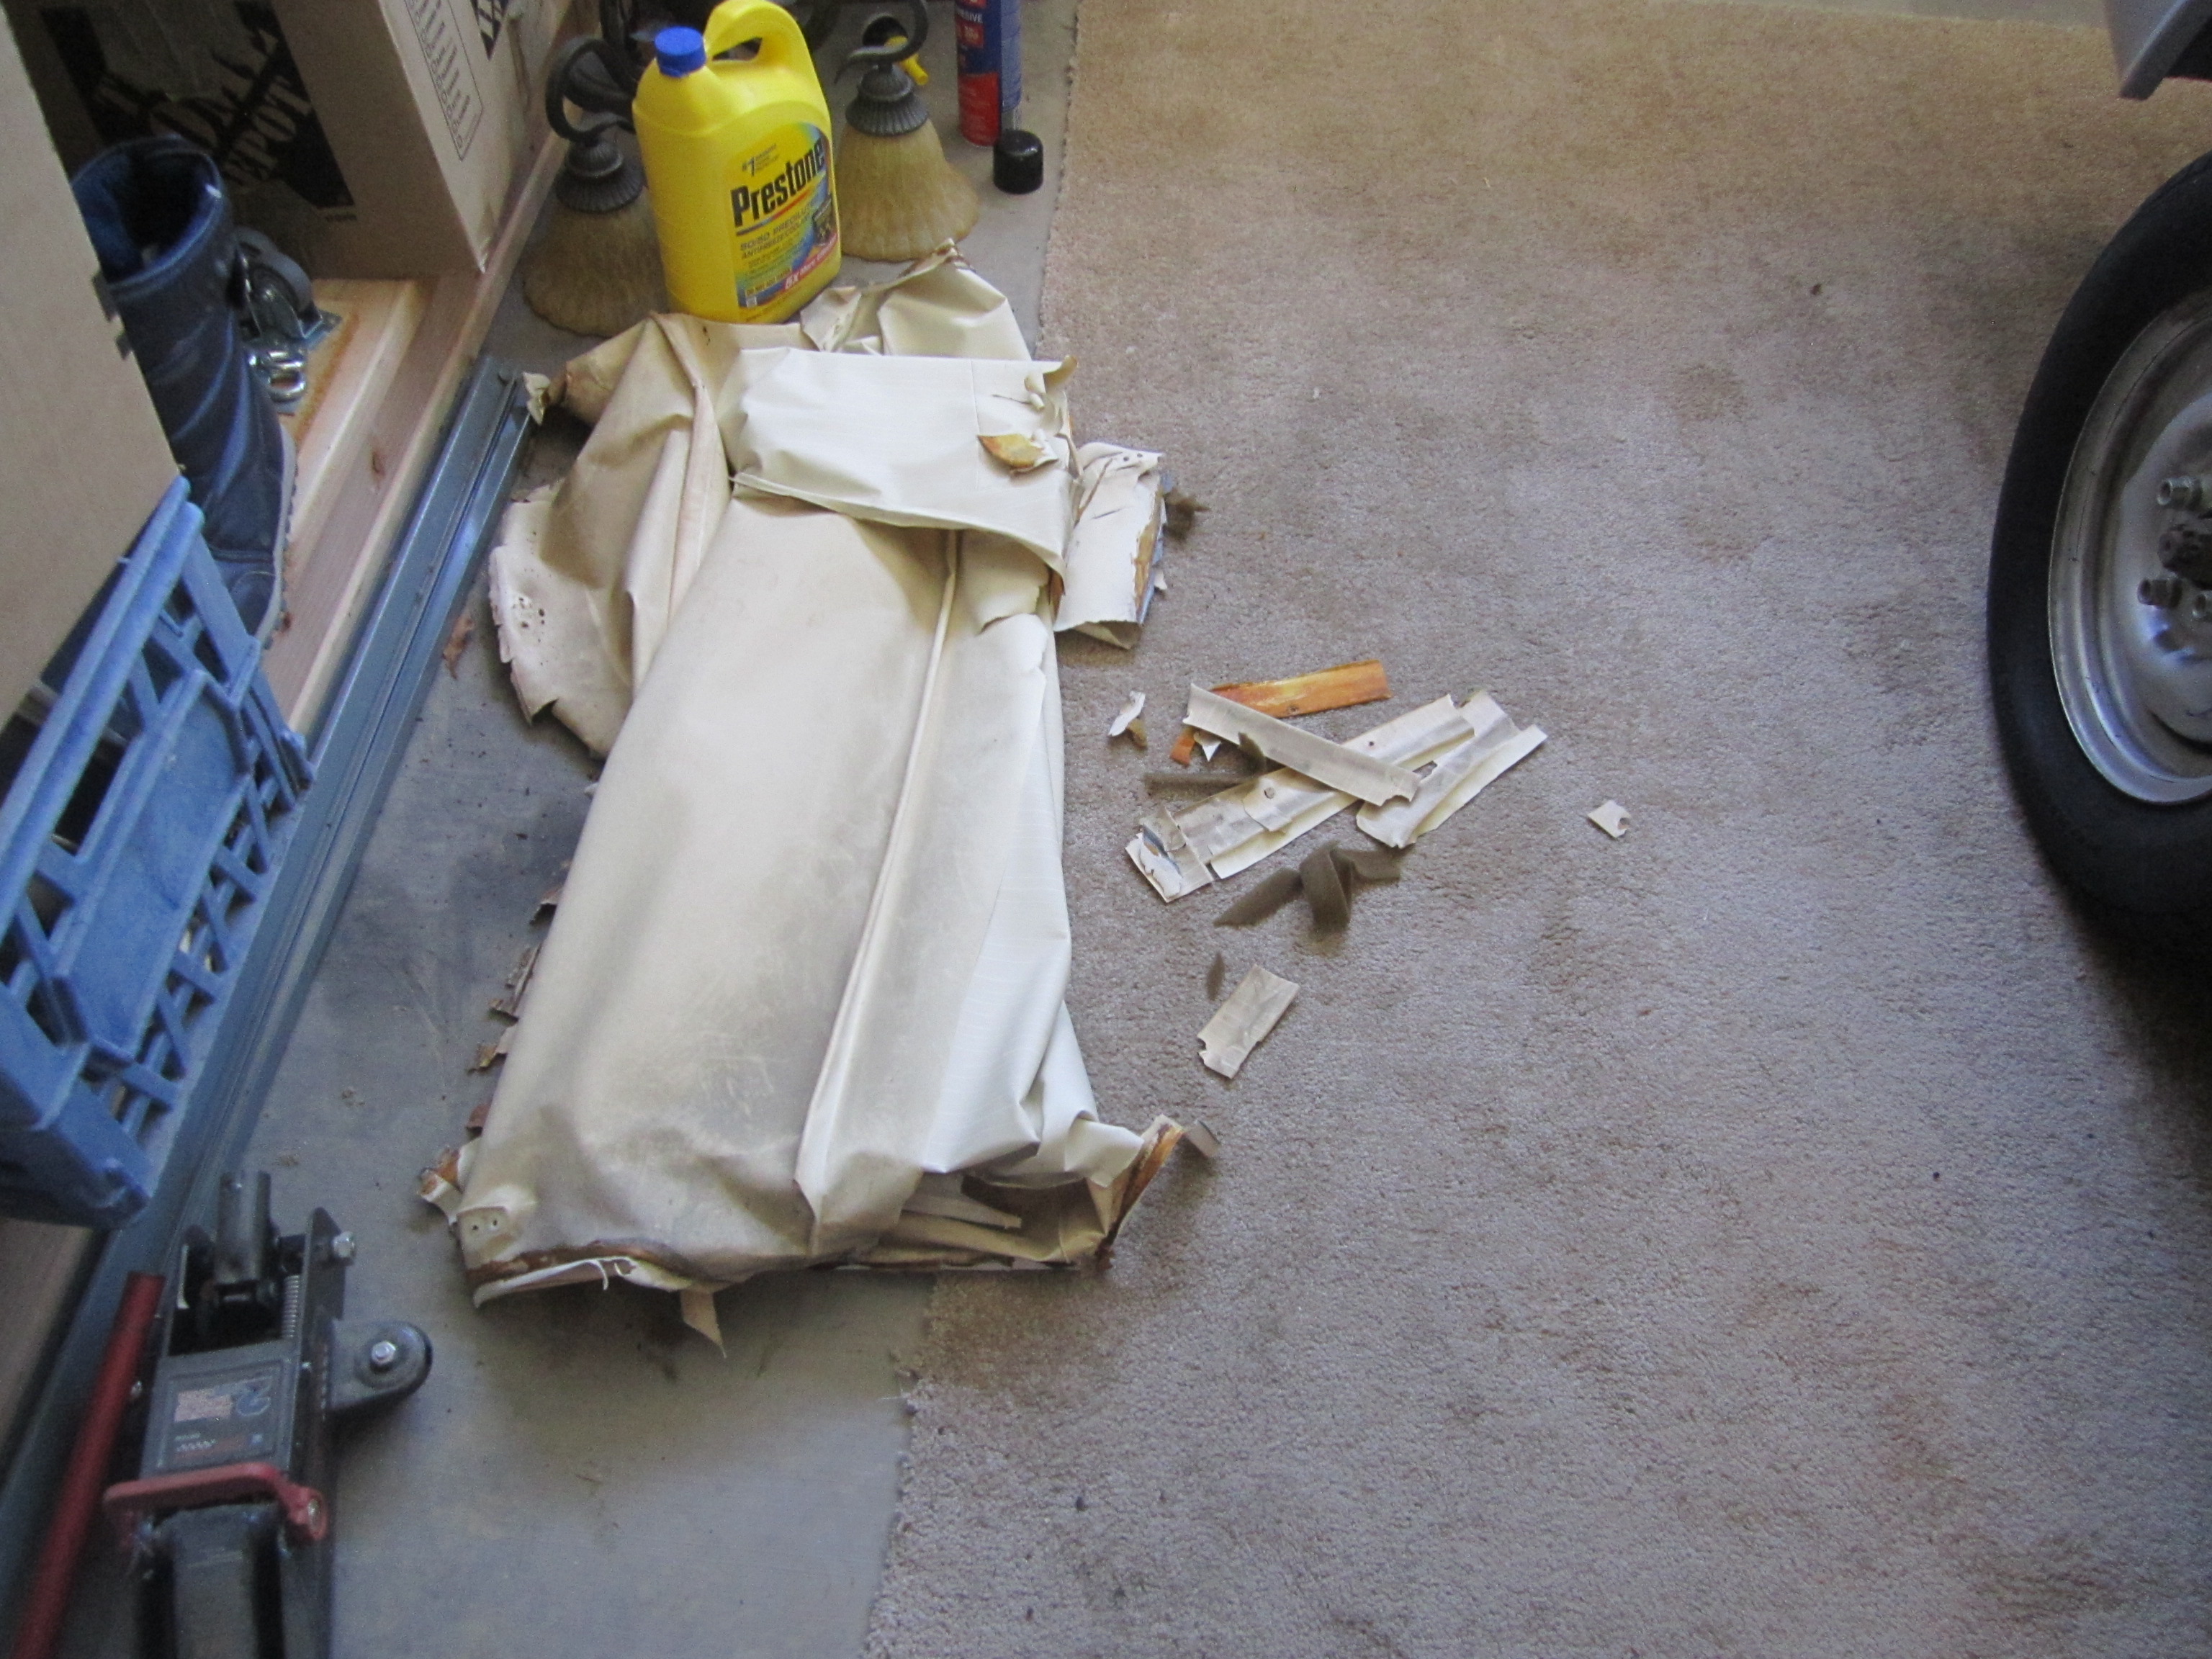
The original foam still looked good after 50 years so I left it up, no need to get that crap all over the place trying to rip it out.
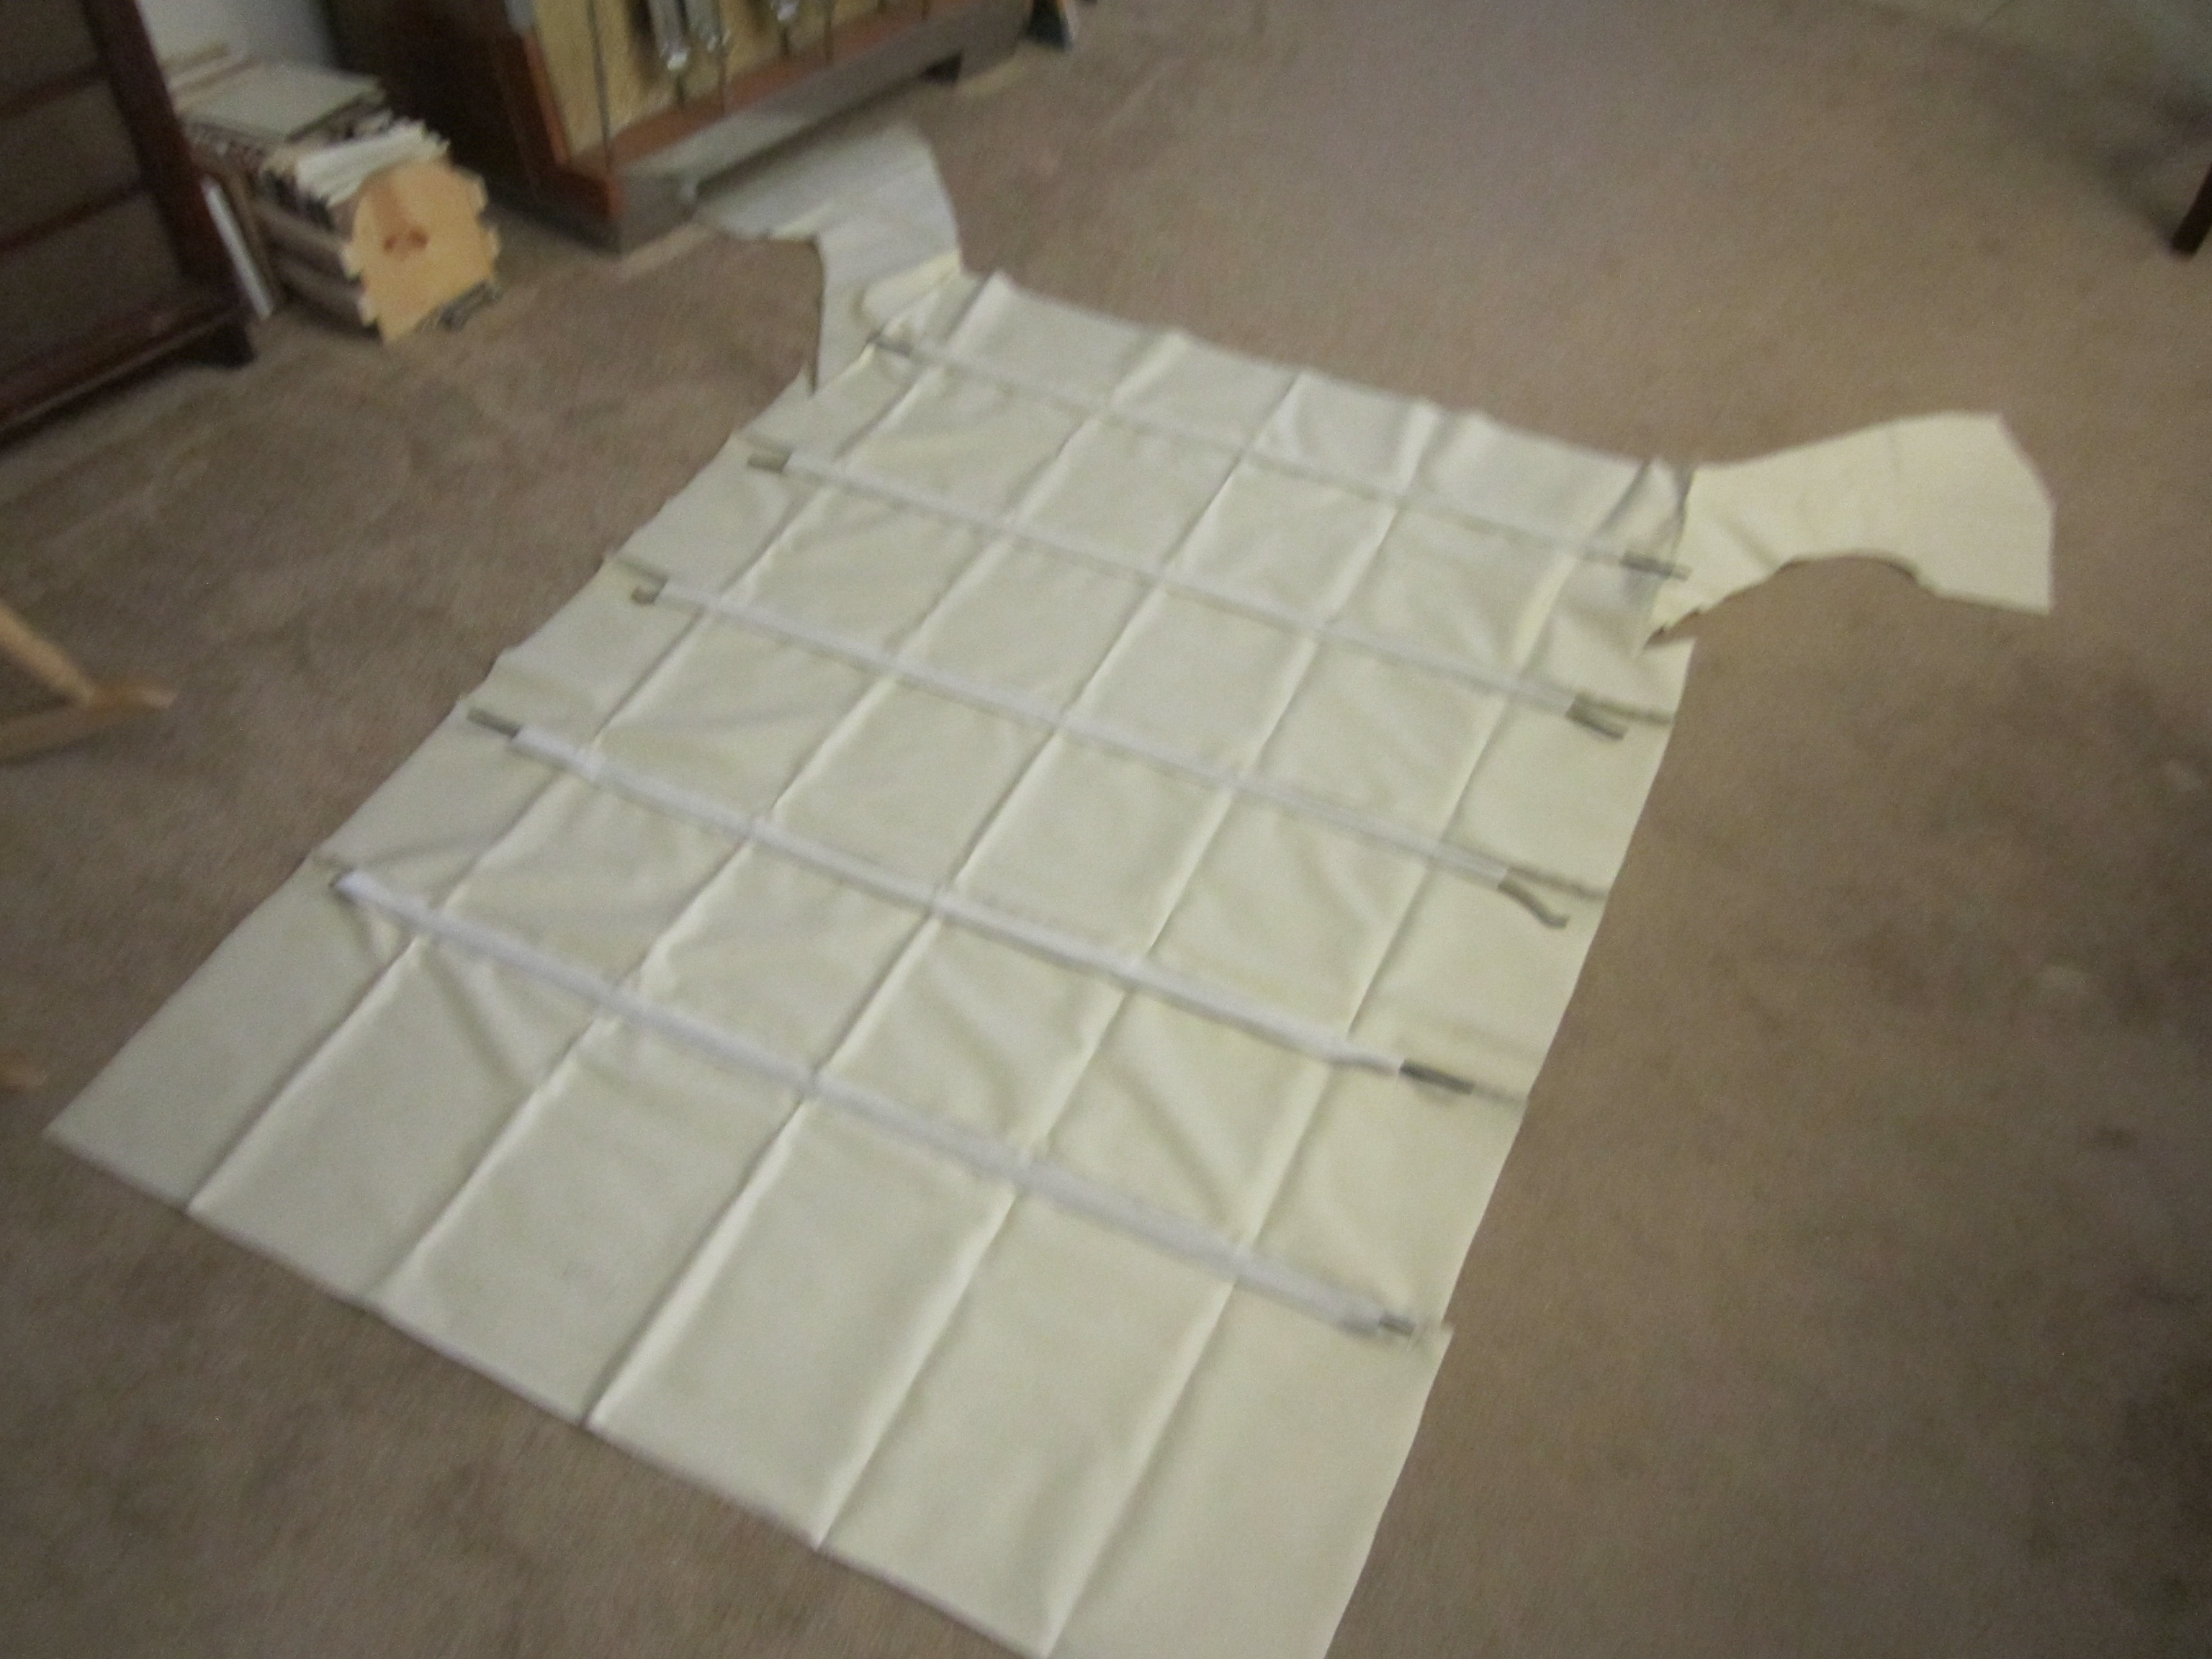
New headliner in the house with the ribs.
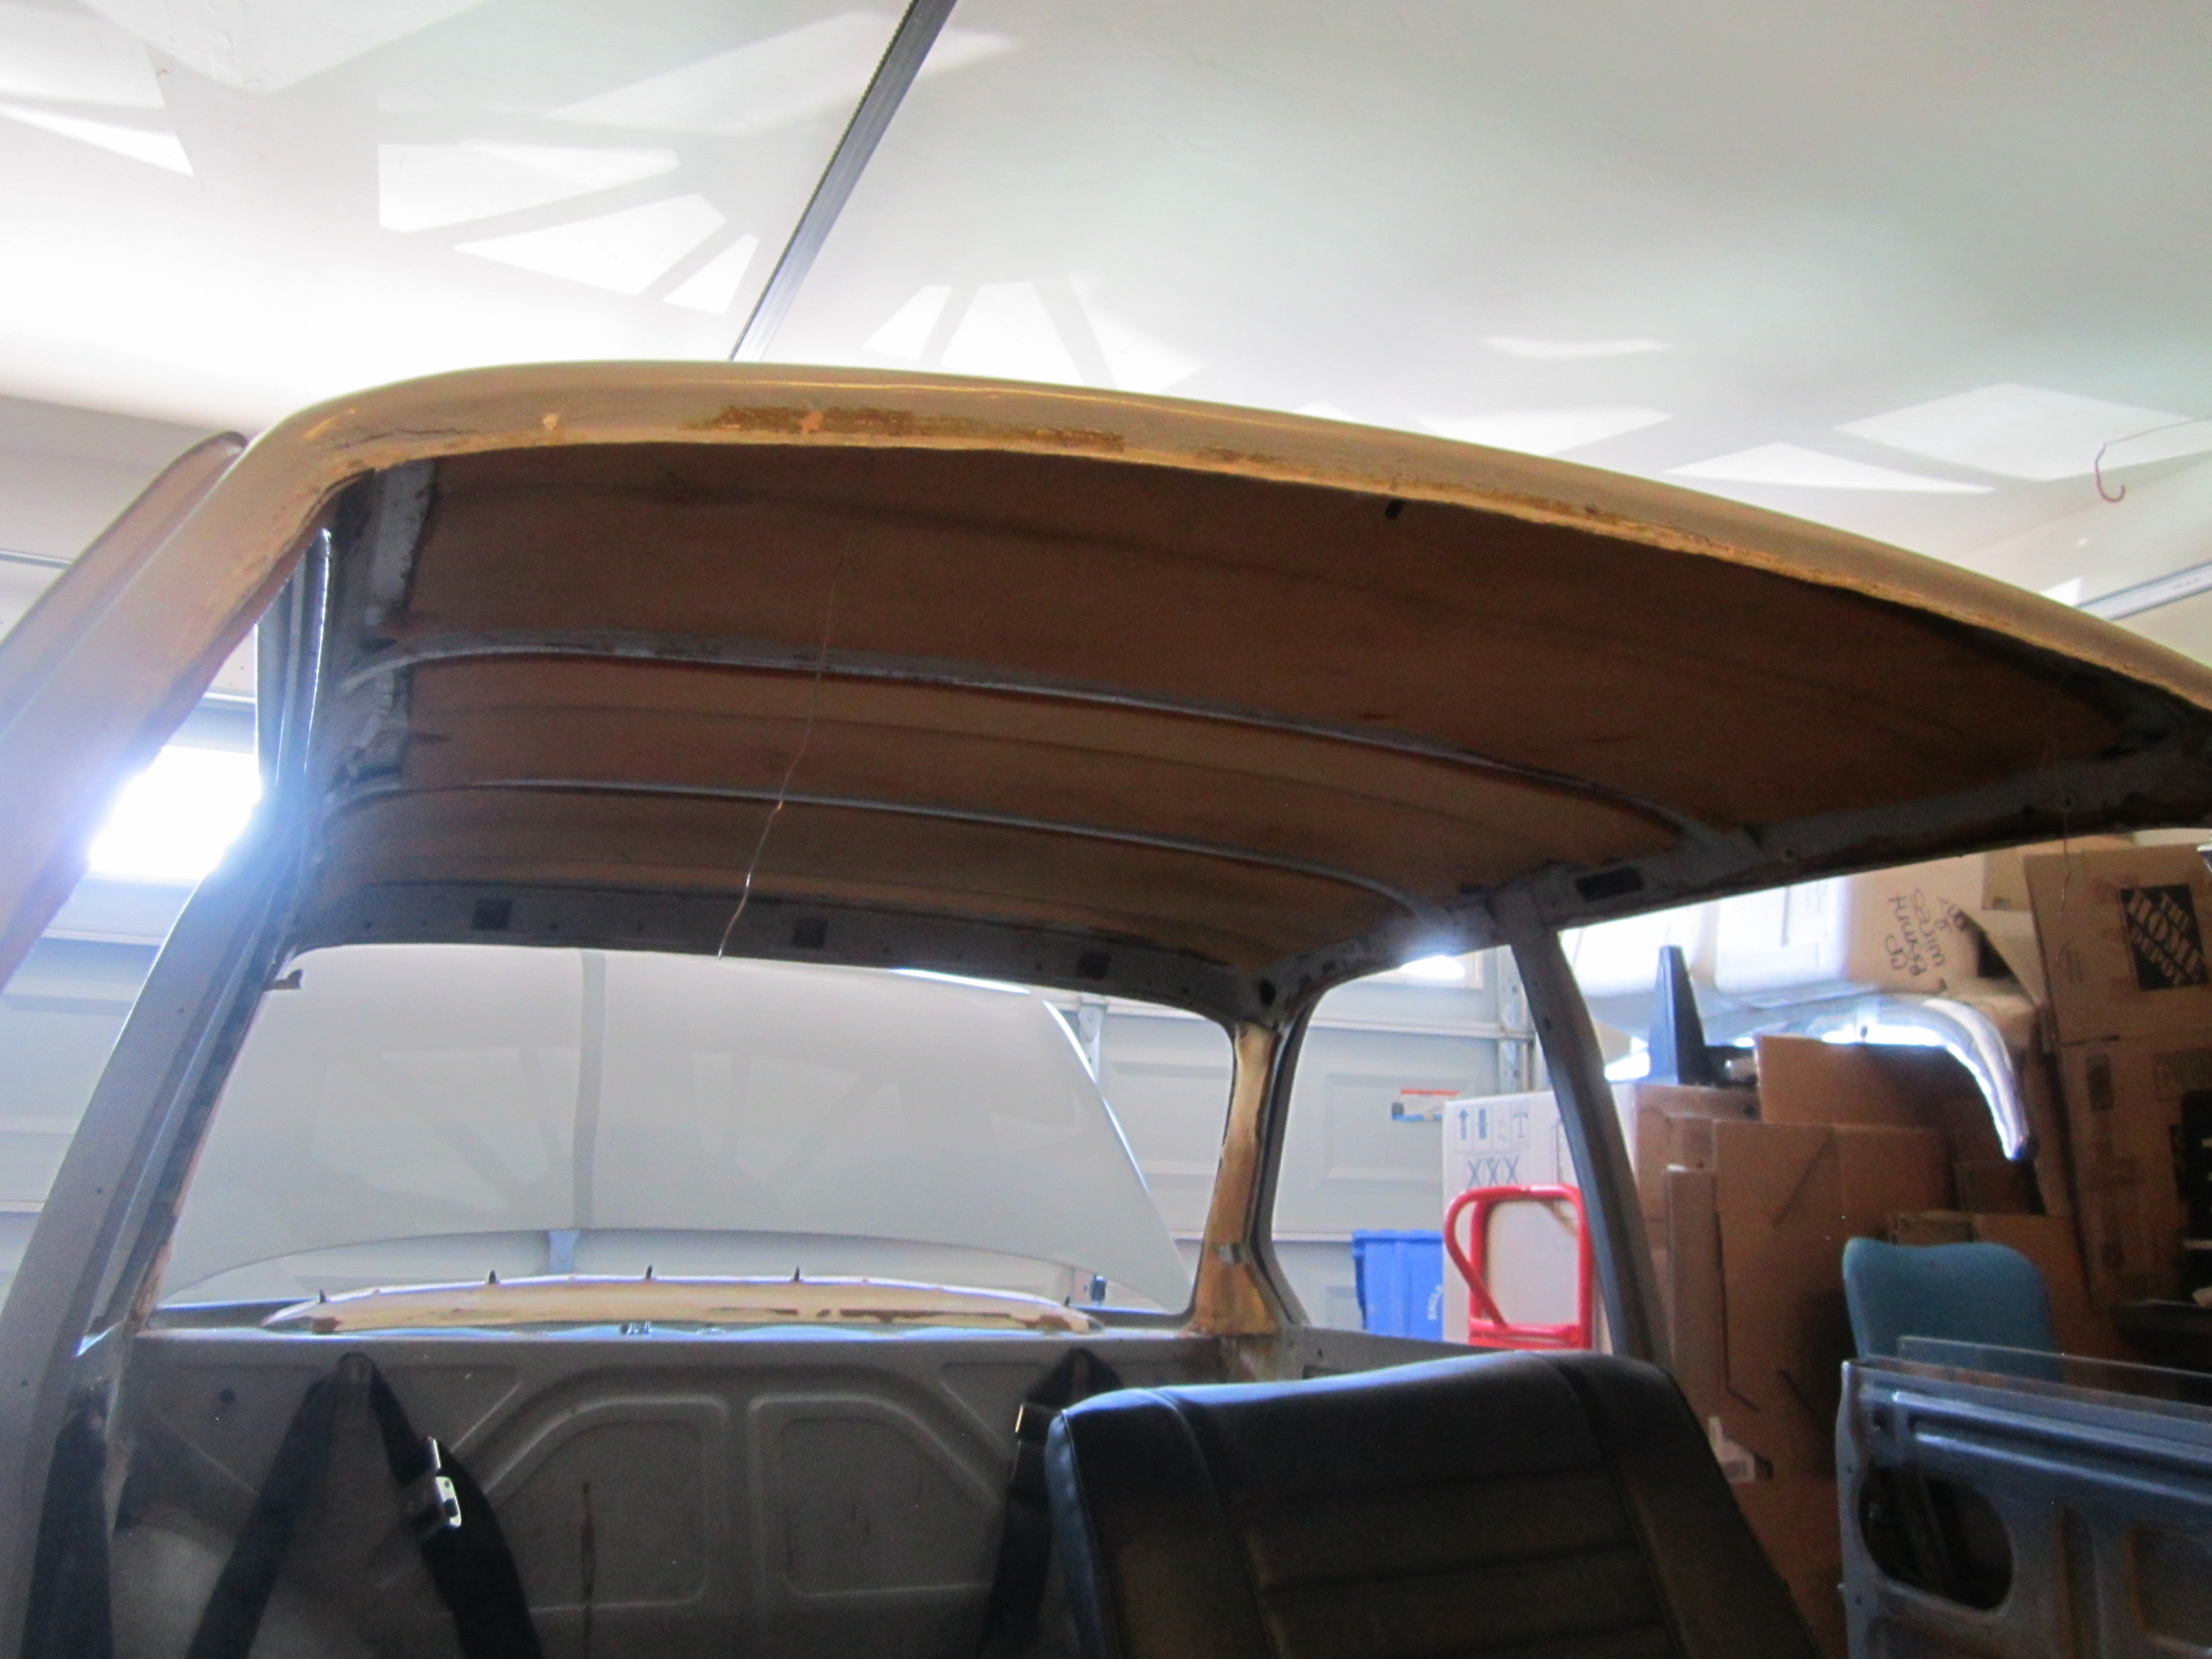
cleaning all the edges for the new glue
Looking forward into the cabin

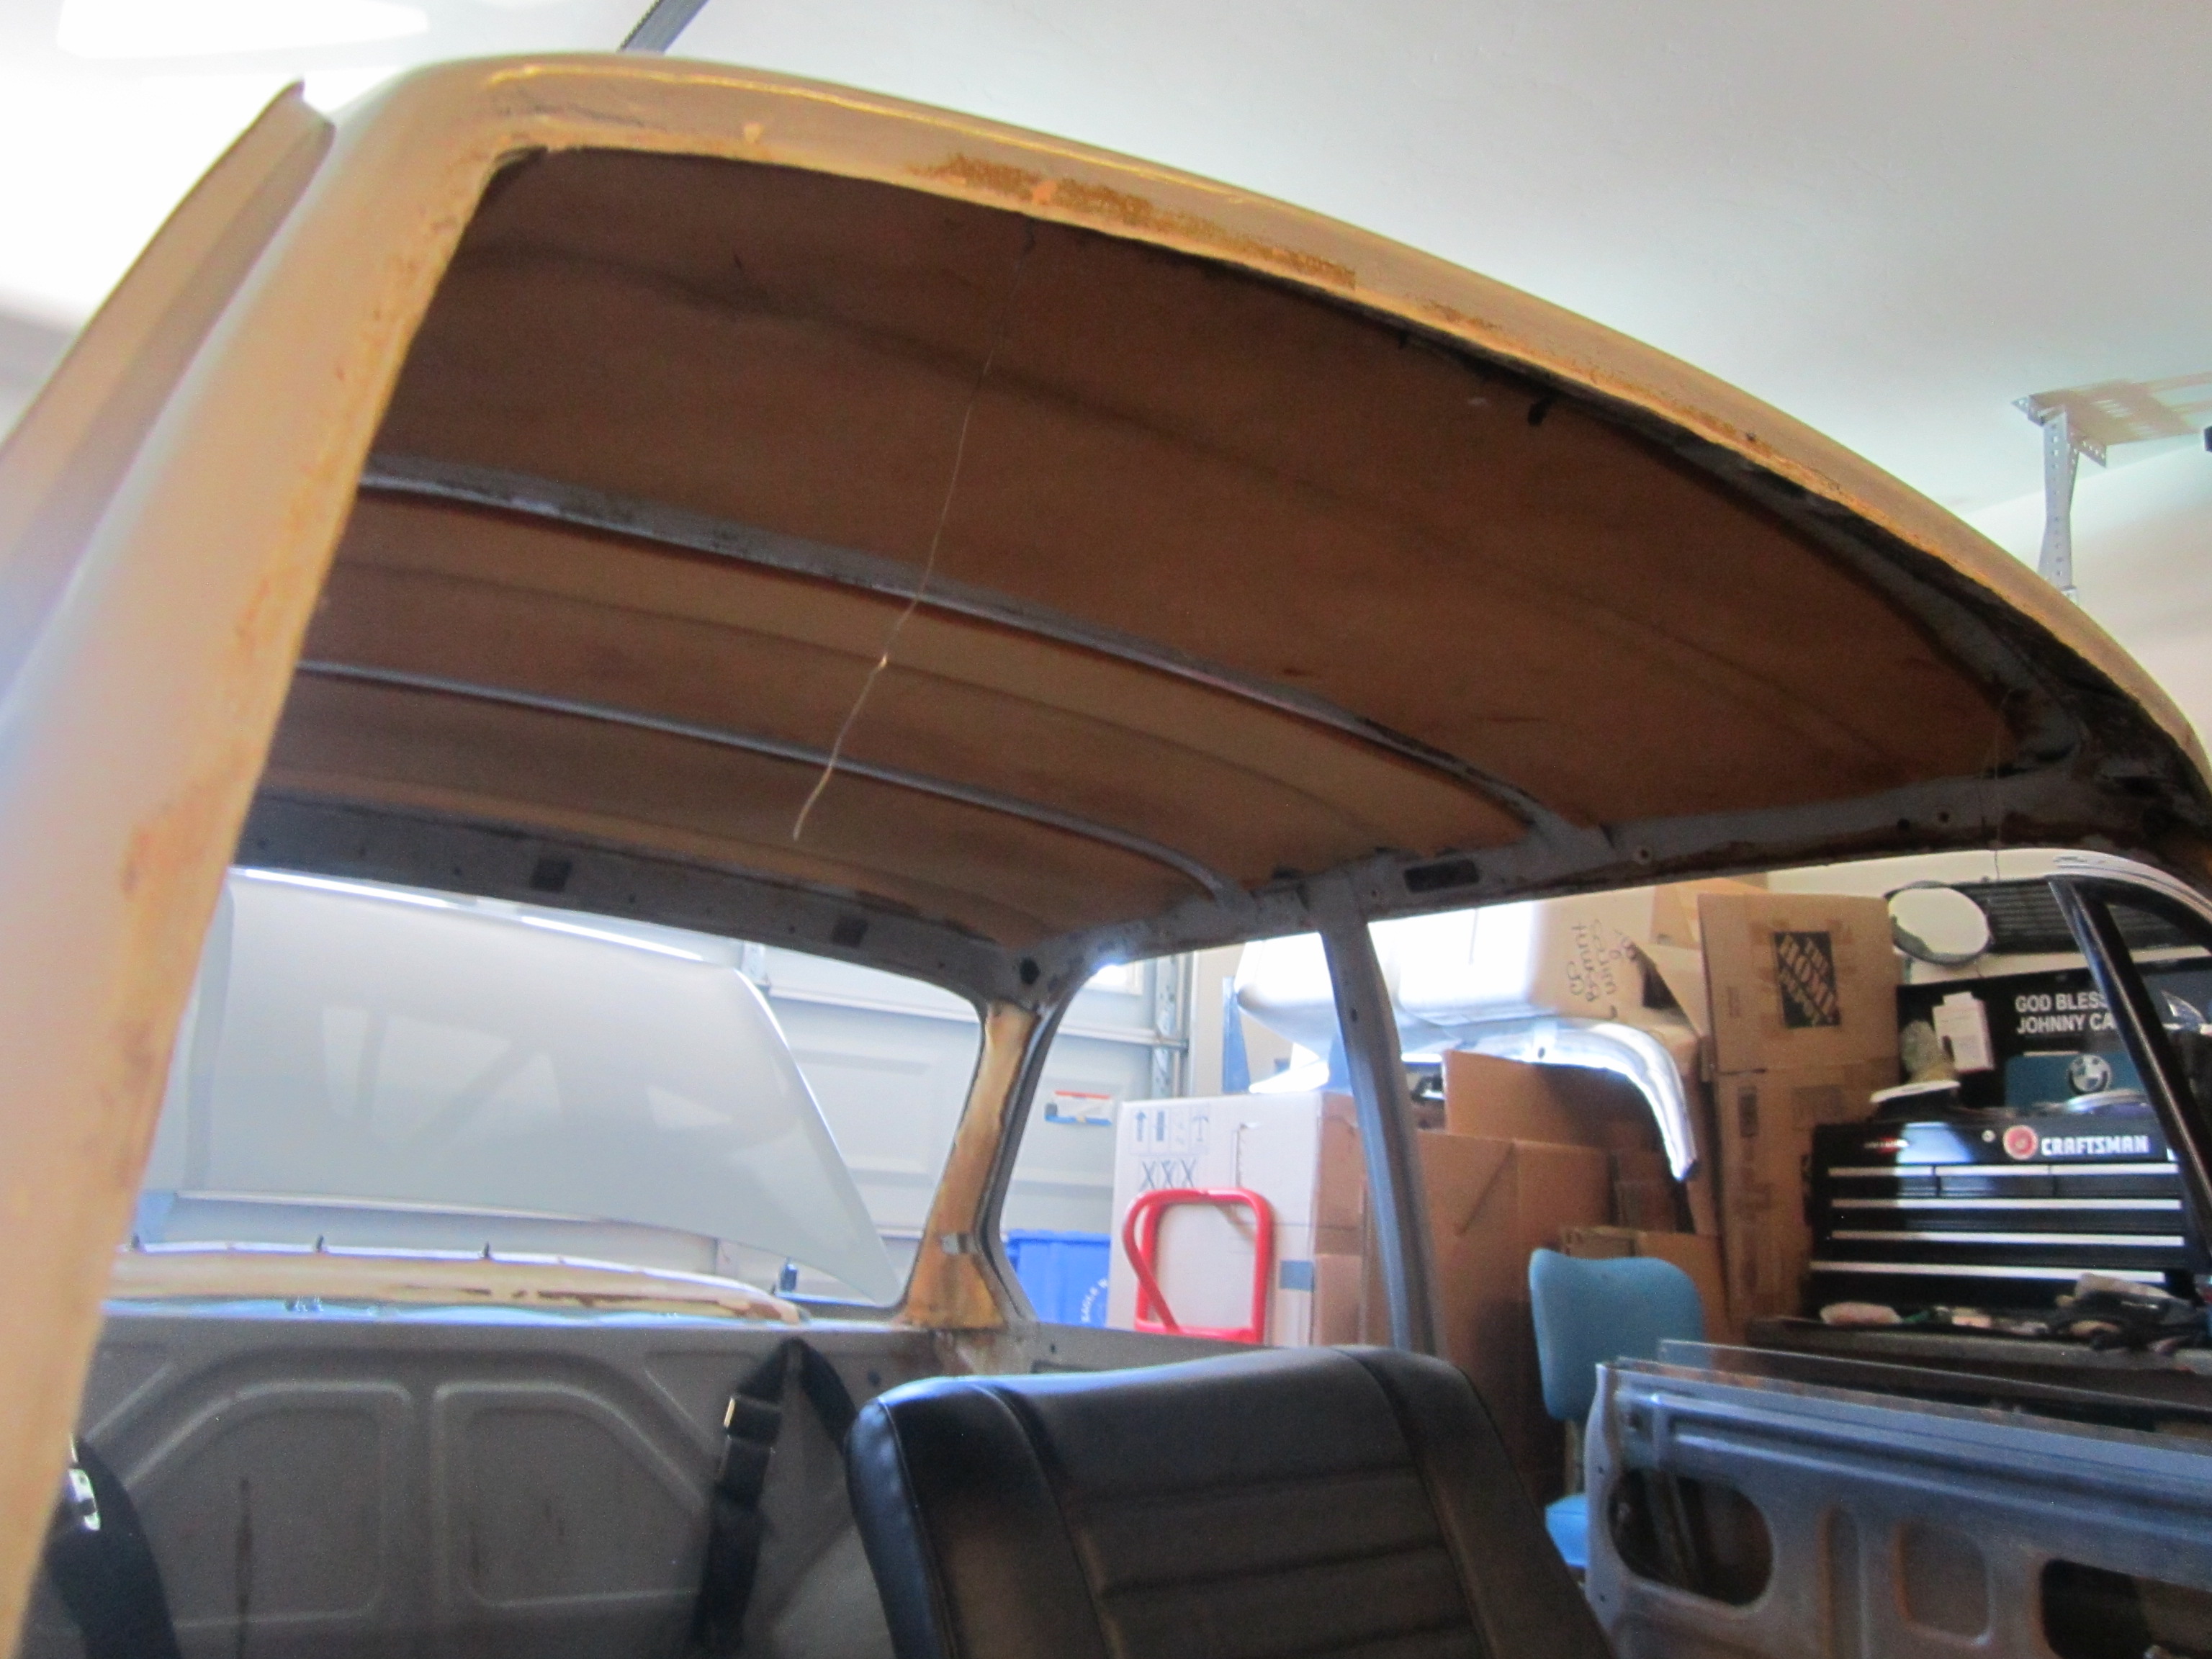
Placement and dry fit.
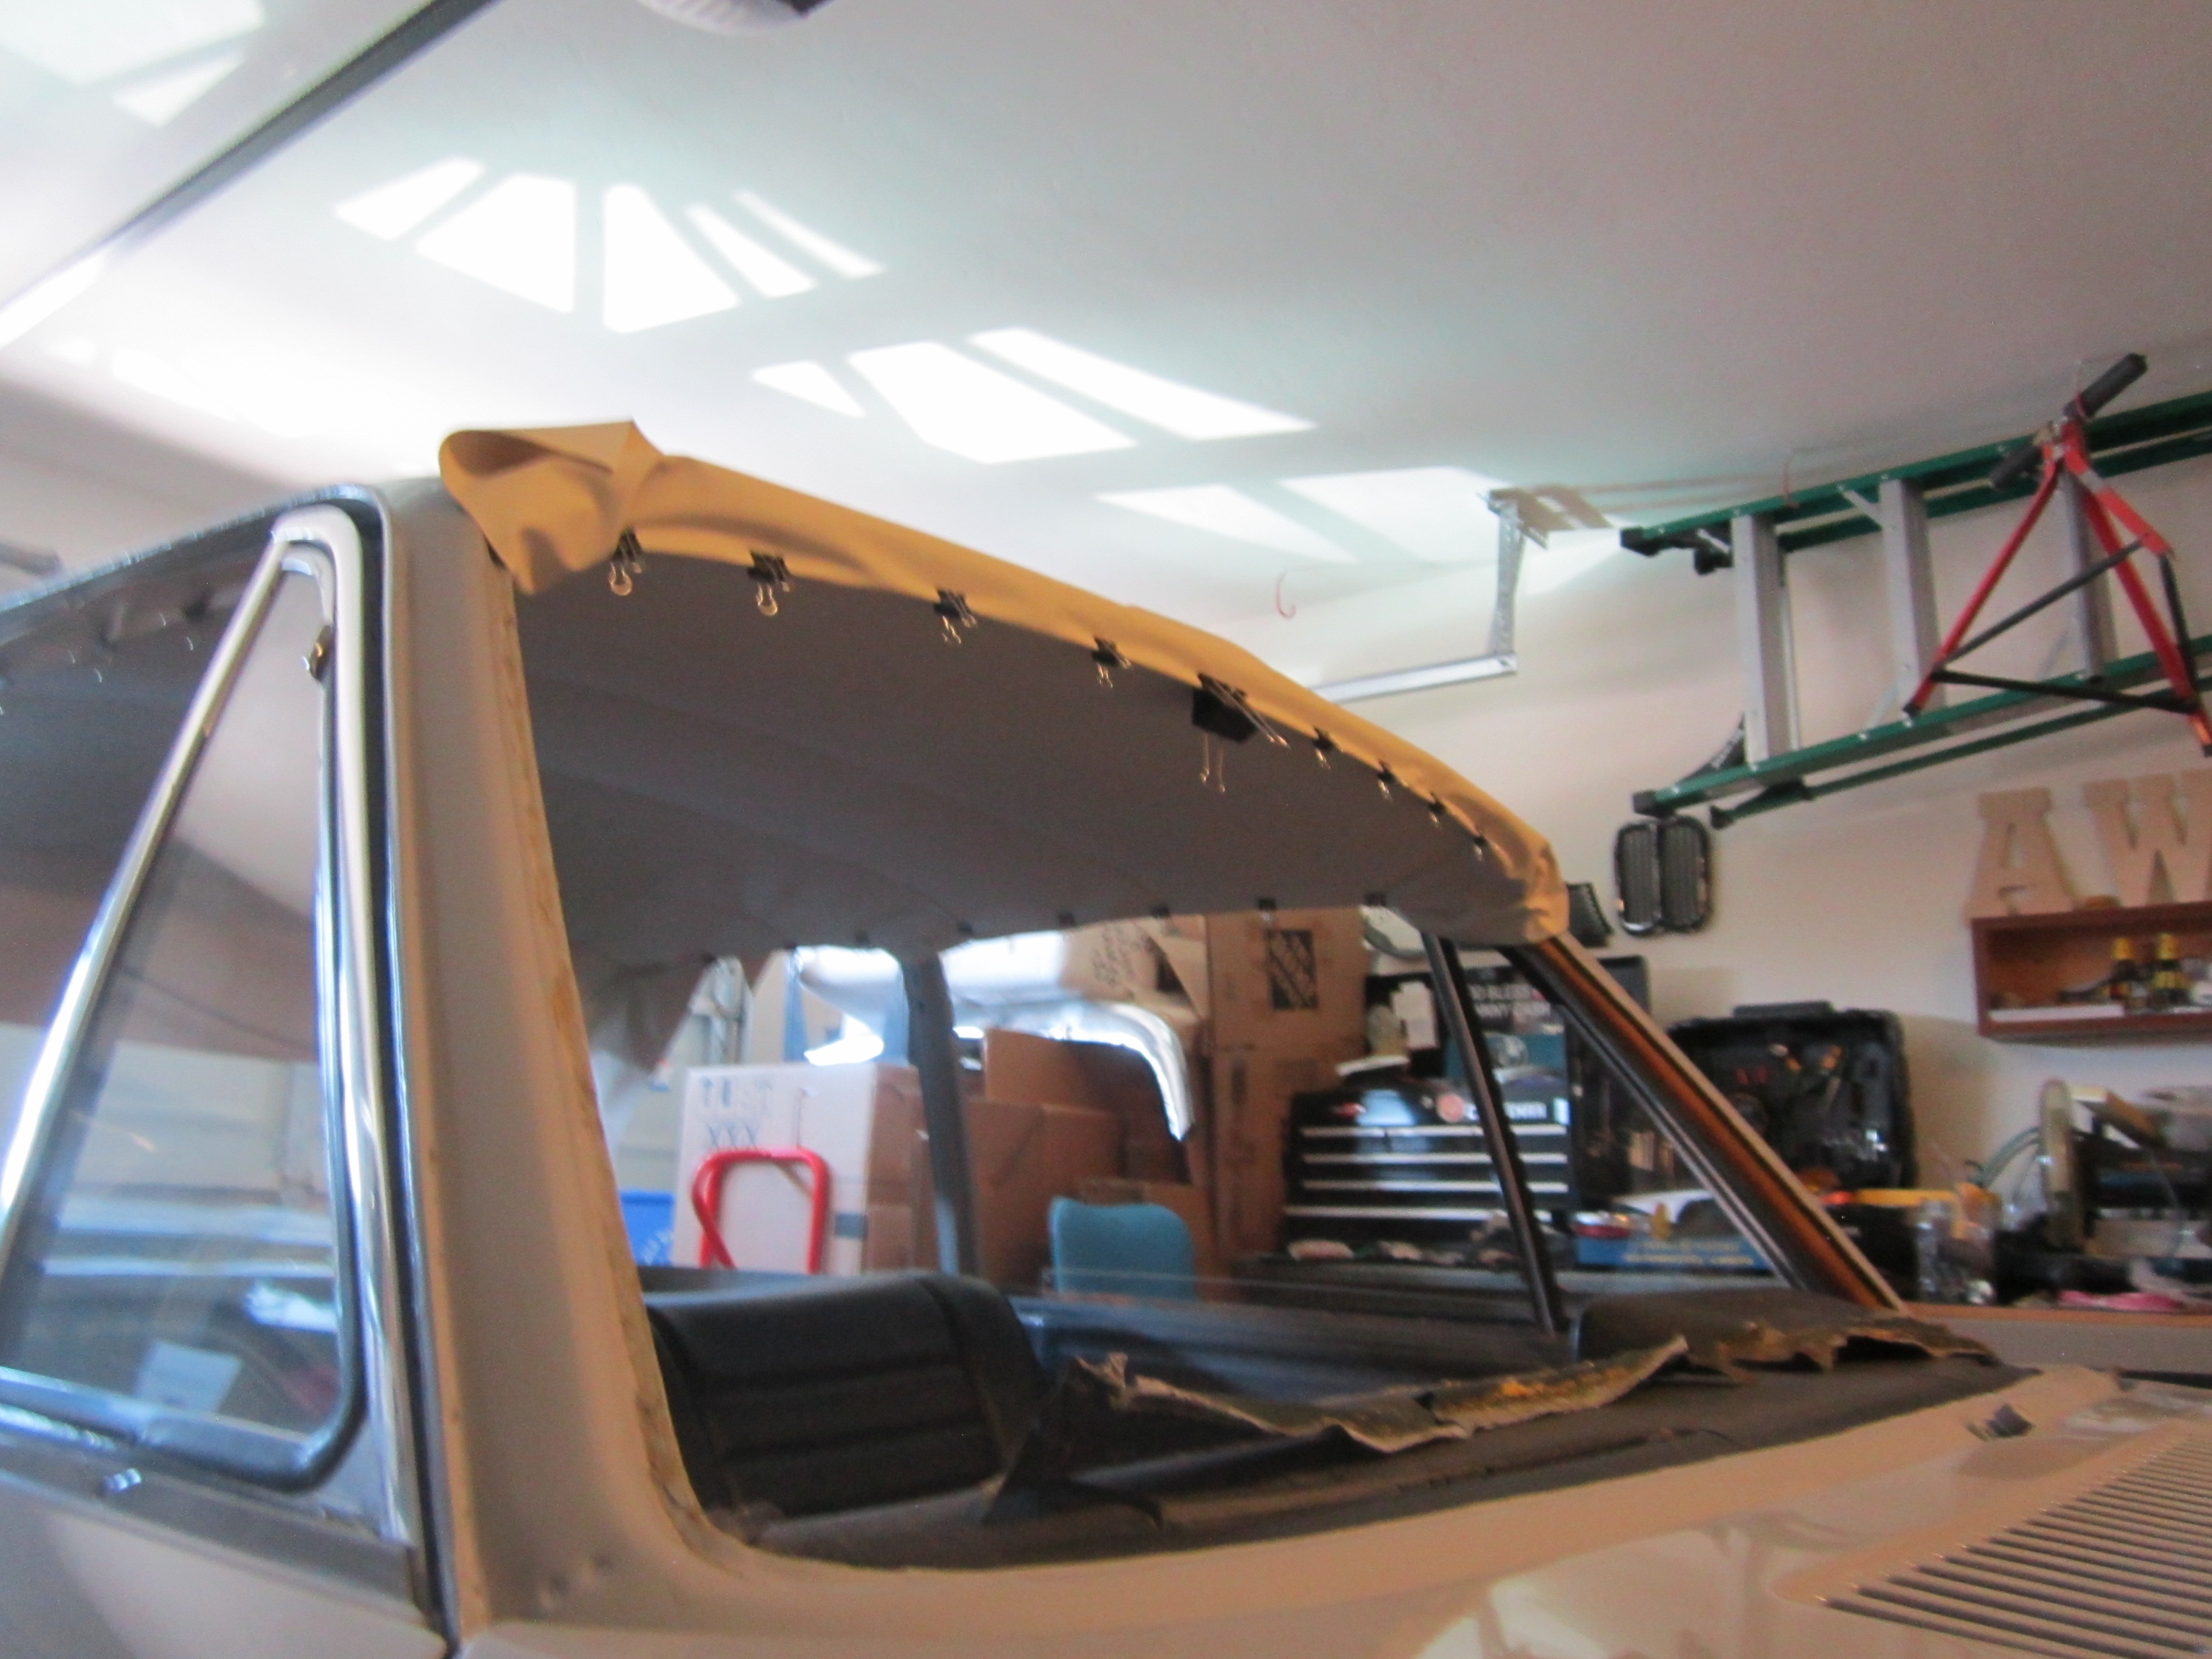
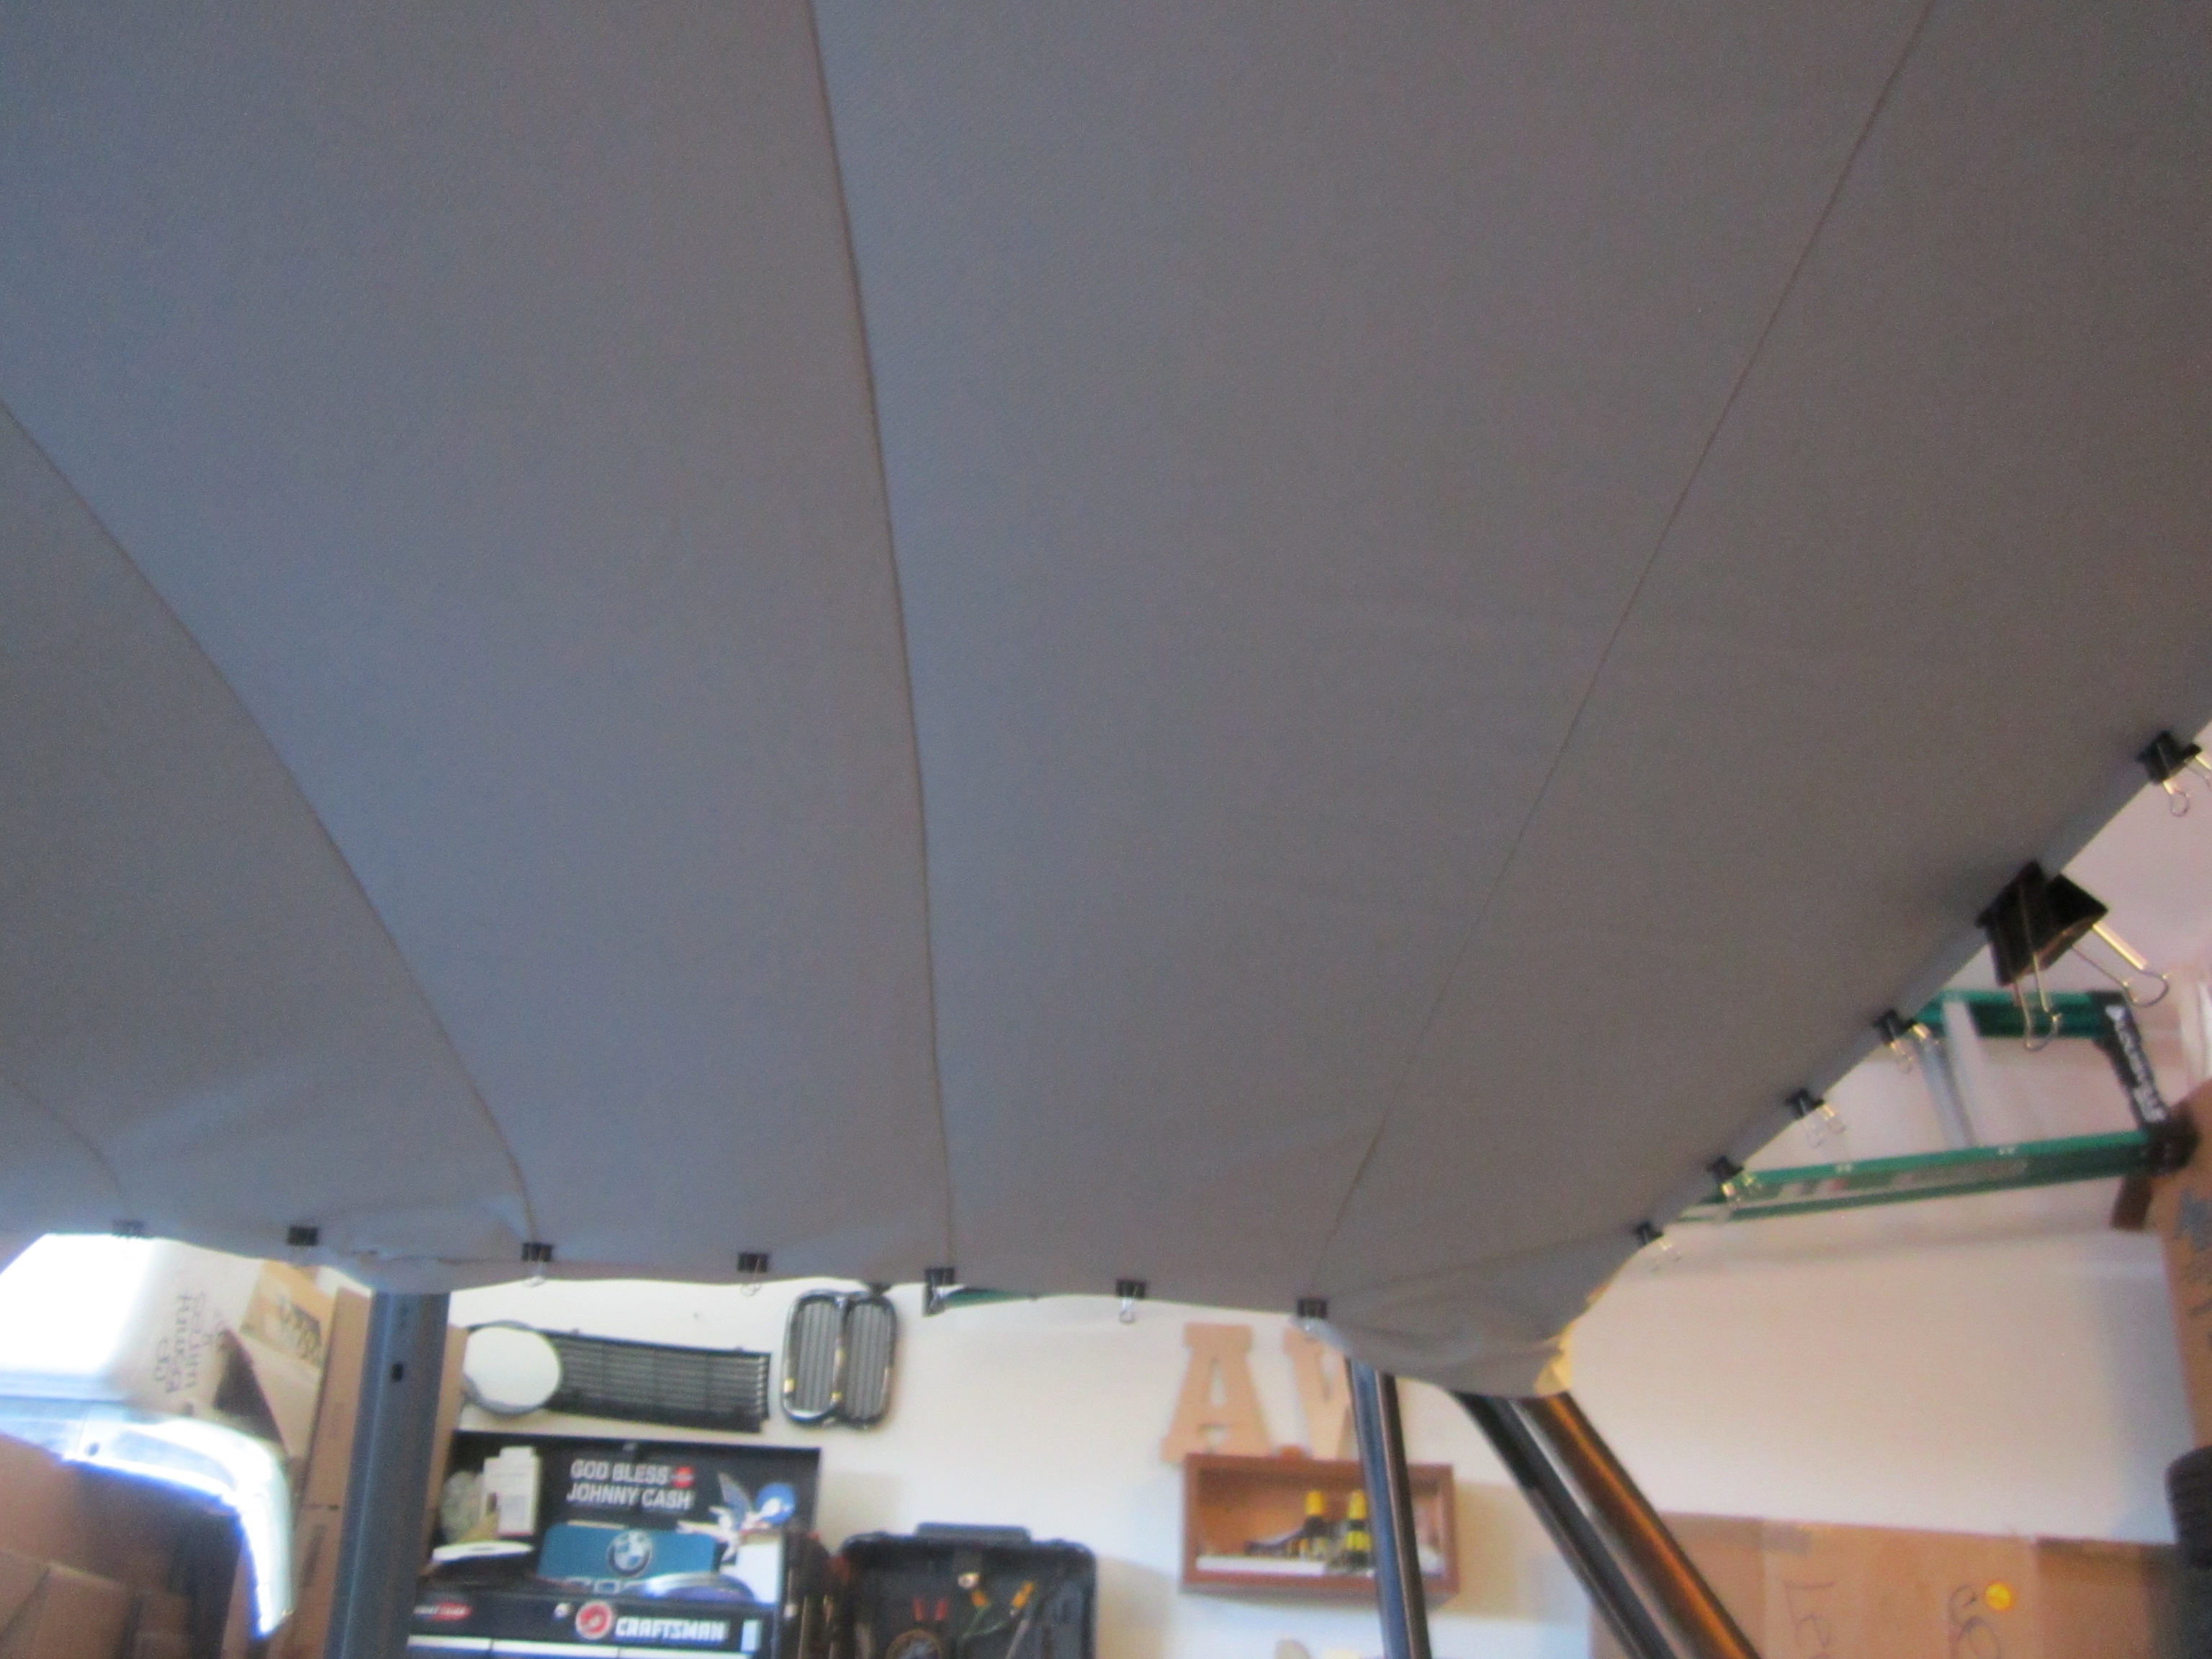

tomorrow I will start the process of cutting and gluing. I Know I have a lot of work ahead, but doing it each day for a few hours and taking my time I should have a really nice show 2002 BMW!