So what I thought was going to be an easy seat change ended up last me over 3 hours, but after it was done it really makes a big change in the look of my R50.
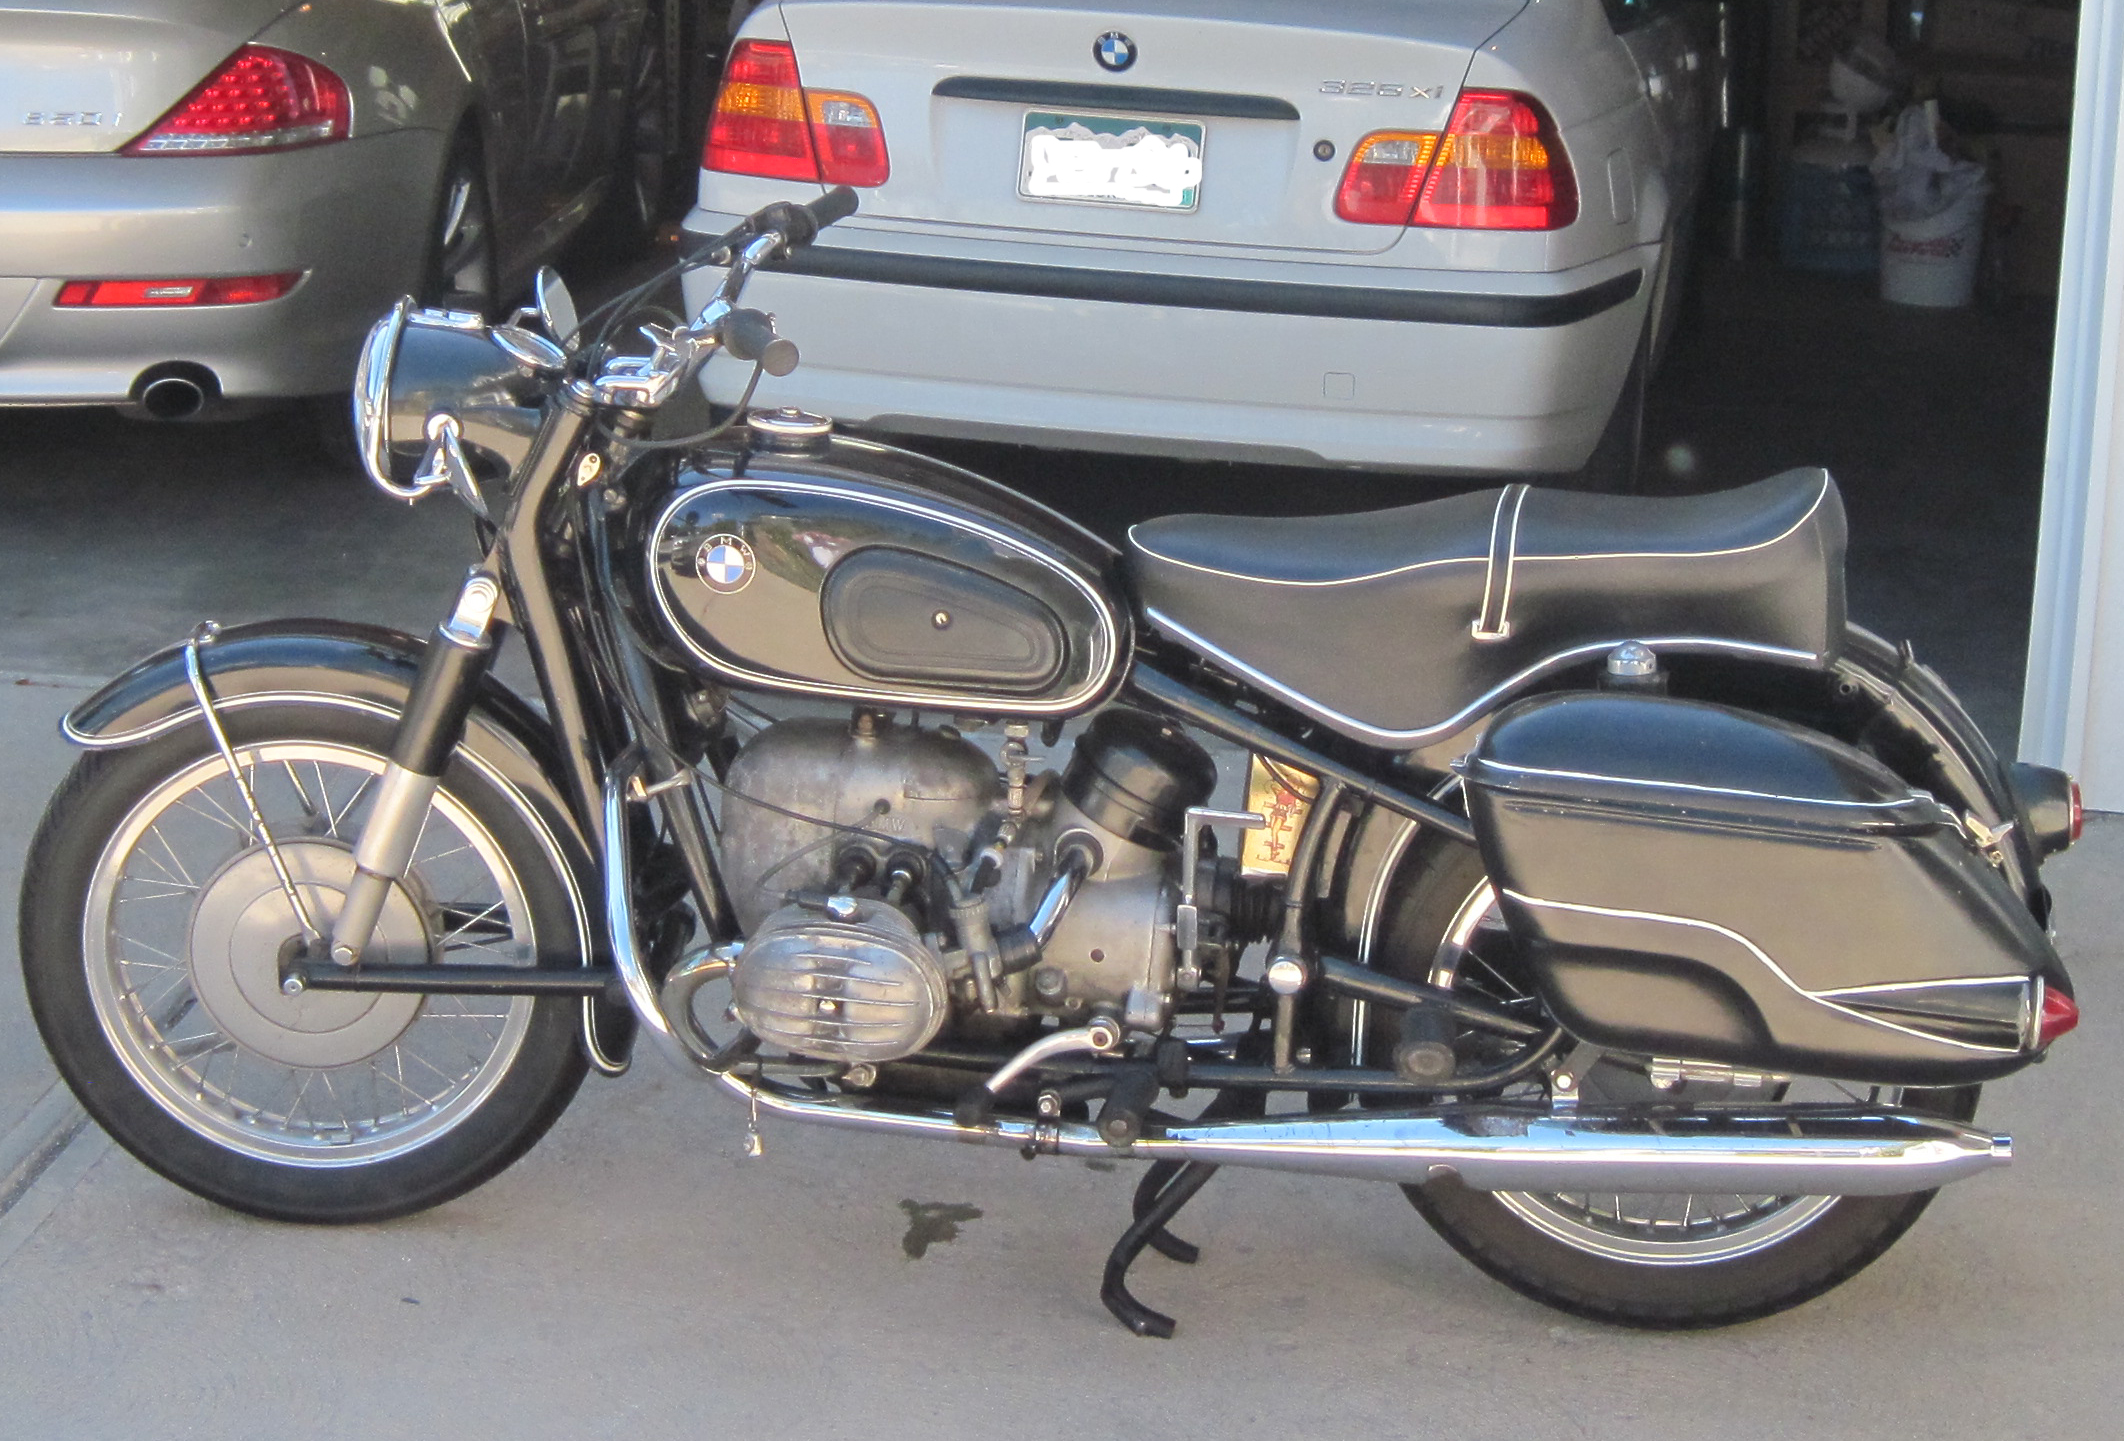
Above and below is the look of my BMW with the banana seat…
After removing the seat, i wanted to see how the chromed luggage rack o the back fender is going to look. No holes drilled yet… and will save that project for a different day.
After almost 2 hours of draining the gas out of the tank… (I made the mistake of filling up a few weeks back, not knowing I wanted to put the solo seat on) the four gallons of gas through a filtered 1/4 inch tube is not the best way to drain a tank.
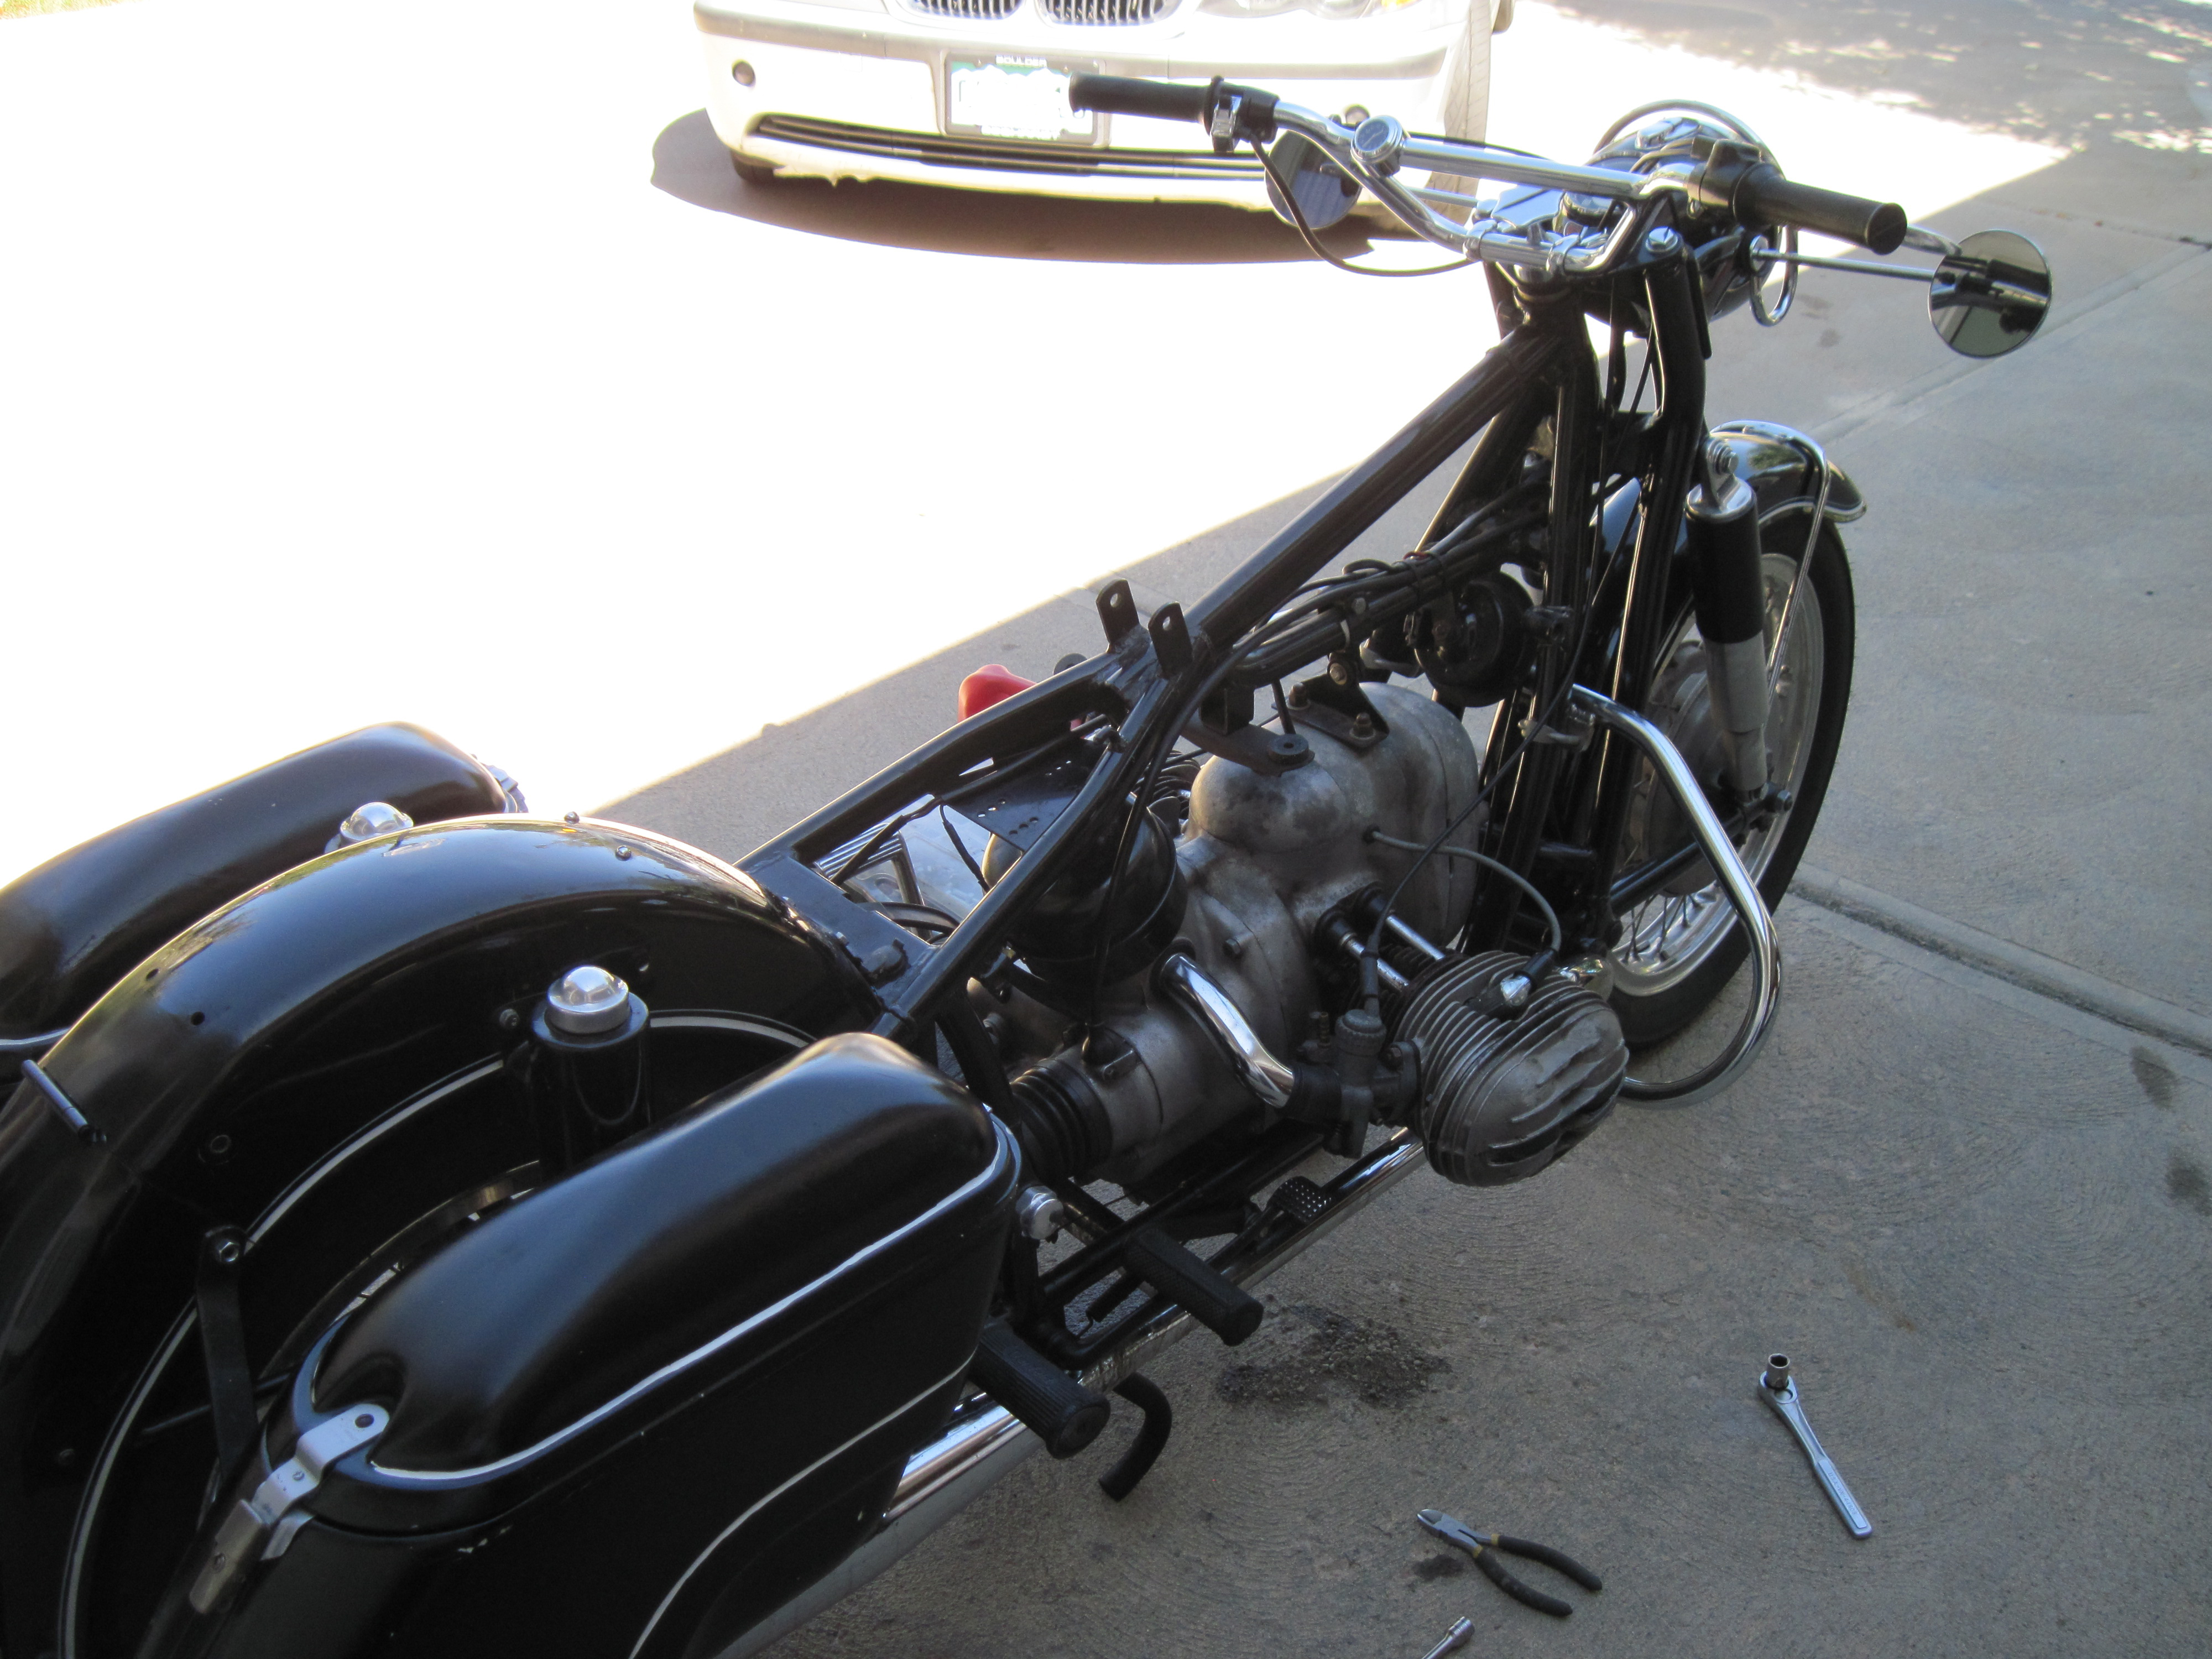
Above, the tank and seat off… i went ahead and washed the back fender.
Assembly was very quick and came together quickly. All the bolt holes lined up and the review of all the items double checking that it was all assembled correctly and tight.
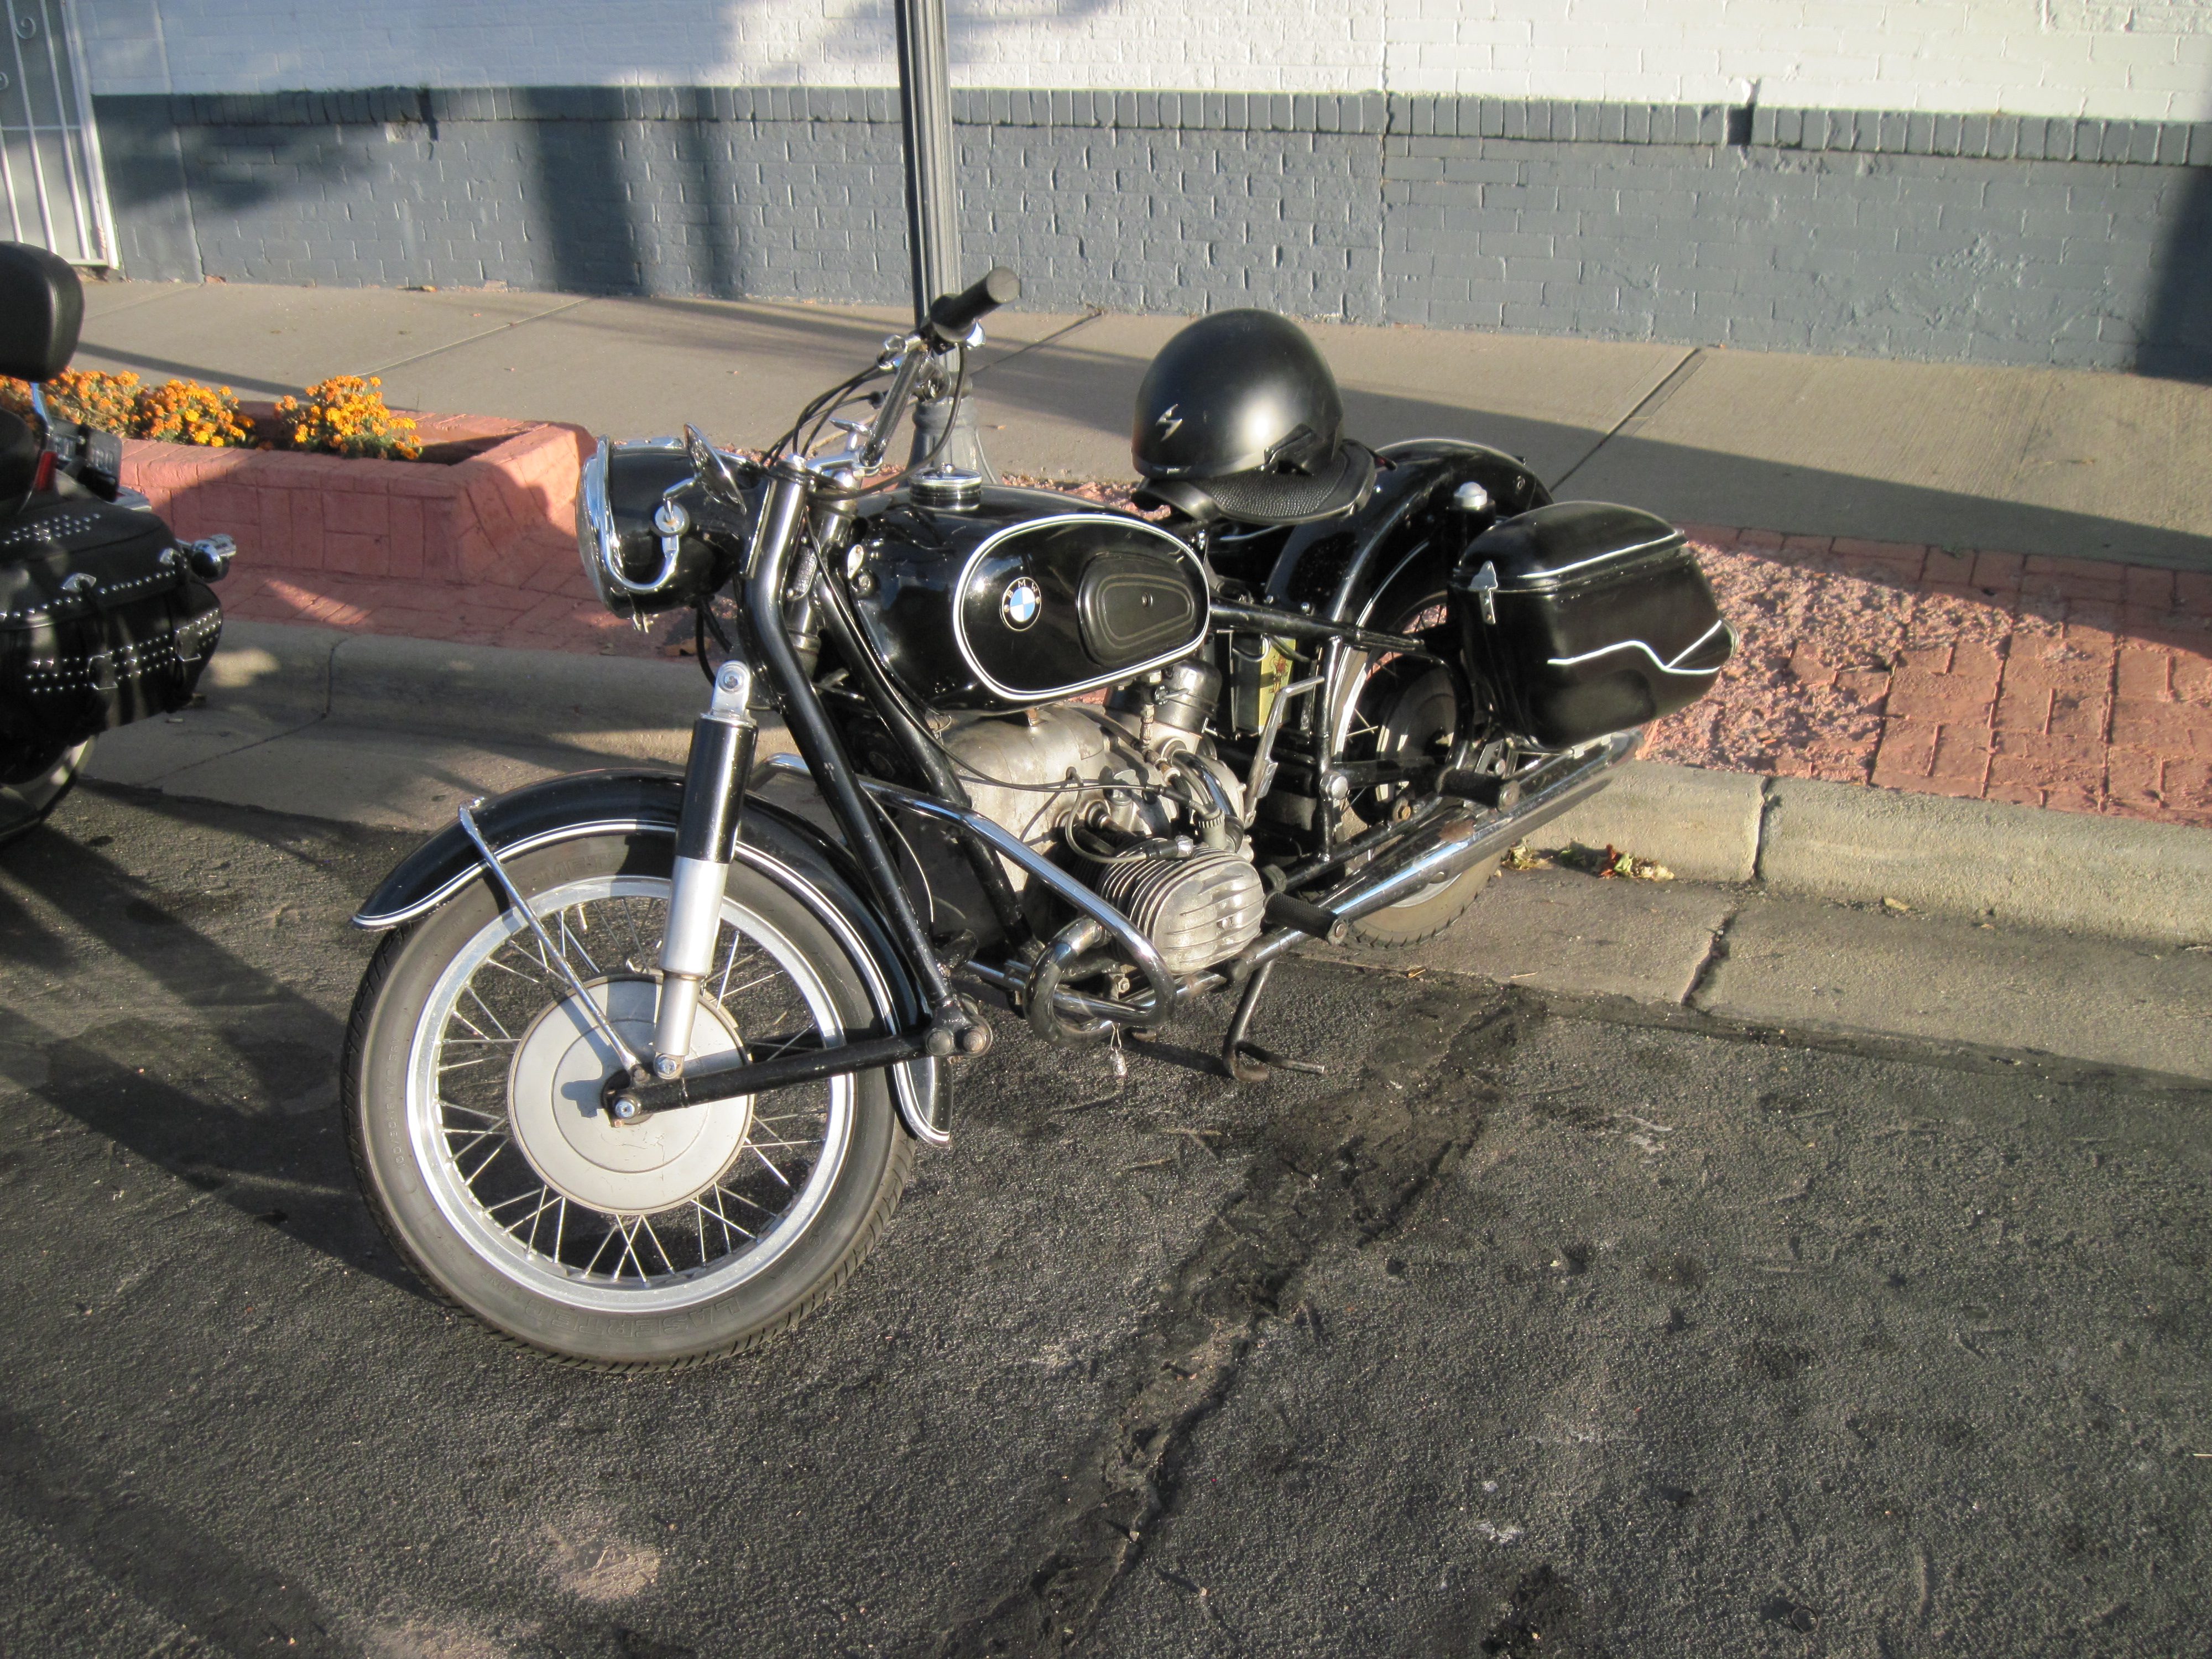
Out for a ride, Saturday in denver was a perfect clear and sunny day, I think the high was 80 degrees and the last Saturday of the summer for 2015 was perfect.
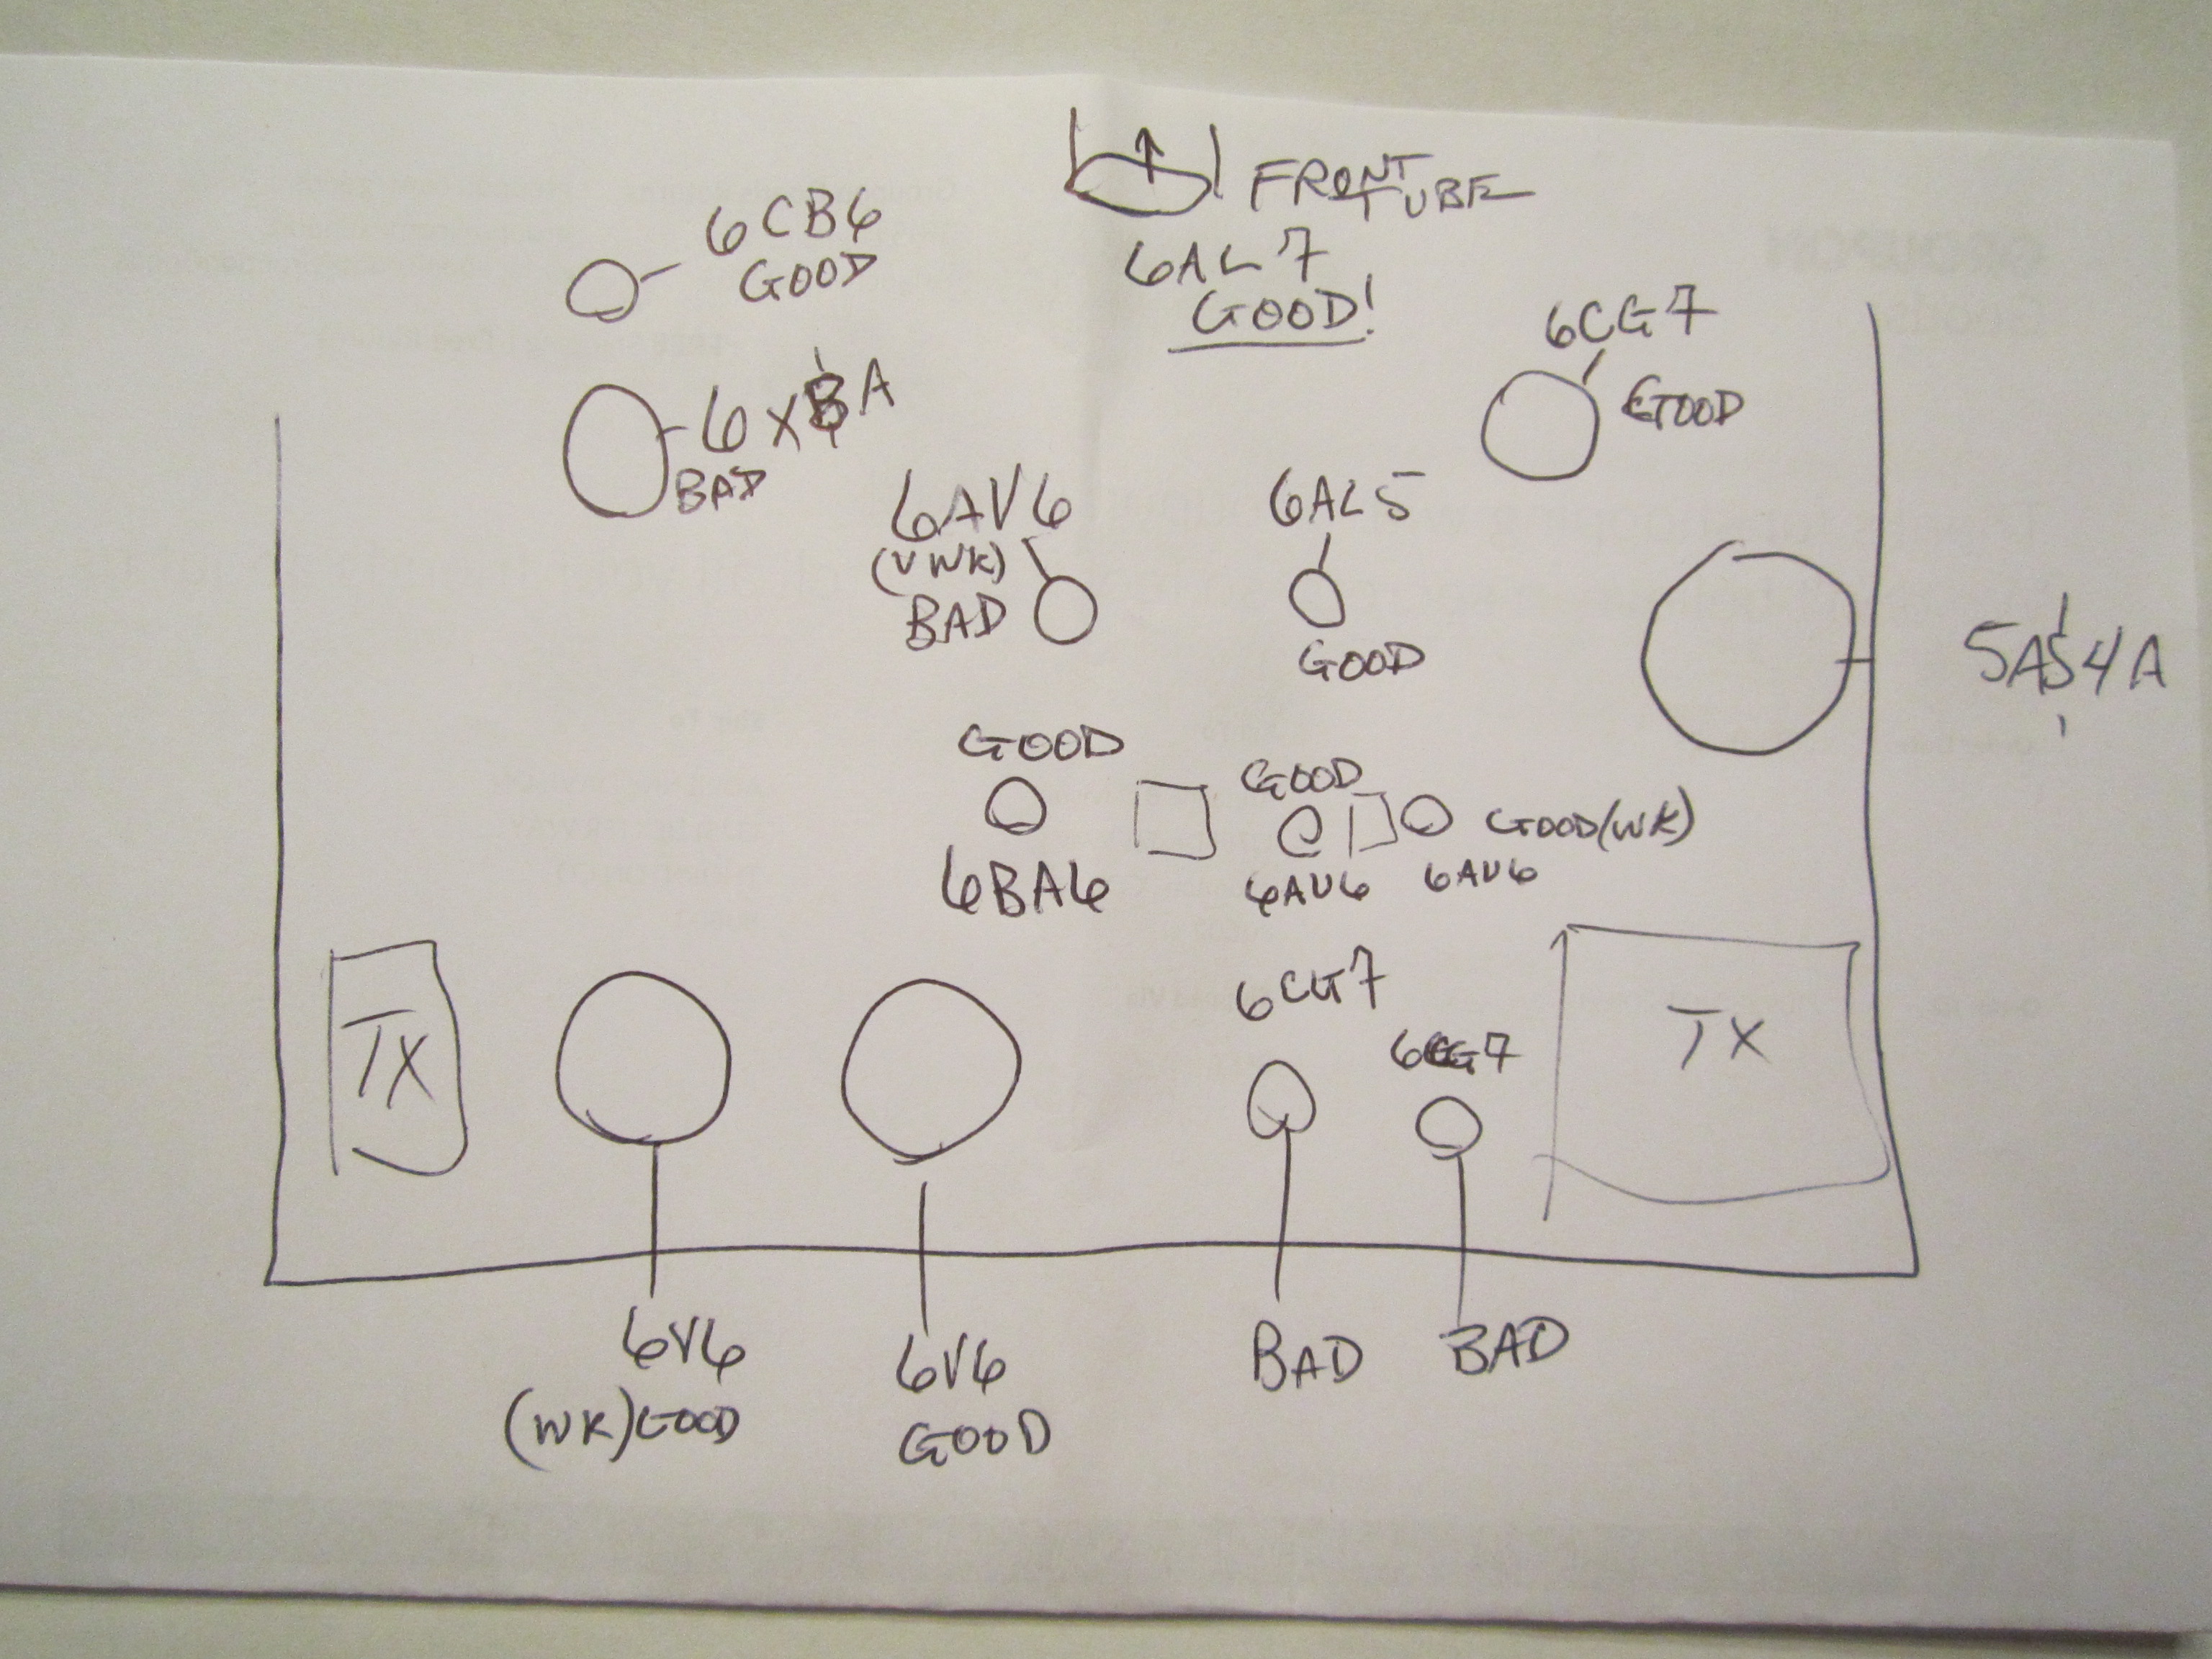
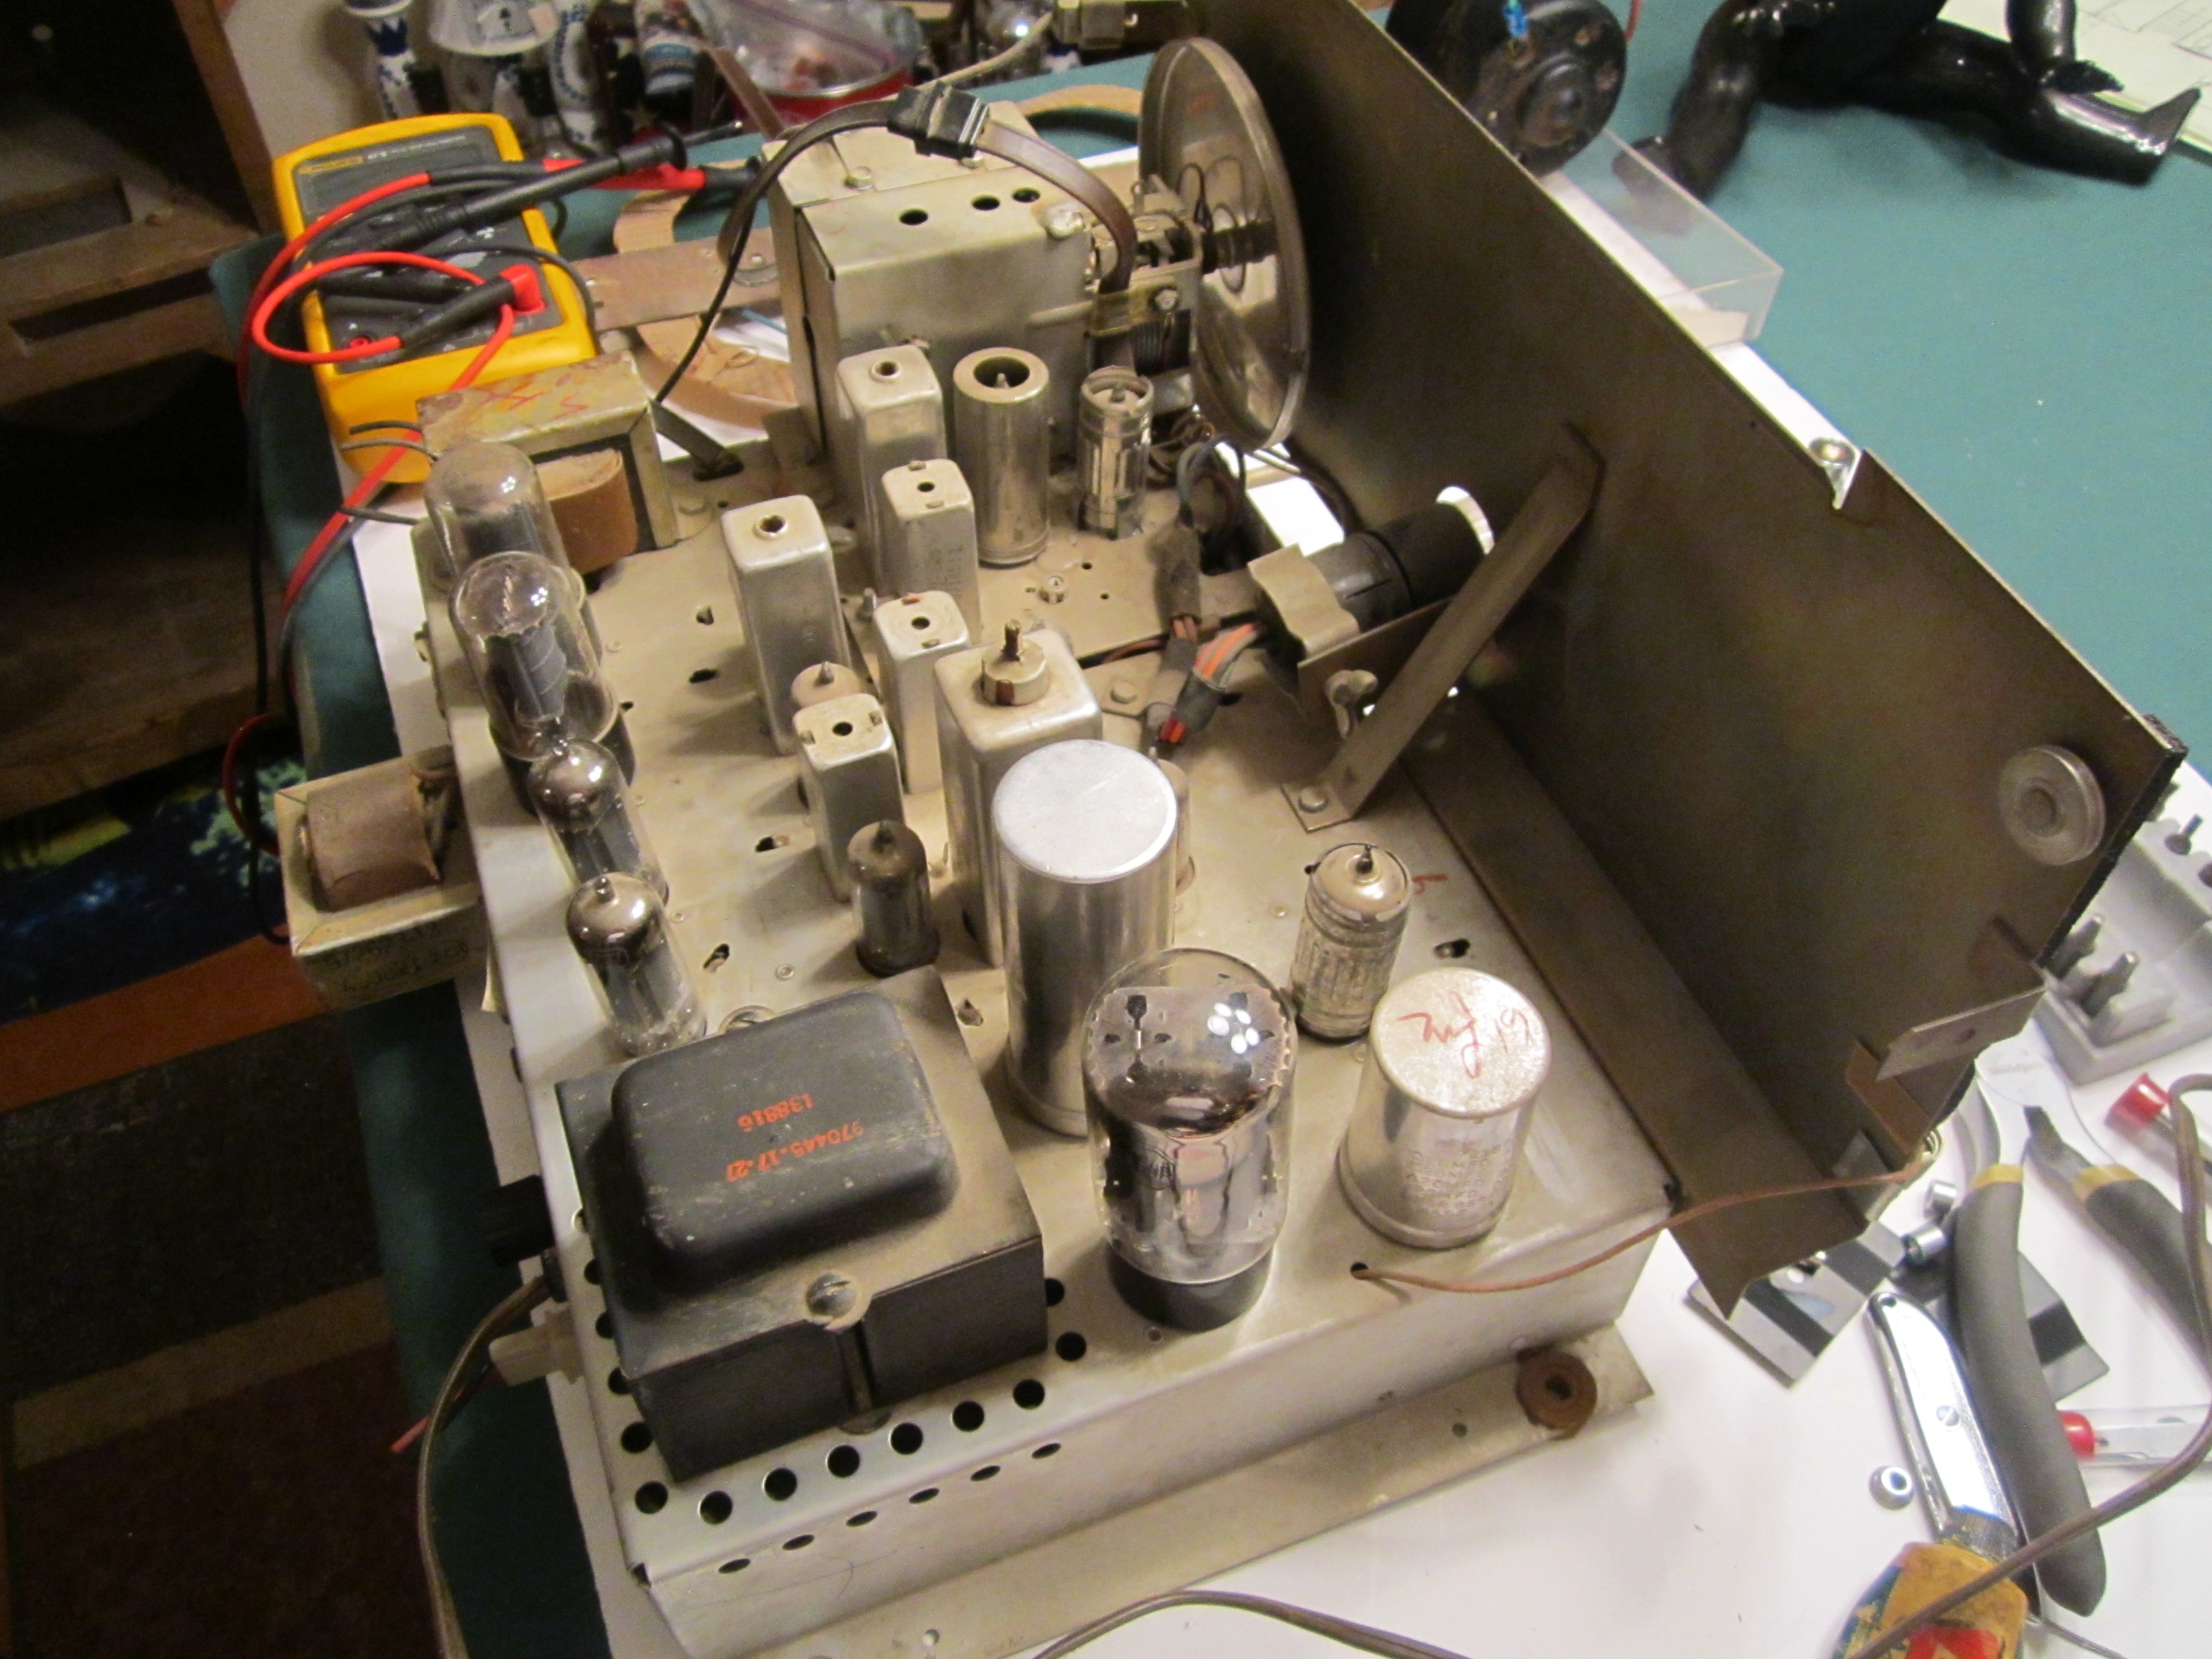
I started last night working again on the RCA console and decided prior to a thorough cleaning, I would check all of the tubes for good gain, emission, shorts and quality.
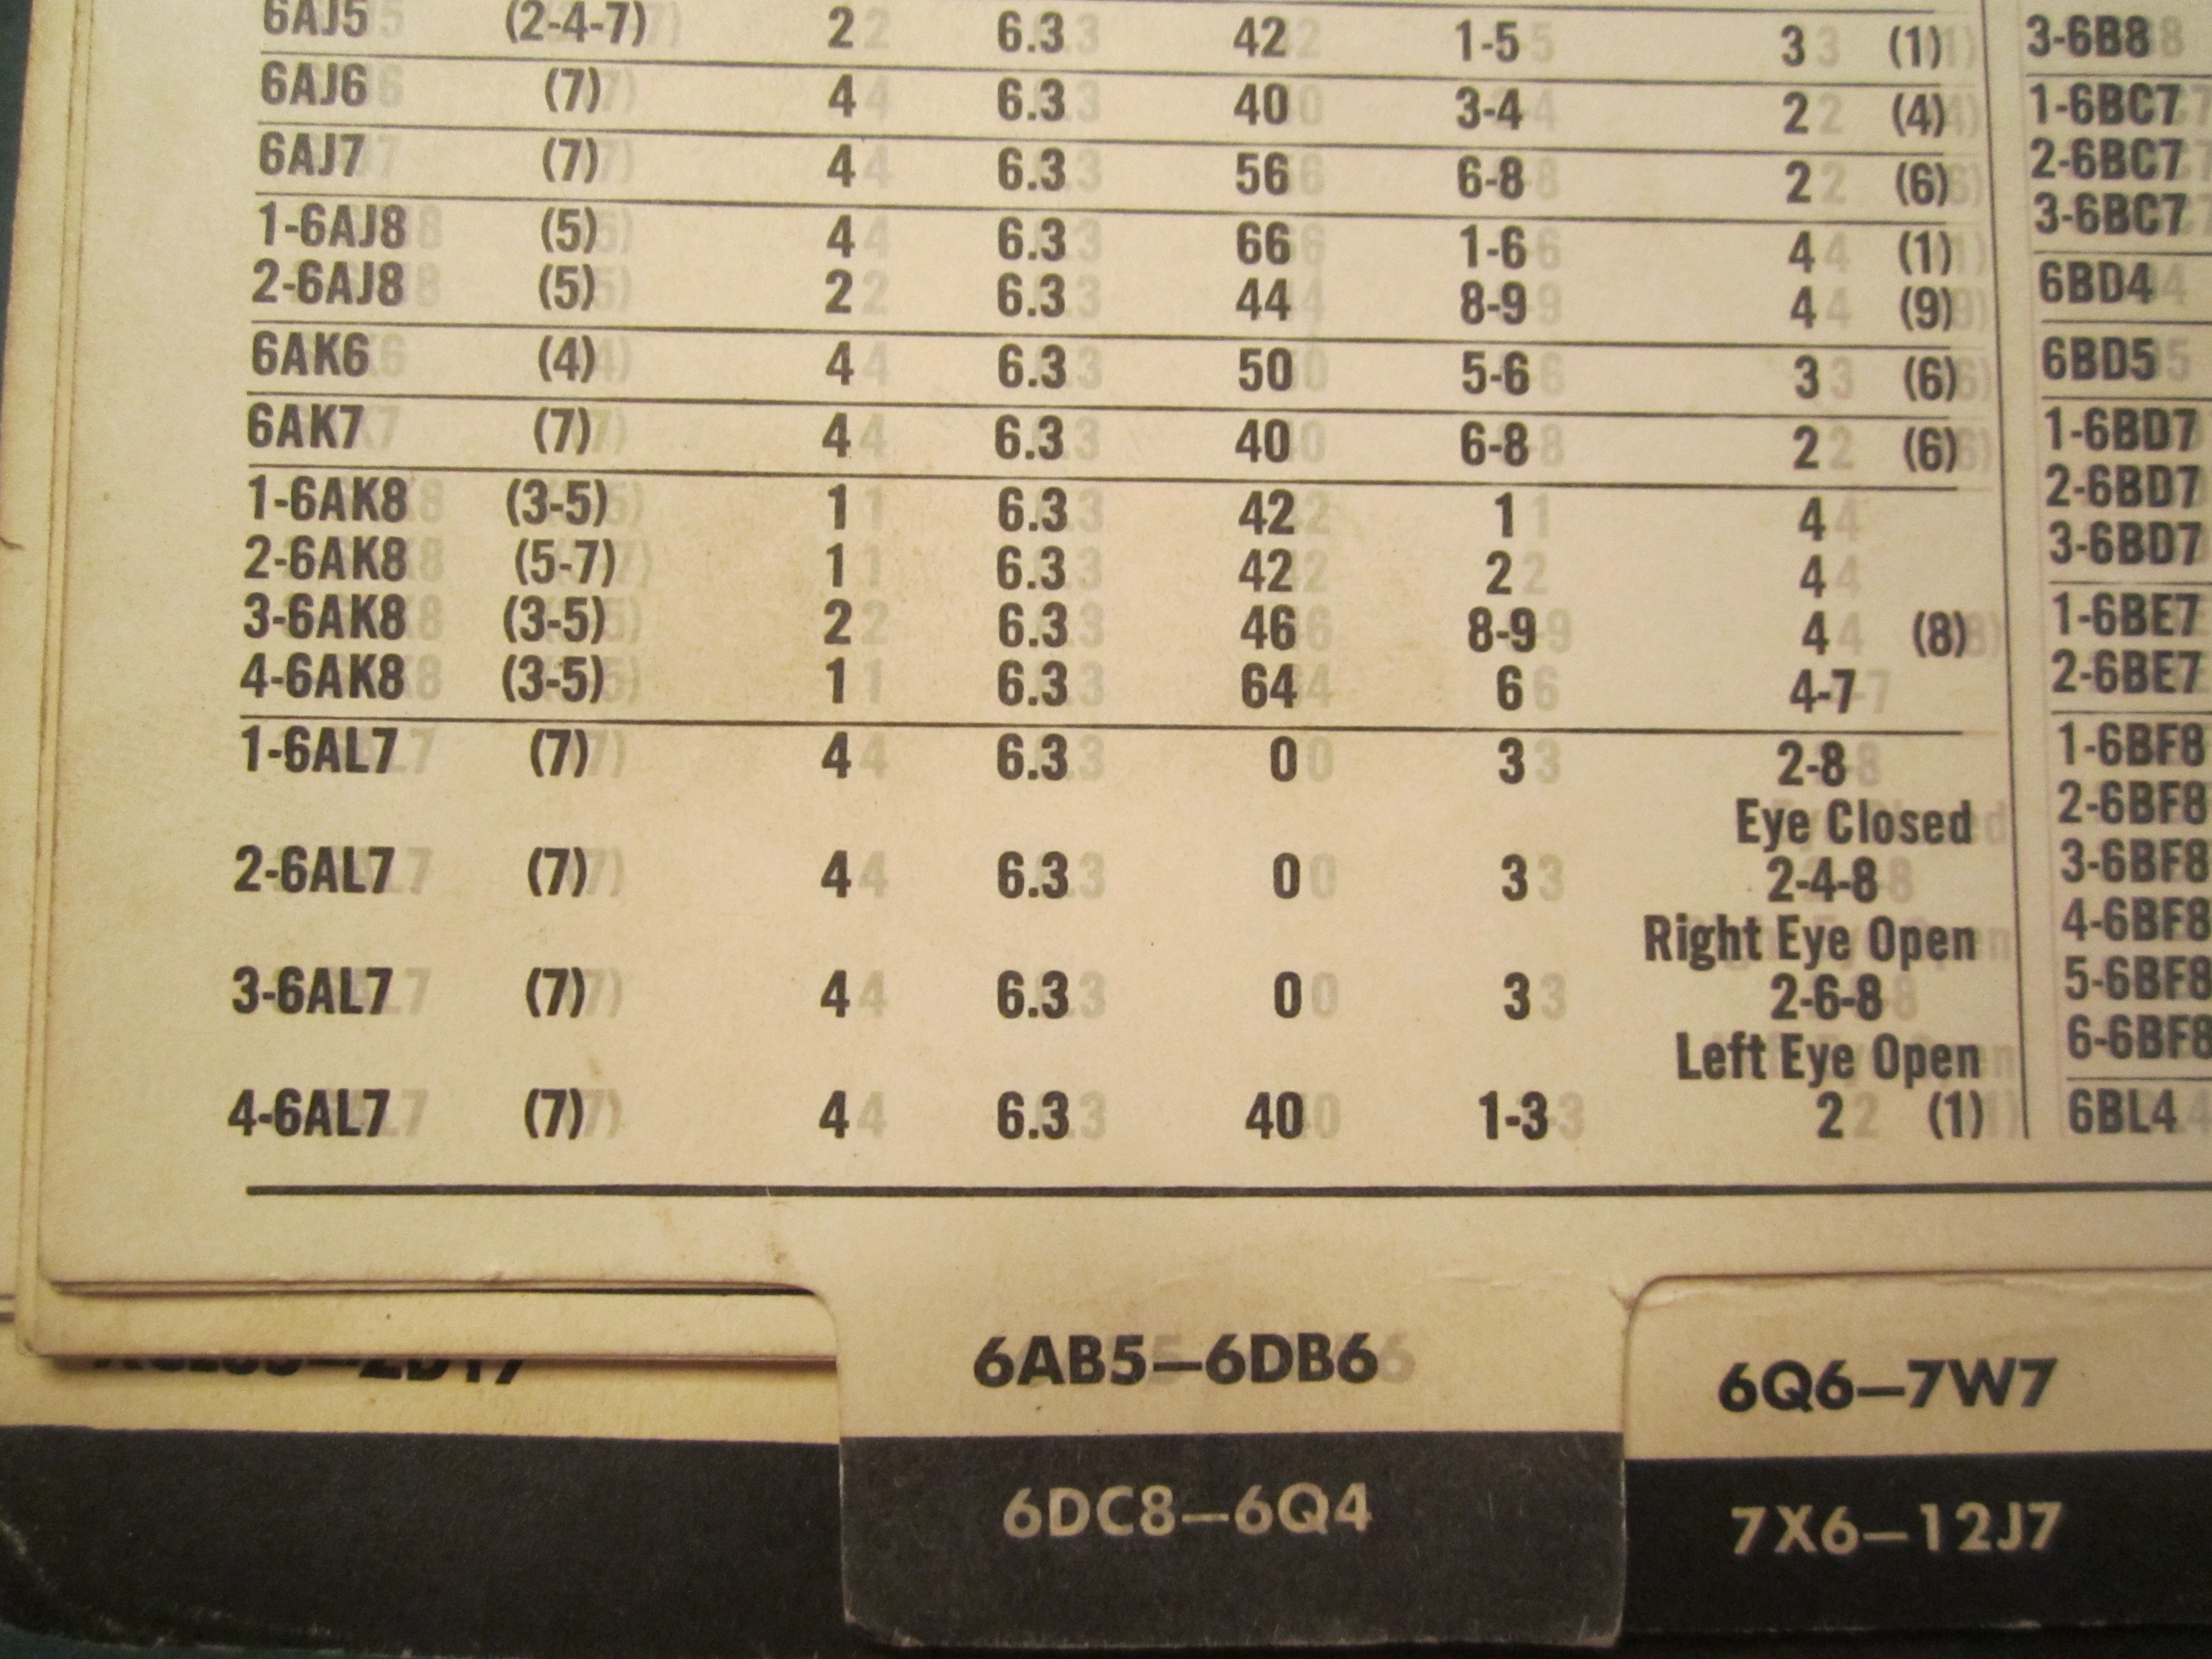
I first draw out the map of all the tubes, place the correct tube designator and Tube number. This ensures i have the correct tube placement and that as I test i can mark off “bad” or “good” or “weak”. The weak might be good enough to get the amplifier working, but will need replacement for long term use.
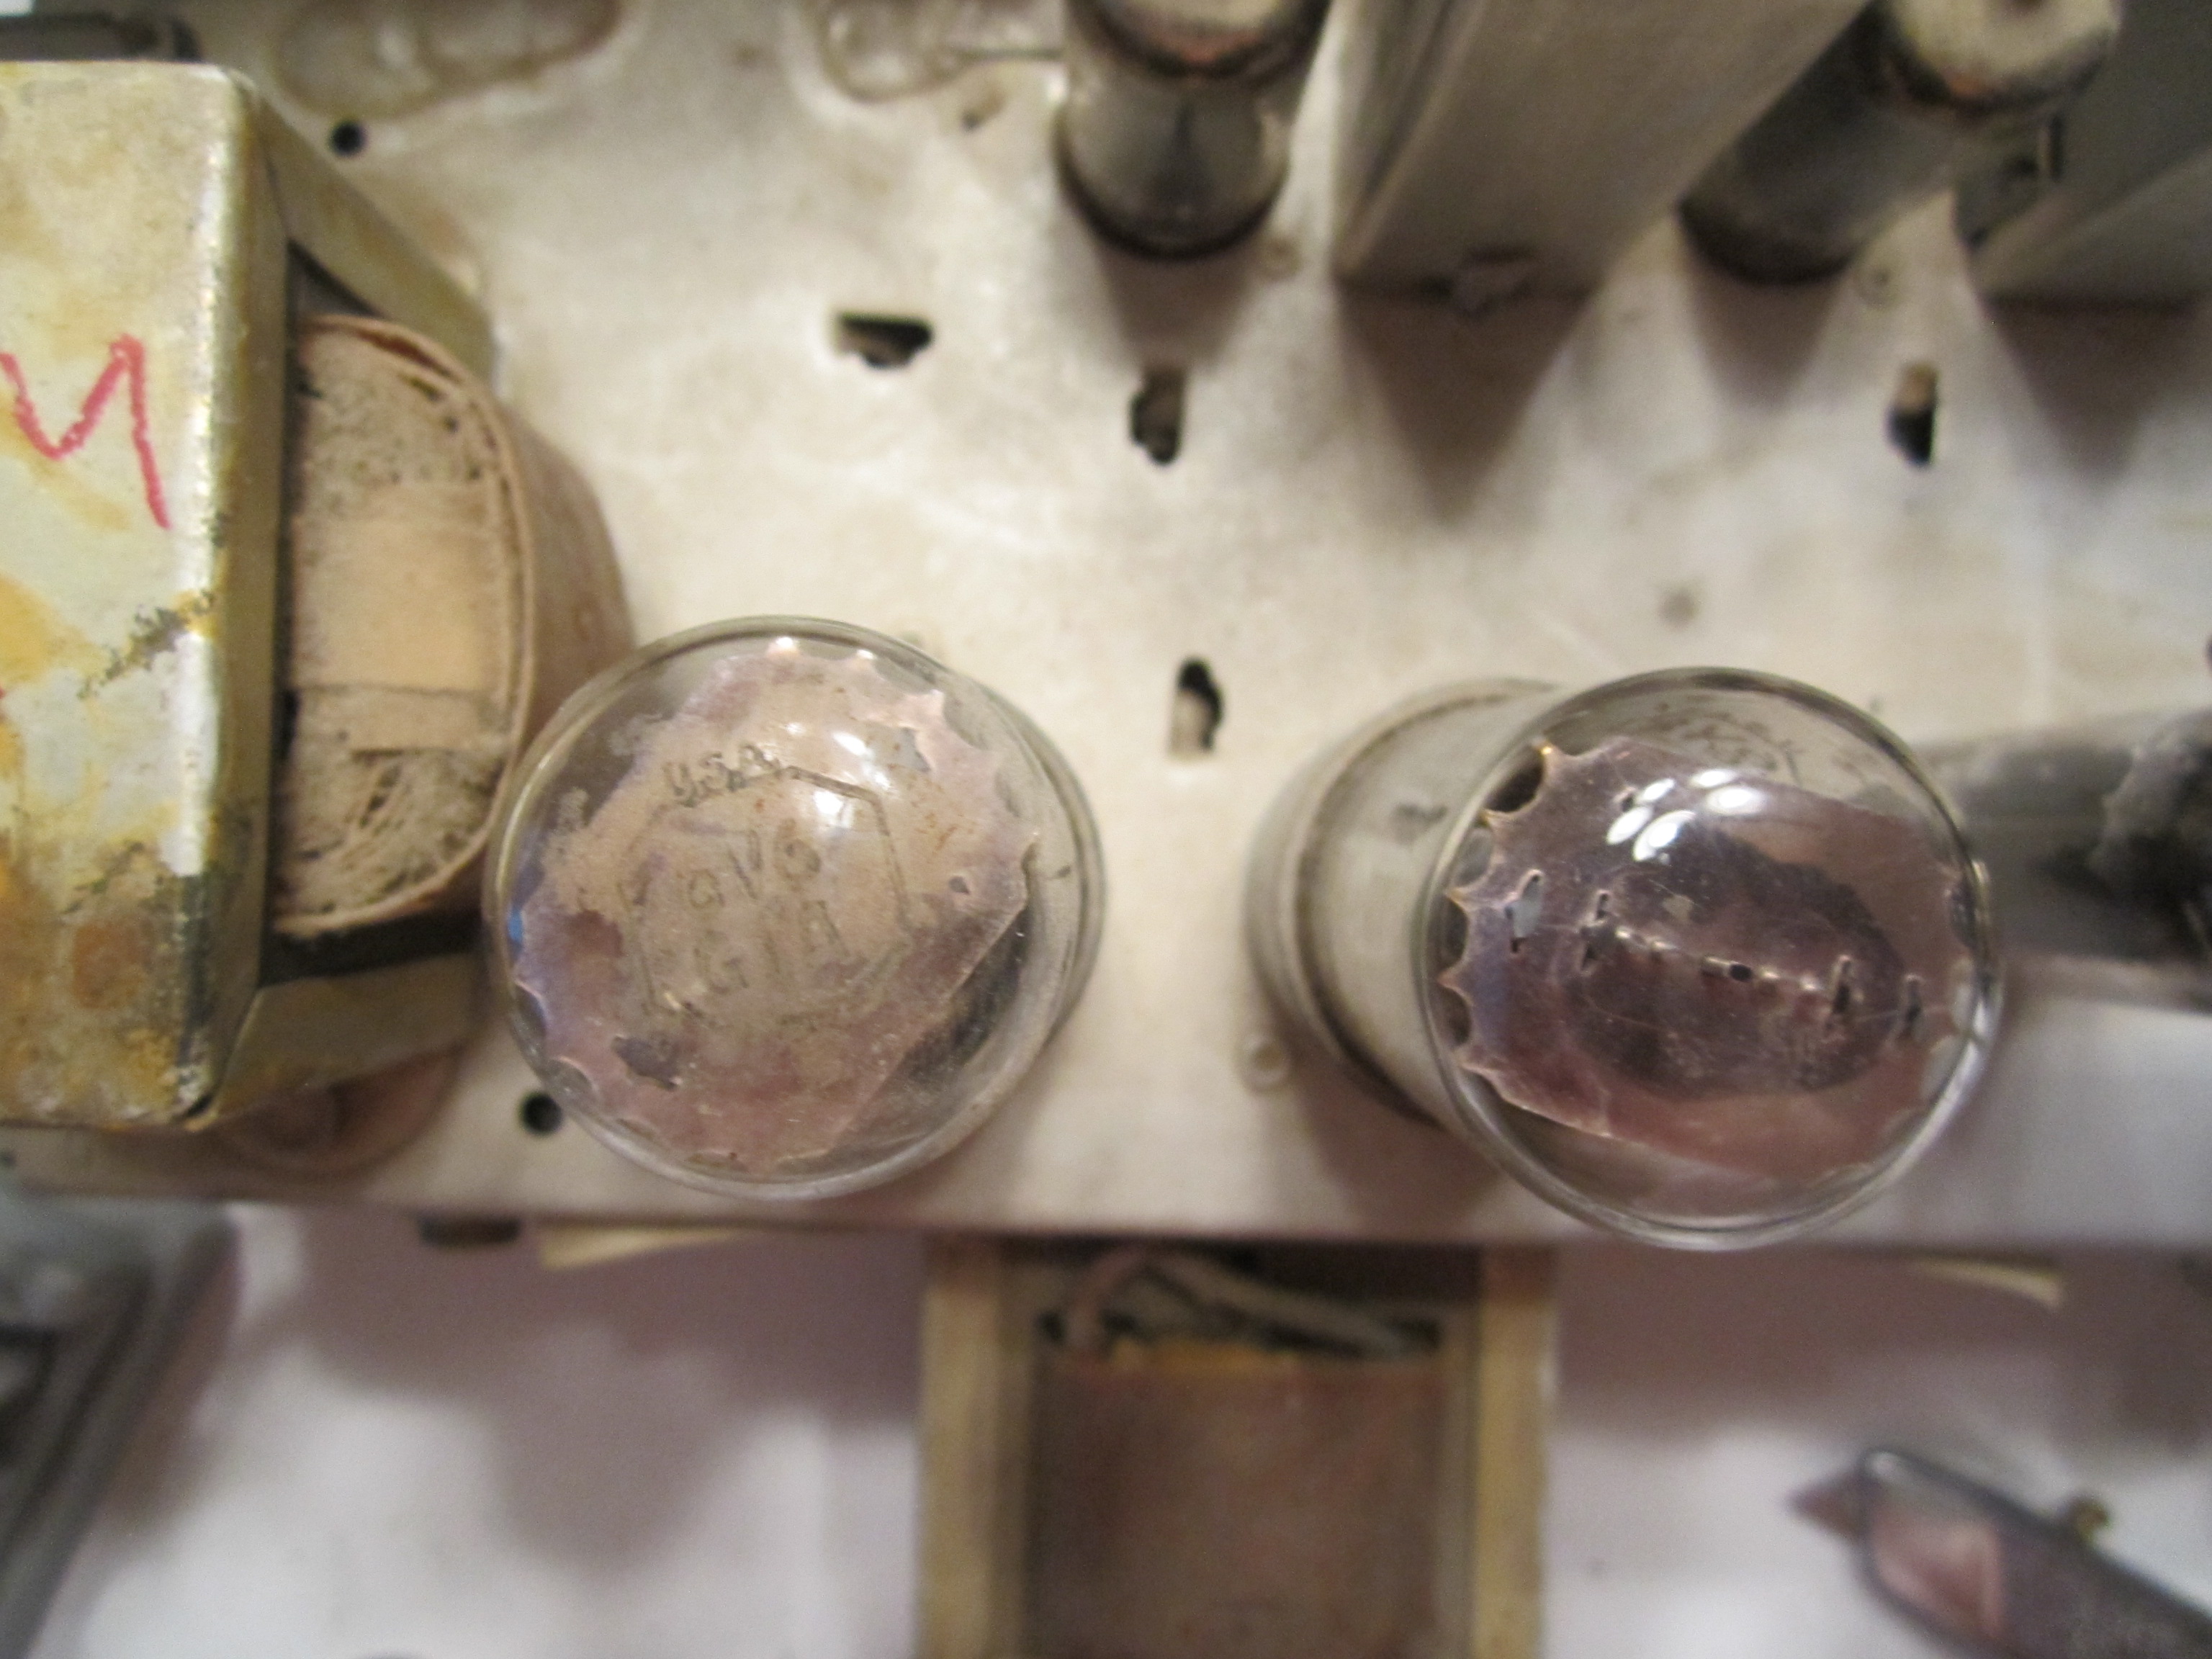
Next I select a tube and and gently remove the glass electron masterpiece.
As you can see, some tubes are in great shape and others need some cleaning to be able to read the tube part number.
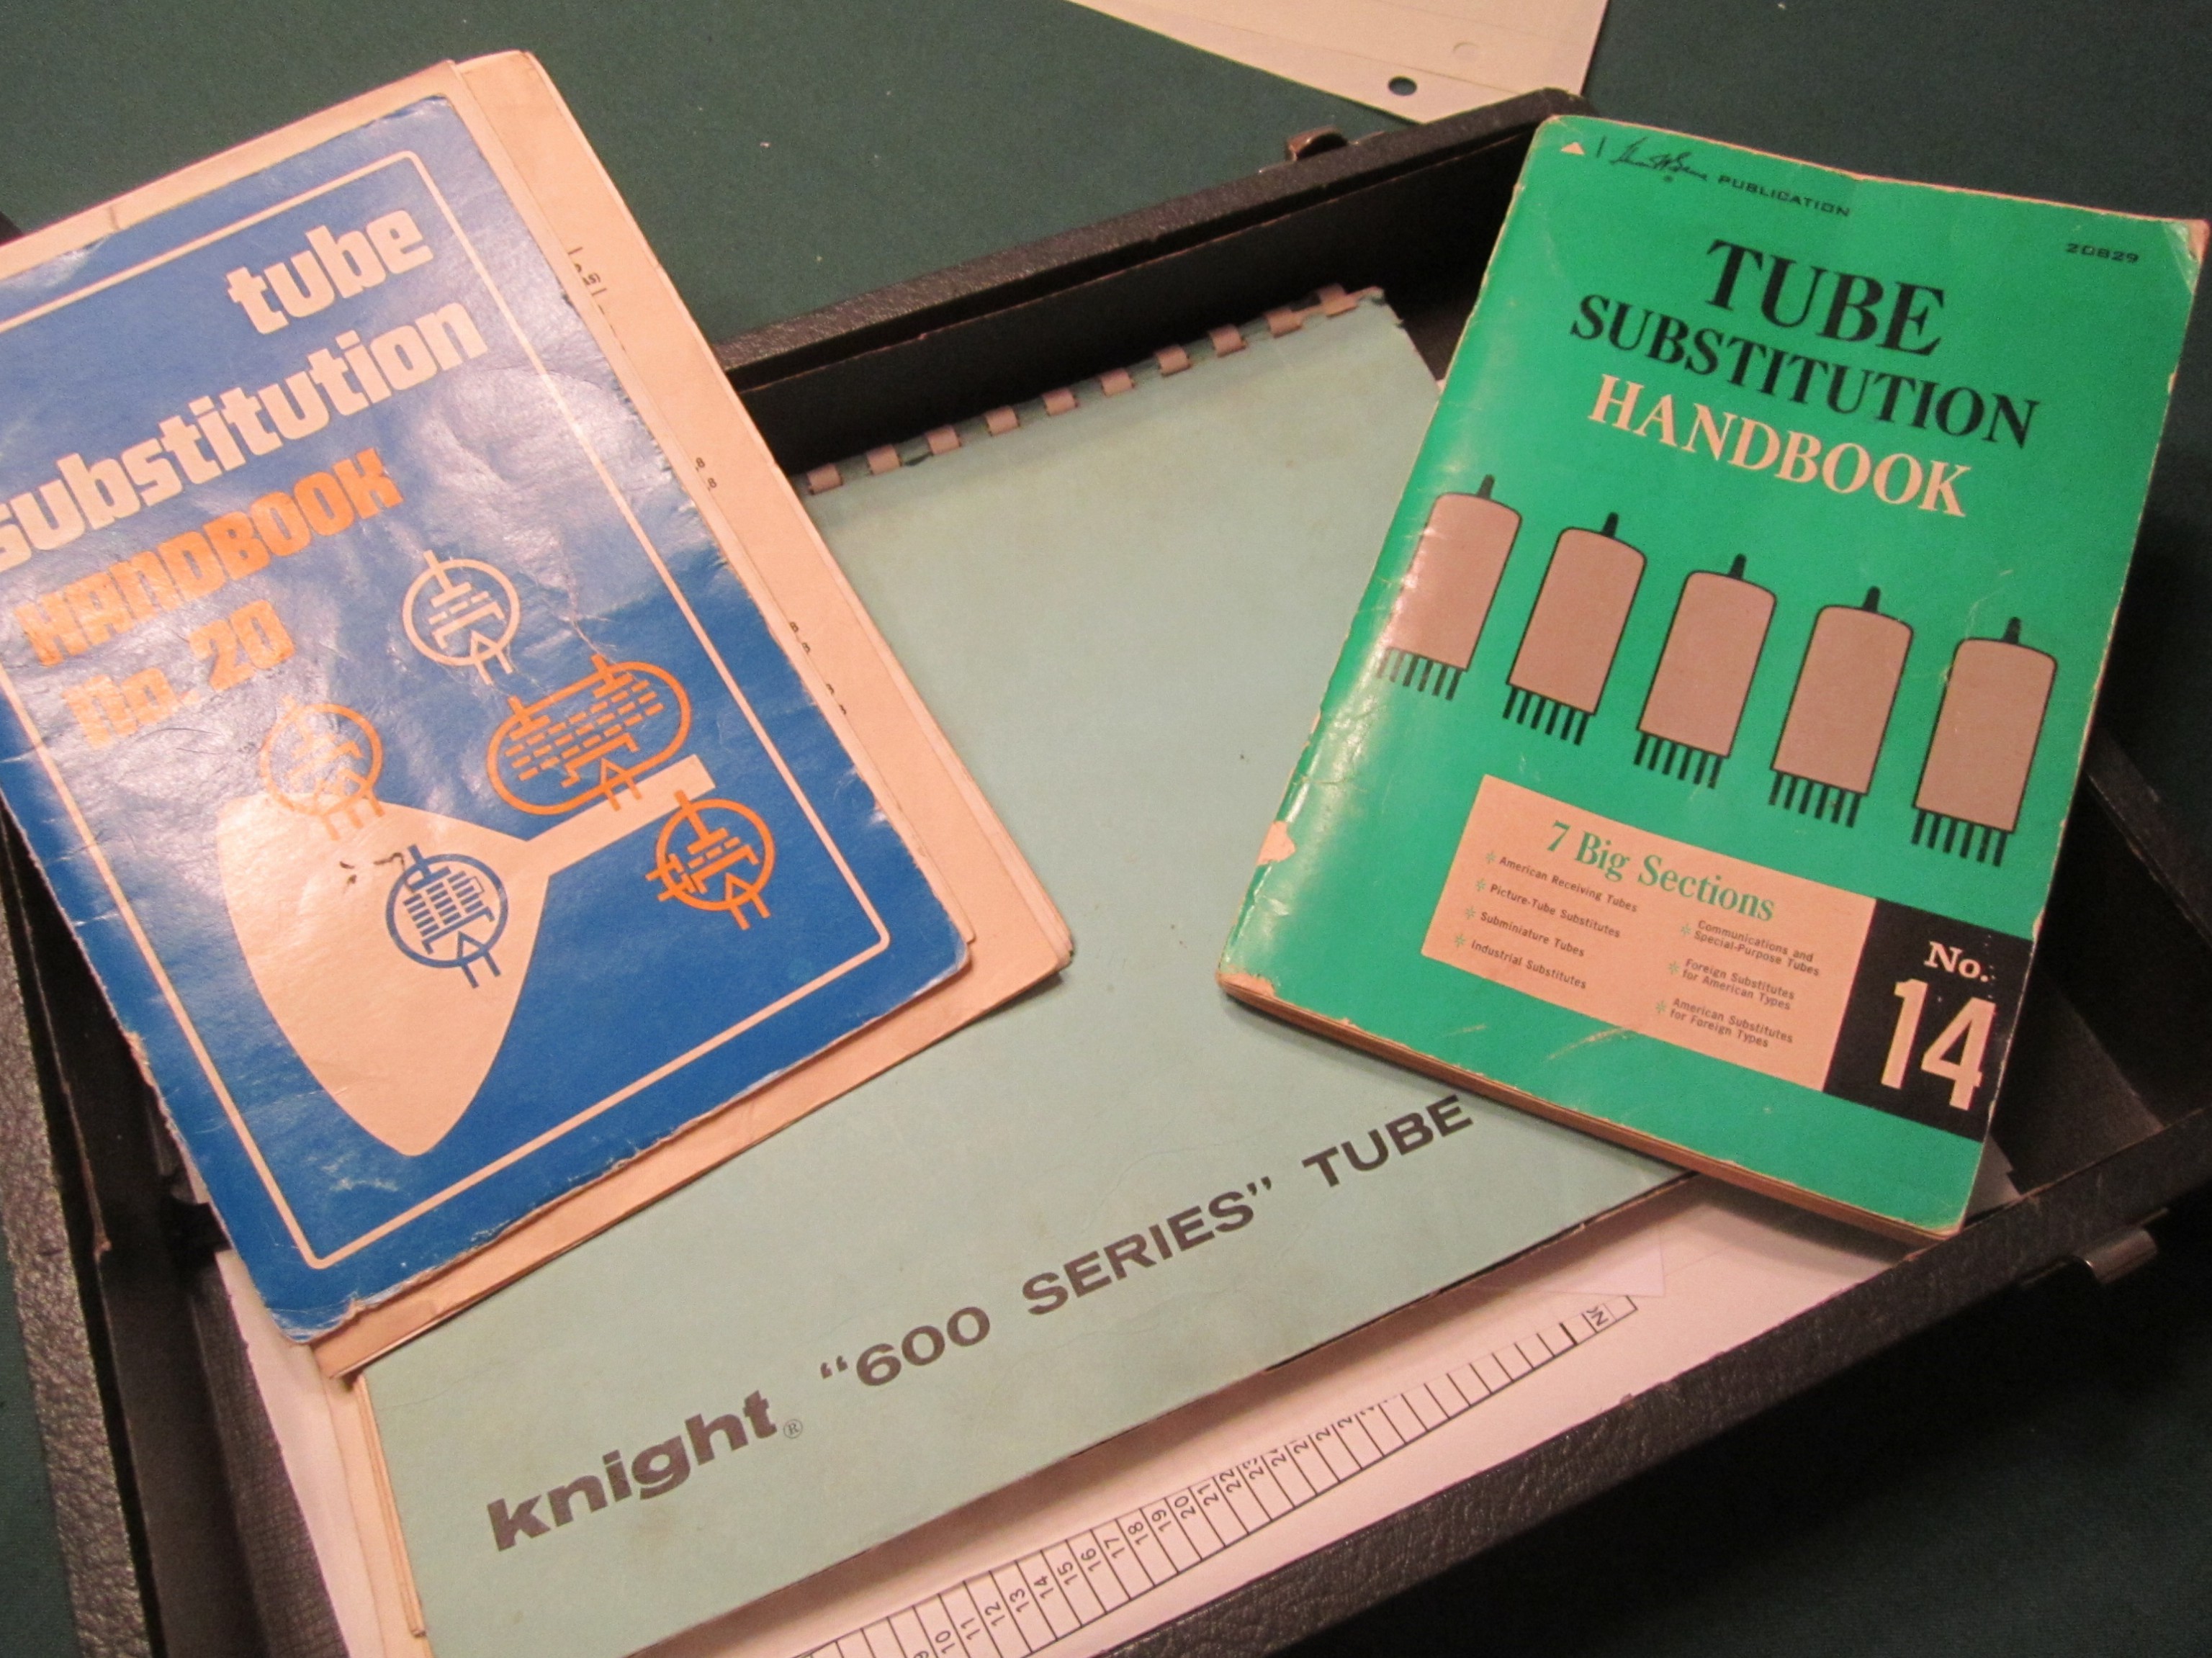
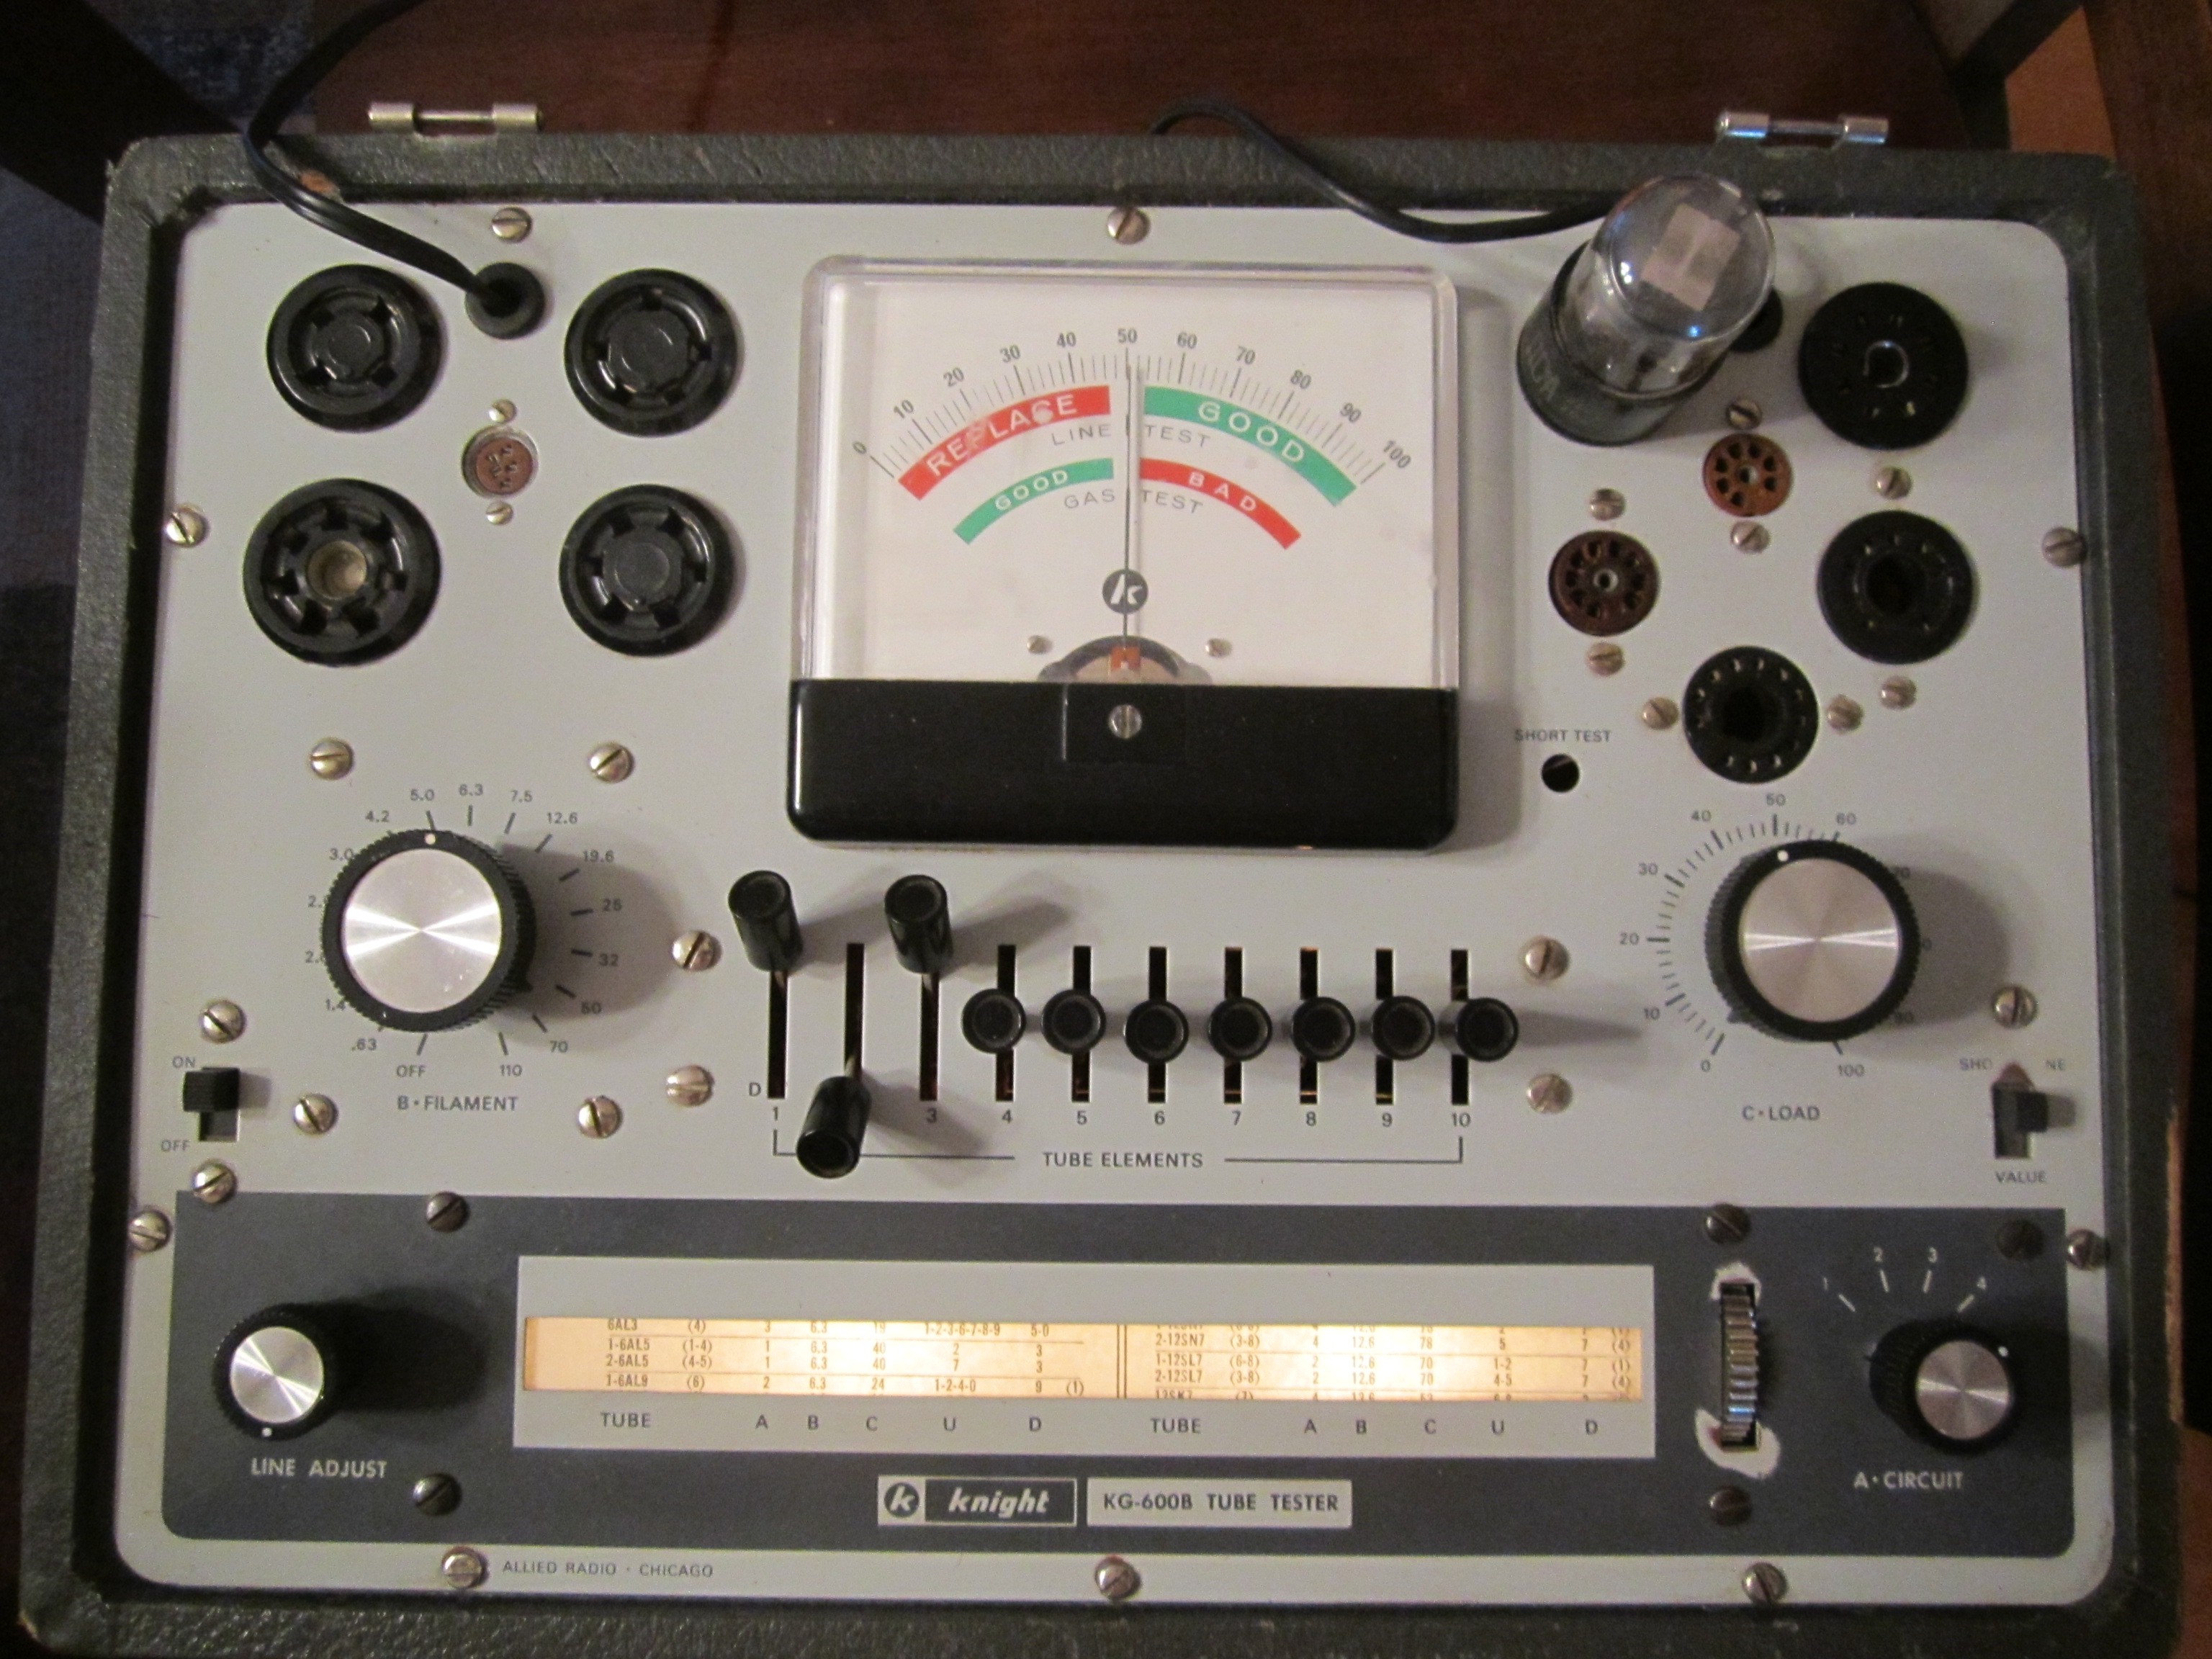
I have several resources to verify that the tube I have can be tested in the Knight Kit Tube tester that I have had for over 20 years.
If the tube is old enough I can use the scroll paper inside the KNIGHT “KG” 600 “B” (Why they had the letters KGB in the nomenclature of the tester I have no idea!) Kit test kit with the back lit scroll.
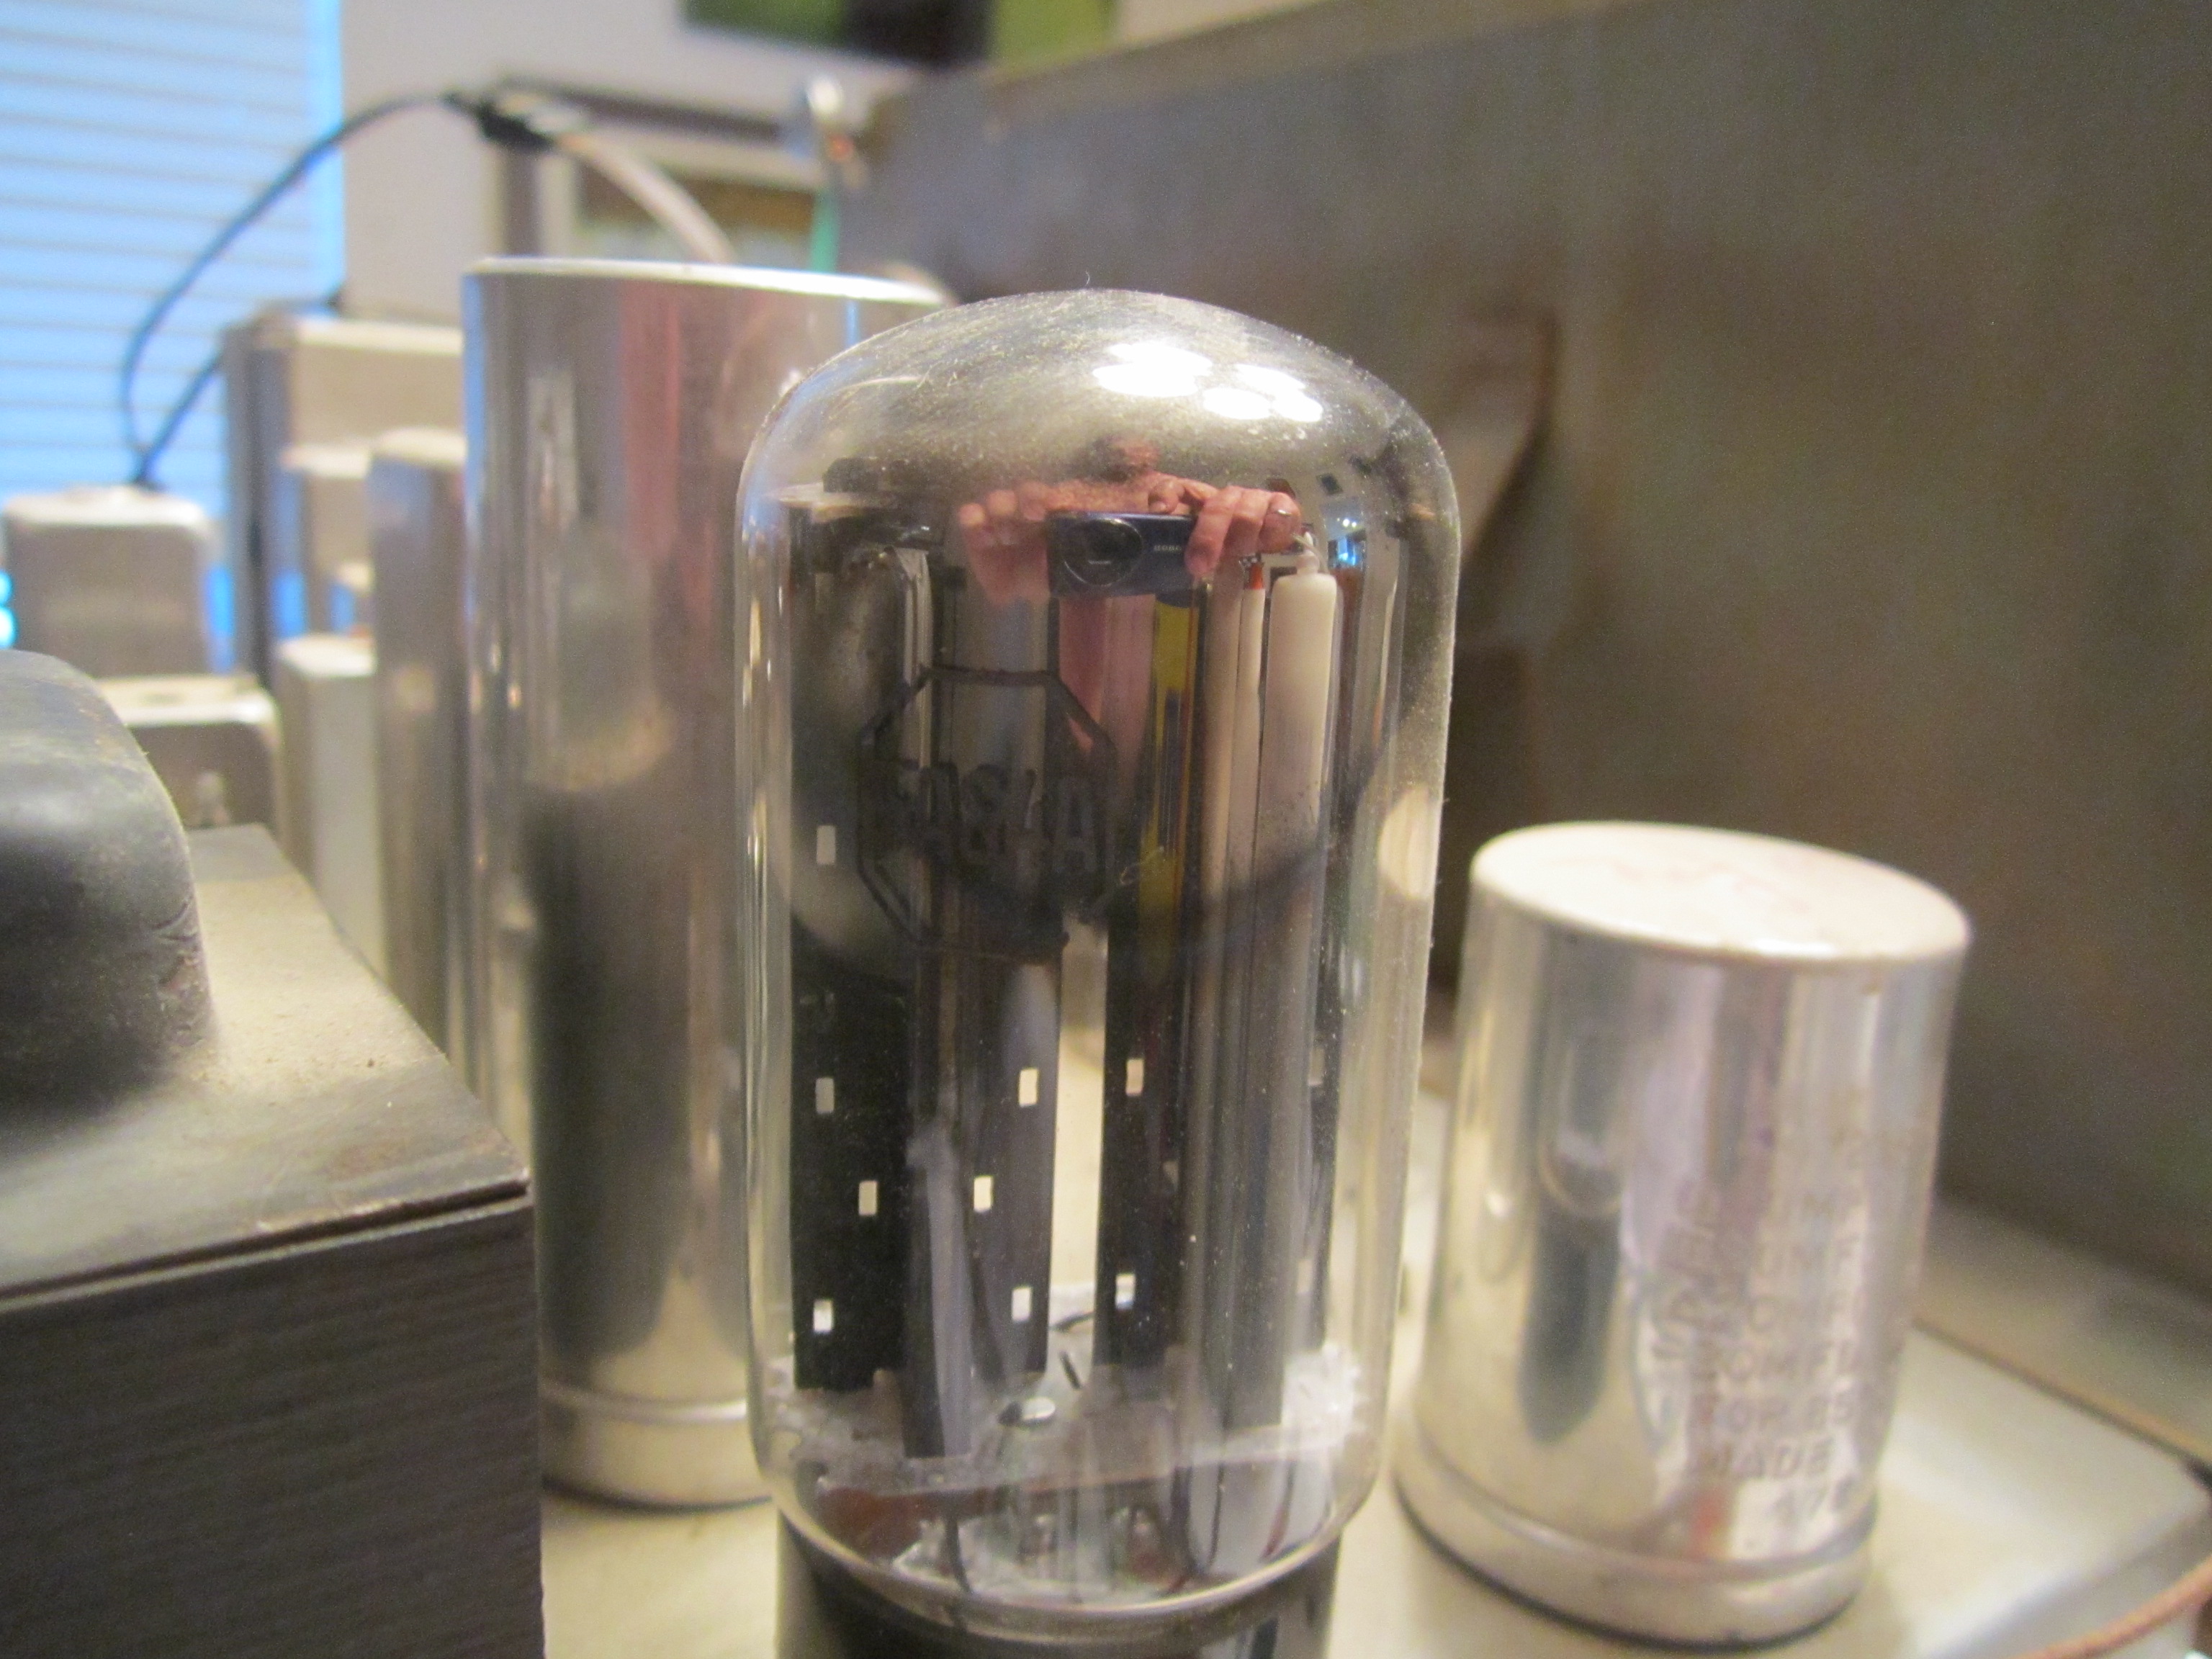
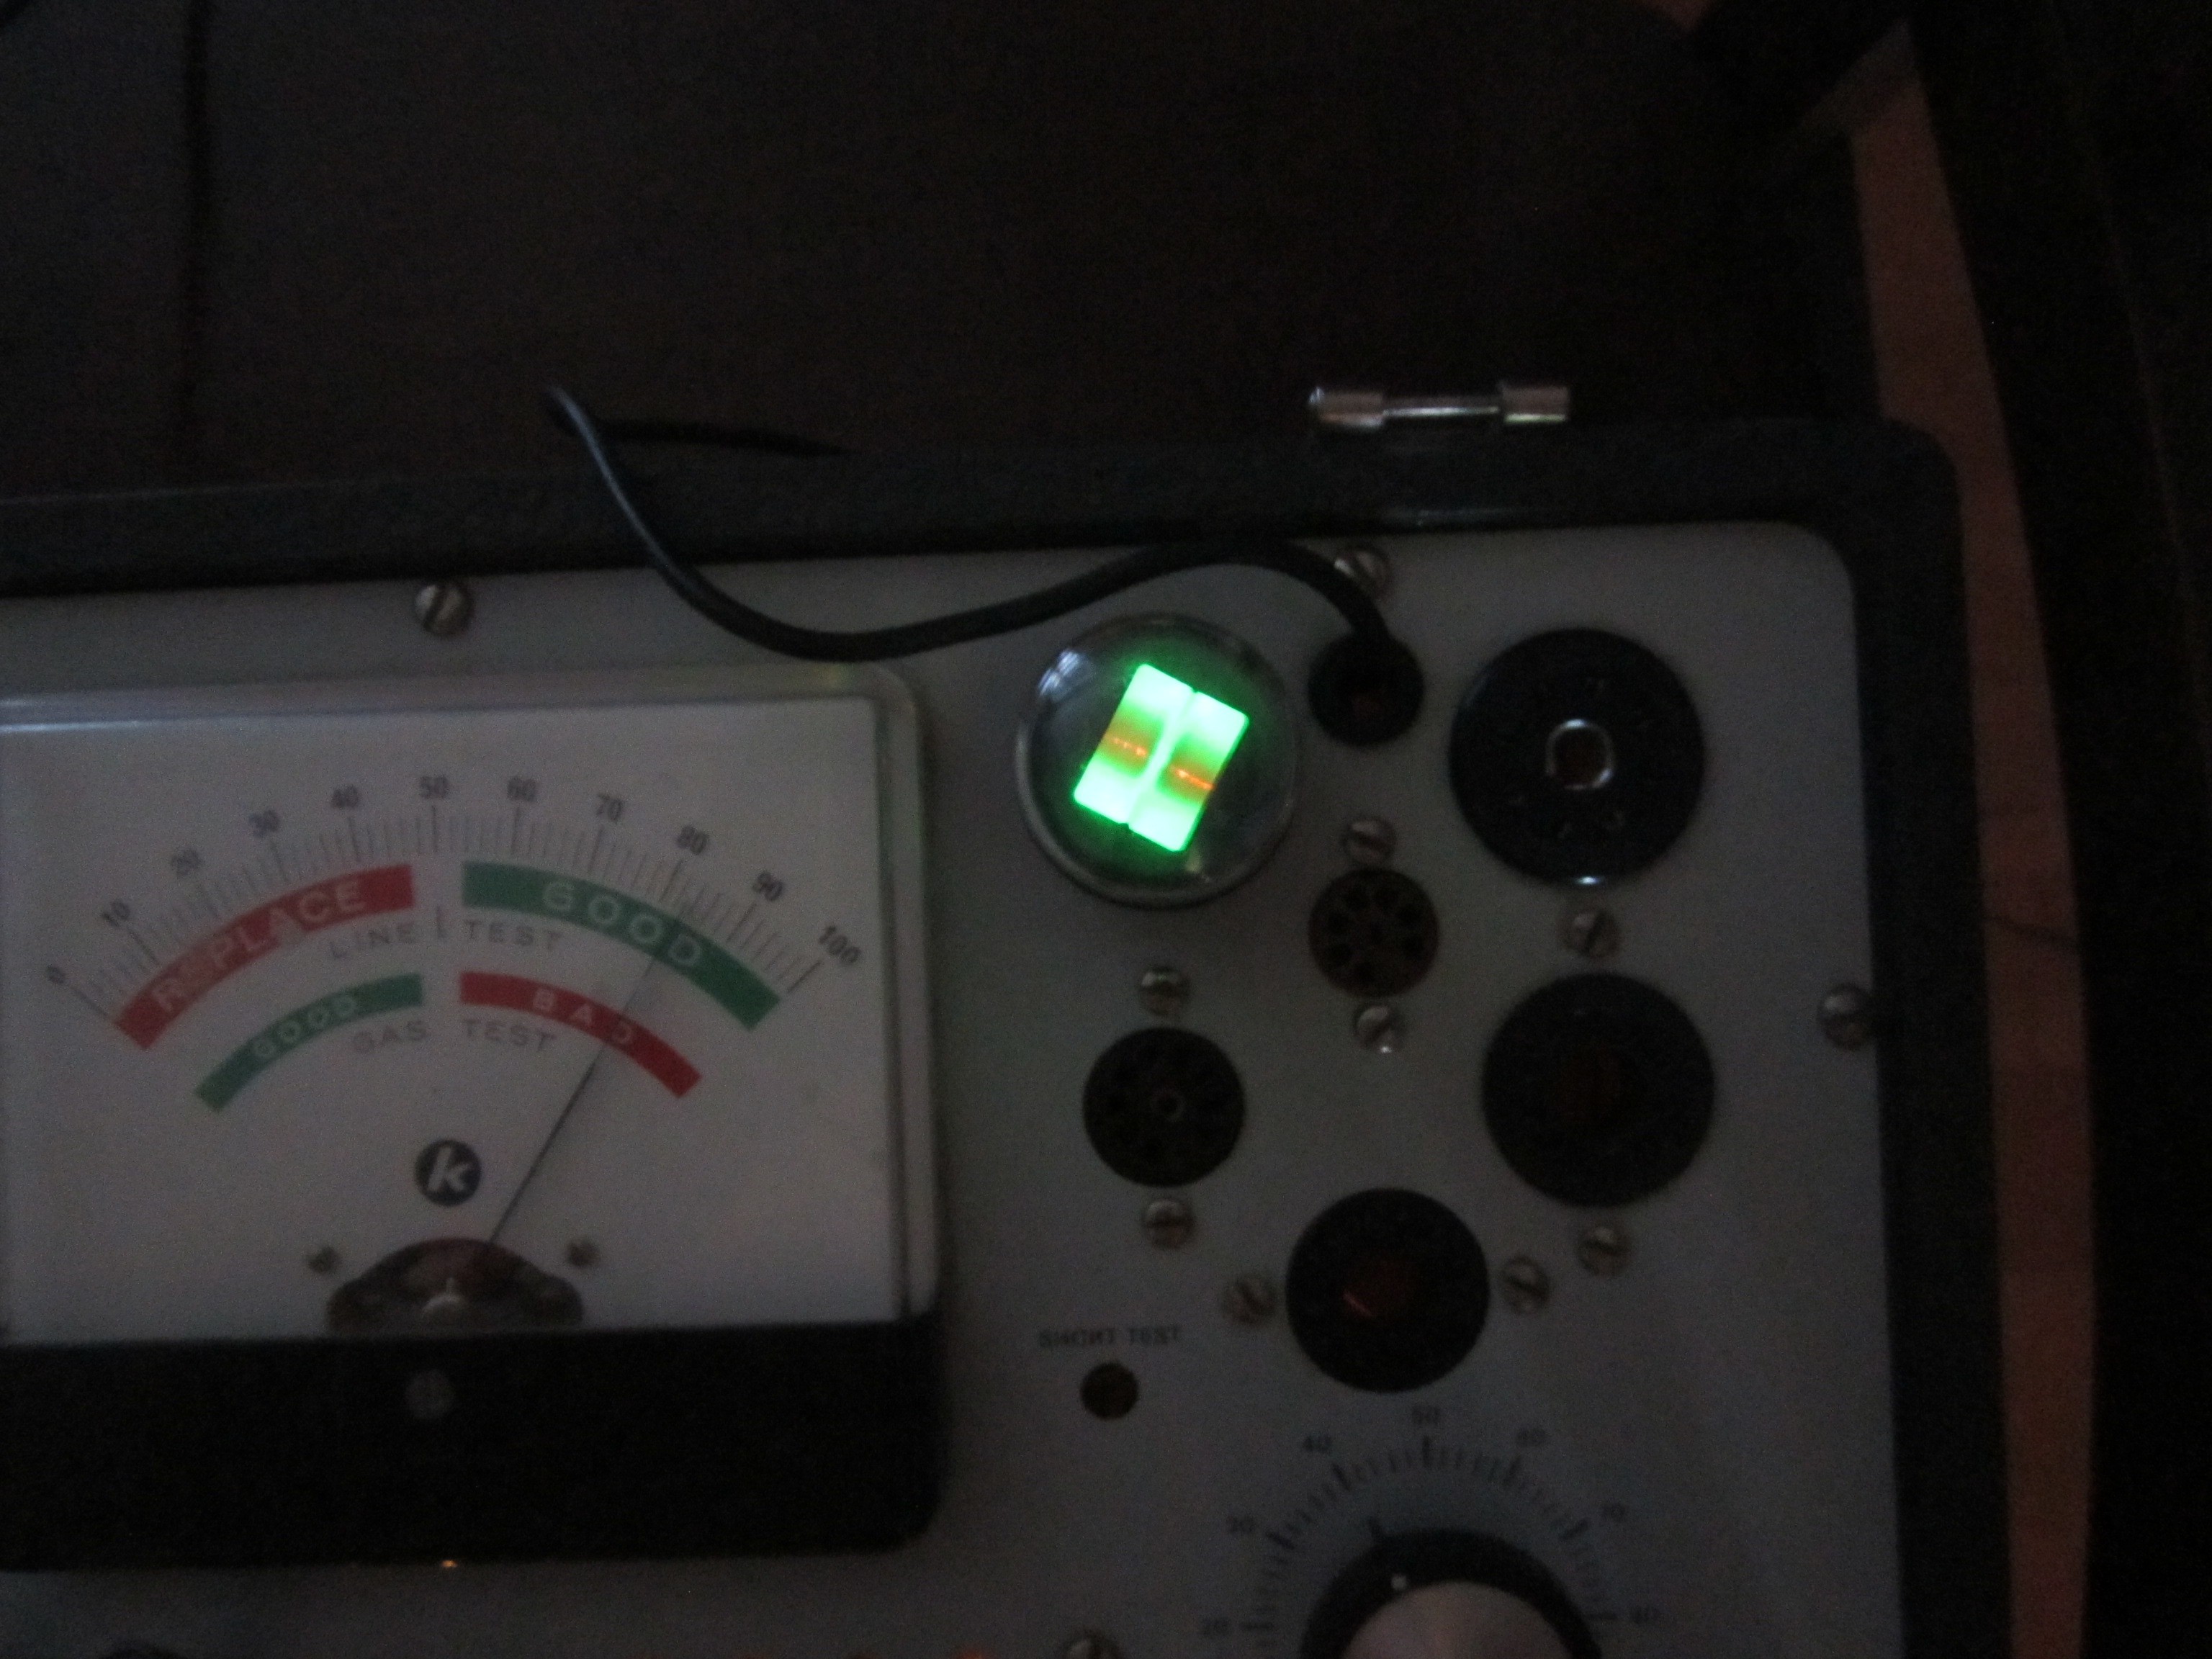
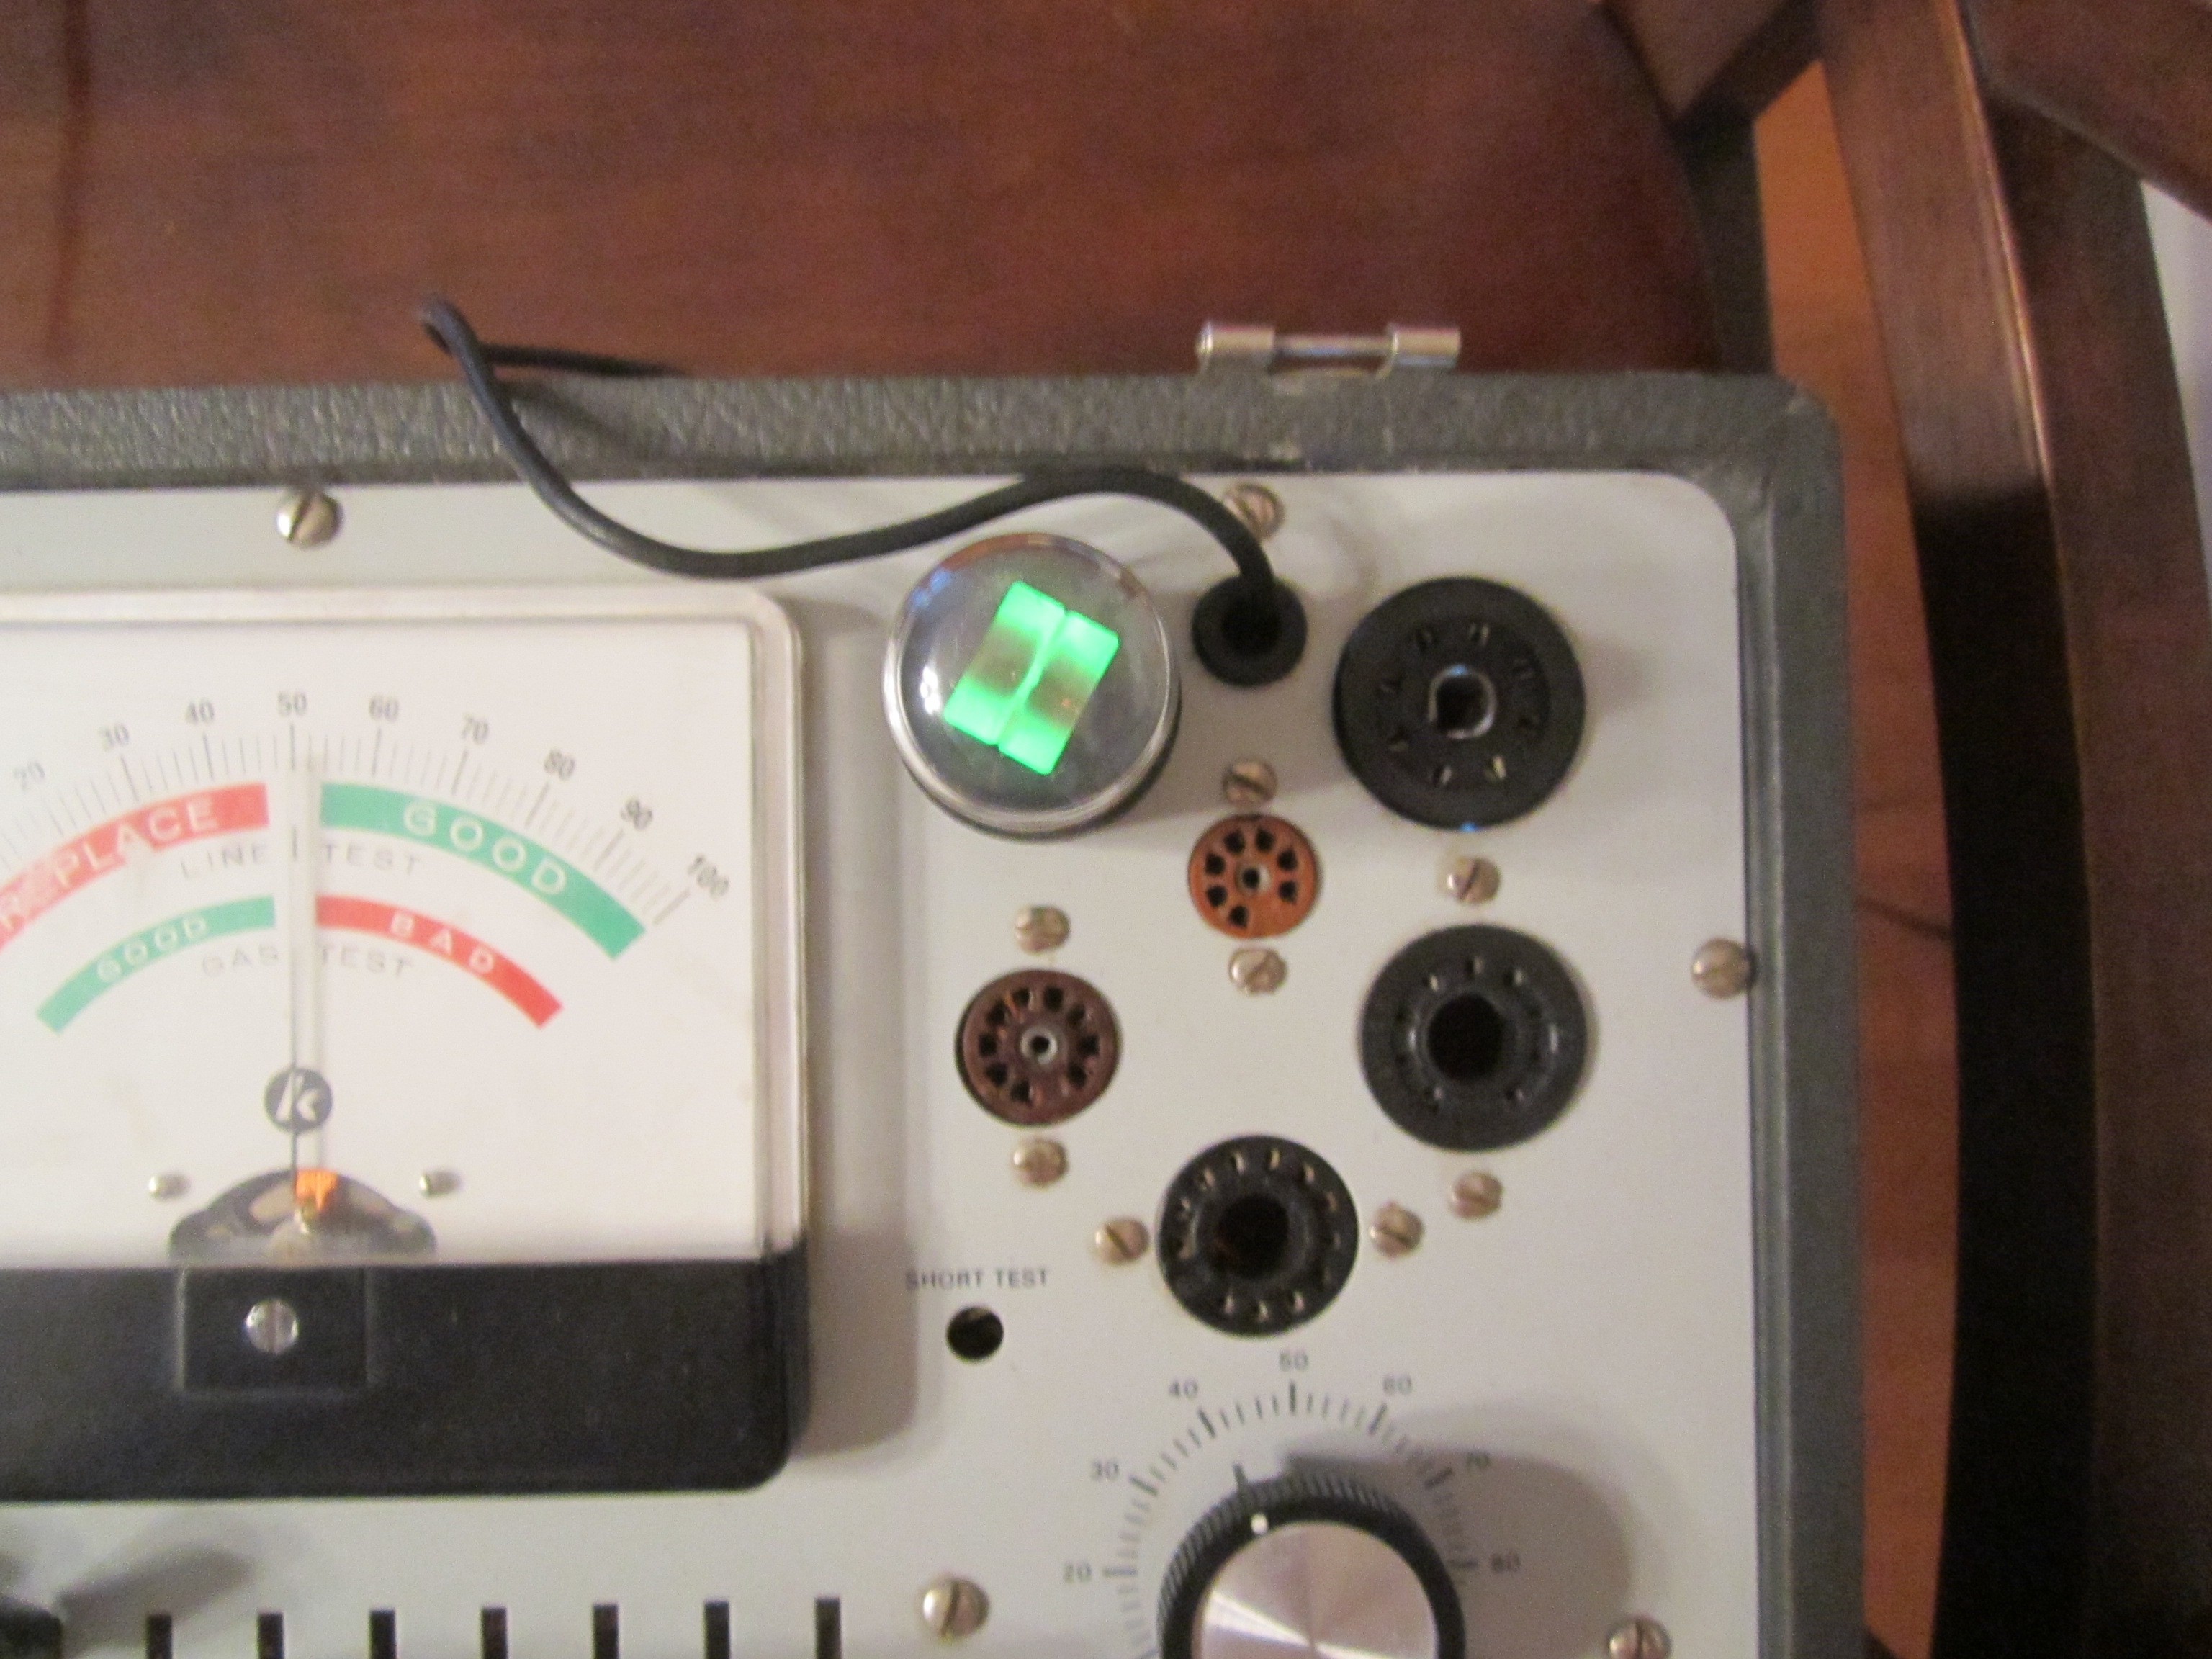
If not I have to turn to my other resource book with newer tubes. As the case for this very cool 6AL7 radio tuning tube. The tube lights the upper part of the glass on a grid that allows the user to “see” how in tune the radio station is getting. (I was very impressed as i have never see a working signal strength tube in working condition, and was surprised about how bright it really was.)
It was go time… setting the correct switches, turning to the correct voltage and socket selector I was ready to test!
Even bright enough with the lights on!
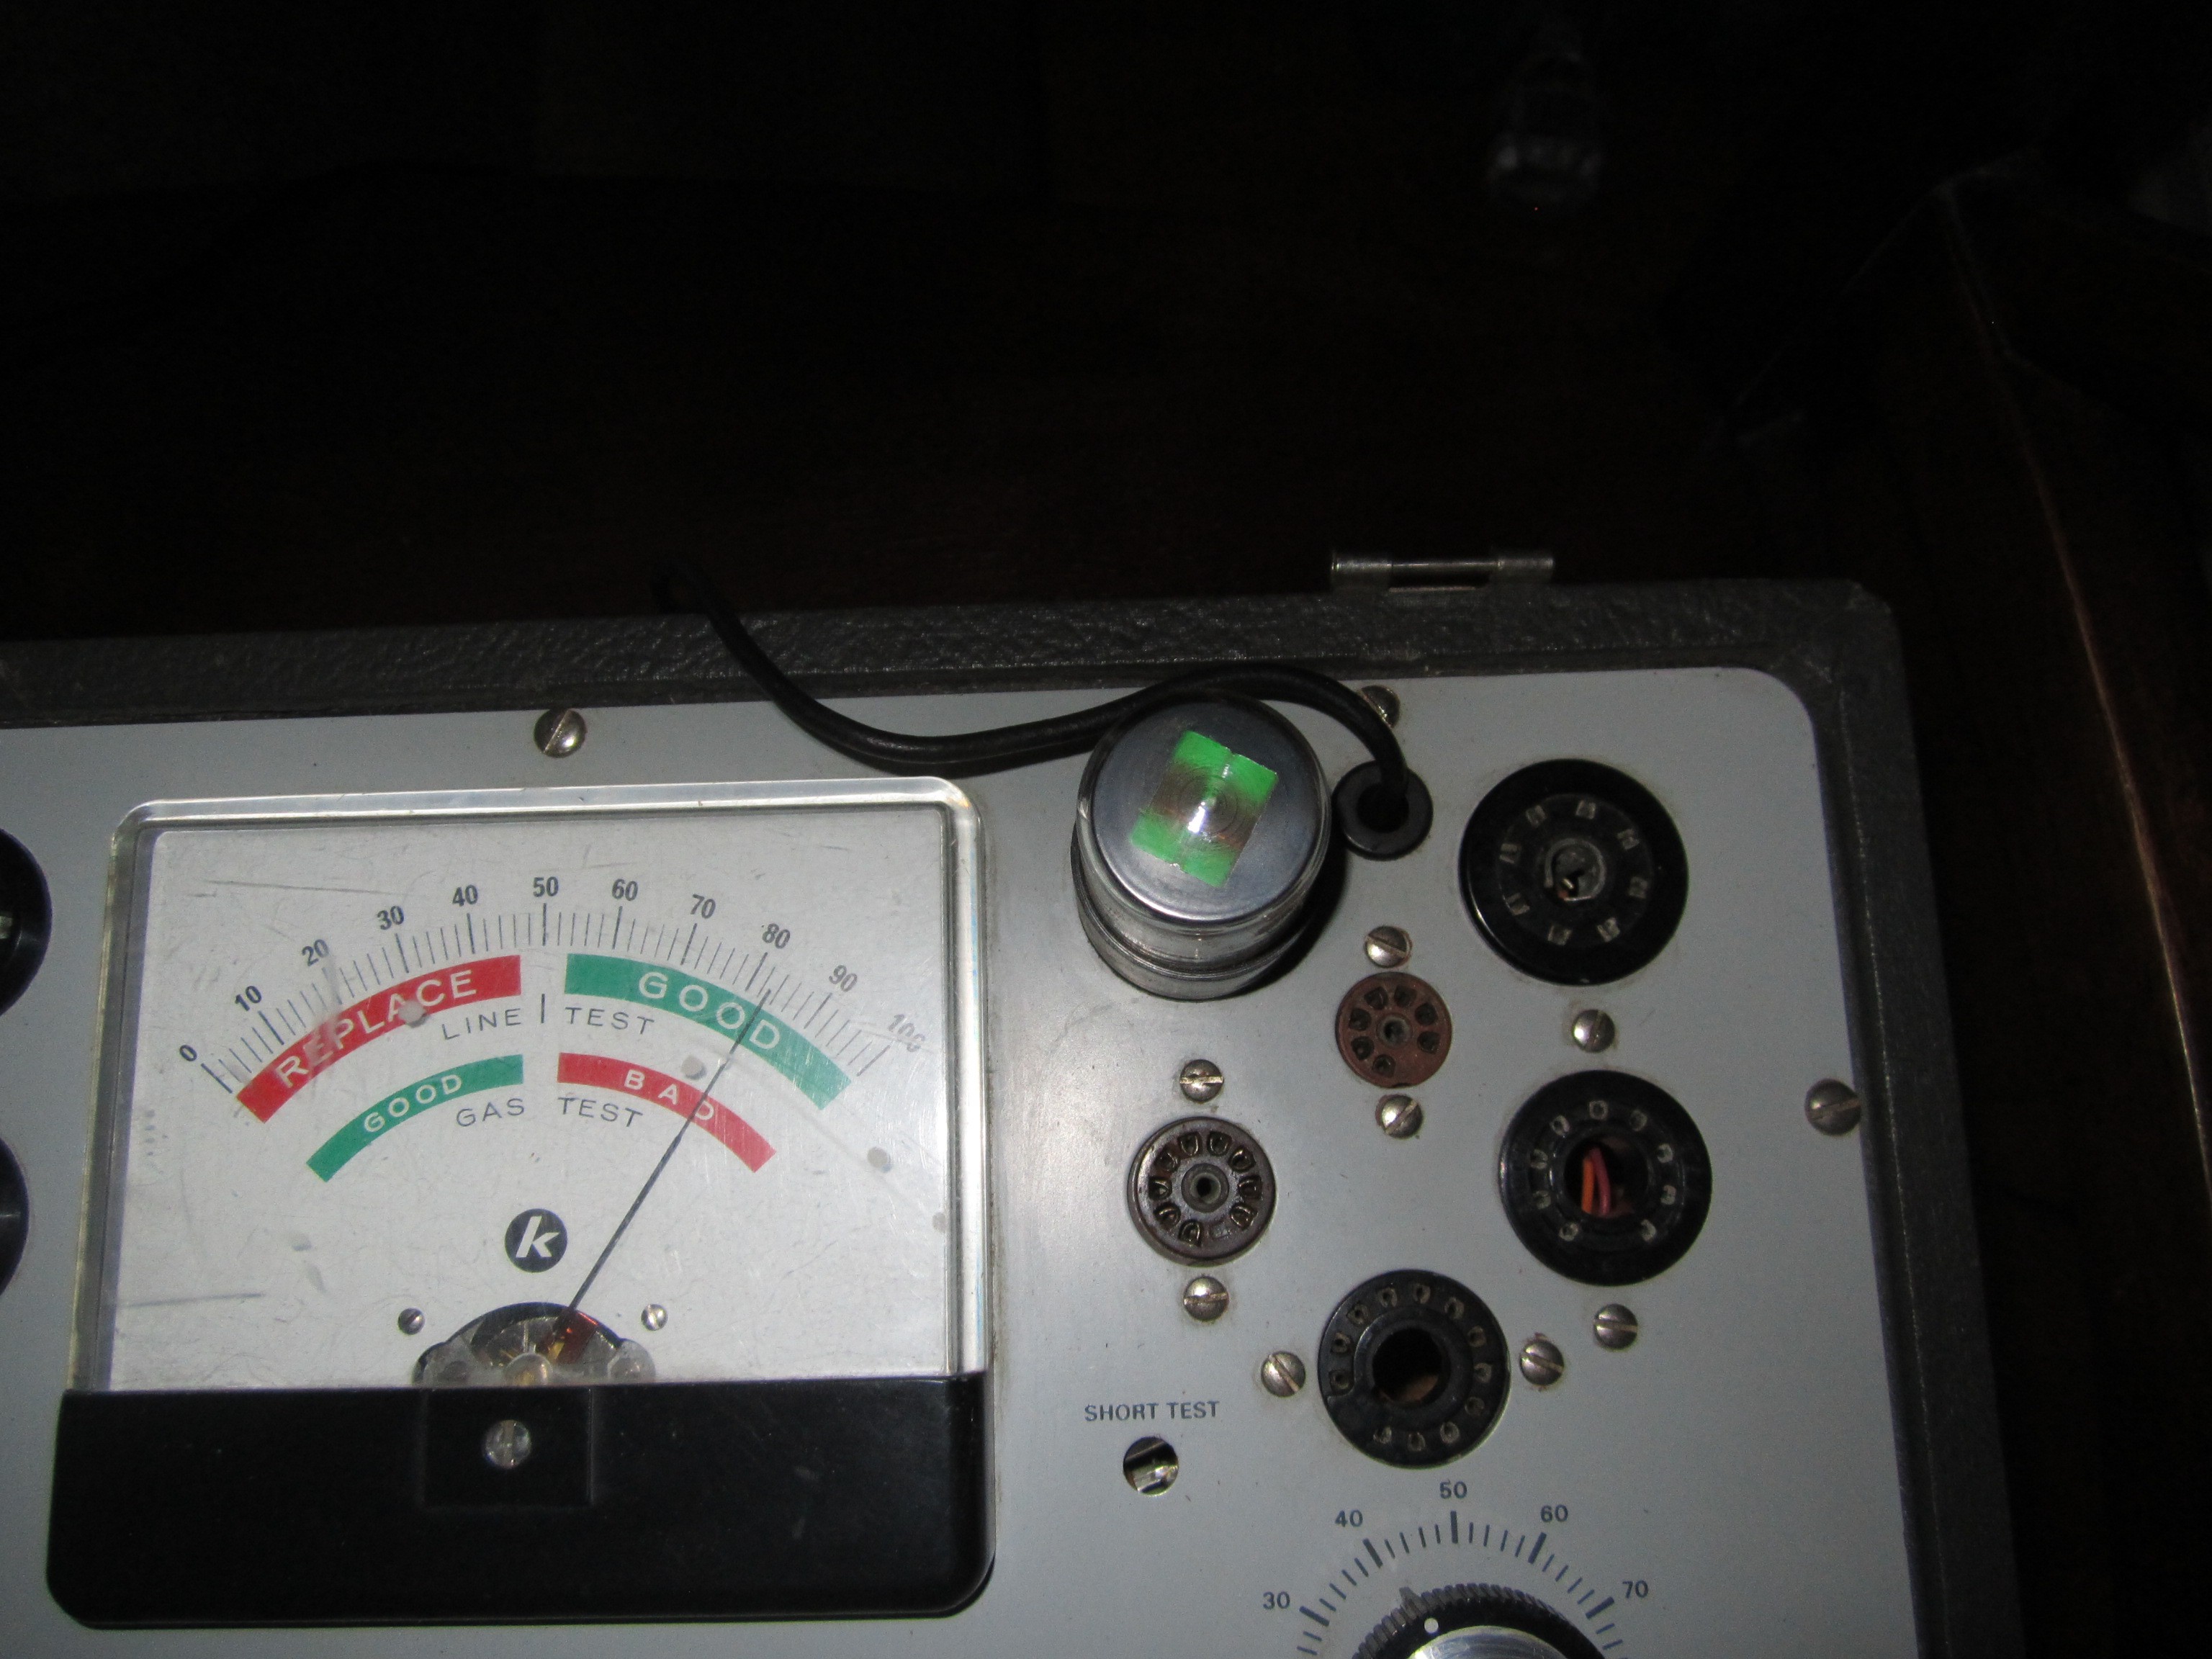
Checking for the gain of the tube you can see the upper scale read “Good”
After a test of all tubes my failed list will be easy to acquire from E-Bay as I have already started the bidding process!
Here is a good picture of the Knight tube tester. It has been working perfect since the day i bought it!
My friends found a great AM/FM Record player console at a garage sell and picked it up for steal… my part, I am going to do a restoration on the amplifier, receiver and turntable. It is in great condition except for the missing speakers. I did my research and found out that this console is a real top of the line for the year. A 1958 RCA Orthophonic Stereo SHC-4 console in blond wood. High Fidelity, so close your eyes and see if it sounds like you are sitting with the musicians as they play. (I will continue to post as I go, the detailed steps and the finish product). Here is a good 1957 advertisement that just now a days seems silly, but the information is great! https://www.youtube.com/watch?v=lbG-ps0CSkQ
I have removed everything from the cabinet and will start to clean everything. I have not powered up any of the electronics as I do not want to damage anything or the tubes until I know exactly that all the components are in at least working order. I will go back and use an oscilloscope to verify the quality of the amplification of the sound and check the stages of the quality.
More soon…. I hope you will enjoy the next few post as I dive into something fun!
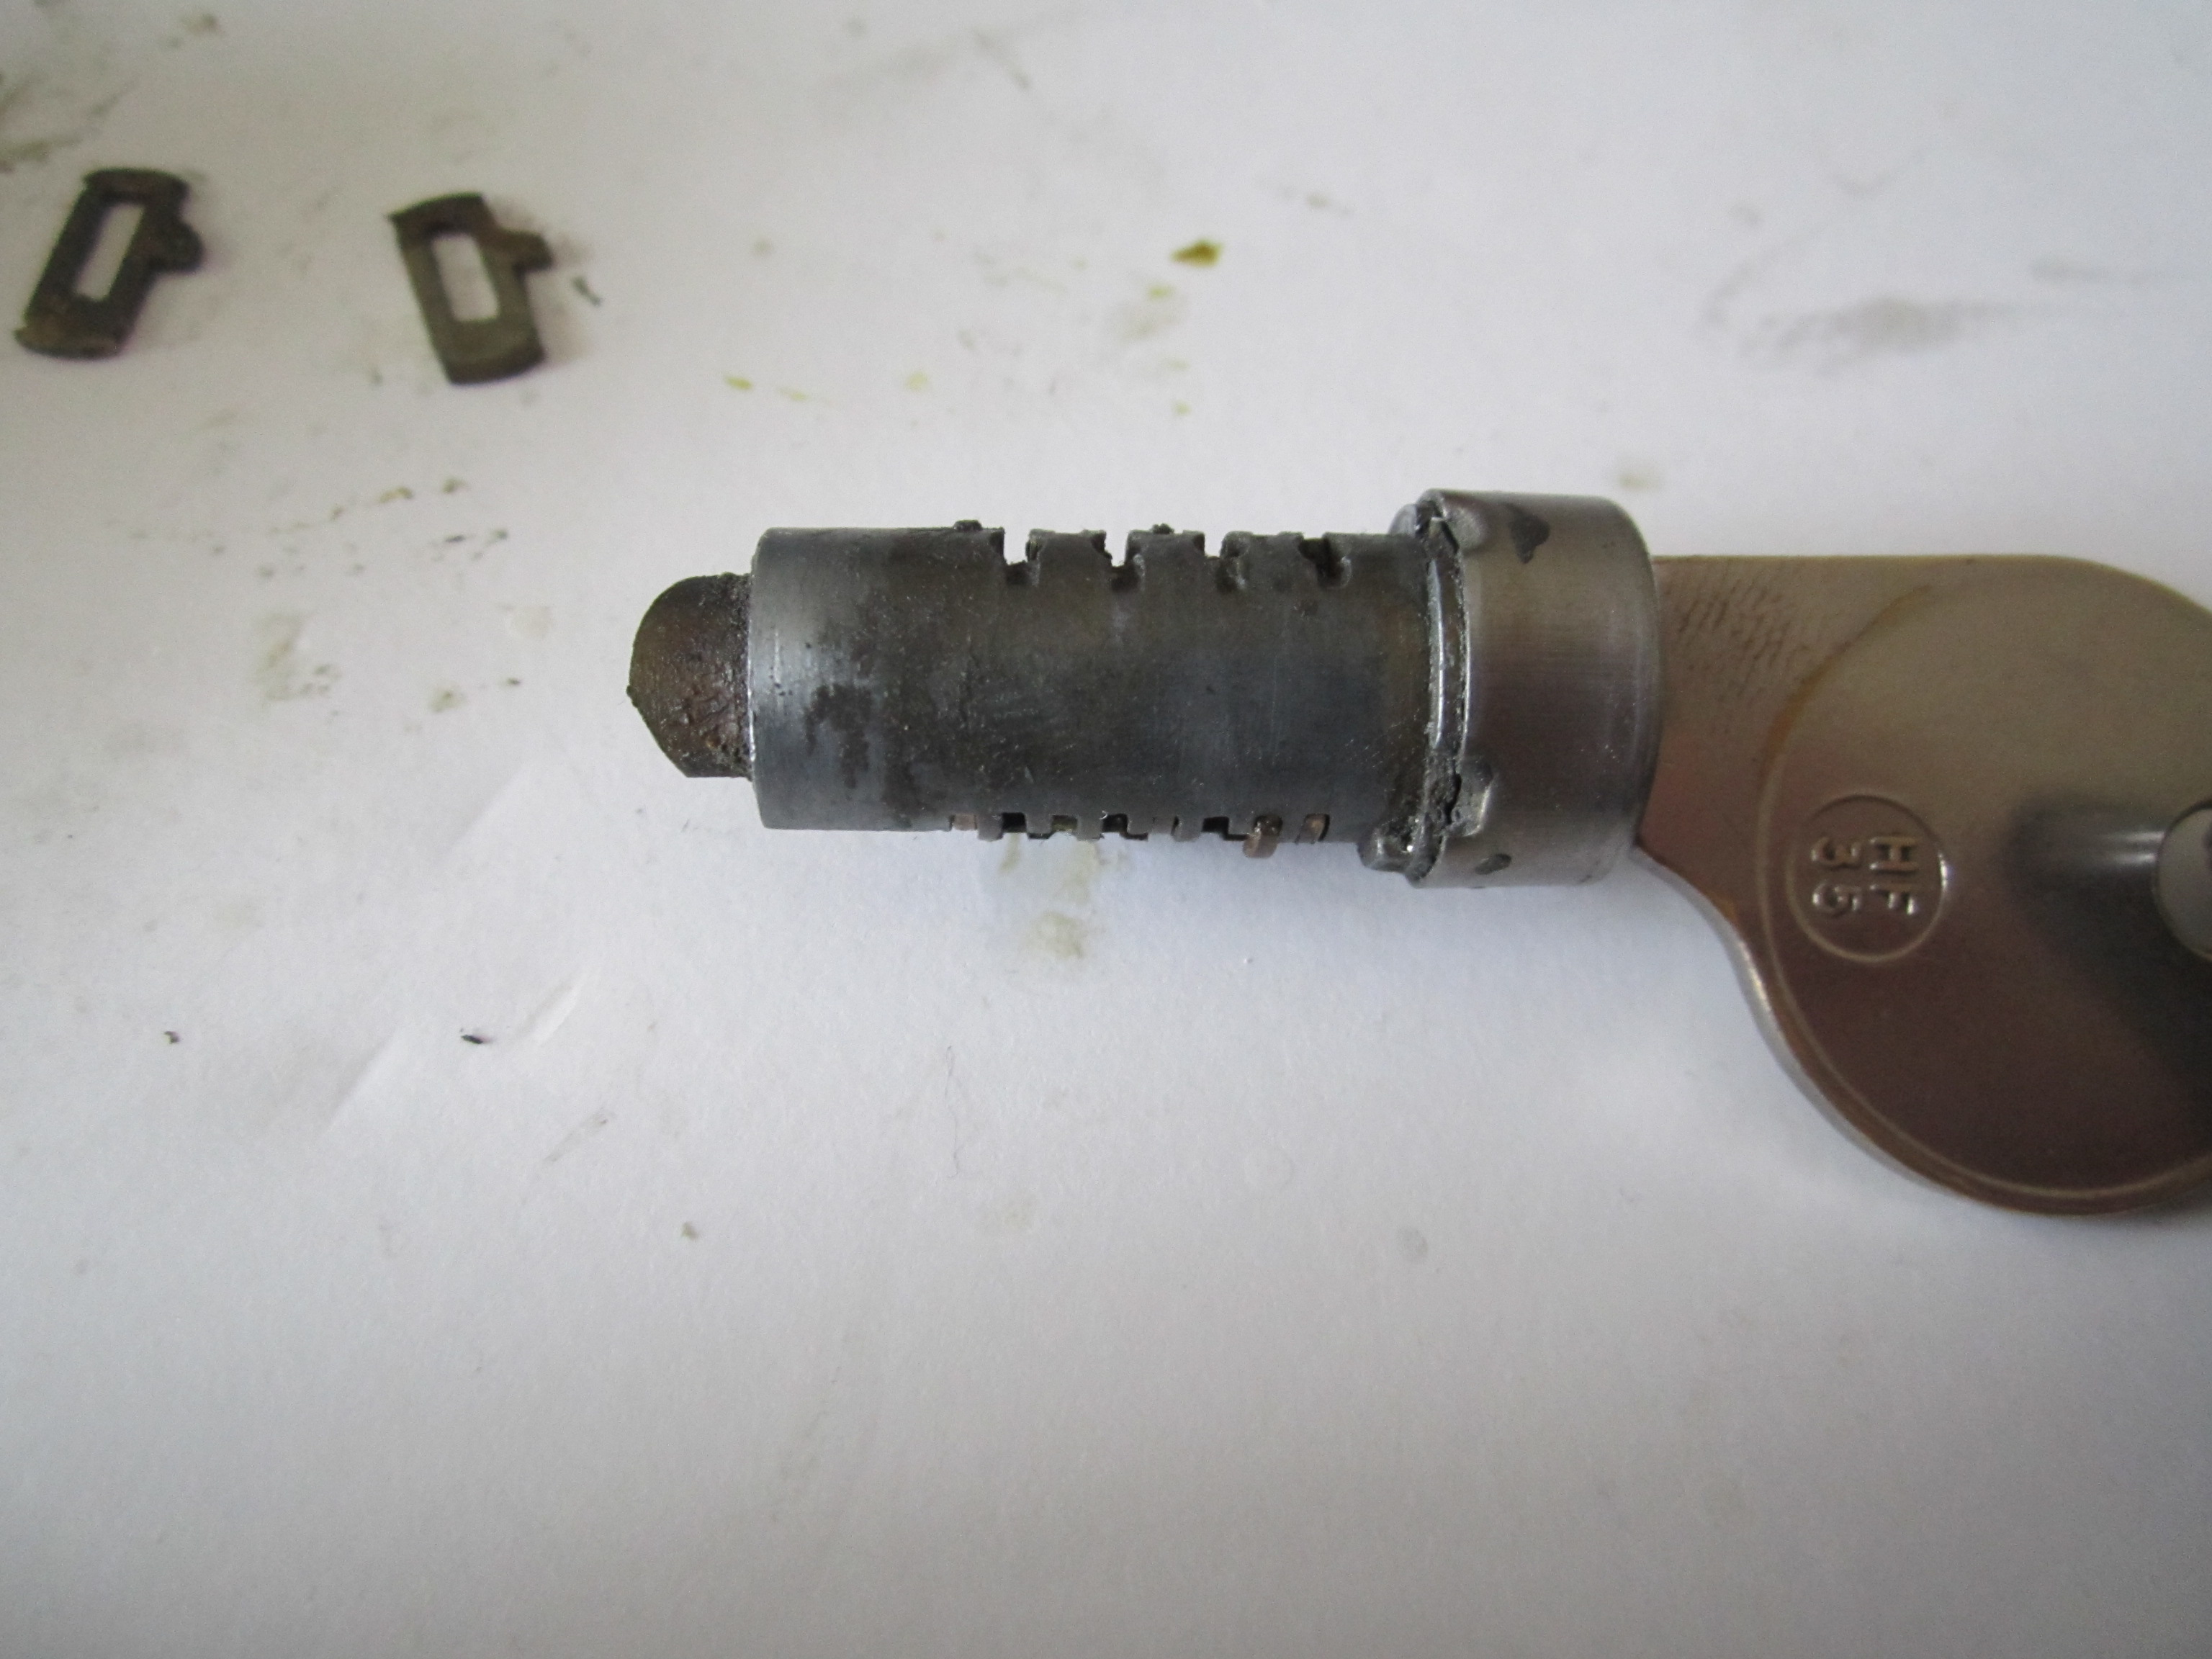
I was bummed when I broke my door handle lock on my 1968 BMW 2002, the entire tumbler came out leaving no way to lock my driver side door. I searched for all kinds of fixes, replacement parts but nothing I could find would really work, and I want to keep my key that starts my car and unlocks the other door the same.
Broken tumbler with key pins removed.
I was on ebay and found a very good condition used driver side door handle and i thought this was it! I got it for a very reasonable price considering that these parts for a 68 are getting a bit hard to find…
Taking apart the new locking mechanism and pulling the tumbler out, it was very easy to take each one in order of the key pins out, and replace into the new tumbler… and with a bit of new grease… it worked!
A spot check of the key in the key hole to verify all the key pins where at an acceptable level (Below the housing) I was good to go!
Reassembly went fast and double checking the spring, it all came together!
turning the key is below, which will move the lock, unlock lever:
I will replace the handle of my BMW tomorrow and feel comfortable driving around town now knowing I can lock my door.
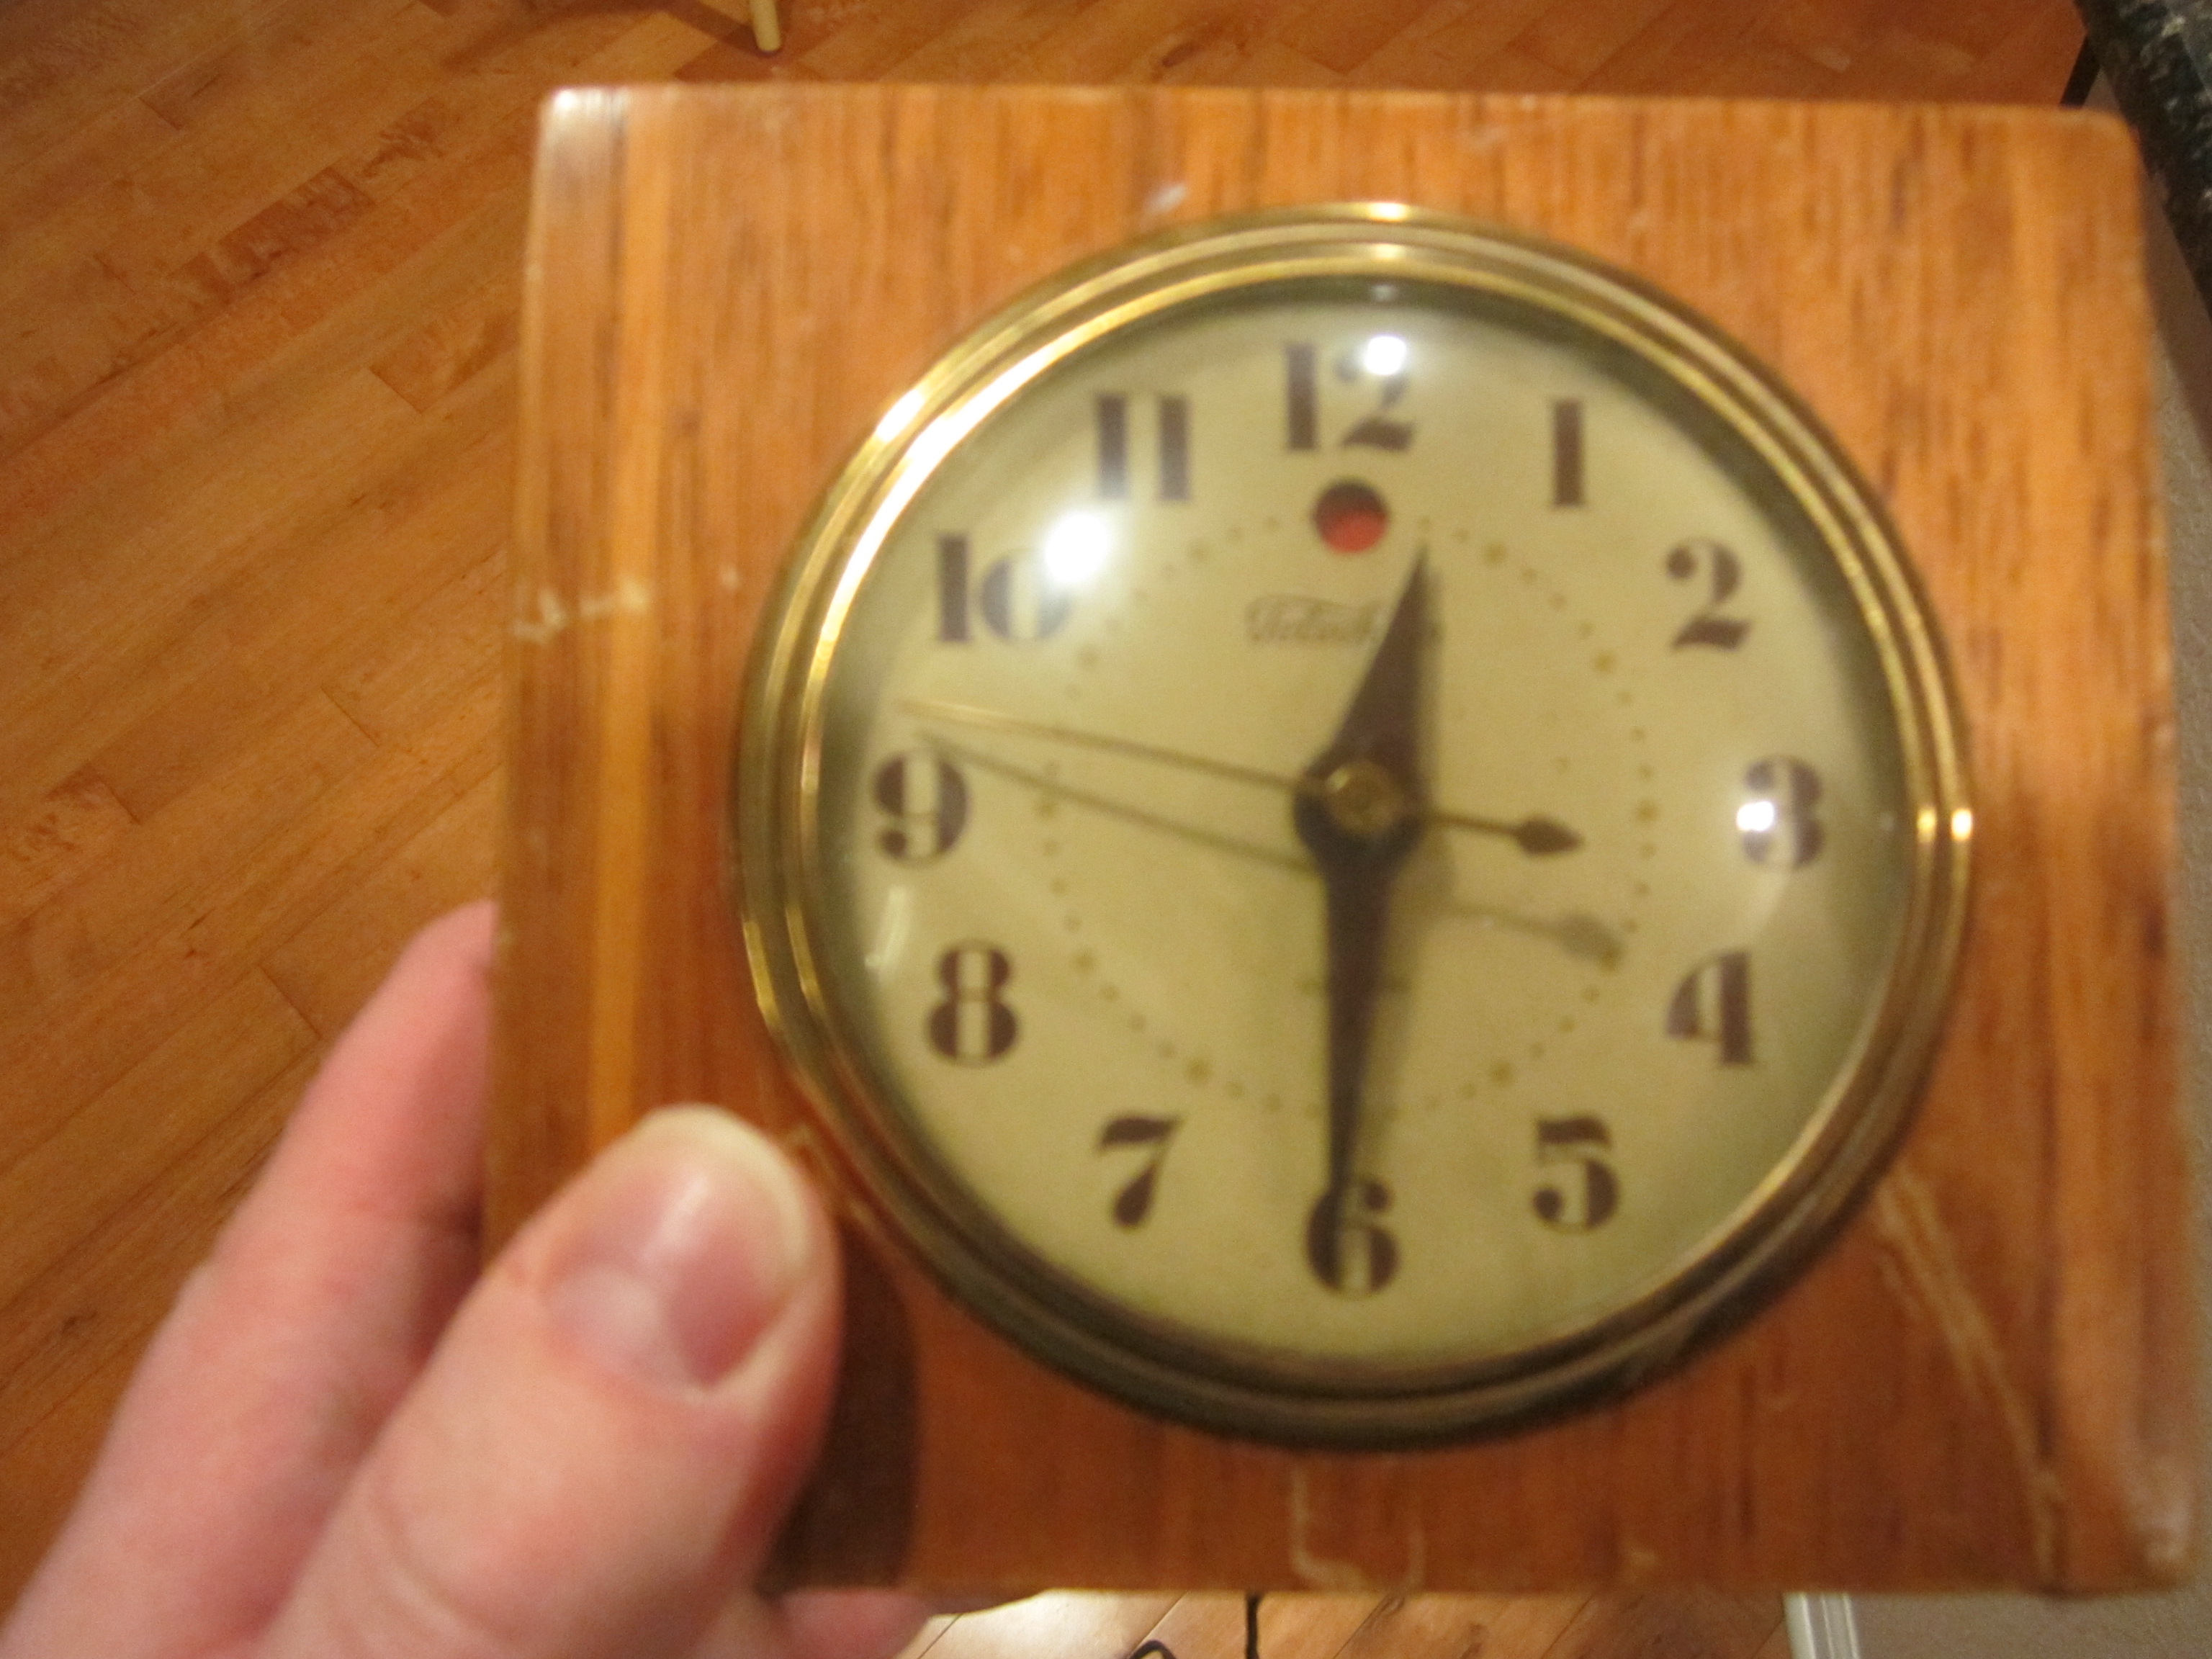
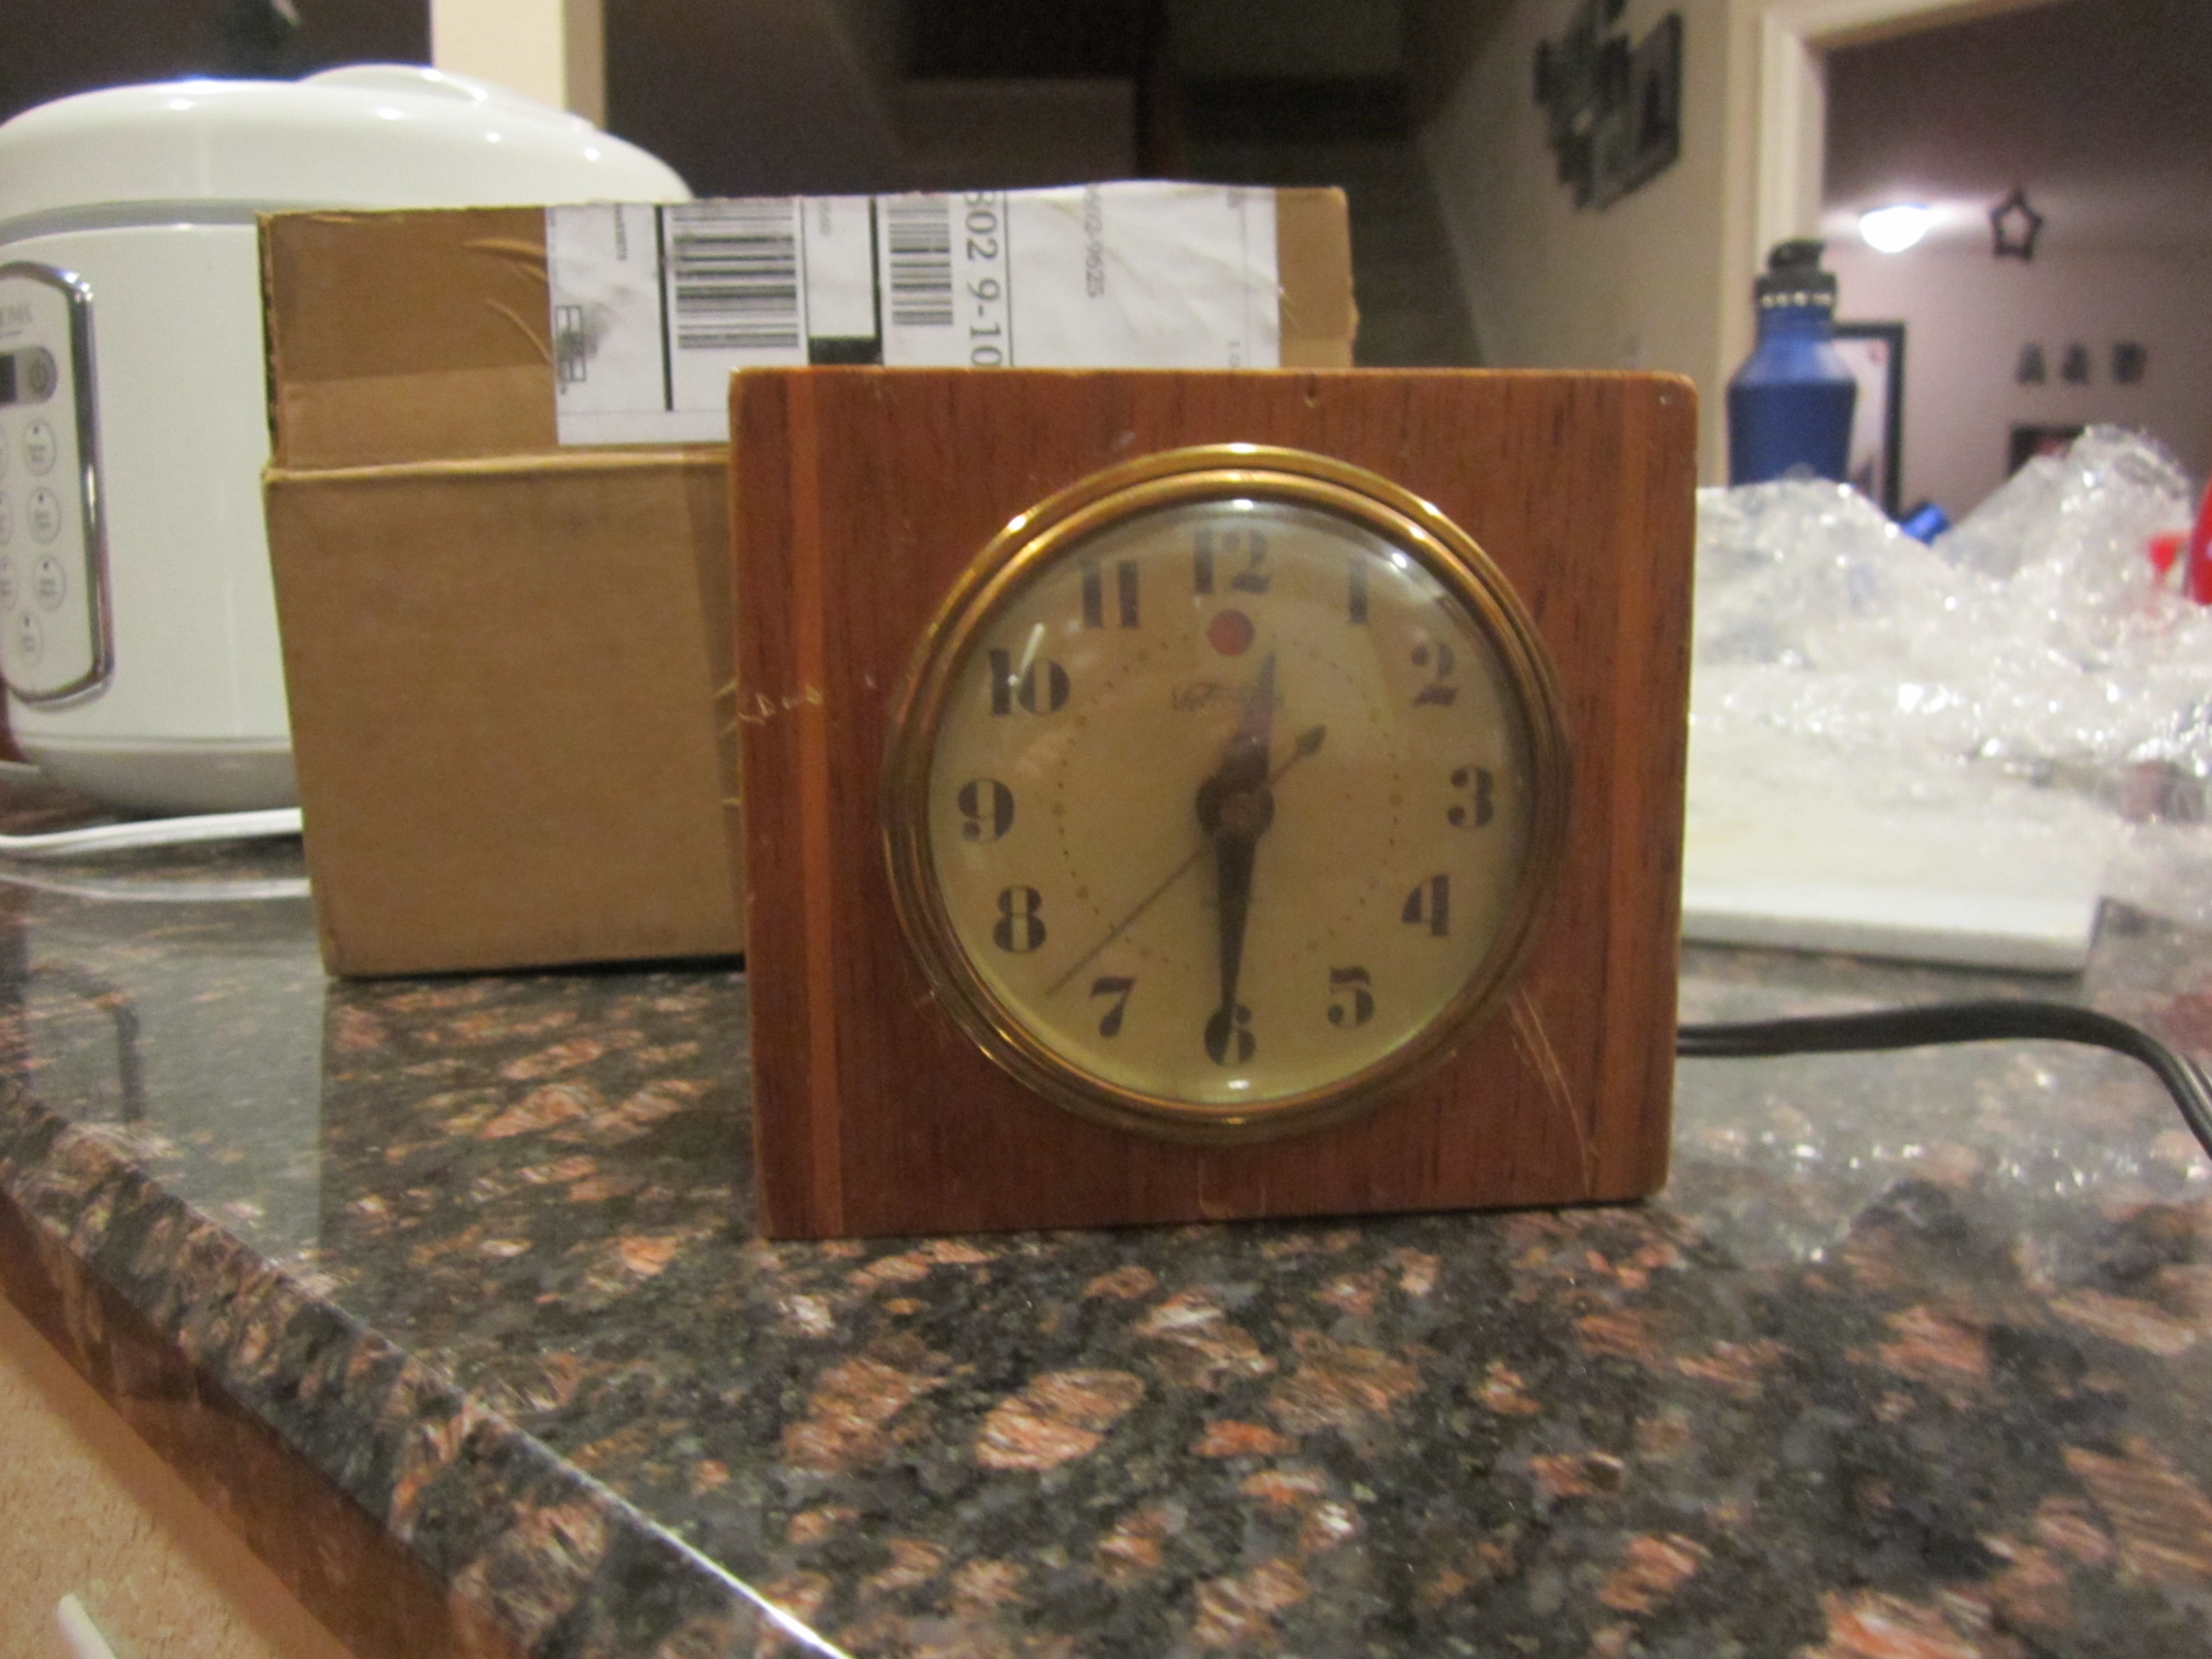
On Sunday, I was asked if I could look at an old clock that was rescued from what I am sure was going to be a sad place…
Working clock, after some attention.
I am always looking to save great vintage items from the trash or from being piled into a donation box, then to be shuttled off to remain uncovered until certain death when someone looks at it at a thrift store and says “It doesn’t work… toss it!”
A simple night stand clock, an alarm, a minute hand, and a second hand! Wow… nice markings, with the original manufacture sticker… what a find!
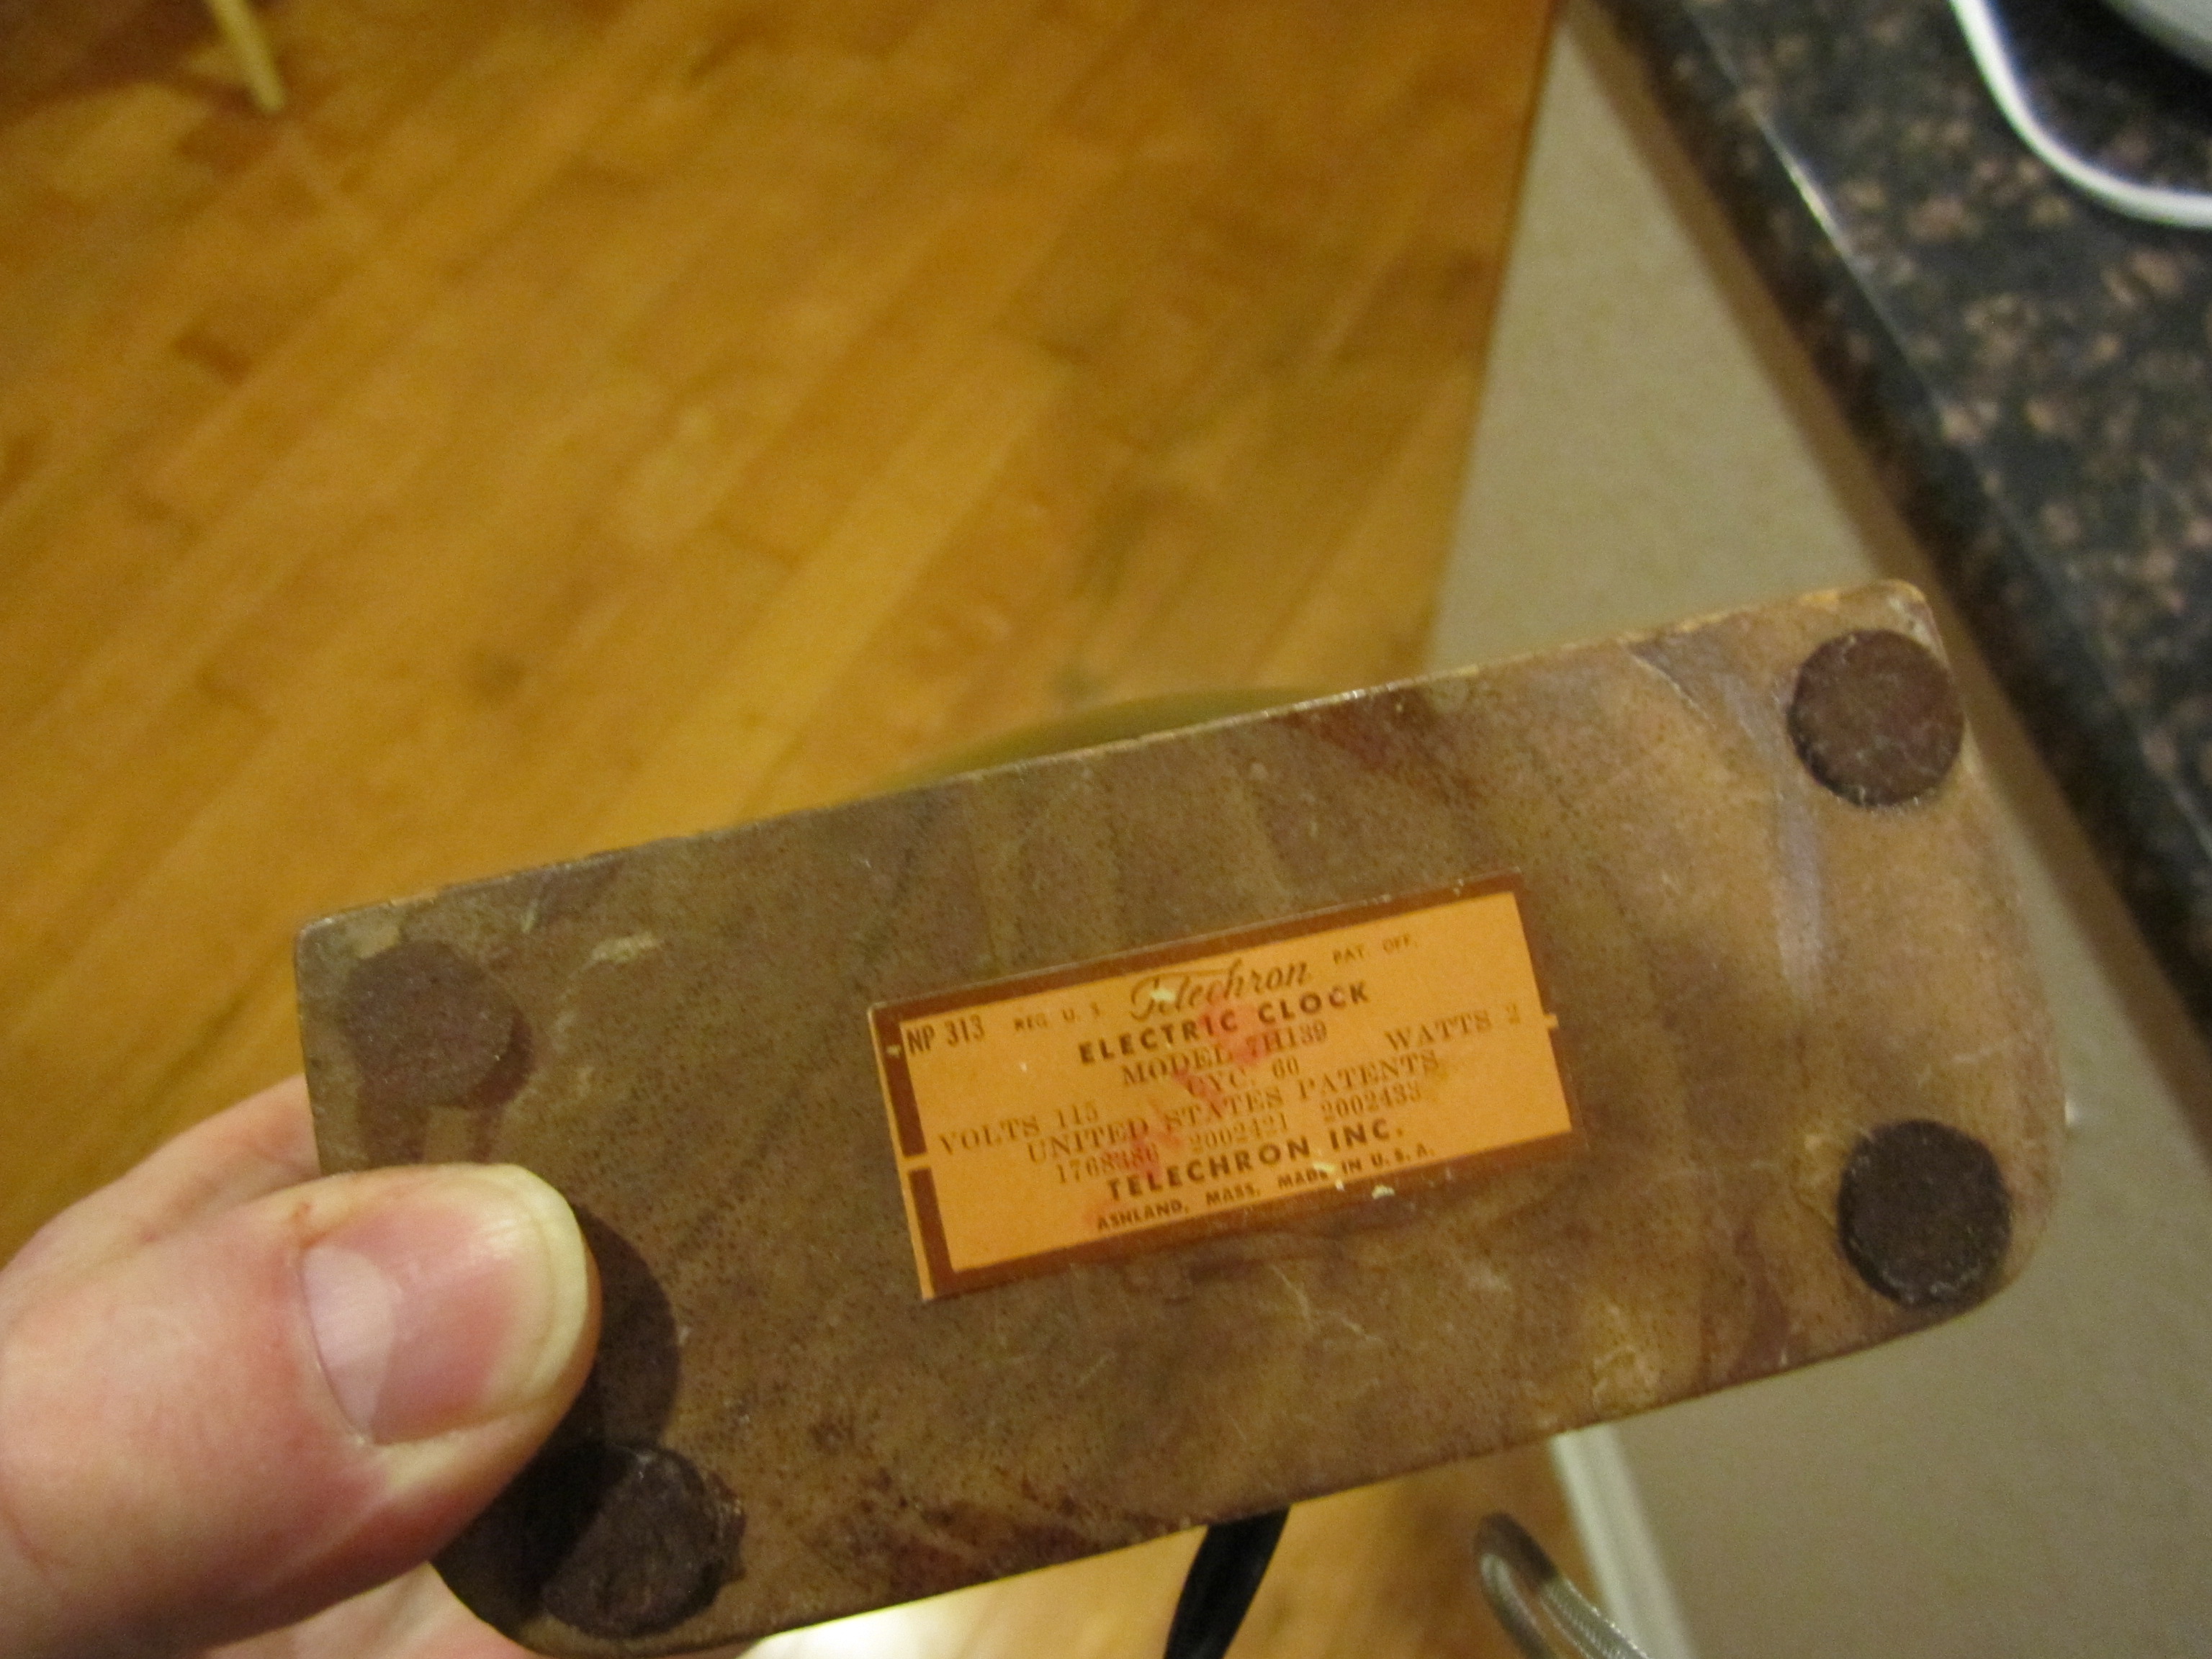
Opening it up exposed a nightmare of gunky gears, a broken and brittle AC wire and a fine layer of “Age” or others like the word “patina” … model 7H139! Approximately 1930’s… Now I think Techtron was bought or used them as vendors for parts by GE .. which made later a very close sibling to this clock the model number 7H140… hmmm. Interesting.
A few cleaning and lubricating solutions, some elbow grease, a soldering iron, to complete the soldering of a new power AC cord and a simple check with the Digital Multimeter and I was telling time as the clock smoothly came to life… what a great feeling knowing that this little clock has a few more years, of days, of nights, of hours, of minutes, of seconds to pass the time by… as a clock.
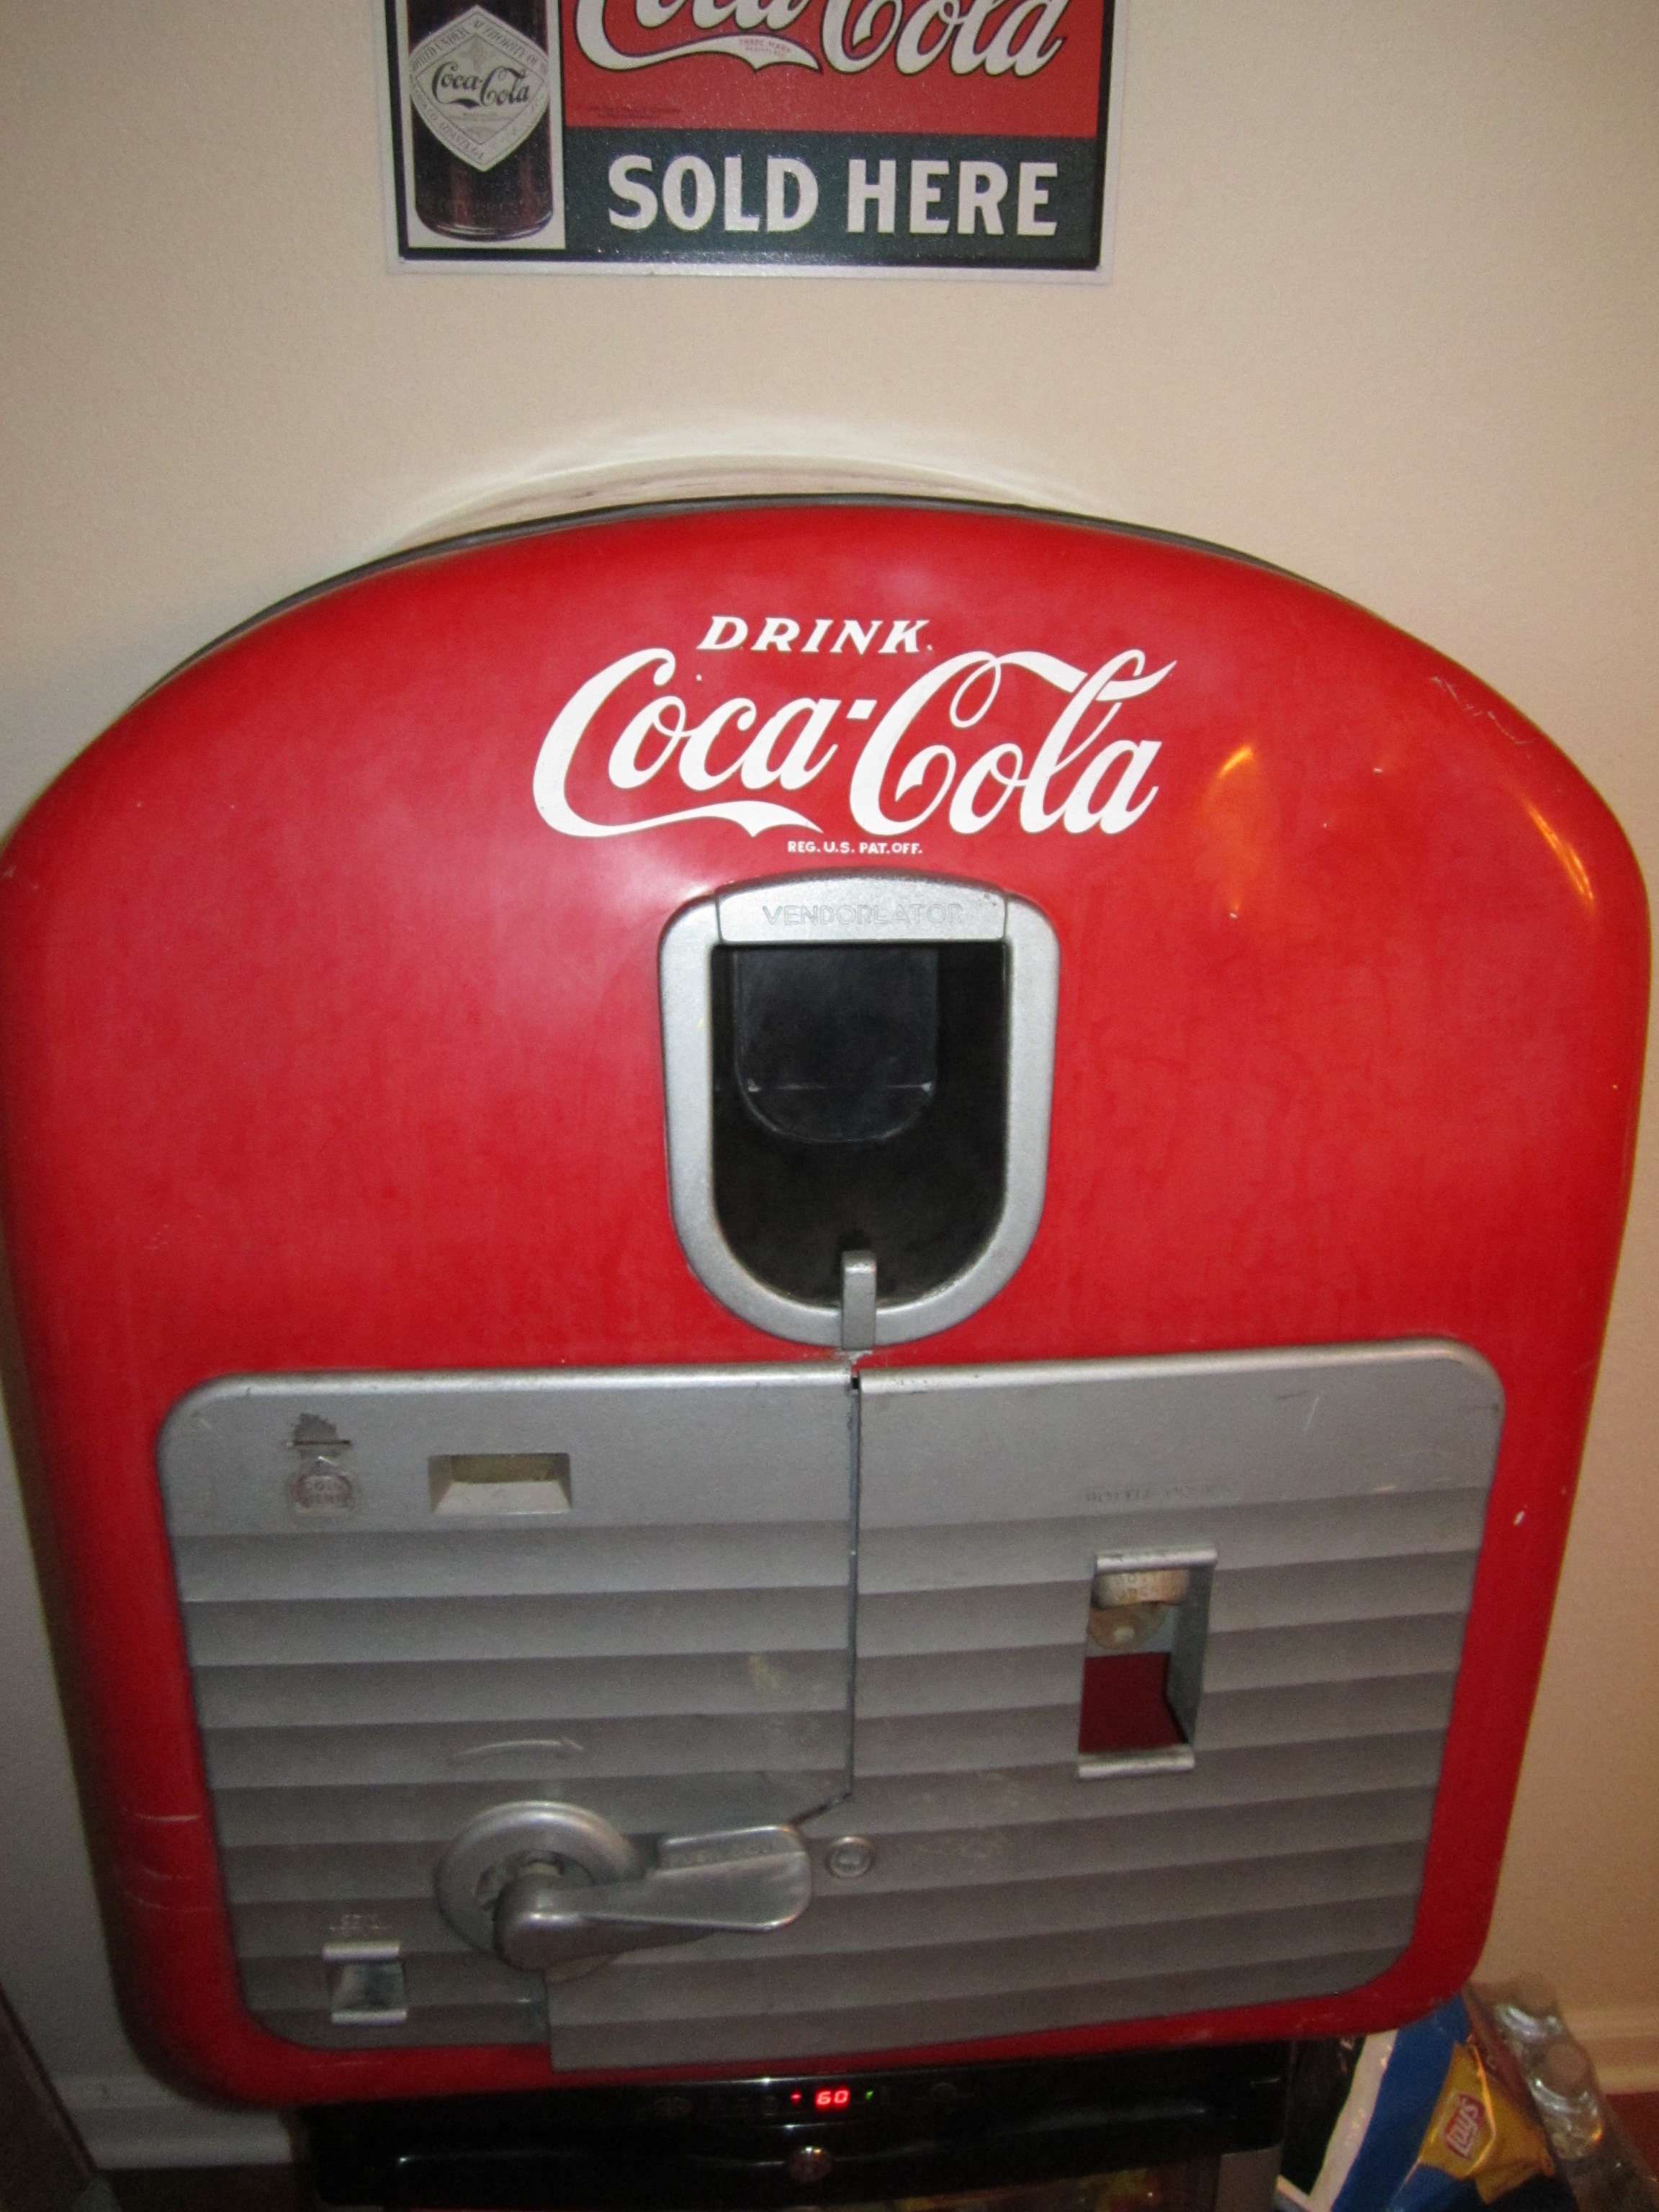
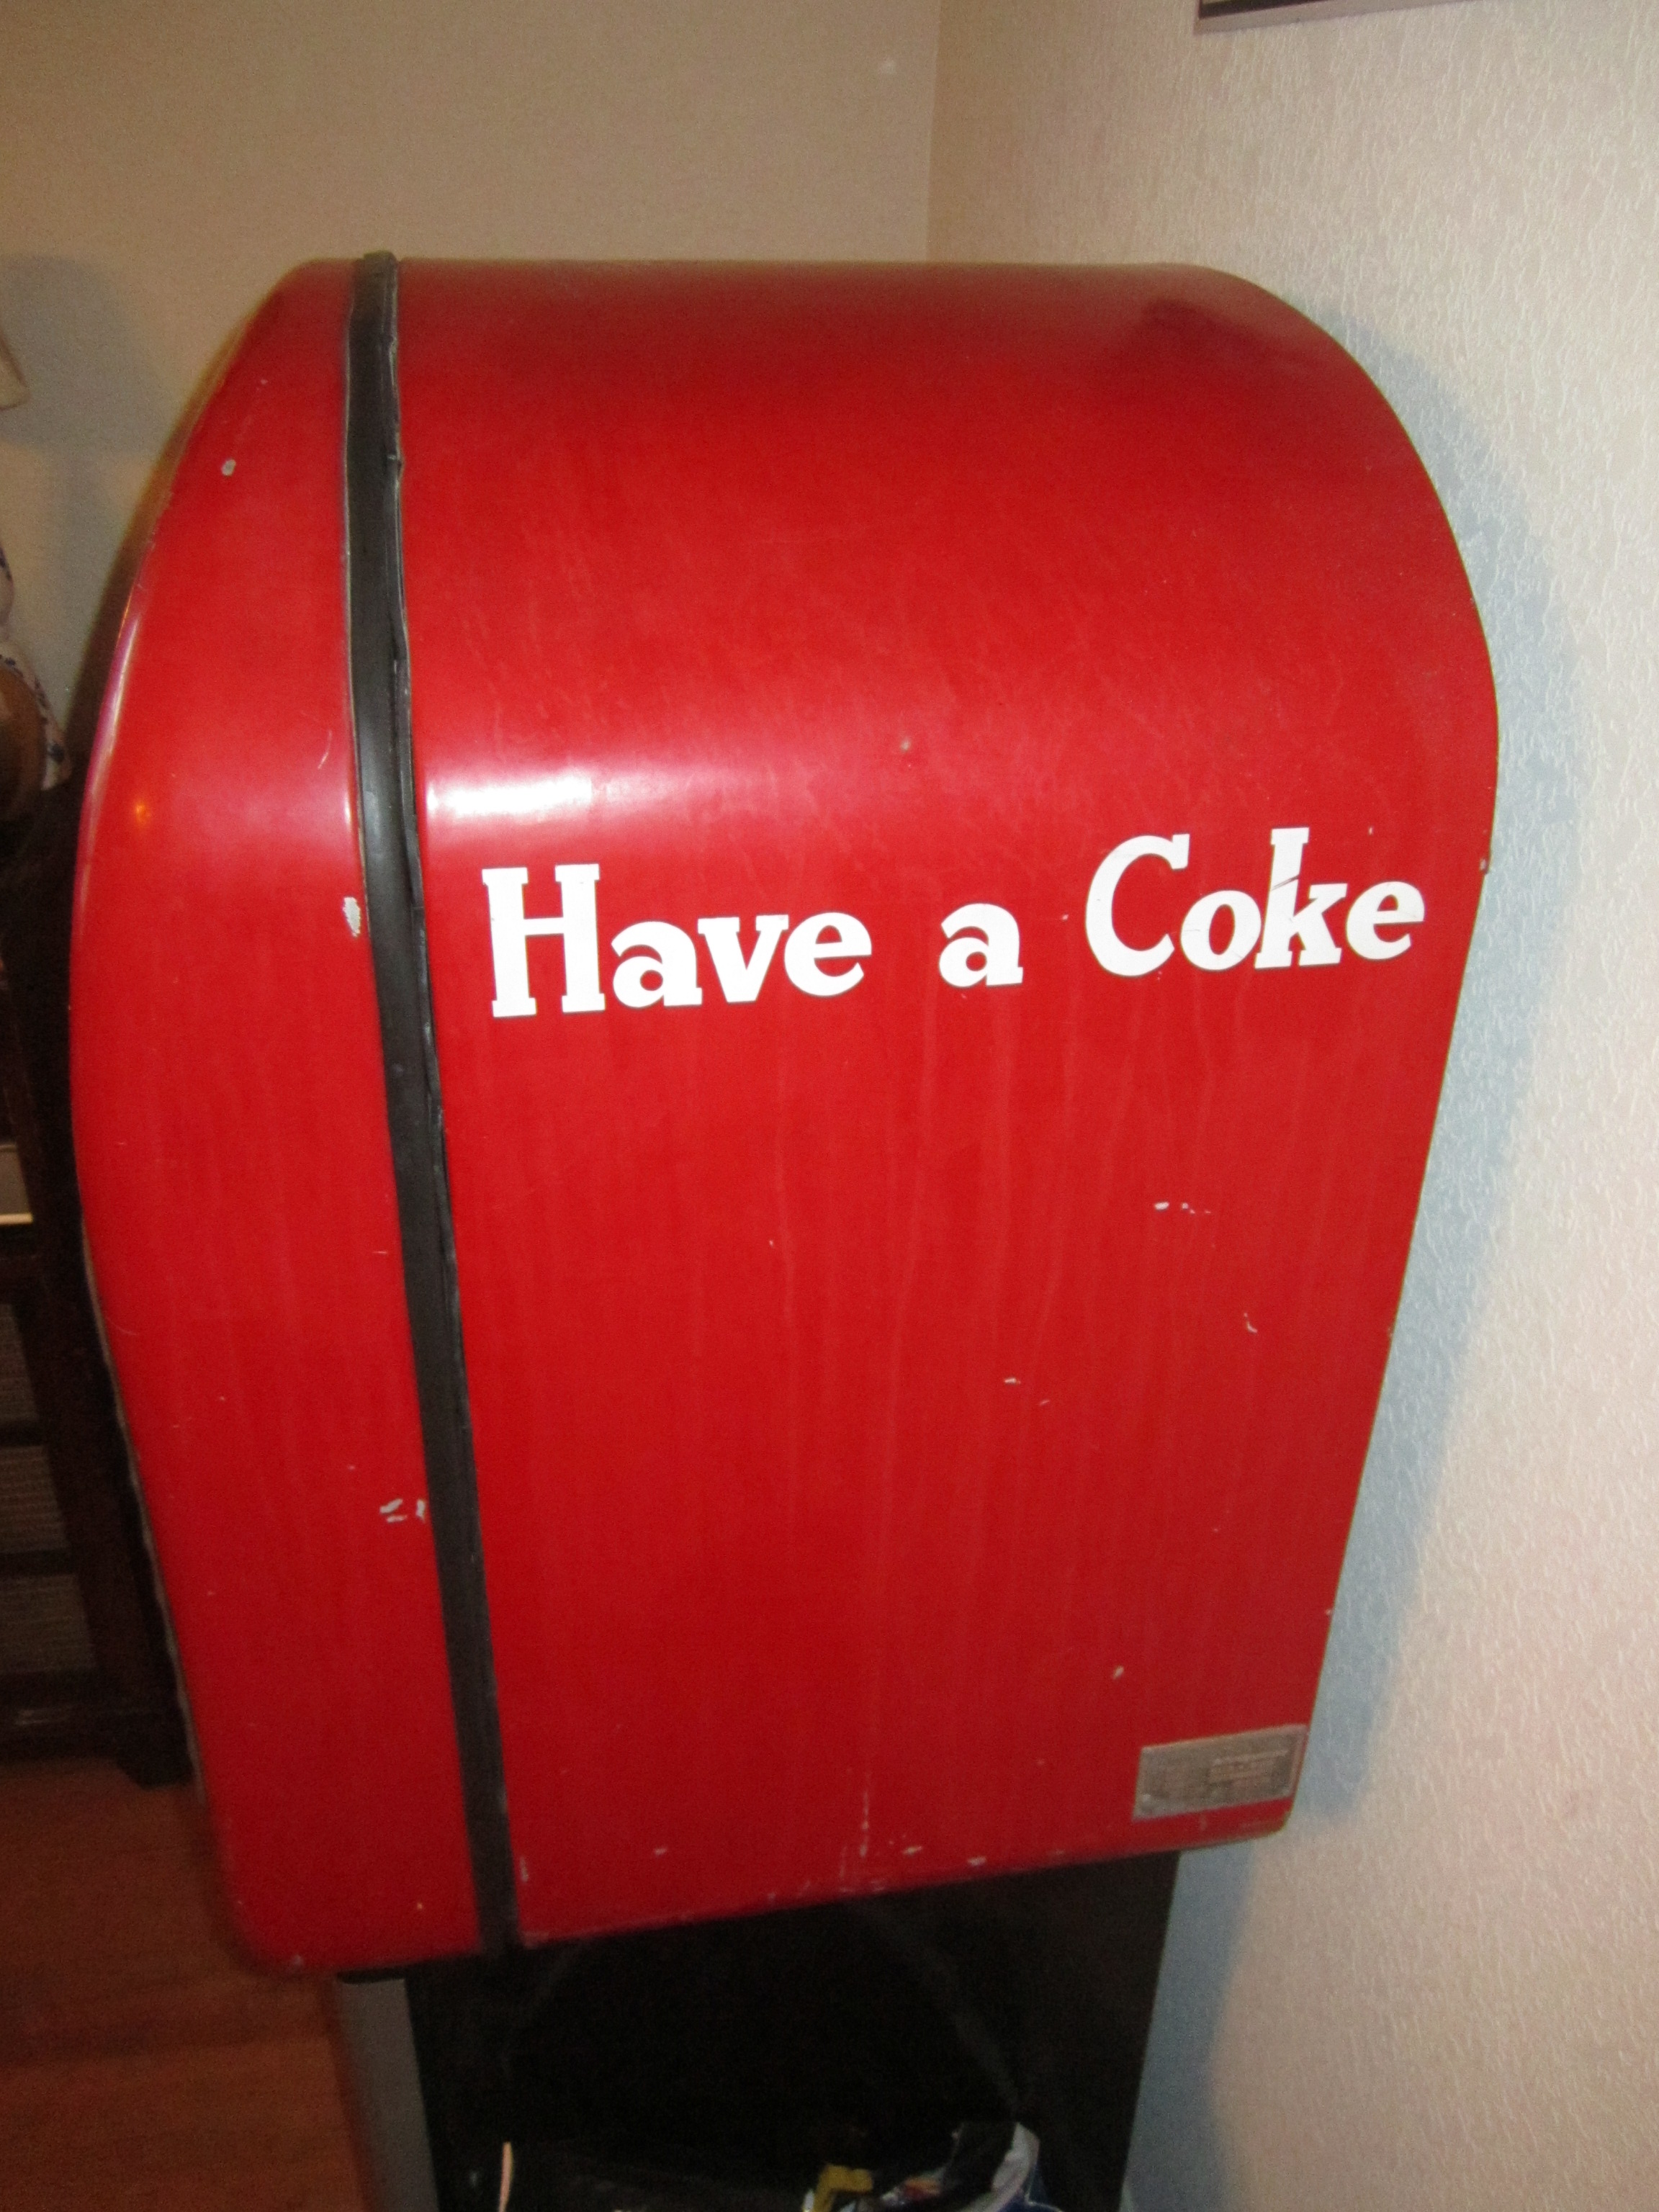
My father passed away in September of last year and my mother was kind and asked if I would like to take it home with me to Colorado… she helped me load the machine into my car and gave me this Coke Machine with the understanding that in the future, it would belong to our younger family members as they grew old enough to hold such a treasure in their homes. I do want to start off by saying this will look great in my man cave… my old 1956 BMW R50 sitting next to this classic Coke machine. Which of course I would like to keep the same in the outside appearance (but with some TLC like cleaning and buffing the paint, a few new decals, etc) and then repair and replace and find the remaining required parts for the inside of the vending machine so that I can bring this “piece of art” back to presentable condition. I will display this in my home and plan to keep fresh ice cold cokes at the ready in the summer and fall.
I have provided the following information with pictures so that anyone looking to see a Model 27 can see can have a bit of history to view , and appreciate the great condition this one is in, and see the excellent quality of what America use to make in the good’ol USA in the 40s and 50s.
A Vendorlator Model 27 (1948 through 1951)
A Vendorlator Model 27 (1948 through 1951)
Serial number of this soda machine is 27.6348.
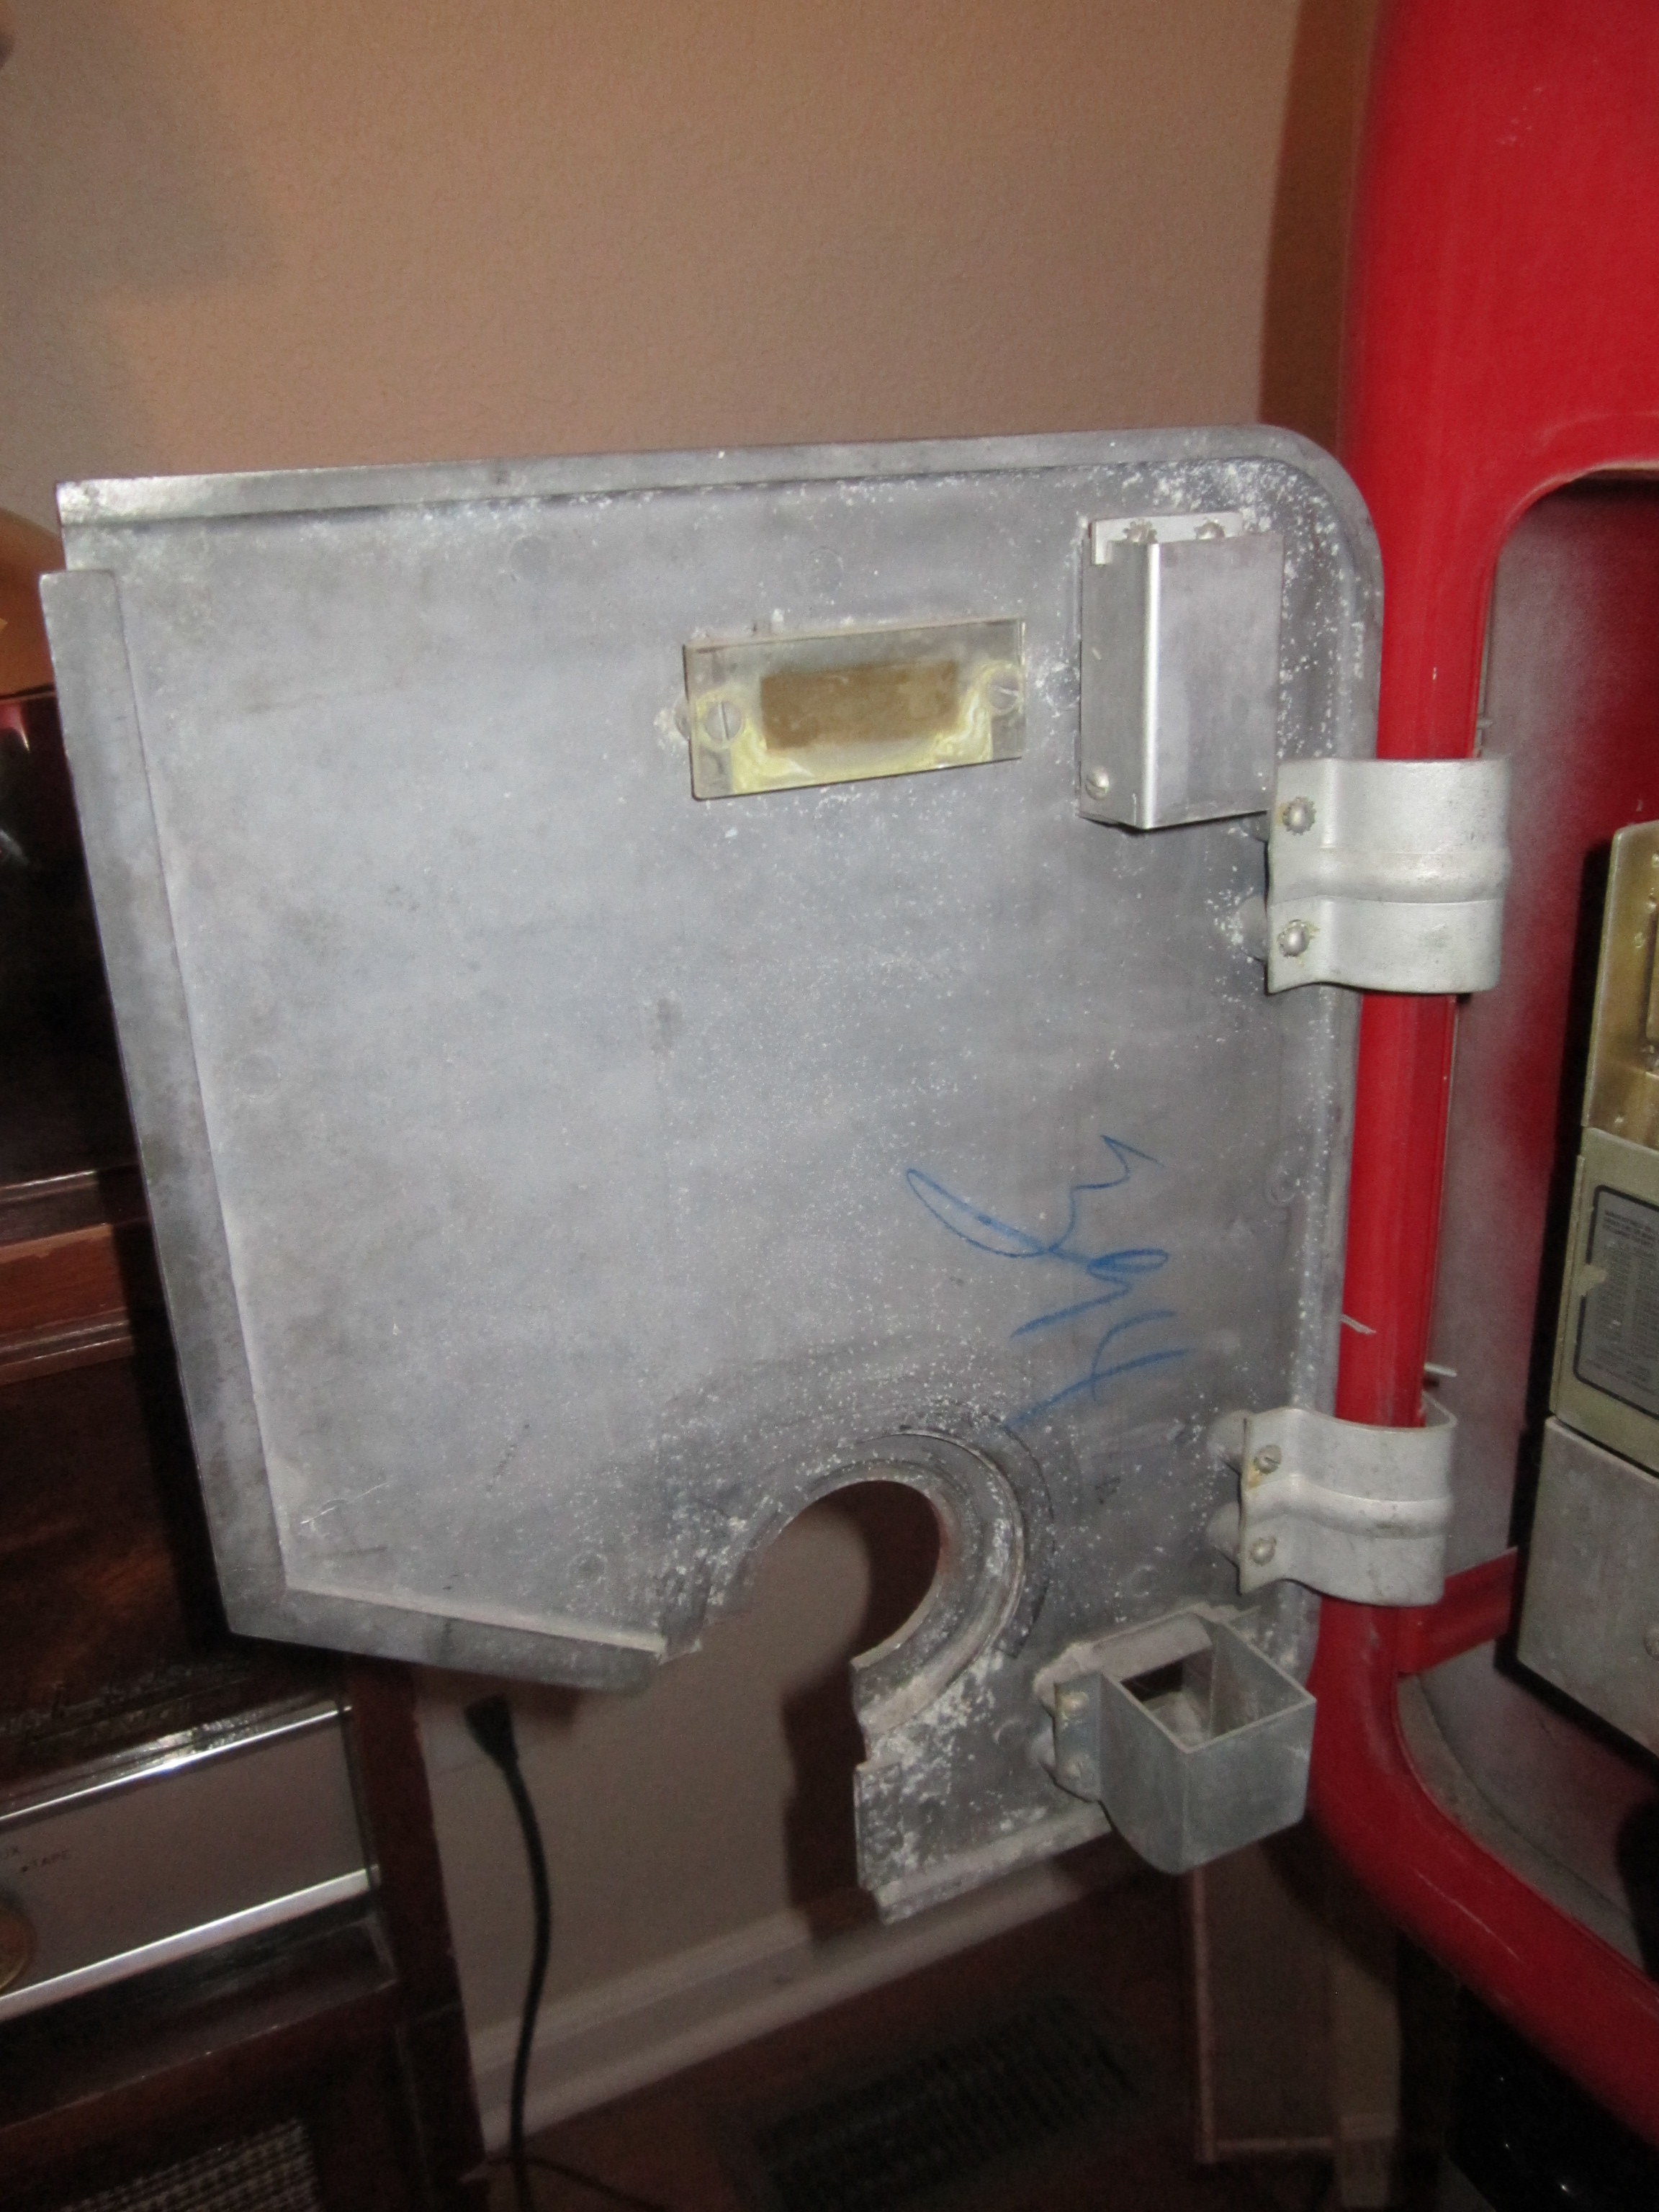
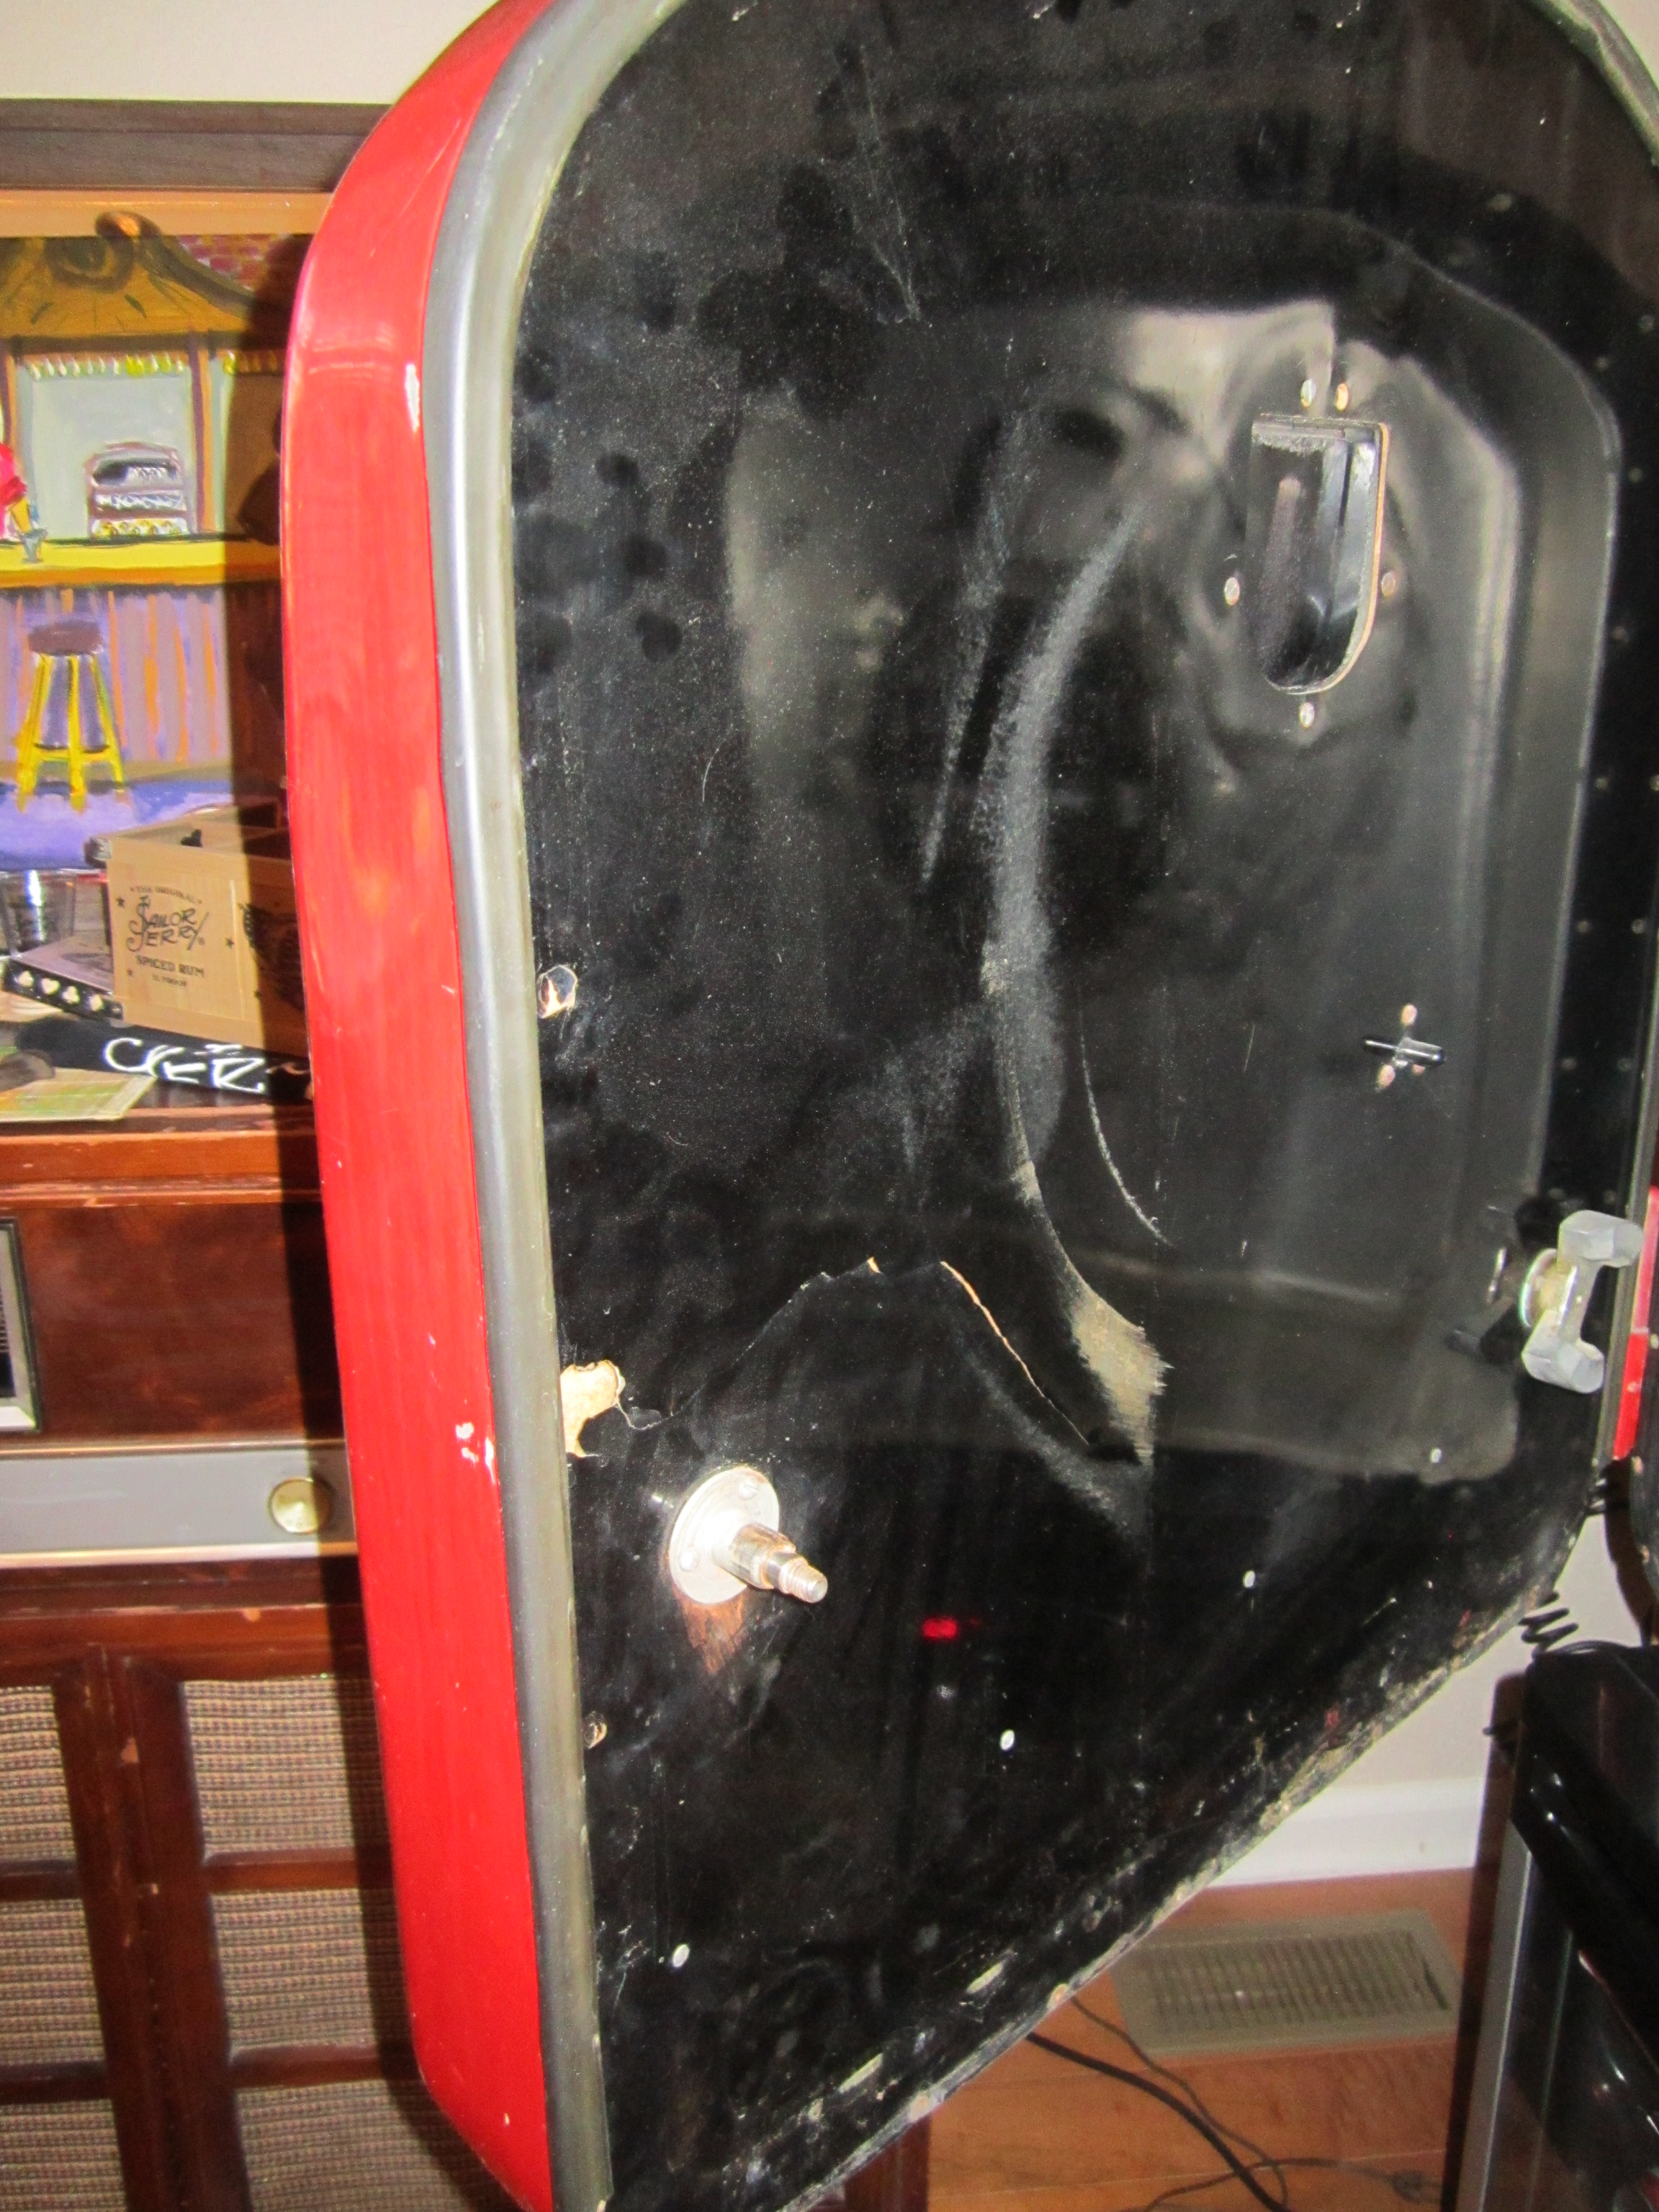
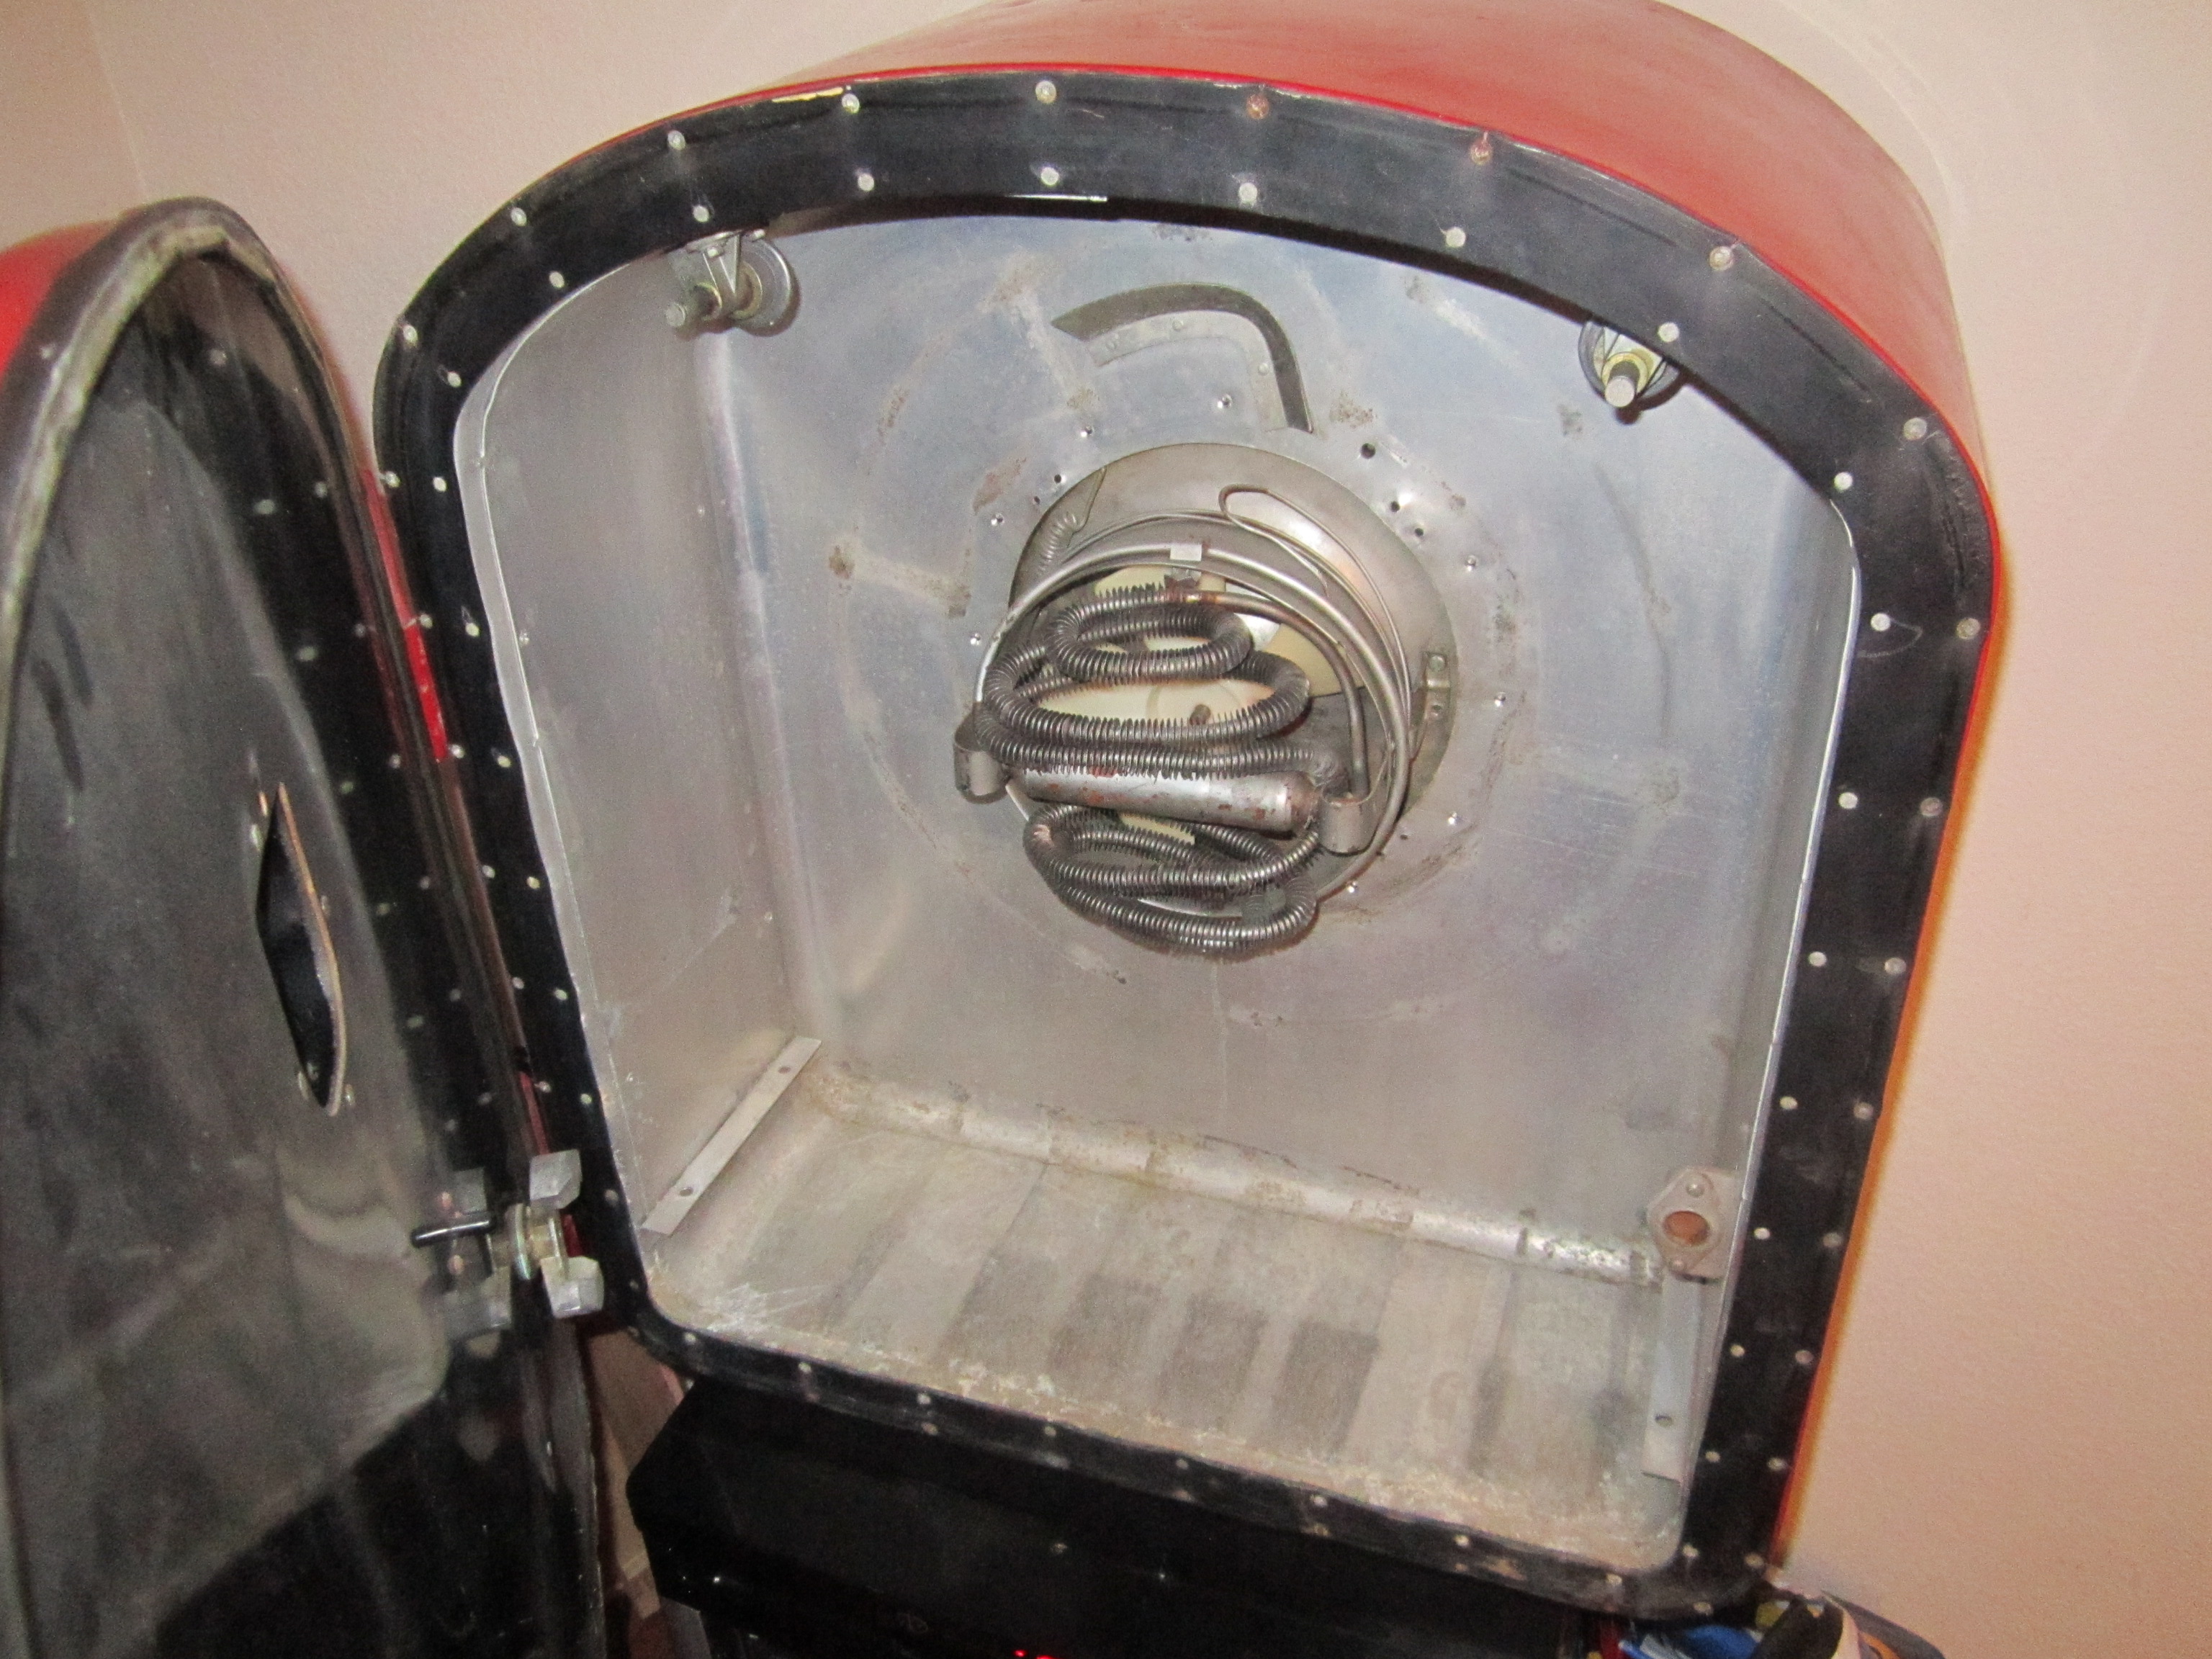
I am Missing a drum, drum wheels, wheel axles, and the coin mech not operating (would like this part reworked/restored). I am also Missing the back panel (I would like to see if one can be fabricated or if not too costly a new Old Stock purchased).
Other photos:
Top view and of the gasket, which is in still good condition.
A Vendorlator Model 27 (1948 through 1951) coin mechanismleft side door (inside).Missing the drum and drum wheels
Side note… it is sitting next to my 1956 RCA console (FM/AM, Record player, with iPOD dock) which had all the tubes replaced and a restoration on the tube amp electronics and receiver about 8 years ago. (Which of course I did!)
Inside looks great!
I hope to explore a restoration done by a professional, but if cost prohibit, I will be sure to show my progress and detail the work myself. more photos to follow.. and I hope to build the tube stand myself… who wants to teach me to weld?!
Want more information…..
A good description I pulled of the web somewhere…
“The VMC 27 was the smallest in size soda machine manufactured by the Vendorlator company (in 1948 through 1951), and one of the smallest Coca-Cola machines ever made by any company. The machine stands only 27 inches high (measured 23″ x 27″ x 19”) and vends 27 6.5 ounce bottles. Vendorlator manufactured the 27 with space enough to pre-cool 10 Coca-Cola bottles. Many people refer to the 27 as the “Tabletop” because it could be placed on a counter. There were a variety of stands made for it manufactured by a variety of companies, including a pipe stand made by Vendorlator and an all-wood stand made by Kay Display Products. The popularity of the Model 27 prompted Vendorlator to open a third plant in Picqua, Ohio in April, 1949, in addition to the two plants they already had in Fresno. The fact that the cabinet of this machine was made of aluminum (although steel versions were also made) helps to explain why this model is often found with dents, particularly around the bottle chute.
It was right around January, 1950 that Vendorlator began selling the VMC Dual 27. This extremely small upright machine used the same vending mechanism as the countertop Model 27 but had a 27 bottle pre-cool capacity, hence, the designation “Dual 27”. It also used a more conventional arrangement for the refrigeration unit with the condenser housed in the bottom of the machine. Its new found popularity led to the discontinuance of the 27 about a year later in 1951. Subsequently, the Dual 27 was dropped from Vendorlator’s line by 1954 and replaced by the Model 33,with a slightly modified bottle drum allowing for six more bottle capacity. The physical size was the same as the Dual 27 with the only outside distinguishing feature being a one piece coin door, although two piece “split door” versions are also known.
Side note: Vendorlator machines are found with the 7 UP as well as Pepsi-Cola logo, among others, giving them broader collector appeal.