Once again it is time for some halloween projects to get ready for October… and it is my favorite time of the year. Fall, leaves in full color, the crisp night air, and Of course Halloween!
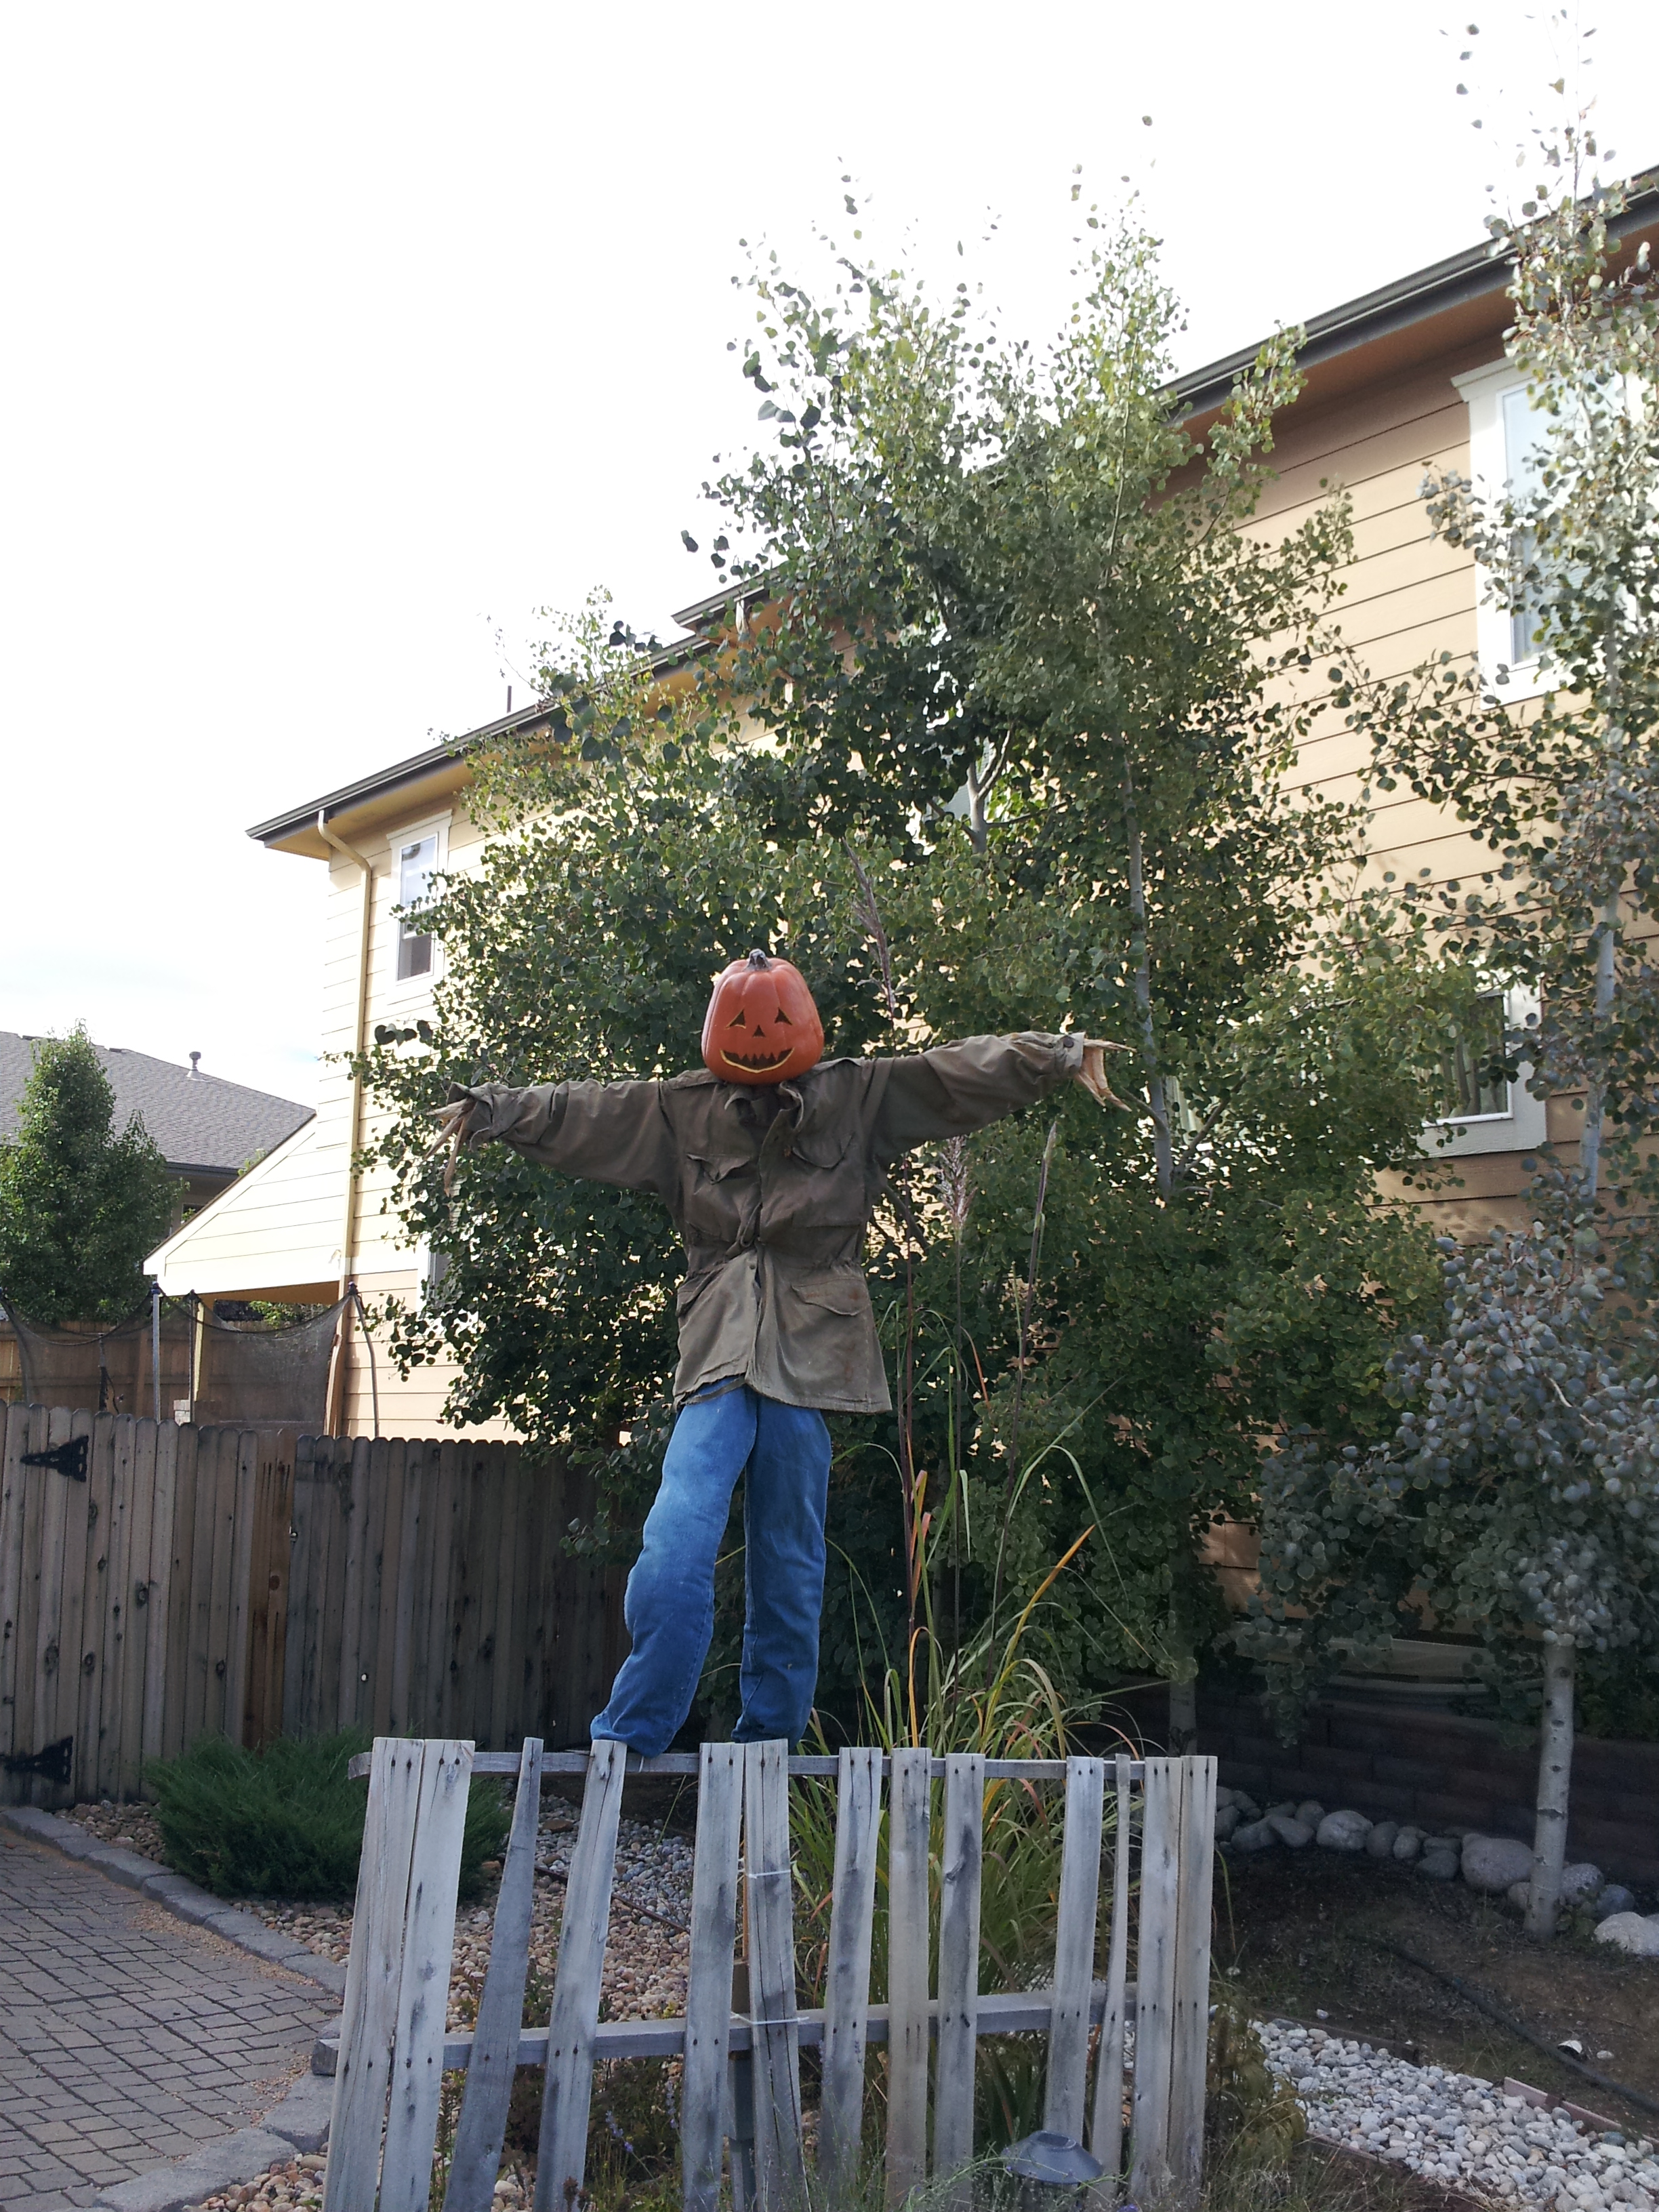
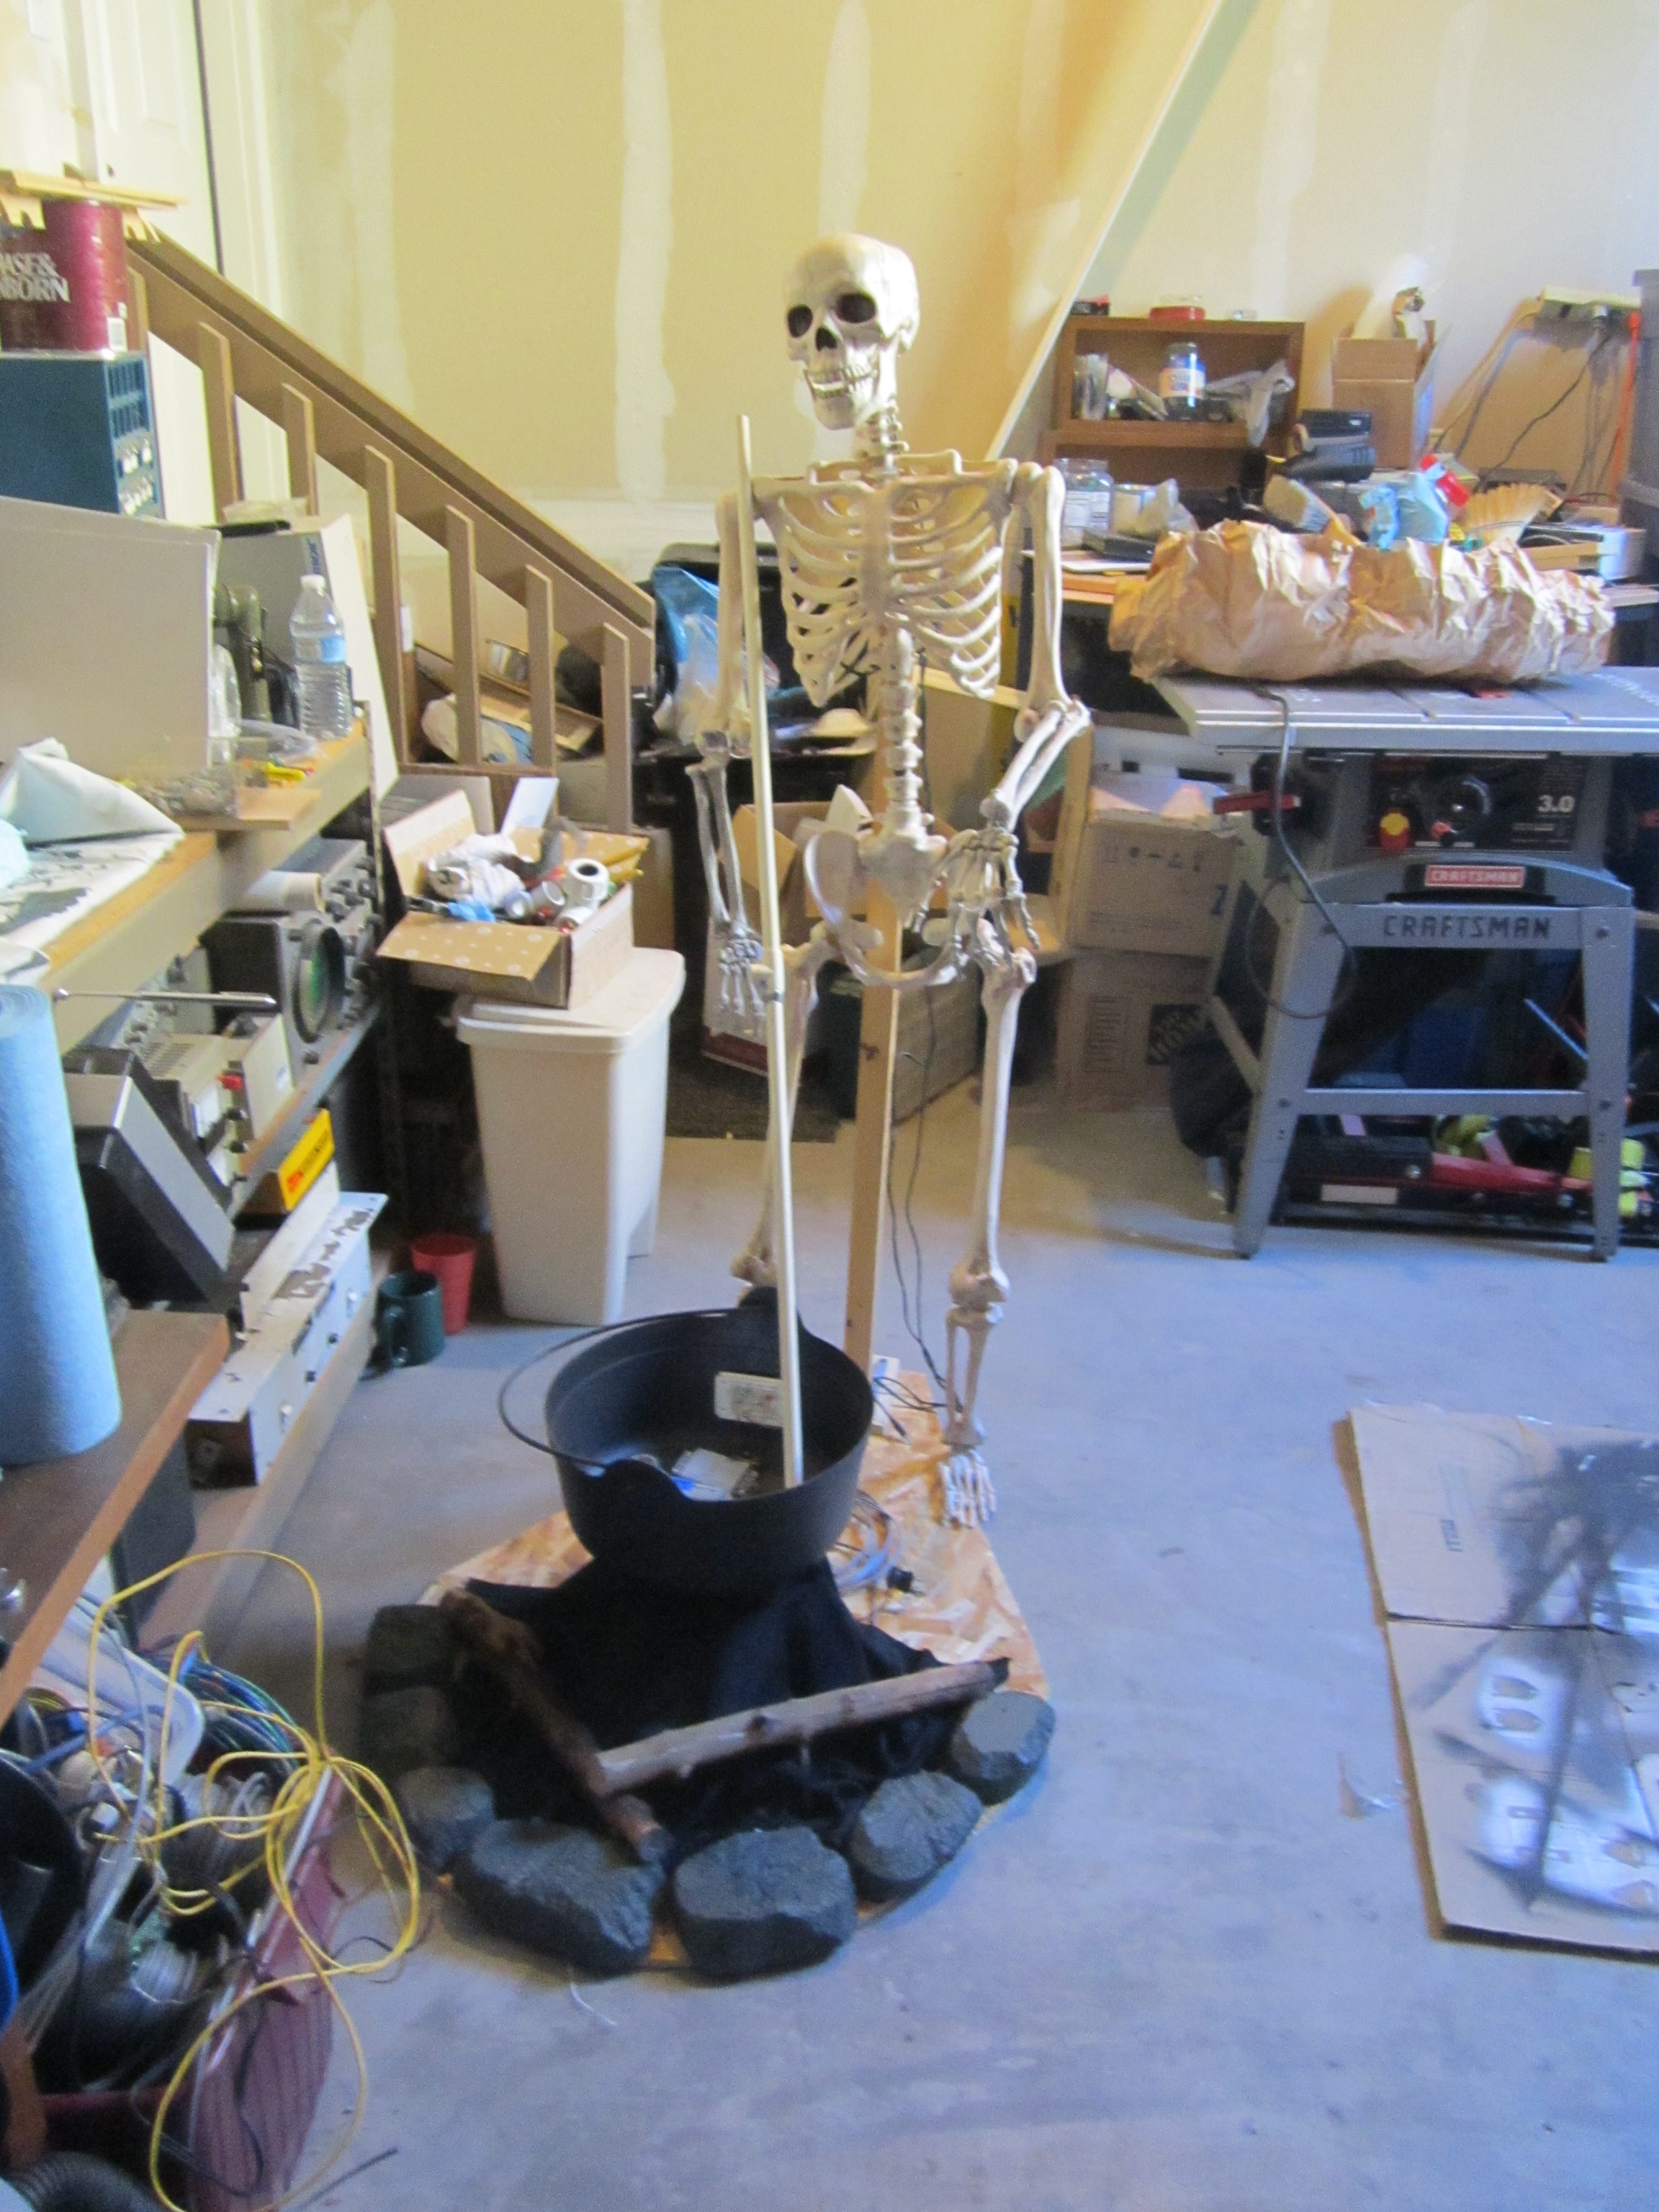
Just as I have done in the past few years, I am going to make some new creations for my yard and for the tricker-treaters… A new idea for a more automated talking skull are in the works and this year, (As I am starting earlier), a new scarecrow mask for myself and maybe a small more relaxed Halloween party… I was thinking a sit down dinner with a mystery twist…. but who knows, as I always go big and never have enough time.
I also saw some really cool figures to put into the lawn and I could light the with a solar spot light to creep the kiddies out of my yard.
I will try and photo my progress and provide some instruction, code, electronics, etc. on all of my projects… My goal is to use the items I already have and make them better, or use stuff I have on hand to keep it cheap and simple.
I look forward each year to posting these crazy ideas and I hope you enjoy… as for now, you can check out my previous posts on Halloween…
Haunt you later!
Halloween Party Time!
https://wdavisonjr.wordpress.com/2013/10/28/halloween-party-time/
Baby Doll “Day of the Dead”
https://wdavisonjr.wordpress.com/2013/10/24/halloween-baby-doll-day-of-the-dead/
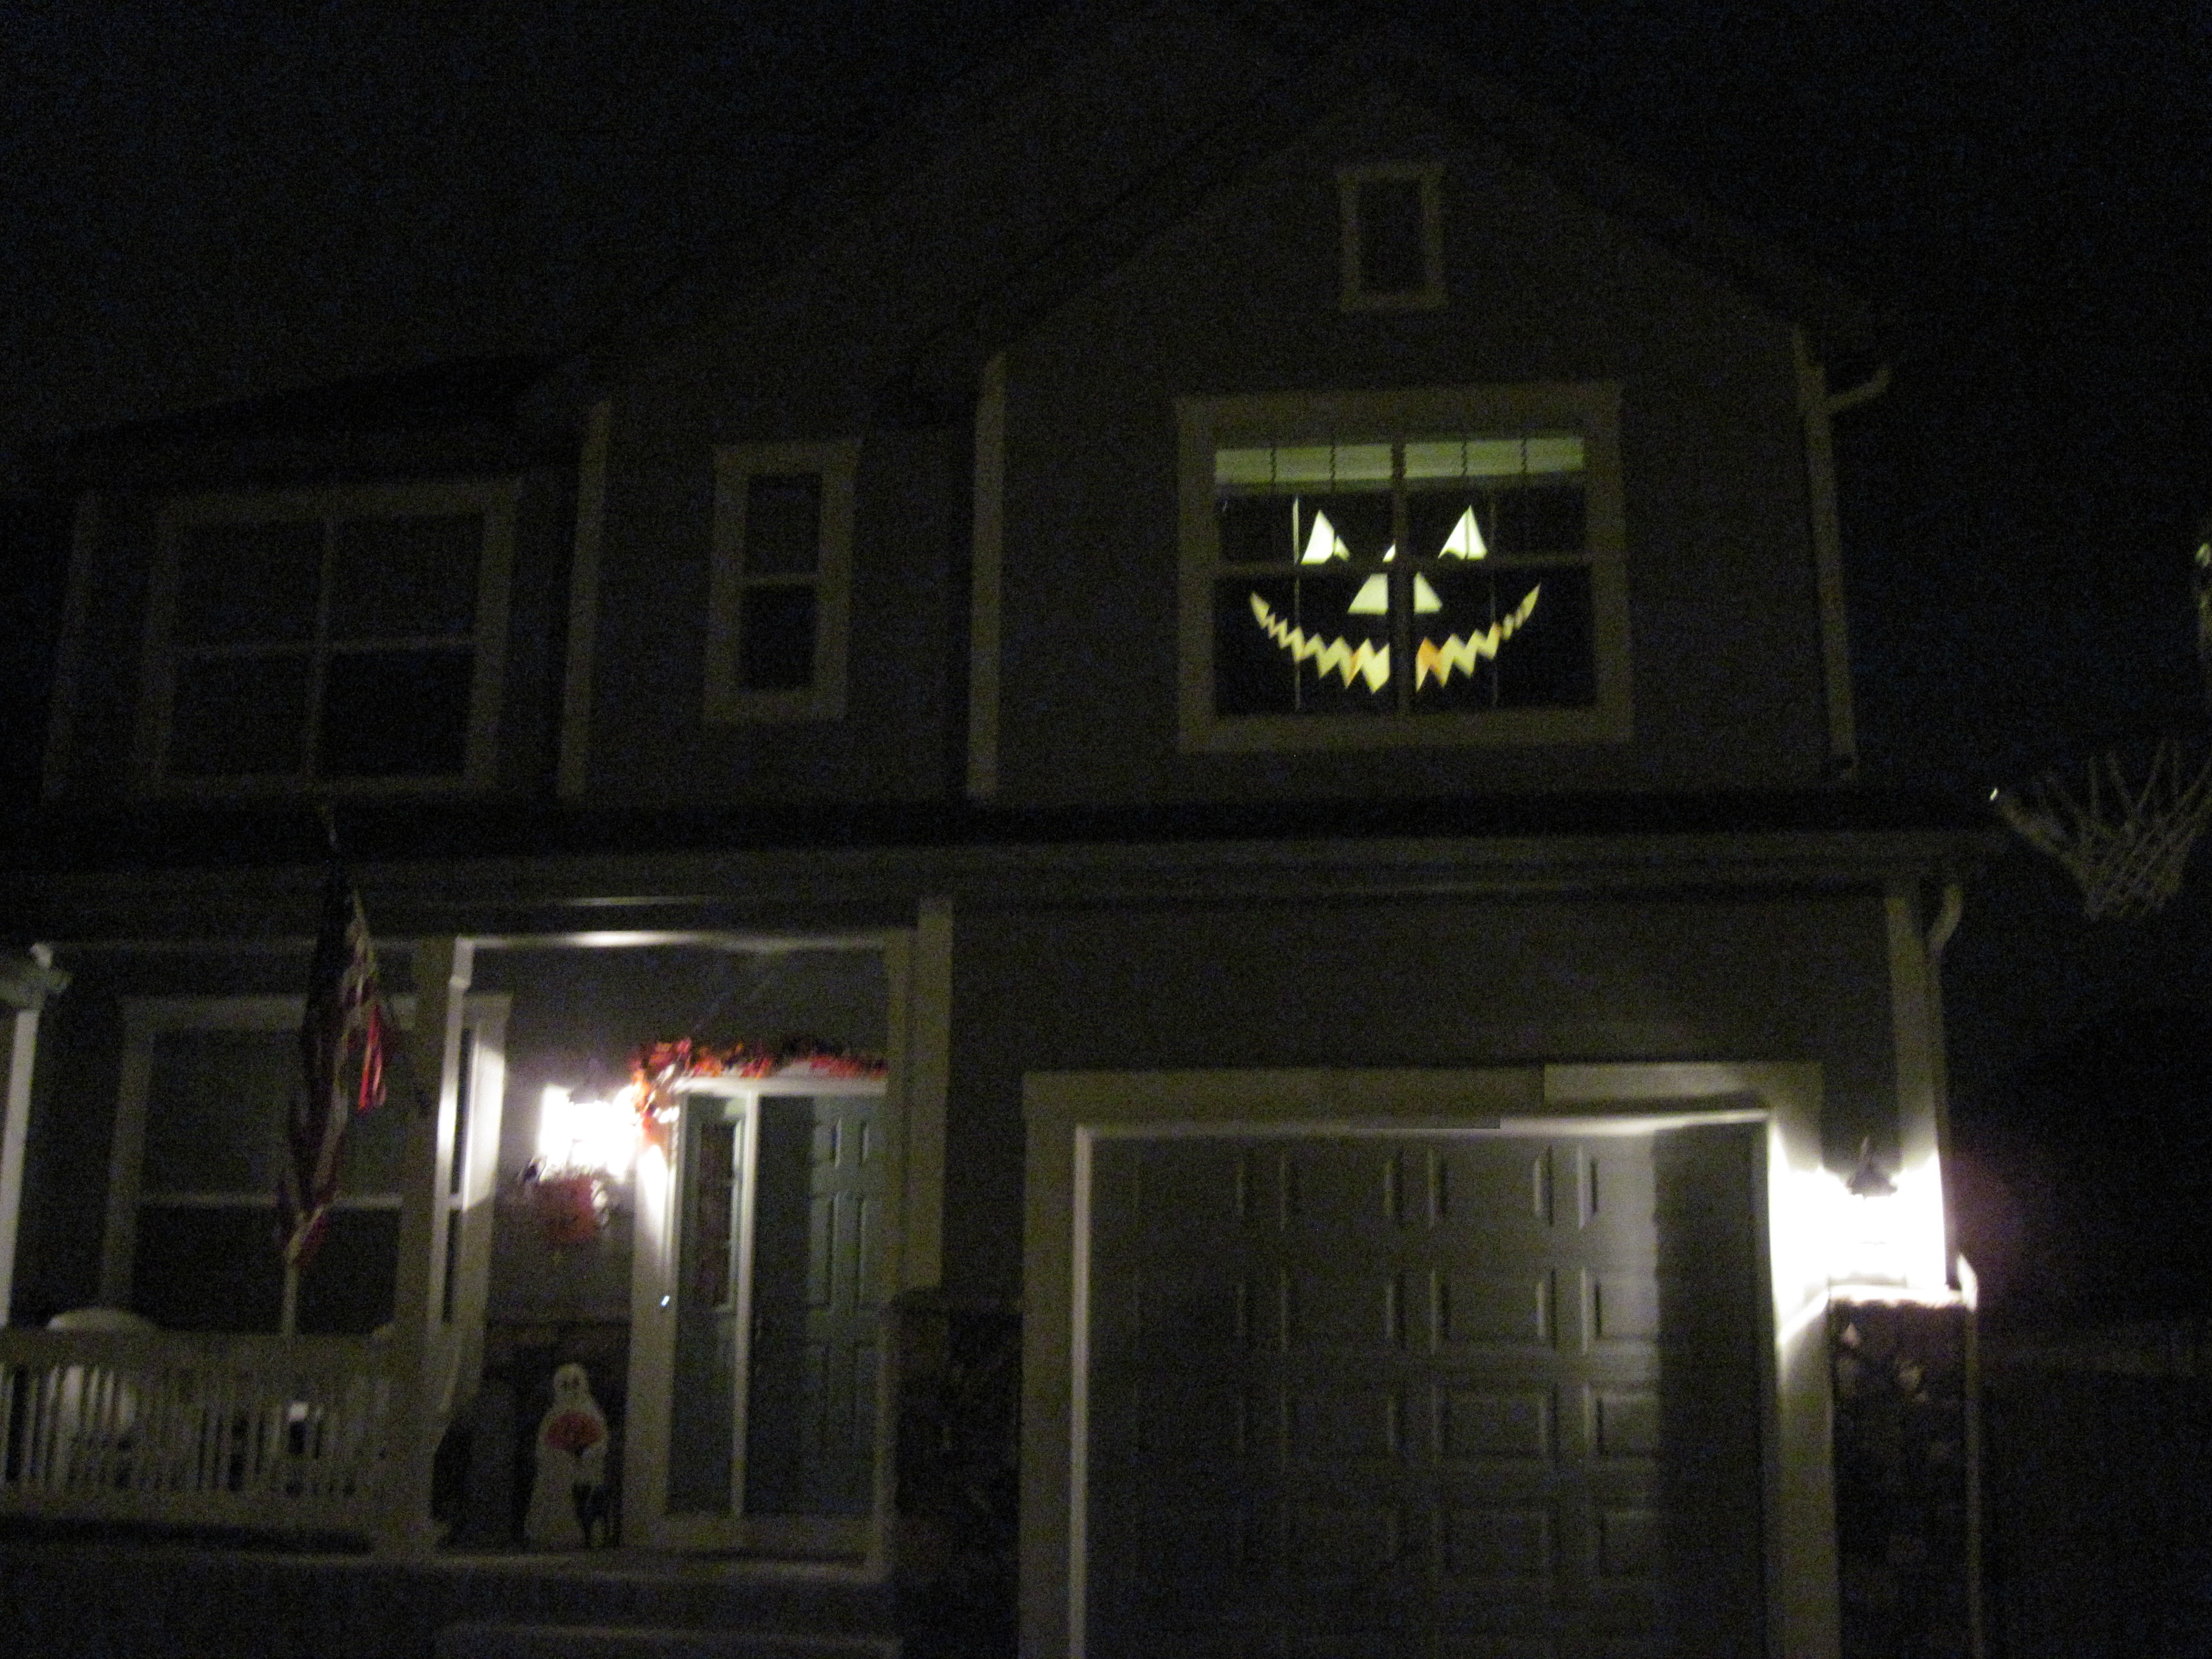
Halloween Window Shade

https://wdavisonjr.wordpress.com/2013/10/16/halloween-window-shadow/
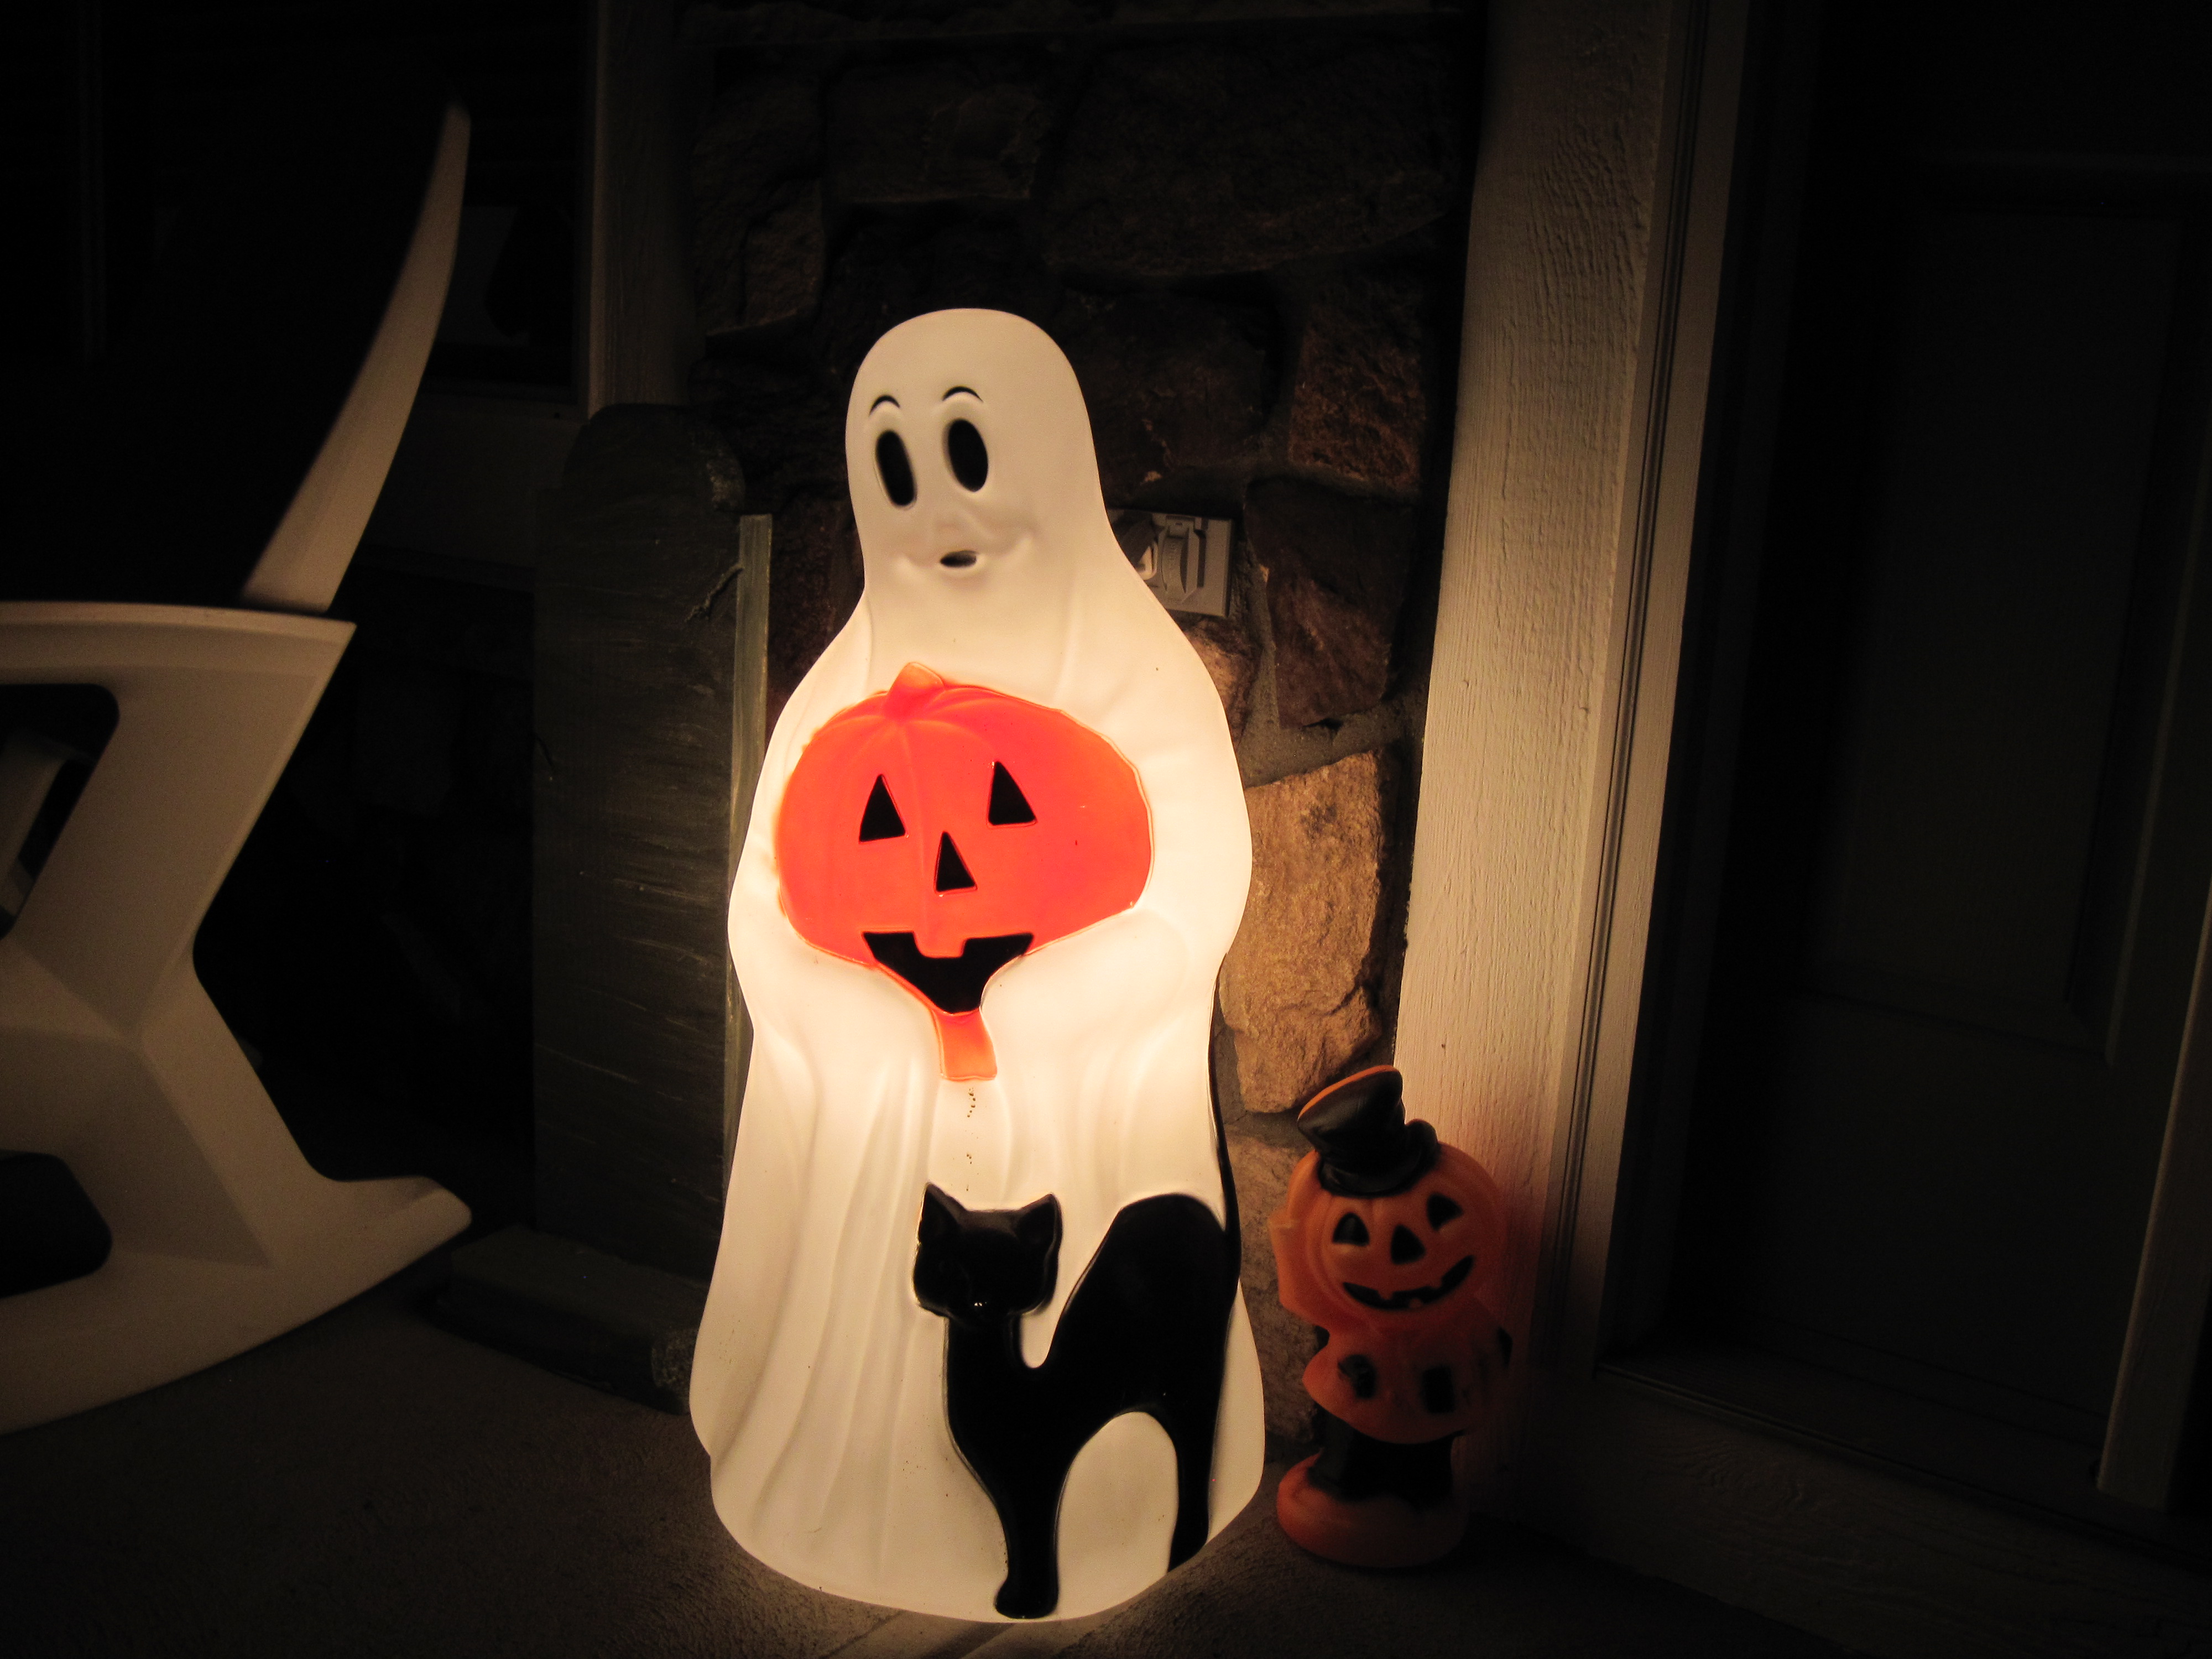
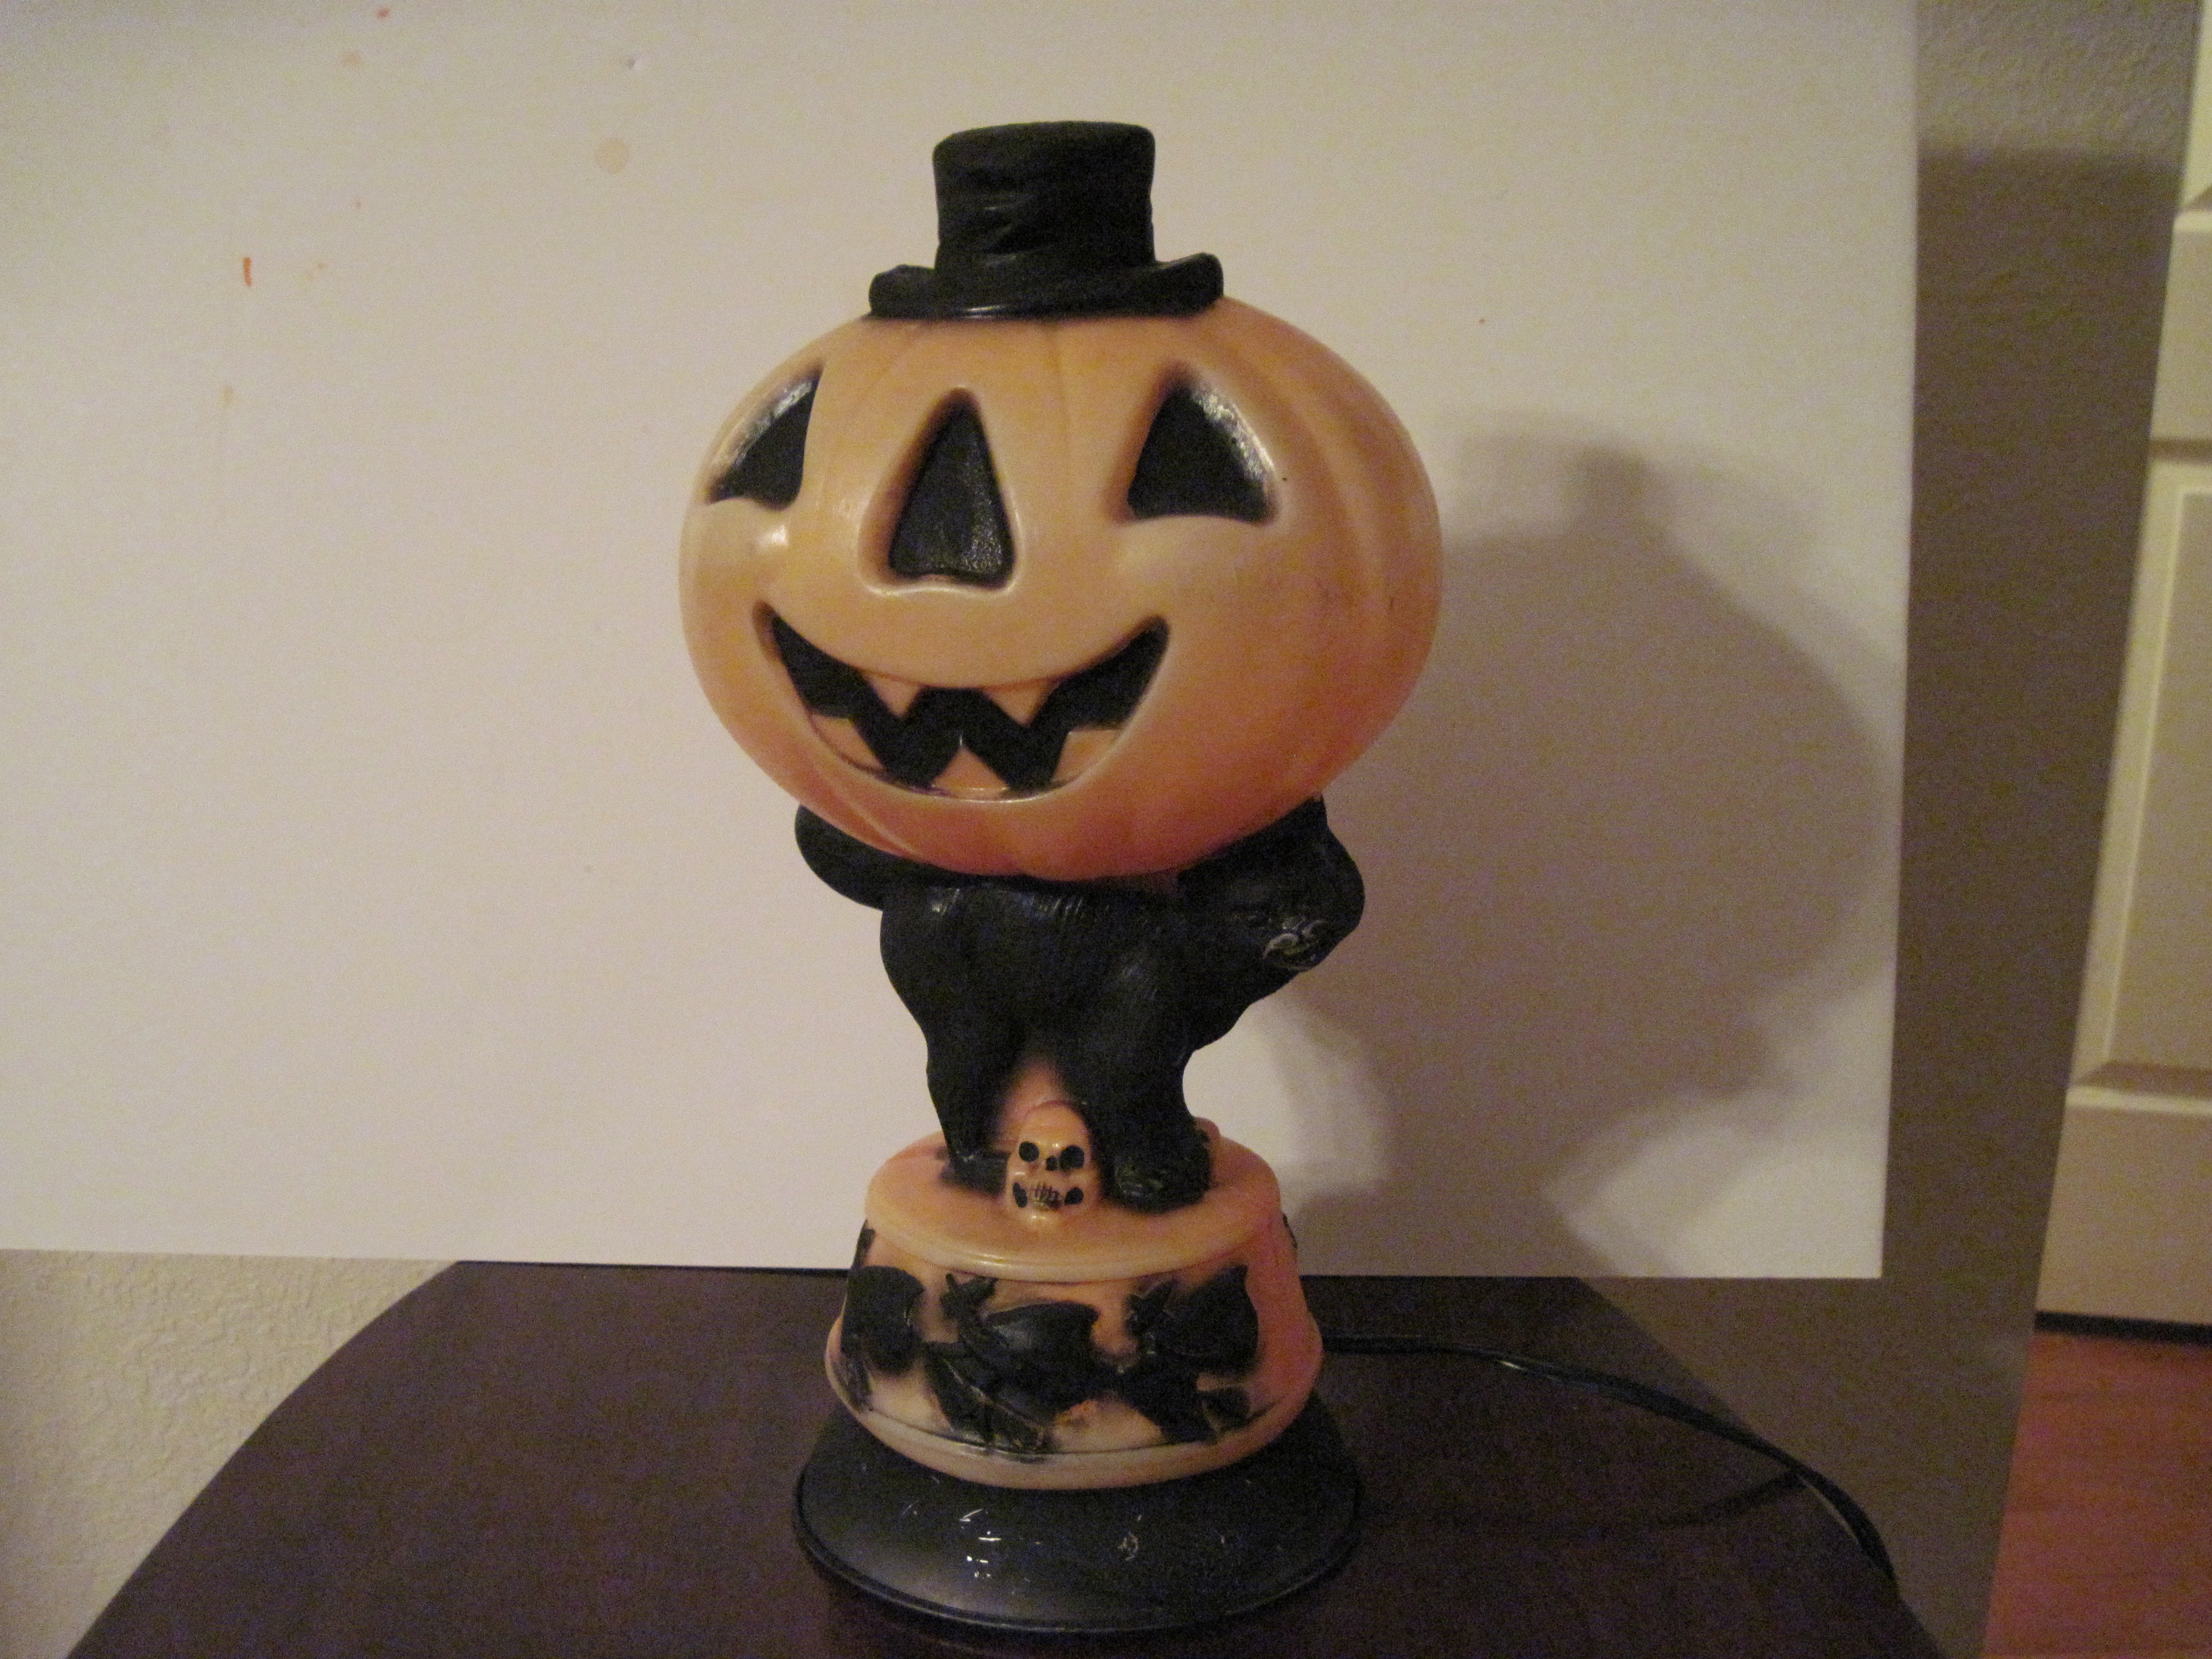
Halloween Vintage Blow molds!

https://wdavisonjr.wordpress.com/2013/10/15/halloween-blow-molds/
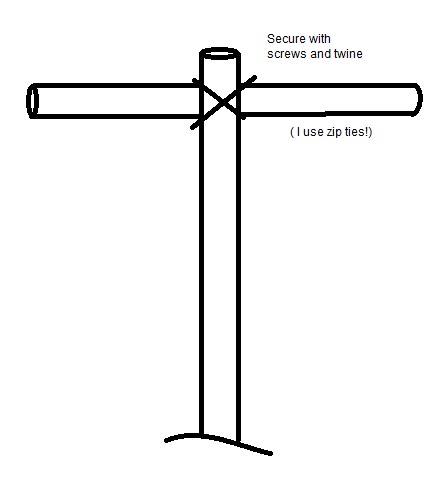
Scarecrow for your front yard!